
Hey there, awesome friends! Welcome to day#6 of March Madness! Today I’m sharing a simple stool makeover. Please tell me I’m not the only one who chuckles at the word, “stool”? “Stool Makeover” is even funnier to me.
Any who…I found this crusty and dusty stool (ha ha) in the same shed I dug my Farmhouse Hutch out of at an estate sale.
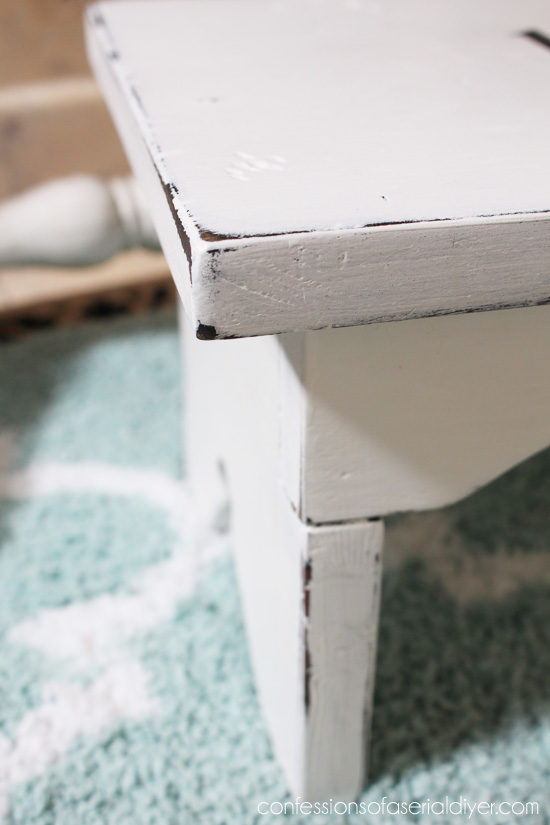
Here is the before, crust and all:
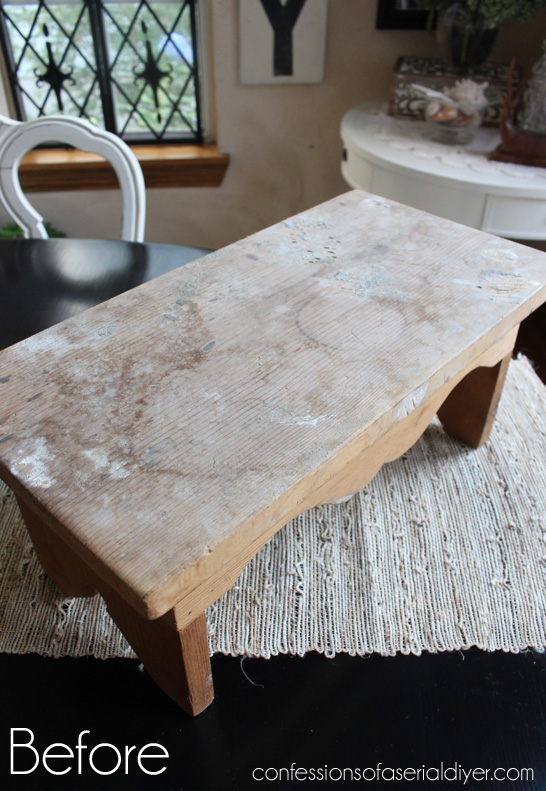
Only $2 and free crust? Yes I’ll take it!
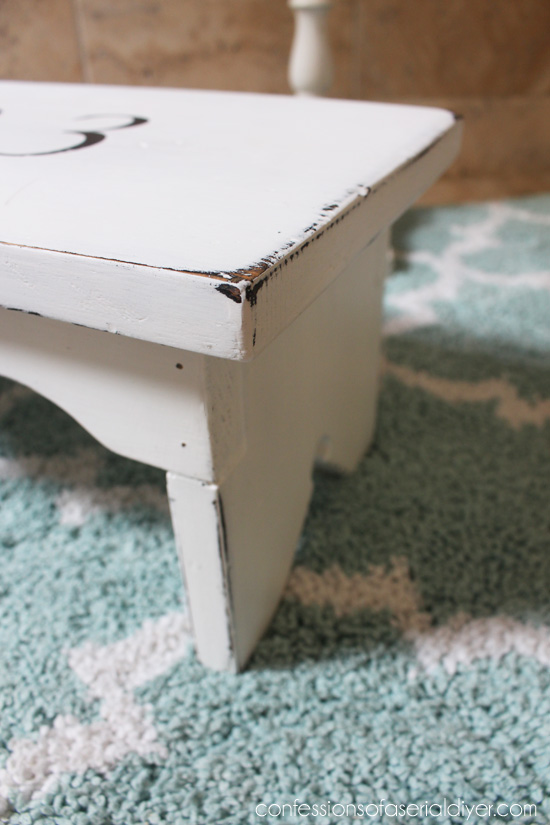
After a little de-crusting and a some sanding and some painting and some stenciling:
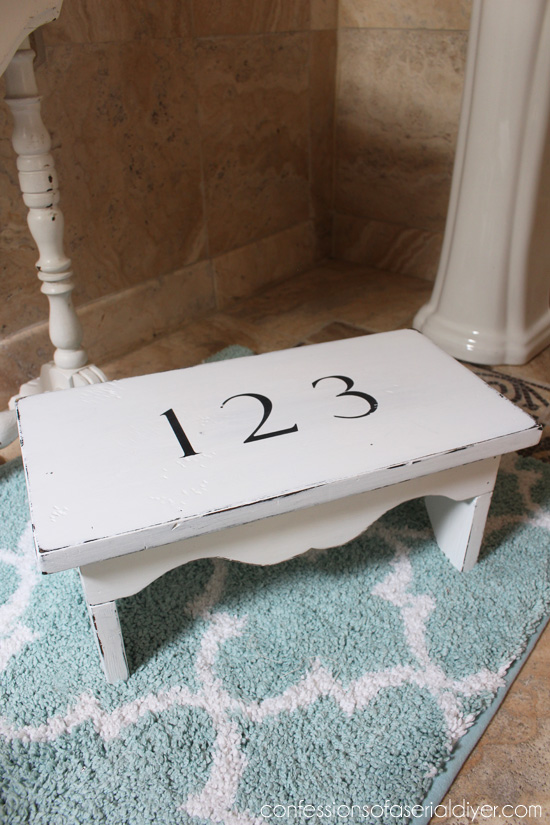
Good as new again!
I finally got a Silhouette Cameo cutting machine for Christmas. This is the first (and only) project I did using the cut vinyl as a stencil. That’s why it just has a simple 1-2-3 on it. I thought the silhouette was going to blow me away and make my transfer-graphics-with-a-pencil-and-tediously-paint-it-in days a thing of the past. I was wrong. The vinyl is super thin and flimsy and an absolute mess to use as a stencil. It kept sticking to itself and everywhere else I didn’t want it to stick! After I finally got it placed right, painting was a breeze and the result was fantastic, but I’m not sure it was worth the trouble!
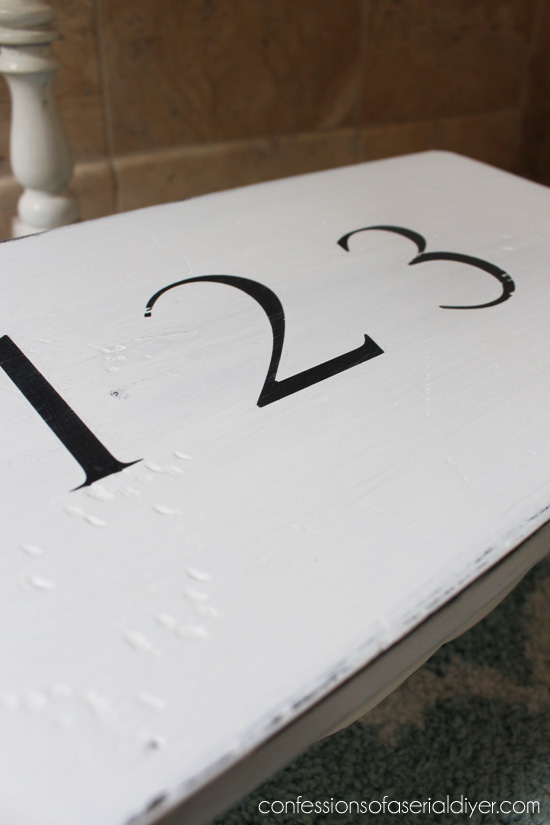
Because this stool had a light finish, especially after sanding, I spray painted it in black first, then painted over it in white so the darker details would come through:
Brennan was my quality control tester for this little project:
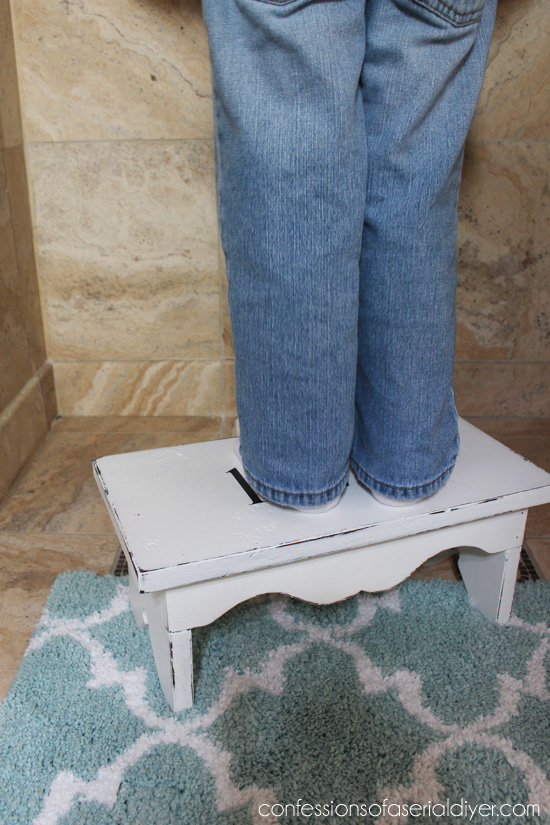
Approved!
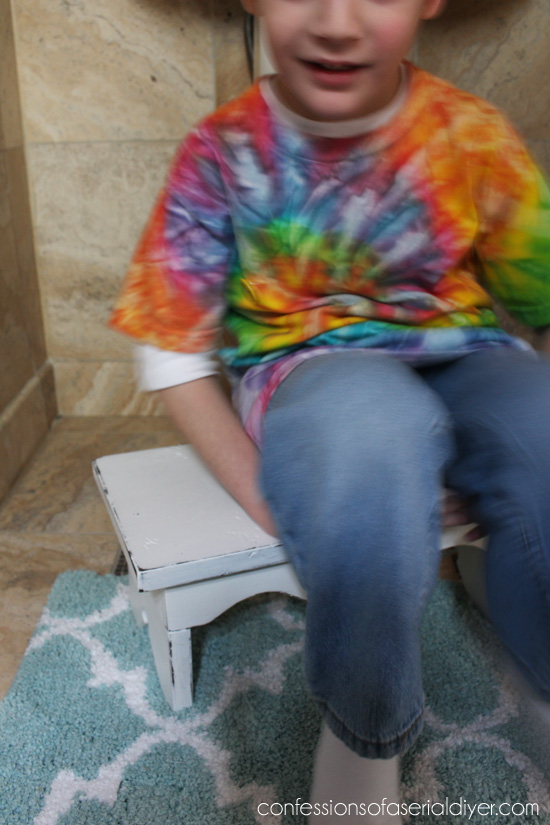
Nice blurry photo…always a jiggling. It was 70’s day at his preschool that day. 🙂
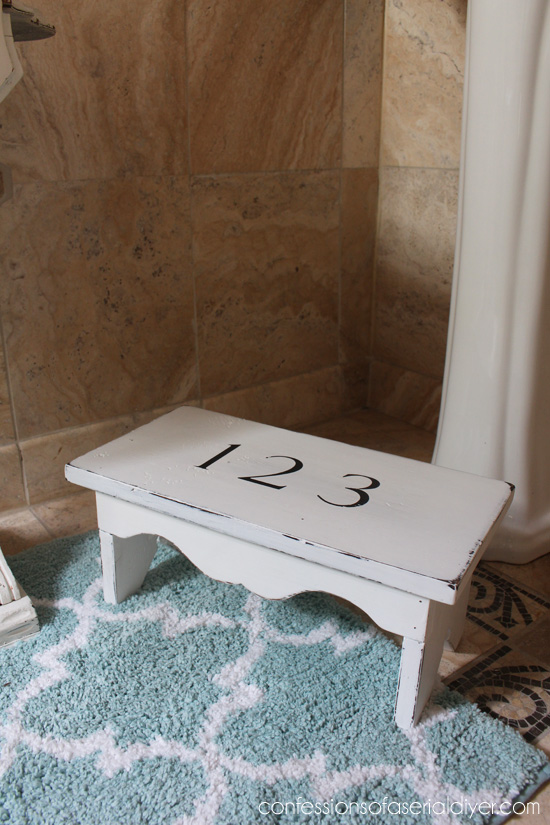
So underneath that dusty crusty film, was a perfectly good little stool!

I’m not sure why I put 1 2 3 on it. I don’t usually number my stools. 🙂
Meet me back here bright and early tomorrow to see what I did with this yard sale cigar box:
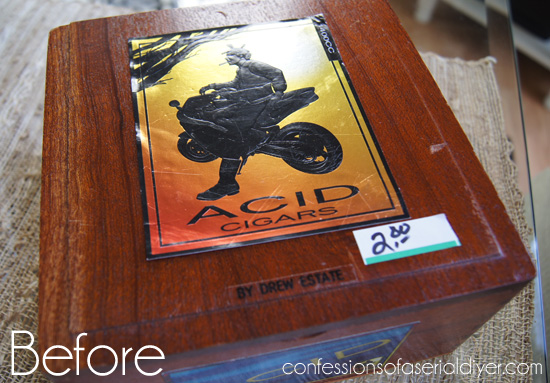
Update: See it HERE now!
XO,
![]()
Don’t Miss a Thing!
If you like what you see, there are several ways to follow along!
Email * Facebook * Pinterest * Twitter * Instagram


Kathy Church says
You are too funny!!
Christy K. James says
It’s all the crusty stool’s fault. 🙂
joyce says
I’ve heard of some people having better luck with contact paper with their Silhouette. I was thinking maybe vellum paper (for scrapbooking) and a repositionable spray adhesive. I don’t know why they call it paper it is more of a plastic, the scrapbook kind is anyway. ……And one of these days I will get around to trying this. Hope this helps, if you try any of these and it works please let me know.
Christy K. James says
I’ve heard of using contact paper too and I think I’ll try that next time. I like the idea of the vellum paper though! Thanks so much for the tips! Maybe I won’t give up on my silhouette just yet. 🙂
Heather @ Viral Upcycle says
Ha.. Stool, honestly I’ve never had the ‘other’ pop in my head until reading this. Thanks for that, I was giggling too! I think the stool is super adorable and good to know the transfers were more difficult than a DIY home type. Have a great weekend, stay warm!
Christy K. James says
Ha ha…I guess its the nurse in me since that’s what we called it and it always makes me giggle. For now I don’t think you’re missing much with the silhouette. Maybe if I figure it out I’ll share. 🙂
Heather J says
Too cute! Least it doesn’t just say #2 😉 nice find for only $2:)
Christy K. James says
Oh my gosh, that would have been too funny!!
Deena says
Very cute bench and perfect for the little ones. I was wondering how the Silhouette would work but guess I’ll stick with your transfer method for my upcoming projects.
Christy K. James says
Thanks, Deena! I’ve only had that one experience with the silhouette, so maybe I just need to practice. I like the handpainted feel of my transfer method though. I feel like the silhouette version was a little too perfect if you know what I mean. 🙂
Donna Huisinga says
Do you do any distressing over the surface? Do you,always spray the piece black first when it has a light finish?
Christy K. James says
Yes, Donna…I always sand across the lettering as it smoothes out any raised areas from the paint. Make sure the paint is completely dry first. If a piece has been sanded back to raw wood or starts out raw wood, I usually spray it with black or dark brown spray paint first so that shows through when I sand it. If it has a light finish, I might go ahead and paint it and then dry brush dark brown/black on the edges to simulate stain underneath or antique it a bit of with dark wax. It really depends on what I
m working with and what look I’m going for.
Donna Huisinga says
Everything you do is lovely. Thanks for the info.
Christy K. James says
Thank you, Donna! XO
Nita says
Cn anyone tell where I can purchase inexpensive stencils?
Christy K. James says
I would suggest looking on Etsy. It’s full of handmade items including stencils. 🙂
Lori says
Hi Christy!
I just love your blog and your style! I have a Silhouette and absolutely love it. Don’t give up on it just yet. Transferring a design is a piece of cake when you use transfer tape. It makes it easy to place your designs/words/letters.
Lori says
And the bench is adorable. Just love it!
Christy K. James says
Thanks! 🙂
Christy K. James says
Thanks, Lori! I won’t give up just yet, just need to practice a bit too. Have you had luck using it as a stencil?
Tina Matteson says
Don’t feel bad! I received a Cameo for Mother’s Day three years ago… and also thought it would revolutionize my crafting. Well, I had such trouble figuring it out that it sat in a corner, mocking me for two years. Last year I met someone who offered to help me figure it out and now I love using it… it can still be tricky but I’m getting better all the time. You can do it!
Christy K. James says
That’s good to know! I’m sure I just need a little more practice! 😉
Marie@The Interior Frugalista says
Interesting reading your comments about using the silhouette machine. I’ve had it on my wish list for two years but like you, I like an imperfect hand painted graphic so I’m wondering if I should make the investment. Love your….ummmm….bench (can’t bring myself to say the S word now).
Christy K. James says
I got mine for Christmas, but I’m not convinced it’s worth the $…yet! I know you can label everything in your house with it, but I didn’t want it to have oodles of vinyl letters everywhere, I wanted to use it strictly for a stencil. I’m going to try contact paper, supposedly it works better. Sorry I ruined stool for you lol! XOXO
Lori says
Yes I made an awesome sign for my mantle at Christmas and seriously all I did was figure out what size I wanted my letters to be and I cut my letters/words out of plain scrapbook paper and used that for my stencil. I placed them where I wanted them and basically taped the corners down and used a dauber to tap the paint on. (I made sure I held the paper down as I went so it wouldn’t get under the paper) I made sure there was not excess paint on the dauber though. You can always go over it again if you need to. I knocked this out in a couple hours. Maybe paper is not the ideal material for a stencil, but it worked fine for me. Just make sure it is not the really thin type. It was more like card stock weight. The letters are just perfect enough without being perfect, if that makes any sense! I wish there was a way for me to post a picture so you could see.
Christy K. James says
Ooh I never thought to use cardstock! Duh! I just saw your pic on my FB page and had to come read your suggestion because your sign turned out fantastic! Thanks for sharing! 🙂
Lori says
There is a fantastic blog, http://www.silhouetteschoolblog.com/ that is wonderful and full of information about anything to do with Silhouette. When you get time you should check it out. Who knows, you may come to one day wonder how in the world you ever got along without it! 😉 Have a great day!
Christy K. James says
Thanks, Lori! I appreciate it 🙂
Celia says
We have a similar “bench” my husband’s grandfather built. I had fish transfer decals on it to compliment our “nautical” fishing sun room. We have since moved & I recently painted it white also. We have so much snow this year I am craving color, so I am re-thinking painting it. I love all your make overs. Do you ever feel the need for big color?
Christy K. James says
Its fun to be able to change things up with just a little paint isn’t it? I use a lot of neutral colors because they sell easily in my booth, but I did just turn a headboard into bench and painted it a gorgeous aqua blue. It was really nice to use color for a change! I’ll be sharing that this month also. 🙂
Mari says
Thanks for the homest evaluation of the Silleuette. I almost bought one because of all of the glowing reports. This is the first review I have seen that showed some of the negative aspects of it. Again, appreciate seeing some of the ‘cons’.
Christy K. James says
Hi Mari, Just keep in mind that I have only used it one time, so my review is totally inconclusive. If you like to print words or letters in vinyl to stick on signs, jars, bins etc, its great. I was hoping to make adhesive “stencils” with it and the vinyl is very thin and flimsy. I think that’s where my complaint rests. I’ll be trying contact paper next as I have heard it works better. 🙂
Shirley Perez says
Love your latest project and the ones from each day, for that matter. I have a question. I’m new to painting furniture and my projects all have brush strokes, which I hate. How do you paint without leaving brush strokes. I haven’t used the Behr paint, I’ve been using Annie Sloan Chalk paint. Don’t know if that makes a difference. Thanks.
Christy K. James says
Thanks, Shirley! With chalk paint you will have some brush strokes, but there are a few things you can do to minimize them as much as possible. #1 Use a good quality brush, I love Purdy brushes(Home Depot). #2 When I use Annie Sloan paint, the first coat goes on slick and smooth, but the second coat goes on a bit thick sometimes and not so easily. When this happens, I pour a little paint into a cup and add just a tiny bit of water to it, and it goes on smoother with less brush strokes. #3 Are you sanding after? I sand with 220-300 grit sandpaper (I buy sheets and cut them into four, then wrap a piece around an old sanding sponge) to get a super smooth surface. I might use 150 grit if I want a lot of distressing. Hope these suggestions help! 🙂
Lisa says
I’ve noticed that you use white paint on everything. Your projects give us great ideas to repurpose/revive a piece but just wondered why white all the time? Obviously we can use whatever color we like but just curious.
Christy K. James says
Great question, Lisa! I use a lot of white and off white mostly because it sells well, but those neutrals are also very timeless. I did just turn a headboard into bench though and it’s not white or off white…it’s a beautiful color! I’ll be sharing that the week after next. 🙂
Julie (Being Home) says
Ha! Love the stool and the ummm…numbers on it. lol Yep, we have the same sense of humor in my home. My little guy made up a song called, “Poo-poo head, fart butt”. Why? Ask five year old boys. lol He even made a video in photo booth using the mirror effect. I did not know about the video until a few days later, when I found it one night. :/ I will have to admit, I was cracking up! 🙂
Christy K. James says
Ha ah aren’t they so funny? I have two boys, 12 and 4 and they crack me up sometimes. 🙂
Sherri S. says
I love this makeover. I think the numbers are perfect too! 🙂
Have can happy week…
Sherri
Beverly Farkus says
Flat or satin paint? I have a couple little stools I want to paint have this seemed like an easy project to start with. Love your blog!
Christy K. James says
Hi Beverly! Thank you! The sheen I use depends on the condition of the stool. If the stool is unfinished or painted, then a satin latex is perfectly fine. If the stool is stained and has a poly finish, I prefer to use chalk paint (to save on sanding or priming), in which case I make my own using this recipe: https://www.confessionsofaserialdiyer.com/sewing-stool-redo-chalk-paint-recipe-revealed/ and follow with a wax coating, and I would choose a flat latex for that recipe. I like the look of the chalk paint with the wax finish better than the latex, but that’s just a personal preference. Hope this helps and good luck, a stool is a perfect project top start with! 🙂