Hey there, awesome Friends, and welcome to my favorite day of the month: Trash to Treasure Tuesday!!
I know I share trash-to-treasures all the time, but on this day I get to bring you four more from my treasure maker friends as well! I am always excited to see what they’ve done. Look for the links to their makeovers at the bottom!
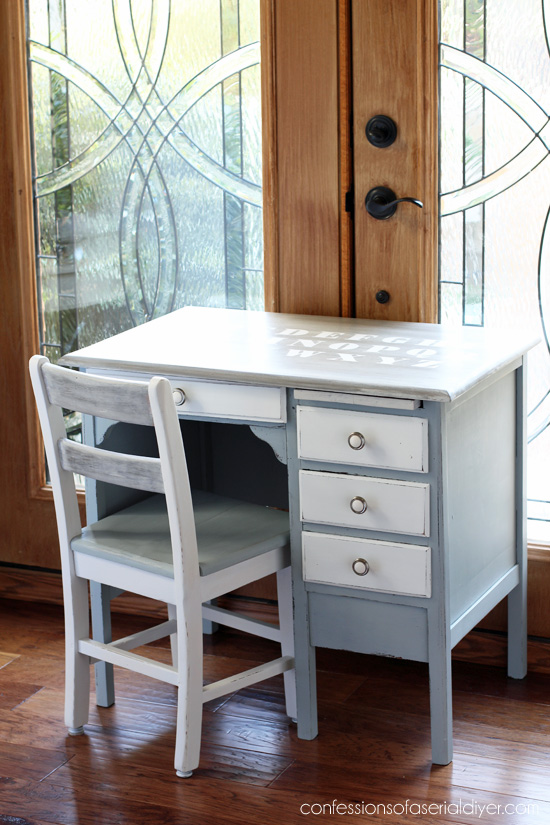
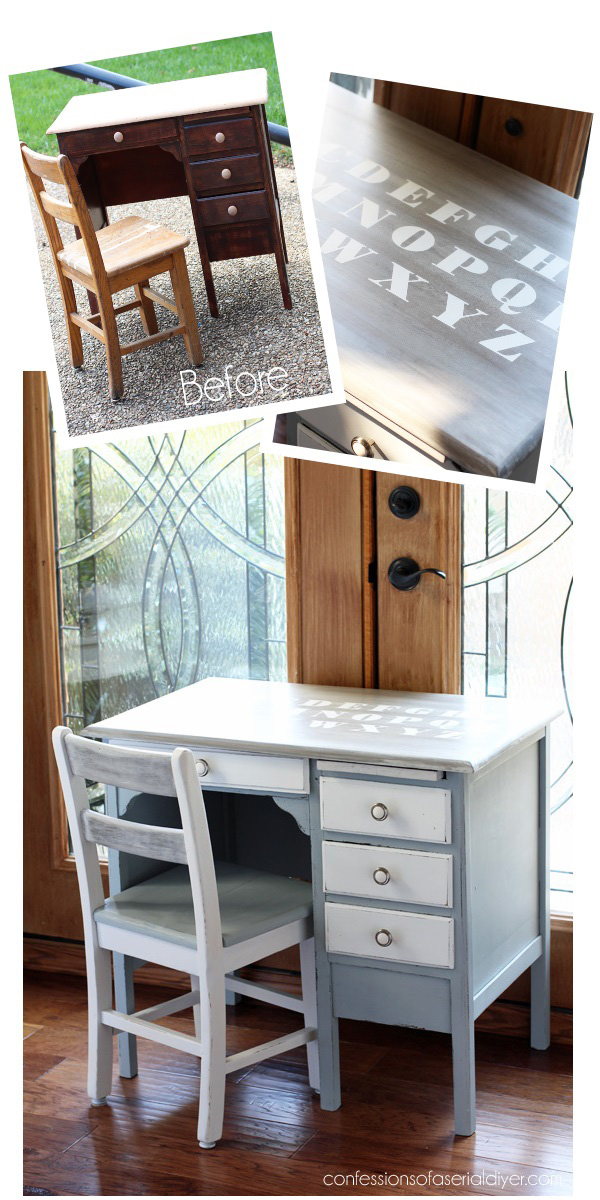
I’m sharing this child’s desk that I scored for $5 on the only yard sale shopping day I had this Summer. (I still cannot believe that myself!)
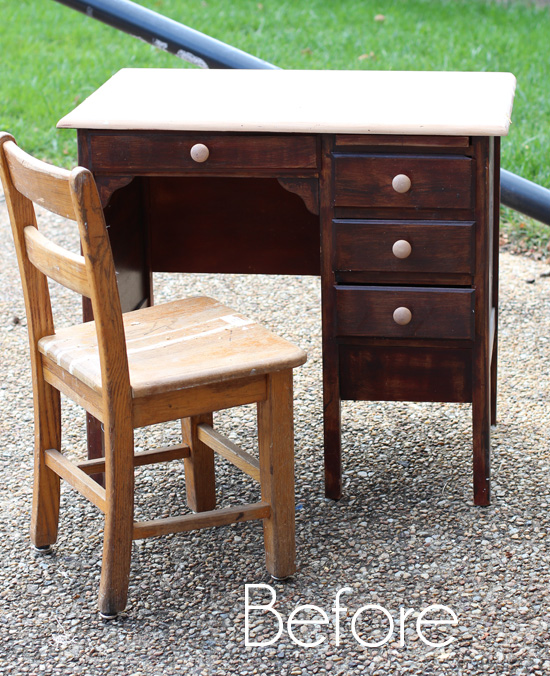
It is very petite and I was keeping an eye out for a chair to go with it when I realized I already had the perfect chair in my stash!
I’ve included a few affiliate links so you can find the products I use!
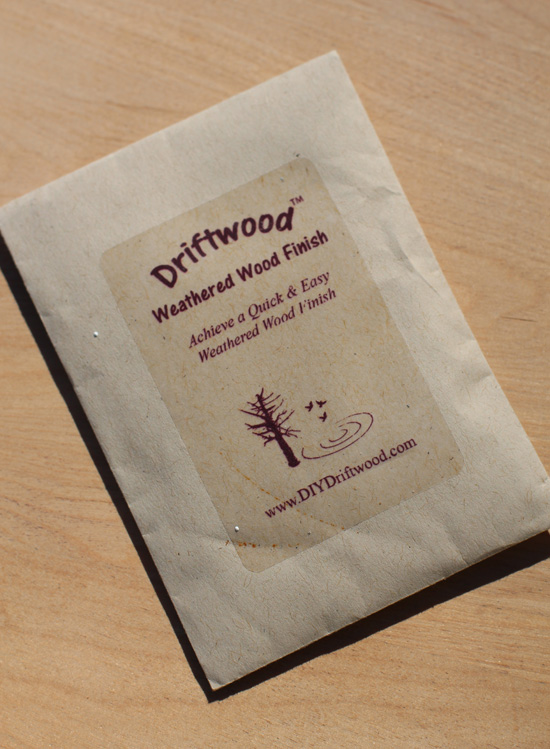
In the photo above I had already sanded the top of the desk. The wood was pretty so I knew I wanted it to show, but I decided to try a driftwood stain this time. I found this packet of Driftwood Weathered Wood Finish that I had received in one of my goodie bags from one of the Haven Blogging Conferences I attended:
Only when I applied it, it looked more like this:
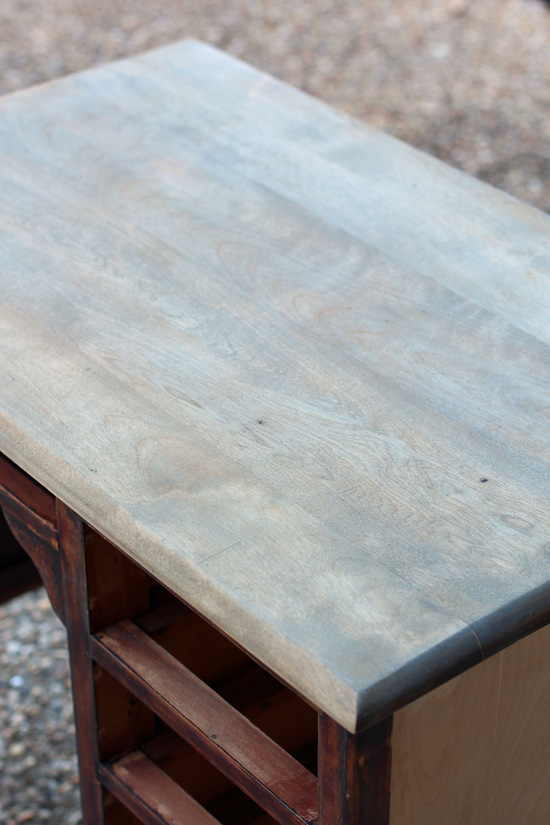
I guess if I was going for the “I left this out in the back yard for a year” look, I totally nailed it. I decided the driftwood look was not the look I wanted after all, but do you know what it was perfect for?
A base for the white-wash treatment I give old fence pickets! I started adding white latex, then immediately wiped it off.
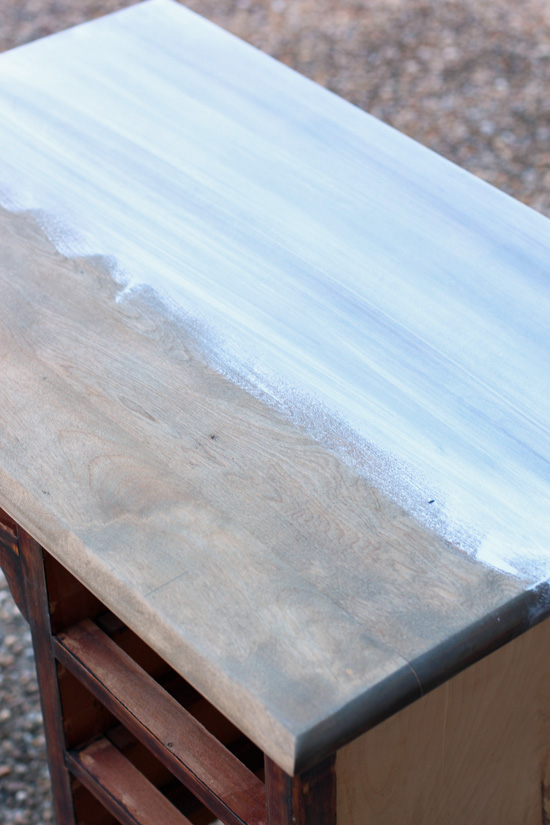
The dry wood was really soaking up the paint so I went back over it with a clean rag and a little water and blended away some more of the white to create this beautiful finished surface:
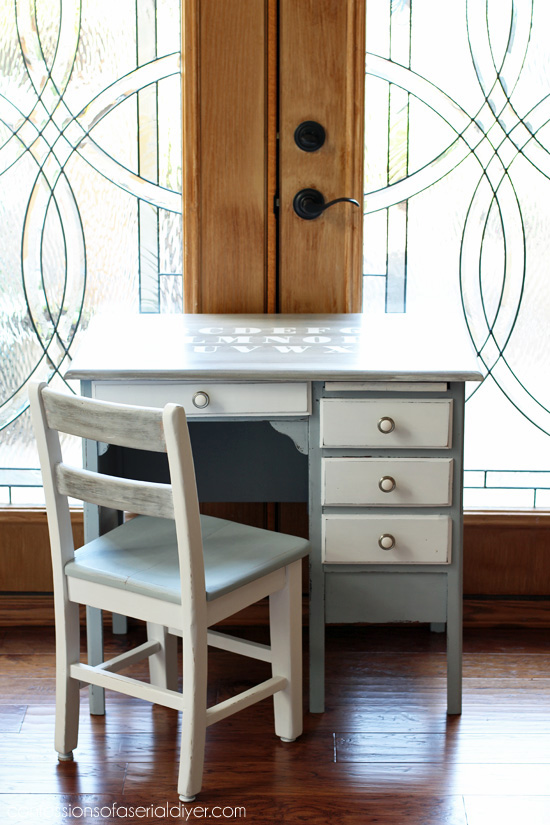
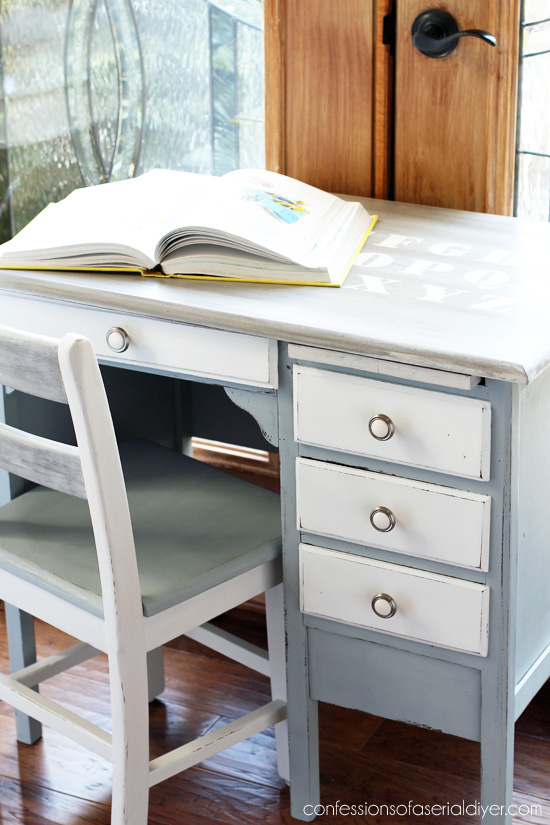
And here is the whole set:
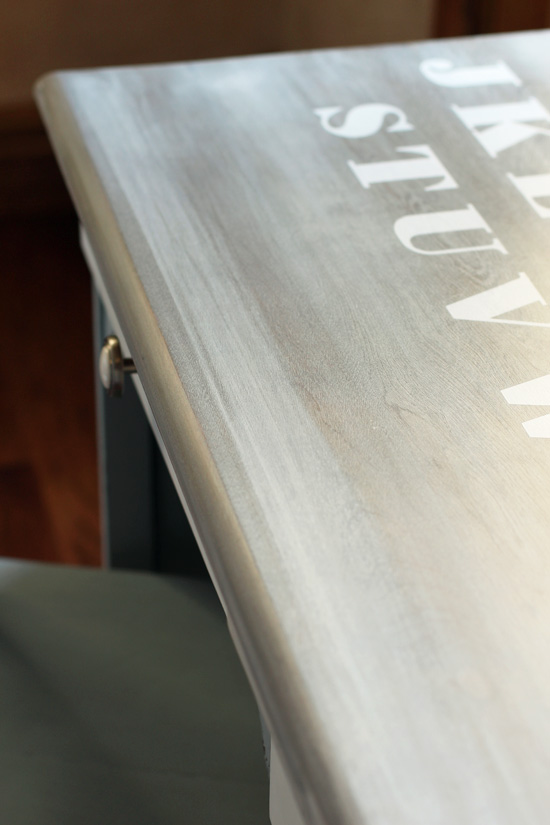
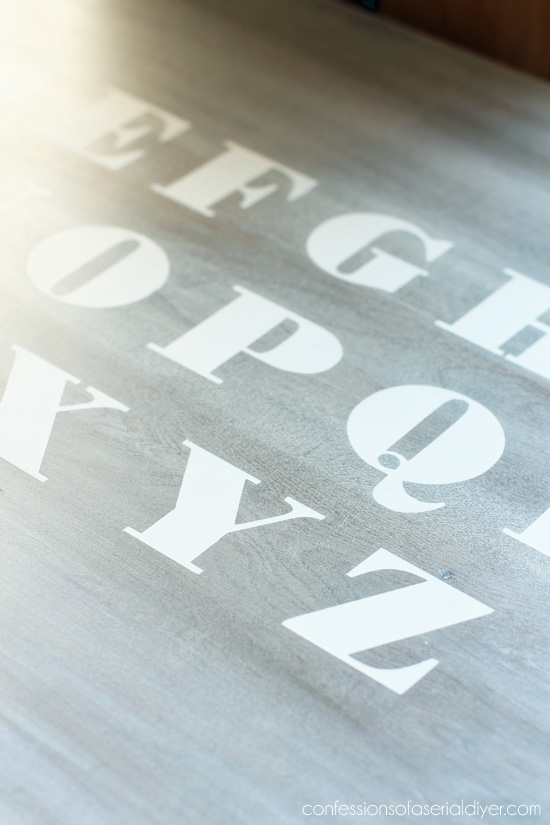
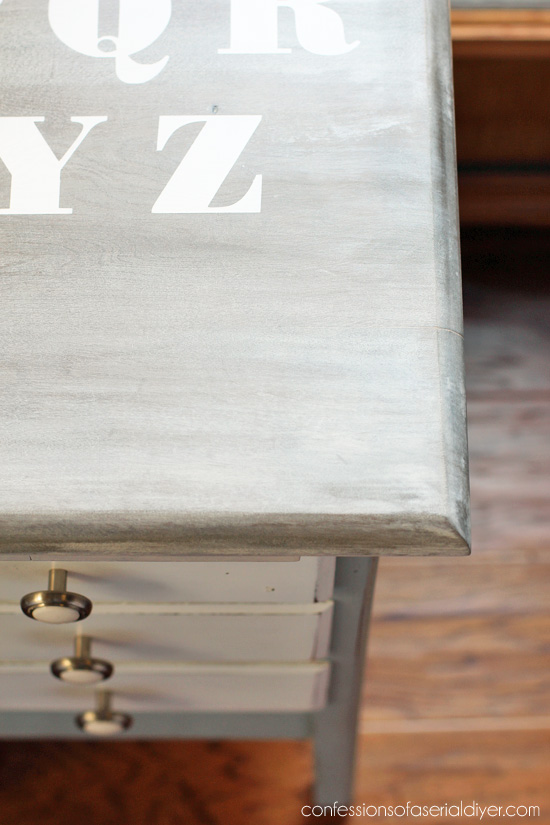
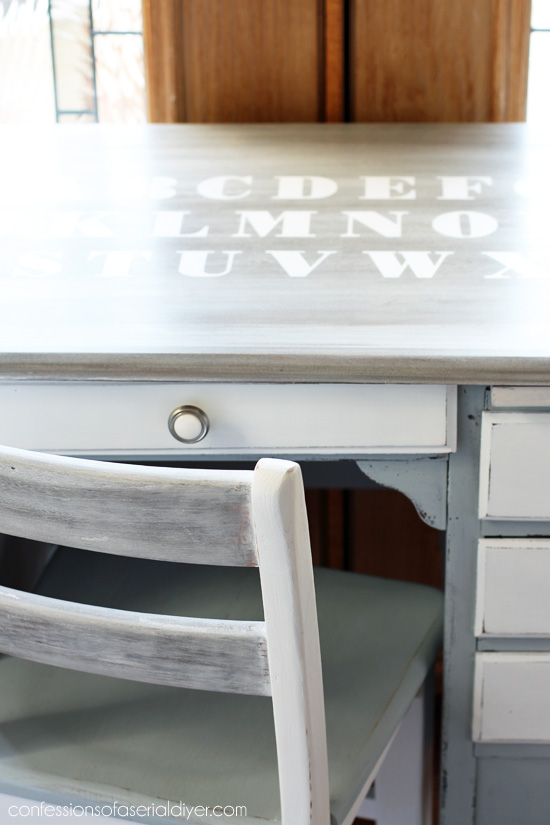
The top looked like it needed something, so I decided to add the alphabet on the top:
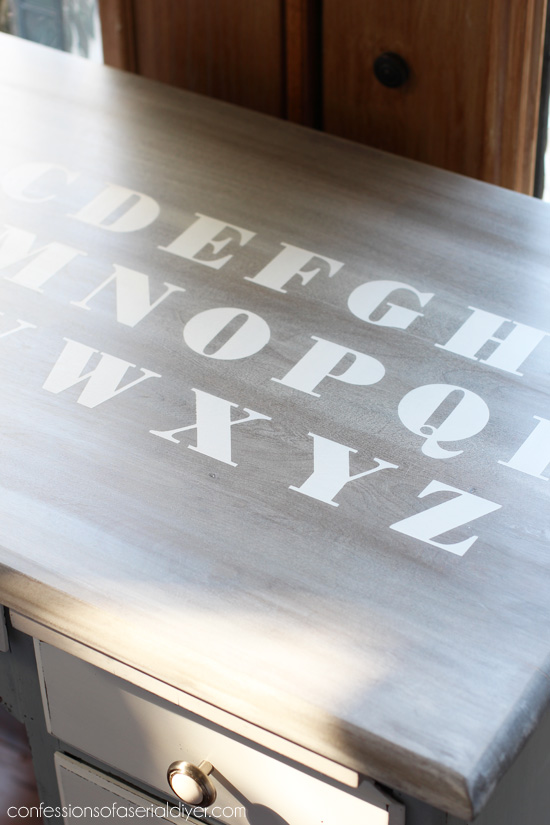
I love that the finished top shows the beautiful wood grain below.
To add the letters I used my silhouette machine and contact paper:
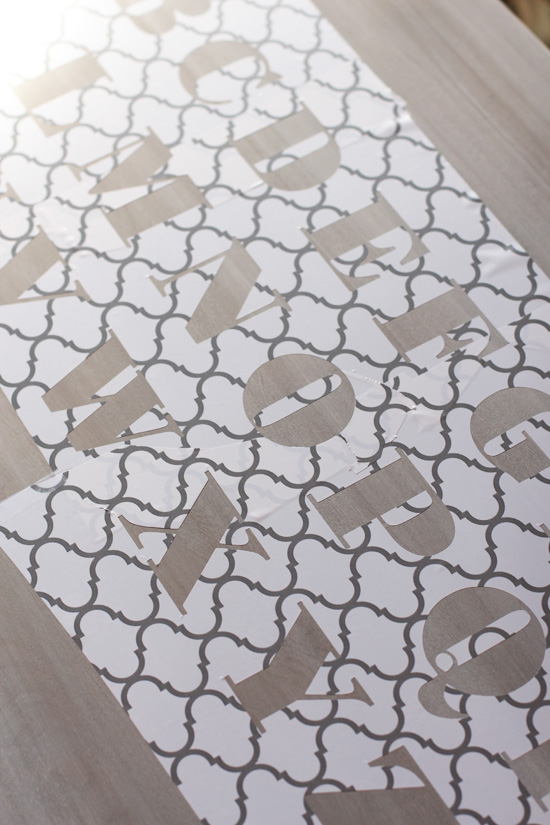
Using contact paper is not the easiest method, but I’m cheap and I already had it on hand.
If you don’t have a fancy machine…no problem! See how to transfer letters old school style HERE.
I painted the letters in using two coats of chalk paint in Ultra Pure White. I waited for the paint to dry before removing since I had to remove all the “floating” pieces in the center of some of the letters as well. This tool makes them a breeze to remove.
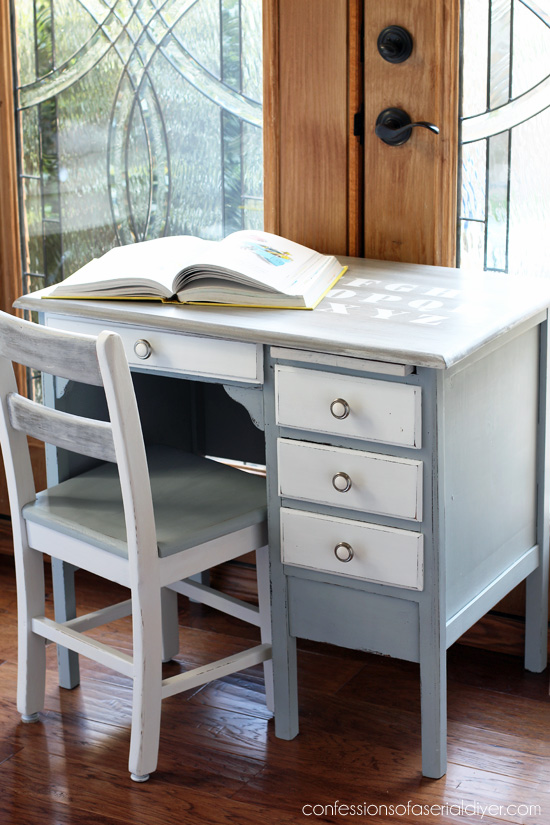
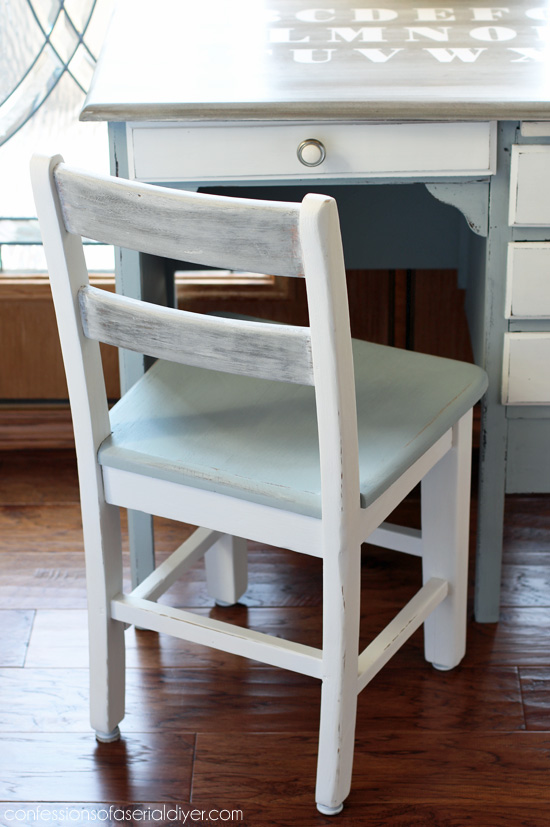
I used Gray Sparrow made into DIY Chalk Paint for the base and the seat of the chair. I used Ultra Pure White for the drawers and body of the chair. I did the same weathered wood finish on the rungs on the back of the chair.
I only mixed half of the packet of Driftwood Finish and it stores for three months, so I am excited to have a way to achieve that weathered wood look on newer wood, for the base of my white-wash finishes!
I sealed everything, including the top, with Annie Sloan’s clear soft wax.
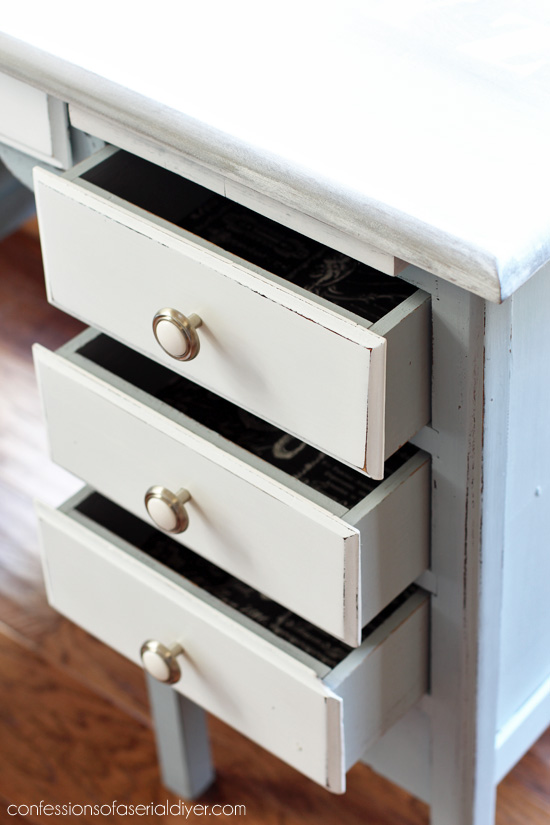
The knobs were left over from the $5 Yard Sale Crab Dresser that I removed two drawers from. They worked perfectly!

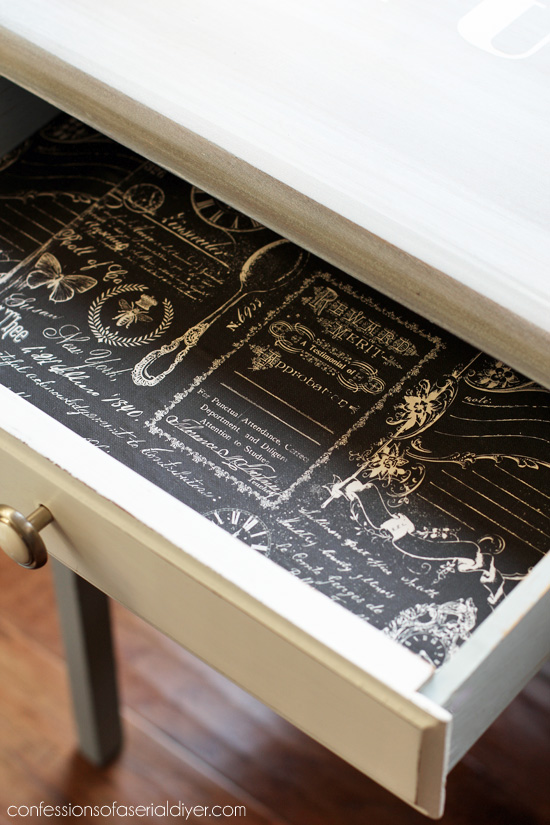
I lined the drawers with scrapbook paper:
This set was in need of a lot of TLC. The veneer on one side was warped:
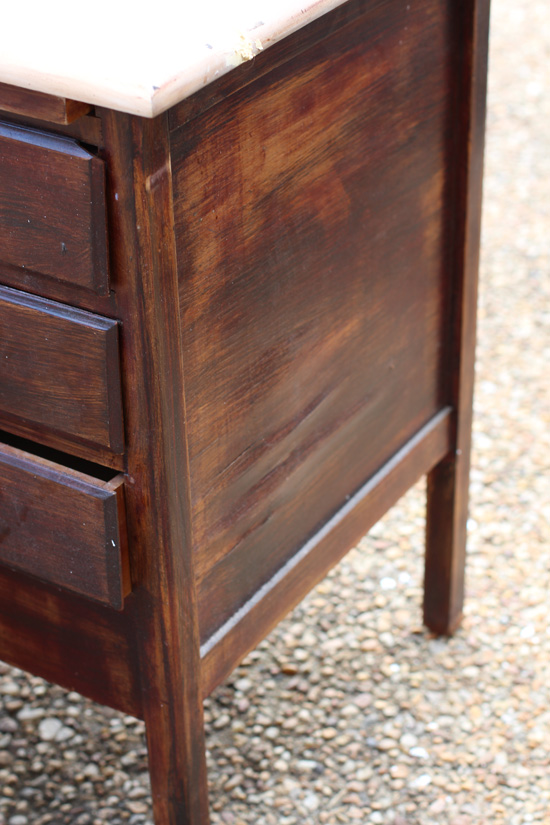
I decided to removed it and luckily it came right off: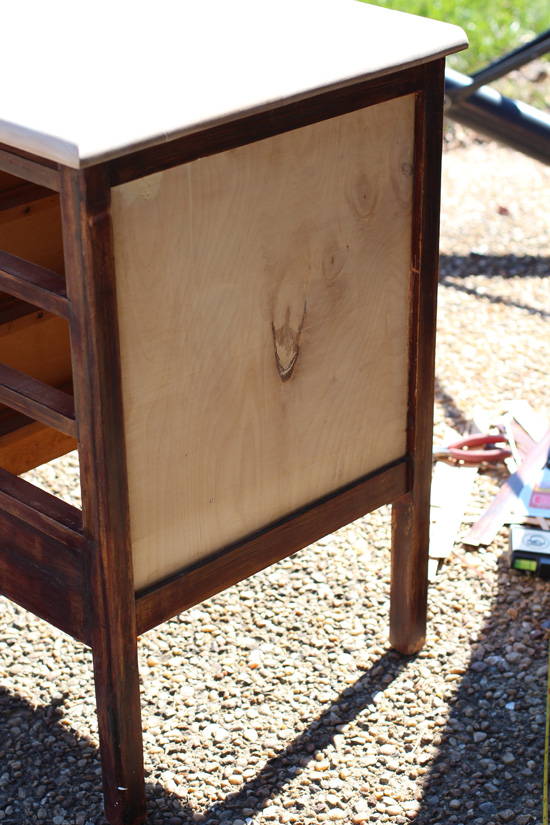
I filled in a couple of areas with wood filler and just painted the side.
The sides of the drawers were covered in crayon, so they got painted as well.
This little set came a long way!
My friends have their own makeovers to share today too! Check them out at the links below!
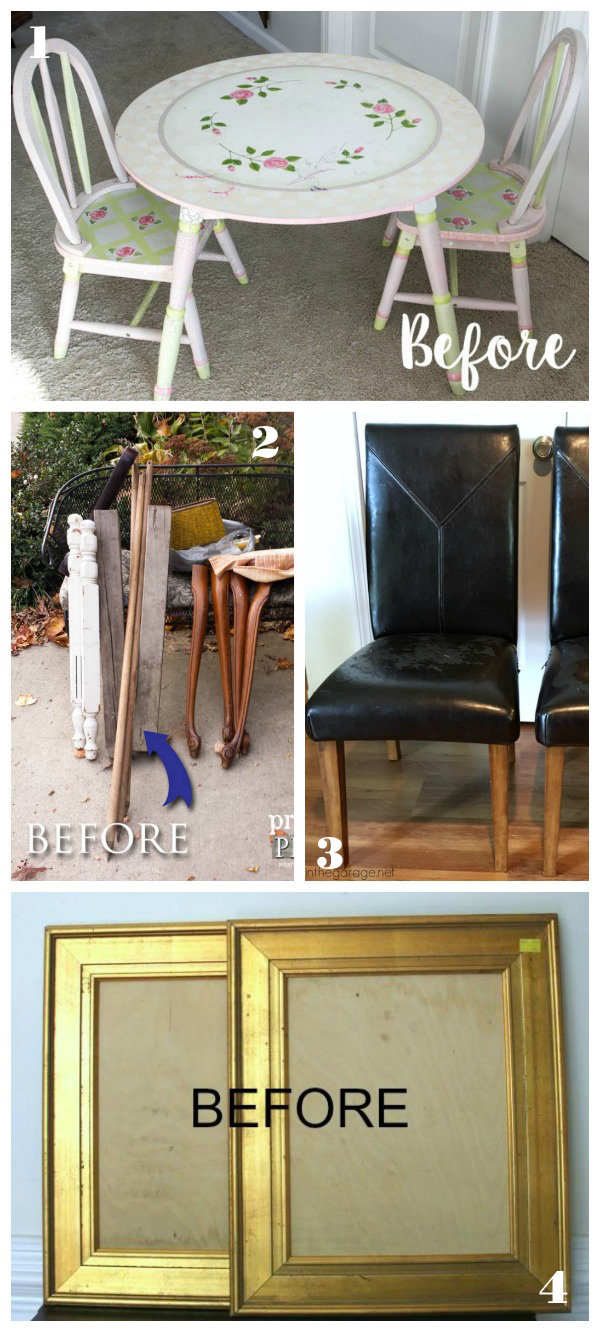
1. Bless’er House 2. Prodigal Pieces
3. Girl in the Garage 4. Artsy Chick’s Rule
Want even more awesome makeovers?? You can visit all of my Trash-to-Treasure posts from this series HERE.
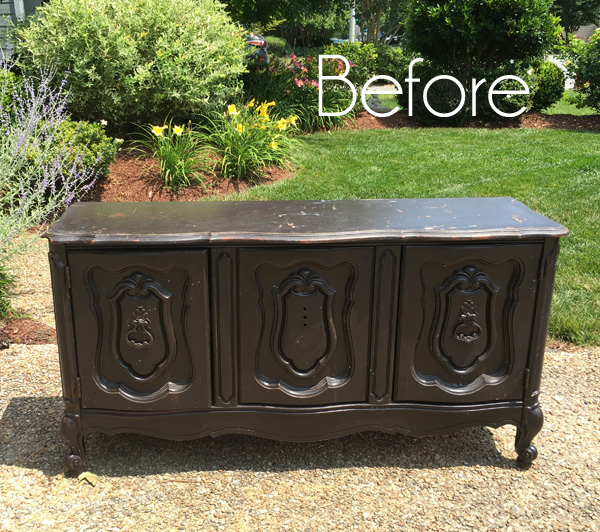
And you may remember the buffet I found at the same yard sale as this desk, also for only $5:
I’ll be back next week sharing how I updated this vintage coffee table (again):
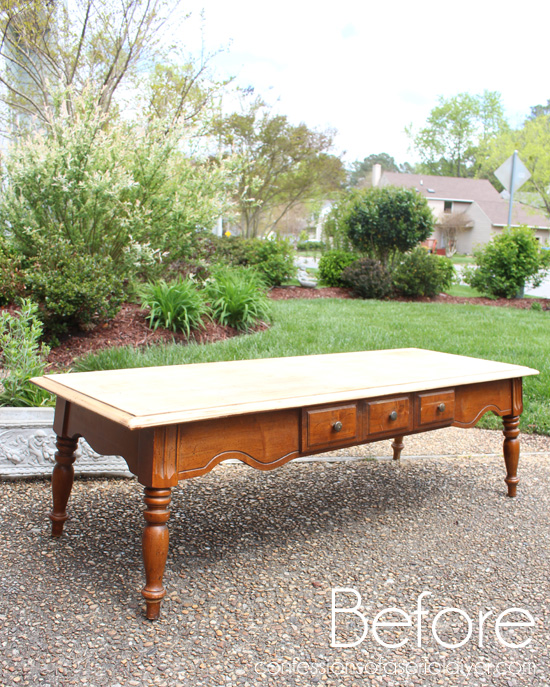
UPDATE! No need to wait, it’s available now HERE!
XO,
![]()
Don’t Miss a Thing!
If you like what you see, there are several ways to follow along!
Email * Facebook * Pinterest * Twitter * Instagram


Larissa ~ Prodigal Pieces says
Woot! That is a completely adorable set, Christy, and you can’t beat the price! Love the washed look and that old-school stenciling. Bravo!
Christy says
Thanks, Larissa! The price was pretty amazing, and anything was an improvement! XO
Summer says
Nice work! The desk is gorgeous ♥
Christy says
Thanks so much, Summer! So glad you like it! XO
Debrashoppeno5 says
The little desk set is just perfect for some lucky child. It is so adorable.
Christy says
Thanks, Debra! SO glad you like the result! XO
Paula@SweetPea says
It looks wonderful after its makeover and its the perfect desk for a young child’s room. I like how you added the alphabet to the top. That’s a nice touch.
Christy says
Thanks so much, Paula! Usually children’s pieces go quickly, so hoping for a quick sale! XO
Anita Engel says
This child’s desk is so cute and elegant at the same time! How do you get the stencil to look so perfect? I have problems with bleeding through.
Christy says
Thanks, Anita! Mine don’t always turn out perfectly either, so I do usually have to touch up with a very fine script/liner brush. One thing that does help though is I use a smallish brush to apply the paint, and I try to brush away from the edges of the stencil. XO
Jen @ Girl in the Garage says
What an update for that sad little desk and chair! I love the new look with the driftwood stain and whitewash. Some child will be thrilled to get this desk, I know it!
Christy says
Thanks, Jen! I think anything would have been an improvement lol. Children’s pieces usually sell quickly so hoping this does too! XOXO
Marcie Lovett says
Made for each other! That’s some stash you have, Christy. While I admire the paint job and all the work you put into it, I adore the little pull-out on the right. Such a sweet set, it’s going to fly out of the shop.
Christy says
I agree they work so well together! And I didn’t get a good photo of that pull-out, but I did the finish the same as the top…such a cute piece to start with and a lucky find! XO
Annie (Canada) says
What a cute little desk set. Some kiddo is really going to love drawing at that table.
Christy says
Thank you, Annie! I hope so…it had so much charm already, and a fun piece to work on! 🙂
Marie from The Interior Frugalista says
Another sweet makeover, Christy! Love the driftwood finish from that powder as well as the look after applying the white. Must remember this technique! Adding the alphabet to the top was a clever idea and looks so good. Another piece that will probably sell quickly in your booth.
Christy says
Thanks, Marie! That driftwood stain is awesome! XOXO
Nancy @ Artsy Chicks Rule says
This turned out so great Christy!! And I love that Driftwood stuff, obviously,lol!!! 😛
xoxo
Christy says
Thanks, Nancy!! That driftwood stuff is awesome! Funny that we both did a project using it lol! ????
Maggie says
The job you did is so nice on this desk and chair, they invite a wee one to come sit, draw, read and dream! I love it! Your tips and directions are always so good! My pins of your pieces is my how-to sourcebook. Thanks for your generosity and honesty!
Christy says
Thank you SO much, Maggie! I truly appreciate your very kind words! Thank you for following along with me!! XO
Kathy says
Girl, I hope you never get tired of doing your thing…..your inspiration would be sorely missed!! When I look at some of the “Before” pieces, I say to myself, “What’s she gonna do with THAT?” Then I click and marvel at your creative insight, then start my search for something similar!
Christy says
Aww your sweet comment made my morning, Kathy! Thank you!! XO
Nancy says
Great work on the desk! I just passed one up at a yard sale this weekend. Kicking myself!
Christy says
Thanks, Nancy! Oh that stinks…I regret not picking things up all the time. There must be a better piece out there waiting for you! 🙂