Friends, y’all are so amazing! Thank you so much for your patience as I find my way through this moving process! Most of you follow me for my thrifty makeovers and I appreciate you letting me share what’s going on with the house. Rehabbing forgotten treasures is my passion though and I cannot wait to put my new organized workspace to good use.
Since I got the hot mess of a garage under control (see it HERE if you missed it…super exciting stuff!), I have just been working on super unfun (new word??) things like working my way through more boxes. Woohoo!!
So today I thought I would pull another old favorite from the archives to share! 🙂
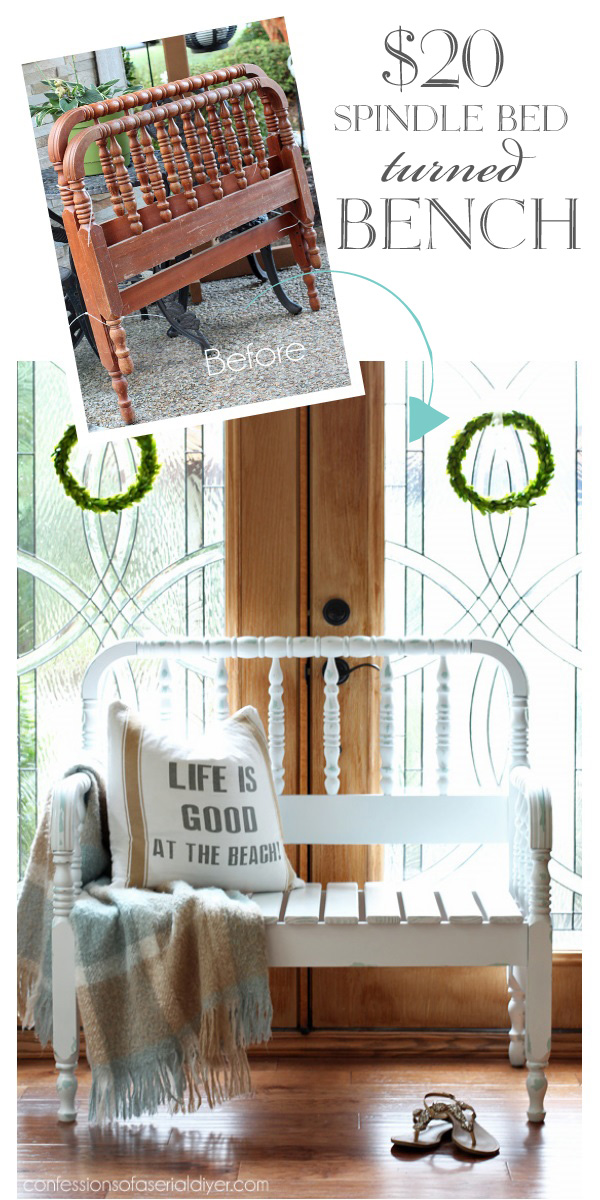
Do y’all remember my spindle headboard bench?
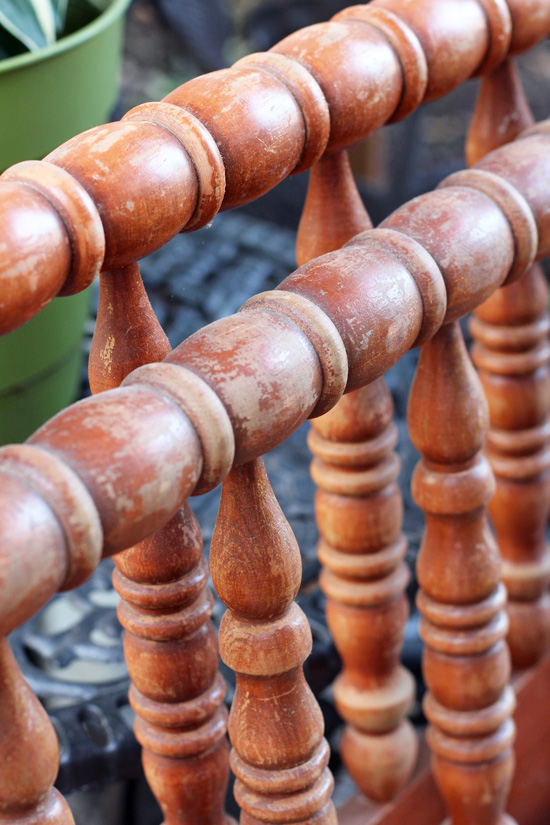
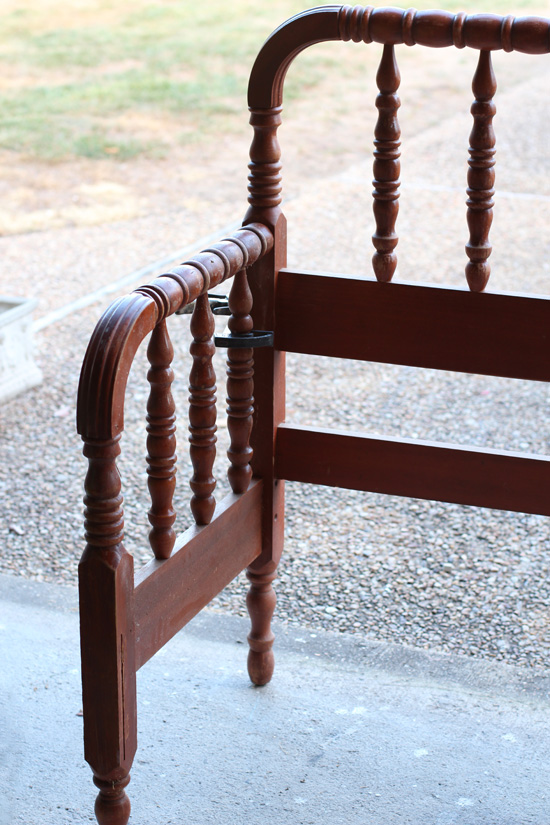
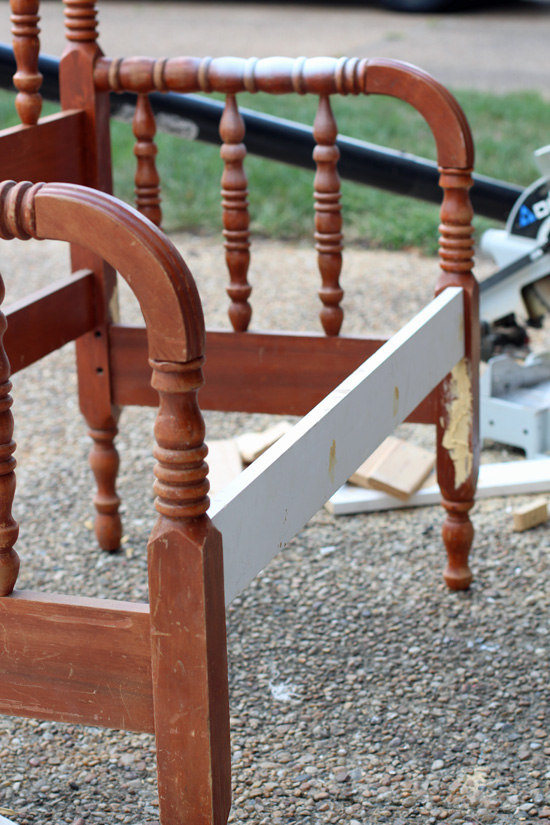
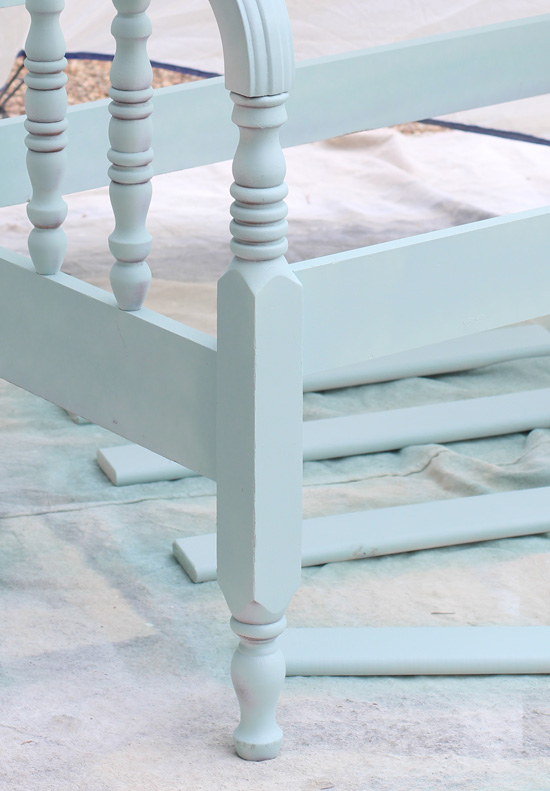
This spindle headboard and footboard sat in my stash for at least two years:

What held this makeover up for so long was all those spindles! I just wasn’t looking forward to painting them.
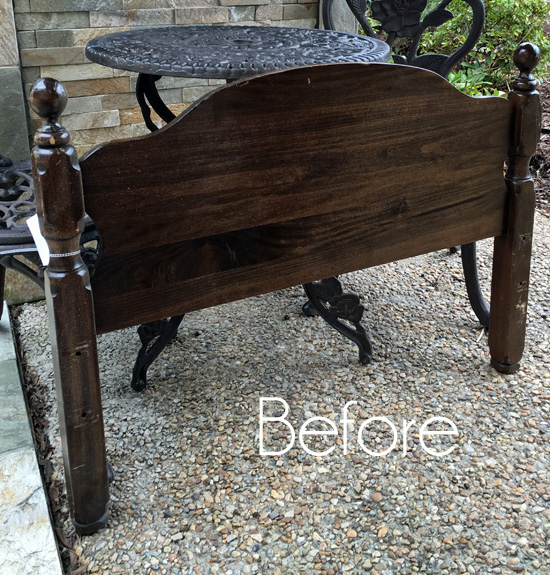
Plus the finish was terrible:
But it did finally get its chance to shine:
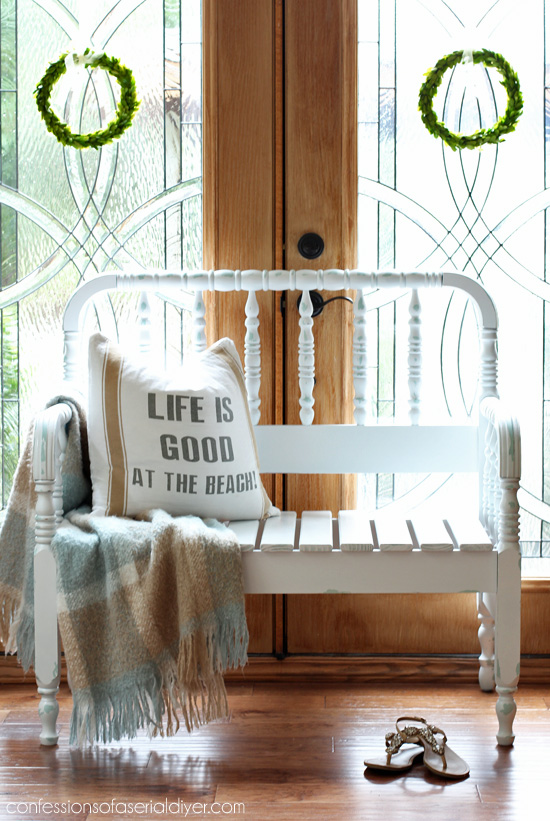
I originally painted this for one of our Themed Furniture Thursday posts and the theme was layers.
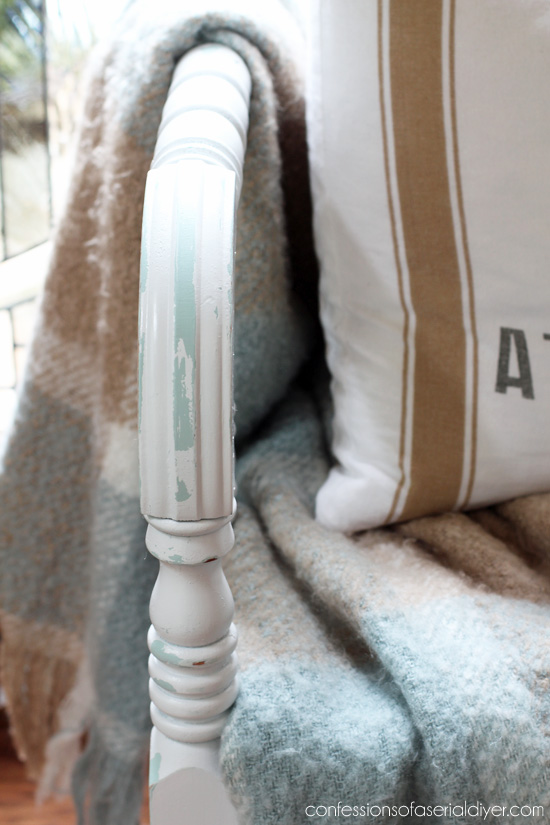
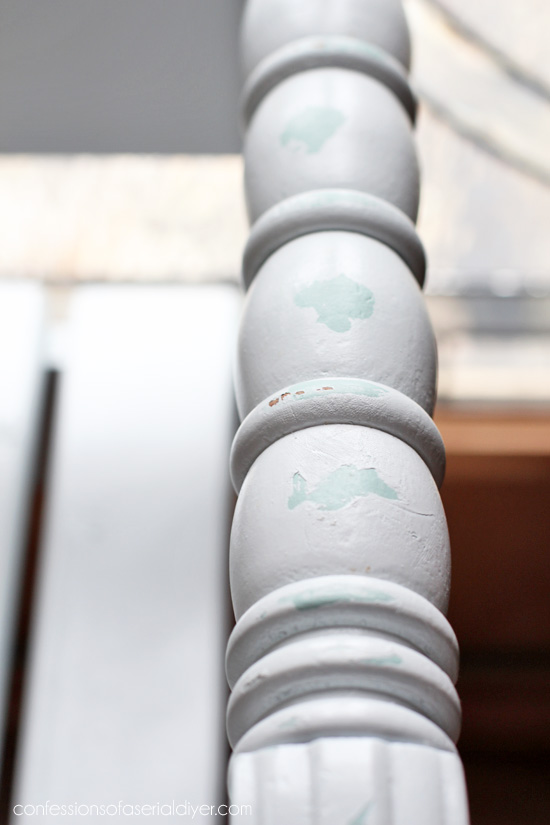
Can you see the layers? NO? Let me take you in for a closer look:
I’ve added a few affiliate links so you can find the products I used.
And how did I combat all those spindles??
I cheated a little…meet my arsenal:

Oh yeah…spray paint all the way for the win!
I’ve made a few headboard benches and shared them HERE, HERE, and HERE. This one was made pretty similarly with just a couple adjustments for the spindles.
I started by cutting the footboard in half using my old miter saw:
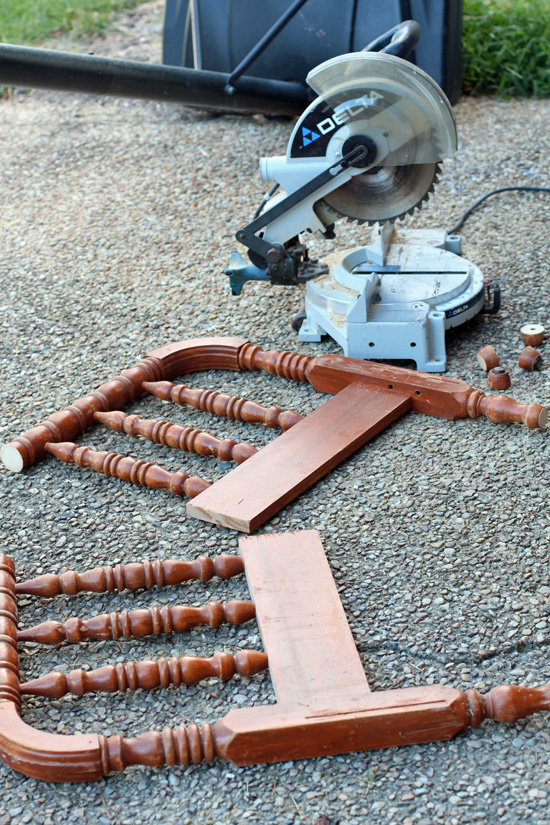
Then I had to cut some height off the legs on my new side pieces…
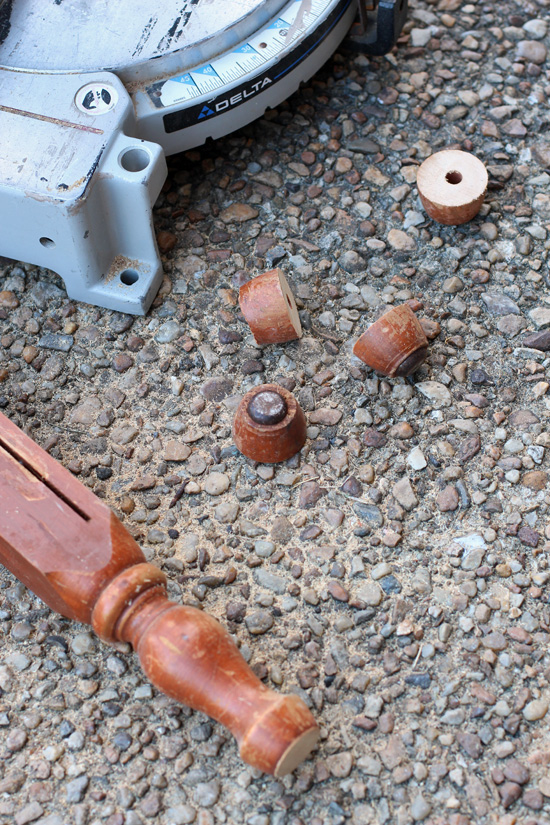
So that the top of the sides would meet the back at just the right place…
I clamped the sides to the back as pictured above, making sure everything was level as I went. (You’ll want to be sure you create your bench on a level surface as well.)
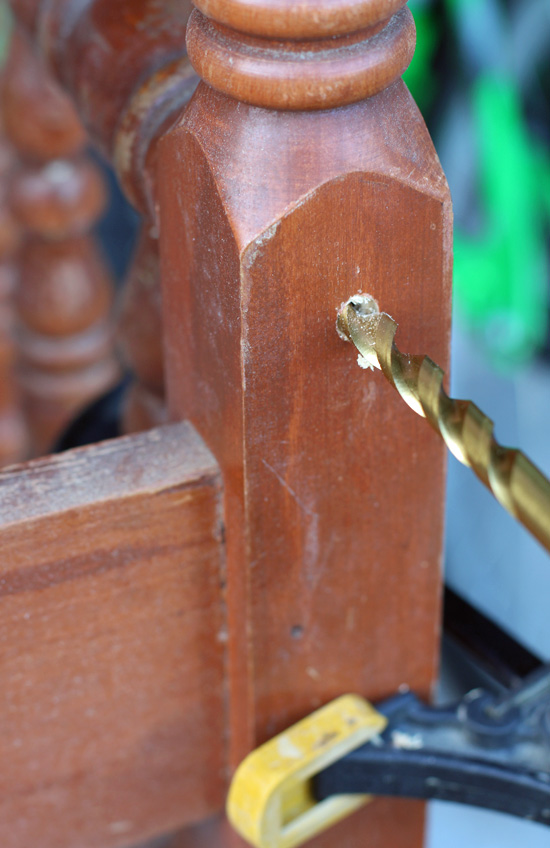
I usually connect the sides to the back using my Kreg Jig Jr, but I wasn’t able to use that here since the side pieces were spindles and not flat. So from the back, I pre-drilled a hole through the back and into the spindle at the top of the side where it meets the back, using a 1/8″ drill bit:
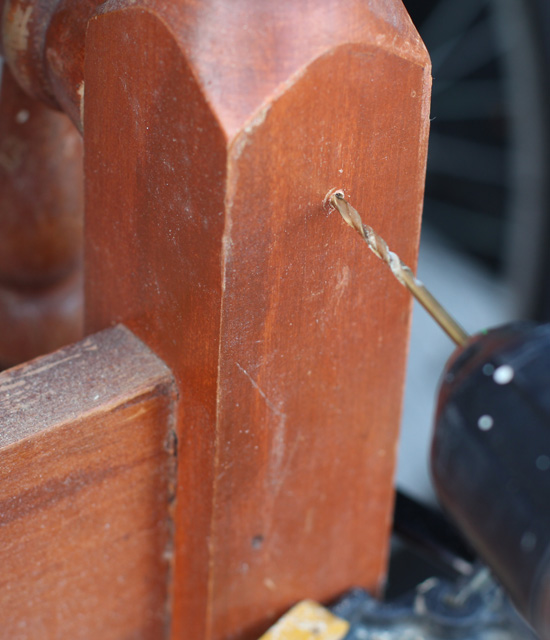
I followed with a 3/8″ drill bit just barely into the surface there, to allow me to countersink the screw a bit.
Then I screwed the back to the sides using a 3″ wood screw.
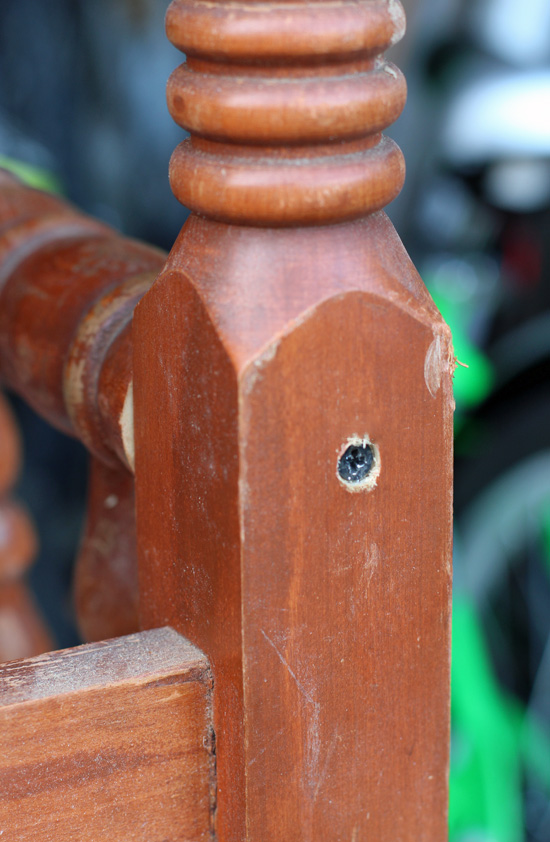
Then I was able to go back and fill in the holes with Elmer’s Wood Filler, completely hiding them.
After attaching both side pieces, I attached a front piece to connect the two across the front, making sure it was level with the back piece. That is what the seat slats will sit on. I did use my Kreg Jig Jr for that piece. (See how easy that is to do HERE.)
And I filled in all the holes, and sanded them with 220 grit sandpaper when they were dry.
To make the seat slats, I found these slats from my son’s old twin bed that were perfect:
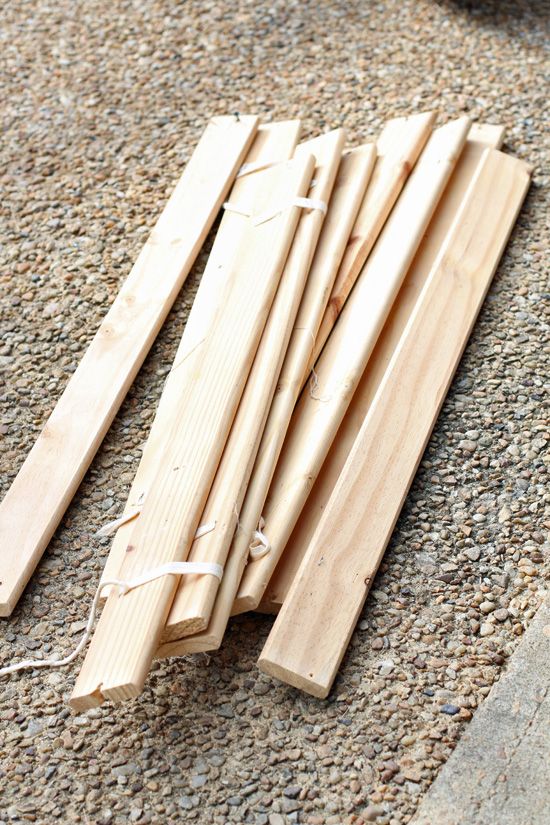
I cut them to fit with my miter saw, but decided to start painting everything before attaching them to the bench.
I started with Zinsser Bulls Eye 1-2-3 Spray Primer. It took two cans to do all the slats and the bench.
Then I followed up with a coat of Rust-oleum’s Robin’s Egg Blue spray paint:
I kinda loved it at this point, but stopping here would not have added the “layers” needed for this theme, so I kept going by adding petroleum jelly to all the areas I didn’t want the next coat of paint to stick to. Then I followed up with a couple of coats of Rustoleum’s Universal All Surface Satin white (my favorite spray paint for furniture)…
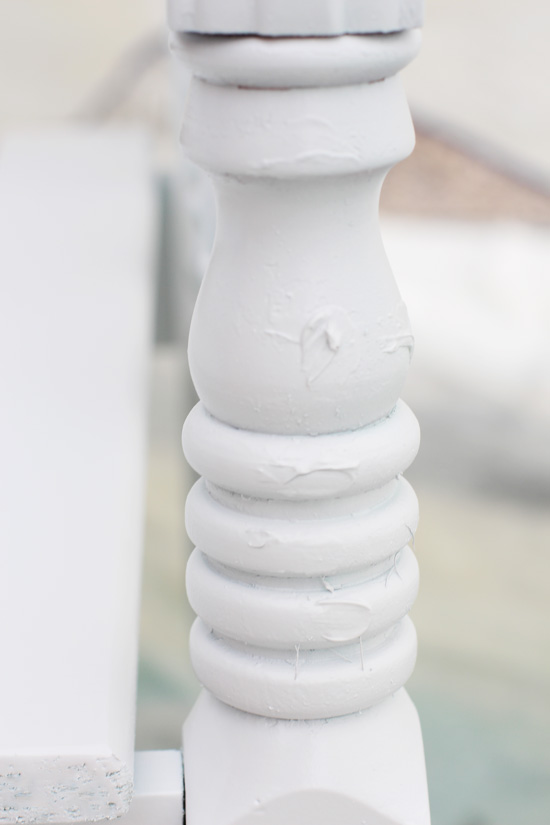
You can see the petroleum jelly smeared on under the paint in that photo above.
Then when the paint was barely dry, I took a clean soft cloth and wiped all the areas where I had applied the petroleum jelly, to reveal the blue beneath.
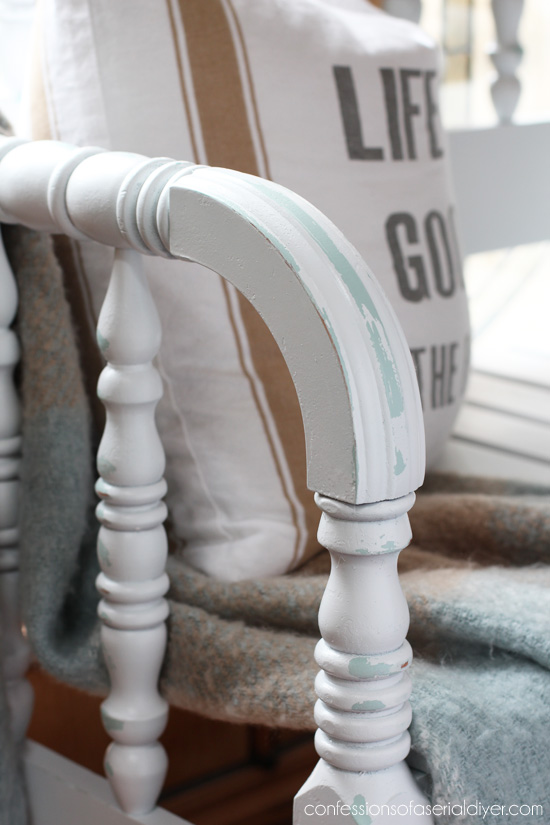
I love this technique!
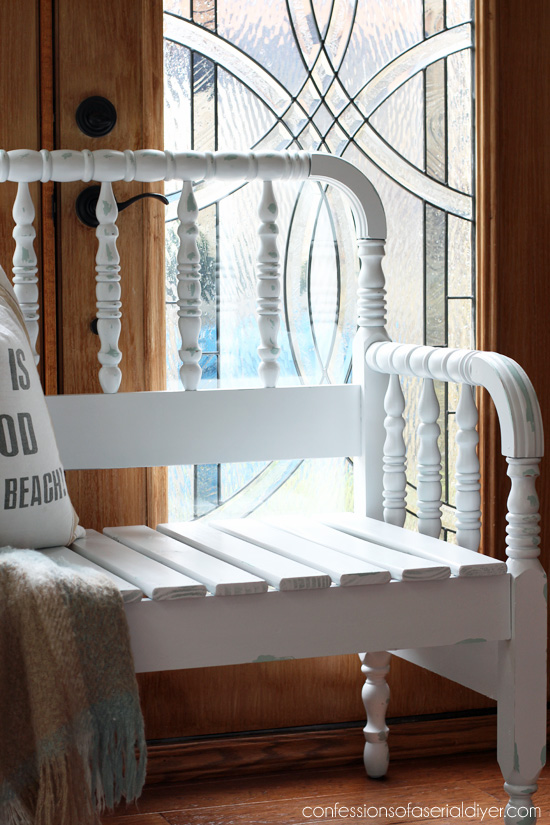
I added the slats using wood glue and my nail gun.
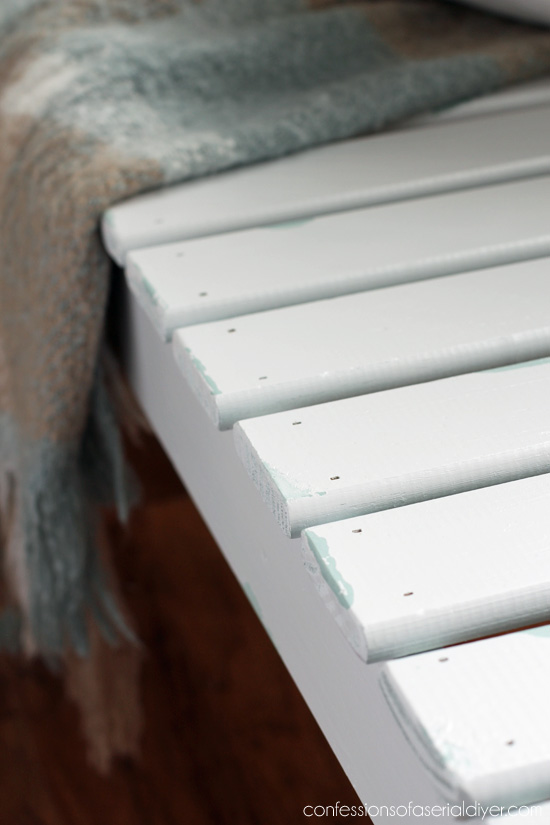
I decided not to worry about filling in the tiny holes.
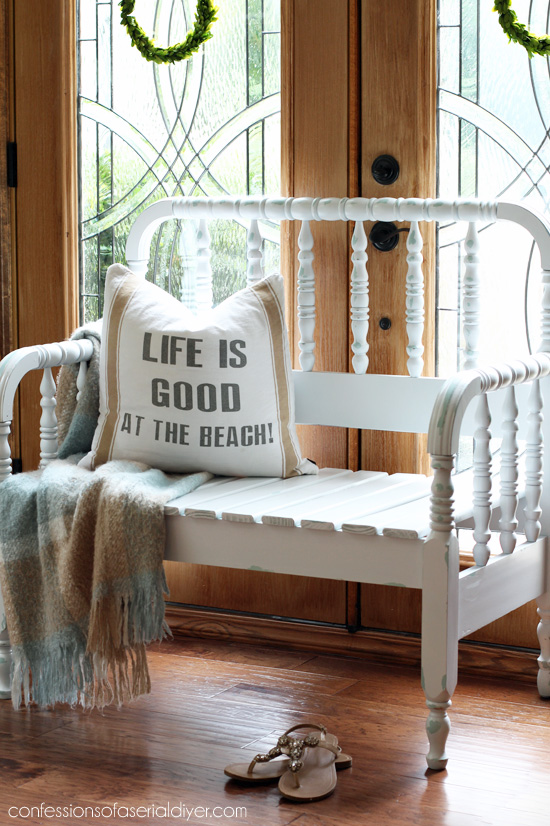
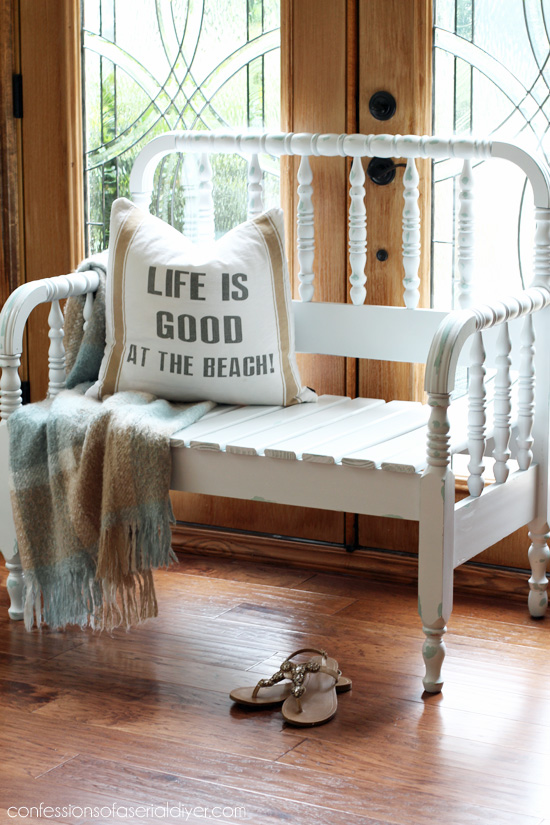
The pillow and the throw came from HomeGoods a while back. The closest I could find to this pillow online was here on Amazon.
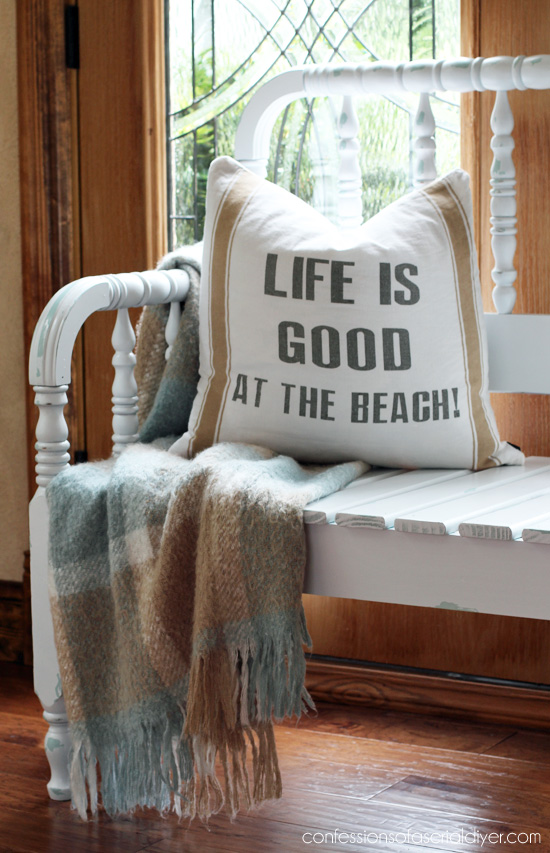
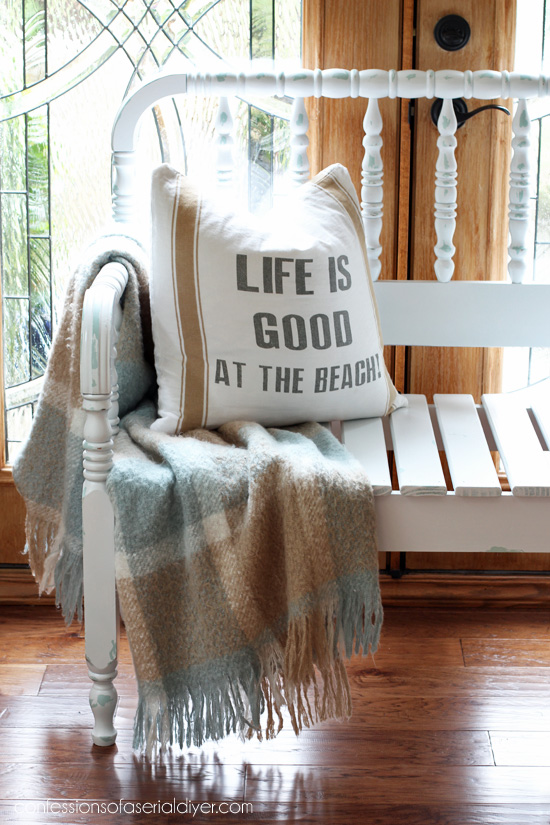
I love this layered chippy look. It’s very subtle and the colors give it that calm coastal vibe I love so much.
Spray paint is fantastic for projects like this where a brush would take way too long. Unfortunately it isn’t cheap. I spent about $30 in paint for this project, but with the bed only being $20, that wasn’t too bad.
I sure wish I had that now to put in my new house!!
Here’s another headboard makeover you might enjoy:
See how it turned out HERE. 🙂
I have plans for a fun project and I am hoping to get that done so I have something pretty to share…I will be working on that this weekend!
Before I go… just a reminder about my CRAFT JUNK GIVEAWAY!
You can register to win daily, so even if you have already entered you can gain even more entries! Go HERE to register to win! (My friends are giving away cool craft junk too!) This giveaway ends August 20th at 12:00 am, so you still have a few days!!
Love you guys!!
XOXO,
![]()
Don’t Miss a Thing!
If you like what you see, there are several ways to follow along!


Mary Kaiser says
Can’t wait to see what you have been working on. I am sure it will be AWESOME just like you!!
Christy says
Aww thanks, Mary!! Had some business to take care of at the old house that took longer than expected today, so that much more fun project will hopefully get started tomorrow…exciting!! XOXO
Norma says
Awesome what a great idea! Thank you and God bless
Christy says
Thank you, Norma! XOXO
Christina in FL says
Exceptionally lovely bench, Christy! Thank you always providing the details on how you accomplished your recreations. 🙂 I can see a really cute bench pillow on this one. 🙂 I bet it sold quickly also.
I am envisioning your first holiday season in your new home. Wonderful!
Christy says
Thank you so much, Christina! This would have been lovely with a bench cushion, and yep it didn’t last too long in my booth. Wishing I had it now for this house!
I can’t wait to decorate for the holidays this year…a whole new layout to play with! XOXO
Michele Branham says
The bench is beautiful! Great idea using spray paint on projects with spindles. I have a couple of things I have painted with spindles and it is so time consuming to use a brush! Do you have any pointers for using spray paint? I have tried it on a few things and end up with run marks.
Christy says
Thanks, Michele! The spray paint definitely made light work of painting this bench. My advice is to not try to get full coverage in the first coat. Just do a few light coats and you shouldn’t have issues with the paint running. Also, I really like the spray paint I used for the final white coat on this bench. The nozzle has a wide spray which gives excellent coverage. I linked to it in the post. 🙂
Gina Keysor says
Oh yea spindles can be a big pain in the finger! Even with sprayers with a large nozzle. I have a set of small wood shutters I’m neglecting for the same reason. Would you also do spray paint or is there a better secret? Thx for continued inspiration.
Christy says
Yes they can! I would spray paint the shutters as well…so much easier! XO
chris tucker says
well i am sure you can find another spindle bed so you can have one to keep after you get all settled because she was really gorgeous xx
Christy says
I hope so! Thanks, Chris! XOXO
Rose Lefebvre says
Wow! I adore how this came out! You are a miracle worker.
Christy says
Thank you so much, Rose! I never imagined it could be so cute! XOXO
Joan says
Christy, I’m so glad you posted this little bench & instructions because I have almost identical ends, except they used to be a baby’s crib. I’ll be happy if my bench turns out half as nice as yours.
Christy says
Thanks, Joan! I bet a crib will make a lovely bench! Good luck with it! 🙂