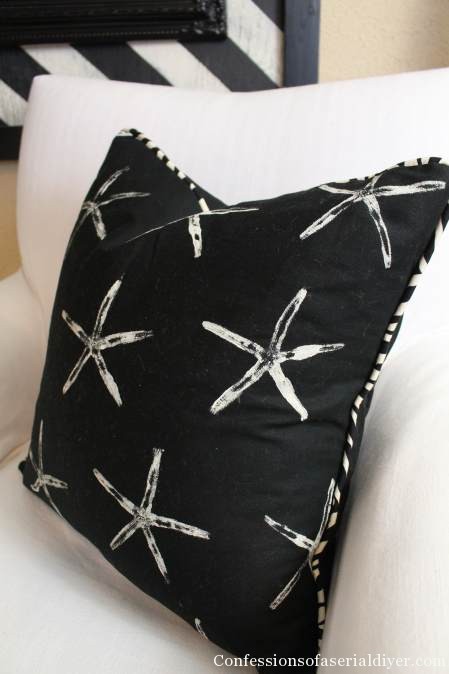
I have a great project to share with you today! I was in need of new throw pillows in my living room. Usually my go-to place is Home Goods/ TJ Maxx, but I was striking out there and honestly, I don’t have the time or the energy to drag my little one from place to place looking. So, I decided to make my own:
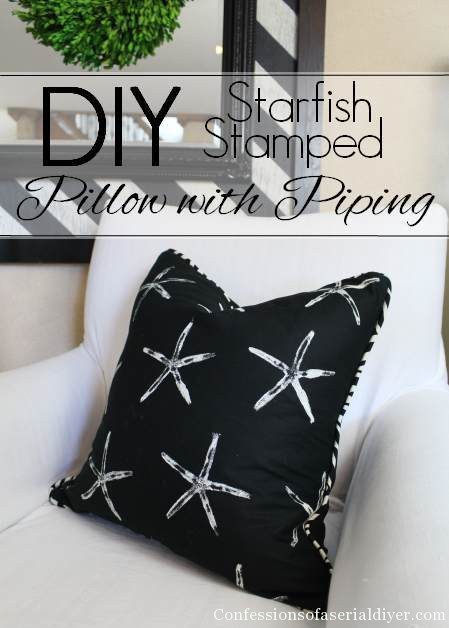
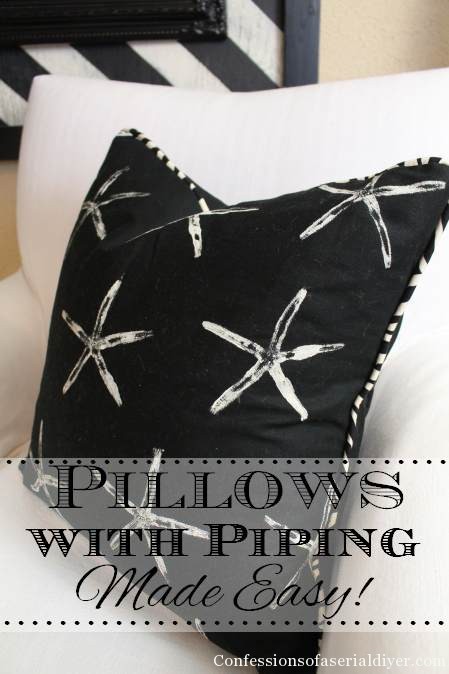
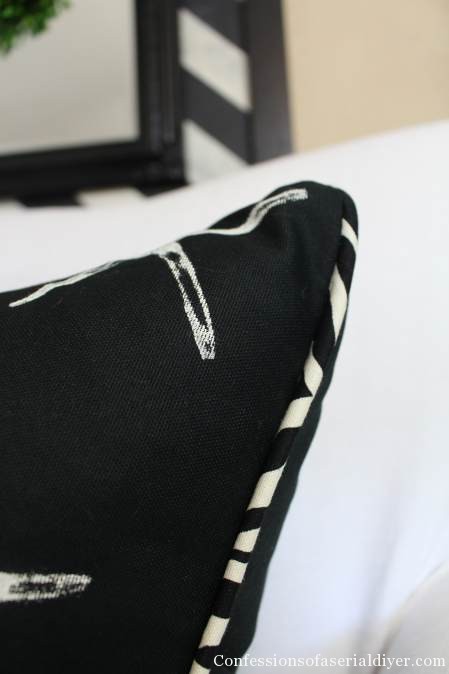
What do you think about the fabric? I made it using a pencil starfish as a stamp! And that coordinating piping is fun, huh? Adding it is easier than you think!
Come on, I’ll show you how…
Starfish Stamping 101
I started with my fabric, I think it’s the Home Decorator’s Collection found at Joanne Fabrics. It’s not very pricey, regularly $9.99/yd on sale for $5.99/yd :
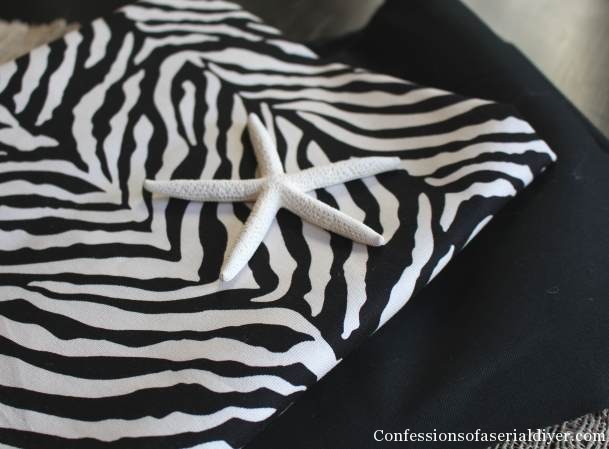
I bought the black for the pillow and the zebra for the piping. For each pillow, I used about a half a yard of black and less than that for the piping.
*Wash your fabric prior to making any cuts…or live dangerously like me and promise yourself you’ll wash it in cold water and hang it to dry!
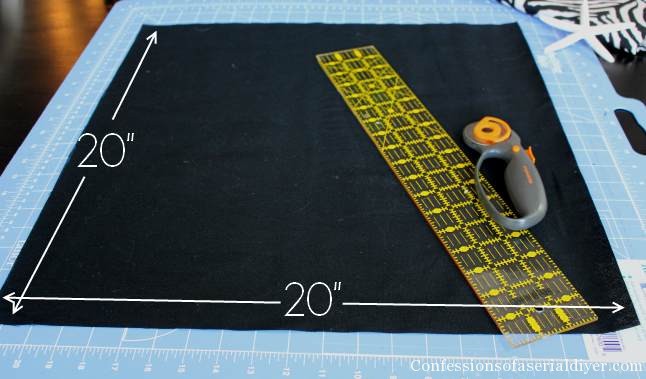
I started by cutting the pillow fabric for the front to 20″ X 20″:
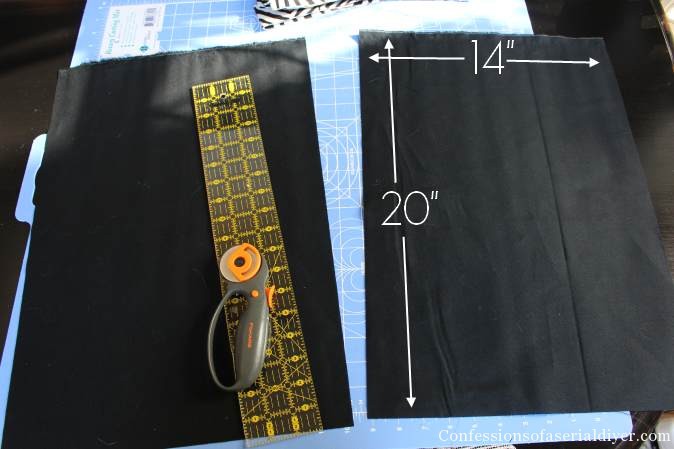
Then I cut two back pieces 14″ X 20″:
I set the back pieces aside and gathered my supplies to make my pattern:
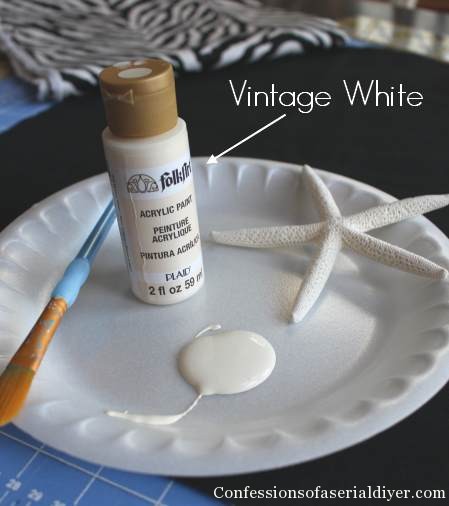
I started by painting the underside of my starfish with acrylic paint:
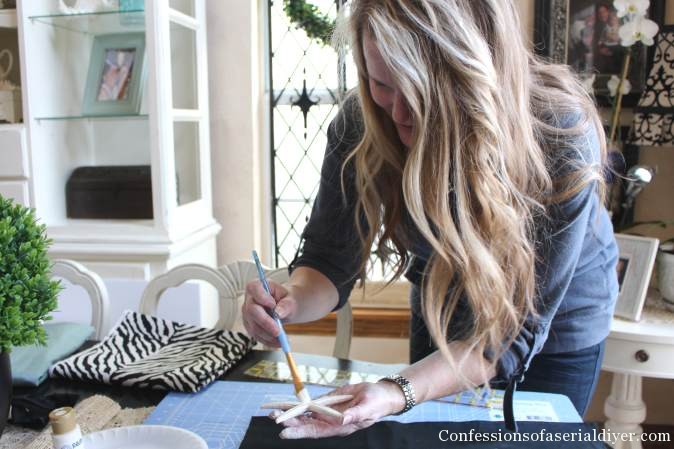
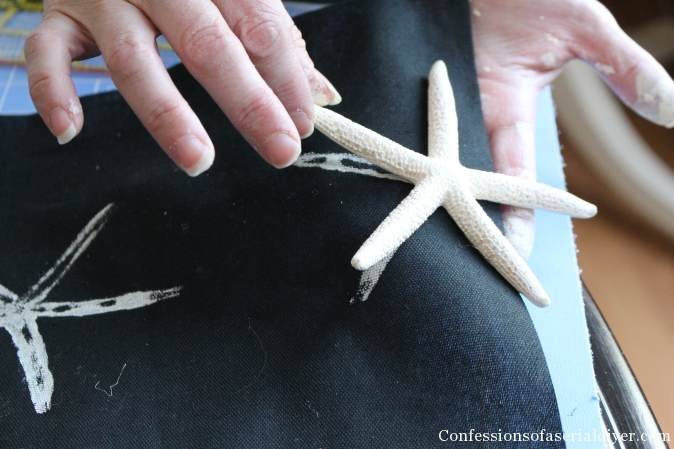
Your hands will get pretty messy, so use caution when handling your fabric!

I placed my hand beneath the fabric to help apply gentle pressure to the underside of the starfish, since it wasn’t quite flat:
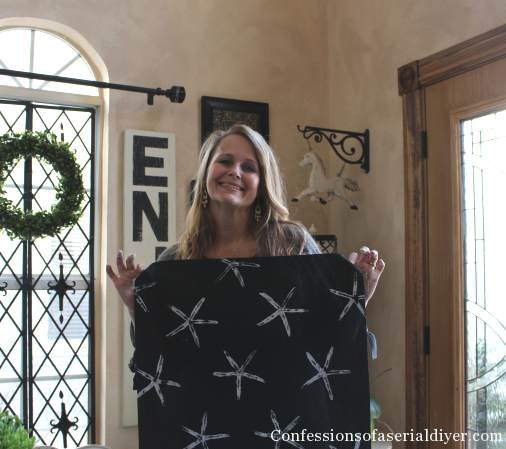
I continued in a random pattern until I was satisfied with it. My 11-year-old was my photographer since he was home for a snow day. He made me hold it up for a picture. Don’t I look like a proud grade-schooler holding up my artwork? (I was really proud 🙂 )
Now make sure you leave it somewhere to dry where your three-year old can’t reach it to use it for a cape. 🙂
Adding Piping to Pillows
Don’t run away, get back here!! This is not hard!
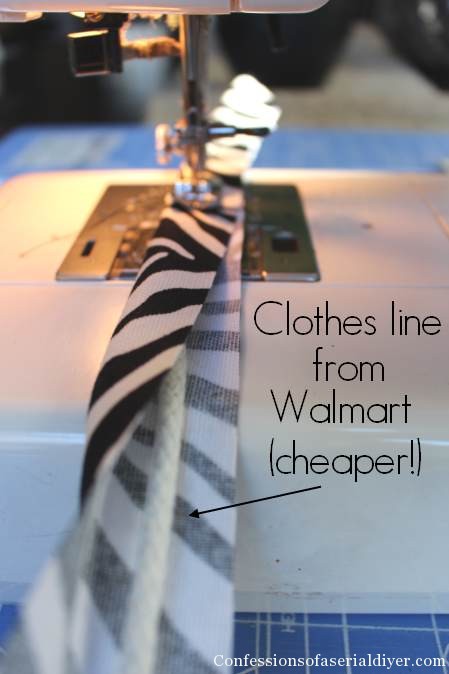
First we’re going to make the piping. It’s super easy and way cheaper than buying it! I used cotton clothesline I found at Walmart in the hardware section.
To start, cut your piping fabric into two-inch strips:

Sew all the short ends together to make one long piece (about 6 1/2 – 7′ long per pillow). Next, fold the two-inch strip lengthwise over the cording, with wrong sides together (pattern facing out):
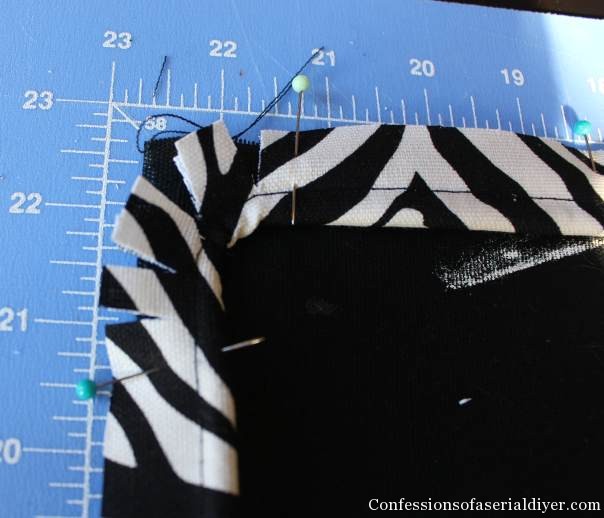
Once your piping is made, lay your pillow front face up and grab your straight pins. Start pinning the piping all the way around the edge of your fabric as seen below:

To round the corners, snip the around the curved edge:
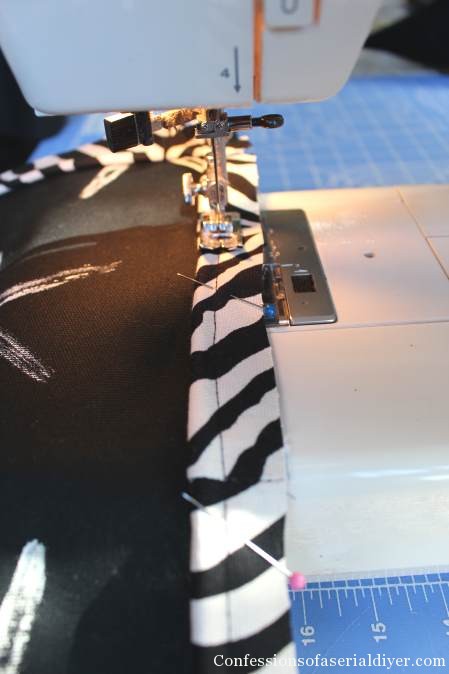
Sew piping in place, following the original piping stitches.
For the back, sew a neat finished edge on one long side of each back piece. Lay them on the front (front facing up), with raw edges aligned on all remaining sides. The finished edges should overlap, creating the opening for your pillow insert:
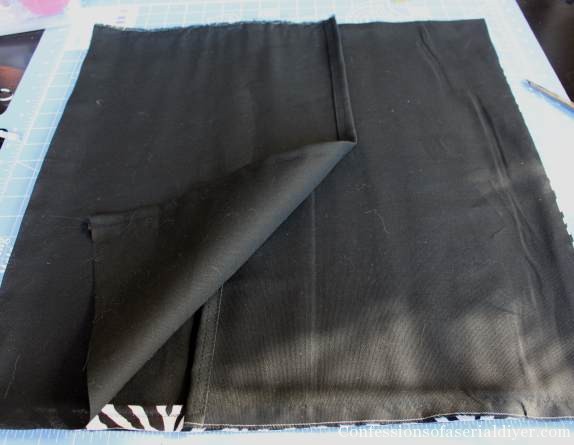
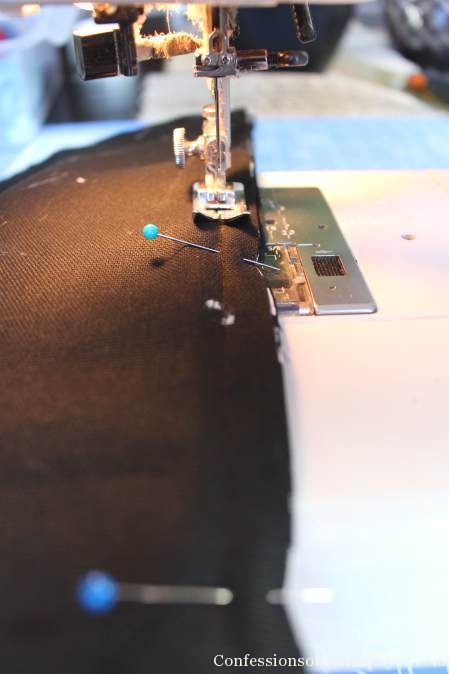
Pin in place and flip over so the backside of the front is face up.
Sew, using the original stitching as a guide. This will ensure your piping does not get caught in the seam!
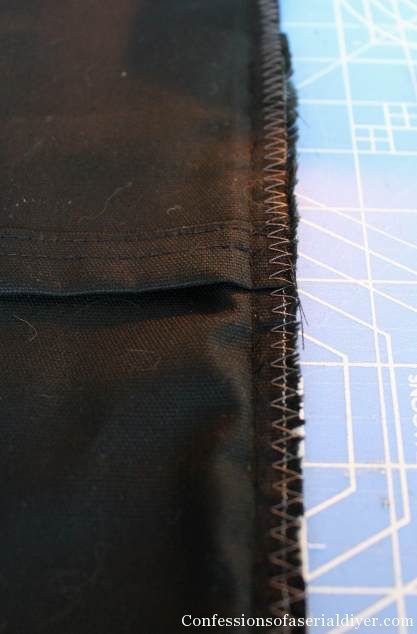
Be sure to seal your edges. I use a zig zag stitch to prevent my raw edges from unraveling.
That’s it! Turn your new pillow cover right-side-out and add an insert. I prefer down inserts because they hold their shape so much better. These came from pillows I already had from Home Goods.

There are so many possibilities with custom piping!

I made a couple for my sectional also. They coordinate perfectly with my new table and my mantel:

No more need to feel intimidated by piping! If you can sew a straight line, you can do this!
This is definitely a simple decor project I am loving! Fits right into our Get Your DIY on theme for February:

Let’s see what my talented co-hosts came up with for this challenge…

DIY Wood Plank Headboard The Hankful House
LOVE Scrabble Tiles House by Hoff
Valentine’s Mantel with a DIY Ombre Pallet Sign The Happy Housie
Simple Painted Glass Jars Just a Girl and Her Blog
Wow, we’ve been busy! The fun starts this Sunday, February 2nd at 7:00pm EST. Come link up your favorite simple decor projects or just come by to get inspired! I can’t wait to see what everyone brings to the party!
Here’s another EASY piping tutorial (SEW and NO SEW methods!):
XO,
![]()
If you like what you see, there are several ways to follow along! ![]()
Email * Facebook * Pinterest * Hometalk * Twitter * Instagram

Dee Williamson says
Wow. That was scary. It was like you were speaking to ME! I have been afraid to try my hand at piping, but I love how simple you make it look! I am definitely going to try this. I love that you used a star fish to stamp. That is so my style. Whatever is nearby, whatever I have to use I will use it! And I also live dangerously and don’t wash fabric. I know I probably should because I will forget to wash in cold water and air dry.
Christy K. James says
You know, I usually buy my pillows because they seem like a lot of work, but really, they’re not at all! These would have been even easier had I used a ready-made printed fabric! I love anything coastal myself, but I have a lot of black too so these worked out perfectly. Hope you have a great weekend, Dee! XO
Dee Williamson says
Your pillows work well for the nautical theme and for the theme of the room. Hope you have a great weekend as well!
Christy K. James says
Thanks 🙂
Mandy Hank says
I love this tutorial Christy- it’s one of my goals this year to learn more about sewing!! Not to mention this is an adorable pillow!
Christy K. James says
Thanks, Mandy! Sewing can be intimidating, but it’s not really hard at all and there are so many possibilities 🙂
Krista @thehappyhousie says
They look absolutely amazing Christy (as does your stunning long wavy hair!). I need to give piping a try- you make it look easy. Previous attempts of mine have ended up in a heap on my craft room floor. Maybe I should give it a go again. Pinned the tutorial. Happy weekend!
Christy K. James says
Thanks, Krista! You are so sweet! I hope you try this. Your pillows are gorgeous already…imagine what a little piping will do! This really is a simple way to do it, too 🙂
jamala says
those look like designer pillows.. great job
Christy K. James says
Thanks, Jamala!! 🙂
Kelly @ View Along the Way says
Oh my gosh! SO creative and cute! I never would’ve guessed that you DIY’d the fabric. Love!
Christy K. James says
Thanks, Kelly! I’m thrilled that the idea actually worked! You know sometimes plans are better in your head than in actuality! 🙂
Rebecca says
Hi Christy, I love, love the starfish pillows. I will definitely make these. Thank you for kindly showing how you made them. Your home is beautiful…..Rebecca
Christy K. James says
Thanks so much, Rebecca! I’m thrilled that you feel inspired to make some too! They were fun to make! 🙂
Abby @ Just a Girl and Her Blog says
You are amazing! I got a little nervous just looking at the pictures of your sewing machine, lol! Your pillow turned out beautifully, and I especially love how it coordinates with the striped mirror in the background. Also, your hair is gorgeous! So, so pretty! Hope you’re having a wonderful weekend!
~Abby =)
Christy K. James says
Aww, you are always so sweet! This was a rare day that my hair wasn’t in a bun, a braid, or a ponytail! There’s no need to fear THE machine… if you can sew a straight line, you can make these pillows. 🙂
Shirley says
Christy, Your pillow is awesome! I love it! I was planning on using a transfer for my pillows with starfish and such for my coastal living room theme, but after seeing this I want to try it! I never even thought about using the starfish! What an awesome idea! The color and everything is what I want in my living room! Hopefully they turn out as good as yours! Thanks for the inspiration! x
Christy K. James says
Thanks, Shirley! I hope you try this…it was a fun project! 🙂
Debbie says
This is a fantastic tutorial. I love it. Thanks for sharing your expertise.
Christy K. James says
You are so welcome, Debbie! If you give these a try, I’d love to hear how they turn out! 🙂
Andi says
Can I have your hair?
-andi
Christy K. James says
Yes, expect your package in the mail soon 🙂
Linda@Coastal Charm says
This is super duper cute, so thanks for sharing it at my party. If I ever get some extra time, I’m going to try one for myself. Gotta go share it facebook.
Blessings,
Linda
Christy K. James says
Thanks, Linda! I’m so pleased with how they turned out! I hope you give it a try, it was a fun project. 🙂 XO
Marty@A Stroll Thru Life says
Great tutorial and I love the pillow. Thanks tons for linking to Inspire Me. Hugs, Marty
Corey @ Tinysidekick says
This is great! My latest craze is painting fabric and I love this. The zebra piping is so perfect cause it is just a hint of zebra. Would love it if you’d come share it at The Makers going on right now at TinySidekick.com.
Christy K. James says
Thanks for the invite, Corey! Linked up my three latest! Have a great week! XO
Virginia says
That’s a great idea, using the starfish as stamps. The pillows are beautiful!
Christy K. James says
Thanks, Virginia!! I love coastal, but my color scheme isn’t very beachy. This was the perfect fix 🙂
Christy K. James says
Thanks, Virginia! I love coastal, but my colors aren’t very beachy. This was the perfect fix 🙂
Lucy says
Brilliant idea !
Christy K. James says
Thanks, Lucy! It’s always nice when an idea works out! XO
Michele says
Love this!!! With 40+ inches of snow so far and more to come, I’m ready for the beach!!!! Pinning:)
Christy K. James says
Thanks, Michele! I feel so bad for you guys with all that snow! We got about eight inches last week and I loved to see it coming, but seeing it go was even better!