
Hey there, sweet Friends and welcome to the very first day of my March Madness, 31 Thrifty Makeovers in 31 Days Series!!
Are you ready? I am!! If you missed this fun series last year, every day in March I shared a thrifty makeover. You can see them all HERE. Some were small and some were not so small, but a good before and after is always fun to see, right?
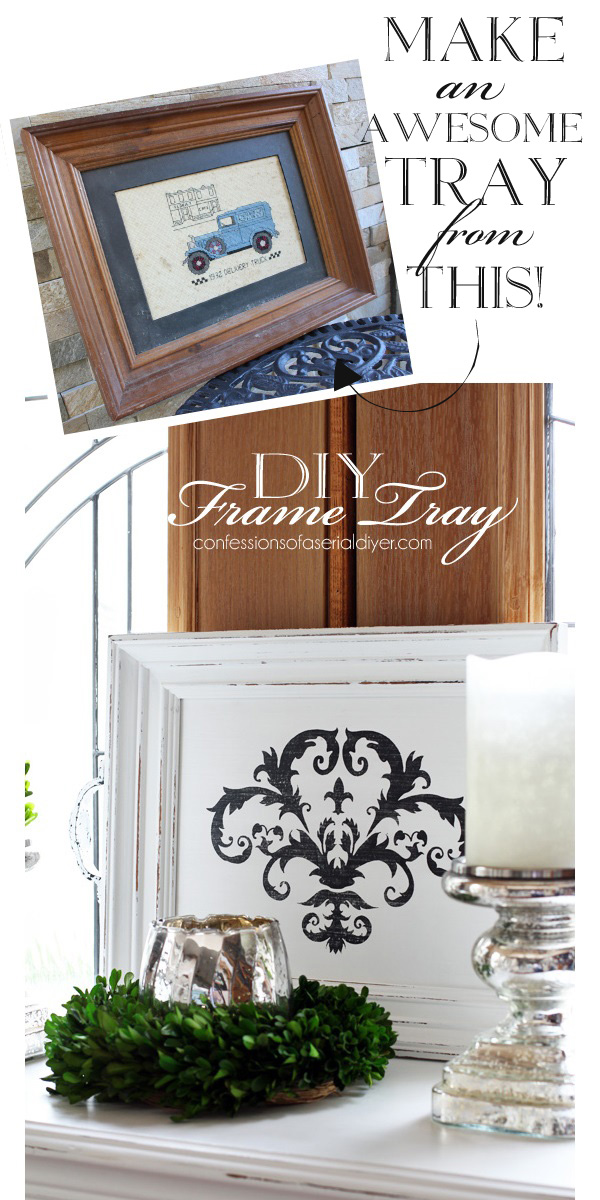
This year, I’m starting things off with a pretty DIY tray that I made from an old picture. I sell a ton of trays so I make a lot of them, but not all of them make it to the blog.
I’m going to show you a really easy way to make one. Here is what I started with:
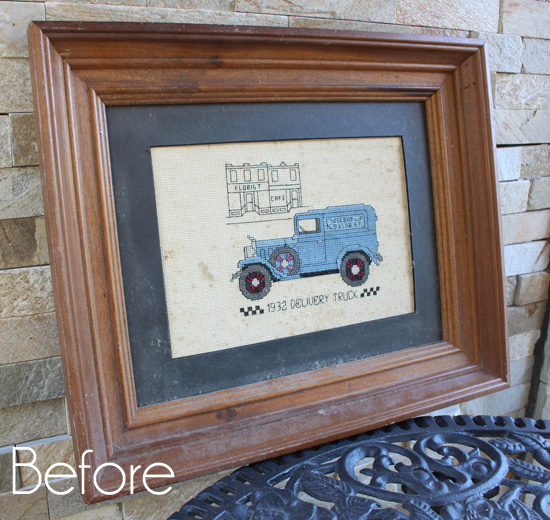
I picked this up for $1.58! I actually didn’t have the heart to toss the cross stitch. I did a few of those back in the day and they are a lot of work!
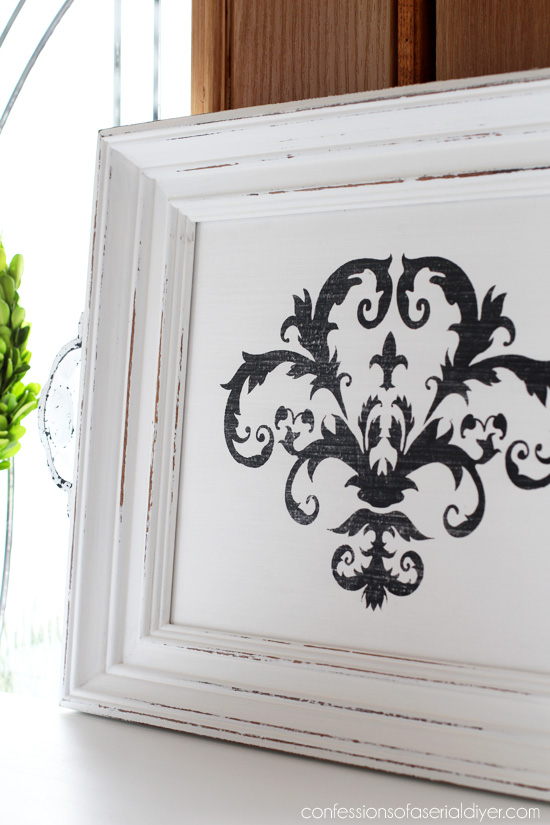
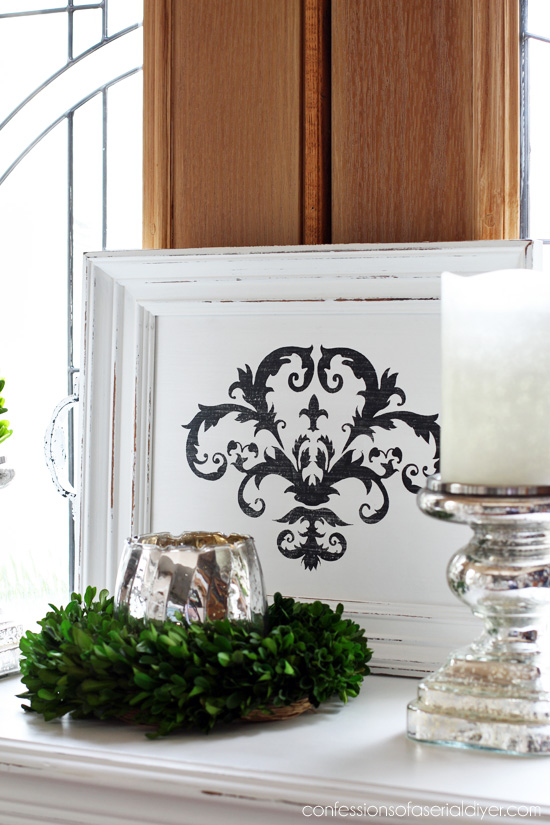
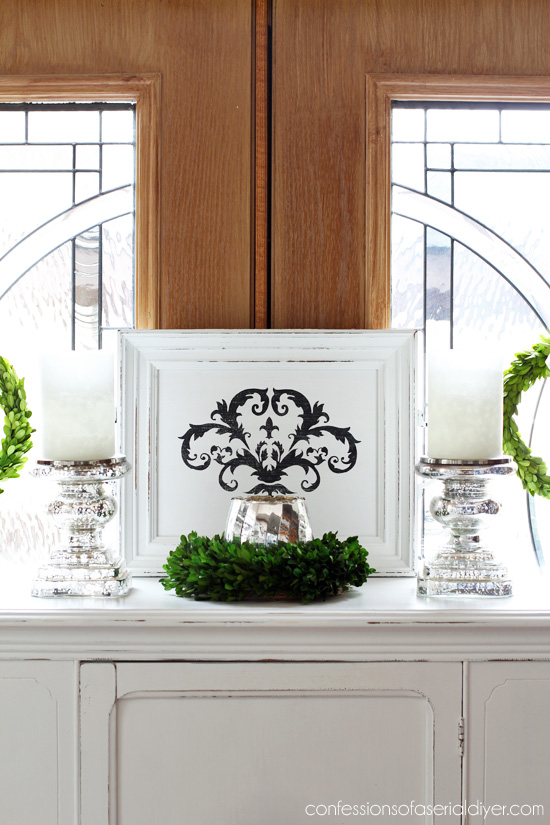
Here is the tray I created from the frame:
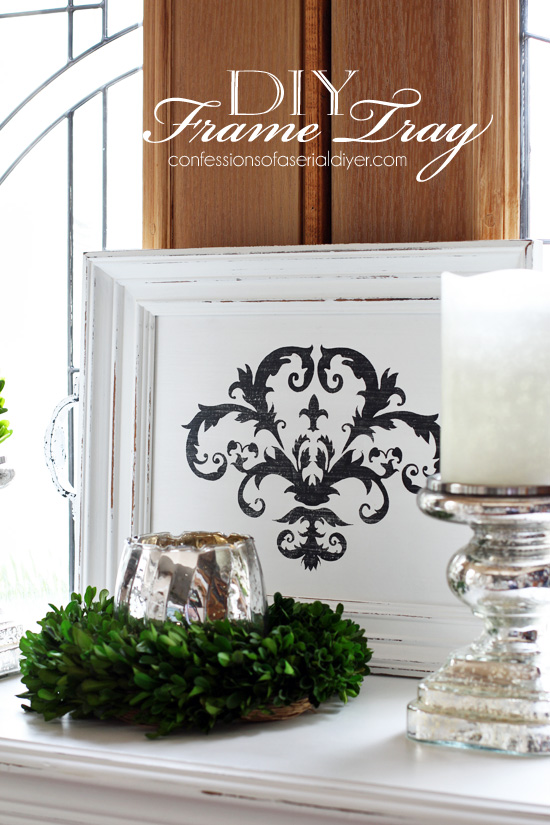
These are super easy to make. I like the depth of frames like this for trays. I also look for a thick enough band around the outside edge to support a handle.
For this DIY tray, I painted the frame in DIY chalk paint in Pure White (whatever white is right off the shelf from Behr). I cut a piece of thin birch plywood (purchased from Lowes) to fit the frame. I have included some affiliate links for your convenience. Click here to read my full disclosure policy.
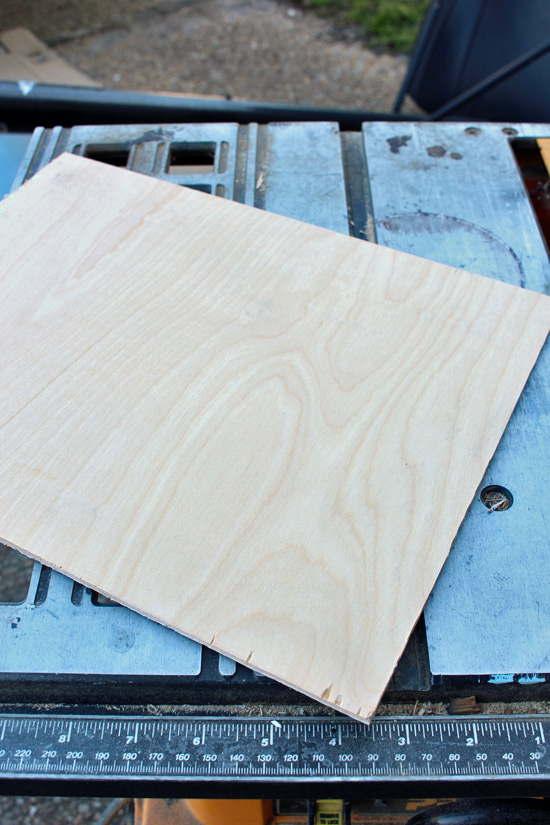
I used my table saw, but you could easily use a jig saw (I have this cordless jig saw and I love it!) to cut this as well and it is not nearly as intimidating.
I primed the plywood and then gave it a couple of coats of chalk paint. I sanded lightly then chose this baroque stencil to give it personality.
For paint and brush products as well as more stencil how-tos, visit this post.
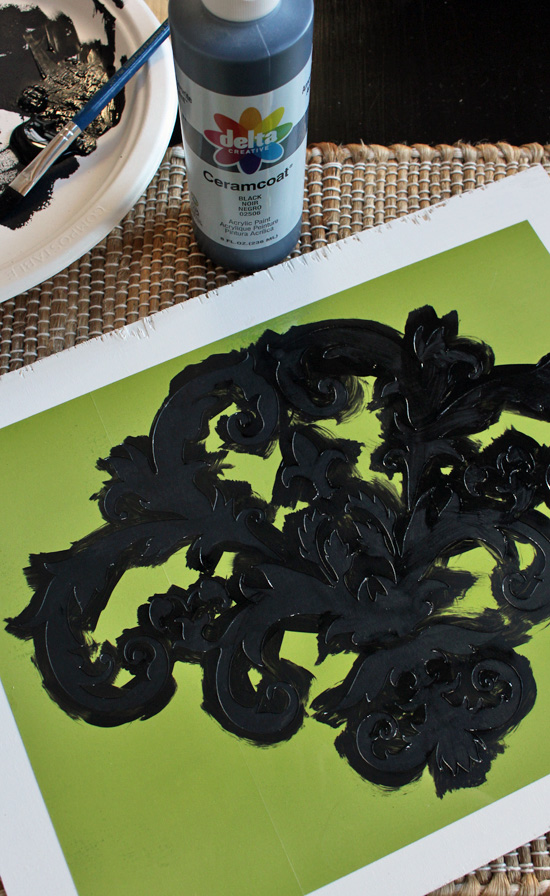
I sure have been stenciling a lot lately. It’s such an easy way to add personality to a project.
I sanded the surface lightly once it was dry and added a couple of coats of Annie Sloan’s clear wax for protection. Then I secured it to the frame with my Logan point driver.
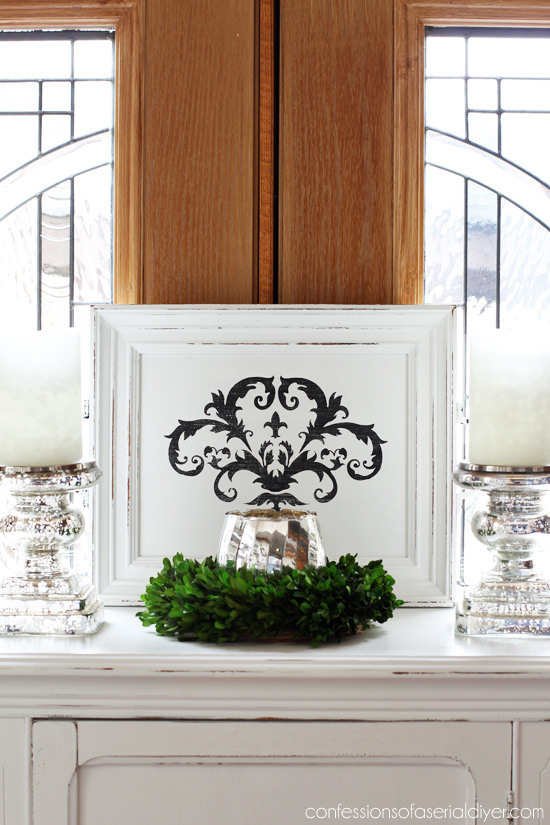
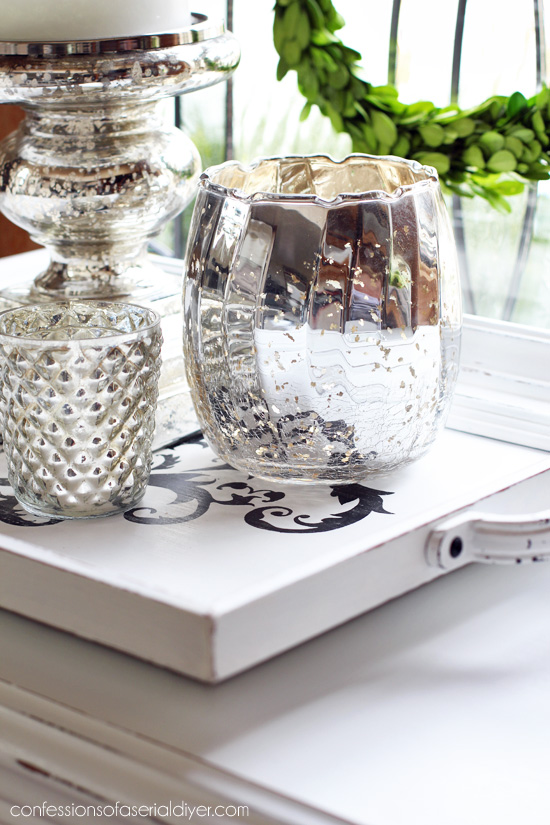
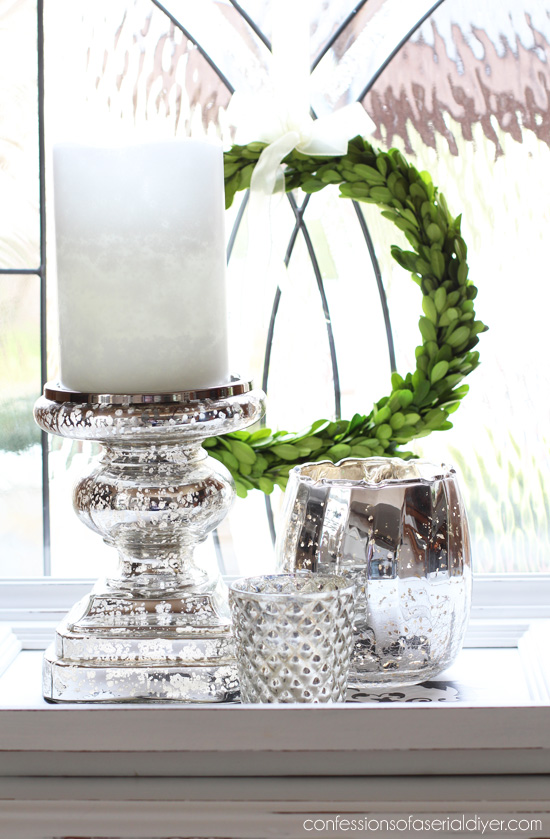
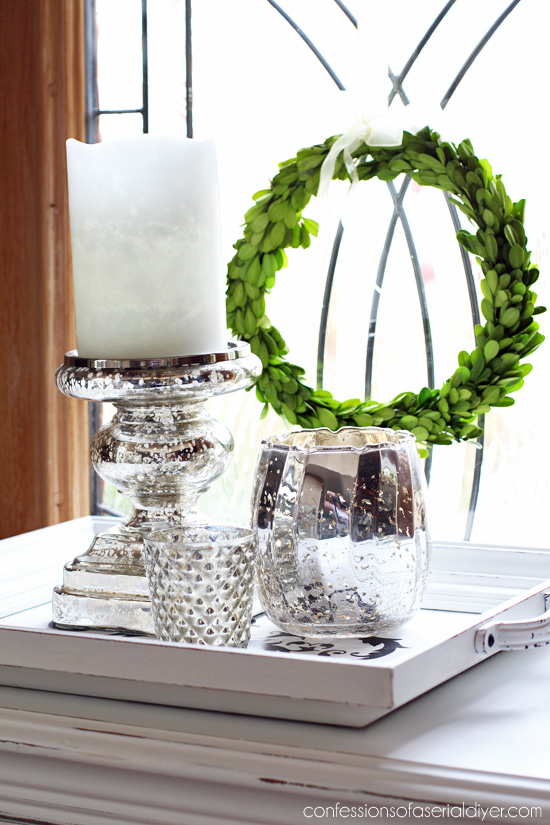
It looks pretty atop the antique cabinet I recently shared.
I covered the bottom in scrap fabric left over from my cabinet.
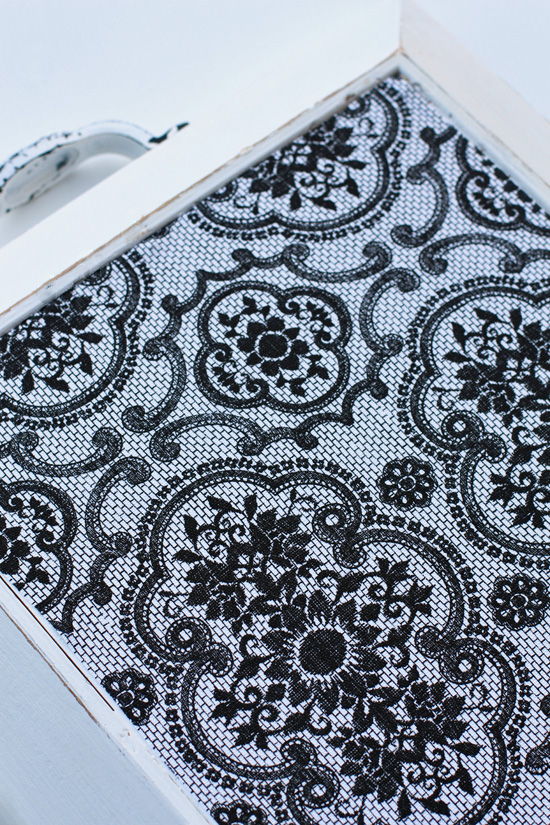
It’s attached with Matte Mod Podge.
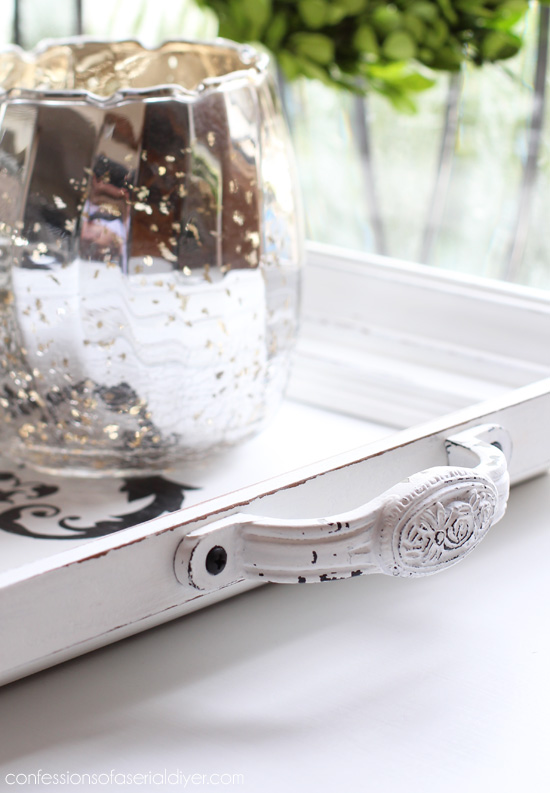
The handles are from Hobby Lobby, purchased at 1/2 off.

I’ll be back tomorrow sharing what I did to this little cabinet:

UPDATE: See it HERE now!
XO,
![]()
Don’t Miss a Thing!
If you like what you see, there are several ways to follow along!
Email * Facebook * Pinterest * Hometalk * Twitter * Instagram

I love to share at these great parties:
The Happy Housie Design Dining and Diapers Liz Marie Blog Funky Junk Interiors Savvy Southern Style Tatertots and Jello DIY Show Off Between Naps on the Porch Just a Girl and Her Blog Sand and Sisal Interior Frugalista
")


Joanne Taggart says
The tray is awesome Christy! And what a nice touch to put fabric on the back. Now when I see deep wood frames I’ll know what can be done. There are a lot of them out there. Thanks!
Christy K. James says
Thanks, Joanne! There are a ton of these out there and they are usually really well made. Perfect for a tray. 🙂
Sue says
Love it Christy!!! Guess I will be saying that for the next 31 days! Lol
Christy K. James says
Ha ha thanks, Sue!! XOXO
Christy K. James says
Ha ha thanks, Sue!! XOXO
Sandra Powell says
Good morning always enjoy your blog to see what you have been up to, love it very creative !! enjoy your day!!
Christy K. James says
Aww thanks, Sandra! SO glad to have you here!! XO
Sue says
HI Kristy…..LOVE your blog – thanks for all the inspiration! When you lightly sand your finished pieces, do you find that the paint smears a bit?
Christy K. James says
Thanks so much, Sue! I have had that trouble in the past, but not in a very long time. I have found that if I leave it to dry for several hours, and be careful not to put it on too thick, I don’t have issues with smearing.
Nancy @ Artsy Chicks Rule says
Yay!!!!! Day 1 of crazy!!! 😉 lol I can’t wait to see it all!! xoxo
Nancy
Christy K. James says
Ha ha you said it!! Mwah! XOXO
Nancy says
What did you do with the needlework????? I thought you incorporated it into the tray!
Christy K. James says
I used the frame. I did keep the needlework though…might have to get creative to find a use for it. 🙂
Paula@SweetPea says
I’ve been looking forward to this series! This project is one that I need to copy. I’m going to start looking for some framed art to do my own.
Christy K. James says
Yay! I’m so excited March is finally here. Trays always sell well in my booth, you should definitely make some. 🙂
Chris says
Christy:
That tray came out beautiful, I can’t wait to see all your projects!
Christy K. James says
Thanks, Chris!! I have some fun makeovers to share! XO
kate says
way cool. I love the stencil that you choose too!! And seriously, you can’t beat handles at the HL for 50% off!! BONUS!!! I refinished a dresser, and also found the perfect handles there!
Christy K. James says
Thanks, Kate! Hobby Lobby is the best!! XO
Becky says
Very nice! I never thought of covering the bottom with fabric. I’ll have to try that. I love tray building! One of my boys is collecting sketches of tray designs to try as soon as it gets warm out. We did a bunch for Christmas gifts last year. People fight over those things! : )
P.S. Soooo excited to have you do this March thing again! Thank you!
Christy K. James says
Thanks, Becky! Trays are perfect for gifts! I totally believe you when you say people fight over them, mine always sell right away in my booth. And I’m so excited for this month too!! XOXO
Rose L. says
I think I am going to do this idea to make a tray with one of my photographs in it!
Christy K. James says
That’s funny… I’m working on a tray with black and white photos in it! Great minds think alike! 🙂
Ruth Anne says
So happy that March has finally rolled around and we get to see all your fabulous projects! Love the tray and want to make some from frames I already have. I’ve had good luck selling trays in my booth, too. They are such a great base for vignettes and look great on a dining room table as part of a centerpiece. Thanks for sharing–looking forward to the rest of the month!
Christy K. James says
You are so sweet, Ruth Anne! It’s going to be a fun month, and yes you are so right…trays are such a great décor item!! XO
Marie, The Interior Frugalista says
Yay, it’s back!!! I so enjoyed this series last year Christy and I can’t wait to see what you have in store for us this year. Love the tray and talk about attention to detail adding fabric to the back.
Oh Christy, since you did cross stitch in the past, adding a Christmas Tree to the top of that vintage truck would be fabulous for the holidays…just say’n *wink* *wink*
Christy K. James says
I am so excited March is finally here! I just love being able to share every day, if only I could keep it up after lol. And I was SO thinking holidays for that truck and in fact just replied that to a reader on FB!!!! Those cross stitched pieces are a lot of work and I would love to be able to reuse it! 🙂
Becky P. says
LOVE your tray! My mind is racing on all the different ways/places I could use these. Really nice gifts too, I know my favorite gifts are ones that people made for me, it makes it special.
Christy K. James says
Thanks, Becky!! Trays make perfect gifts, and I am the same way…I love when people make things for me! XO
Maggie M says
Great DIY Christy! Question: what is a Logan Point Driver? I’ll have to get one:)
Christy K. James says
Thanks, Maggie! The Logan Point driver is only one of my favorite tools ever! You know those little metal thingys that hold the backs of picture frames in place that you can bend back to pop out the photo? Those are “points” and the Logan point driver is what puts them in. Looks a bit like a staple gun, but perfect for making trays and chalkboards to keep the inserts in place. 🙂
Amy | Canary Street Crafts says
Love the tray! Can’t wait to see what you come up with for the entire month!
Christy K. James says
Thanks, Amy! I have a bunch of fun makeovers to share! XO
andi says
Haaaa!!! I actually OWN this cross-stitch pattern! (Just to clarify, I’ve never made it, but I do HAVE it!)
-andi
Christy K. James says
Ha ha ha! That was yours wasn’t it?? I still have it do you want it back lol 😀