Hi there and welcome! Today I’m sharing how I added a little Valentine’s flair to my mantle for less than $2! I don’t normally go all out decorating for Valentine’s Day. I usually store up all my Holiday decorating mojo for Halloween and what’s left, goes to Christmas!
But this year, I was in the mood to create a little something for my mantle:

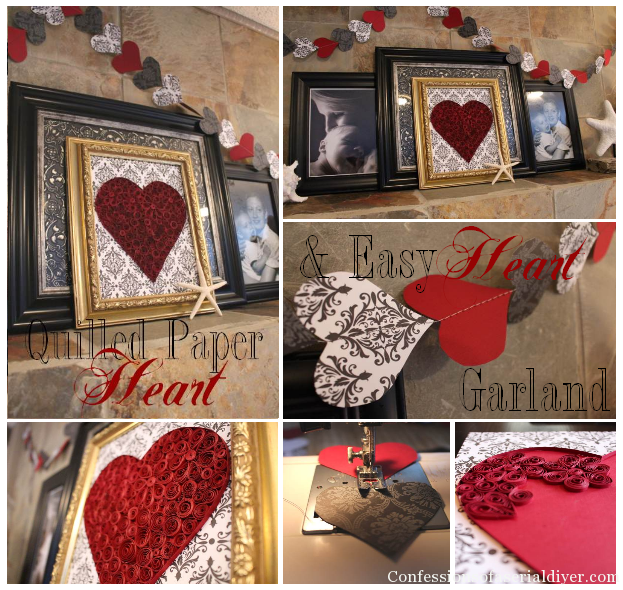
A quilled paper heart!
Have you ever tried paper quilling? Much like painting to me, it’s very relaxing. I quilled a skull for my Halloween mantel and I thought it would be pretty as a heart too.
I found this frame at a yard sale this Summer for $1 as is. The paper I already had, but I purchased it at Michaels when it was on sale for six sheets for $1. Great deal!
Here’s everything I used to create my heart art:
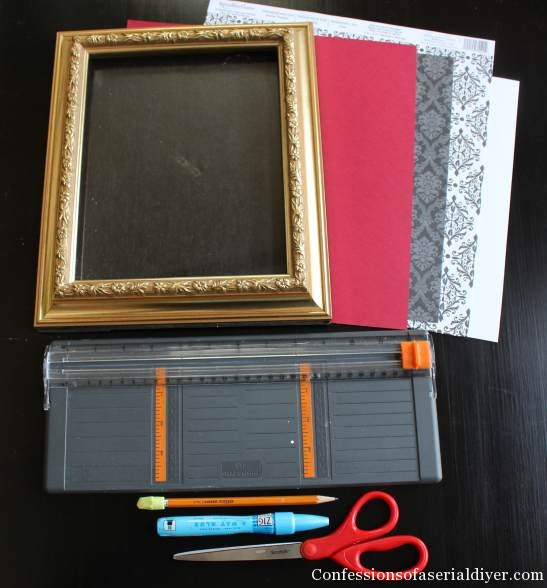
The only things missing are a glue stick and a very small flat-head screwdriver or quilling tool. The blue pen pictured is a glue pen.
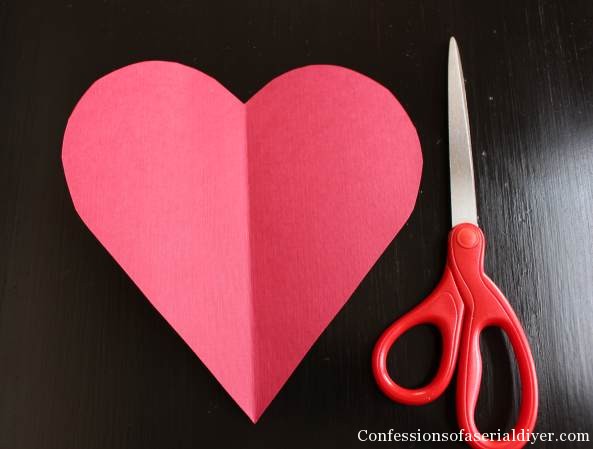
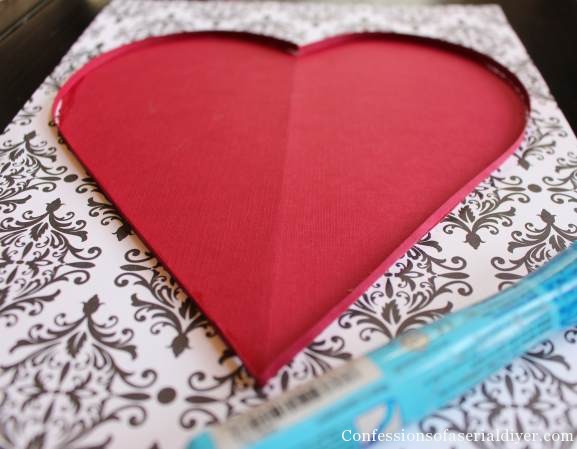
I started by cutting my heart shape in red since that’s the color I planned to use to fill it in:
Then I cut my background to fit the frame and glued my heart to the center using a glue stick I stole from my kids:

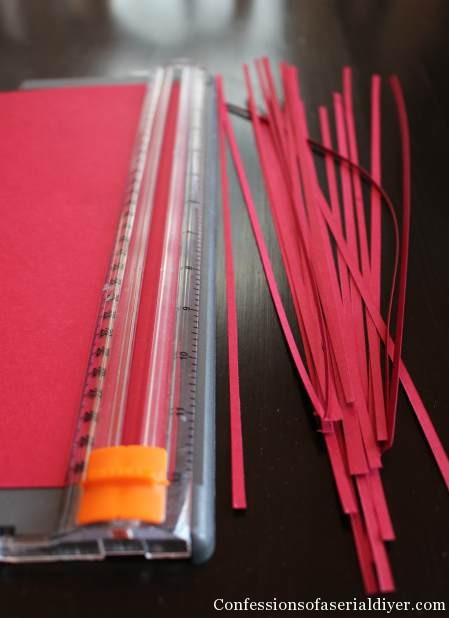
I cut the quilling strips using my favorite paper cutting tool (you can buy them already cut at your craft store, but I’m cheap):
Next I created an outline of my heart using the strips and glued in place with the glue pen:
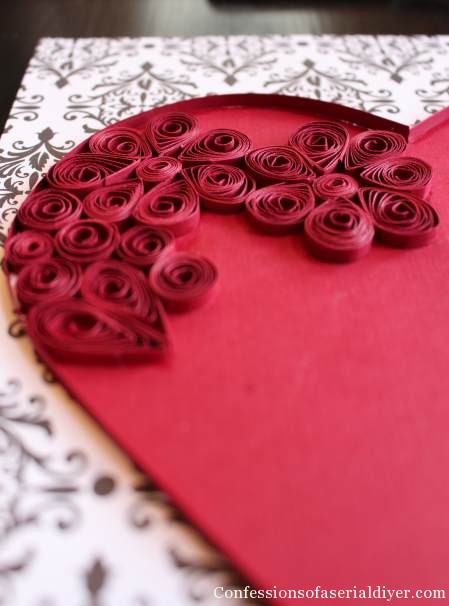
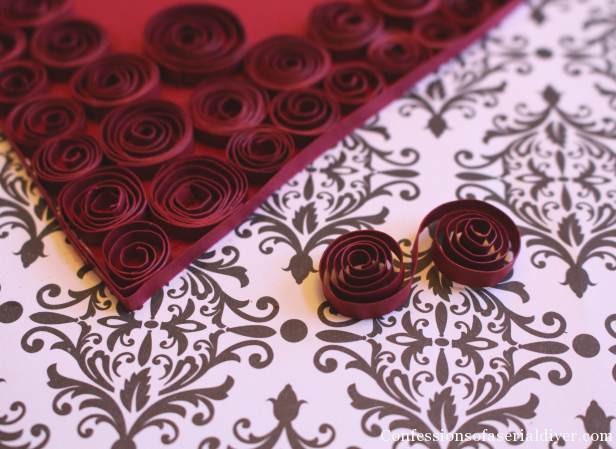
Now the fun part! To quill, simply wrap the strips around a quilling tool or tiny flat-head screwdriver as snugly as possible, then release to the desired size and add a dab of glue to stop it from unraveling further. You will get a rosette looking shape. You can also pinch one end to get a teardrop or petal shape. You can see examples of both here:
Continue to wrap and play with your shapes, gluing each one in place as you go to fill in your heart shape. To make smaller “rosettes”, cut your strips or get two out of one strip by wrapping in one direction around your tool until you get to the halfway mark. Then start at the other end and wrap the other direction until you meet in the middle:
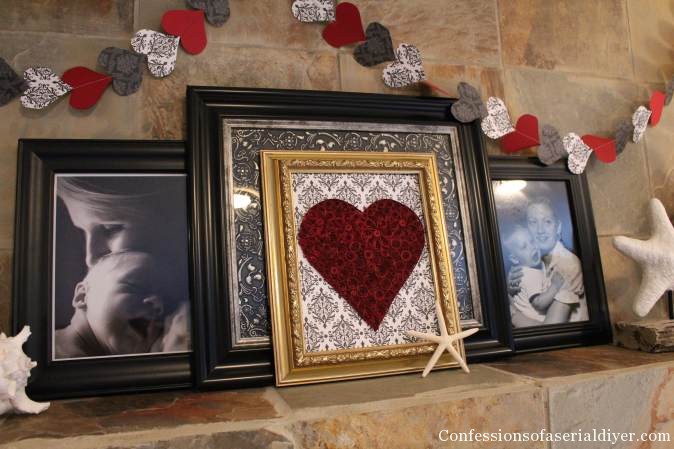
Once my heart was filled in, I put it in my under glass in the frame and that’s it. My pictures show the frame without the glass, only because it’s difficult to get a decent photo with the glass in place.
Look at those pretty details:
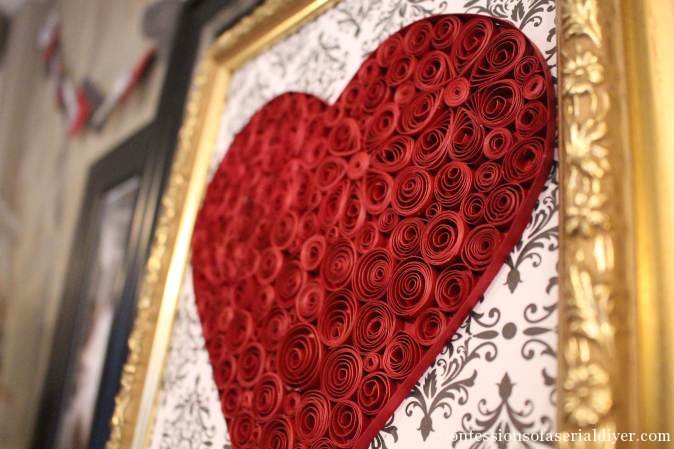
I liked the frame as is for a bit of bling…

I just added it to my existing mantel. Behind it is a favorite black and white family photo.
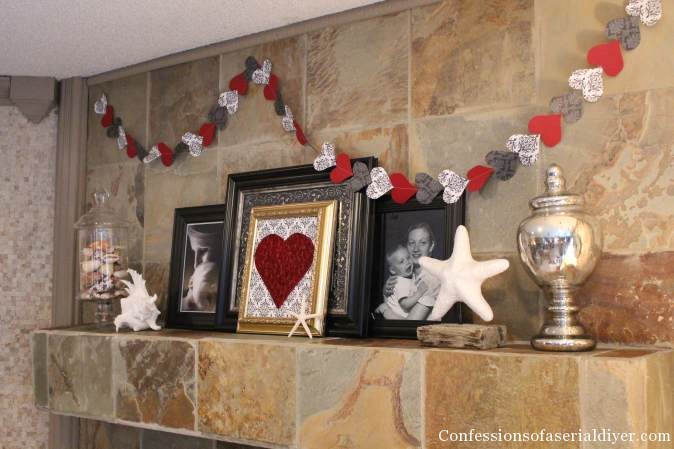
The photo to the left is me and Brennan, taken when Brennan was only a week old and the photo to the right is my husband and his mama! Isn’t it sweet?

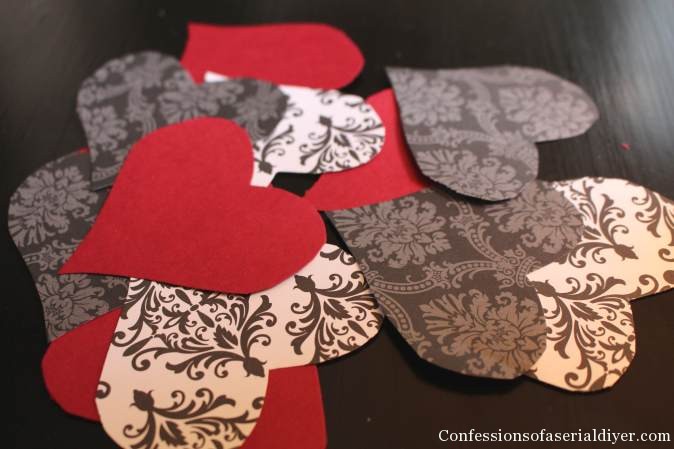
This is just enough V-day decor for me. I made the heart garland as well using some of the scrapbook paper I picked up on sale.

Sew easy! I cut out my hearts:
and sewed them together:
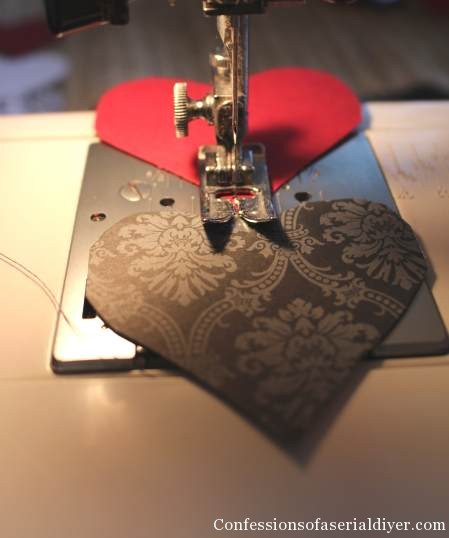
Tada…garland:

That, my sweet friends, is how I decorated my mantel for less than $2!
Check out what adorned my mantel last year for less than $5!
What about you? Do you decorate for Valentine’s Day?
You guys are my favorite! Truly, I appreciate every single one of you.
XO,
![]()
If you like what you see, there are several ways to follow along! ![]()
Email * Facebook * Pinterest * Hometalk * Twitter * Instagram


")


Dave clark says
Truly stunning decoration with in budget. Truly Stunning.
Thanks for sharing.
Paula@SweetPea says
I love your mantel decorated for Valentine’s Day. Your quilled heart is so pretty. I’ve always wanted to try quilling something and just may after reading your tutorial.
Christy K. James says
Thanks, Paula! It’s a great way to create seasonal decor without spending much money. Have a great Day! XO
Cindy Eikenberg says
Christy, your mantel looks beautiful and I am in love with your quilled, paper heart – gorgeous! Thanks so much for sharing and pinning! Hope you have a wonderful Wednesday (and no ice! 🙂
Christy K. James says
Thanks, Cindy! I’m so glad to see all the snow finally melted! It’s just rain here today…not quite as pretty as the snow though…Have a great day! 🙂
Krista @thehappyhousie says
So pretty Christy!! I love the detail in your heart art and the sewn together heart banner is adorable!! Fabulous mantel friend!
Christy K. James says
Thanks, Krista! After I left your blog this morning, I spent an hour looking at new themes lol! Love your redesign 🙂
Lisa @ Practically Perfect Home says
You make paper quilling look so simple, I might give it a go! Thanks for sharing…it’s beautiful! ~Lisa
Christy K. James says
Thanks, Lisa! It is really simple and the possibilities are endless 🙂
Jeannie says
Wow – love this – my super talented friend!!!!!
Christy K. James says
Thanks, Jeannie!! I’m so glad you stopped by for a visit! We had a successful day yesterday at preschool…Brennan made it the whole day! Woohoo…lunch very soon 🙂
Tasha @ Designer Trapped in a Lawyer's Body says
What a fun idea! I love, love, love the paper quill flowers. Can’t wait to give this a try!
Christy K. James says
Thanks, Tasha! It’s a fun and actually very relaxing project 🙂
Emily @ Love, Pasta and a Tool Belt says
I love this! I’ve always wondered how to do quilling. I am going to have to try this. It doesn’t look as hard as I thought. I came over from Create It Thursday!
Christy K. James says
Thanks, Emily! It is really easy and you can get creative with it. It’s a really great “cheap” project too! XO
Lisa @ Practically Perfect Home says
Hi Christy! I’m so fascinated by this project, so am going to feature it on my ‘weekly wonders’ blog post tomorrow morning. Thank you for sharing! ~Lisa
Christy K. James says
Awesome! Glad you like it, Lisa! 🙂
Laura Brewer says
I thought it was awesome!! Gotta try to do this!! Only a week to go ya know 🙂
Christy K. James says
This is fun project and for not a lot of money, it’s a pretty Valentine’s piece you can use year after year 🙂
Robin All Things Heart and Home says
I soooo love this heart quilling project! I’m going to try quilling!!! Thanks for inspiring me 🙂 ox
Christy K. James says
Awesome! I loved making it!