Hi Friends!! It’s time for another thrifty makeover today!
Last week we decided to take our boys and my nephew to Ocean City, MD for the Holiday weekend.

It was such a blast…we were total tourists y’all and it was so fun! But when I got back and checked on my booth, it was very sad. I mean that in a good way…I had sold several furniture pieces including a huge hutch that left a big empty space:
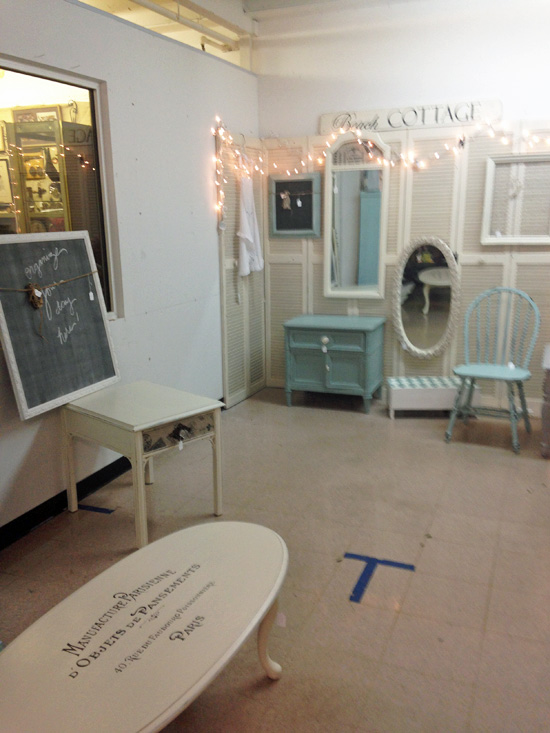
It looked more like this before I left:
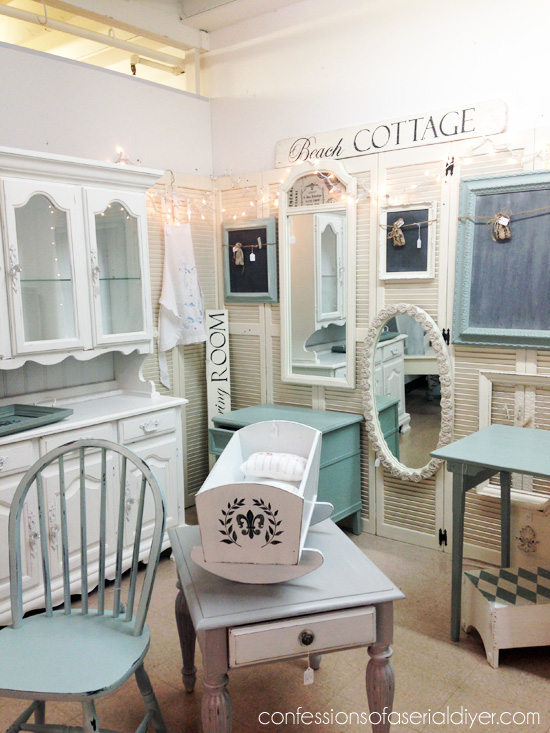
See more of my booth HERE.
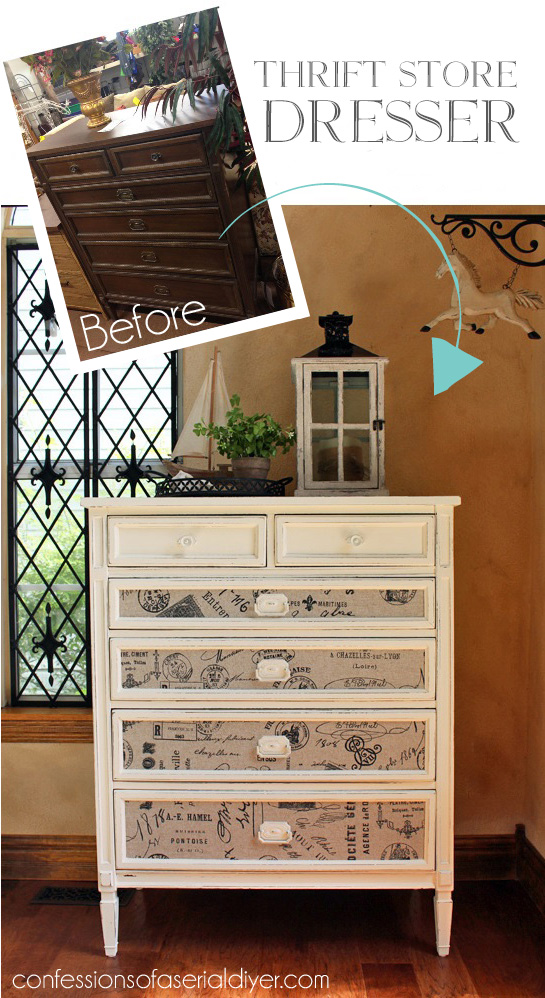
I needed to find a couple of big pieces to fill it back up, so I stopped by one of my favorite thrift stores and spied this brown beauty:
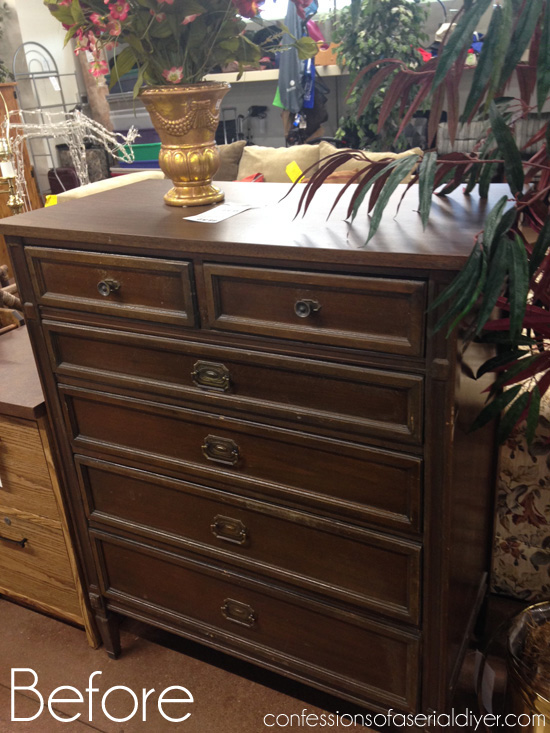
Actually I didn’t think it was beautiful at all, but I was in need and this was in great working condition. The insides of the drawers were immaculate and had no musty odor. That’s not easy to find on these older pieces.
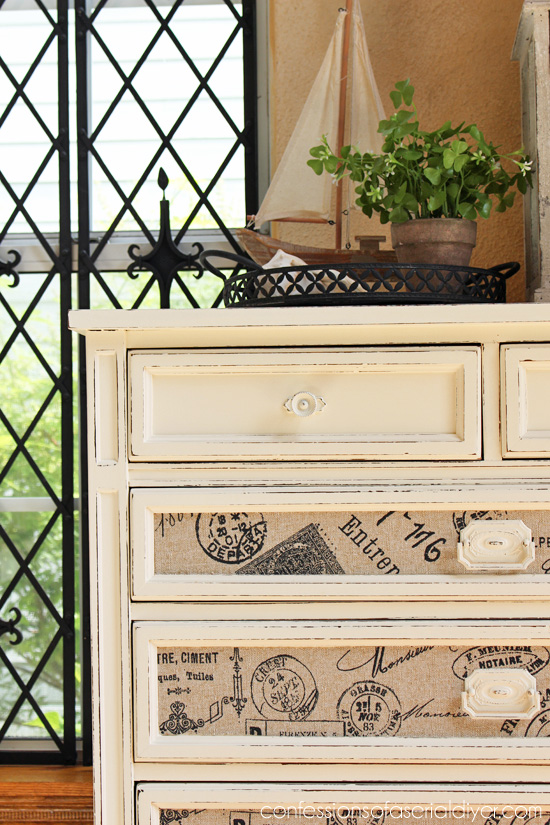
I knew I had my work cut out for me, but if you’ve followed me long, you know exactly what I wanted to do with those drawer panels…
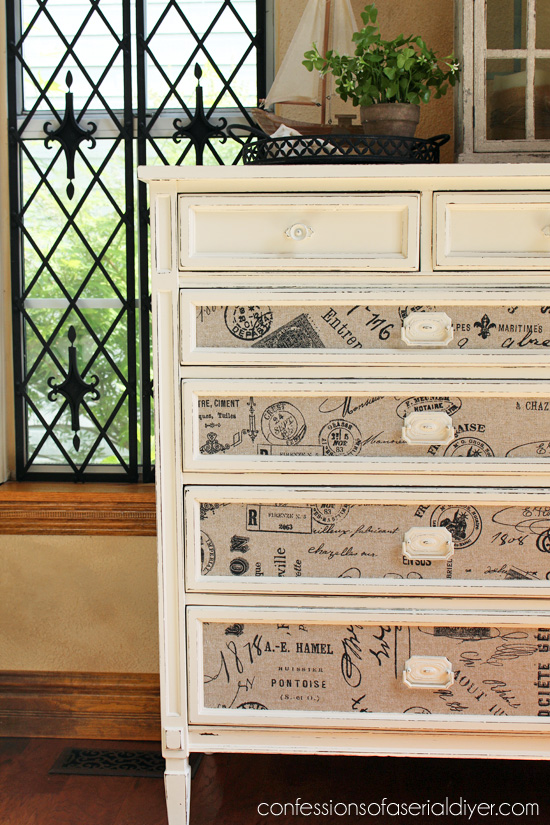
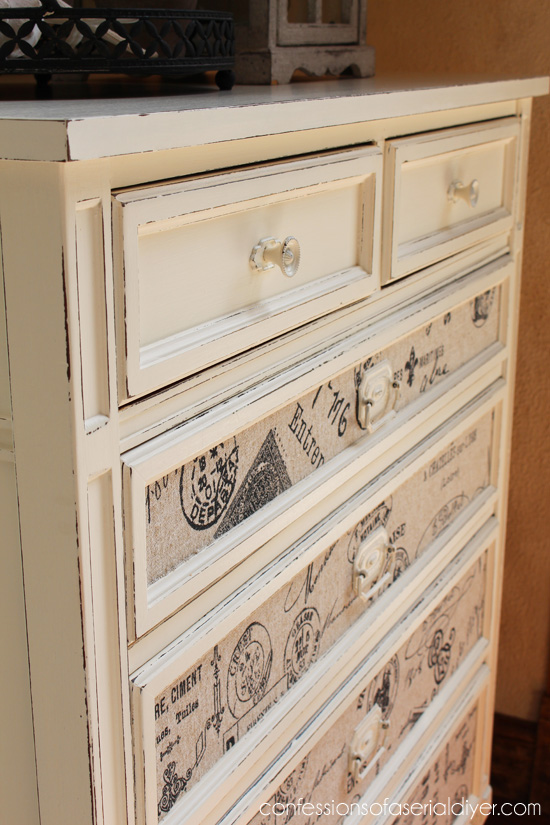
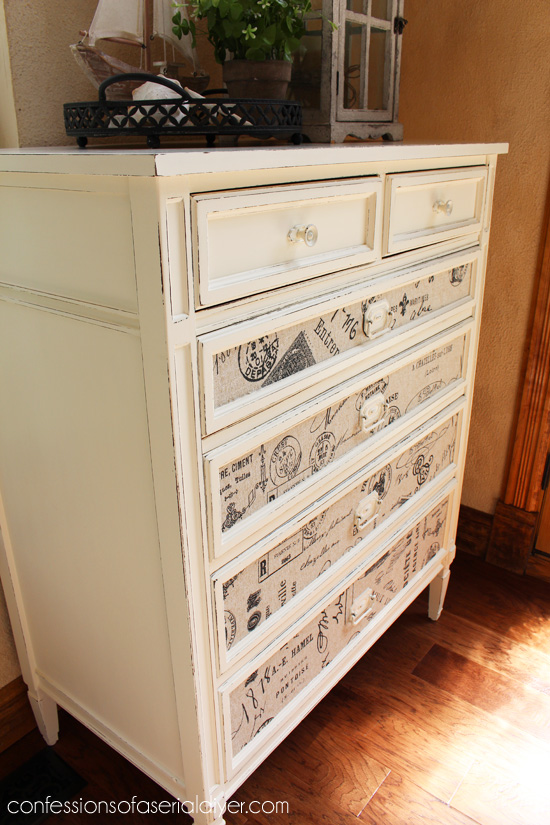
add fabric!
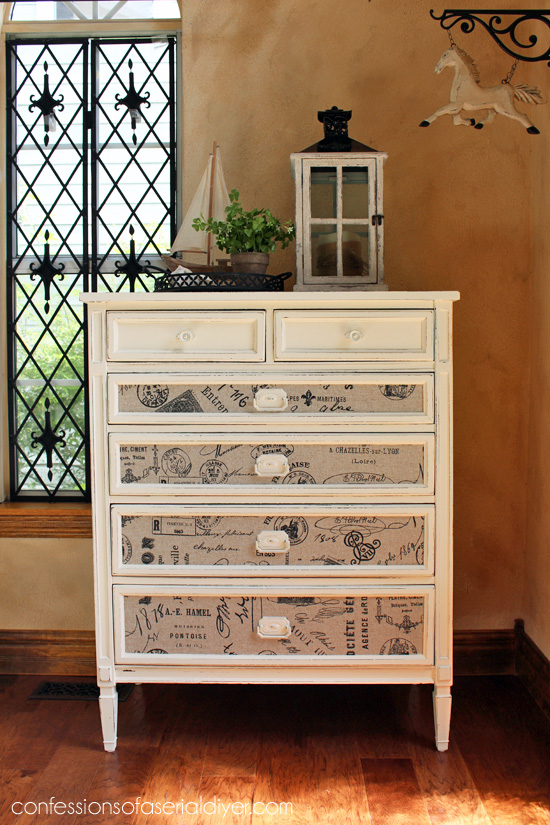
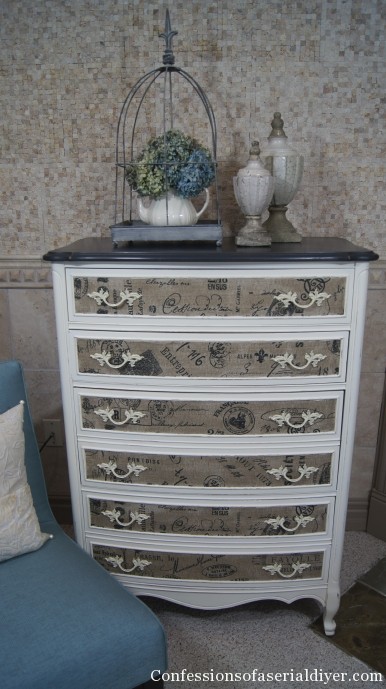
Ooh la la! What brown dresser? I am SO thrilled with how this turned out! You just never know how things will go when you start imagining what you want to do to a piece.
I’ve included a few affiliate links so you can find the products I love too.
I know I use this fabric A LOT, but I love it for its sophistication, for its stain-hiding power, and because it is still pretty neutral. I found it Hancock Fabrics. (So sad they went out of business. 🙁 )
The paint is my go-to DIY chalk paint, using Behr’s Cottage White. I sanded the edges and added a coat of Annie Sloan’s clear wax, with two coats on top.
I reused the original hardware:
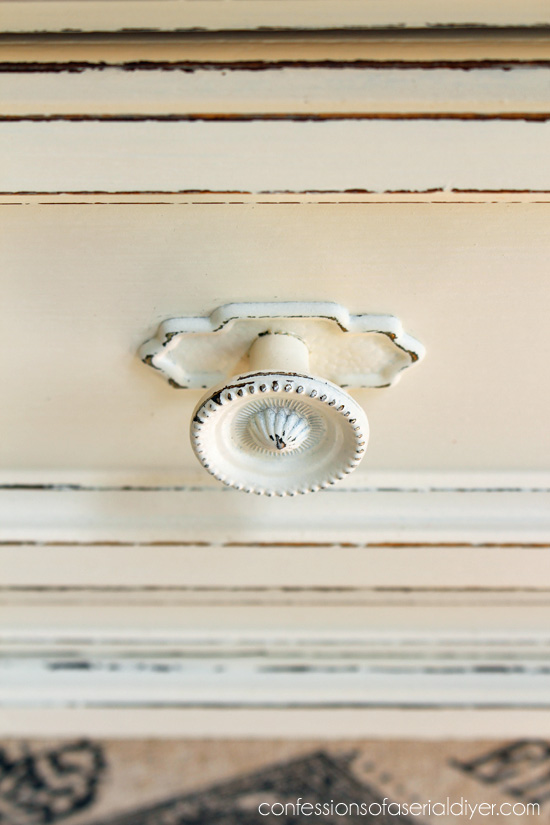
It turned out really pretty. All the hardware was updated using Rustoleum Spray Paint in Heirloom White.
Lightly sanding them as well brings out the pretty details.
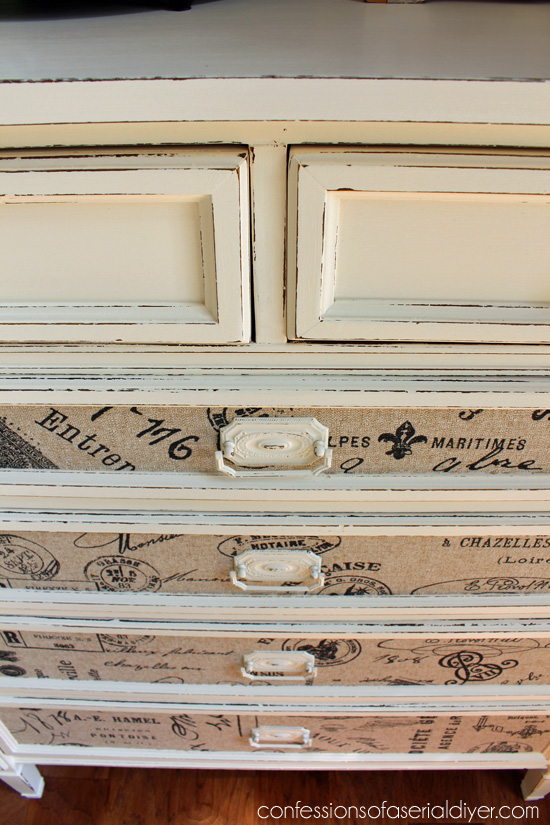
Adding the fabric is pretty straight-forward.
I prepped the drawers by painting, sanding, and waxing first. Then I cut the panels using my rotary cutter and cutting mat. Be careful not to handle the fabric too much to help prevent the edges from fraying.
To attach the fabric to the drawer fronts, I use matte Mod Podge…
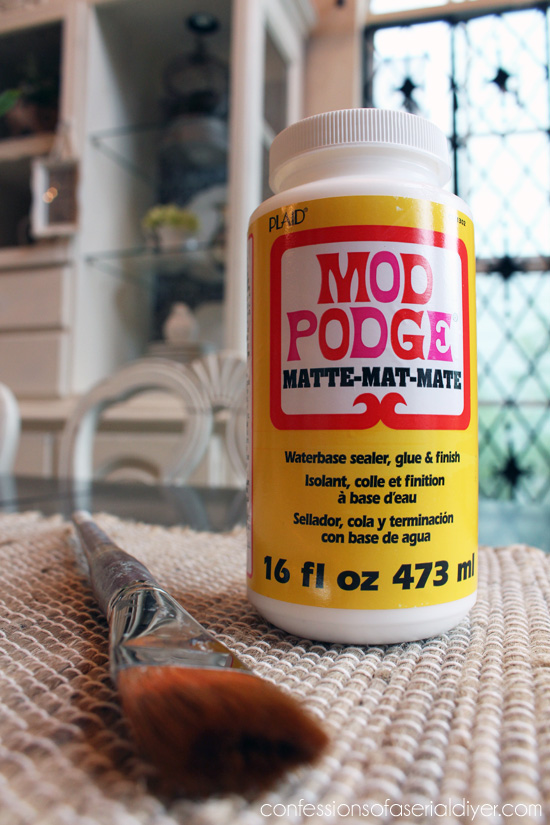
I just paint it on with a decent brush and then lay the fabric right on top…

I used to add another coat on top, but not any more. It alters the color a bit and I don’t think it’s necessary.
If you mess it up, just pull it off and reposition it.

I gave a dresser a very similar treatment a couple of years ago:
After I was just about finished painting this dresser, I realized that I had this night stand with very similar lines:
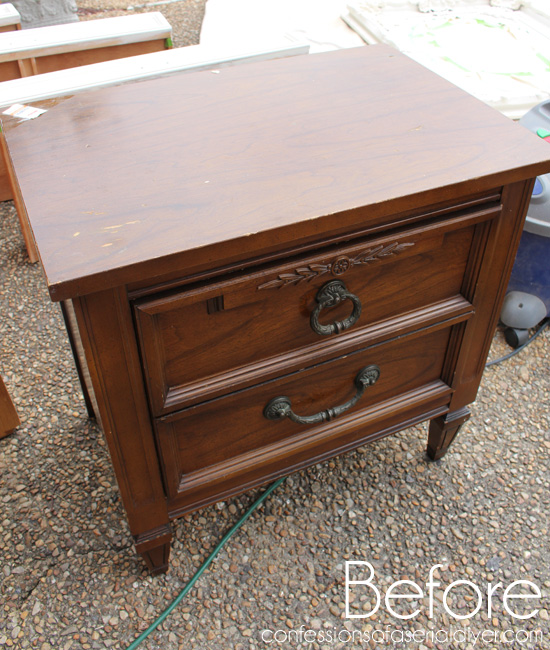
So I redid that to match. I’ll share that soon.
Update: Actually you can see it here now! 🙂
But first…there’s more!
Today I’m teaming up with two of my favorite thrifty bloggers to bring you even more thrifty makeover goodness!

Here is what they are transforming today…click on each image to see their fabulous makeovers!
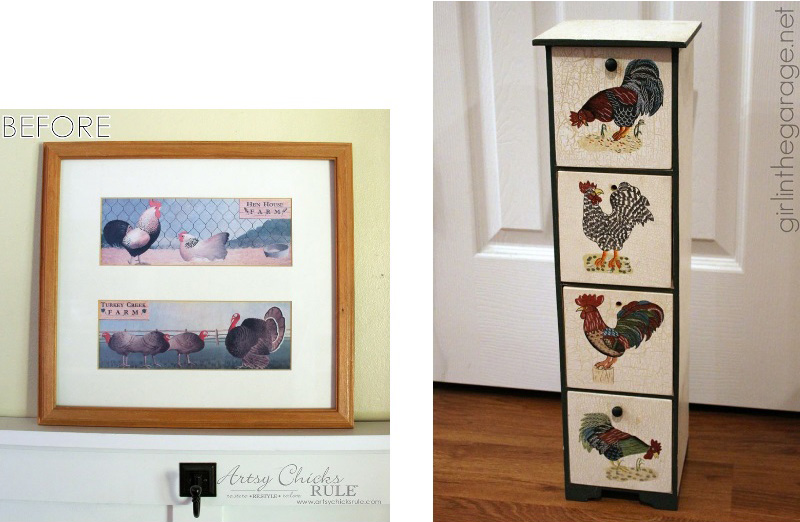
Artsy Chicks Rule Girl in the Garage
(Apparently there was a theme that I wasn’t aware of. 🙂 )
Wasn’t that fun? Three for the price of one!
XO,
![]()
Don’t Miss a Thing!
If you like what you see, there are several ways to follow along!
Email * Facebook * Pinterest * Twitter * Instagram


ColleenB. ~ Texas says
I like the looks of the fabric on the drawers. A person would never know that it was the same dresser; It’s stunning and with it being neutral, it should work in almost anyone’s home. It will be a quick seller that’s for sure.
Have an enjoyable day.
Christy K. James says
Thanks, Colleen! It’s amazing what a little paint and fabric can do. Have a great day too! 🙂
Kimm at Reinvented says
Ha! Quick, add a rooster! 😉 I am in LOVE with this dresser! I never cease to be amazed by how paint brings out details. It looks like a different piece. Loving the fabric idea too, and pinning for future reference! 🙂
Christy K. James says
Ha ha they never told me there was a theme lol. I’m so glad you like it, Kimm. Paint is magic for sure! XO
Nancy @ Artsy Chicks Rule says
You worked your magic on that dresser! It’s beautiful!! And what, no roosters?? 😉
So funny!
See ya soon!! 🙂
Nancy
Christy K. James says
Thanks! No I did not get the rooster memo lol. See you in two days!! 😀
Anne@DesignDreams says
Gorgeous! Love the dresser, love the paint colour, love the fabric – what a beauty!!!
Christy K. James says
Thank you so much, Anne! XOXO
Lauren @BlesserHouse says
This turned out so beautifully, Christy! I would have never thought of adding fabric to those drawers, but wow! So stunning! Your little boys are precious too. 🙂 Glad y’all had a great holiday weekend!
Christy K. James says
Thank you, Lauren! I’m looking forward to you joining us next month!! 😀
Glenda W. says
I love your blog and your furniture makeovers! I was wondering if you can tell me the name of the fabric you used on this dresser. I would like to buy some but don’t have a Hancock’s nearby so I would like to find it online. Thanks!
Christy K. James says
Thank you so much, Glenda! This looks like it here: http://hancockfabrics.com/postage-and-script-on-tan-cotton-fabric-3669926.html 🙂
Kris @ Junk Chic Cottage says
Christy,
What a beautiful re love of this dresser. It is gorgeous.
Kris
Christy K. James says
Thank you, Kris! I hope someone will enjoy it now for years to come. 🙂
Marie@The Interior Frugalista says
I wouldn’t expect any other than your signature fabric Christy! What a difference between the before and after – very pretty. Love the hard that came with this piece too. You do realize that big empty void you are replacing this with in your booth will be empty again real soon right?
Marie@The Interior Frugalista says
“hardware” not hard…geez
Christy K. James says
Thanks, Marie!! And I hope so ha ha! I do love the hardware that comes with these older pieces. The ones on the night table are even prettier. 🙂
Jen @ Girl in the Garage says
I absolutely love it Christy! Fabulous! xo
Christy K. James says
Thanks, Jen! I think this series will be a hit! XO
Rose L. says
What a unique idea! I love it!
Christy K. James says
Thank you, Rose! XO
Louise says
Love, love it! By chance have you ever tried to remove the fabric from a piece once it’s been mod podged on for awhile? Is it like super glued or removable with a little residue?
Christy K. James says
I had never actually tried to remove the fabric after it had been on there a while, so I just tried to pull it off in one of the corners of my entry table and it appears to come off very easily, but will probably leave a bit of residue and lint from the fabric. 🙂
Chris Savage says
I haven’t had good luck doing this, mostly bad frayed edges of fabric. Dis you really wax the drawer fronts first before adhering fabric?
Christy K. James says
Oh no! I think the key for me is cutting with a rotary cutter and straight edge and handling it very minimally. I did wax the drawers first, but mostly just the outer edges that would be seen, not so much on the panels that would be covered in fabric.
Chris Savage says
Will try the rotary cutter tip! Love your blog and all your ideas! Such inspiration to this DIYer! Thank you!
Christy K. James says
I think that will be a big help! And thank you so much!! 🙂
Gilly @ Colour Saturated Life says
Just beautiful, I am yet to not love one of your makeovers! You have such an eye for detail.
Christy K. James says
Thank you, Gilly! You are too sweet!
sheila says
Love your idea for this dresser. I have several that I bought back from Germany (military housing) now I have some idea what to do with them (end tables, buffet servers) thanks
Christy K. James says
Thanks, Sheila! Fabric options are limitless too!! 🙂
Ree Cee says
Christy: I am so lucky to be able to see your beautiful work in person at the Virginia Beach Antique Mall (I have a tiny booth there but we won’t even discuss that disaster). I could just live happily ever after in your booth!
I actually ran into you today – you are more beautiful in person and as nice as you look! I can’t believe that you have time to do all the quality gorgeous pieces you do with work and kids and a hubby. You are truly an inspiration!
Christy K. James says
You are so sweet, Ree and I’m so glad you stopped me. It was really fun for me to run into someone who follows my blog…you guys totally keep me motivated!! I’ll see you around, right? XOXO
Kim says
Your piece looks great! The fabric inlay is a wonderful way to update it, and it looks so much better than before. You really increased the value on such a versatile piece. Great job!
Christy K. James says
Thank you, Kim! I bought it because it was in excellent condition inside with no musty odor that accompanies a lot of older pieces. I’m so glad I was able to make the outside pretty too! XO
Lynn says
Wow! amazing transformation. I’ve got a dresser I’ve wanted to do this too but didn’t know how to get started. Thanks so much for the tips!
Lynn
Christy K. James says
Thanks, Lynn! The fabric really gives it a whole new look, Good luck! 🙂
Wendi @ H2OBungalow says
This is just gorgeous! Love the fabric inlay!!
Christy K. James says
Thanks, Wendi!! XO
Marie@The Interior Frugalista says
Girl, I am featuring this fabulous dresser this weekend at the DIY Sunday Showcase party!
Christy K. James says
You are awesome! Thanks so much!! XO
Monica says
Amazing make-over!!!! Thank you for sharing with us all your tips and tricks! :)Do you use the spray gun or the brush? Thank you!!!!
Christy K. James says
Thank you, Monica! I use a brush. 🙂
Monica says
Thank you Christy for the answer!!!:) Wish you allllllll the best!:)
Christy K. James says
😀
Jeanette says
Christy, I have the perfect fabric for something like this…just need to find a dresser. Lovely!
Christy K. James says
Thanks, Jeanette! 🙂
Trish says
It looks awesome. The fabric is gorgeous.
Christy K. James says
Thanks, Trish! XO