This post is sponsored by The Home Depot, but y’all know I wouldn’t vouch for anything I didn’t love!
Hey sweet Friends! I’m back today sharing how I put my own spin on the fun Father’s Day Football Toss I told you about last week. It’s an upcoming project from The Home Depot Workshops!
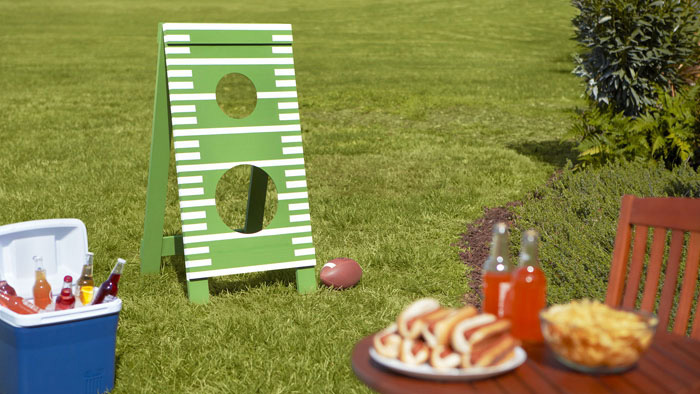
Here is their original version:
Did you know that The Home Depot offers three kinds of workshops? DIY Workshops, DIH (Do-it-Herself) Workshops, and Kid’s Workshops!
Last week I shared this sweet picture of my youngest at his very first Home Depot Kid’s Workshop three years ago:

I can’t tell you how proud he was of his creation, and we still have it!
The DIY Workshop where you can make this Father’s Day Football Toss is taking place this Saturday, June 18th, and you can register for it here:

During this workshop, you will:
- Learn to build an outdoor football toss game. Learn to properly measure and accurately cut wood; safely operate both circular and reciprocating saws and a drill; and paint or stain your project like a champ with grid lines straight from the gridiron. The end result will be the skills to craft an outdoor game that will keep your family entertained all Summer long.
This is a perfect opportunity to try out some power tools, y’all! That’s the best reason of all right there!! Oh yeah…and because a favorite Dad in your life will LOVE it!
Want to make one yourself at home instead? You can!
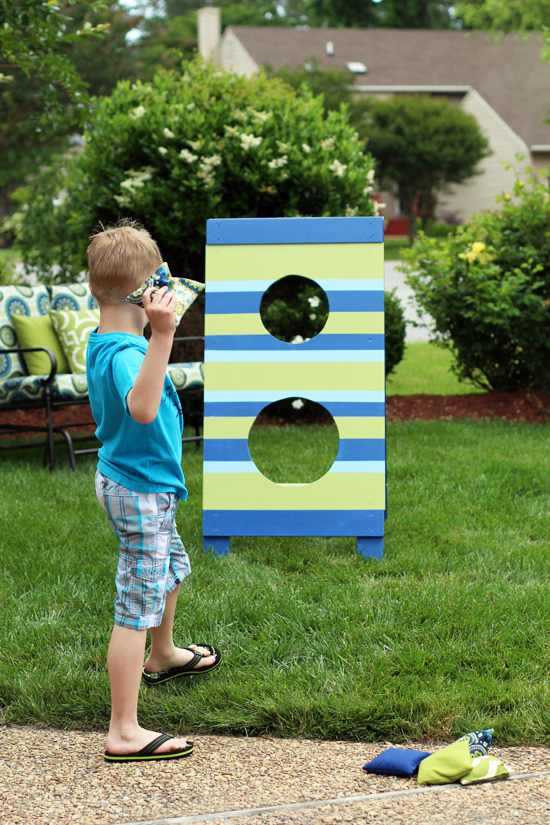
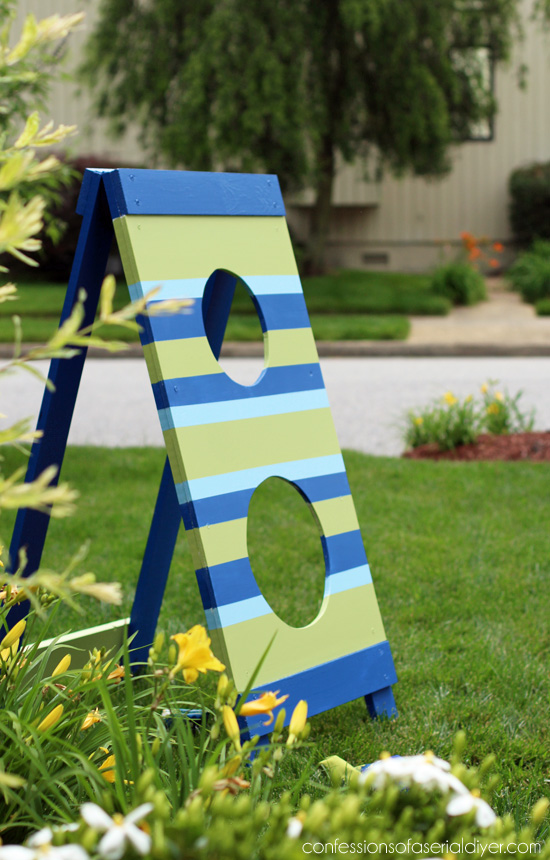
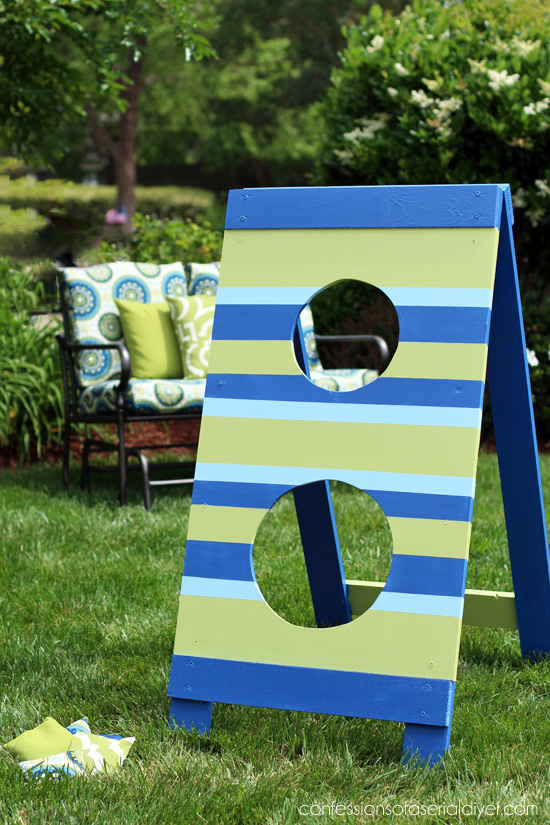
But first, let’s see how mine turned out:
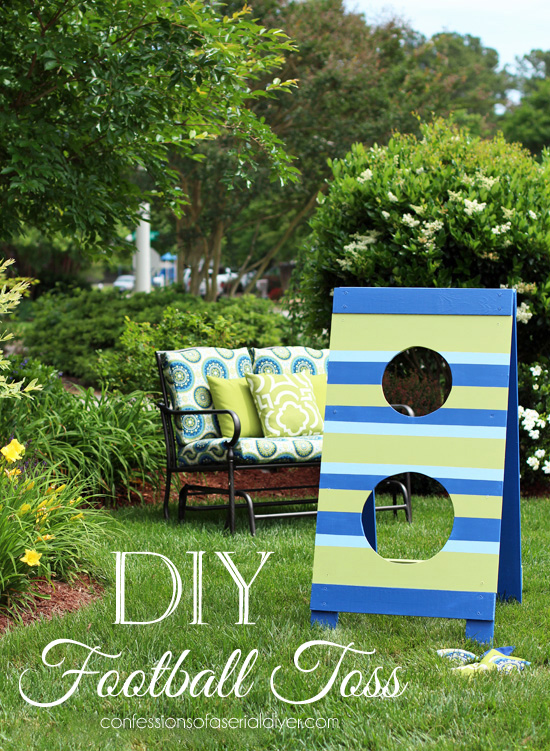
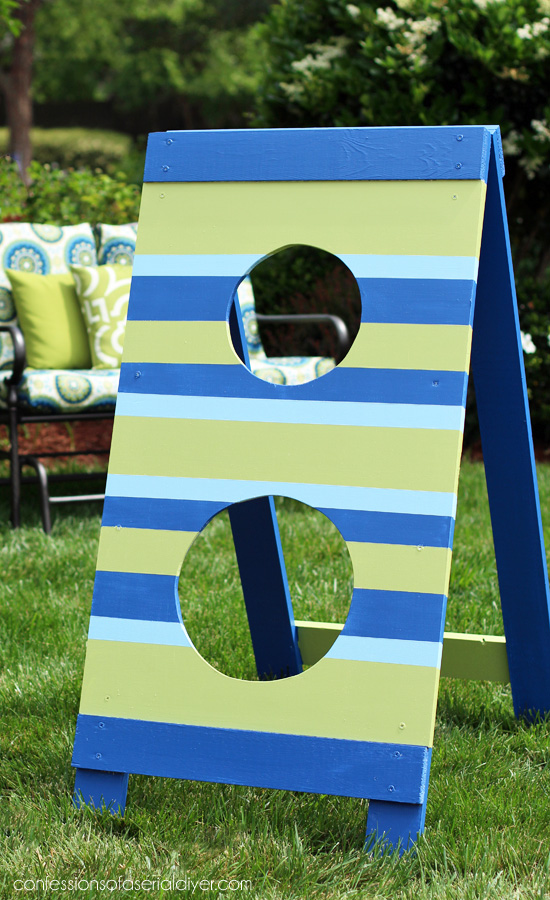
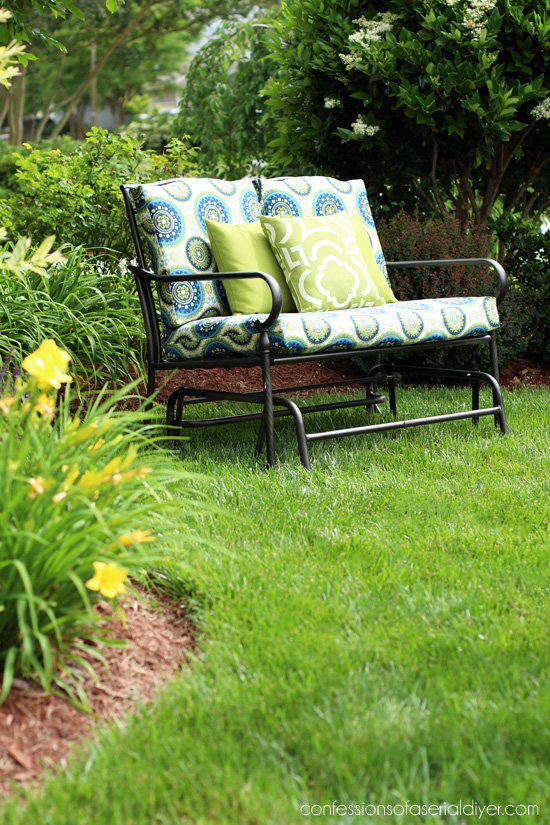
As you can see in the background, I decided to match it to my outdoor glider bench that I recently gave a much-needed makeover to:
For a little extra fun, I decided to make bean bags out of the leftover fabric from my new outdoor cushion covers for it as well.
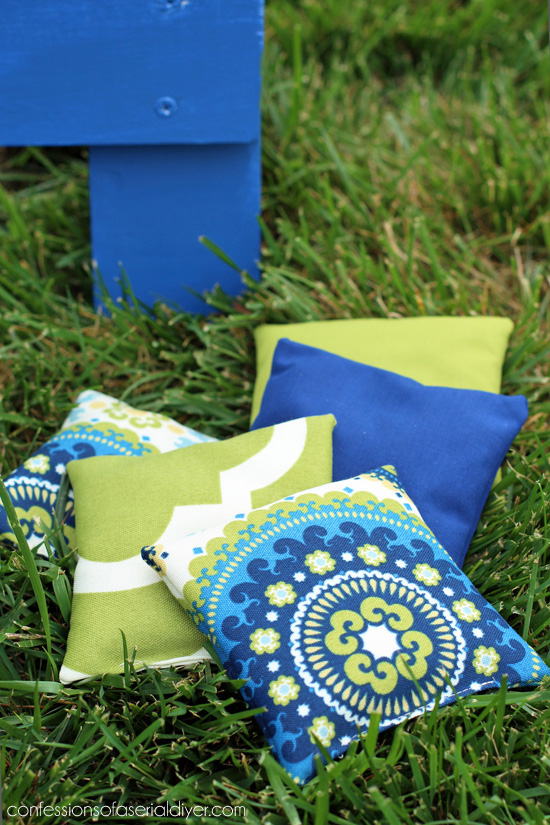
Even more outdoor family fun!
So here’s how I made it…
I started with these:
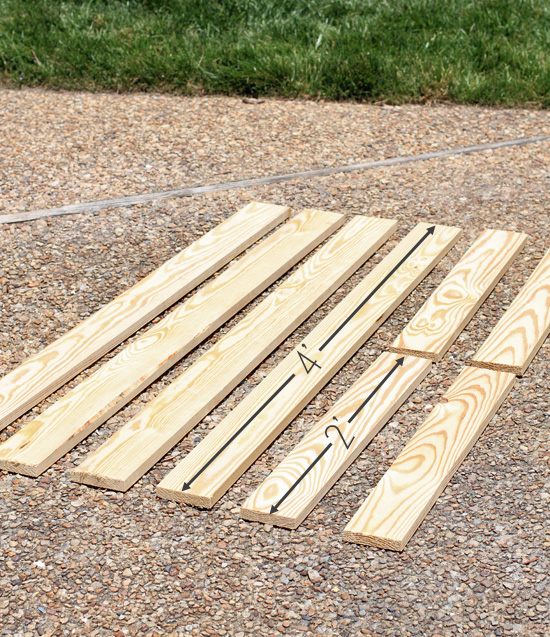
- Four 1″ x 4″ x 4′ pieces of wood
- Four 1″ x 4″ x 2″ pieces.
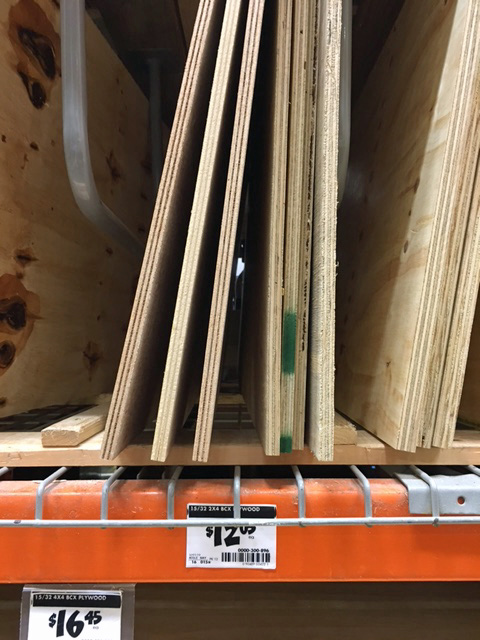
Mine started out as two 1″ x 4″ x 14′ strips. These were the cheap pieces at $3.61 each:
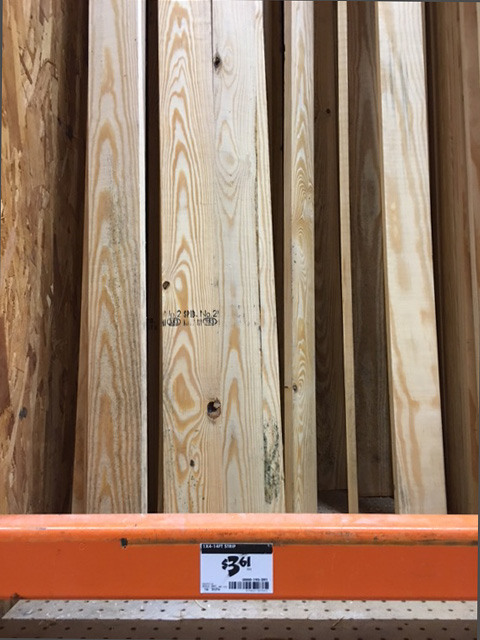
And I totally cheated… I had the awesome guy at The Home Depot cut them for me since I needed them shorter to fit in my car anyway.
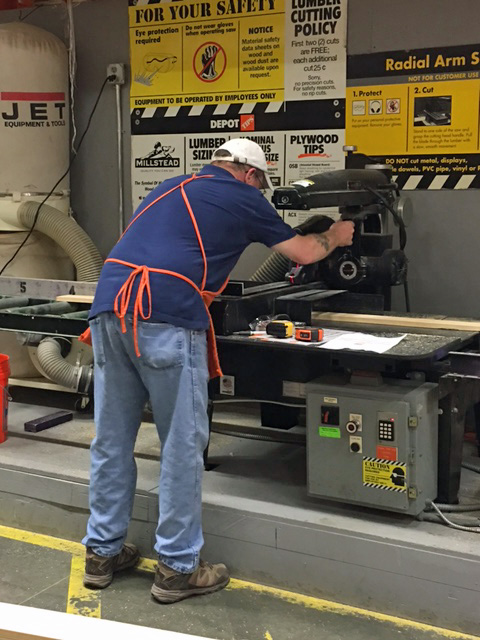
Cheater cheater, pumpkin eater. But hey, I could do it myself if I had to. 😉
The other main component needed for this project is a piece of sanded plywood, cut to 2′ x 3′. You can buy it in 2′ x 4′ pieces.
I had that cut to size for me as well. (The leftover piece will make a great sign!)
You’ll also need the following supplies:
- Two packs of #10 x 1-1/4 in. Phillips Zinc-Plated Flat-Head Wood Screws (8 per Pack)
- One pack of #10 x 3/4 in. Phillips Zinc-Plated Flat-Head Wood Screws (12 per Pack)
- 2-1/2 in. Zinc Plated Utility Hinges (2-Pack)
- Nail
- String
- Pencil
- Sandpaper (I used 150 and 220 grit)
- Jig saw
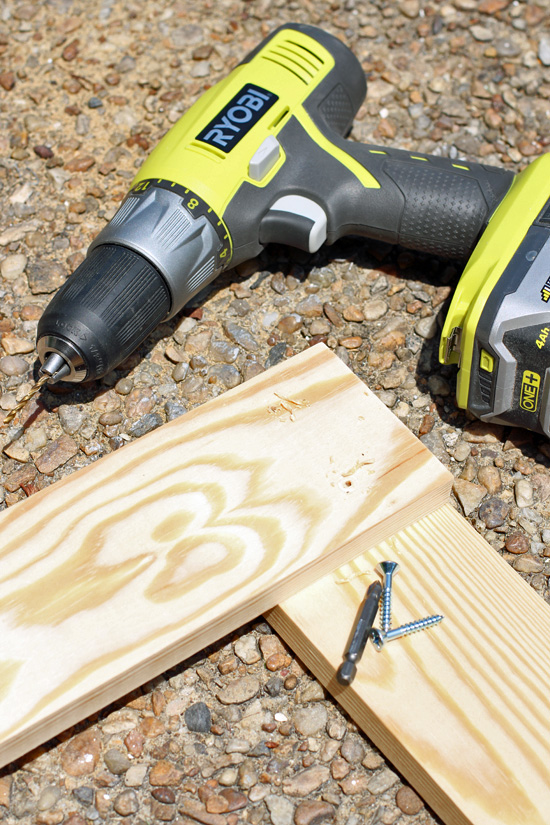
- Drill
- 1/8″ drill bit for pre-drilling
- At least a 1/2″ drill bit (I used a 1″ bit)
I started by sanding any rough edges smooth with 150 grit sand paper first, then 220 grit.
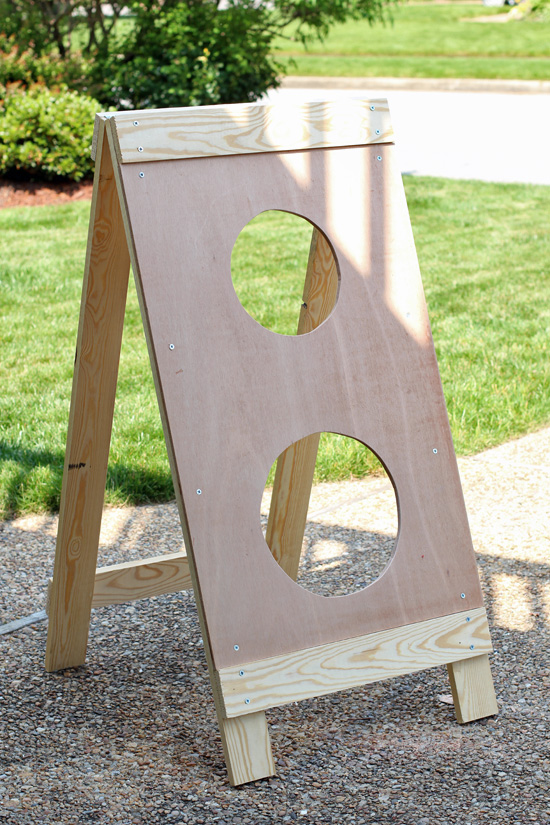
Then I built two of these:

This has one 2′ piece across the top, flush with with two 4′ pieces on either side, and a 2′ piece 5″ from the bottom. (The plywood will rest in between those two 2′ pieces on one of them, so I laid it down in there before attaching the bottom piece to be sure it was a good fit.)
Be sure to predrill your holes to avoid splitting the wood.
Attach them together using 1-1/4″ zinc-plated screws.
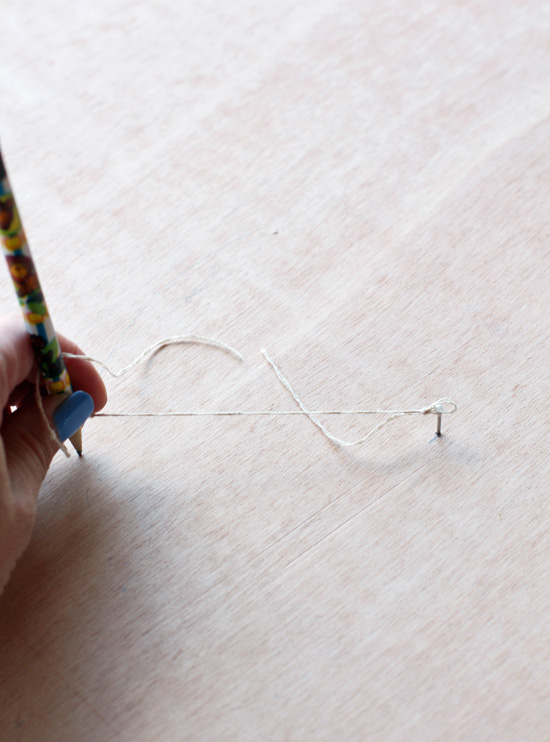
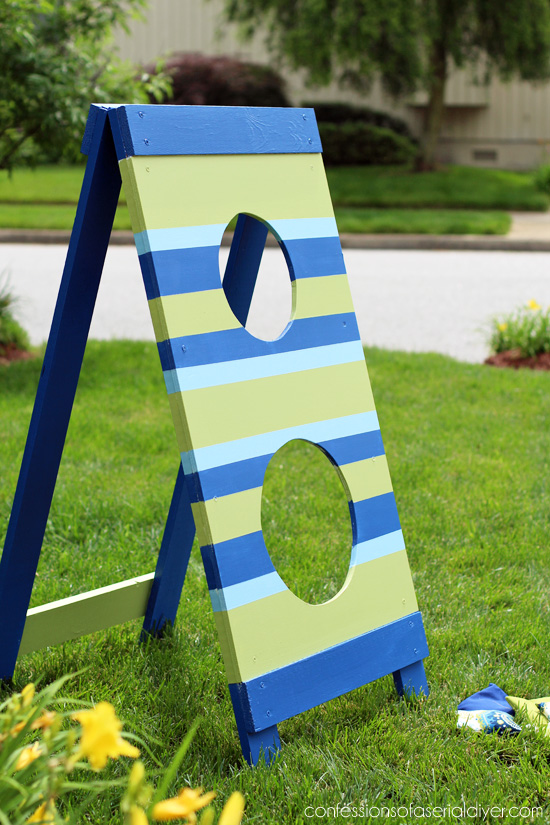
To cut the circles for the holes, measure down 9″ from the top, center, and add a small nail.
Tie one end of the piece of string around the nail and one around the pencil so that the distance between the nail and the pencil is 4″, to create an 8″ hole. Now draw your circle:
For the larger bottom circle, measure up 9″ from the bottom, center, and add the nail. This time the distance from the nail to the pencil should be 6″, to create a 12″ opening.
Drill a hole using at least a 1/2″ drill bit along the inside edge of each of the circles, for the saw blade to fit through. I used a 1″ bit since that’s what I had.
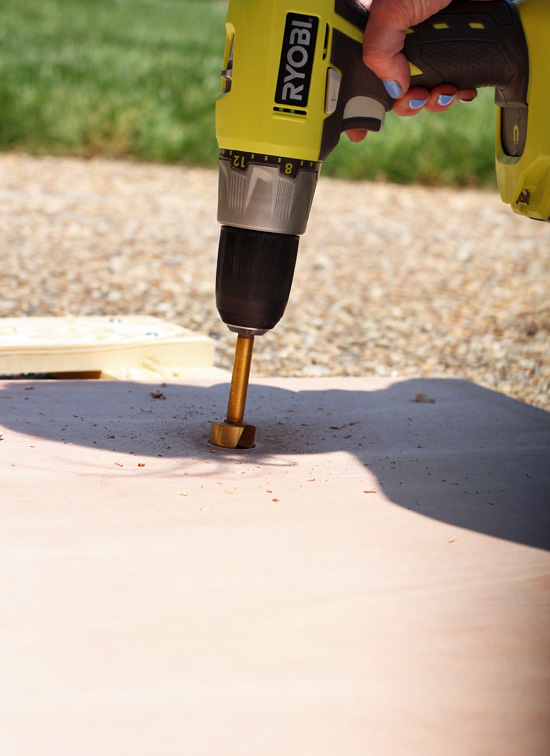
A reciprocating saw was recommended, but I used a jigsaw to cut out my circles:
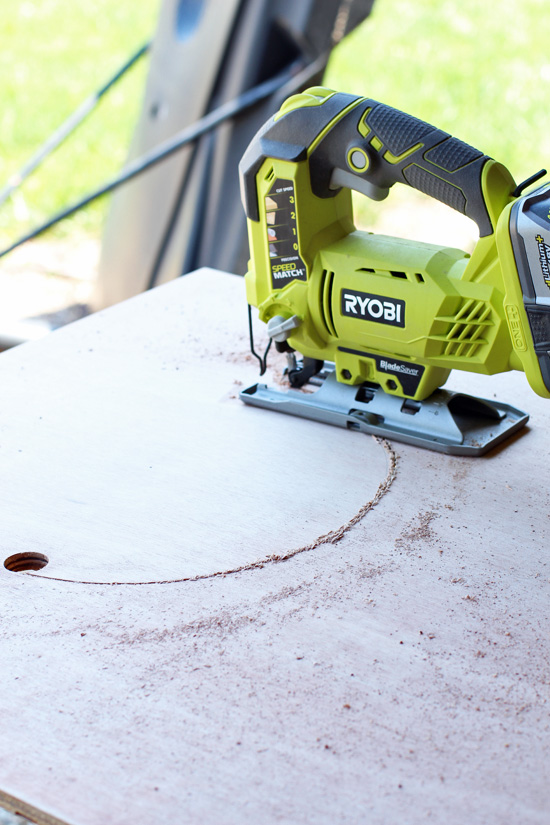
Sand openings well using 150 grit sandpaper first, then 220 grit.
Attach the 2′ x 3′ piece of plywood to one of the frames using 3/4″ zinc-plated screws…

Now you’re ready to attach them to one another using the hinges, and that’s it!
I enlisted my little DIYer to help me prime.
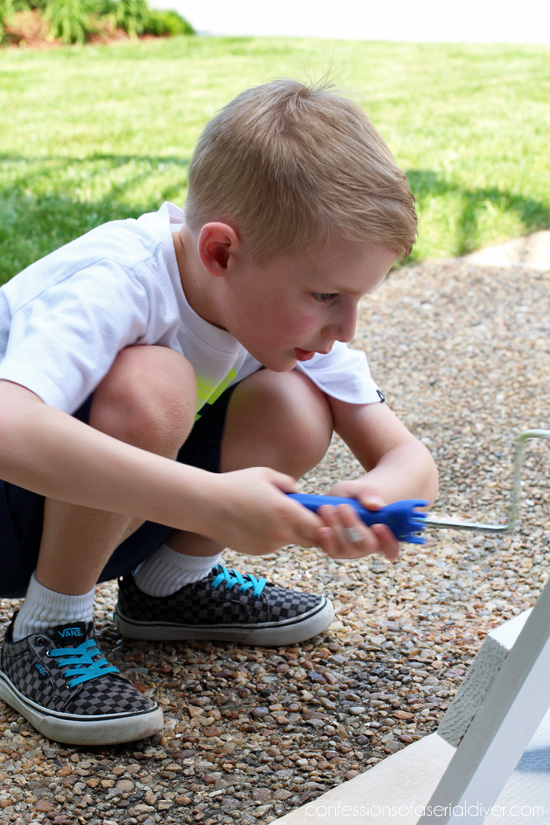
He loves to help! Just look at that concentration.
He got to be the first to try it out…
We also tried it laying flat and tossing the bean bags, another fun option!
If you sew, making the bean bags is simple.
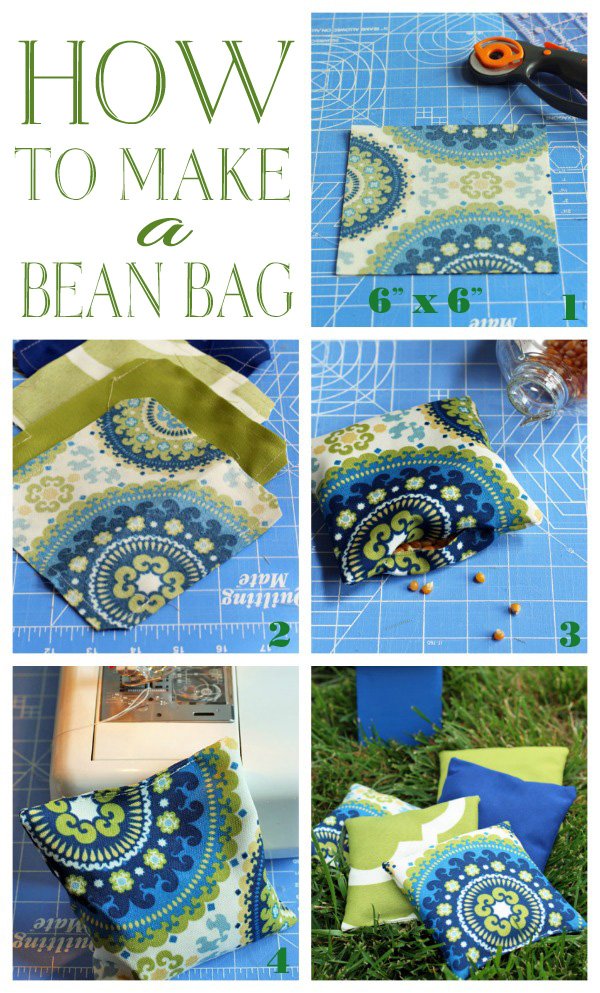
I used popcorn kernels as filler.
If you’re still not feeling confident you can do this yourself, no worries! Register below now to make it at a Home Depot near you this Saturday, June 18th:
Or you may even find something else you’d like to try! The Home Depot offers workshops at all of their locations for do-it-yourselfers of all ages and experience levels!
And now for the Virtual Party part, check out how these talented bloggers put their own spin on this fun football toss game as well:
Remodelando La Casa | Our Pinteresting Family
I’ll be back tomorrow with my Trash-to-Treasure gals sharing what I did with this dated dresser:
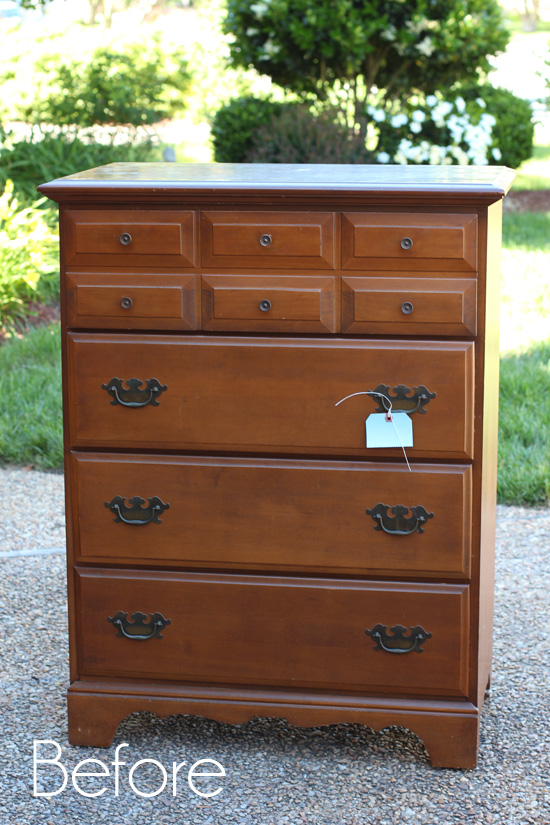
UPDATE: No need to come back! See how this dated dresser looks now HERE!
XO,
![]()
*I acknowledge that The Home Depot is partnering with me to participate in this Workshops Program. As a part of the Program, I am receiving compensation in the form of products and /or services, for the purpose of promoting The Home Depot. All expressed opinions and experiences of this awesome company are my own words. This post complies with the Word Of Mouth Marketing Association (WOMMA) Ethics Code and applicable Federal Trade Commission guidelines.
Don’t Miss a Thing!
If you like what you see, there are several ways to follow along!
Email * Facebook * Pinterest * Twitter * Instagram


Cristina says
Christy, I love the colors you chose, so summery! I’m so glad your assistant is enjoying the game. 🙂
Becky says
Ooooo, great choice, matching your game to your lawn furniture!
Christy says
Thanks, Becky! Not very manly, I know but I had all the colors leftover from my son’s room lol! XO
Wendi @ H2OBungalow says
He is too cute! Love the bean bag idea. I’ll need to make some of these for my grandson when he gets here this week. Your colors are perfect for your yard too!
Christy says
Thanks, Wendi! My son has a blast with the bean bags. We lay it flat on it’s back for that too. 🙂
Marcie Lovett says
That has to be the most stylish beanbag toss in the neighborhood! Maybe the county!
Christy says
Ha ha maybe! I forgot to mention that it worked out perfectly since all the paint was left over from my son’s nursery! 🙂
Paula@SweetPea says
I know that your boys are loving this project! Making it color coordinate with your yard furniture was a good idea.
Christy says
Thanks, Paula! I had this paint left over from my son’s nursery so it worked out quite well. And my boys have had a ball with it so far…it’s been a great way to get them outside!! XO
Christy @ Our Southern Home says
What a sweetie! Ashlyn wants to take the class, but has a tennis tournament this weekend. Thanks for the instructions! We will head to THD to purchase the supplies. Want to take to the beach for the 4th party! I love how yours turned out! The colors are perfect!
Christy says
Thanks, Christy! Ashlyn would have had a ball taking this class…oh well! Ya’ll can still make one…have the HD guys make your cuts for you! 🙂 XOXO
laura janning says
oh i just love this. i love how you added the colors on there too! how fun
Christy says
Thanks, Laura!! My boys have had a ball with it so far! 🙂
Marie, The Interior Frugalista says
What makes yours extra special is that you painted it in your back yard colors and handmade the bean bags to match your cushions. Custom Designer DIY from A-Z and as Martha says, “and that’s a good thing”. Have fun on Saturday!
Christy says
Thanks, Marie! I had the paint left over from my son’s nursery which was perfect! Have a great weekend! XO