I did it, Friends. I broke down and pulled out my Fall decorations! After sharing some of my past Fall Decorating Projects last week, I was ready to start decorating.
Today my Décor Enthusiast girls and I are sharing how we decorate with faux pumpkins.
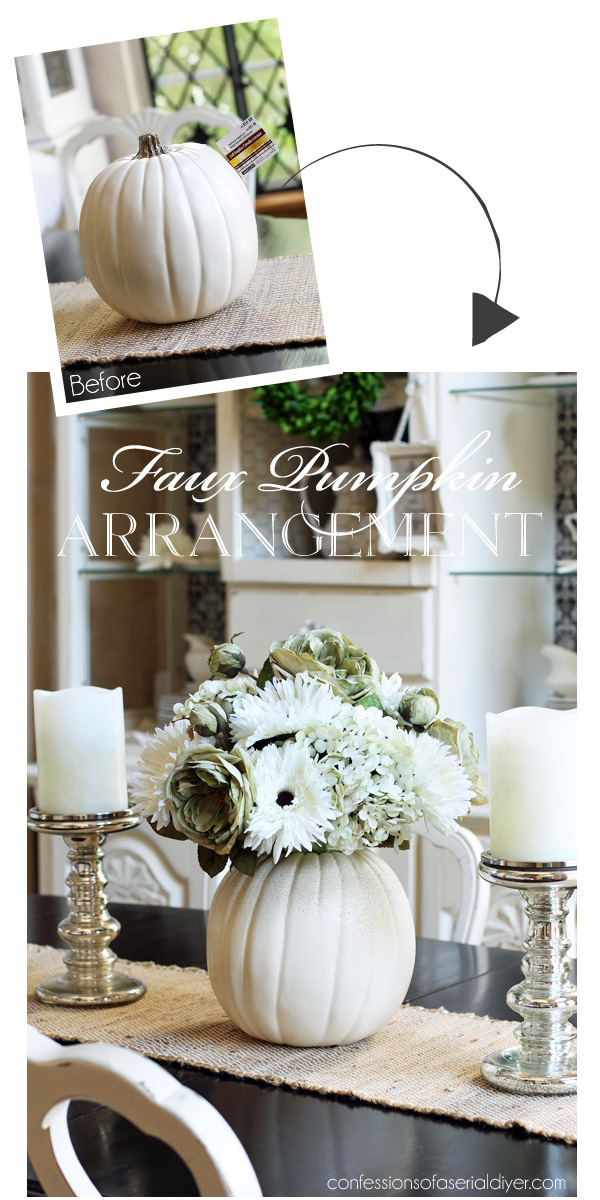
I picked up this little guy at Michaels last week in hopes of adding something new to my Fall Décor this year:
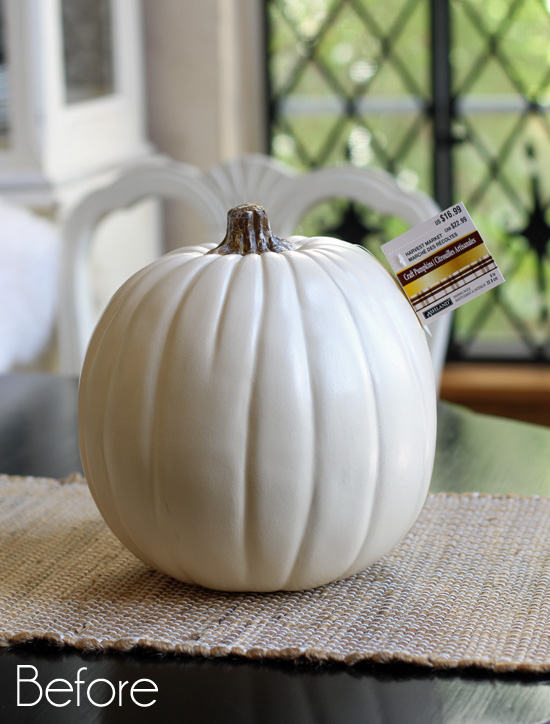
It’s a basic crafting pumpkin that can be carved, but after walking around with it in Michaels for an hour, I decided on another idea.
I ended up picking up some floral stems to create an arrangement in it:
I’m not 100% sure these florals scream Fall, but they were part of the Fall Stems at Michaels so if they say so, who am I to disagree? I embraced them!
I usually hunt high and low to scout out the cheapest, but nicest-looking-for-the-price florals, and make them work. These were the nicest looking, but NOT cheap! Oh but I just had to have them. I really did try to look for cheaper alternatives, really I did.
I still ended up spending almost $40 for them even with them being 40% off, and then an additional 20% thanks to a Labor Day weekend coupon. The pumpkin was $8 with all the discounts. Remember how cheap I am? I had a hard time swallowing that, BUT this arrangement will be enjoyed for years to come, right?
Here’s what I used to make this arrangement:
 1. Carving pumpkin
2. Stone Textured Spray Paint
3. Floral Foam and knife
4. Glue gun and glue stick
5. Wire cutter
6, 7, & 8. Stems of your choice. ( I used eight #8s.)
I started by carving an opening in the top of my pumpkin with the knife:
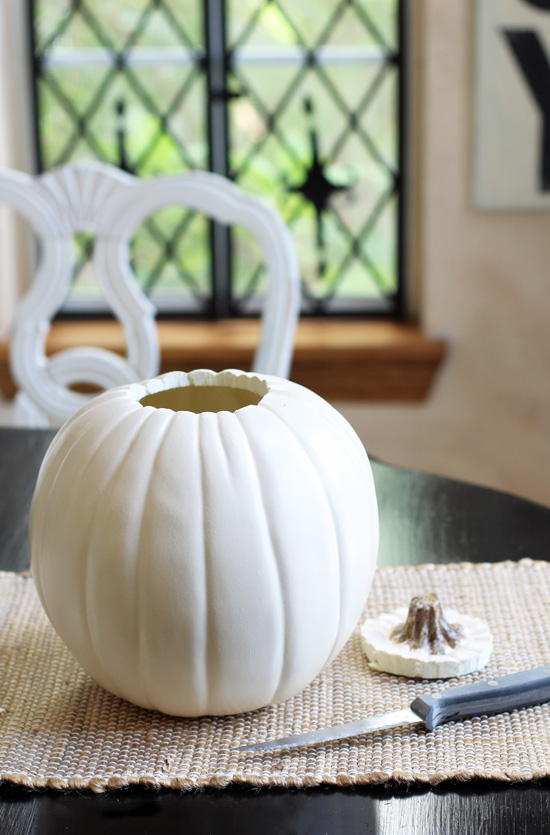
I kept it small to help better support the stems.
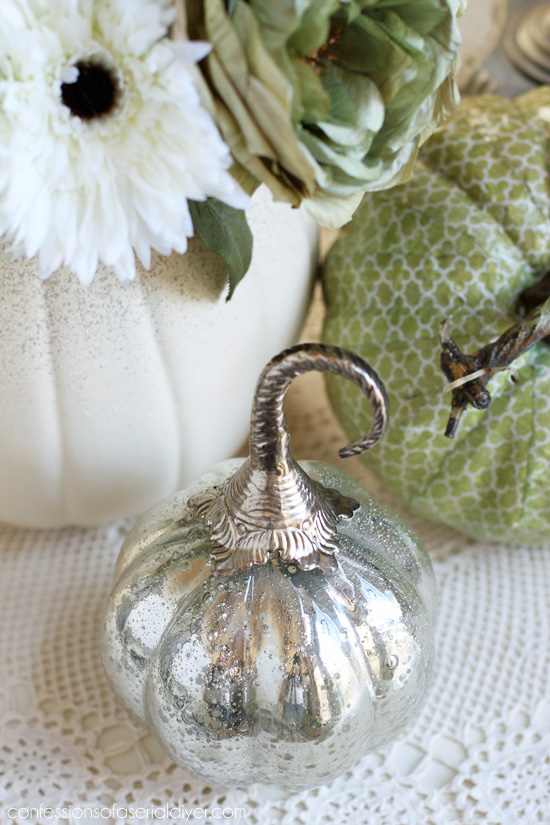
Then I took it outside and gave it some interest by adding a little Rustoleum Stone Textured Finish spray to the upper portion of the pumpkin.

After the pumpkin was completely dry, I cut the floral foam into a square to fit the inside bottom and hot-glued it in place.
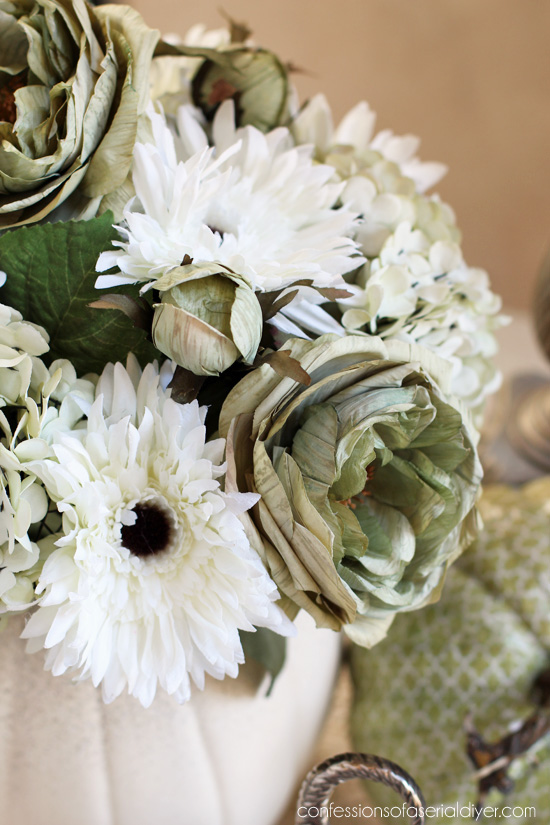
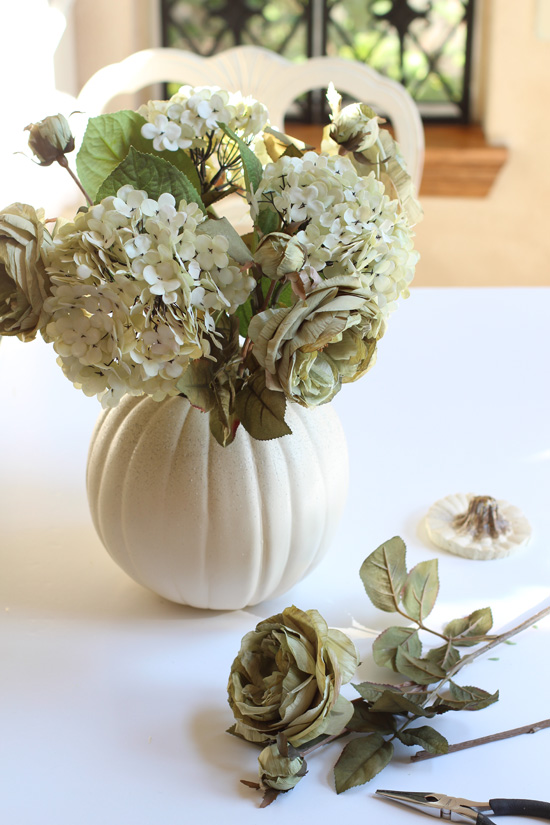
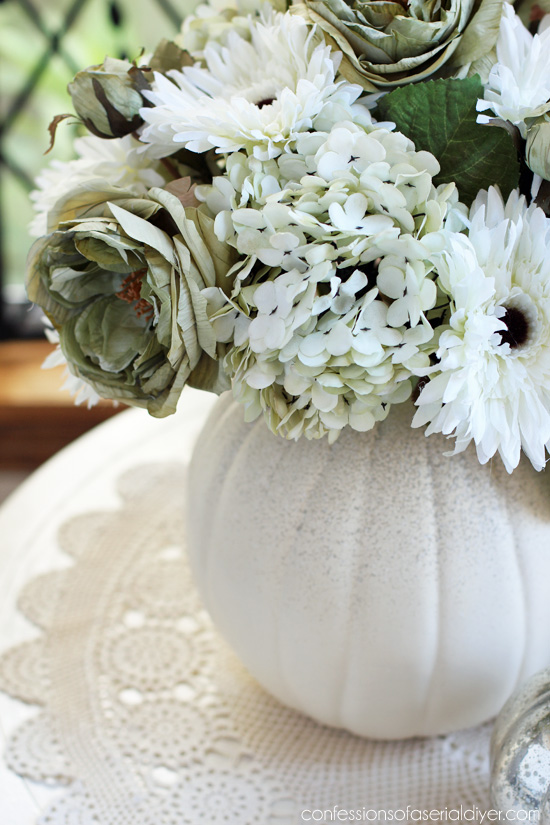
Next I started with the shabby rose stems, my favorites! I cut about 6-8 inches* off the bottom and added three of them to the foam, spaced evenly apart.

*In these photos, they are longer than the finished product. I went back and cut them down a bit more.
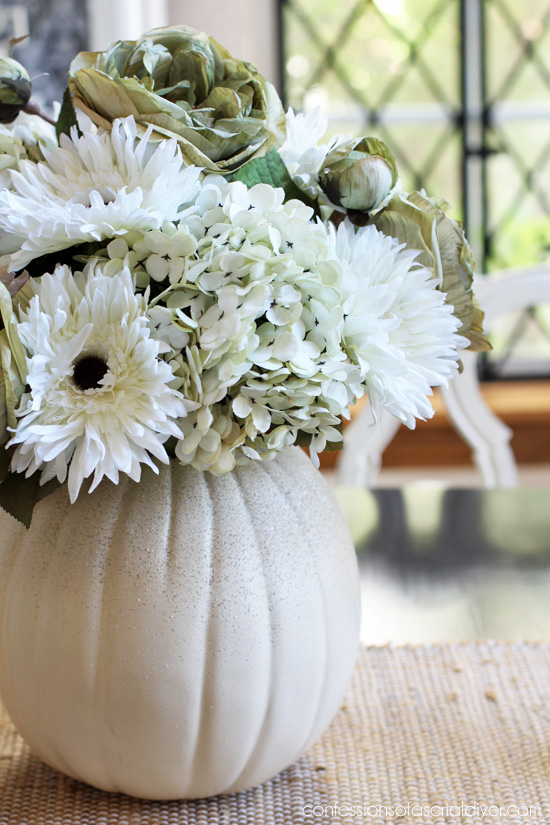
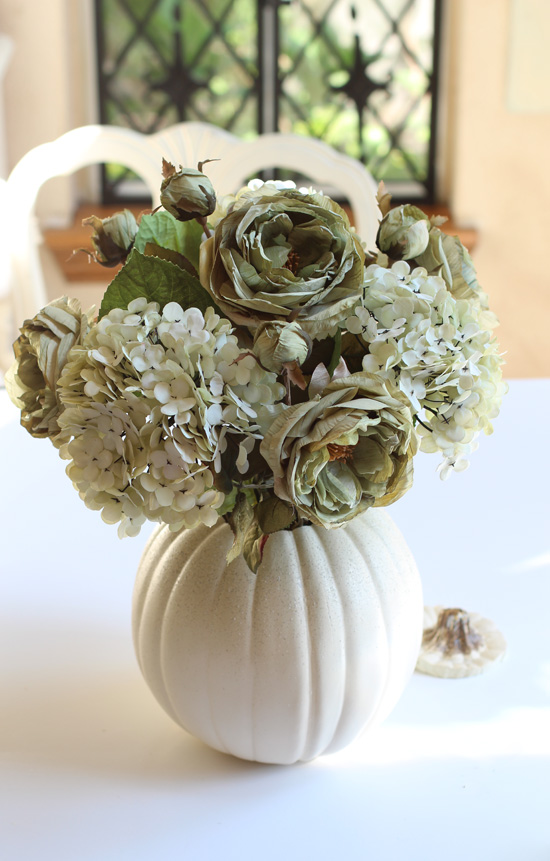
I followed with the hydrangea stems, also cutting the stems down. I added those in between each rose.
The fourth rose went in the top in the middle and I left that a bit longer.
Then I filled in with the white black-eyed Susans (sounds good?). I used more of those to fill in since they were the least expensive at $1.99 each before discounts.
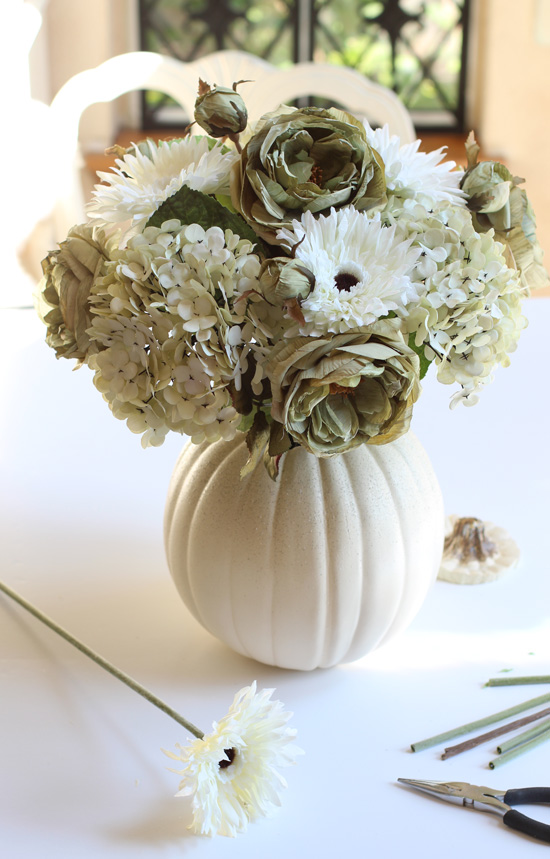
At this point is where I felt the stems seemed a bit tall still, so I went back and cut them down a bit more.
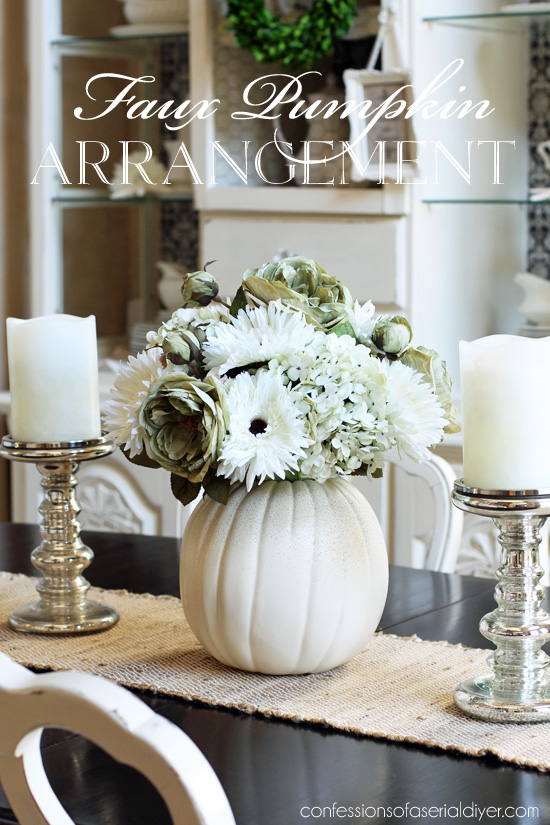
And here is the final arrangement:
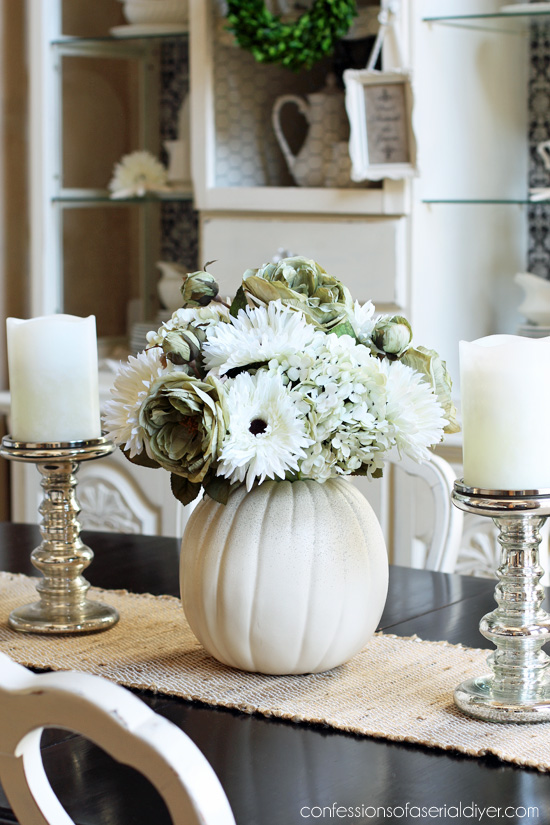
Love this combination of flowers together…and it matches my decoupaged pumpkin I did a couple of years ago!
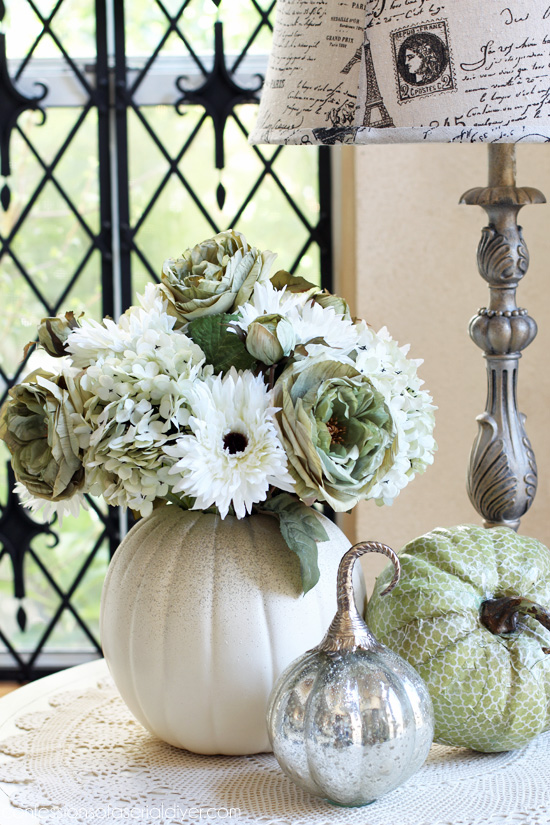

A sweet HomeGoods find from a year or two ago…

My Décor Enthusiast friends are also sharing ways to decorate using faux pumpkins today!
Check them out at the links below for more Fall décor inspiration!

Want to share your own Fall décor using faux pumpkins? You can!!
Take pics of your favorite Fall vignettes and projects using faux pumpkins and share them with us on our Decorating Enthusiasts DIY Forum on Facebook! We created this forum not only so you could participate in our fun decorating challenges, but also so that you have a judge-free zone to share your projects any time, ask questions, and hang out with other creatives just like you!
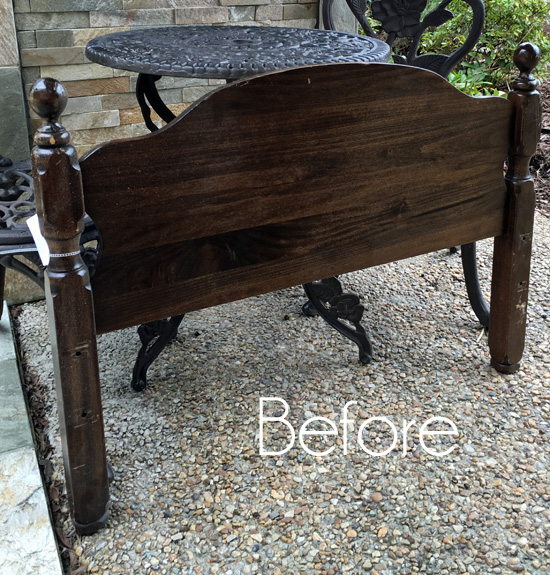
I’ll be back for Trash-to-Treasure Tuesday sharing what I did with this headboard:
See ya then…or in the forum! 🙂
UPDATE: No need to wait…check out how I transformed this headboard HERE now!
XO,
![]()
Don’t Miss a Thing!
If you like what you see, there are several ways to follow along!
Email * Facebook * Instagram * Pinterest * Twitter


Caz says
LOVE it !!
Christy says
Thank you, Caz!
Cate says
This is lovely Christy! Frugality aside, aren’t you glad you spent the $8?
Christy says
Thanks, Cate! The $8 wasn’t so bad…it was the nearly $40 I spent on flowers lol! But yes, I am glad I spent it, I know I will enjoy this for years to come. 🙂
Becky says
Good for you, finding the motivation to do your fall turn over! The added texture on your pumpkin is fabulous. Well done! Aren’t artificial flower prices FRIGHTENING!?! Yikes! I have a heart attack every time I see them! Your project is lovely though, and totally worth it all, I’m sure! : )
Christy says
Thanks, Becky! And yes, the prices of floral stems can be outrageous! I guess if they never die though it’s worth it ha ha! XOXO
Kris @ Junk Chic Cottage says
Beautiful Christy.
Christy says
Thanks so much, Kris! XO
Nancy @ Artsy Chicks Rule says
Those florals may have been pricey but it’s gorgeous!!! And yes, definitely enjoyed for years to come. 🙂
xo
Nancy
Christy says
Thanks, Nancy!! I tried to find cheaper alternatives, but I just loved this combination. Then I realized there was an extra 20% off coupon, so I went for it! 🙂
Annie (Canada) says
Nicely done Christy 🙂 I’m just starting to get into the fall mindset, not ready to give up on summer quite yet maybe in October…lol
Christy says
Thanks, Annie! You hang onto Summer as long as you like! I know it takes a long time sometimes for the warmer weather to settle in up there, so enjoy! XO
Patty says
Beautiful arrangement and love the way you painted and added texture to the pumpkin.
To get really good silk flowers it is so expensive even with coupons, but what are you going to do the cheapies look cheap, sometimes you can get away with the cheap ones, but in your case it paid off in spades to get the good ones, great job.
Christy says
Thank you, Patty! You made me feel better about it ha ha…it’s true, the cheapies often look cheap! XO
Lindy says
Just lovely! I love the white, and really, wouldn’t this be lovely at a wedding?! Anyway, wondering if the same effect could be achieved by just strategically punching a hole and inserting a stem into the pumpkin? The foam on the inside may hold them secure enough and then you could still utilize the stem. What are your thoughts on that idea or am I all wet in my thinking? Love your posts and look forward to them.
Christy says
Thanks so much, Lindy! And yes!! These would be beautiful centerpieces for a Fall wedding!! If the pumpkin was not so tough to cut through, poking holes could totally work, but it was pretty tough to cut through. XO
Christy @ Our Southern Home says
It’s so pretty! I love the addition of the stone spray paint. Michaels does have the best florals!
Christy says
Thanks, Christy! Yes they do! XOXO
Nancy Shaw says
Love the white pumpkin with the white flowers- such a beautiful result with a few items. I would love to make this my autumn “COLOR”.
Christy says
Thanks, Nancy! I am really enjoying a more neutral pallet for Fall. 🙂
laura janning says
such a pretty look with the all white. Im sure you will be enjoying your arrangement all season.
Christy says
Thanks, Laura!! XOXO
MaryJean says
What a great idea, Christy! I have a small pumpkin like that left from last year and I was wondering what I should do with it. I think I’m going to do this. It will be perfect for my dinning room table (not a big table, so scaled down will be good).
Christy says
Thanks, MaryJean! These pumpkins are perfect for arrangements! 🙂
Tamar says
such a pretty look with the all white, its really greatful ideas, so unique
thanks for detail guide
Christy says
Thanks, Tamar!
Alan C. Brown says
Such a beautiful pumpkin with white color, you’re creative Christy. I wish i had one in my house.
Erin Taylor says
I like this idea. Great for fall decorating. Pumpkin is a good elements to make your house become more lovely.
Christy says
Thanks, Erin!
Wendi@H2OBungalow says
This is such a pretty way to use a faux pumpkin! Loving the white on white, especially in your house. Pinned for inspiration in the near future:) And yes, faux flowers are crazy expensive aren’t they? I’ve had the same experience and I hated spending the $$ for a project. You’re right though, you’ll love this centerpiece for a long time!
Christy says
Thanks, Wendi! Yes faux flowers can be outrageous! A reader suggested moving these to a different container after Fall to enjoy all year. I might just do that! 🙂
Ana says
This reminds me of flowers used in wedding, with elegant white color. I never thought the combination of faux pumpkin and flowers would look so great. Just planning to make one for my own. Thanks for sharing, Christy.
Christy says
Thanks, Ana!