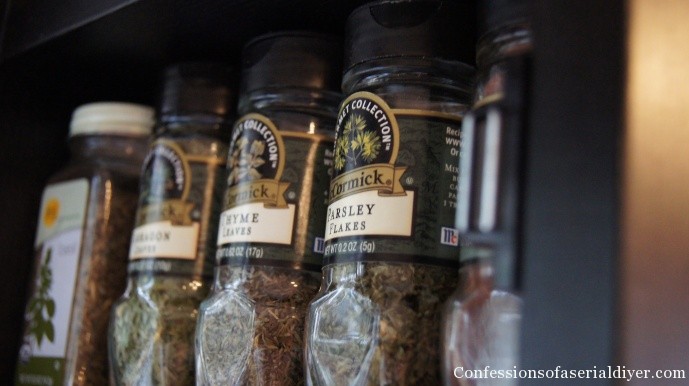
What started out as a plan to get my spices in order steamrolled into an entire day of kitchen organization.
You see, my husband and I have our own spice cabinets. Sound crazy? Well, yes it is. When we combined households we just kept them separate for some unknown reason. Something needed to seriously change!
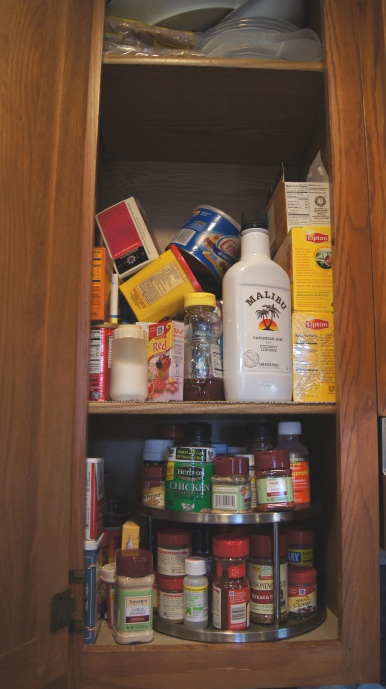
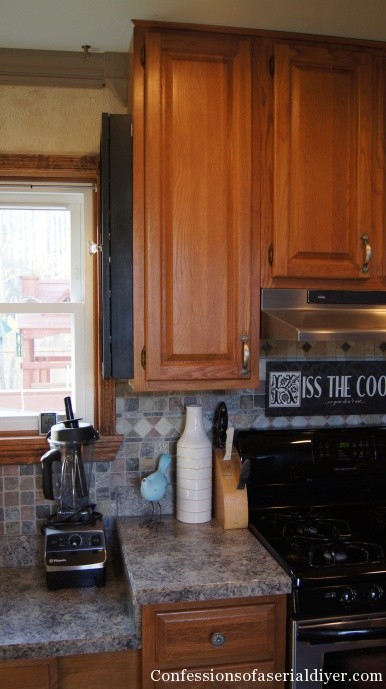
I couldn’t take digging through these cabinets any longer:
Hers:
His:
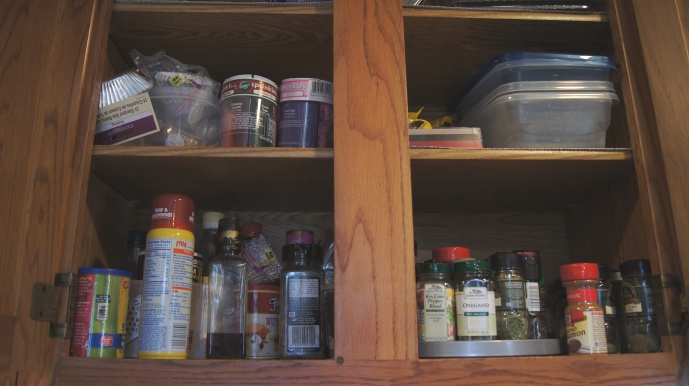
Trying to find what I needed between these two messy cupboards was so frustrating. The closest I came to fixing this mess was adding the lazy susans. My husband’s cabinet is the one above the stove. He can easily reach anything he needs. Me? Not so much.
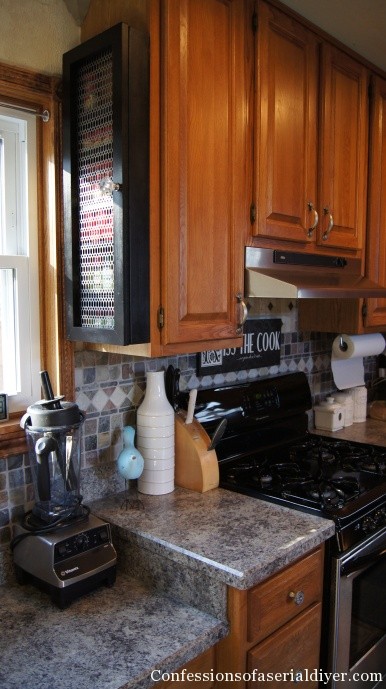
Then the other morning, it hit me: Why don’t I build a cabinet to hang on the end of my kitchen cabinet to hold my spices?
So I did!
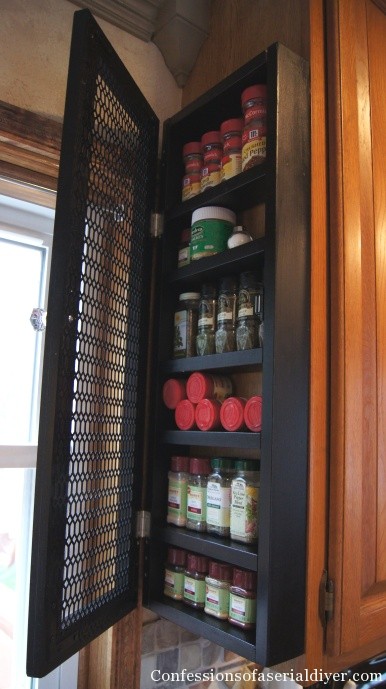
I made it narrow enough to fit neatly on the side of the cabinet.
My original plan was to distress it but I am having a hard time doing that lately. It looks so shiny and new, I don’t want to mess with it.

I love how it turned out. I wish I could say that I built it with leftover wood scraps I just happened to have in the garage but the truth is, I had to buy all the wood for this project.
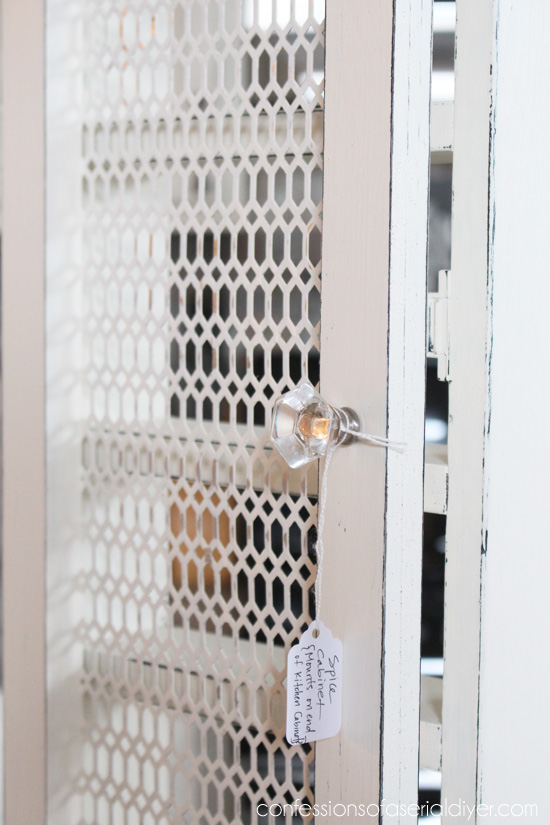
I also had to purchase hinges, a magnetic closure, L braces for the door frame, and hangers for the back. But the final cost was still less than $20! I already had the metal grate for the door insert, the pretty glass knob, and the paint .
I made this cabinet 10″ wide by 30″ tall as to fit the side of my cabinet which is probably pretty standard.
Here’s how I did it:
I cut my pine (3/4′ X 6 X 2) into two 30 ” pieces and seven 8 1/2″ pieces.
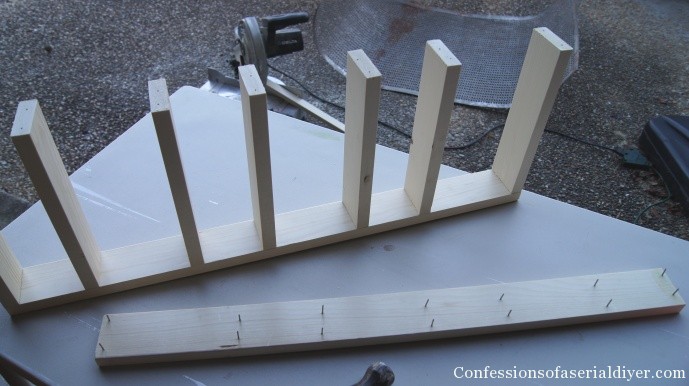
Using a bit of wood glue and finishing nails, I constructed my shelves. I made them to accomodate both small and taller spice jars.
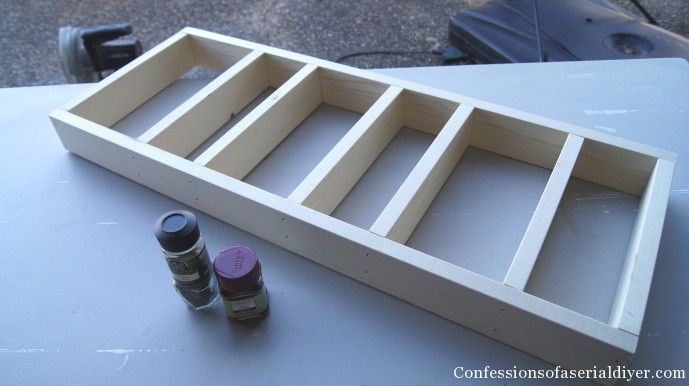
Confession:
I originally cut my shelves 10″ in length but I didn’t realize that building it with the shelves placed in between the sides would add 1 1/2 ” to the width. It wasn’t until I was measuring to see how wide to cut the grate that I noticed. It would have hung off the side of my kitchen cabinet! So…I had to take it apart and cut each shelf UGH!
Live and learn!
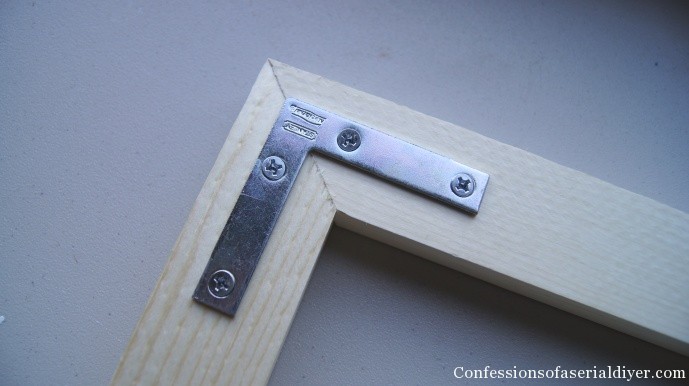
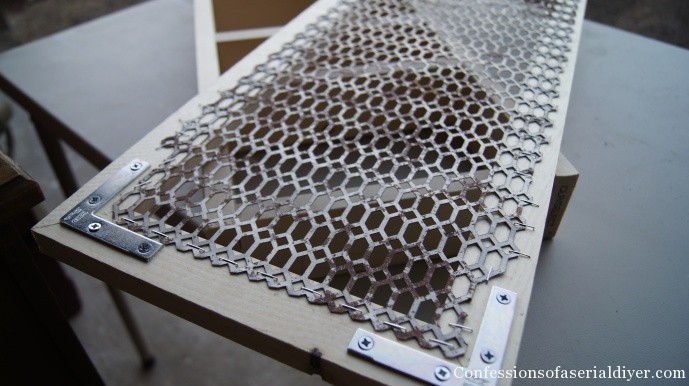
After I fixed my faux-pas, I built the frame, mitering the edges. I used “L” braces (is that what they’re called??) to secure the frame together.
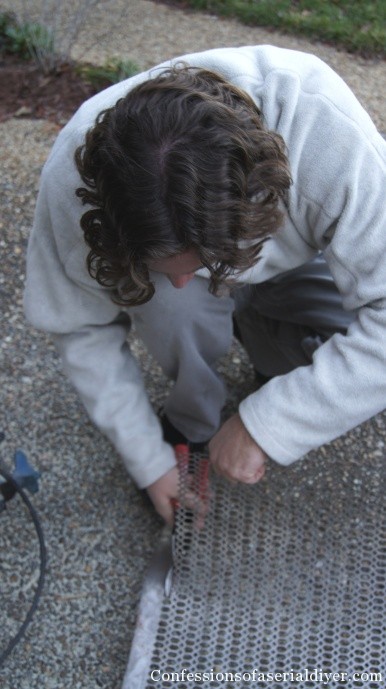
Then my sweet hubby cut the grate for me.
You could use beadboard, fabric, there are so many options when it comes to the door panel. I chose this because we actually did have this leftover from another project.
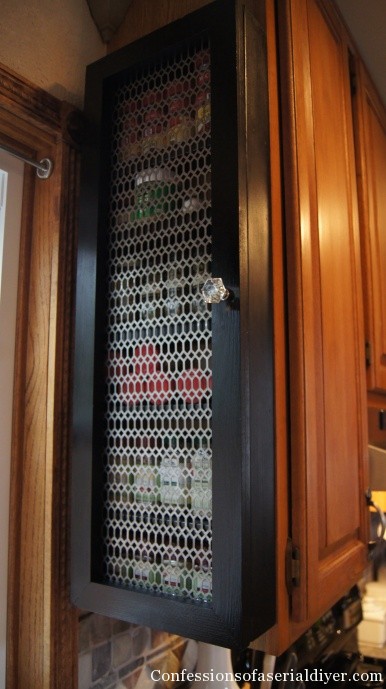
I attached it with a staple gun.
And there she is…
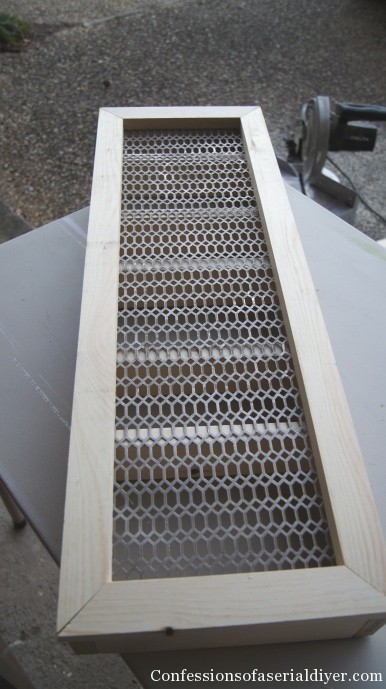
Just add a coat of paint, hinges, hanging hardware, one really cool magnetic closure, plus one fancy shmancy knob and you’ve got yourself one smokin hot spice cabinet!

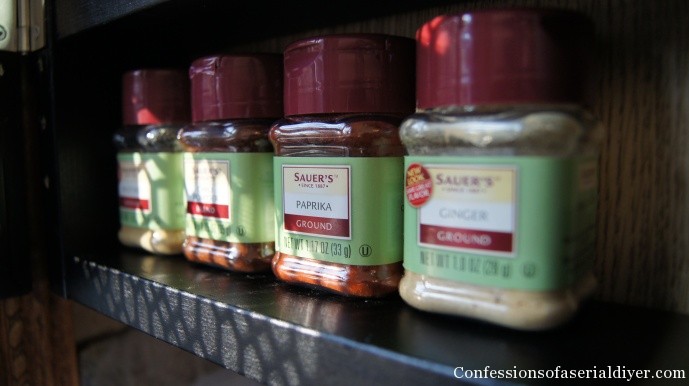
This was just what we needed! Plus it was way overdue. I found spices that had expired in 2008!! I’m pretty sure we’ve been using them, oh well…
Not all of my spices fit in this nifty little cabinet, however. If you want to see where the rest of them went plus all the awesome organization that spiraled from this one little cabinet, click here!
UPDATE: My kitchen got a whole new look:
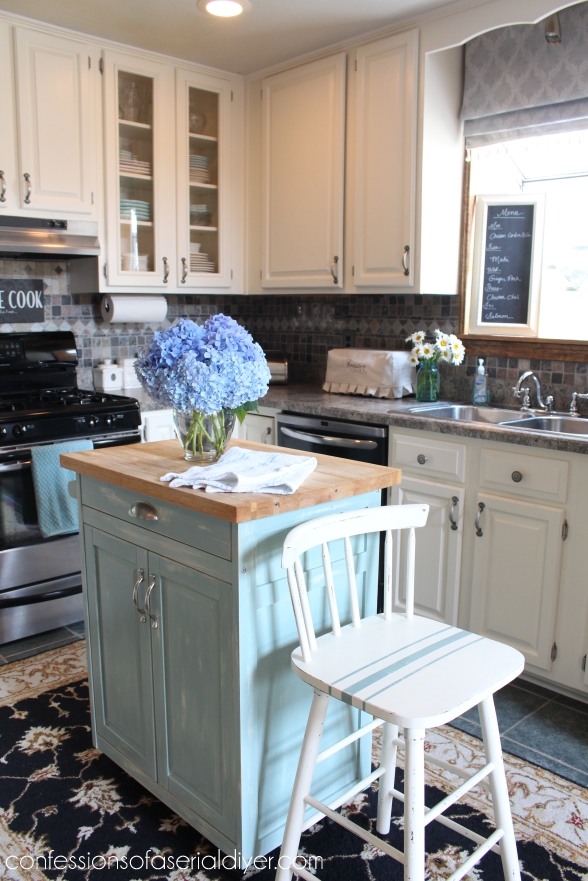 And because I added a shelf above the window:

My perfect solution spice cabinet no longer fits. 🙁
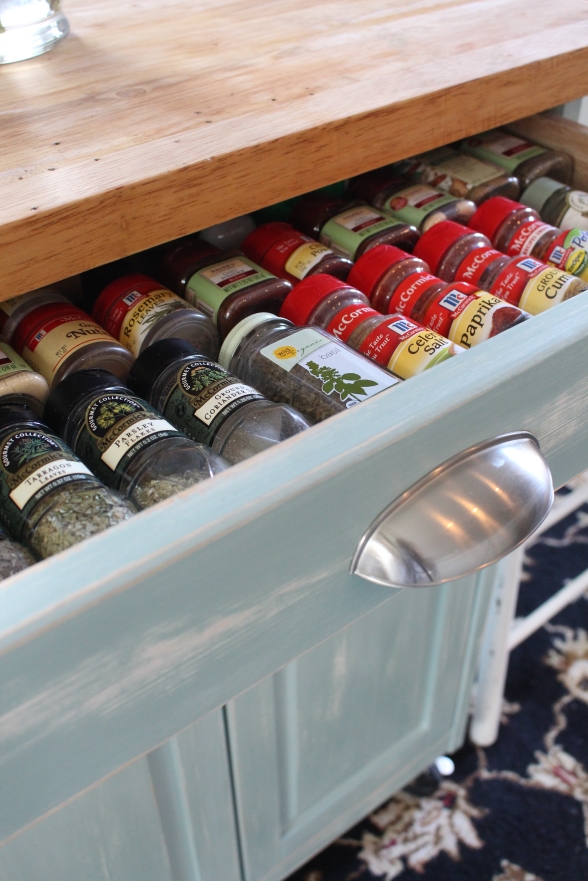
But my spices found a new home in my rolling kitchen cart:
And this little cabinet got a makeover:
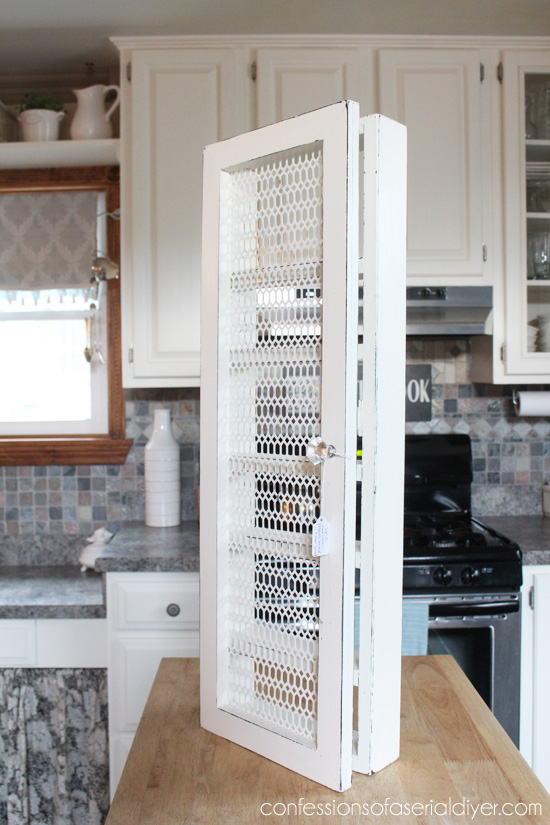
I love it even more now in the cottage white, but it’s off to my booth where it will eventually serve someone else very well. 🙂
XO,
![]()


melissa@thetinsel.com says
Love it!! Great job. I’m showing this to hubby as I have super limited pantry space!
Christy K. James says
Me too! This was a great way to squeeze out a tiny bit more storage:)
Mel says
This is so amazing, I love everything about it, well done on an amazing job. Pinning hopefully I can do something like this when I do my kitchen
Christy K. James says
Thanks, Mel. I’m so glad you like it:)
Ro says
I like your spice cabinet. Mine was a little bit easier to make since I had room in the cupboard in my kitchen.
I took the wooden cutie boxes that the fruit comes in and varinshed the boxes. They fit great in my cabinet above the stove. Not only do we get the fruit but I reused the boxes.
Christy K. James says
What a great idea! Don’t you love when you can repurpose things??
Beverly says
over from saavy.. Love this idea, brilliant
Christy K. James says
Thanks, Beverly! Glad you like it:)
Kim says
That looks so good!! I love how it came out. Great idea.
Christy K. James says
Thanks Kim! That says a lot from someone who totally rocked her kitchen makeover!! Seriously, I loved every inch of it. I tried to leave you a comment but your comments section was incompatible with my web browser. But I am a BIG fan:) (& I love the hot cocoa themed party!)
Kathie says
I’d like to invite you to link up to Show and Tell Saturday at Sassy Little Lady!
http://www.sassylittlelady.com/blog/show-and-tell-saturday/show-and-tell-saturday-4-plus-a-giveaway
Kathie
Roeshel says
That’s awesome! What a great idea! I love pretty and functional DIY. Great job!
Amanda @ Burlap and Denim says
Great idea! I love the metal on the front of the door. Thanks for sharing!
Christy K. James says
Thanks, Amanda:)
Jessica Y says
This is one of the “more awesomer” projects that I’ve seen in a while. I am really looking for a sweet project to use some of that grate/radiator metal on. Thanks for sharing.
Christy K. James says
Thanks, Jessica! Glad I could offer some inspiration:)
Kellie says
This is my first time to visit your blog, but I LOVE you! I’ve had this same project in my brain for a year now and hubby is planning on making it for me next week. I’ve searched Pinterest many times looking for help in getting started, but never came up with anything. I decided tonight to search one more time and found your beautiful cabinet. I was thinking I’d have to buy a door, so I’ve been looking all over for used cabinet doors that are the right size (and have been unsuccessful) — but I love what you have done. I’m so excited now — thank you! I’ll send you a pic if it turns out well. 🙂
Christy K. James says
I am so glad you found me!! This cabinet was super easy to build and you can see, the door was too! Good luck, I’d love to see how yours turns out:)
Laurie Adkins says
Hi Christy! I’m a first time blog visiter and I love this project! I would love to know where you got the grate that you used for the door of the cabinet! Is it easy to come by?
Christy K. James says
We ordered this online for a previous project, but I have seen something similar at Home Depot by the lumber area:) It comes in small sheets and they have a few designs to choose from:)
Laurie Adkins says
Thank you!! :o)
Christine says
I love this idea! I am always looking for more storage solutions for my kitchen and your spice cabinet has inspired me. Very creative use of space and storage!
Christy K. James says
Thanks, Christine!
Christine says
Wow, this spice cabinet looks great!!! I definitely need to go to the next home improvement store and buy all the stuff I need, I need this for my kitchen!
Christy K. James says
Thanks, Christine! This has really helped keep me organized and it was pretty simple to make 🙂
Bridget says
What did you use to attach it to your cabinet? My husband wants to make one but he’s not positive how to attach it.
Christy K. James says
Hi Bridget! I added hanging hardware to the back, at the top of each side, to hang it on the cabinet. Hope this helps!
Bridget says
Thank you! He says he knows what you are talking about now. 🙂 Will send you pics when finished! 🙂
Thanks again!
Christy K. James says
Yes! Please do!! 🙂
Patrice says
How did you get into my kitchen and take pictures of MY disorganized spices??? LOL Your cabinet idea is brilliant!! Thank you for sharing the idea and the instructions! I have an exact space as yours for this cabinet! I love it! Thanks.
Christy K. James says
Ha ha! Mine were really a big ole mess before!! This cabinet was the perfect solution! Glad I could share something helpful 🙂
Paula@SweetPea says
What a great solution to your spice storage problem. Thanks for sharing with this week’s Throwback Thursday party.
Christy K. James says
Sure, Paula! I’m loving being able to dust off some oldies, but goodies!
Alli says
I absolutely love this idea! And you did such an awesome job. Now, I need to go clean out my spice cabinet! Thanks for sharing at Throwback Thursday!
Christy K. James says
Thanks for coming to check it out, Alli 🙂
Bev says
WOW! What an excellent idea and it looks great! It’s nice to have them at arms reach. Visiting from TT#4
Christy K. James says
Yes, it was a great way to free up some cabinet space too! Thanks for visiting, Bev! 🙂
Ken says
Really nice. That’s exactly what I need. I’m a metal fabricator and can work with a variety of materials…but I would really like to just buy something! But as usually happens, I cant get exactly what I want so DIY it is.
Smart move on the mesh, it’s a good idea to limit the light on spices.
Dont worry about the “Expired spices”. If they taste fine to you why waste them. Some people actually throw food out based on package dates…a big waste of money. The dates are not a “this turns to poison on this date” thing, they are a “best if used by” and in the case of meats it’s a “cant sell beyond”. But if you think about it, dry aged beef is high dollar stuff…guess what, they let it sit at fridge temp and a certain humidity for weeks!
Anyway, great job.
Christy K. James says
Thanks for the advice on the spices, Ken! As far as DIY goes, this was pretty simple. Hope it fits your needs. XO
sincerely says
The main attraction to this for me is curiosity how it attaches to the door. What are the attachments used? Because I need something useful to get my spices off of my counter in an apartment. But, I can’t attach unless it’s safely removable.
Christy K. James says
I did have to drill holes in my cabinet, but there is no back on it, so I bet you could use heavy duty command strips to support it 🙂
Bonnie @ Our Secondhand House says
I love it! My current spice cabinet is a disaster. I would love to make a cabinet like this. Thanks for sharing how you made it!
Christy K. James says
Thanks, Bonnie! Adding additional storage to the outside of the cabinet really helped! Have a great day! XO
Trisha D. says
Stopping over from Frugality Gal’s round-up feature yesterday. I have to ask, where on earth did you score that grate from?!
Christy K. James says
My husband ordered it online for another project. I’m not sure from where, but I have seen similar pieces of grate at Home Depot near the lumber section on an endcap! 🙂
Lorene @Remodelaholic says
Hi Christy! I work with Cassity over at Remodelaholic.com. We would LOVE to feature your genius idea! I couldn’t find an email address to contact you at — if you’re interested, will you drop me a line at hello@remodelaholic.com and we can discuss the details? Thanks!
Have a great day,
Lorene
Rose says
Thanks for the instructions, we ended up making a larger one big enough to fit all our spices, which fit the end of our cabinets perfectly. No door for us, though. Turned out awesomely & was our first project for our first house. 🙂 lots of fun!
Christy K. James says
Oh that’s awesome! Doesn’t it feel great to make things yourself?? Thanks so much for taking a minute to tell me about it. That made my night 🙂
Miss Molly says
Brilliant. Just brilliant! I was looking at the end space on my cabinets just the other day trying to decide what to do with them and came up short. Then today all of my spices fell on me when I opened the cabinet and I went on a search for a solution, and here it is! I know what my husband’s weekend project will be! Thank you lady!
Christy K. James says
Great! Glad you found us 🙂
rap says
I’ll bet you could make these and sell them! Great for spices and other small things. It would be perfect organize a bunch of vitamans and medicines I need to keep handy in the kitchen.
Christy K. James says
Yes, absolutely! It was so simple to make too. 🙂
Tiffany says
Well, I’m a little late to this post but made it here anyway. I love your spice rack! I’ve got to make a change to my spice organization – it looks a tiny bit like your “before” pictures. : ) Ooops.
http://theoilchangeblog.wordpress.com
Christy K. James says
Ha ha I’m glad you made it for a visit anyway, Tiffany! That little cabinet worked perfectly! The inside of my other cabinet no longer hold spices, but it still get’s out of control! 😉
Suzie says
I tried making this and to get any spices to fit I used 1×4 pine. I don’t know how you got your spices to fit in the cabinet using 1×2. Love the cabinet now that I used the larger board.
Christy K. James says
Glad you were able to make it work for you…so much easier to find spices now! 🙂
Andrea says
I just found this through pinterest, and I love it! I am going to make one to hang in my bathroom and hold all my essential oils. Thank you for the tutorial!
Christy K. James says
You are so welcome, Andrea! I also made one similar here: https://www.confessionsofaserialdiyer.com/diy-mini-storage-cabinet-with-reclaimed-wood/ Have fun! 🙂