
Hey sweet Friends! And I’m back…again! Today’s makeover is #29 on our list and it’s a good one, y’all! I found this one at an estate sale at this quaint little cottage about six houses from the ocean:

I bought a few pieces at that sale, including this farmhouse hutch and this desk, all of which I’ve redone and sold long ago…all except one.
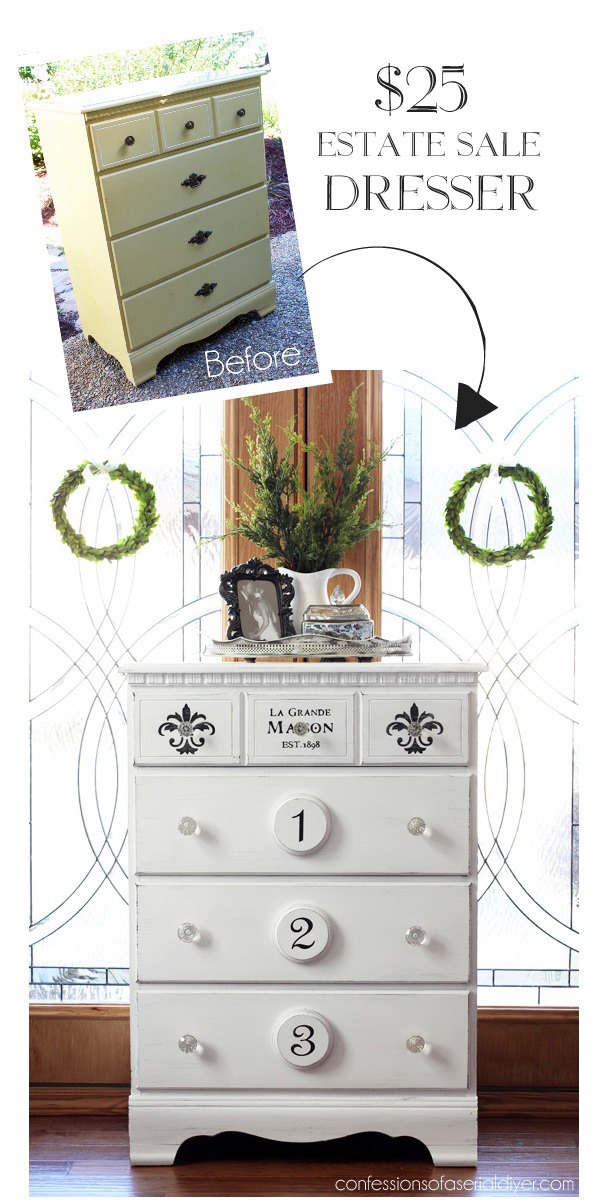
I went back on Sunday when everything was marked down and picked up this yellow dresser for $25:
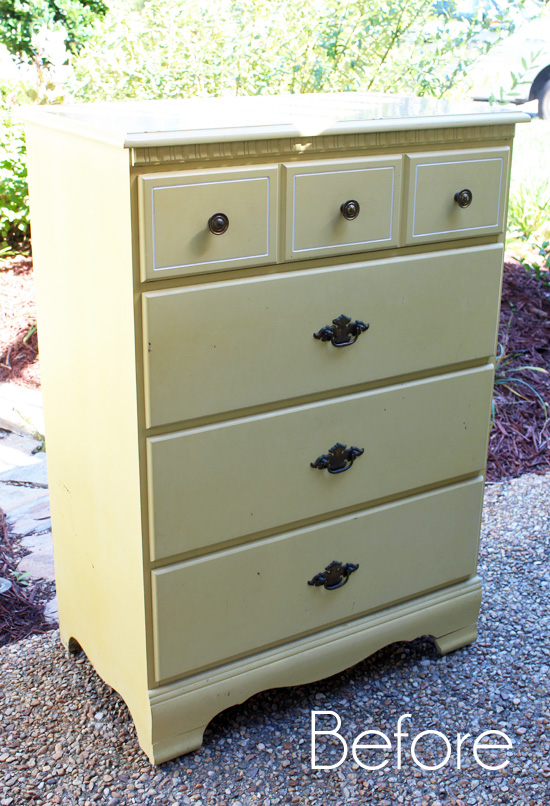
The price was right and it was in excellent condition, so I figured I could do something with it, but it has stumped me ever since.
I love this makeover series because it forces me to work on pieces I’ve been avoiding.
I finally pulled it out and just decided to start painting.
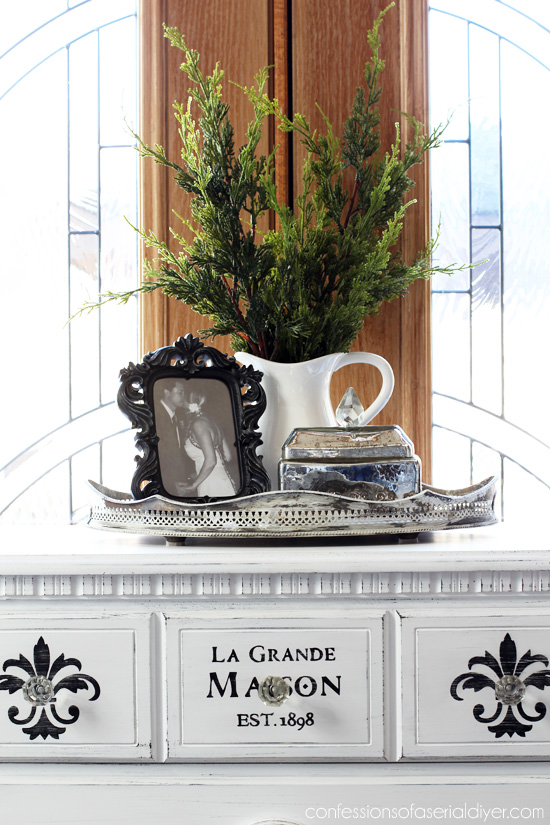
This is what I ended up with:
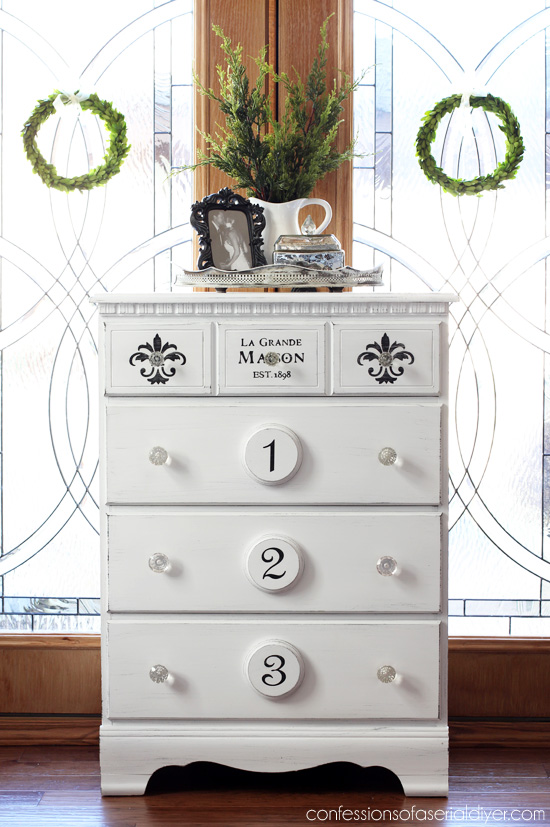
Yes, that is the same dresser. It’s miles from where it started. I’ve included a few affiliate links so you can see the products I used.
Furniture pieces that are already painted or are a color other than stained wood are a bit harder when you like a bit of a distressed look. My original plan was to paint it black, use Vaseline on the edges here and there, then paint white over it and rub away where the petroleum jelly is. This is a fantastic way to get a chippy look on a piece that didn’t start out stained.
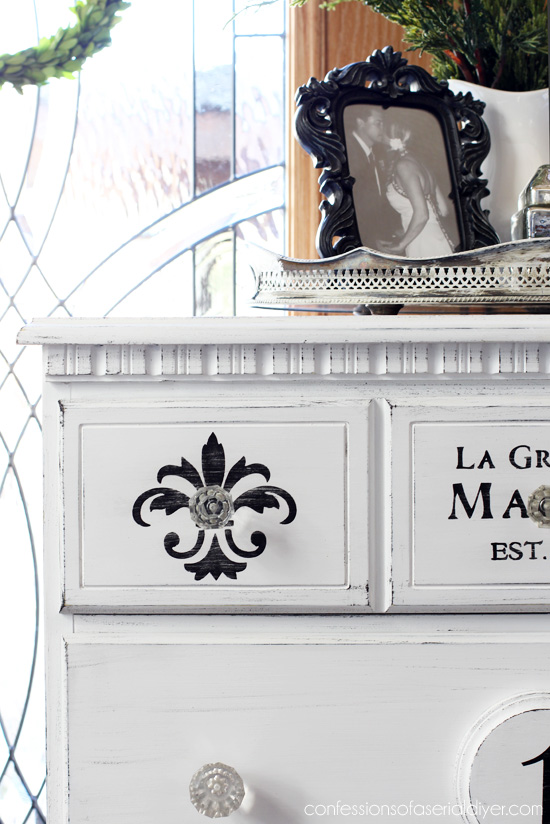
But this time I decided to go ahead and paint it in Pure White DIY chalk paint. Then I dry-brushed black across the fronts and on the raised edges.

I like the finished look.
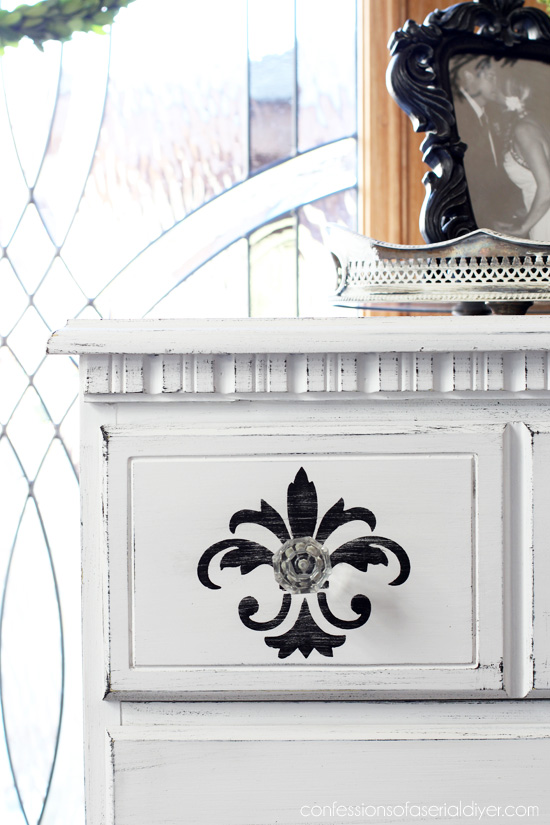
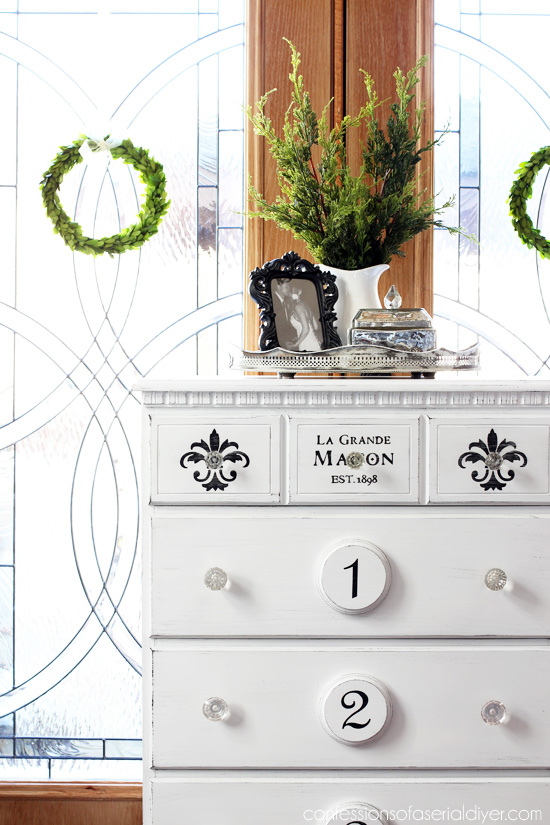
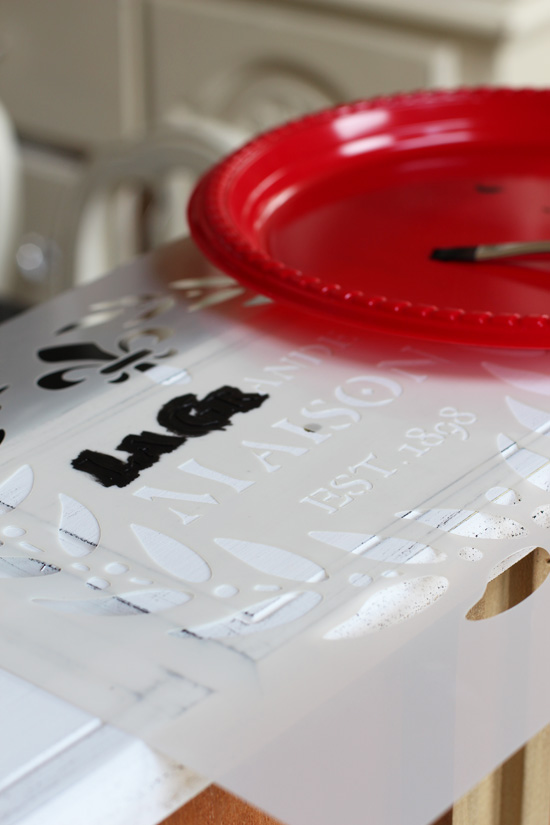
I used a couple of different stencils to add unique details to the panels in the top drawer. This one HERE and this one HERE. (No affiliation just love their stencils!)
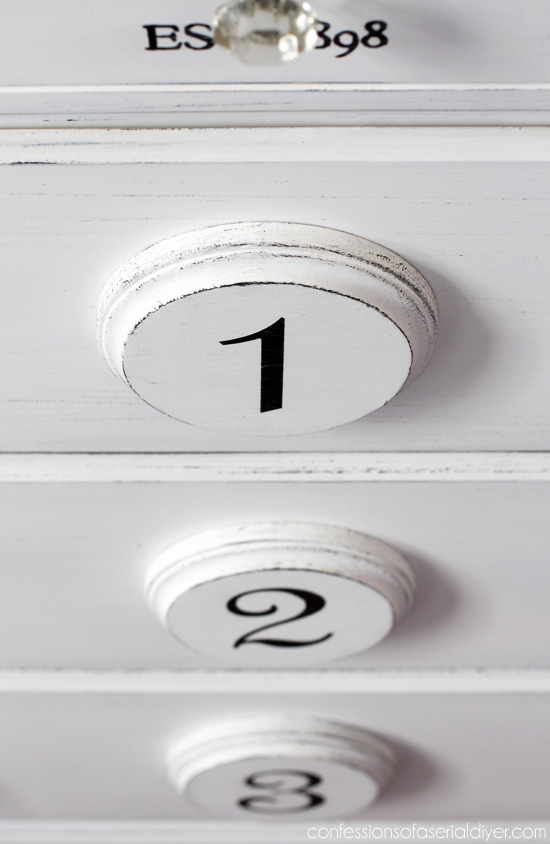
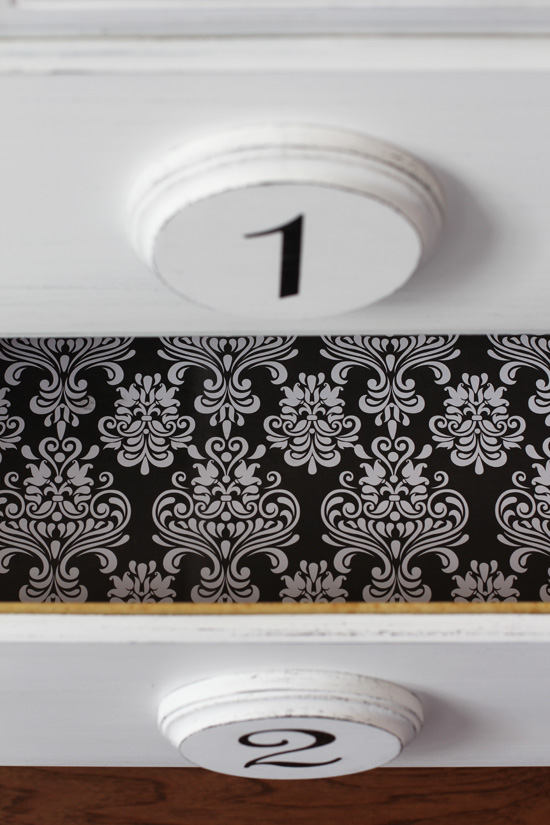
To carry the black down to the drawers and add a little dimension, I added these wood circles I found at Michaels to the front:
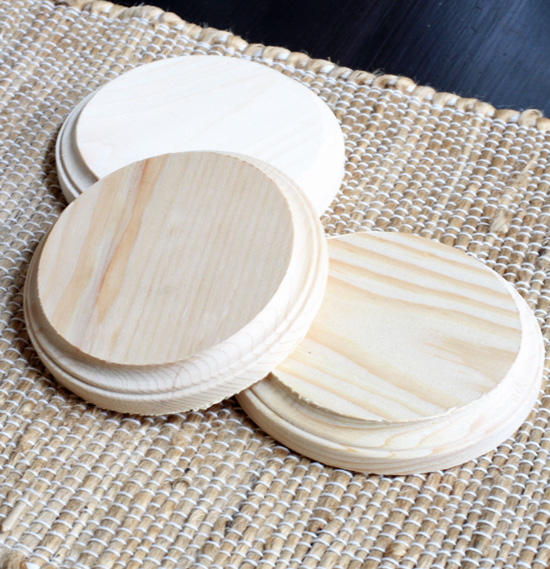
And used my silhouette machine to add numbers them after I sanded them smooth and painted them:
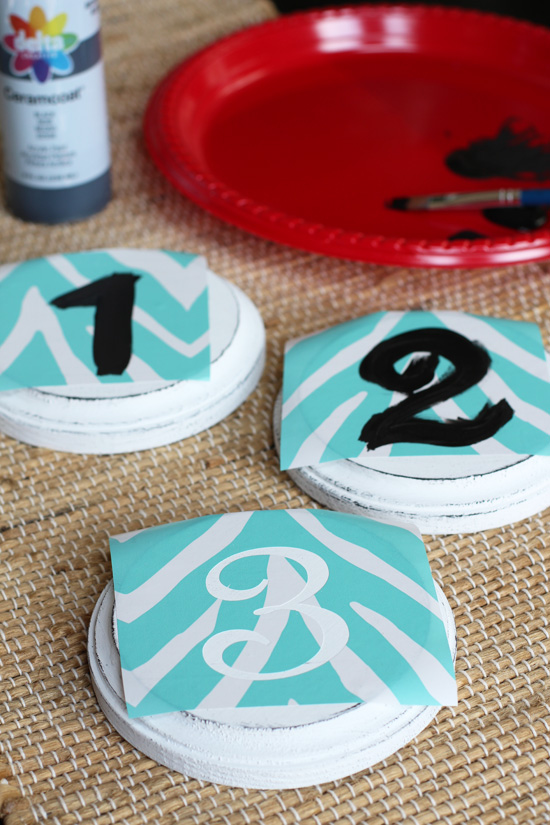
This is my favorite part of this makeover.
I actually started to paint before I remembered to fill the original hardware holes. There was no way I was going to use the original hardware, so I went in search of something that could possibly cover the holes and voila. I screwed them in from the inside through the original holes:
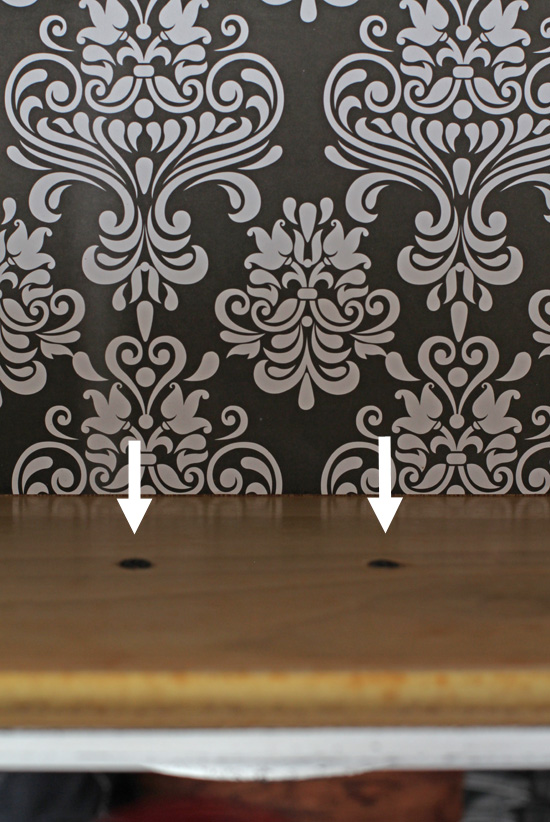
They worked perfectly.
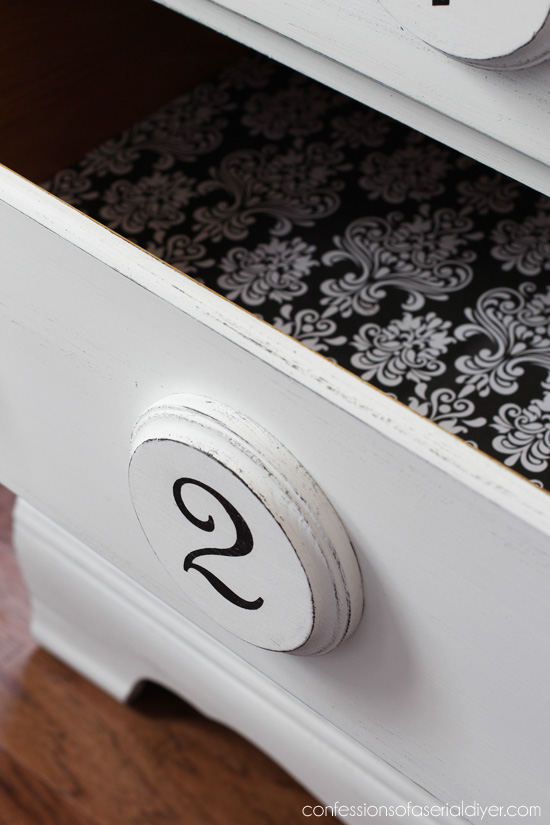
I lined the drawers with this pretty black damask paper I found on clearance at Michaels. I used a glue stick to hold it in place.
I replaced the original pulls with a mix of pretty glass knobs…
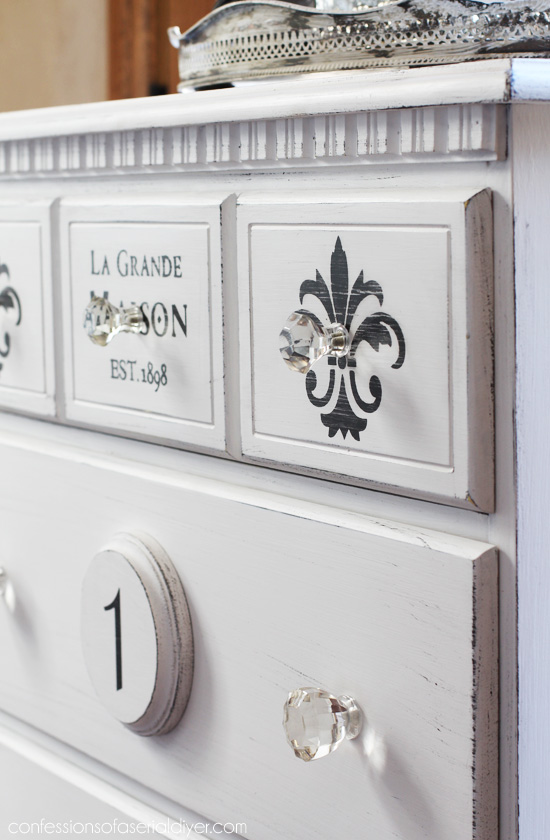
Some of these are from TJ Maxx and some are from Hobby Lobby.
This might be my favorite so far this month, simply because it is so far from where it started!
I hope you love it too!
I’ll be back tomorrow sharing what I did with this little headboard I picked up at the thrift store for $10:
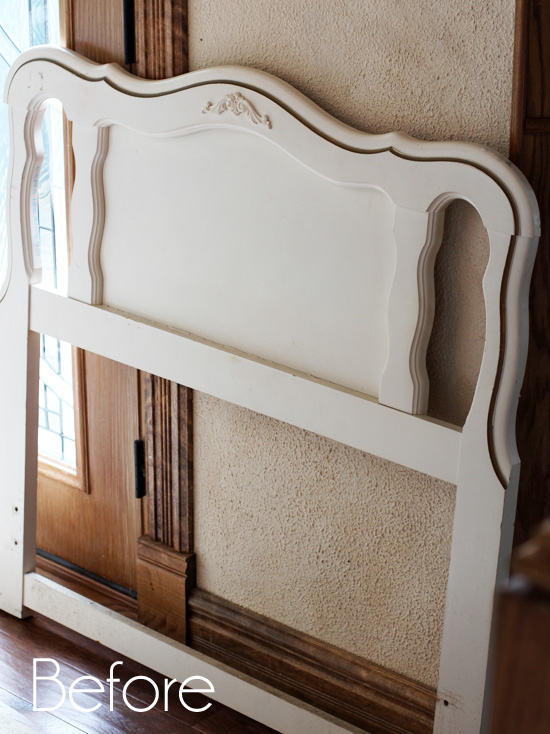
UPDATE: Just like magic! See it HERE now!
If you missed any of the first 28 March Madness Thrifty Makeovers, grab a snack and get comfy…you can catch up here:
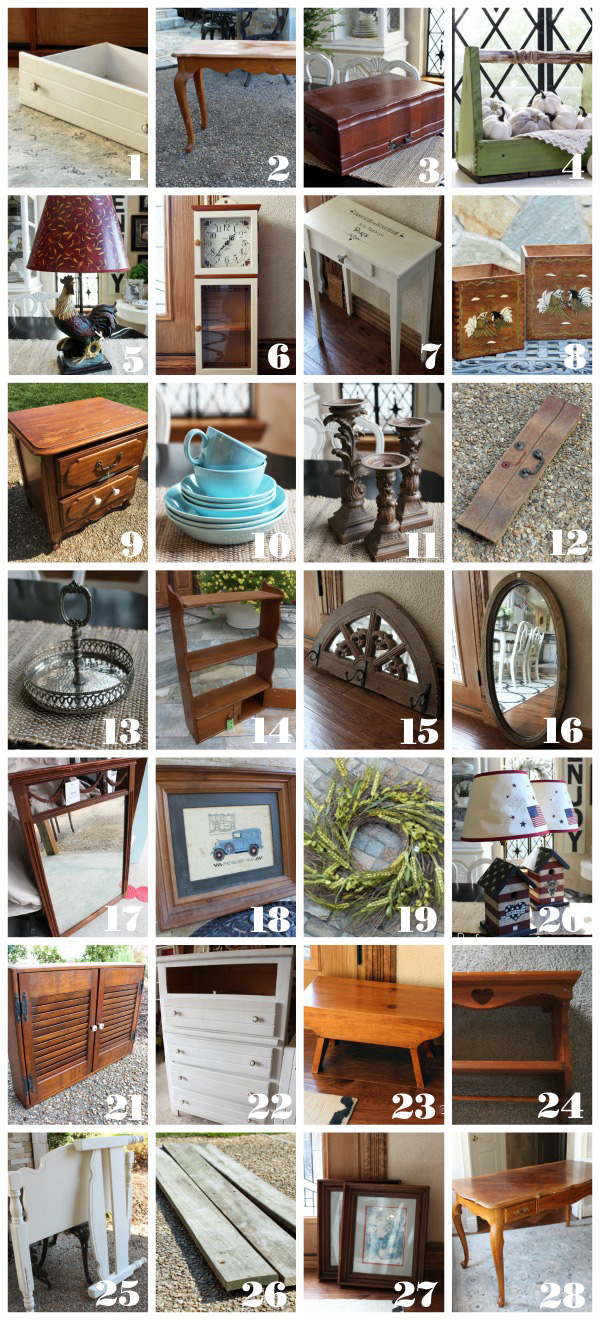
1. Drawer Shelf 2. Patterned Sofa Table
3. Romantic Flatware Box Makeover 4. DIY Wooden Tote Redo
5. How to Cover a Lamp Shade 6. 80’s Clock Cabinet Reimagined
7. 15 Minute Table Makeover 8. Thrift Store Container Makeover
9. Charlotte’s Night Table 10. DIY Jewelry Storage 11. Updated Candlesticks
12. How to Turn a Drawer Front into a Planter 13. Jewelry/Trinket Holder
14. Mini Shelf Makeover 15. The Perfect Necklace Holder 16. Oval Rosette Mirror
17. Antique Mirror Repurposed 18. DIY Tray from an Old Picture
19. Spring Bird Nest Wreath 20. $5 Thrift Store Lamps 21. Shutter Cabinet
22. $5 Yard Sale Dresser 23. Numbered Farmhouse Stool 24. 80’s Shelf
25. Farmhouse Headboard Bench 26. Reclaimed Wood Side Table
27. DIY Bead Board Tray 28. French Provincial Desk Makeover
XOXO,
![]()
Don’t Miss a Thing!
If you like what you see, there are several ways to follow along!
Email * Facebook * Pinterest * Hometalk * Twitter * Instagram

I love to share at these great parties:
The Happy Housie Design Dining and Diapers Liz Marie Blog Funky Junk Interiors Savvy Southern Style Tatertots and Jello DIY Show Off Between Naps on the Porch Just a Girl and Her Blog Sand and Sisal Interior Frugalista


ColleenB.~Texas says
The dresser is absolutely Stunning. I love what you done with it. No more baby yellow.
Such a great transformation
Christy K. James says
Thanks, Colleen!! It took a long time for me to come up with a plan for this yellow gem, and I’m so happy it’s done! ????
Joanne Taggart says
Gosh Christy, I think this is my favorite so far also! The style, color and touches with the knobs and wood circles bring it up to something special. The dry brushing black is done very well. I got so excited when I saw the wood circles on the drawers. So cool! And perfect to be able to use the existing holes. Love this piece and I’m sorry this will be coming to an end soon. So enjoyed each day. The men had their ‘march madness’ with basketball and us women had our ‘march madness’ with Christy! 🙂
Christy K. James says
Yay…im so happy you liked this one too! Yes we had our own March Madness for sure!! ????
Maggie M says
Love the “new” dresser. It’s been a fabulous March! So many wonderful projects.
Christy K. James says
Thank you, Maggie! I’m so glad you have enjoyed this series! XO
Susan Sosbe says
I’m pretty sure you won my heart a long time ago with your love of French decor, and this just emphasizes that once again. Another gorgeous piece, Miss Christy!
Christy K. James says
Thank you so much, Susan! I have soft spot for those French-inspired touches!
chris aka monkey says
this dresser is awesome, i am gonna be sad to see this series end but because i subscribe i know i can go into your archives and look anytime i want xx
Christy K. James says
Thanks, Chris! Yes please come visit any time you like, plus I’ll still be visiting your inbox a couple times a week! XO
andi says
LOVE! I think this one might be my favorite, too. 🙂
-andi
Christy K. James says
Thanks, Andi! XOXO
Kathy says
I’m gonna hate for this month to be over!! Will you do this again?
Christy K. James says
I will a bit too, Kathy! I love being able to share something each day! I will still be posting at least two times a week so I’ll still be here, and will probably do this again next March. ????
Marilyn Stein says
I think this is my favorite makeover yet, and I pin almost everything you do! When I grow up (read “retire”) I want to be just like you. 🙂 My hubby can’t wait since I’ve got a number of future projects already taking up space in the garage. He’s worried about what I might add over the next 3 years! Thanks for the unending inspiration!
Christy K. James says
Thank you so much, Marilyn! I thi this is my favorite too! And ha ha…this is a pretty good gig…you will love having the ability to create whenever you want. Your hbby may not agree. I have to tell mine just to look the other way sometimes! XO
Jen @ Girl in the Garage says
Fantastic as usual, Christy! <3
Christy K. James says
Thanks so much, Jen!! XO
Angelia says
How beautiful and a great use for those wood pieces. I have enjoyed every project you’ve shared so far this month! I don’t have a machine for the vinyl pieces that you have used on projects. Would I get the same results with adhesive letters? Lay them on a service then paint over them and peel off. Thank you again for sharing so many projects and ideas.
Christy K. James says
Thanks, Angelia! You are so sweet!! Yes give those adhesive letters a try. Like I mentioned in my other response…try a test piece first. And you are so welcome! ????
Lindsey says
Not gonna lie, I have loved this series of transformations and will be sad when you’re not posting one everyday! Love your work and you are so inspiring!!
Christy K. James says
Thank you, Lindsey!! I am thrilled that you have enjoyed this series this year! It is a lot of fun for me too, but don’t be sad…l’ll still be here! ????????
Tania says
Beautiful makeover, I love the little plaques on the drawers, that’s very unique!
Tania
Christy K. James says
Thanks, Tania! I like that they helped to not make the drawers look so flat. ????
Handyman Hammersmith says
This is an awesome makeover! True inspiration, indeed!
Christy K. James says
Thanks!