Hi Friends! I’m back with a much simpler sewing project today! I’m sharing what I did with these fun Halloween tea towels I found at Homegoods last year. I originally shared this project on another blog as a contributor then, but never got a chance to share it with you!

We love Halloween at our house. Every year we each get to pick something new to add to our Halloween display. You can see our Spooky Outdoor Halloween Tour from last year here. We put a LOT into our outdoor display, but adding a little seasonal décor doesn’t have to be expensive.
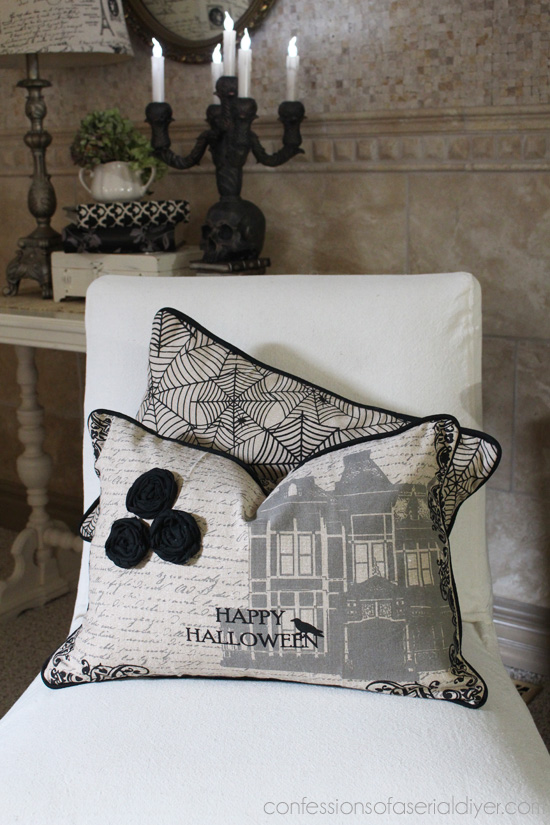
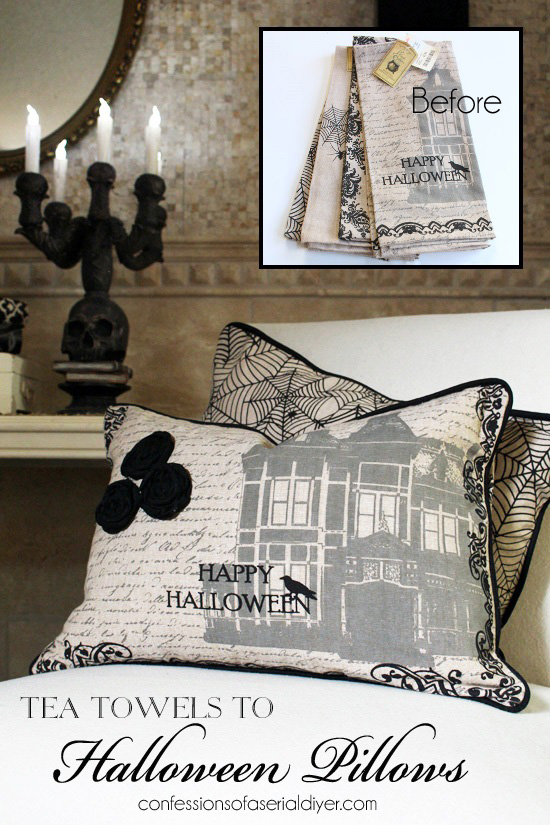
Which brings to me to these tea towels. With the addition of a little black fabric and cording for piping, I created these:
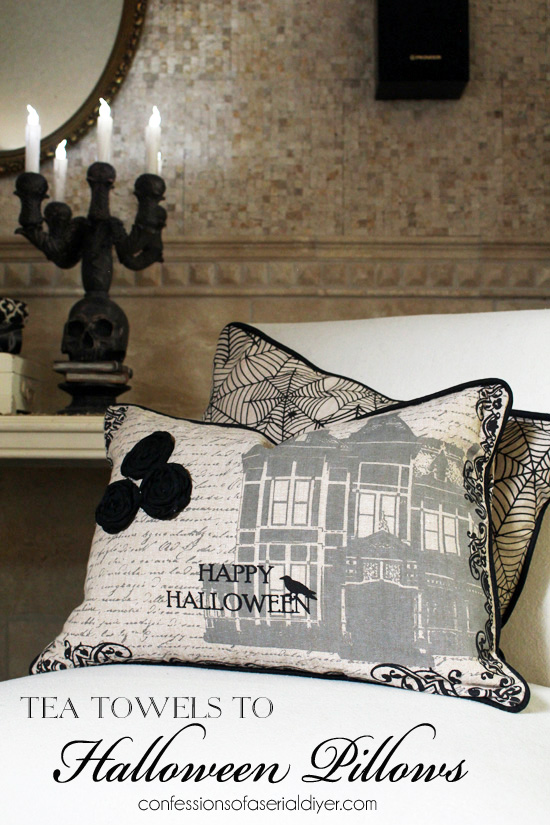
These Halloween tea towels were $3.99 for a set of two. I used a quarter of a yard of the black fabric and the cotton cording seen above, for the piping. (The piping is totally optional, but if it’s not in your comfort zone, I’ll show you how easy it really is.)
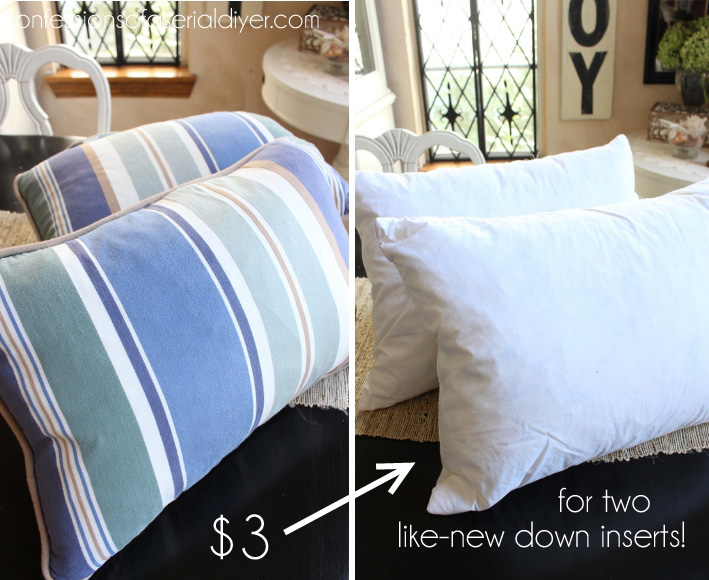
I also had these pillows stashed away in my garage that I found at a yard sale for $3 for the set. They were like new, and I knew the down inserts would come in handy eventually.
These have a tendency to shrink quite a bit and I needed them to be this width, so I purposely did not preshrink them. I will have to lay them flat to dry.
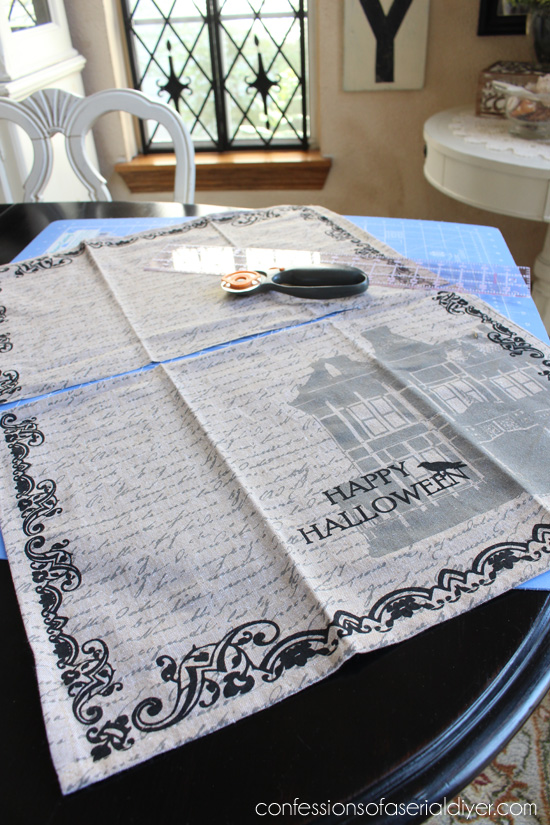
- To turn my towels into pillows, I started by cutting them for the first pillow to the dimensions I needed.
The pillow forms measure 14″ X 20″. The tea towels are 20″ across also…perfect (& also why I was afraid to wash them). For the fronts of the pillows, I cut the towels the same size as the inserts as I like them to be snug-fitting: 14″ X 20″.
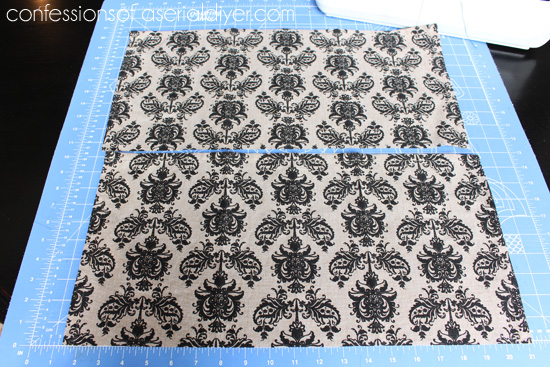
- For the backs of the pillow, I cut two pieces from the coordinating towels for each pillow to 10″ X 20″, keeping the original finished outer seams along one edge of each in tact:
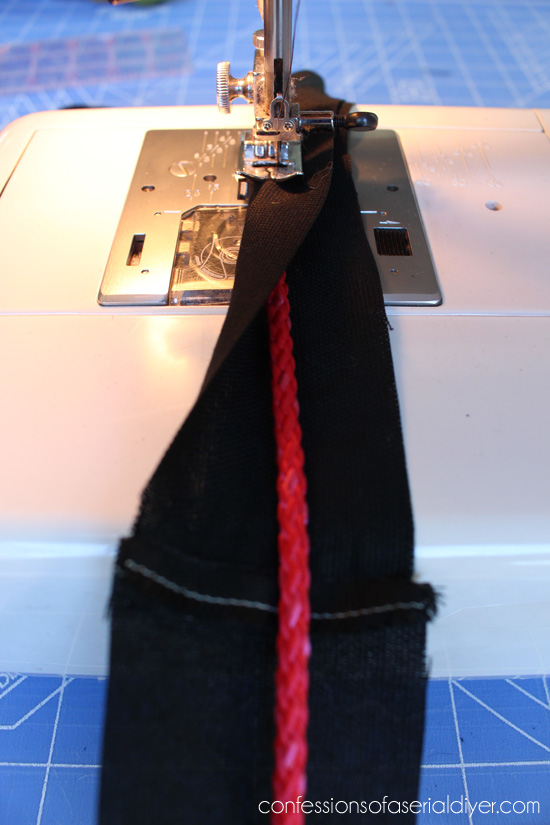
- To make the piping I cut the black fabric into 1 1/2″ strips.
Then I sewed the strips end-to-end until I had one long strip. Next I folded the strip over the cording and sewed close to the edge of the cording. I used red because it was what I had. I would normally choose white. I also did not use a piping/zipper foot since I didn’t have one at the time, so no worries with a small project like this if you don’t have one either.
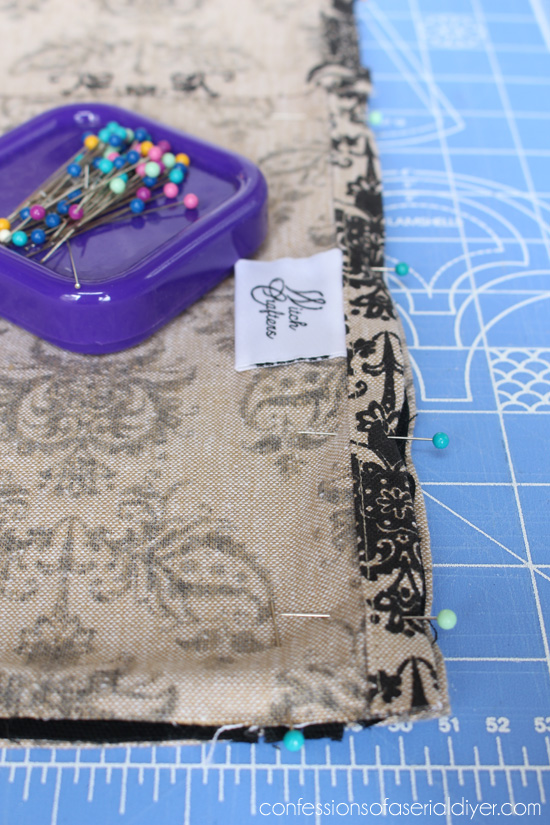
- To attach the piping, I first laid the front of the pillow face up on my workspace. Then, starting at the bottom, I pinned the piping all around the outer edge like so:
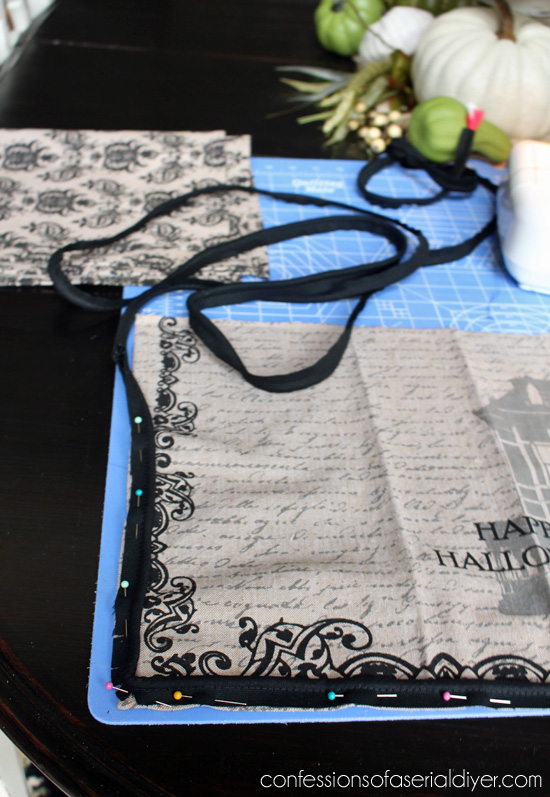
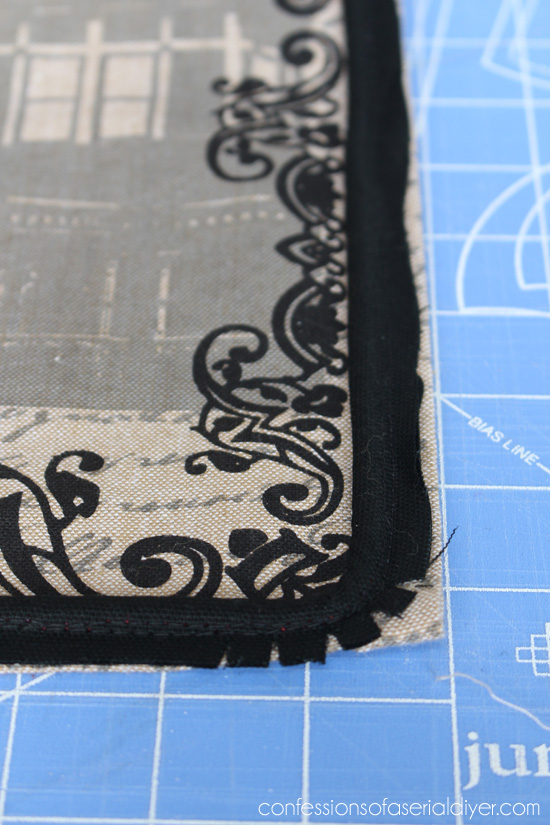
Be sure to clip the corners so the piping will continue around easily:
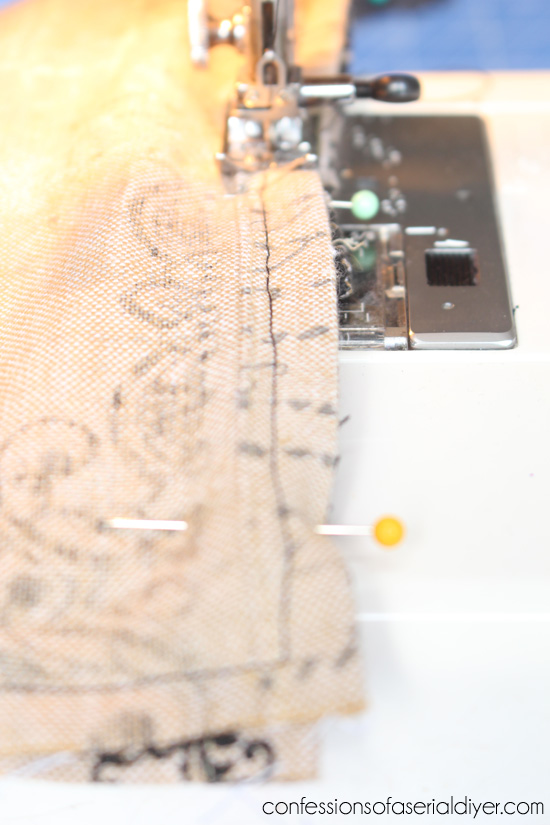
Sew along the edge of the piping all the way around.
- To attach the back of the pillow, with the front still face up, lay the two back pieces face down on top. Line the outer edges up all the way around and overlap the two pieces, with finished edges in the center:
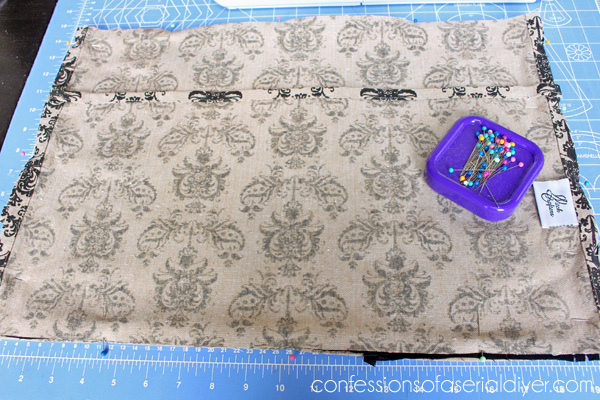
Pin in place like this…
…So that you can easily pull them out when you flip it over to sew. Flipping it over to sew allows you to see the original seam where you added the piping. Following this seam will ensure you don’t catch the piping in the seam!
- Clip the corners:
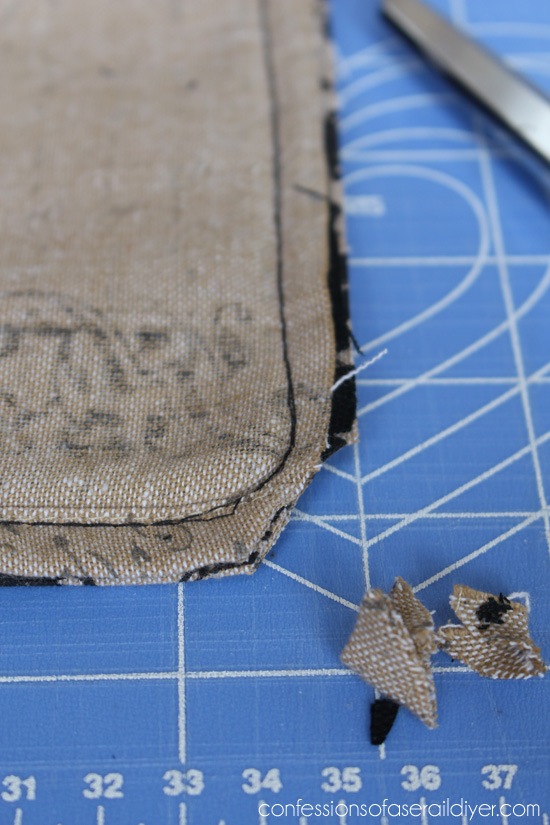
- Turn right-side-out and insert your pillow forms.
Stand back and enjoy! If my directions were clear as mud, or you need more visual, here is another tutorial you may find helpful:
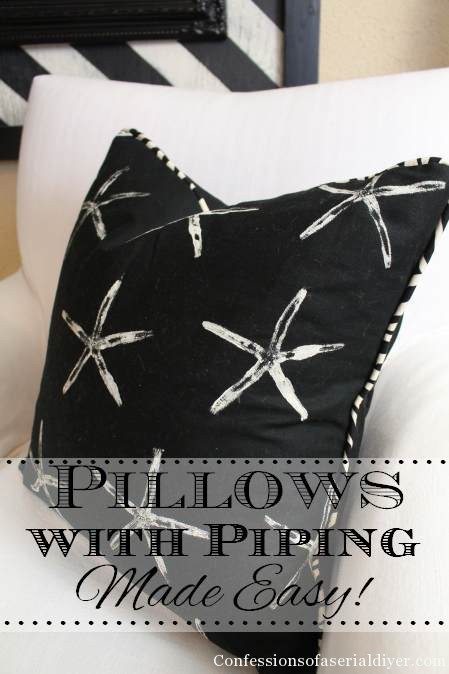
DIY Stamped Starfish with Piping Tutorial
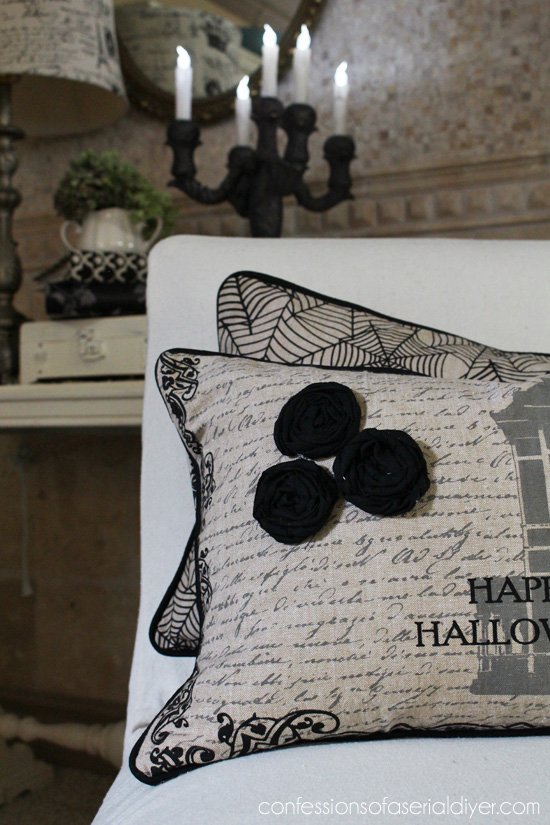
I also added three rag roses with the leftover black fabric to one of the pillows.
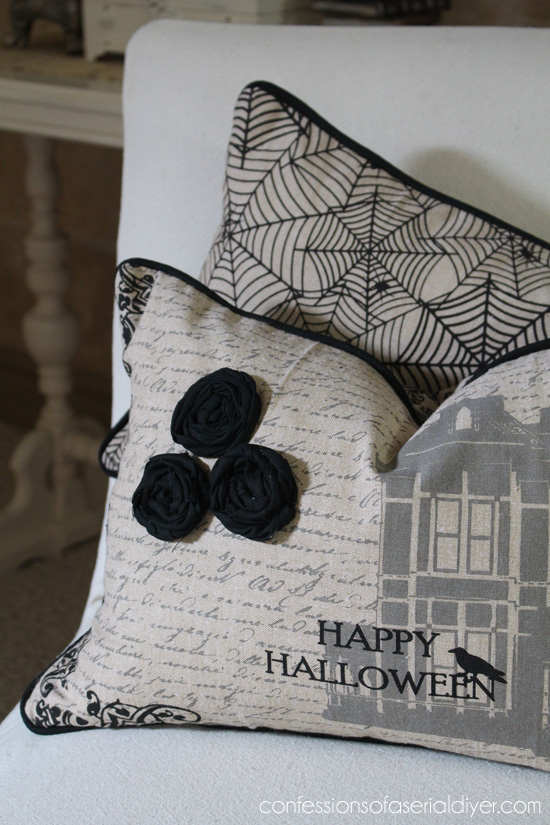
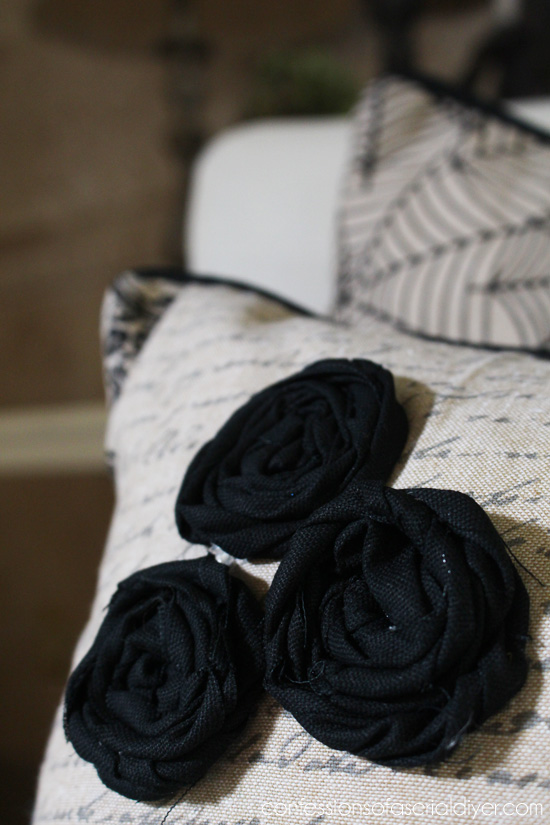
You can find the how-to (including a video!) for these rosettes here.
Here’s the back:
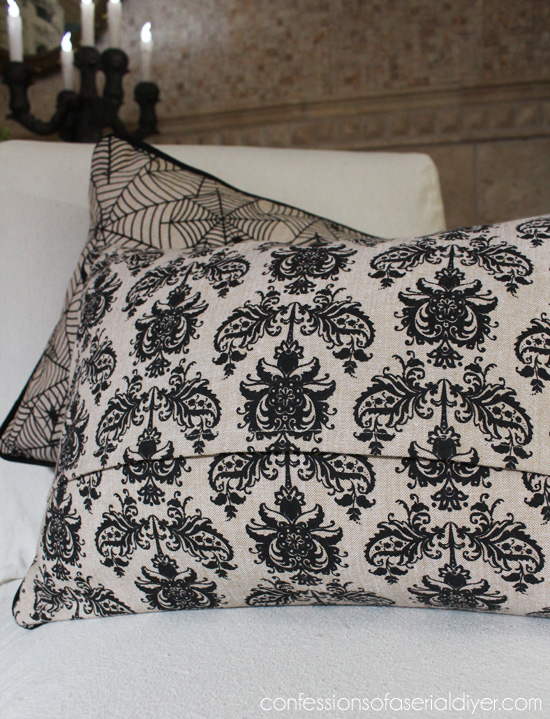
This opening makes it easy to insert and remove the pillow forms.
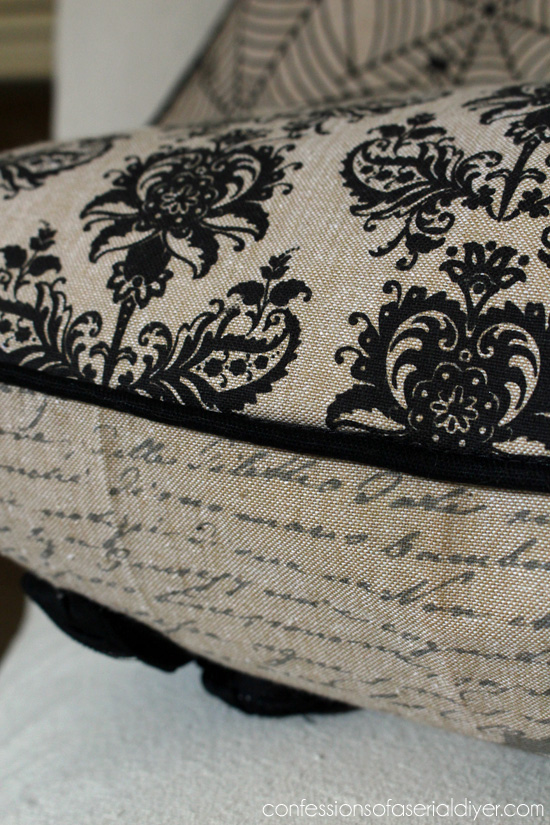
The piping is optional, but it really adds a nice detail…
These aren’t too spooky. 🙂
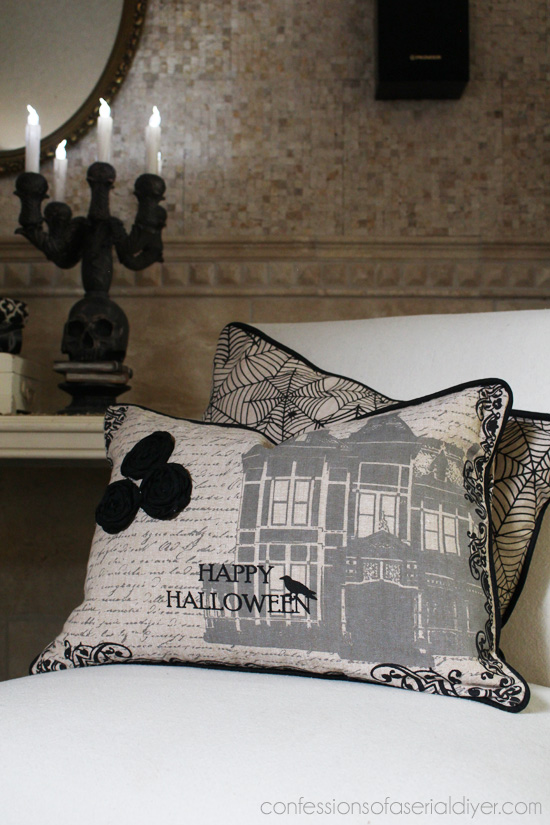
I already had the black fabric left over from my starfish stamped pillows, and I had the cording also, so these pillows cost me just $5.50 each!
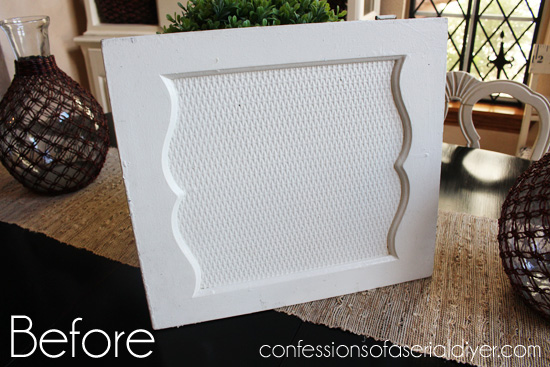
Here’s another Halloween Upcycle from last year that you might like.
Check out how I turned this old cabinet door into a wreath for my front door!
This project is perfect for this month’s Get Your DIY On theme:

My beautiful co-hosts also had fun repurposing and upcylcling a few things:
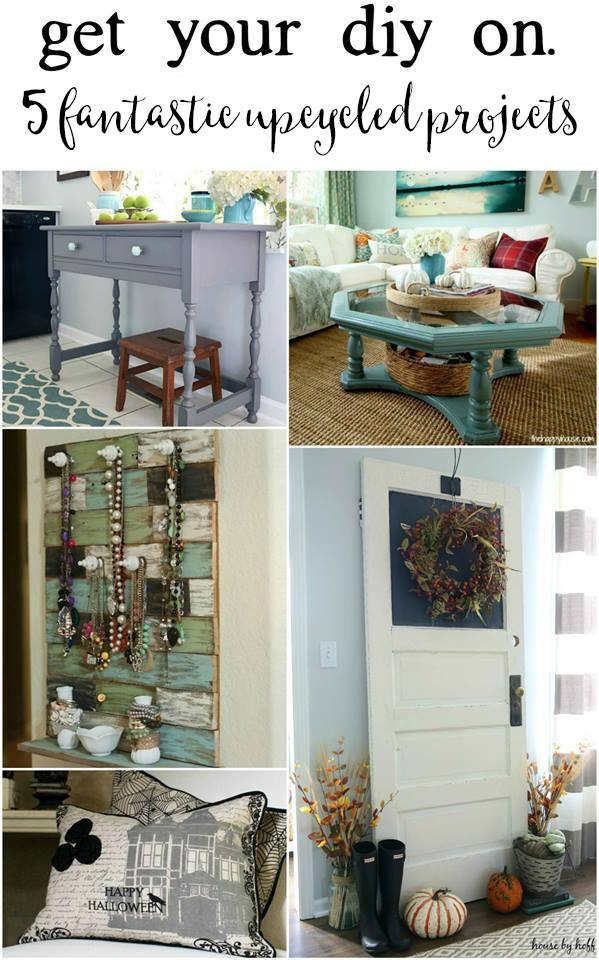
Upcycled Kitchen Sideboard by Abby at Just a Girl and Her Blog
Upcycled Living Room by Krista at the Happy Housie
Recycled Pallet Wood Jewelry Holder by Mandy at The Hankful House
How to Upcycle and Old Door by April at House by Hoff
The party fun starts this Sunday, October 4th, at 7:00pm EST.
Bloggers, come share your Fabulous Upcycles and Repurposed Projects
(I know y’all have a lot of those to share!!)
If I don’t see you here Sunday for our GYDO party, I’ll be back Tuesday for our Swap it Like it’s Hot challenge! I was sent these thrifty items to transform:

Can’t wait to share what I did with the sweater and the metal thingy. Still working on the tray!
UPDATE: See what I created with these items HERE now! 🙂
Have a great weekend…we’ll be waiting out a Hurricane!
XO,
![]()
Don’t Miss a Thing!
If you like what you see, there are several ways to follow along!
Email * Facebook * Instagram * Pinterest * Twitter


")


Robin Stephens says
You shouldn’t merely have your own blog….you should have your own TV show! You are one amazing woman! Love the pillows….love all you do! Bravo!!
Christy K. James says
Oh wow wouldn’t that be awesome?? Thank you thank you thank you, Robin!! XOXO
Heather Tracy says
Love this project – using the tea towels this way was such a great idea. Making your own welting?? You have my respect. Thanks for showing us how.
Christy K. James says
Thanks so much, Heather! I enjoyed having a peek around your awesome blog…your attention to detail is amazing! XO
Christina in FL says
Absolutely stunning pillows Christy! LOVE the piping… I’ll have to get brave and make some. 🙂 Thank you for the inspiration! ~ Christina
Christy K. James says
Thanks, Christina! You can totally do this! XO
Cindy says
Your Halloween pillows are very cute & I think your instructions are very clear. My sewing skills are not great but I think these pillows are something I can handle. Thanks for the cute idea.
Cindy
Christy K. James says
Thank you, Cindy! You can certainly tackle these! XO
Sue Farmer says
Love the pillows Christy!!! Sure wish I could sew. Have a great weekend. xoxo
Christy K. James says
Thanks, Sue! My Mom used to let me tinker with her sewing machine when I was very young…I’m grateful now that she did. Hope you have a great weekend as well! XO
Nancy says
I follow so many boards and sites and blogs, but the one I can’t wait to see every day is yours! You have such terrific ideas, and your clear instructions make them all seem within my capabilities. Thank you!
Christy K. James says
Oh wow, thank you, Nancy!! I am so thrilled to have you following along with me!! XOXO
Doug says
Hey Christy, Those turned out awesome. The piping really makes the pillows pop!
I can’t believe it’s October already.
Christy K. James says
Thanks, Doug! I agree…September flew by!
Annette says
Very information tutorial. I sew a little, but always get messed up with piping. You make it look easy!
Christy K. James says
Thanks, Annette! You can totally do this! 🙂
Marie@The Interior Frugalista says
Awesome tutorial Christy! I really like the tea towels you choose – Halloween yet so pretty. I remember your amazing Halloween House from last year – looking forward to seeing what you’ll be adding this year.
Christy K. James says
Thank you, Marie! We still need to pull all of our Halloween decorations out of the attic. I add a lot to our display on Halloween night, and last year I took a ton of photos, so I might share that this year…so fun! XO
Abby @ Just a Girl and Her Blog says
Love these, Christy! You make it look so easy! I need to try piping– it looks so great on your pillows! Have a wonderful weekend!
~Abby =)
Christy K. James says
Thank you, Sweet Friend! The piping does add a nice finished detail, and it’s not too hard to do. Enjoy your weekend too! We thought we were bracing for a hurricane tomorrow, but woke up to sunshine today!
June G. says
Thanks for the great tutorial and the encouragement to make the piping! I’ve made a few pillows without piping , even though I have all the supplies to make it…I’m going to now! My new point driver came yesterday I’m so excited…no more “floppy” back boards! Have a nice weekend!
Christy K. James says
Yes, the piping does add such a nice detail and it’s not too hard to do at all! You’ll love your new point driver!!! 🙂
Krista @ the happy housie says
The piping! Wow!! I really have to learn how to do that. These pillows look amazing – like you could have bought them at a high end retailer! Brilliant.
Christy K. James says
Thanks, Krista!!XOXO
April hoff says
The tea towels are so cute, and perfect for Halloween! Great project, Christy!
Christy K. James says
Thanks, April!! XO