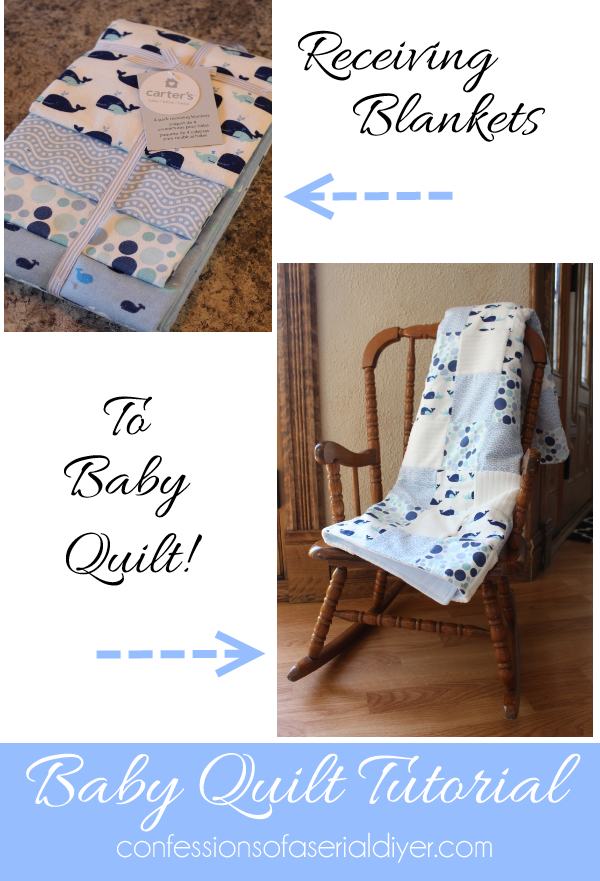
A few months ago I shared the how-to on this easy baby quilt made from receiving blankets, in a guest post at View from the Fridge. Katie had just welcomed baby boy #3, and I thought this was the perfect post to share while she was enjoying some time off to spend with her precious new man. Today, I’m going to share it with you!
This blanket takes very basic sewing skills, so don’t run just yet!
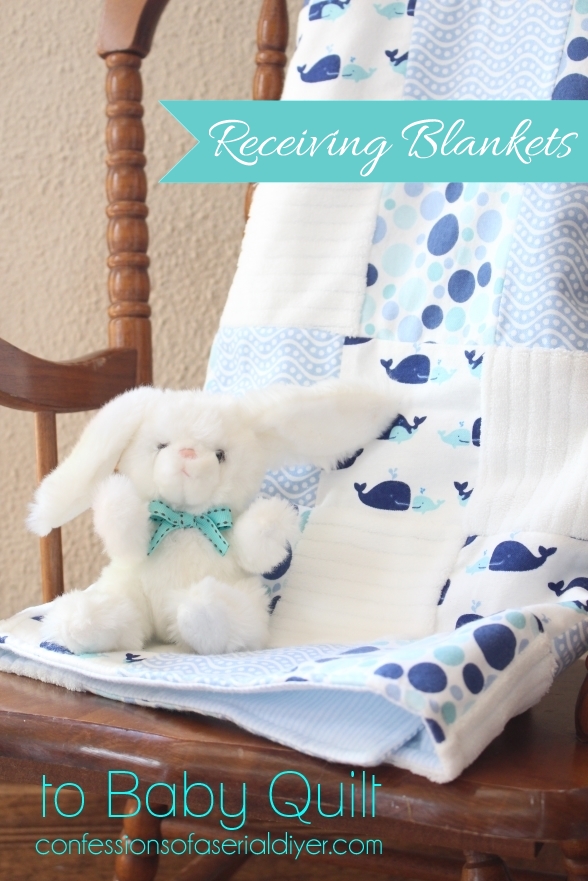
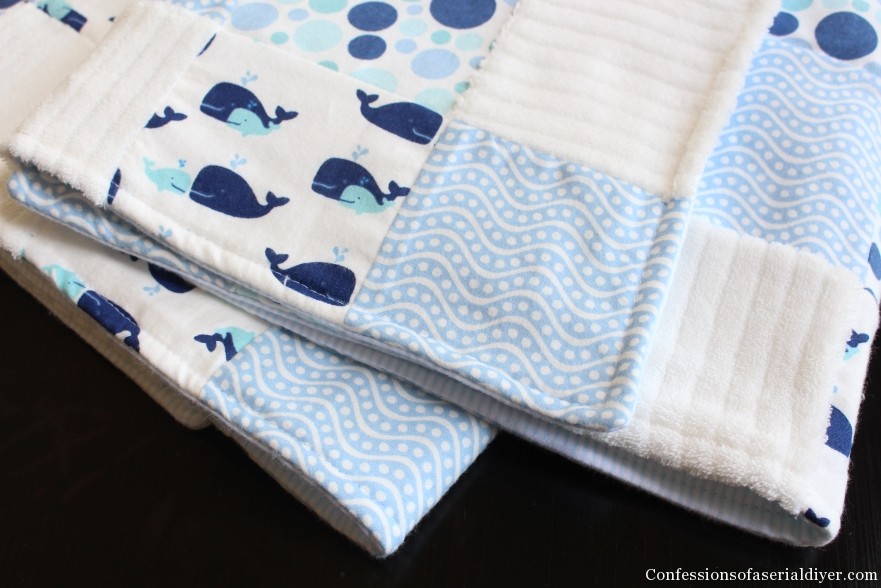
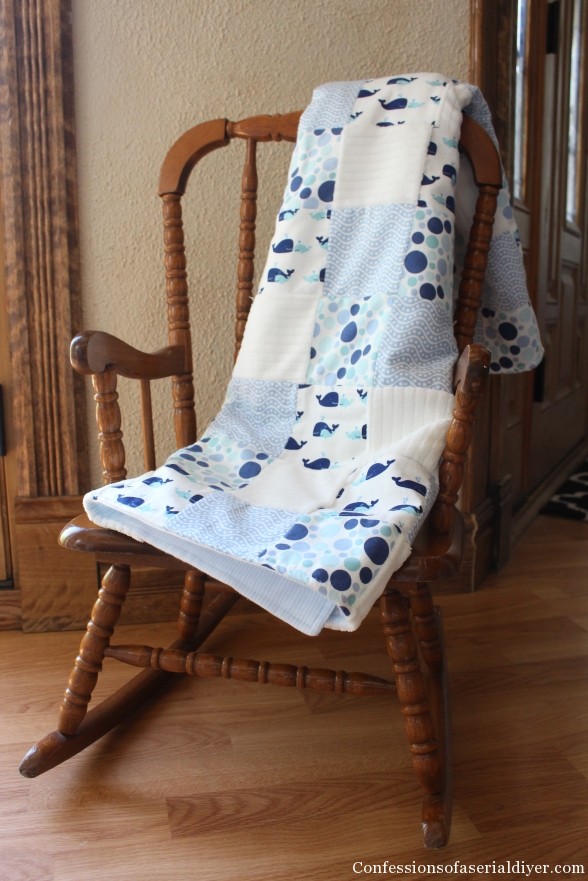
My four-year old has one and he drags it all over the house. It is the perfect size at 36″ X 44″, for him to snuggle up with.
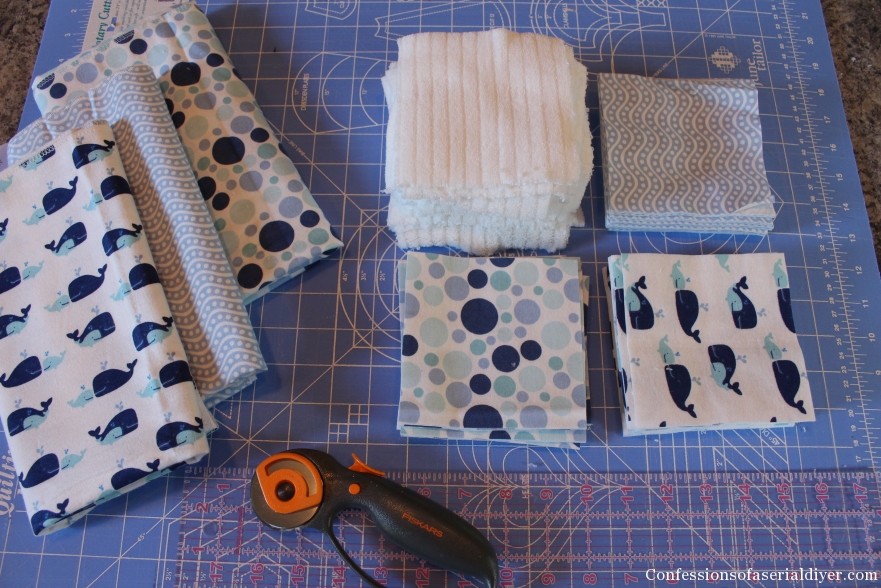
To make this quilt, I started with a pack of coordinating flannel receiving blankets:
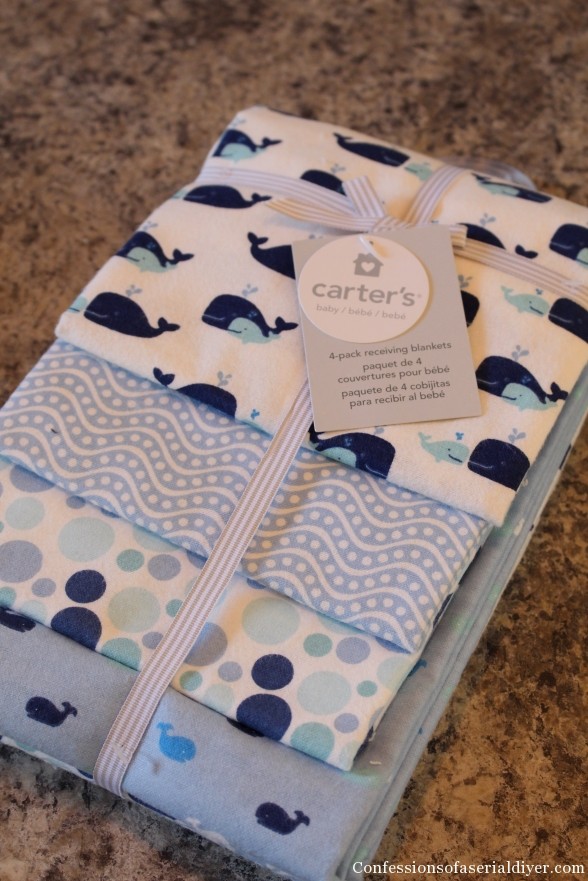
These are perfect because the flannel will wash up super soft and cozy, and the fabrics are already coordinated perfectly.
I did need to purchase a few more things:
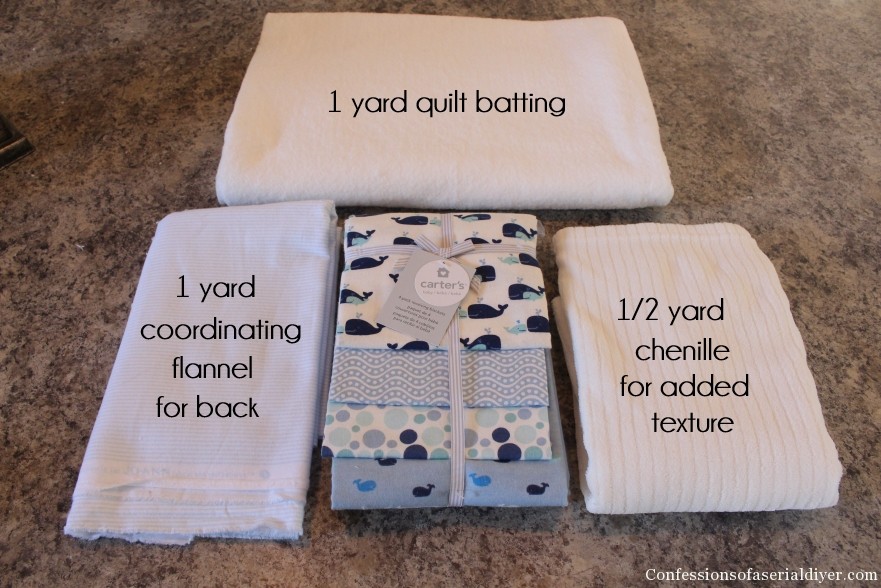
The chenille adds a bit of fun texture, but I’ll warn you that it does get everywhere when cutting it. I thought it was worth the trouble, but it’s not necessary. (I used it in place of one of the blankets.)
Let’s get started…
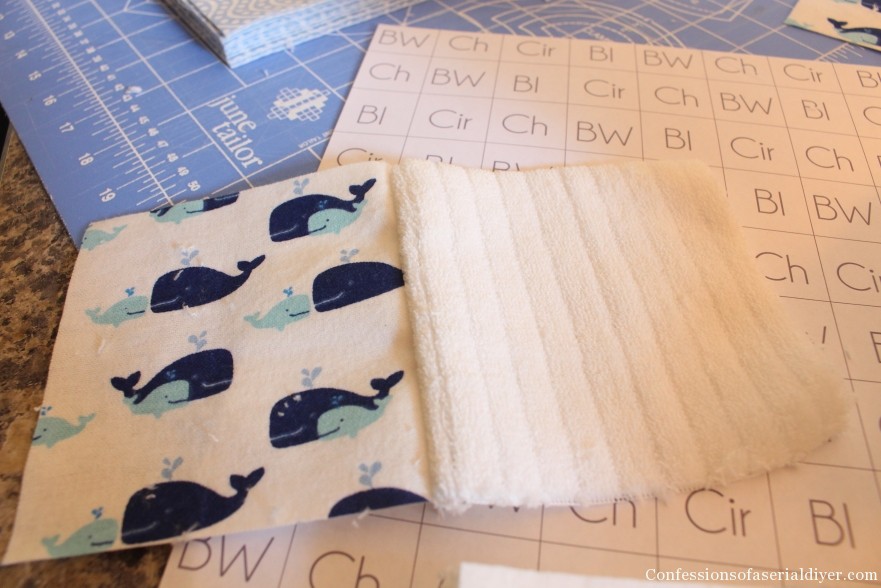
Create a Pattern
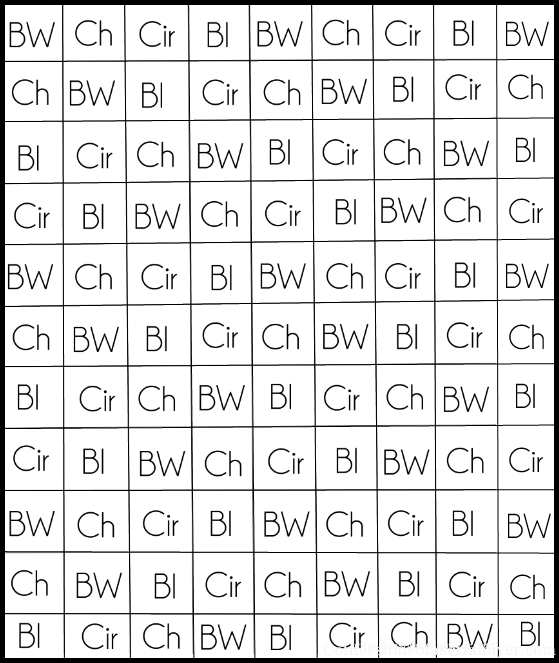
I created a pattern to use as a guide. You can use this one; just substitute your own abbreviations, or create your own.
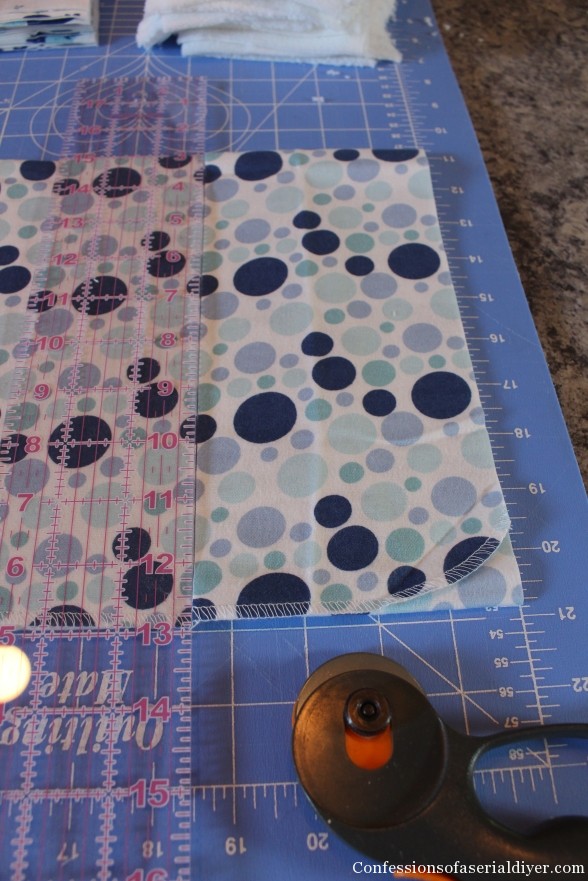
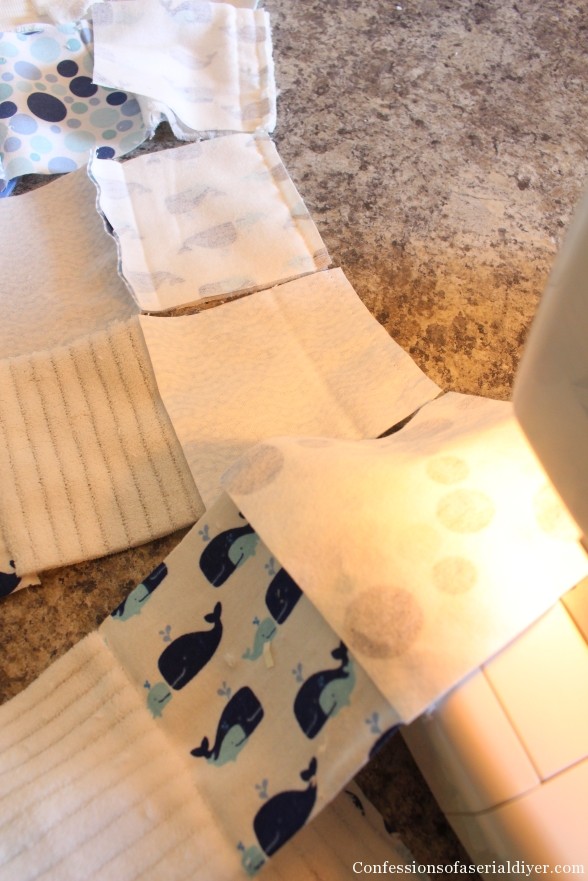
Cut Squares
The best tools for cutting even squares, are a rotary cutter, straight edge, and cutting mat. You can purchase them in a kit at your fabric or craft store. I use my set ALL the time!

I cut my squares 4 1/2 X 4 1/2. As you can see also, I folded my fabric prior to cutting as the rotary cutter will cut through a few layers very easily, allowing you to cut several pieces at once.
Sew Squares Together
Keep your pattern handy as you’ll be referring to it often. Start with your first square (top, left hand corner), and attach it side-by-side to the next square. I started with “BW”, big whale and attached it to “Ch” for chenille.
You could then add the next square, which for me would be “Cir” for Circles and so on until you have the top row complete. Then move onto the next row and so on.
I started with the same two squares, but instead of adding the third square, I moved to the next row down and sewed those first two pieces together. I continued until I had all of the first two squares of each horizontal row sewn together.
Then I added the third square to each row (following my pattern) and worked my way down.
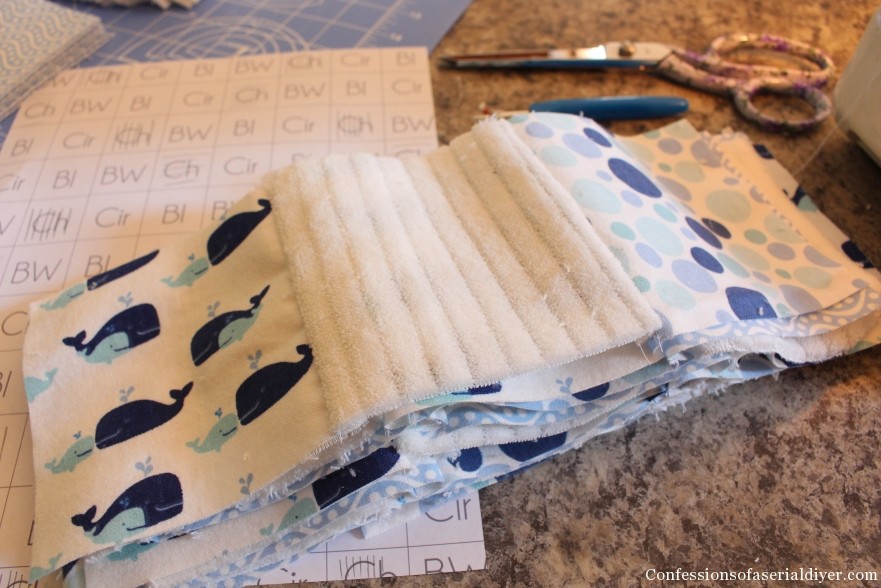
The reason for assembling the squares this way is so that I can “butt” each piece behind the next, through the machine which saves time and thread.
Either method yields the same results…a set of 11 rows, 9 squares each:
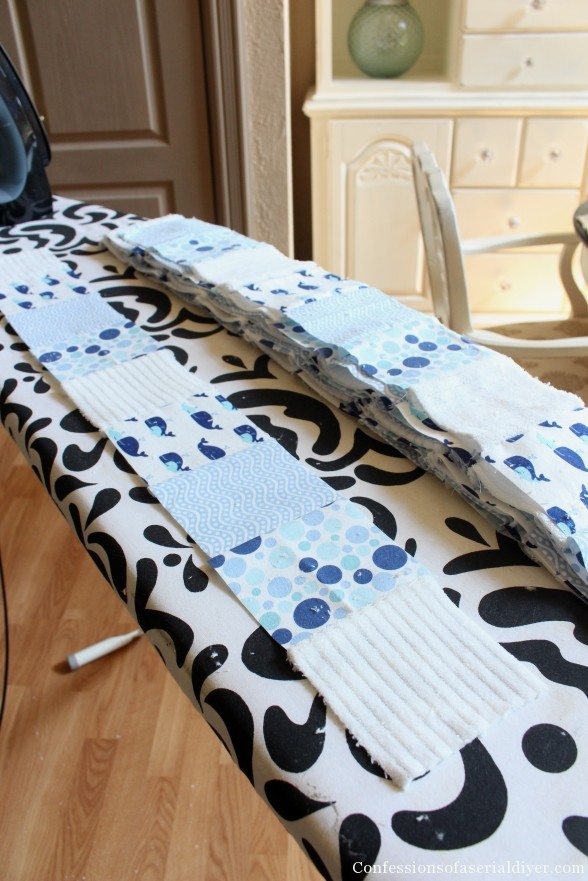
When you have all of your horizontal rows complete, iron each row.
Then referring to your pattern, sew each row together. You’ll end up with something that looks like the picture below. Be sure to iron all of your seams in the same direction.

Assemble Quilt Layers
Next lay out your quilt batting and place the quilt top face up on top. Pin in place.
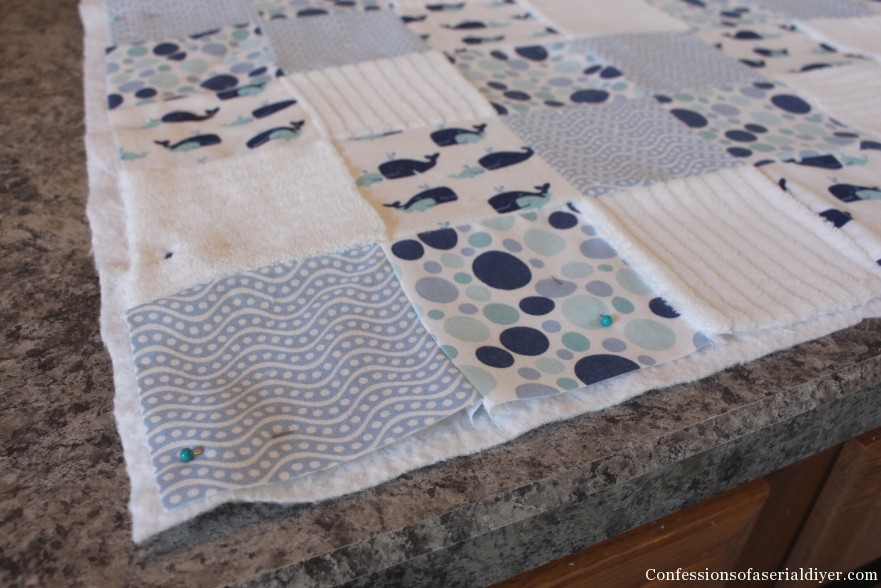
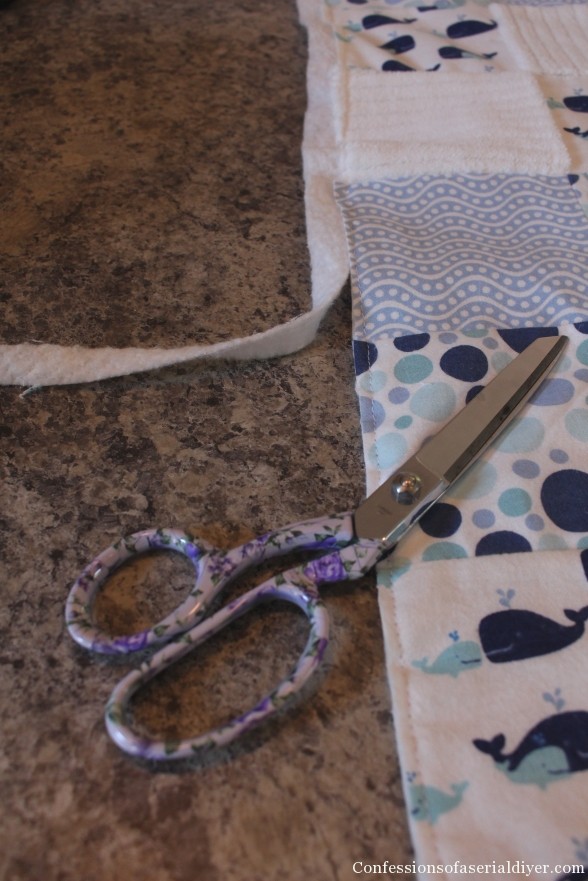
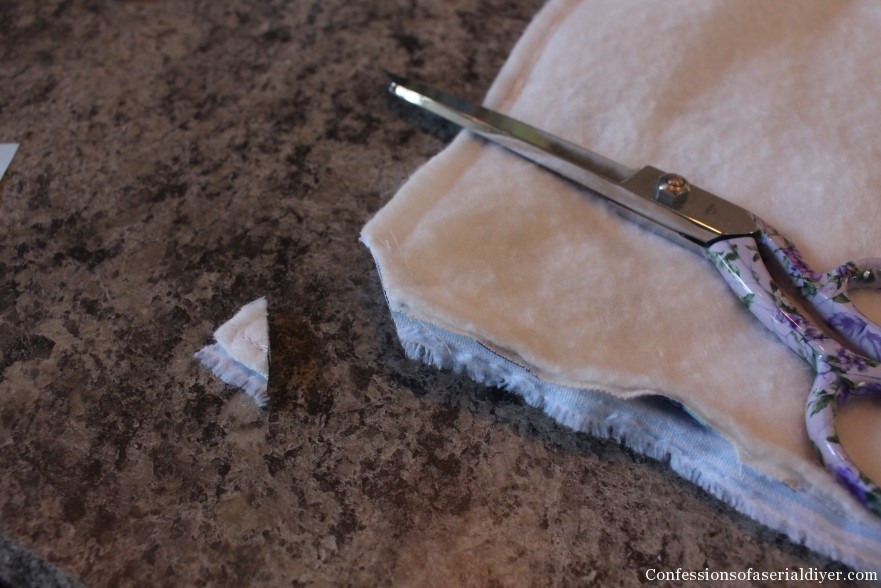
Sew around the outer edge. Trim any excess batting.
Place flannel fabric for backing face down on top and pin in place:
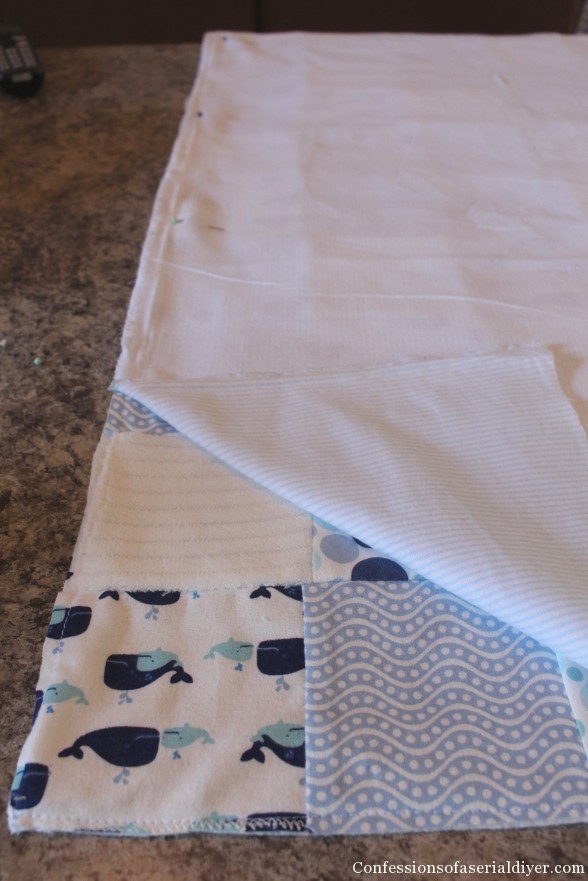
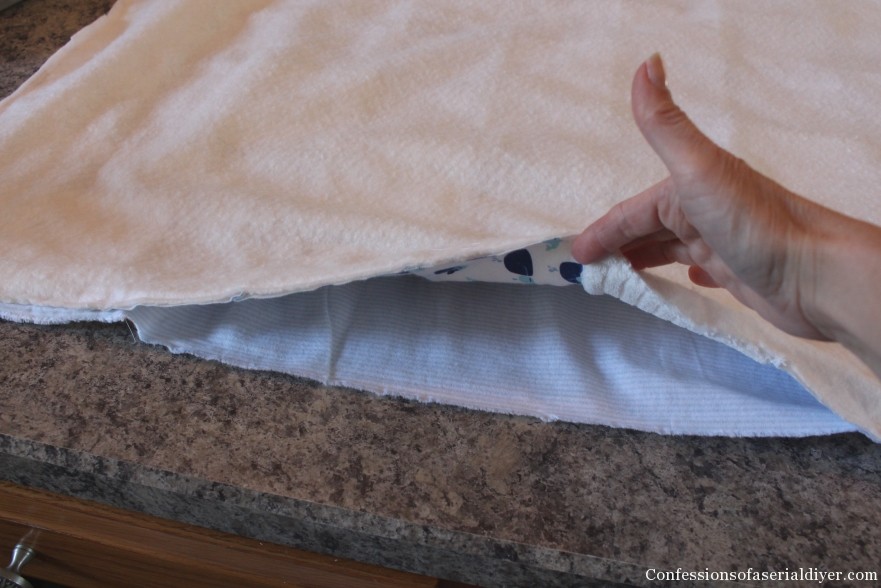
Sew around the outer edge again, this time leaving several inches open to flip quilt right-side-out. Trim any excess fabric.
Clip the corners to get a nice sharp corner before turning:
Turn right-side-out and pin opening closed. Sew a seam 1/4″ around the outside edge. This should close up your opening too.
This is a cheater’s way of getting out of making a binding for the edges!
To keep things together, I added knots in several places using embroidery thread. I knotted it on the front…
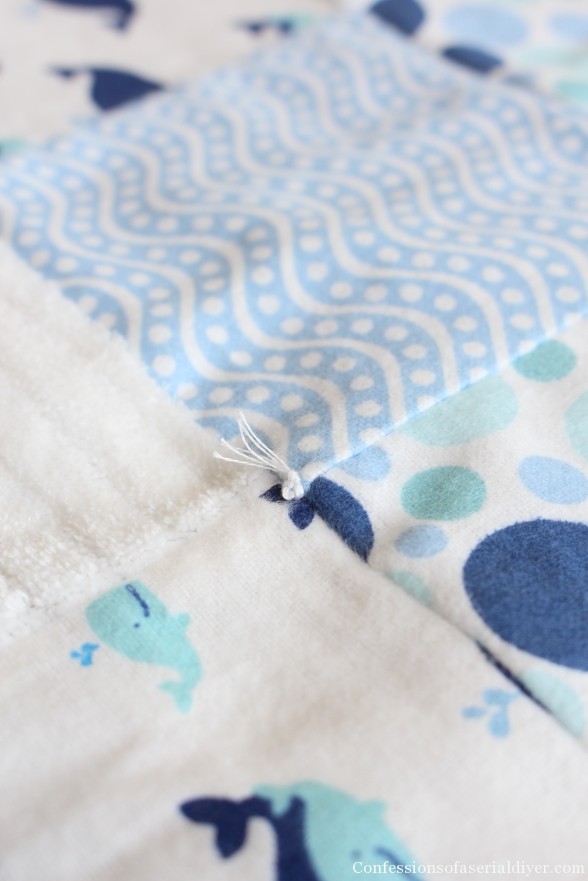
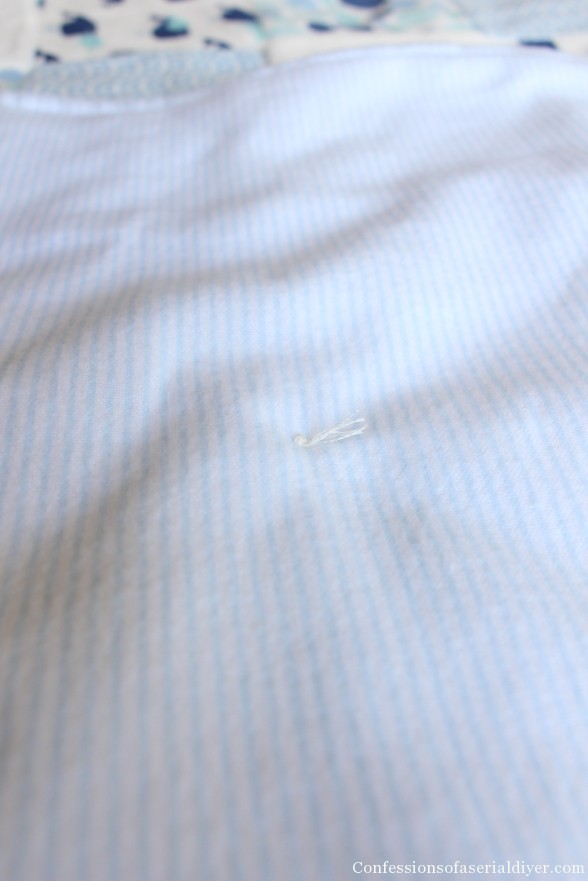
…and on the other side:
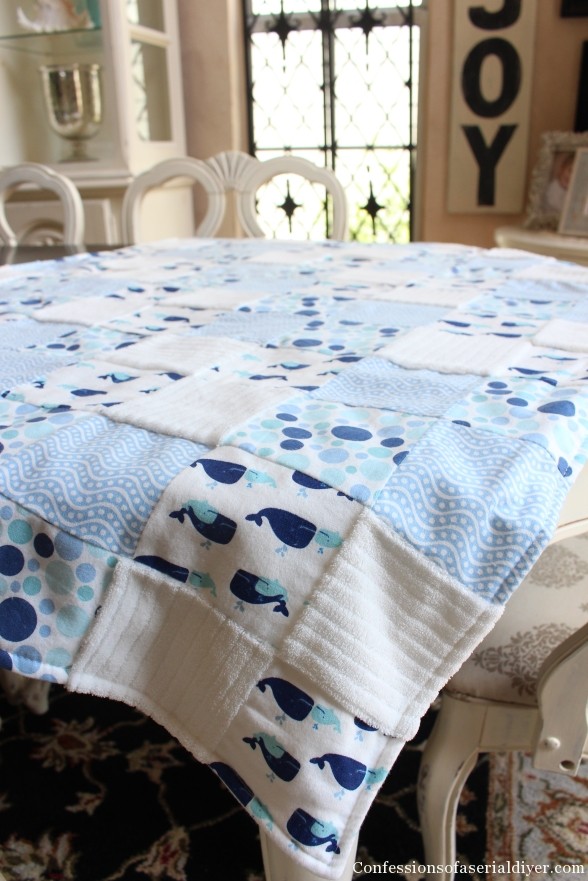
Stand back and admire, you did it!
I made this for my neighbor to match her nursery and she loved it! I’m hoping it will become her baby’s favorite “blankie” too. (Update: She loved it.)
Ours has had a gazillion washes (and looks like it too), but it is so soft and snuggly!
Don’t worry if your squares don’t align perfectly. Those little imperfections are what make it special.
Hand-made gifts are a gift from the heart.
Here is a similar blanket I just made for my niece, Eva, who is due to arrive in October:
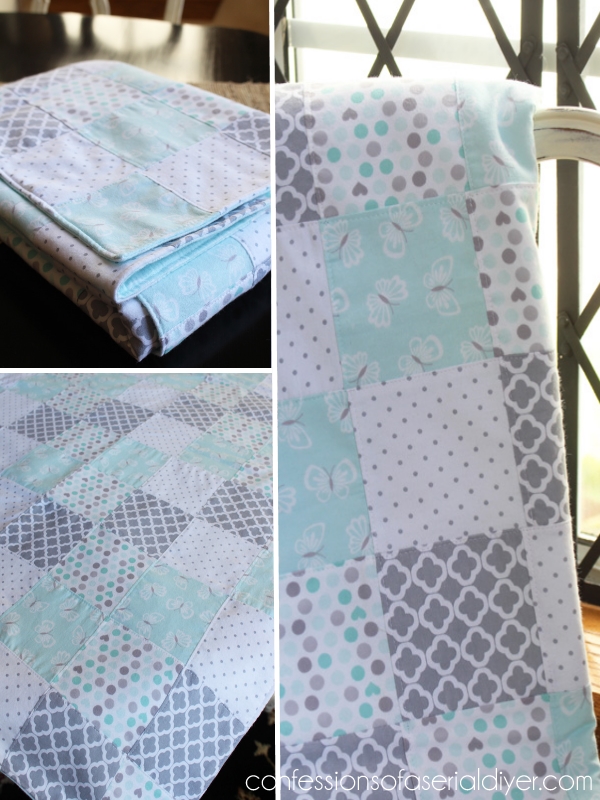
Her mama is not a fan of the color pink so this was a pretty alternative for a girl. Only two of the patterns in this particular blanket are receiving blankets though. I purchased the flannel butterfly fabric and the dots and hearts fabric from JoAnn Fabrics to give it a more feminine feel. I used the pretty aqua butterfly fabric for the back:

I did a few things differently on this one.
I kept this one more simple and just used all flannel instead of adding the chenille for texture. It was a bit easier to put together.
Another thing I did differently for this one was I changed up the pattern and I think I prefer this one:
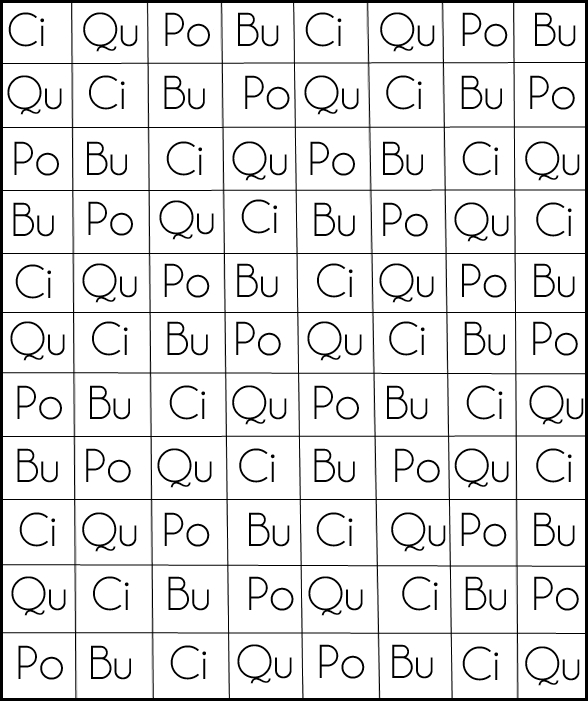
Ci=Circles Qu=Quatrefoil Po=Polka dot Bu=Butterfly

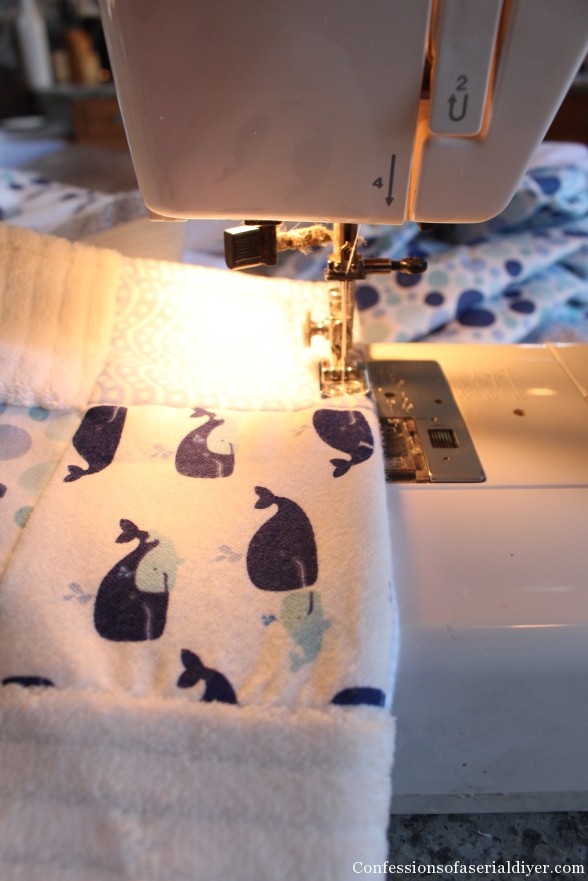
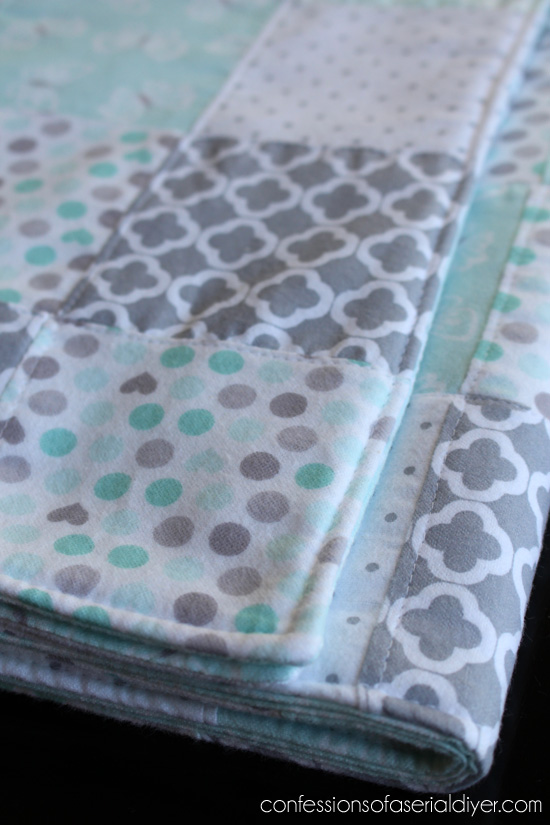
And lastly, I added a stitch about 1/8th of an inch from the seam along one side of each row, lengthwise and widthwise, on the top layer only. (Before stitching, be sure the seams are all ironed to face the same direction and that this additional stitching runs over top of the folded-over seam. I hope that makes sense?!)

It makes the squares sit more neatly.
I still love the idea of using a pack of receiving blankets to make a quilt. There is the perfect amount of fabric, and everything is perfectly coordinated, which means you don’t have to spend an hour in the baby flannel aisle trying to make up your mind. 🙂
You can see what else I made for my niece’s nursery here.
I’m hoping she enjoys this cozy blanket as much as I enjoyed making it for her. 🙂
XO,
![]()
Don’t Miss a Thing!
If you like what you see, there are several ways to follow along!
Email * Facebook * Pinterest * Twitter * Instagram


")


Diane Zueck says
Hi. These baby quilts are absolutely beautiful. I actually have been wanting to make one myself. Your instructions will help greatly. I was just wondering if you press the seams on the squares open or to one side.
Thank you for this great post.
Diane
Christy K. James says
Good question, Diane…if it were clothing I would press the seams open, but for these quilts I pressed them all to one side. Glad you enjoyed this post! I’m thinking how nice it would be to have one my size to snuggle up with on a cold winter night 🙂 XO
carol says
Hi Christy…I live in the UK and follow your blog. Love it! Please can you tell me what a receiving blanket is :-/ ? We don’t have this expression here. Am I right in thinking it’s what you put over your shoulder to ‘receive’ what the baby throws back at you after a feed instead of spoiling your best dress? x
Christy K. James says
A receiving blanket is a square or rectangular flannel blanket that you wrap or swaddle your newborn in. They usually come in packs of four with coordinating fabrics. Hope this helps. Thank so much for following along! 🙂
Amy | Canary Street Crafts says
I love this tutorial!! My sewing skills are pretty basic, but I think I could pull this off using your directions. My youngest just turned 2 and even though he’s our last, I just can’t part with his baby things yet! I think this quilt may be the perfect solution for all those receiving blankets I want to keep 🙂
Christy K. James says
Yes, absolutely! This would be the perfect way to save them and get some use out of them for a little while longer. My four year old still loves to snuggle with his!
andi says
Loved the first one….WANT the second one! Eva is one lucky little chickadee. Now that my daughter…um…got rid of her long-termboyfriendthatIdidn’tlike… I’m no longer devastated at the thought of being a gramma someday. I see some quilts like this in my future. Hopefully still WAY in the future…
-andi
Christy K. James says
Man I am just not ready for the girlfriend thing! I have boys and my oldest is 12 so I have a little while, but I’m not ready! I think I’ll be too judgmental. And at 43 with a four year old, by the time he makes me a grandma, I’ll really be one lol. I want to make a Christy-sized one. 🙂
Olivia says
What a great gift! And what a great website. I will start following you 🙂
Christy K. James says
Thanks, Olivia! SO glad to have you following along!! XO
Elsa says
hello, I am totally new at this and was wondering do u have step by step youtube videos?
Christy K. James says
No you tube, Elsa!
Tina says
Hi! When making the blanket do you use all the material from the 4 receiving blankets? Just wondering if more than one blanket can be made out of the 4 pack.
Christy K. James says
I don’t think so, Tina. I did have fabric leftover, but not enough to make two blankets this size.
Alyson says
I was wondering if you need to wash the blankets and back fabric before starting?
Christy K. James says
I did not, but you could if you wanted to. 🙂
Judi says
How many squares per blanket do you make? I love this idea because it takes me forever to find coordinating fabrics.
Christy K. James says
Hi Judi,
I shared two quilts here and the pattern for each. One has 88 squares, the other has 99.
Emily says
I just cut my fabric, using a similar Carter’s 4 pack and making 4.5in squares. I ended up with 192 squares! Enough for exactly two 12 square by 8 square quilts! What a bargain!
Christy K. James says
That’s awesome, Emily! Good luck on the rest, I know they’ll turn out super cute! XO
Beka says
Hi Christy,
I just found this post on Pinterest and I’m in the middle of making one! thanks so much for the idea. I have one question: with the second blanket you sew down the seams before attaching the batting/backing, but you don’t use the ties? the fabric doesn’t move around?
I originally thought you stitched it down through the batting/backing, but looked again at the picture and didn’t see the stitching on the back. I’m thinking of doing it this way though… any thoughts?
I’m so excited about this project (I needed something simple to get me back in the swing of things) and I would love to share a picture of my finished quilt when it’s done! thanks again for your instruction on this!
Beka
Christy K. James says
Hi Beka! I did not add the ties the second time around, but the quilt is small enough that it still held together very nicely! Feel free to add them if you like though, and yes please share when you’re done. I’d love to see it! You can share a photo by messaging me on my FB page if that’s easier also. 🙂
Carlene says
I am new to sewing so pardon the dumb question- when putting the squares together do you use 1/4 seam?
Christy K. James says
That’s about right. I don’t really measure…just as long as you use the same seam allowance on all pieces, your quilt will turn out great. Good luck!
Carolyn J Bradley says
You are very clever. The blankets look adorable. Did purchasing the package of receiving blankets save you money? Thanks
Christy K. James says
Thanks, Carolyn! I haven’t done the math, and I don’t quite remember what I spent on the pack of blankets since its been a little while, but it was much easier! It saved me standing in the fabric aisle trying to coordinate fabrics ha ha, and I always take way too long to make up my mind. 🙂
CJ says
Hi, I hope this isn’t a stupid question but I’m relatively newer at sewing. Did you use a regular sewing machine needle/foot to do this project? I’ve heard that with quilting projects you generally have to use a walking foot so I wasn’t sure if that was necessary to have or not in order to do this project. I’m hoping not as I don’t have one and they are so expensive and I really would like to try this project.
Christy K. James says
I just used the regular old sewing foot that came with the machine. 🙂
CJ says
Yay! I can’t wait to try this out. Thank you so much for sharing and for answering my question! 🙂
Christy K. James says
Sure! Good luck! 🙂
Melany says
How many 4 packs of the receiving blankets did you use for 1 blanket? If you were to use all 4 of them. Thanks!
Christy K. James says
Hi Melany! I used one four pack. 🙂
Lorie Neighbors says
I have made countless blankets using squares of fabric. And as careful as I am with cutting and sewing, seams NEVER match up. It’s esp bad when I use stretchy minky fabric. I see pictures with perfect seams, so I know it’s possible! I love the idea of using receiving blanx. I enjoyed this tutorial.
Christy K. James says
Hey I say the seams that are off just prove that it’s hand made with love! And flannel is a dream to work with! 🙂
Jen says
So after a year of using and washing now is the batting still in place or has it shifted?
I’ve never done a quilt and not actually sewn it throughout
Christy K. James says
It’s still in place actually! I sewed a seam all the way around which helped to anchor it. ????
Susan says
Hey Christy,
Found you on Pinterest. Love the quilt! I am no sewing expert, actually I don’t sew very often, but thought this project looked like something I want to and could do. Thank you for the tutorial. Did you use a specific size needle on your machine?
Christy says
Thanks, Susan! You should have no trouble making this quilt. I just used a standard needle. Good luck!