I can’t believe we are already at week eleven of our sixteen week Get Your DIY on Party Challenge! This week’s theme is Holiday signs…fun theme, right?
When I was deciding what I wanted to create to share for my holiday sign, I remembered I already had the perfect project all wrapped up and ready to go! I first shared this last year, but my blog was brand new, so it was probably only seen by a about ten people, thanks to my family and friends 🙂 Enjoy!
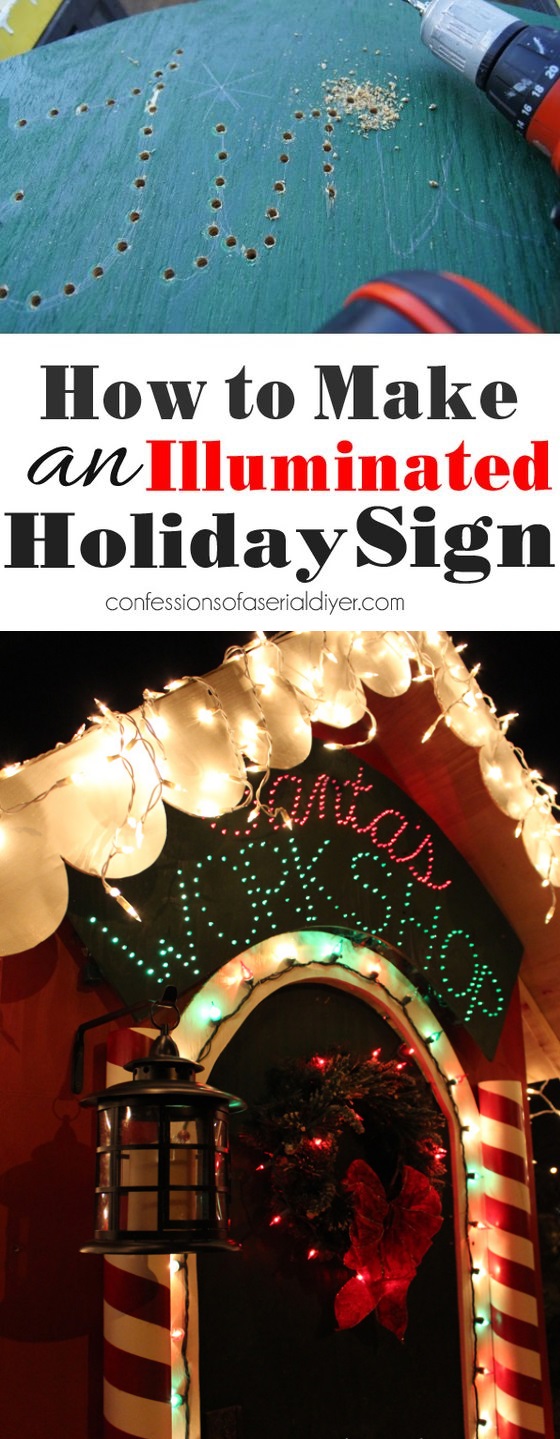
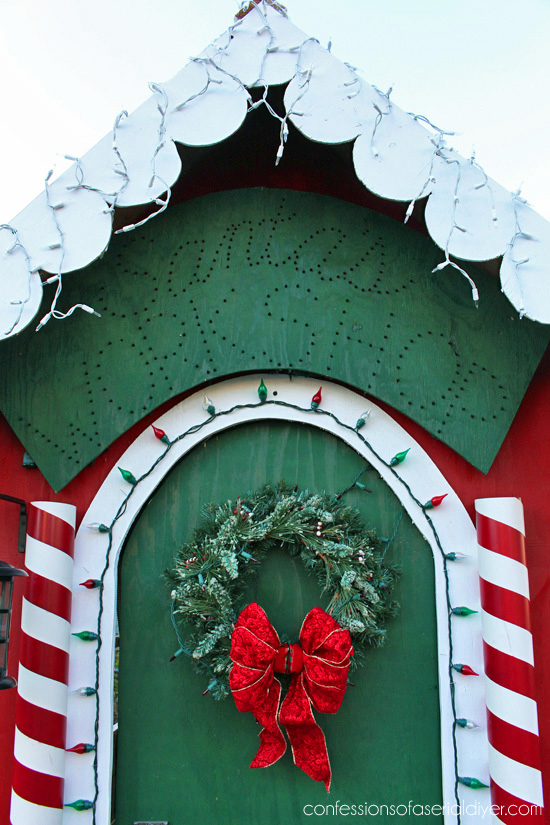
The most important component of our Santa’s Workshop is the sign that let’s everyone know what it is. Making the sign was pretty easy and would be a fun addition to any outdoor holiday display, so I thought I’d share how I made it!
I’m going to show you step by step using this sign we made for my brother-in-law for Christmas. He creates a spectacular outdoor display every year and he calls it, “Tinsel Town”, so we thought this would be the perfect gift!
What you’ll need:
- 3/8″ ply wood (thick enough to be sturdy but not so thick that the lights won’t show through the other side)
- pencil
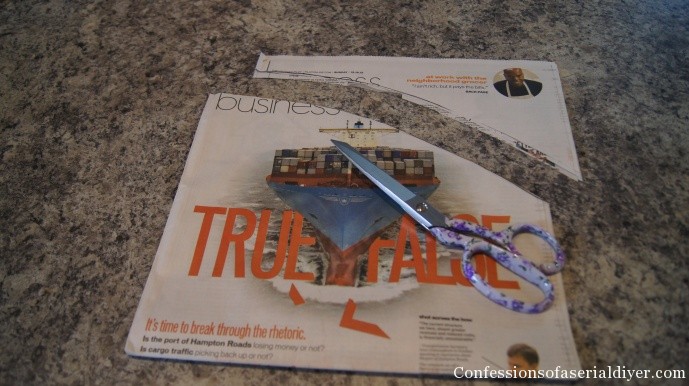
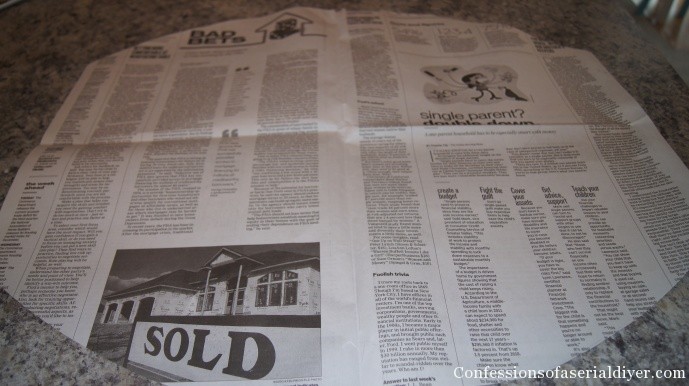
- newspaper for making a template
- spray paint
- jig saw
- Drill and 13/64 drill bit (sounds like an odd size but that’s what worked best)
- staple gun/ staples
- mini light sets ( The number of sets will depend on how big your sign is and how many letters it has. For this sign, I used three 70 count red light sets and one 100 count green light set.)
First, decide the shape of sign you want to create. I used a newspaper to create a pattern. I folded the newspaper in four and drew my outline. Then I cut it to create a shape that was equal on both sides and top to bottom.
Next, I traced my pattern.
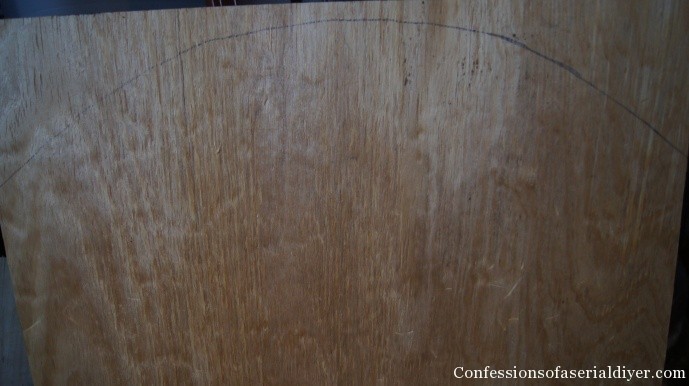
I had my honey cut it out for me using a jig saw. Then it got a coat of spray paint. You could wait to paint after you drill your holes, it’s up to you.
After painting, I sketched out my words. I am fortunate that I was blessed with decent penmanship so I just went for it. There are all kinds of fancy machines out there to help you out in this department if needed. You can also enlarge and print the letters on your computer then transfer to your surface using good old fashioned carbon paper or this method.
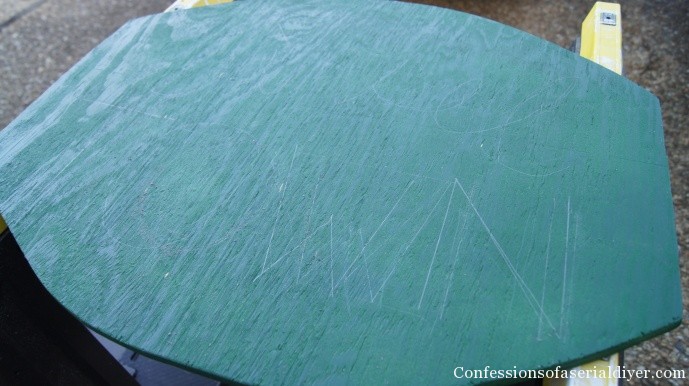
You can see I made a couple of attempts to get my letters spaced properly.
Nice penmanship? Check.
Ability to space correctly freehand? Not so much.
Then I drilled my holes.
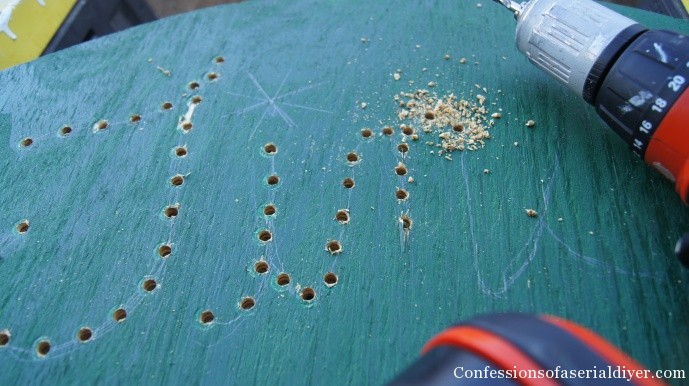
See the cute asterisk I penciled in for the ‘I’?
Yah…there ended up not being enough space in that area to pull it off.
Boo hoo.
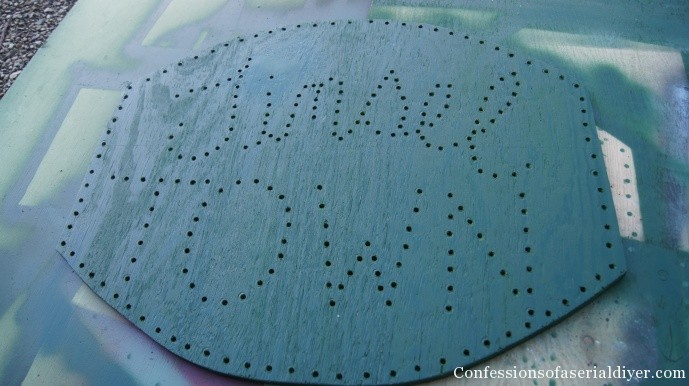
When all my holes were drilled, I gave it another light coat of spray paint. If you decided to wait until this point to paint, go right ahead.
Now it’s time for lights! Start plugging them in.
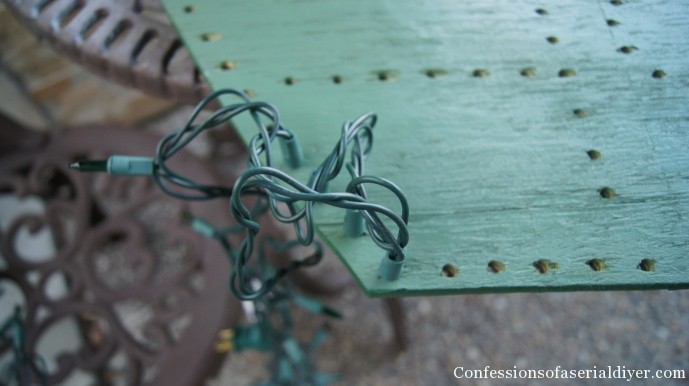
You will need to secure the light strings every so often with the staple gun. For some reason, some lights didn’t want to stay in there and others needed a bit of coaxing. But overall, most of the lights went in easily and held well.
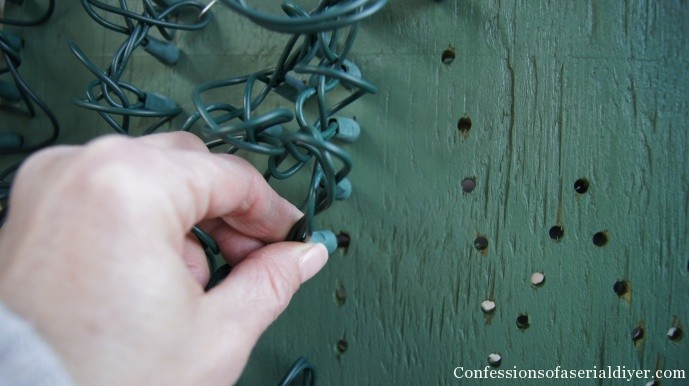
“Get in there, little buddy!”
When you’re finished, you will most likely have extra lights dangling. Just secure them to back with a staple gun. They won’t be seen when illuminated at night.
Here is the finished sign:
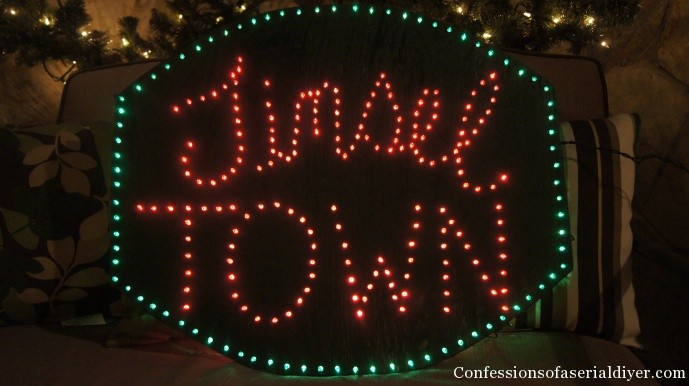
So fun…and pretty easy!
And here is my Santa’s workshop sign made the same way:
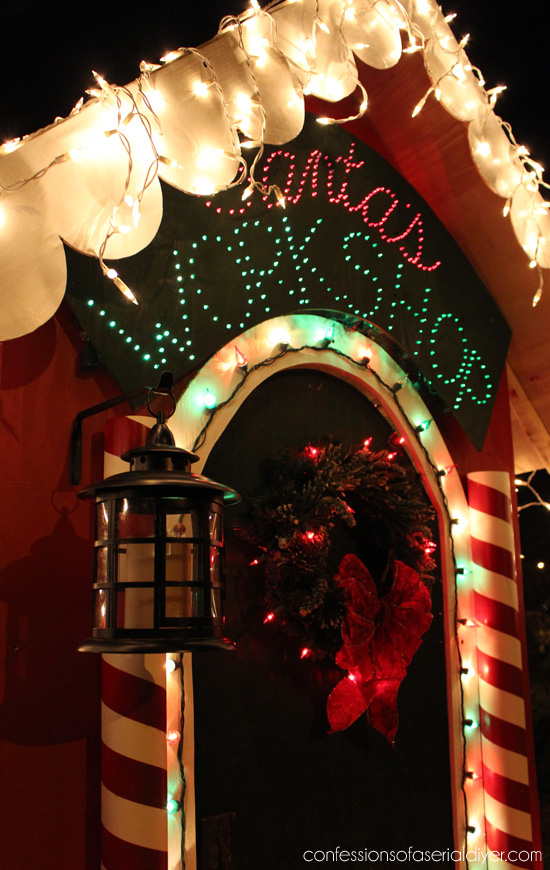
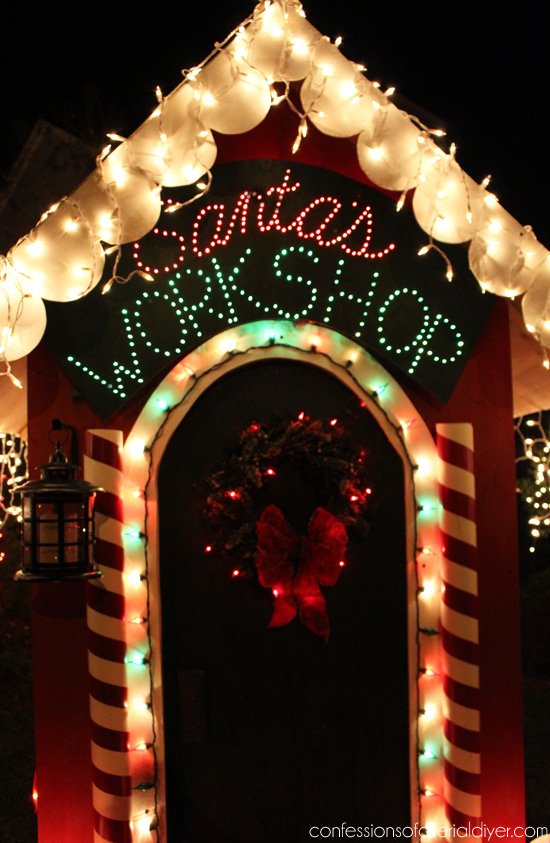
This was mounted by adding a square of 4X4 to the back on either side and then screwing it to the workshop, so it sat away from the wall enough to make room for the lights. You could also drill holes on either side at the top and hang it with rope.
I left it up to my brother-in-law as to how he wants to display his. It would probably work best attached to a post.
I love how they turned out! Don’t you?
This would be pretty using all white lights to say “Merry Christmas” or “Joy to the World” or whatever you can imagine.
Not too hard, right? Anyone can do this!
…………………………………………………………………………………………………………………………………………………
See? wasn’t that a perfect post to share for Holiday sign week? My brother-in-law loved his gift!
To store our sign once we dismantled the workshop, I wrapped it in bubble wrap. If the lights ever stopped working, it would be easy enough to replace them. Now if we can just figure out how to put our workshop back together!
Here are the gorgeous holiday signs my co-hosts created for this challenge:
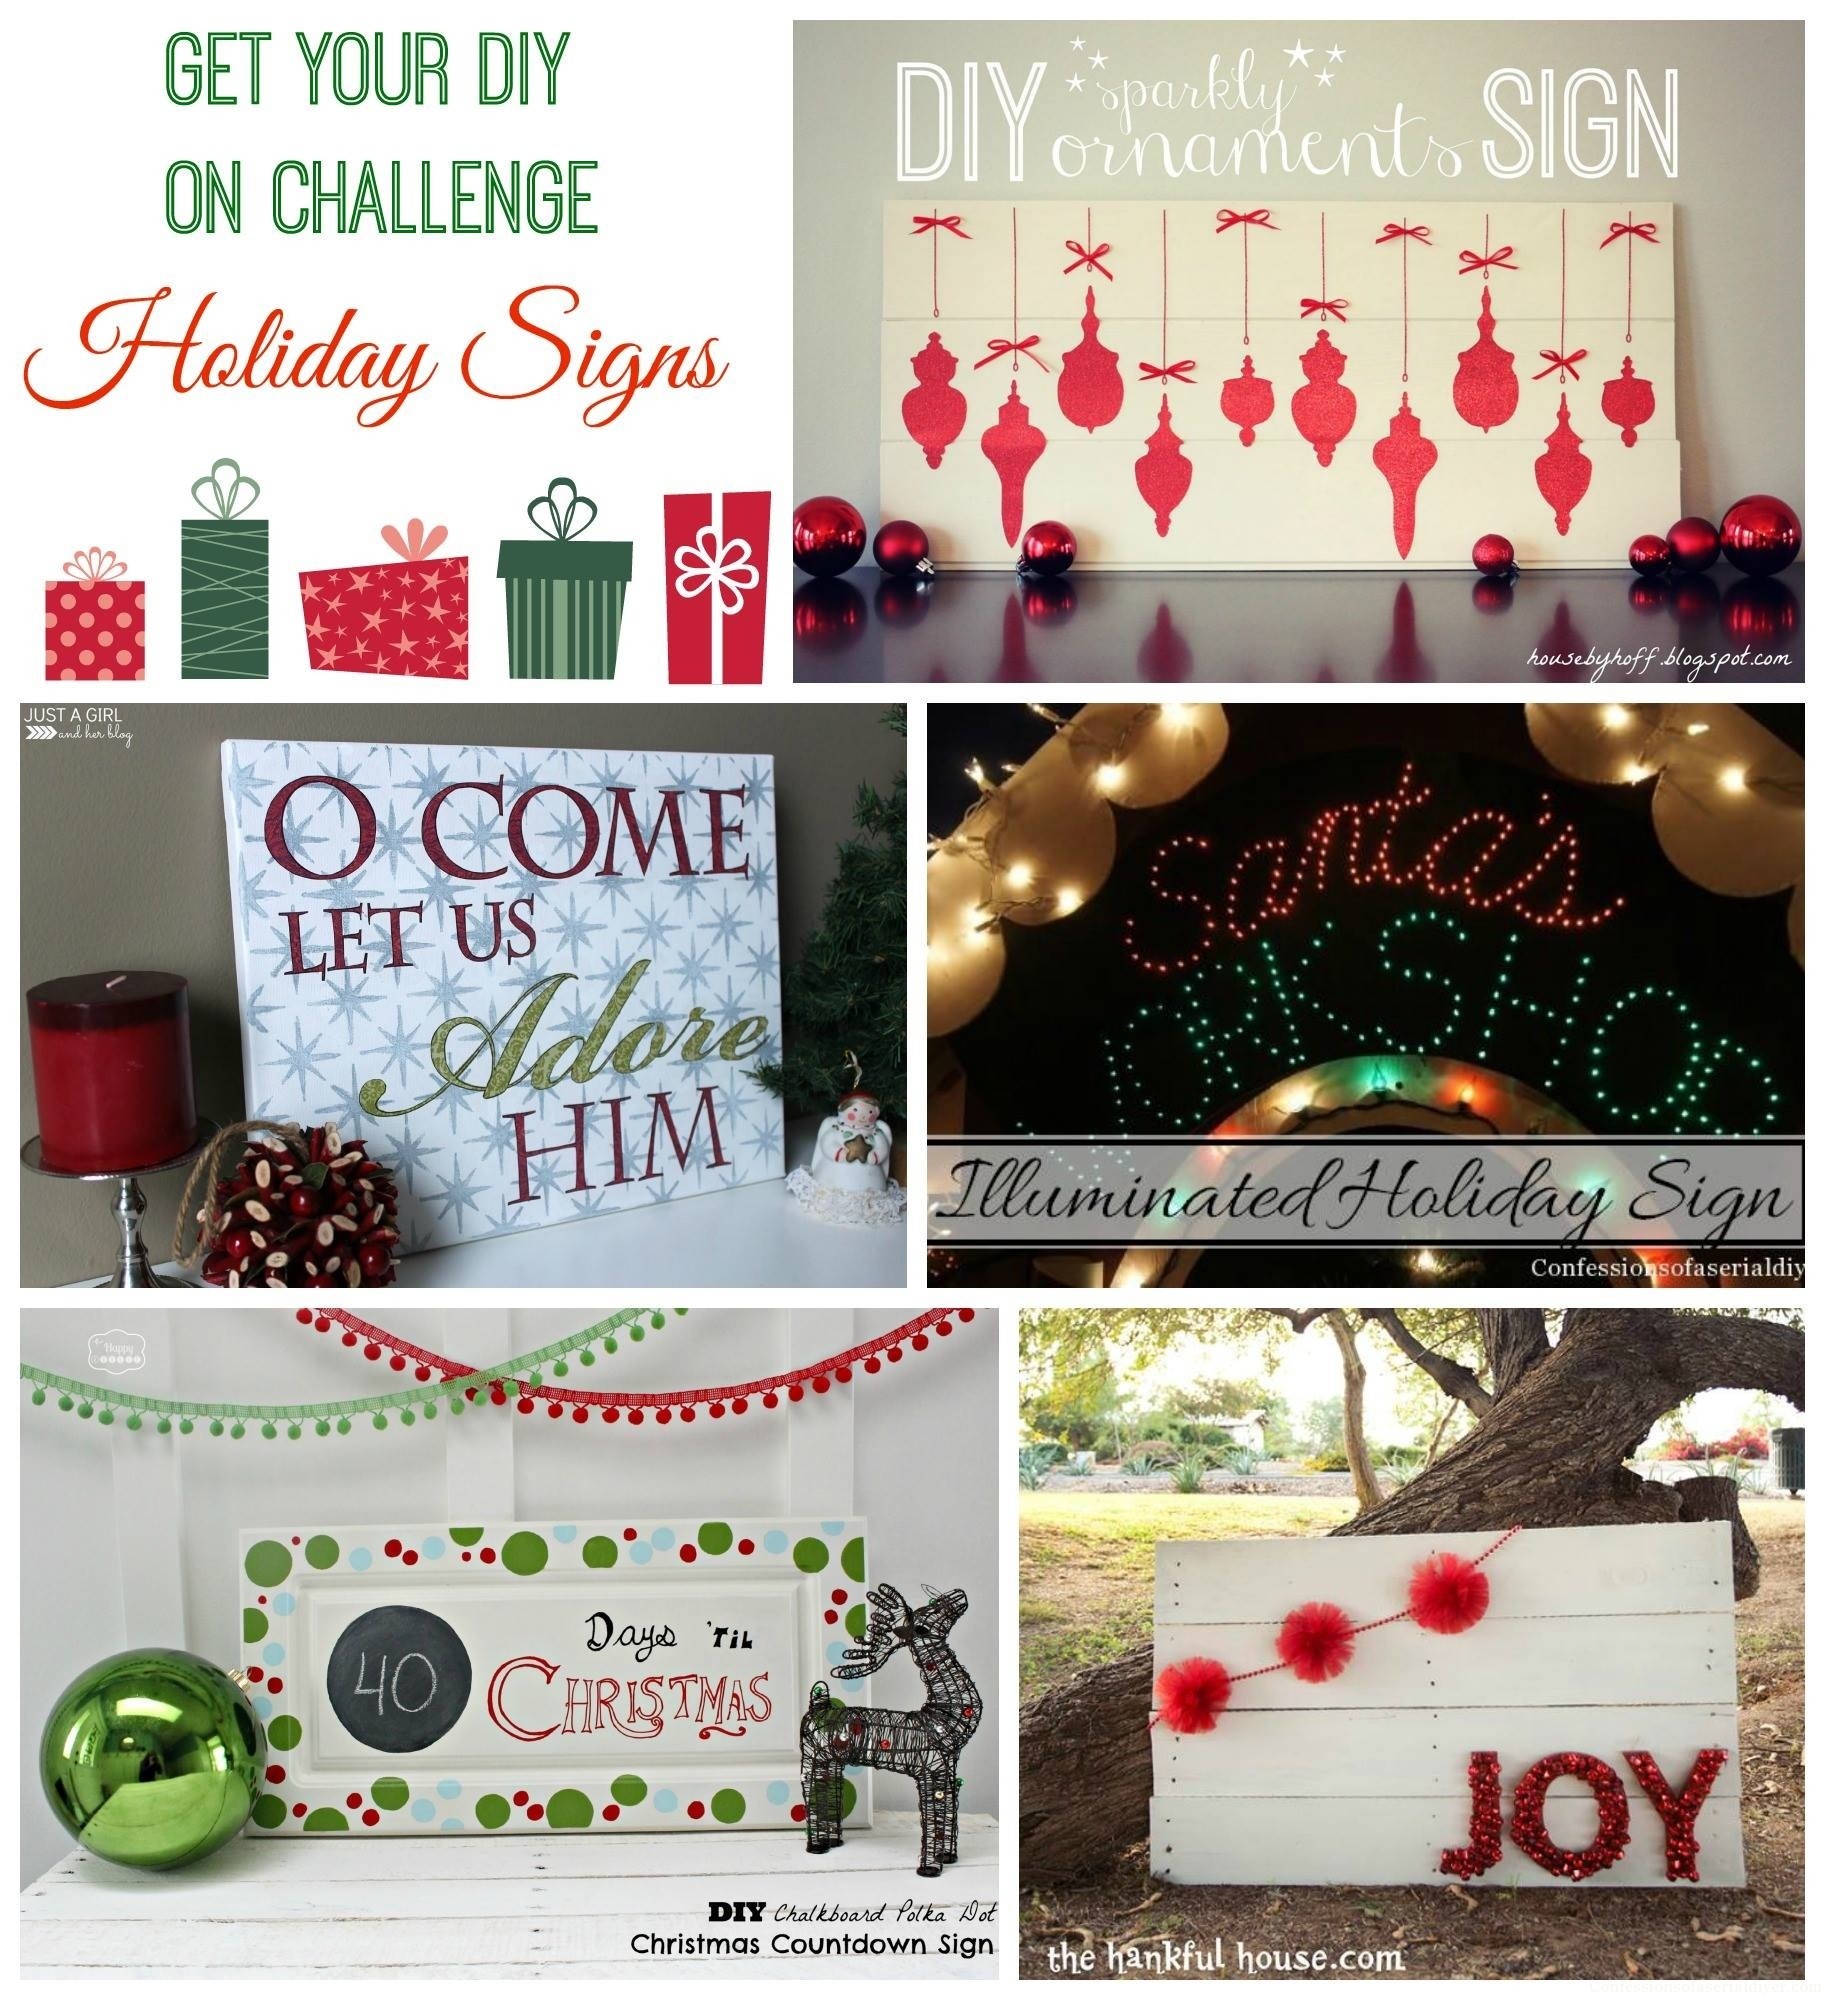
Joyful Pallet Sign The Hankful House
DIY Chalkboard Polka Dot Christmas Countdown Sign The Happy Housie
DIY Sparkly Ornament Sign House by Hoff
“O Come Let Us Adore Him” Christmas Sign Just a Girl and Her Blog
Our new Get Your DIY on link party theme: Holiday Signs, starts Sunday at 7:00 EST. Come link up your Holiday signs or just come by to get inspired! We all shared Christmas signs, but it can be for any holiday this season and it’s not too late for Thanksgiving either!
If you made an illuminated sign for the Holidays, what would it say?
XO,
![]()

")

Marie says
I love that idea! I need to make me one!
Christy K. James says
Thanks, Marie…it’s so easy too 🙂
Karen says
That is so adorable and really well done. It makes me nostalgic for those bright neon signs we use to see everywhere. Some of them were really beautiful.
Christy K. James says
Thanks, Karen! 🙂
Dee says
After not getting your posts lately, I got about 5 of them at once! 🙂 You always go the extra mile–love this sign. Also, congrats on your blogaversary! I thought you have been blogging for years–very inspiring for us newbies. Have a great day! Dee 🙂
Christy K. James says
Yay, I’m glad I’m showing up again! Yes, just a year, but a lot can happen in a year…I’ve learned so much and I’m still learning every day 🙂
Abby @ Just a Girl and Her Blog says
This is so cool! I wonder if I could make a small one for somewhere in our house. The Cs would get a kick out of it! Thanks for sharing, Christy!
~Abby =)
Christy K. James says
That is a great idea! I never thought of making one for inside!:)
Cindy Eikenberg says
Oh my goodness, I totally LOVE this! I totally have to make one – if not for this year, definitely for next year! Adore all of these signs so much! Thanks for sharing and pinning! Have a happy, happy Friday!
Christy K. James says
Thanks so much, Cindy! Have a great weekend 🙂
Krista @ the happy housie says
Wow Christy – incredible! Such a great project – I’m always impressed by your building skills and creativity.
Christy K. James says
Thanks so much, Krista! Have a great weekend 🙂
Laurie @ House of 34 says
I love that idea!!! Thanks for sharing. Now my braining is off and running…!
Christy K. James says
Yay, Laurie! I’m so glad you like it 🙂
Luisa says
I know that I probably sound like a broken record, buutttt…this sign is so cute! Great tutorial too. Gonna pin this baby! Also, I meant to tell you that your Halloween decorations were crazy awesome! You went all out! Hope you have a great weekend!
Christy K. James says
Come on girl, I’ll never get tired of sweet comments like yours lol! Glad you like this post and enjoyed my Halloween tour! We’re a bit gaga over Halloween around here, but Christmas runs a close second 🙂 I hope you have a great weekend too!
Michele says
I remember running across a blog post on this last year at a linky party. Did it say JOY or something like that, for the mantel?! I would guess it was you. Anyhow, LOVE all the great projects and inspiration!! *hugs*
Christy K. James says
Thanks, Michele! These are the actual signs from last year. I reposted them because I hadn’t linked them up anywhere then, since my blog was new 🙂 I missed the JOY sign, but that would be great to do too! XO
Dria says
Wow this is awesome!! How creative, you did a fantastic job 🙂
Christy K. James says
Thanks again 🙂 We love to have fun around here at Christmas! XO
Corinna Ashley @ For My love Of blog says
These are amazing! I love that you chose a sturdy material like plywood. It would make it infinitely easier to store and reuse every year. Now I just need to decide what I want mine to say!
Pinned this and am a new follower, i invite you to do the same!
Christy K. James says
Thanks, Corinna! These are so easy to make! Thanks for stopping by…gave you a like on FB so I can follow you there 🙂
Corey @ Tinysidekick says
I’ve always wanted to make one of these! Thanks for the tutorial. I’d love for you to come share it at A Handmade Holiday Link Party going on now at TinySidekick.com. Hope to see you there!
Christy K. James says
Thanks, Corey! Glad to join your party 🙂
Amy @ Homey Oh My! says
SO FREAKING COOL! Drilling holes never looked so fun haha! Beautiful work, Christy :).
Christy K. James says
Thanks, Amy! It’s so rewarding to finally plug it in when you’re done! 🙂
Shari @ Shari Blogs says
This is definitely going on my holiday to do list! Love this post!! Thank you! Pinning to share with my friends too!
Christy K. James says
Awesome! It’s a fun project 🙂
Andi says
I would love to do something like this, but Phil would have to help me. And I think he’d chop me up into little pieces if I asked him….
-andi
Christy K. James says
I don’t think you’d be quite as entertaining chopped into little pieces, so I’ll just come over and help! Wouldn’t that be great lol? XO
Katie @ Addicted 2 DIY says
I love these signs! They are so cute and fun! You’ve inspired me to try out my own signs for Christmas decorations this year. Thanks for sharing:)
Christy K. James says
Thanks, Katie! I’m so glad you feel inspired! The possibilites are endless 🙂
Susan @ Oh My! Creative says
Wow, this is amazing! Thanks for linking to Whimsy Wednesday! I featured you in this weeks roundup! You can see the post here http://www.ohmy-creative.com/holiday-crafts/christmas/21-handmade-holiday-crafts/
Happy Thanksgiving!
Susan
Christy K. James says
Awesome! Thanks so much, Susan 🙂
Shelly-MinettesMaze says
I have always wanted to try this but have yet to do it. Awesome tutorial!!! I’m pinning this to our talent board! Thanks for sharing on DIY Sunday Showcase! Hope ya come back again this week!
Shelly
minettesmaze.blogspot.com
Michelle says
Oh my goodness. This is adorable! I’m afraid it’s too late for me to do something like this before next week, but I’ll definitely be storing this away for the future. Thanks for the instructions!
Michelle
Christy K. James says
Glad you like it, Michelle! It’s such an easy, but rewarding project 🙂
Dee says
I realize this is an old post, but did you measure the spacing of the drilled holes or did you just eye ball the spacing for the drilled holes?
Christy says
Hi Dee! I just eye-balled them. 🙂