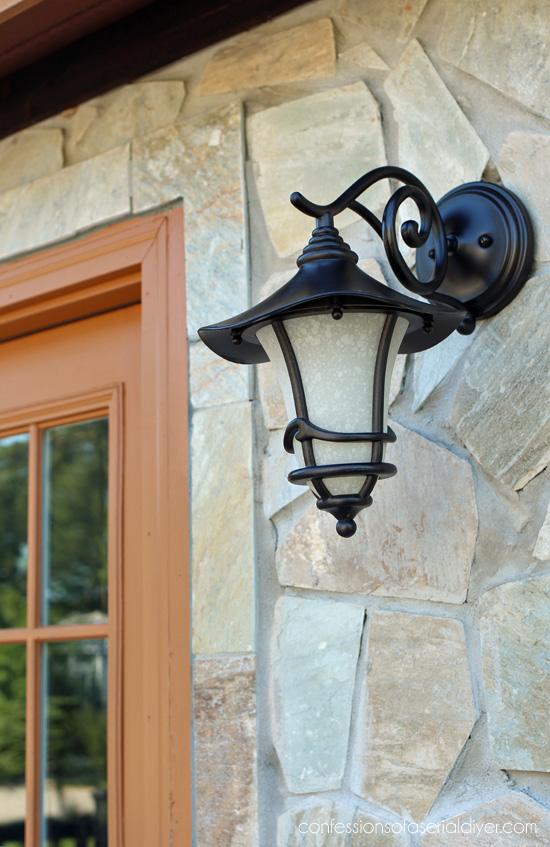
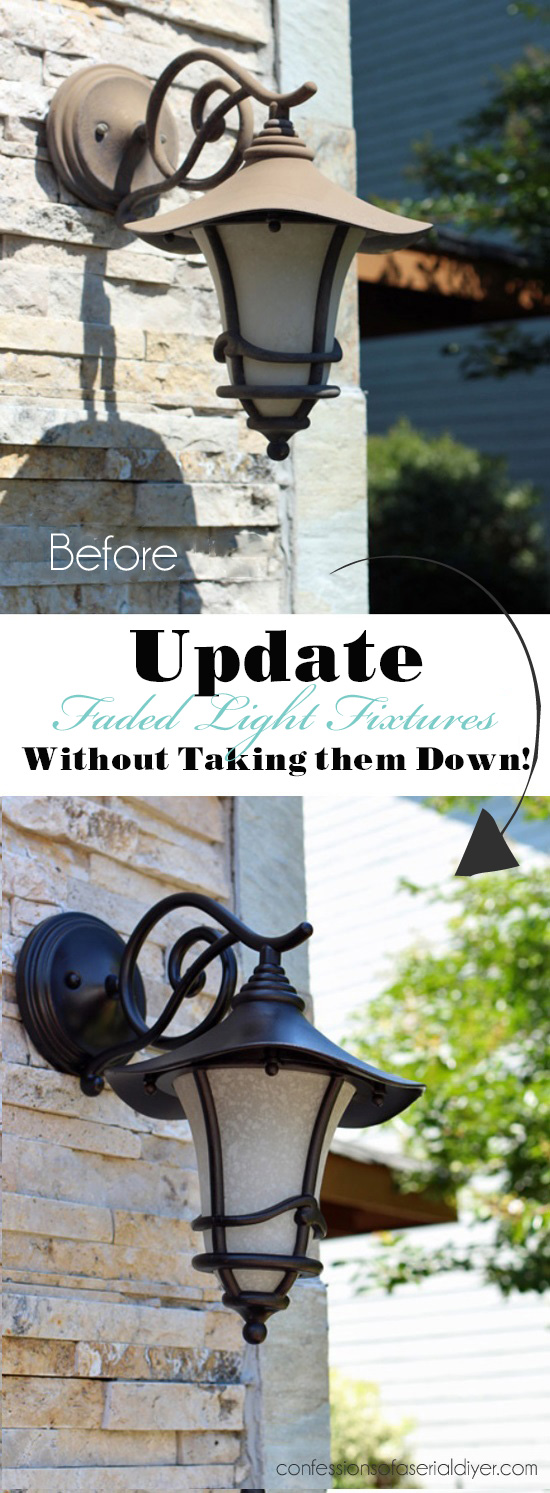
Hello sweet friends! Sometimes you have to put away the fun projects and tackle the necessary, less fun ones, right? I have been busy working on refreshing a few things around our house that have been neglected. On the list were these outdoor light fixtures we have hanging on either side of our garage and French doors in our bedroom:

They get direct sun most of the day and the finish has become so faded. I’ve been telling my Hubby that I need him to take them down for me so I can spray paint them, but I tired of waiting so I decided to take matters into my own hands.
Since I don’t do electrical, I needed a way to paint them while they were still hanging, and in a way that would not allow any paint overspray to get on the stone.
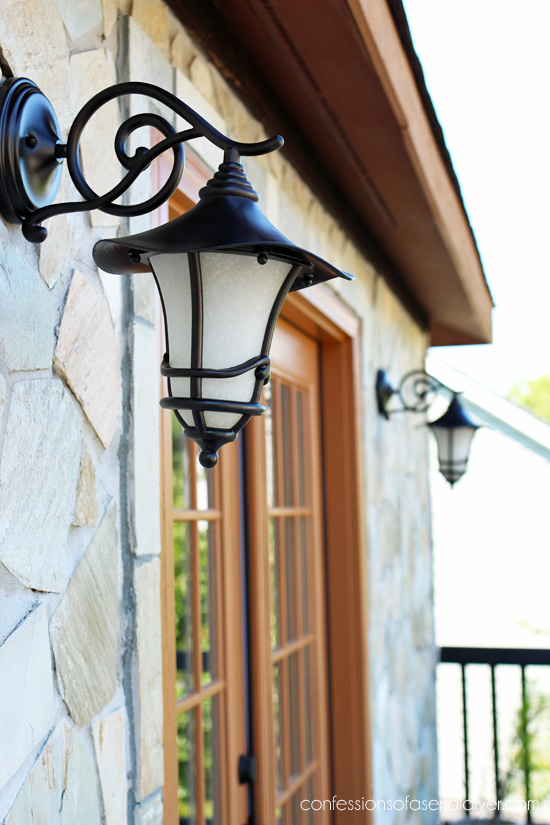
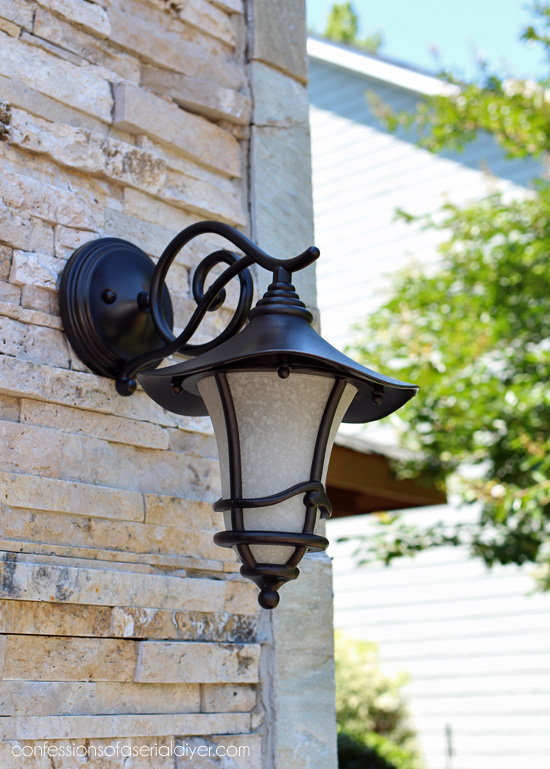
I came up with a great plan! First, here is how they turned out:
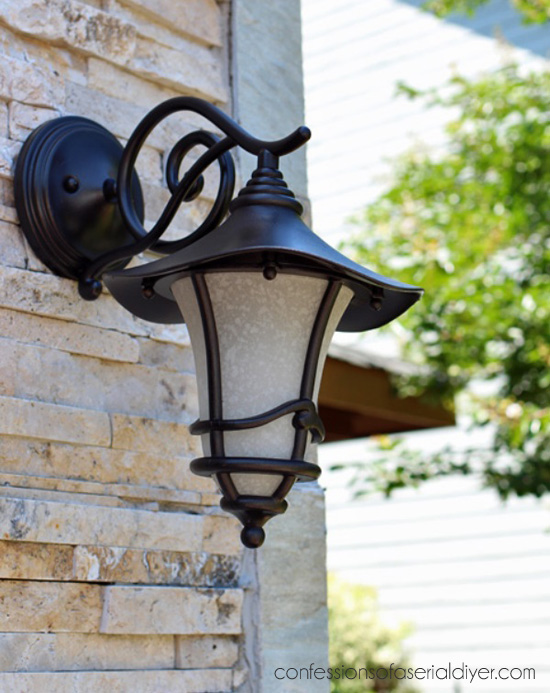
Better, no? They look brand new again!
To make this happen, I had to get a little crafty. I found an old piece of foam core in my garage that I no longer needed (somewhere around 3’X4′ from Hobby Lobby), and cut it in half lengthwise with a razor knife, then I cut those pieces in half again lengthwise to get four pieces. I cut about a foot off of two the sides and created a rectangle out of the pieces.
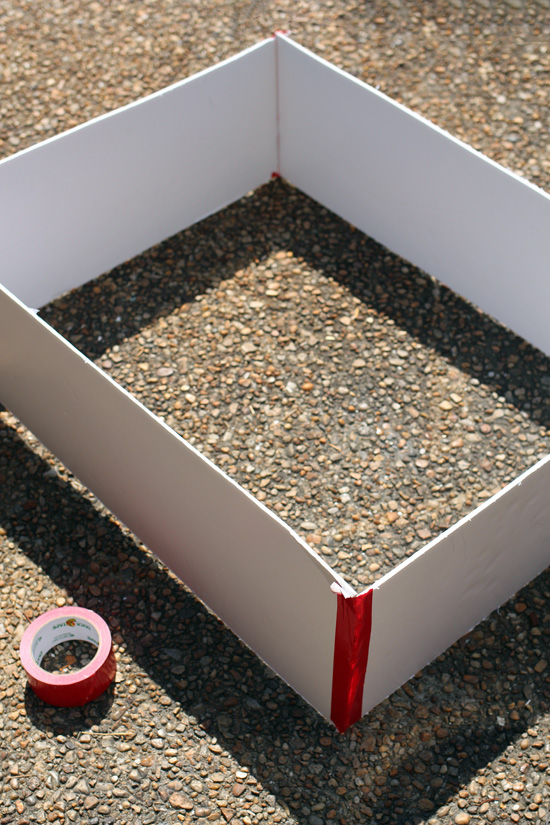
I used duct tape to hold the pieces together.
(This duct tape was left over from when I did a project for Duck Brand tape. See what I made out of their tape HERE!)
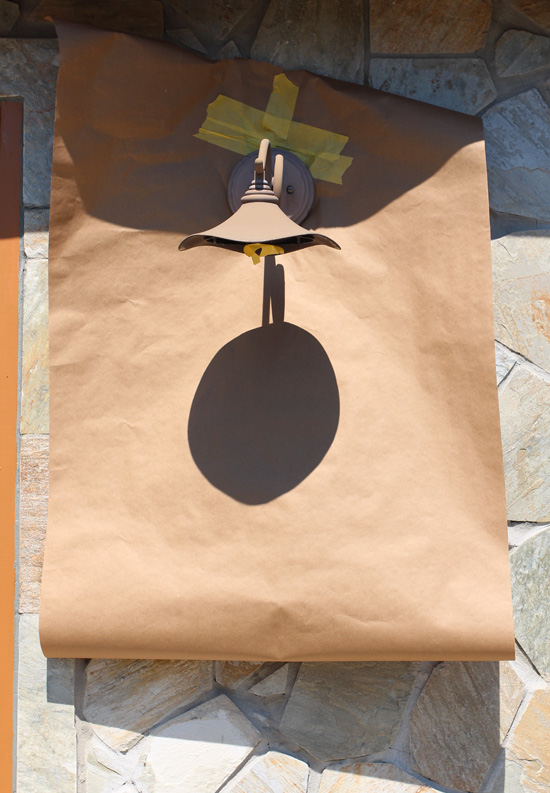
Then I grabbed my roll of brown kraft paper and cut a piece just bigger than the rectangle. Now I was ready to get started.
- I first removed the bottom piece from my outdoor fixture:
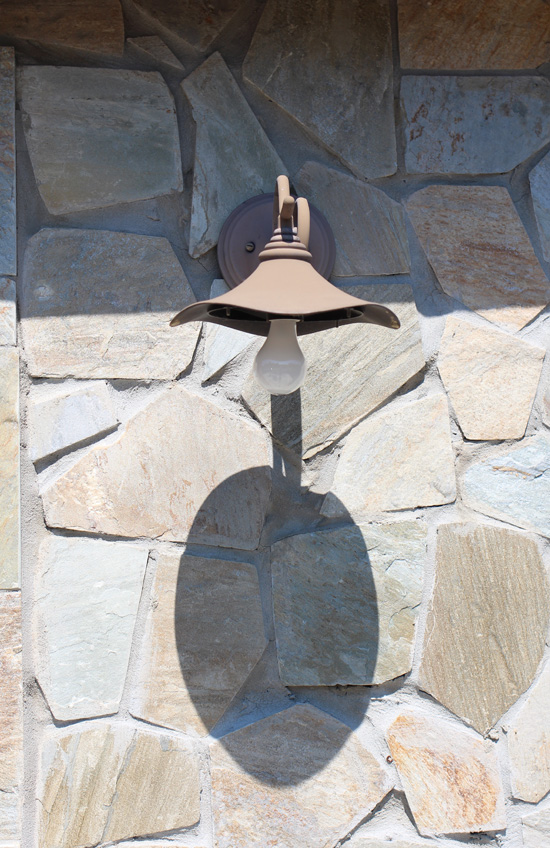
This is one of the lights beside my French doors upstairs.
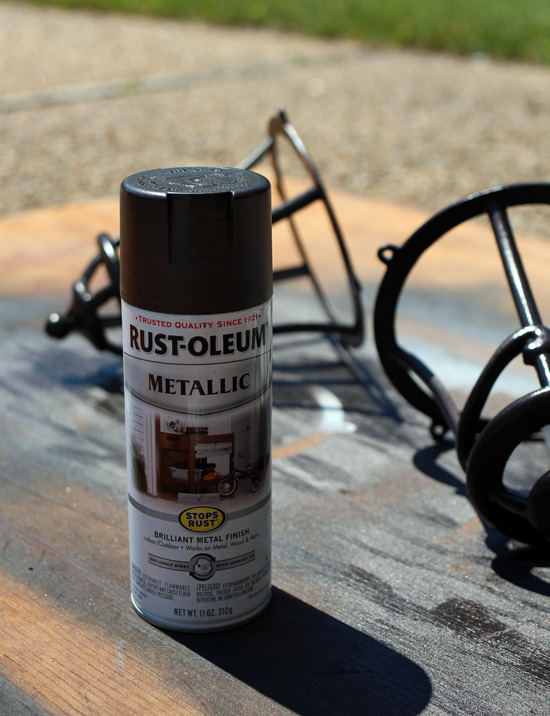
- I removed the glass globe, and sprayed the bottom piece with (affiliate link) Oil Rubbed Bronze by Rustoleum spray paint:
Next I removed the bulb and covered the socket, and unscrewed the fixture from the wall just enough so I could slide my paper behind it. I cut a slit down from the top in order to slide it under the light:
I covered the slit with tape.
- Then I used duck tape to hold the box to the wall from the top.
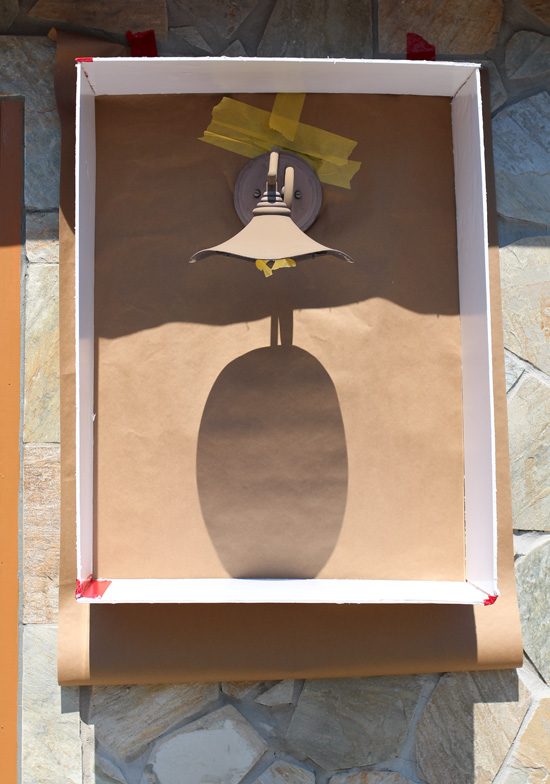
- Then I was ready to spray the wall fixture without fear of overspraying on our pretty stone!
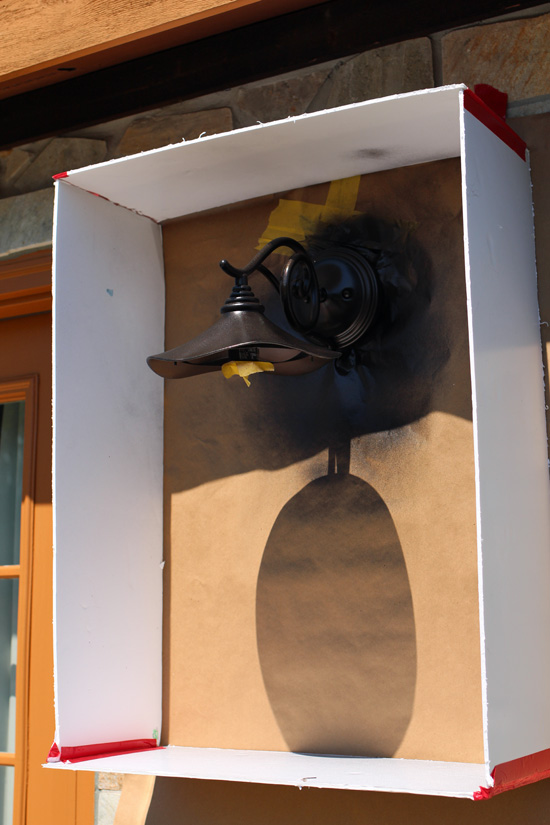
- Voila!

- Don’t forget the screws:
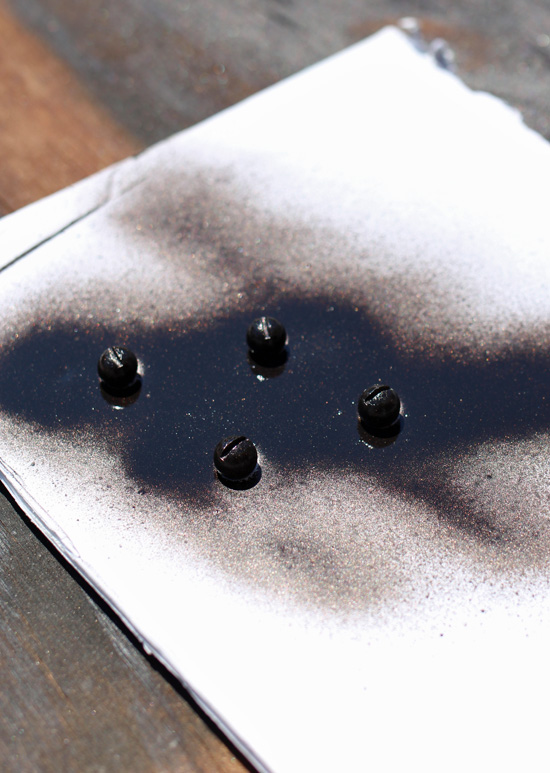
I think they turned out pretty awesome!
Remember to tighten back the screws holding the fixture on the wall.
It saved my Hubby the trouble of having to take them completely down, and I know he was thrilled about that! (You’re welcome, Hubby.)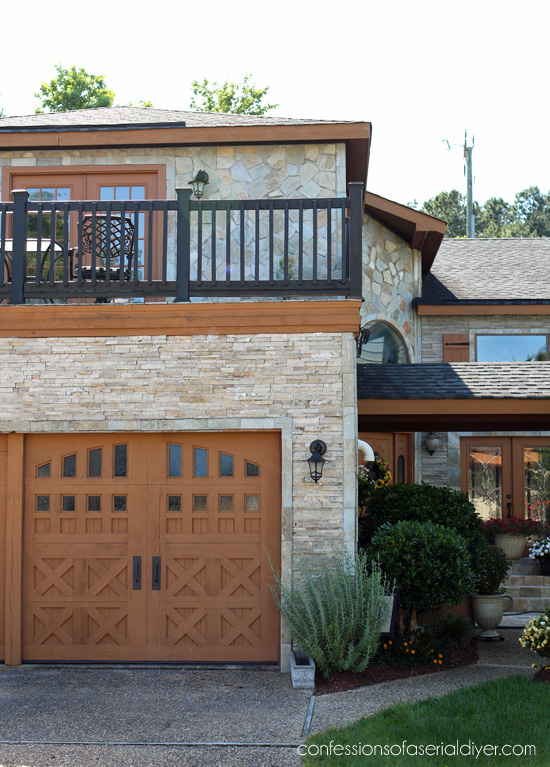
Here’s another project we tackled that I didn’t share on the blog, our DIY cedar shutters:
We had large heavy metal shutters up there before, but they had rusted out in places, so we were looking for an inexpensive replacement. I found those wrought iron straps on Amazon HERE, and the large faux hammered nails HERE.
They worked out great to dress up the plain cedar shutters we built.
If you missed the rest of my front yard garden tour, you can see it HERE.
This was a bit out of my normal thrift store makeover post, but it was still a makeover, right? I thought someone else out there might find this helpful.
I’ll be back on Tuesday with my Trash-to Treasure girls sharing a real piece of trash turned treasure. I found this footboard on the side of the road:
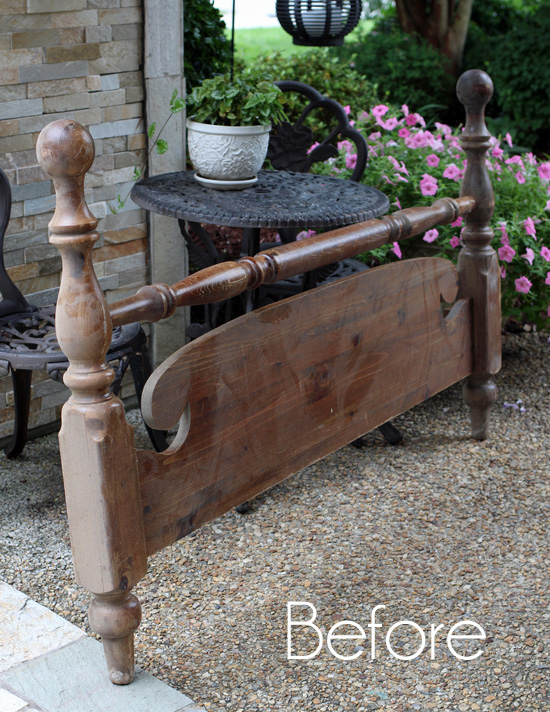
I’ll have to keep you in suspense wondering what I did with it until then! 🙂
UPDATE: No need to wait! See what this became HERE now!
XOXO,
![]()
Don’t Miss a Thing!
If you like what you see, there are several ways to follow along!


")


ColleenB. says
Your light is beautiful and what a clever way on managing the situation Christy without taking down the light. Nothing like a new fresh color of paint won’t fix.
My hubby sounds just like yours and I will mention to mine that – ‘Someday Is Not A Day of The Week’. Sometimes I wonder why I even bother to ask, knowing in the long run I eventually will be doing it myself anyway.
Have yourself a wonderful weekend.
Very Hot here in Texas and between hubby and myself we are building a 16×24 barn ‘she’ shed. Slow process but in time the shed will be finish……………….before Christmas I hope :}|
Christy says
Thanks, Colleen! My hubby picked these out and I love them…so glad we were able to make them new again! I love that…”someday” is not a day of the week lol!! Lucky you with your she shed woohoo!!
Debrashoppeno5 says
This is very helpful. Painting my outdoor lights is on the to do list.
Christy says
I’m glad you found it helpful, Debra! It was a super quick project to do! XO
Candy says
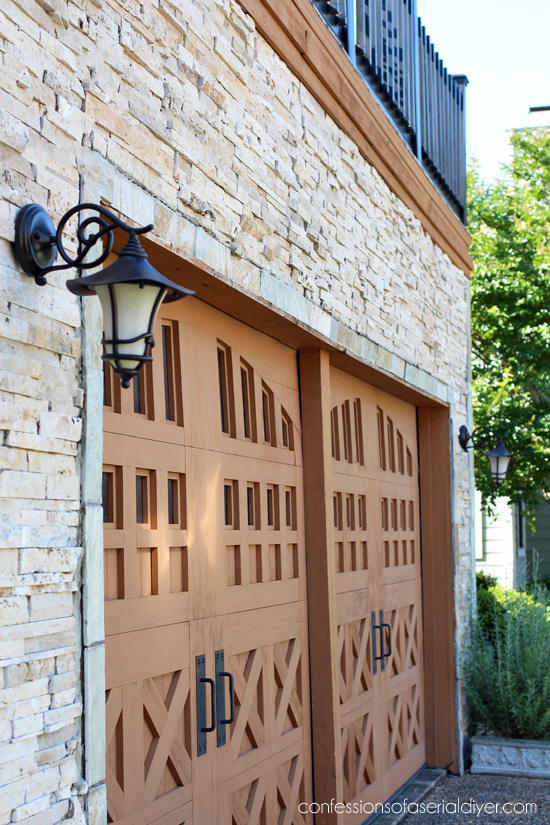
The lights look great thanks for sharing! The shutters look great too. Love those garage door they are beautiful where can they be purchased ????
Blessings
Candy
Christy says
Thanks, Candy! My Hubby purchased the door from a local retailer. 🙂
Candy Walsh says
OH my gosh! What crazy timing for this post! I was looking at my outside fixtures last weekend wondering how to do the same thing. I dreaded asking my husband to take them down, lol. Thank you so much for sharing this! And Rustoleum’s Oil Rubbed Bronze is my absolute favorite color in spray paint!
Have a great day!
Christy says
Oh yay, just in time!! Yeah, girl…you can tackle this project quickly now! Love the ORB paint too! XOXO
Diane says
Christy,
I have to say again, you are so clever and the lights do look brand new.
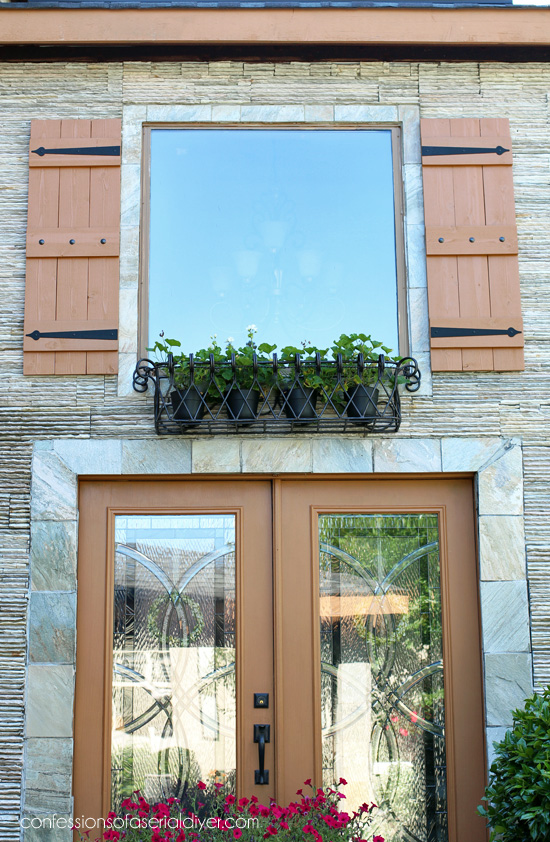
I have a question regarding the iron planter box on that upstairs window. How did you hang it on stone? It is beautiful.
Always look forward to your posts.
Christy says
Thank you so much, Diane! The window planter boxes are hung on really long screws that are screwed through the stone and into the wood beneath. 🙂
Marcie Lovett says
What a difference! They do look like new. Your solution for spraying is ingenious, Kristy. Sometimes those home-maintenance projects get put off for stuff that’s more fun, but they feel so good when they’re finished.
Christy says
Thanks, Marcie! And you are so right..it feels so great to have them finished! XOXO
Marge says
Your one crafty lady! You go girl!
Christy says
Ha ha thank you, Marge!! XO
Becky says
Lovely! I love being able to save my money for something I really want by refreshing something I already have. Your lights look fabulous! This is what I did, except I covered more of my siding rather than the box plan. Never thought of that, haha! : ) Your house is beautiful! I love the shutters!
Christy says
Oh yes absolutely!! You know I’m cheap anyway so this was a solution that made me do a little happy dance. Thanks, Marcie! XOXO
Ange says
Better, YES! ❤️Your garage doors.
Christy says
Thank you, Ange!! XO
Amy says
I just did the same exact thing to mine! They also get the sun all day long and were looking really sad, I sprayed them black and they look brand new and I love them now! Yours look wonderful!
Christy says
Thanks, Amy! Yep that spray paint can do amazing things!! XOXO
Patti says
They look great and that idea was ingenious! I’ll need to try it!
Christy says
Thank you, Patti!! XOXO
Louise says
My front porch lights are in dire need of some paint. Love how you made a box to contain over spray. Thanks for the tips!
Christy says
My pleasure, Louise! This took no time at all! XO
Kimberly says
Christy, they look brand new!! I am so impressed when these little refreshes make such a big impact. It always leaves me wondering why I didn’t take care of it long ago.
Christy says
I know, right?? It was such a quick project too! XOXO
Christina in FL says
Very ingeniously well done Christy! The lights look stylish and brand new!
Christy says
Thanks, Christina!! They look so much better! XOXO
robin says
I really like those lights! And what a FAST idea to paint them!
I love a LOT of things about your house…the uniqueness of so many parts of it.
I giggle when you say “I found it on the side of the road.” I see a bed frame every day that is calling my name lately. LOL I see soooooo many things on the side of the road…and can’t pick them up…YET. (I used to do it all the time) Once we have all the painting and organizing done I am soooo “roadside pickin” again!!! Until then….it’s perseverance time and I live vicariously through YOU! HA!
Christy says
Thank you, Robin! That was so nice of you to say. I pass a lot of things up too believe it or not. If I had a large van, I’d be dangerous!! XOXO
Christiane Lavoie says
love the resault. Looks better in black.
Christy says
Thanks, Christiane! XO
Annie (Canada) says
Funny, when you mentioned in your last post you were going to paint these in place this is exactly how I imagined I would do it 🙂 🙂
Christy says
Ha ha you know me so well! XOXO
Marie|The Interior Frugalista says
Very clever Christy and they look great. Sharing to my painting tips and techniques Pinterest board.
Christy says
Thanks, Marie! Glad to check that project off the list!! XOXO
Nancy @ Artsy Chicks Rule says
Wow,they look like brand new! How pretty!! 🙂 Your house looks amazing…will sell quickly, I’m sure! xo
Christy says
Thanks, Nancy! I was so pleased with myself when they were done ha ha. I hope you’re right!! XOXO
Cyndi J says
Thanks, Christy! I can definitely use this tip.
Christy says
My pleasure, Cyndi! XO
Jody says
The light turned out great. Looks like you just took it out of the box and installed.
I really like your garage doors. May I ask where you got them from and if they have a name? Thank you.
Christy says
Thanks, Jody! The doors were a special order from a local door company in our area called Miller’s Overhead Door. It is part of the Biltmore Estate Carriage House Collection. 🙂
Janice says
Clever girl! When I did my four I unscrewed them all from the wall and took them all to pieces before spraying. Major job! Your way would have been a lot easier.
Christy says
Thanks, Janice! I was dreading having to take ours all down as well, so I’m glad that worked out. At least you still saved some major $$ by freshening up the ones you have! XOXO
Catherine says
Oh WOW Christy! Thanks for this valuable post. Now I don’t have to go out and get a new fixture. What a great idea! You are super and I love reading what you are doing. Thanks again, Christy.
Christy says
Thanks so much, Catherine! I wasn’t going to share since it wasn’t my normal thrift store redo, but I’m glad I did! XOXO
Susan K says
Wowza! Great job and so inspiring.
Christy says
Thank you so much, Susan! XOXO
Julie Briones says
That looks so chic! Good job, and very clever!
Christy says
Thanks, Julie! XOXO