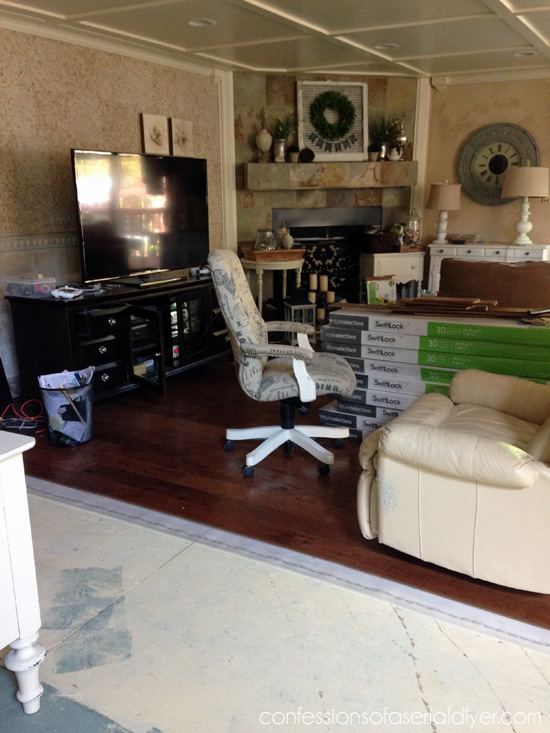
Who wants to see my house in total chaos? My new hardwood floors have been spotted in lots of pictures recently, not that I’ve been pointing them out every chance I get or anything ahem.
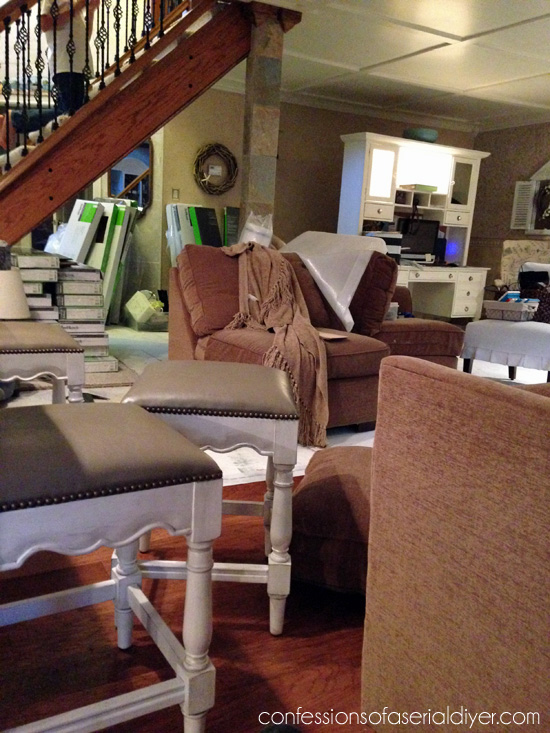
However, today I thought it would be fun to share some of the ugly that had to happen along the way as well!
In January of 2013, my #1 project on my project wish list for that year, was installing hardwood floors. We have a very open concept downstairs and we had four different types of flooring going on. I really didn’t like how it divided the space.
Here is a pic of where three of them converged:
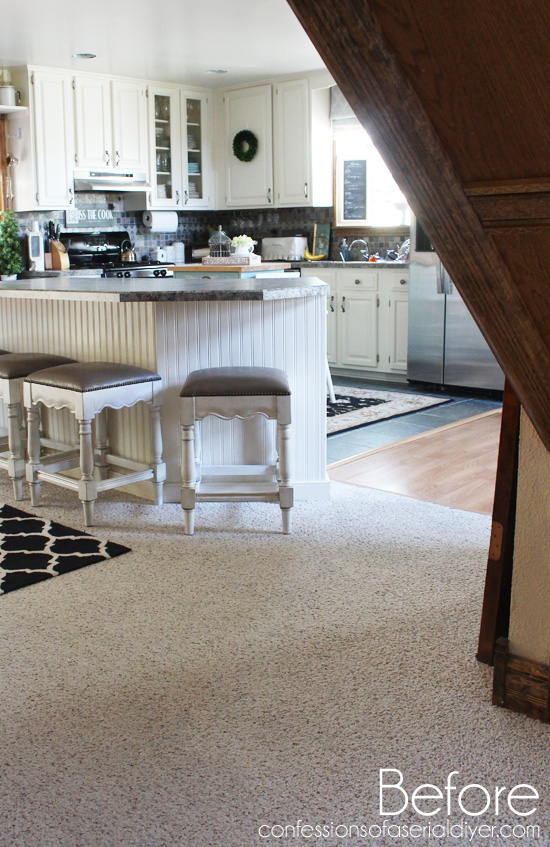
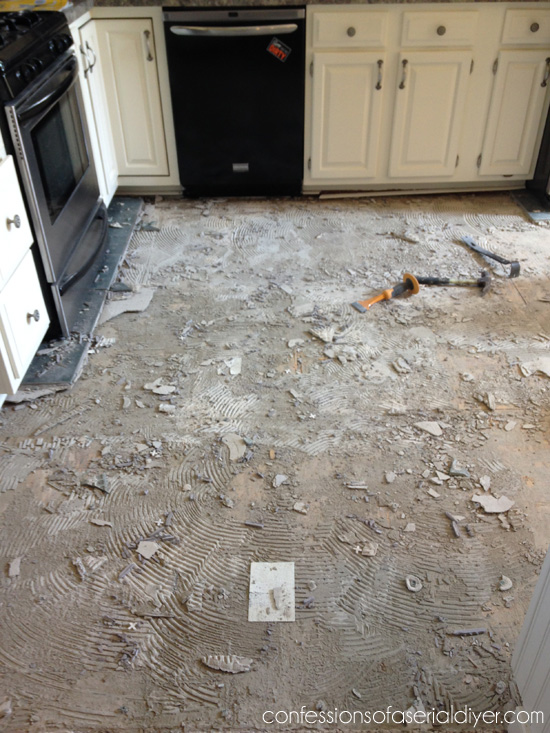
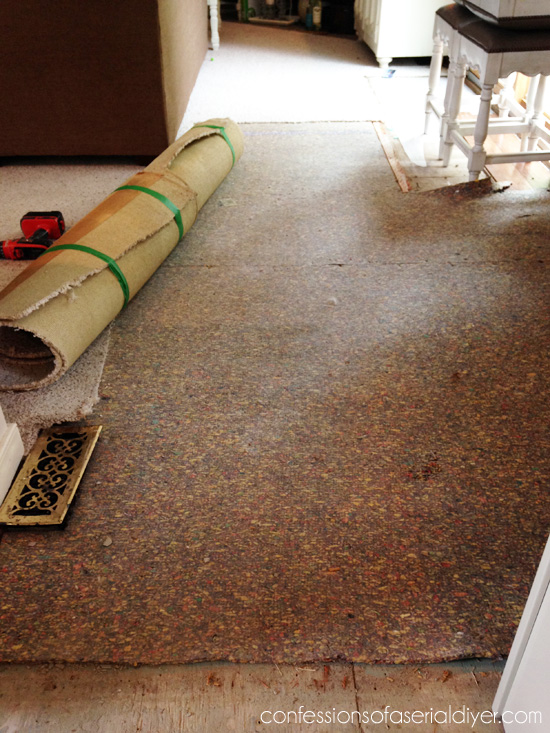
I had grown tired of constantly cleaning the carpet where we eat most of our meals. The laminate was dated and beginning to warp in several places, and the tile in the kitchen…oh the tile in the kitchen. Here is what was under the area rug in there:
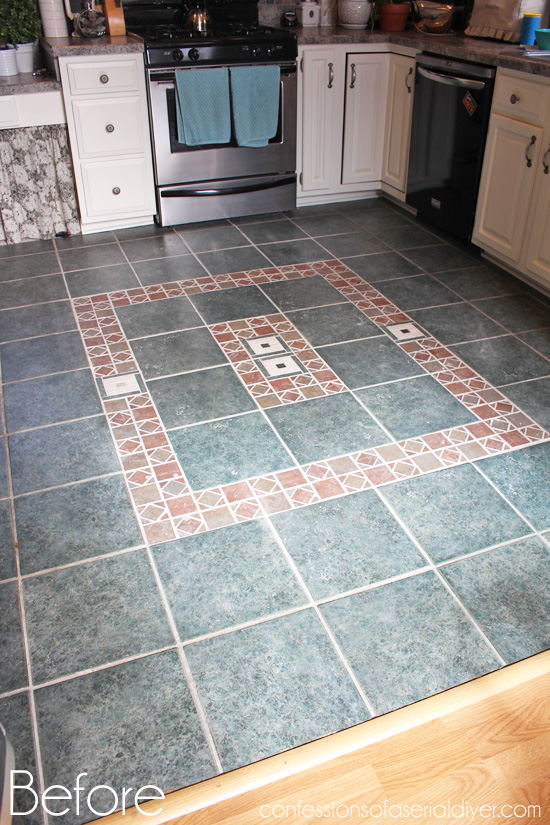
Green was my all time favorite color as a child (think 70’s green fern bedspread), but I am much more drawn to blues as an adult. This tile just didn’t match anything else in the house. The cut pieces that make up the pattern were sharp also. It had to go.
And go it did! This is where my demo began!
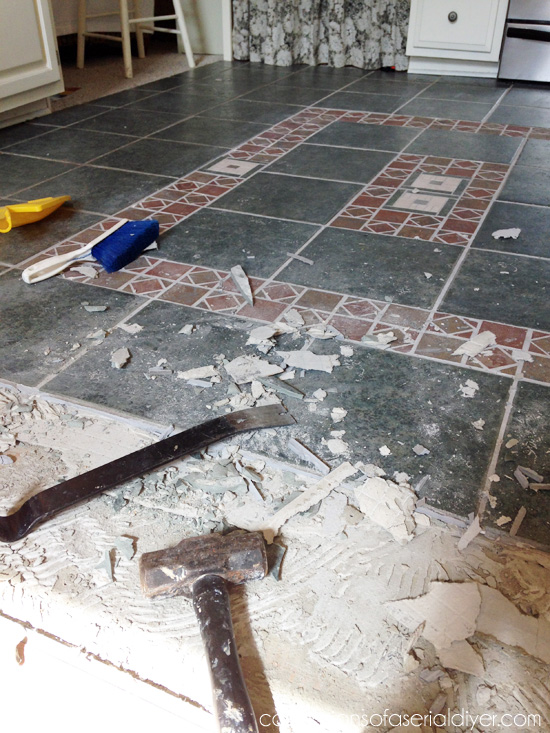
I worked tirelessly for hours to get that far…with those tools. Then I got smart and rented this power scraper from the Home Depot…best $75 I’ve ever spent!

I blame my poor mother for this blurry photo. She must have taken this mid jumping jack.
I did use the crowbar and a hammer to knock up all the tiles first though. They were more effective than this tool for that part.
Once we removed all the broken tile pieces, this tool made removing all the leftover mortar a breeze! I have used this on a concrete slab before and it was awesome, but we have plywood subfloors this time around and I was afraid I would gouge the wood. Holding it at the proper angle helped prevent that.
I have installed hardwood flooring myself before and it is definitely a doable DIY project, but this time around I was really looking forward to having my hubby do help with most of the demo. Unfortunately he hurt his back just a couple of days before we were planning to get started. Luckily my Mom came to the rescue on tile removal day, hauling out loads of old tile and sweeping up dust and debris for me. She’s awesome like that. She keeps reminding me how old she’s getting and then shows up blows that theory to pieces!
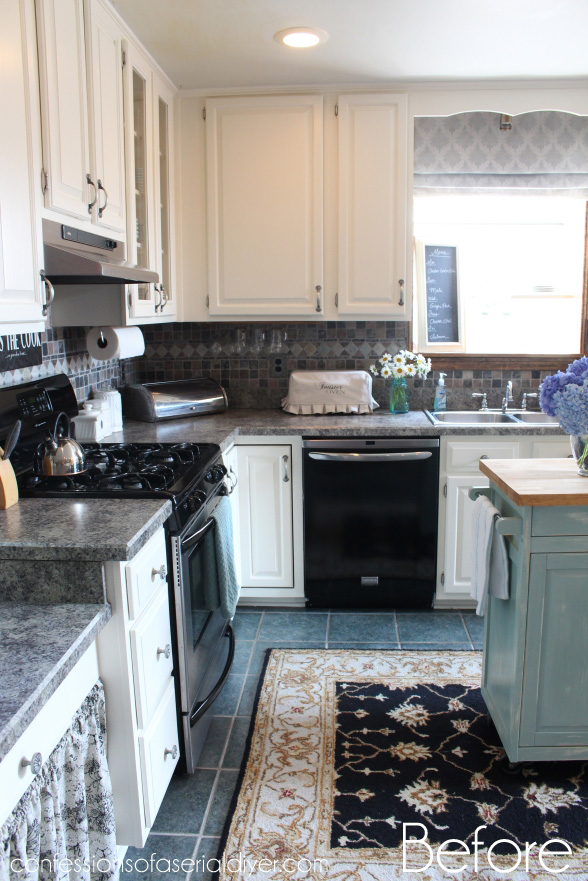
Here is the before of this area…
During…
Wood going in woohoo…
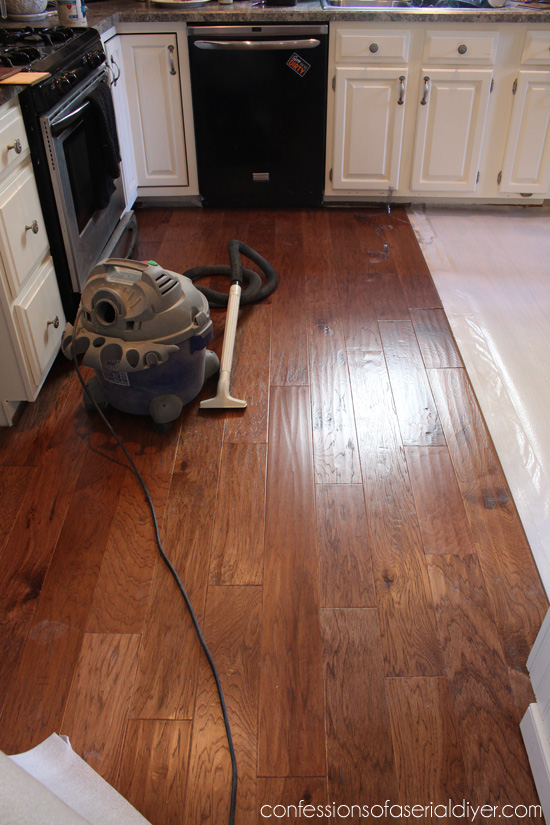
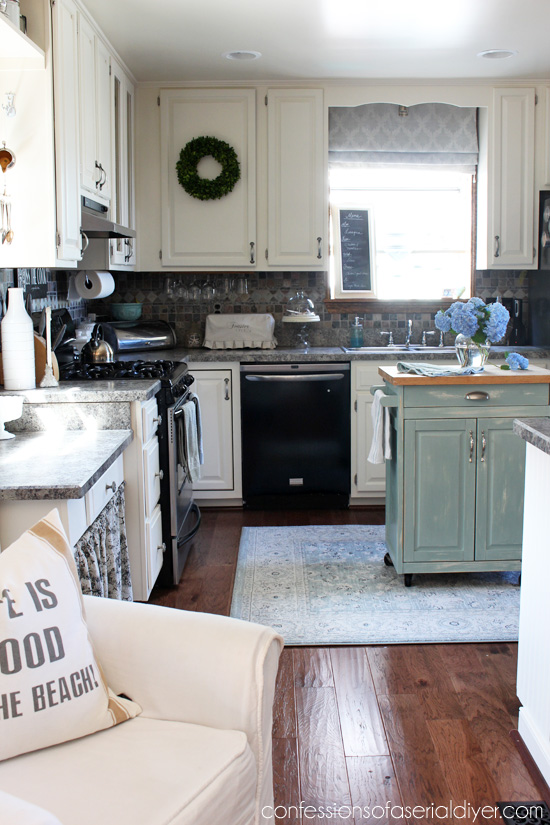
And after!
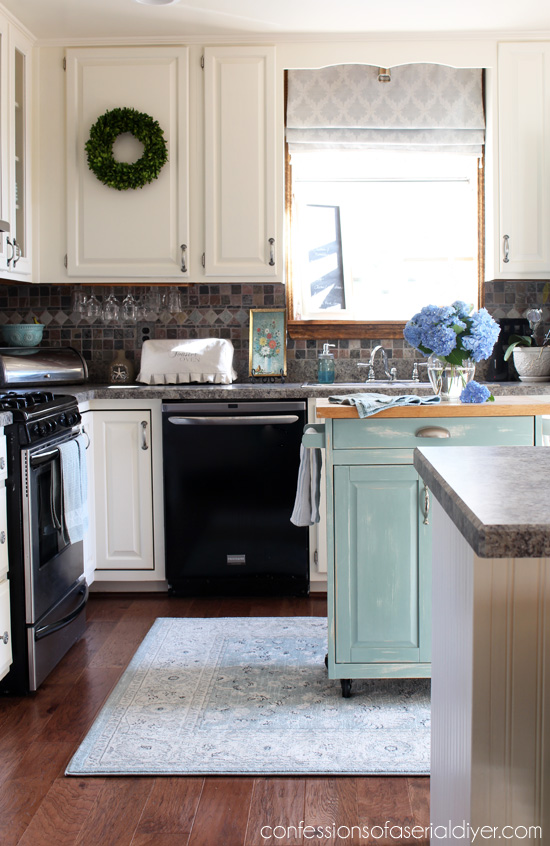
I love the contrast of the wood and the light cabinets.
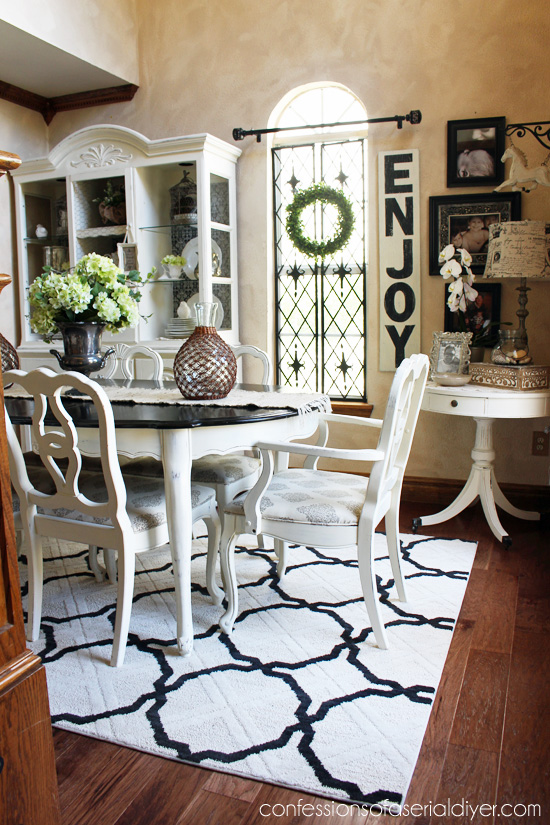
Next up is the dining room, looking from the kitchen…
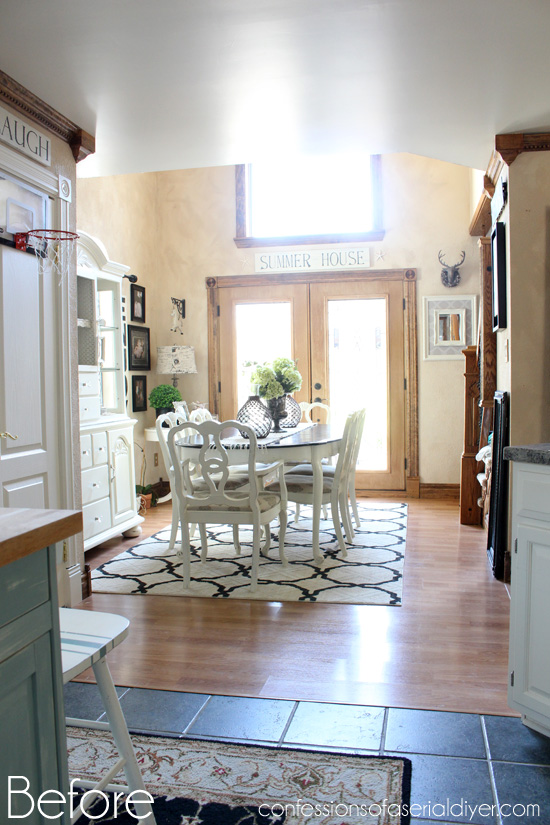
Those old floors bleh.
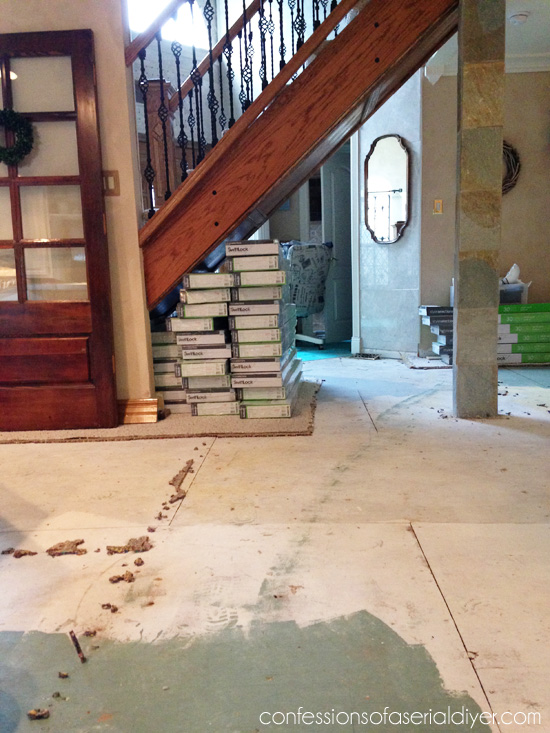
How about a big ole mess…
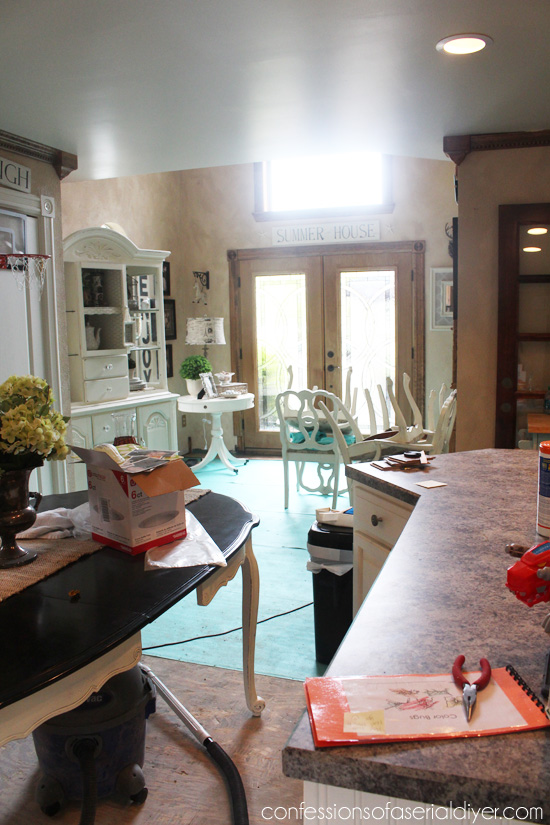
That blue plastic was the underlayment from the old laminate floors.
Here is the beautiful view from the opposite side…
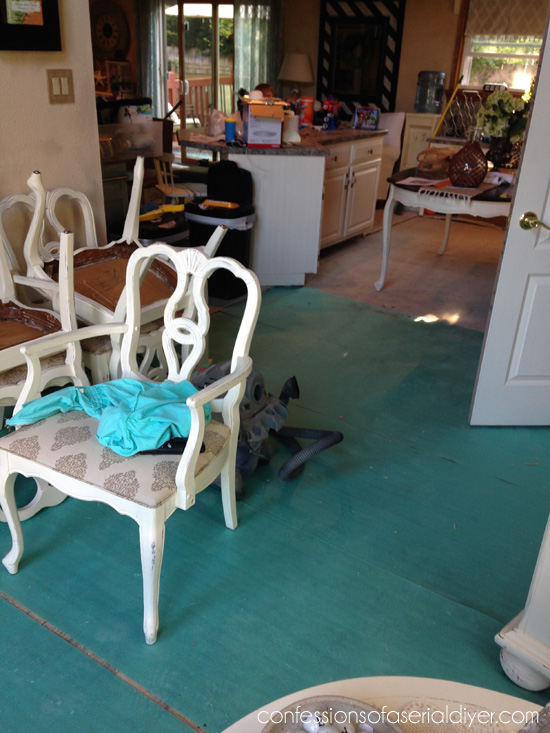
Nice, right? I don’t know how I worked under these conditions. Removing the laminate was a breeze though!
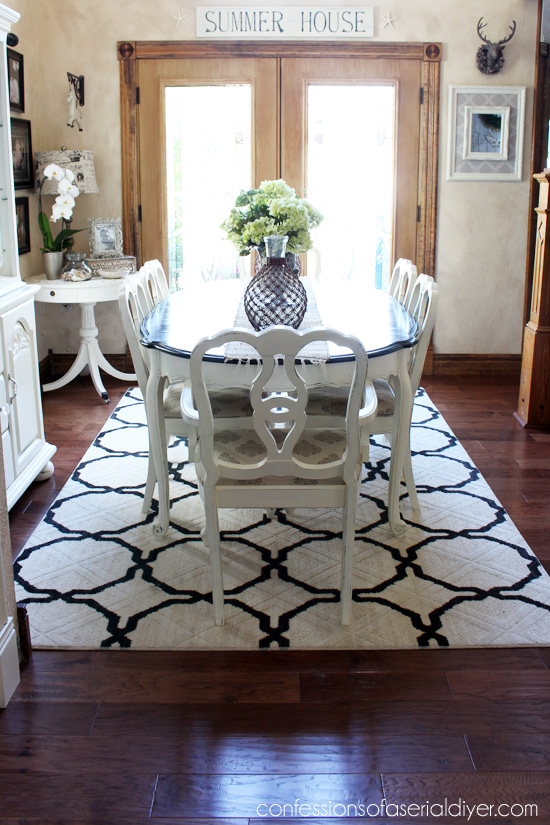
And after…
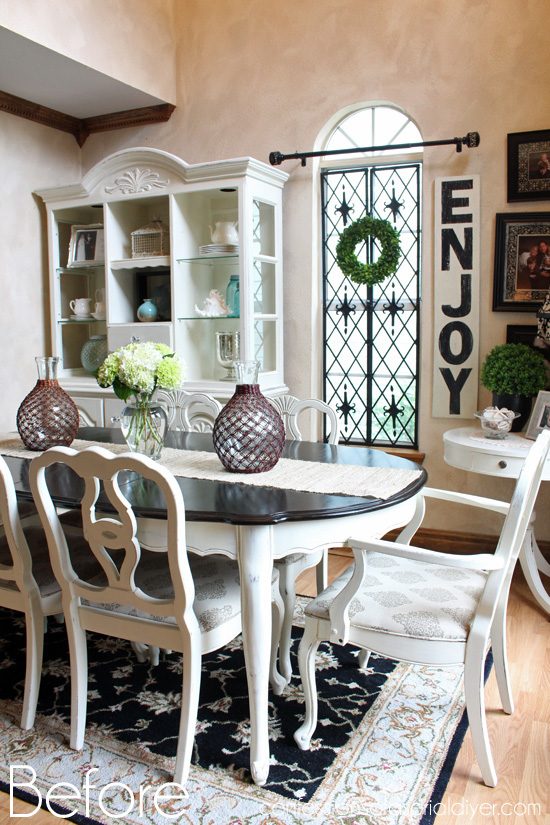
Before:
After:
Much better!
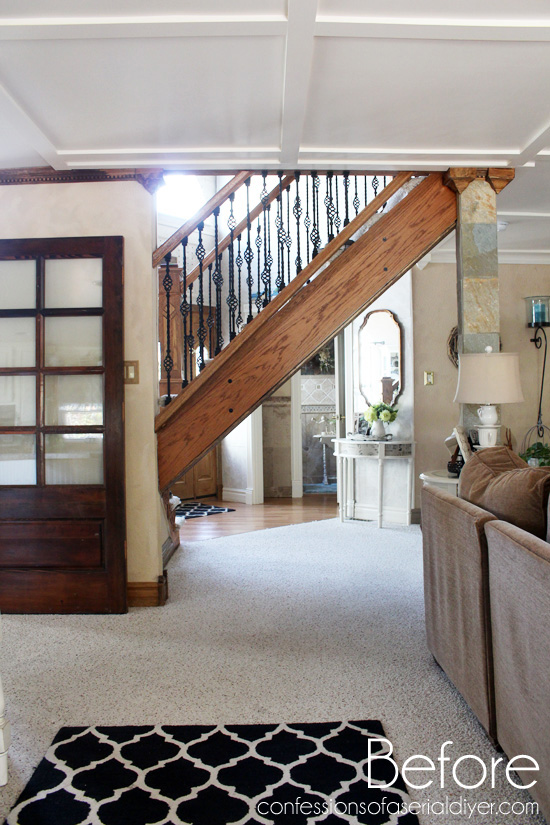
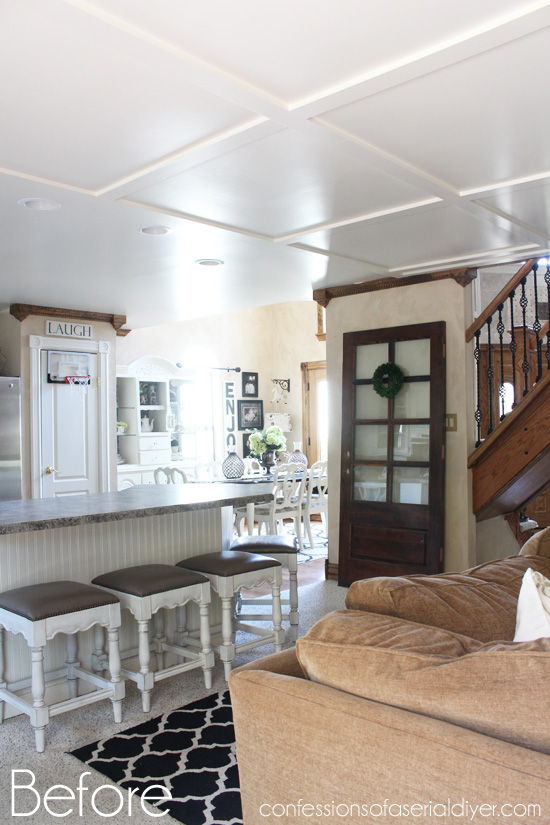
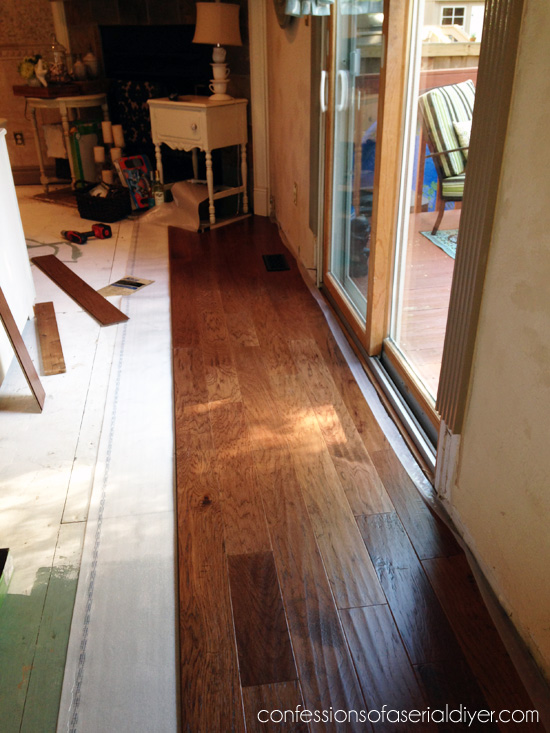
Here is the area between the kitchen and the living room before:
Bye bye carpet!
Hello hardwoods!
Another angle before:
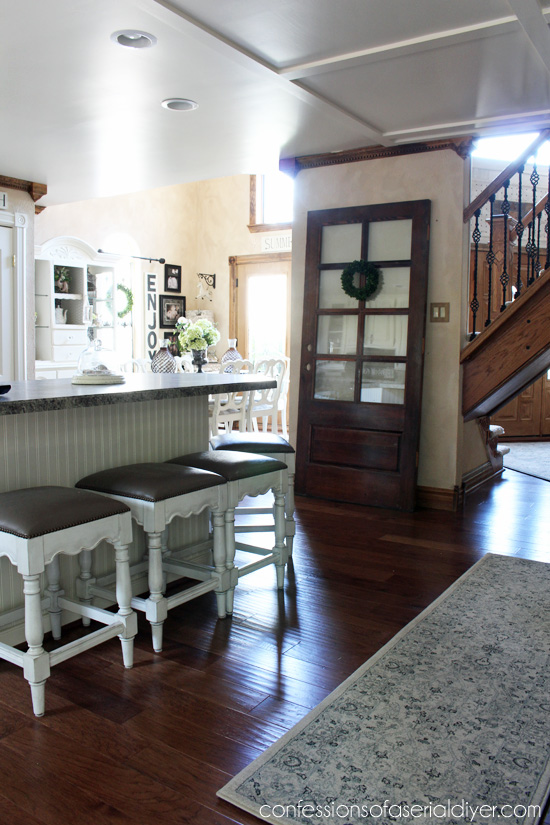
During…

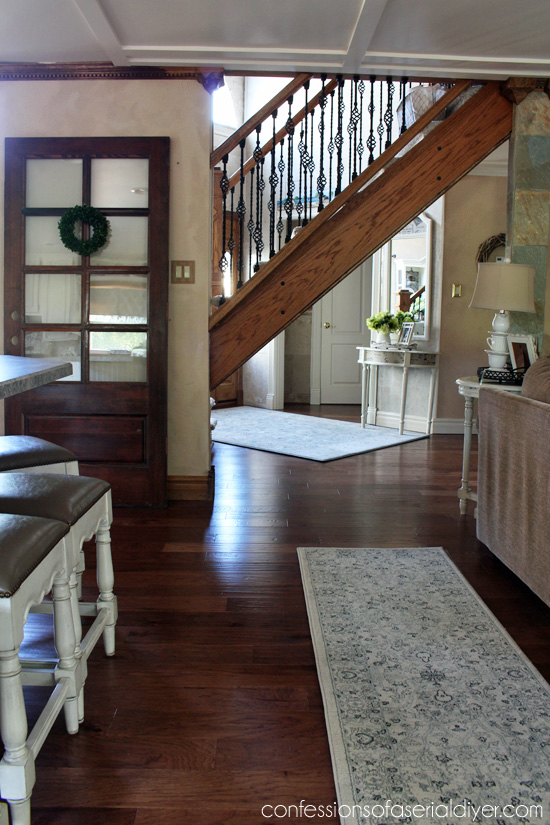
Ah so much better after:
The living room before:
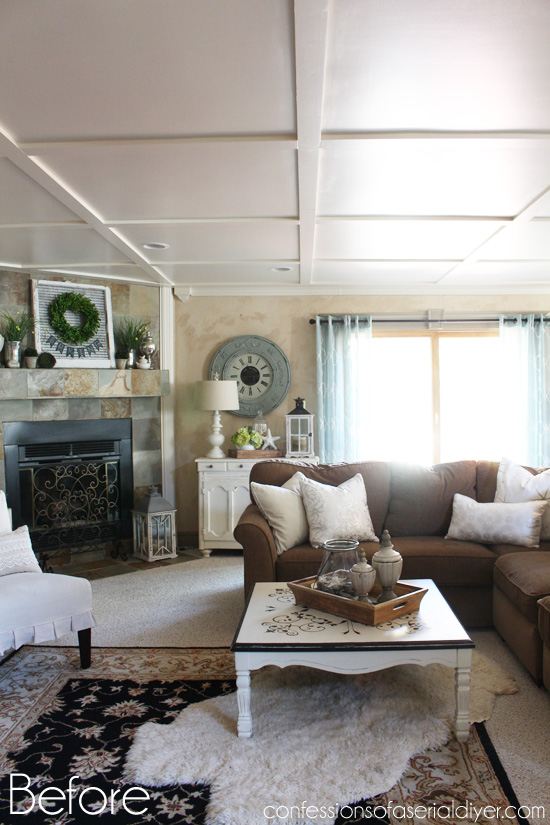
I didn’t really mind the carpet in the living room, but since our downstairs is one large space, there was no easy way to divide the space in order to keep both the wood and carpet.
Here’s my Dad guiding my son through some serious tack strip removal:
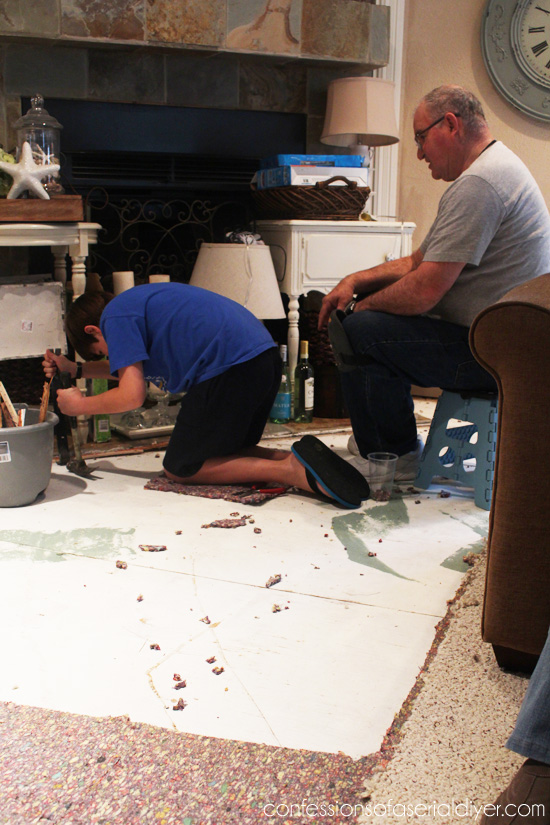
They were such a big help during the demo! (Thank you!!)
Getting there…
From the other side…
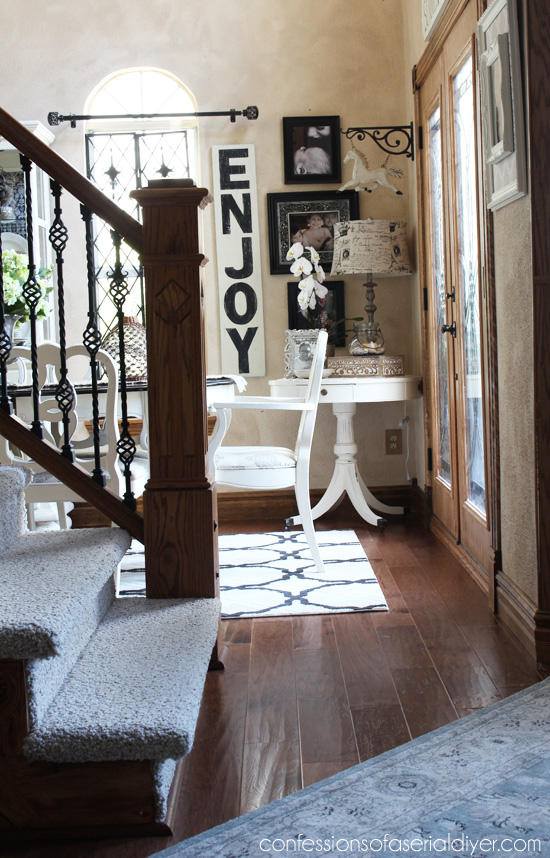
And done!

(Well kinda sorta…still need to trim out the fireplace.) I’m also looking for new ideas for my coffee table. I’m not liking the painted black scrollwork with the new carpet so much.
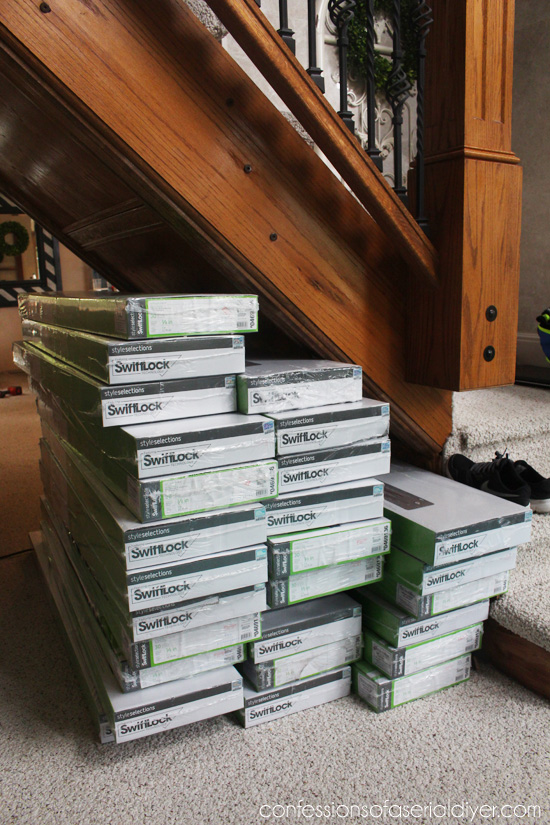
So here’s what we used:
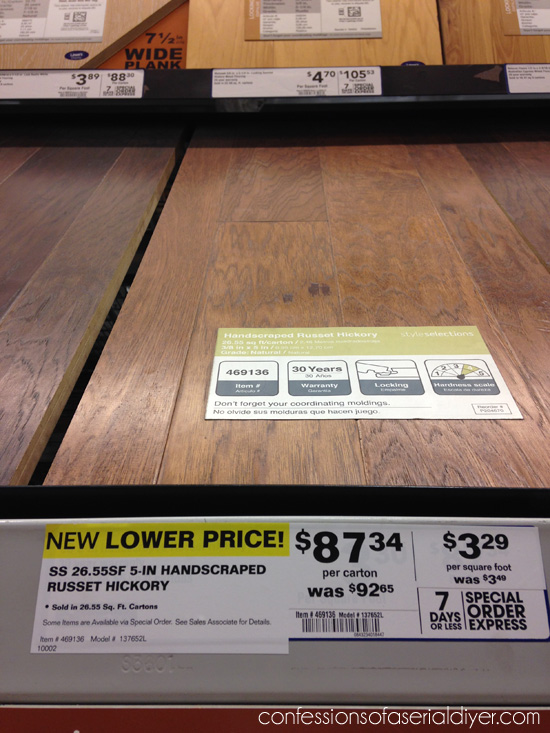
This is engineered hardwood flooring, which is made up of several wood layers that are fused together under heat and pressure. Engineered hardwood flooring is suppose to be more durable than solid hardwood and less susceptible to shrinking and expanding with changes in temperature and humidity. Plus it is much easier on your wallet! (My favorite feature.) We purchased these from Lowes. (I am not affiliated with Lowes or this product.) The photo makes them look a bit lighter than they are.
It’s hard to see on the shelf tag, but the brand is Style Selections. They had to be ordered, but it only took 6 days for them to arrive. I picked them up in store, but you can have them shipped to your home for an additional fee.
So far I have found them to be SO easy to maintain. I installed Brazilian cherry floors in my last house and they showed every single smudge and footprint. These don’t and I love that! I also love the hand-scraped look of these.
There are several you tube videos floating around that will give you an idea of what goes into installing wood flooring yourself, so there was no need for me to take step by step pictures.
This was my second time installing engineered hardwood floors and although it was hard work, it was totally do-able, and installing them myself saved a ton of money.
I can’t tell you how thrilled I was to see this old carpet go!
My new floors have helped to create a space that is so much more cohesive…

I love that the spaces flow so easily into one another now.
We had to put this project off for a couple of years due to less fun, outdoor projects, but they were definitely worth the wait! Okay I promise to stop pointing them out in every post now. I’ll try, I really will. Maybe. 🙂
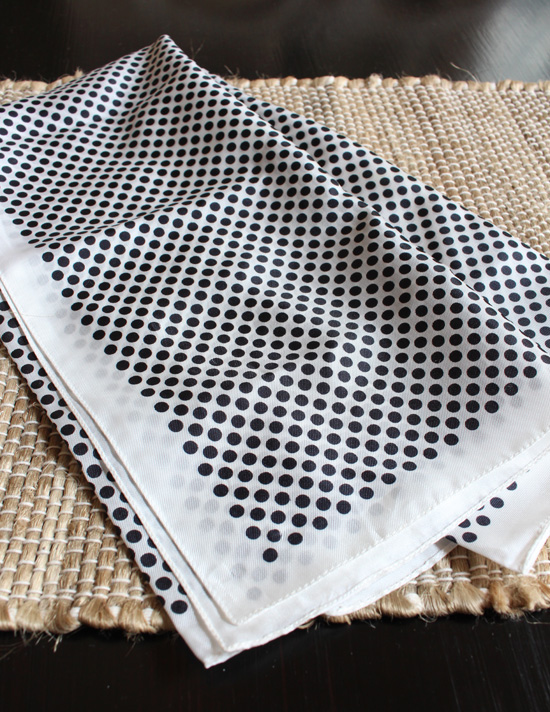
I’ll be back on Friday to share how I used this scarf to make something super cute for my bedroom, as part of Scarf Week! See you then! 🙂
UPDATE: See how great it turned out here now!
XOXO,
![]()

Christina says
Christy this is a WOW on so many levels. First that you tackled it yourself and the result is stunning. I mean gorgeous. The engineered hardwood info is great and the hand scraped hickory finish is wonderful. I imagine you had to pull out your appliances to lay the wood underneath or how did you handle that? And the baseboards? Kudos for everyone pitching in to help! I hope your husband’s back is back to feeling perfect very soon!
Christy K. James says
Thank you, Christina! I could not be happier with the result and it was worth every sore muscle! I did not have to pull out the dishwasher, but I did have to pull out the stove and the fridge. The stove wasn’t too heavy but it was connected to the wall by the gas line, so I had a very small space to work in. The fridge had tiny wheels on the bottom so not too bad. I reused all the same baseboards. I numbered them and the wall as I removed them so they would be easy to put back. My husband is still on the mend a tiny bit, but so much better! Thanks for always leaving the nicest comments! 🙂
Amy b says
Beautiful,, great job!
Christy K. James says
Thanks, Amy! 🙂
Laura Lane says
Gorgeous Christy!!! Great choice on the flooring too!
Christy K. James says
Thanks, Laura! It’s hard to tell when you’re looking at a 2′ by 2′ display in the store. 🙂
Kim says
Absolutely Awesome! Love how everything just flows now and the color is perfect!
Great job!
Christy K. James says
I’m so glad you like them, Kim! I couldn’t be happier! 🙂
Heather @ Viral Upcycle says
Christy, I was cracking up imagining your mom taking the picture with you jackhammering. She sounds awesome! That’s a lot of work. Ive been putting ours off too for that very same reason. The floors are stunning! Great job.
Christy K. James says
That picture was the best of the three ha ha! My Mom is great. She got right in there with me. So glad you like them too. 🙂
Paula@SweetPea says
Great job! I can only imagine how hard you worked to make this happen. Your new floor looks so pretty!
Christy K. James says
Thanks, Paula! I am so excited this project is finally done…worth every sore muscle. 🙂
Sue Farmer says
They look absolutely gorgeous Christy!!! Such hard work but so worth it!!
Christy K. James says
Thank you so much, Sue!! Worth every sore muscle, bruised knee, sore back ha ha. 🙂
Deena says
Love the floors! So great you can do it yourself. We just had hardwood installed in the family, dining, & entry but had to get the nail down because we had to match what was already in the kitchen. It’s so much more messy because they had to sand, stain, & poly coat them and we had to be out of the house for 3 days.
Mari says
They look awesome! But now lets talk anout that DR window! Love your pictures with that in the background. Is that a windoe or panels?
Christy K. James says
Thanks, Mari! Those are two metal panels at the window. They used to hang like shutters on either side until I moved my giant china hutch in there, and then I stuck them in front of the window and they’ve been there ever since! I love them too. 🙂
Celia says
I love you tackle all these jobs yourself. Our friends all have landscapers, flooring guys, plumbers etc etc. They look at me like I’m crazy! Although I agree with your mom, I’m getting too old for this! However there is nothing worse than hiring someone & watching them do something wrong! Ugh!
Celia
Christy K. James says
Oh that is so true about hiring someone who doesn’t do the job right! So frustrating! My neighbors are the same way…they hire everything out. Unfortunately this little DIYer doesn’t have that kind of cash flow ha ha. And they’ll never know the satisfaction you and I feel when we’ve tackled something ourselves! 🙂
Marie@The Interior Frugalista.com says
Your DIY savvy talents impress the heck out of me Christy. We laid hardwood floors ourselves a few years ago so I know how much work it is. You did a fabulous job and what a difference they made unifying your main floor! While I’m impressed that you pretty much removed those tiles and laid the hardwood yourself but that you did so while continuing to produce beautiful furniture/home decor makeovers among the chaos. I’m dubbing you the Ever Ready DIY Bunny who just keeps on going and going and going! LOL
Christy K. James says
Ha ha and thank you, Marie! I actually had a group post due about decorating with baskets the week I was doing my floors. I’m not sure if you remember it, but I spray painted a basket to give it a beachy look, but had to stage it in my master bath with TP in it to keep it away from the chaos ha ha! No one ever knew. 🙂 Yes it is hard work, but the results are SO worth it!
Chris J says
Right now tilers are ripping up my kitchen, hallway, foyer and 1/2 bath in preparation for wood look porcelain tile. We have dogs and lots of foot traffic so this tile is the practical solution for us. But looking at your cohesive flooring makes me anxious to see my new flooring with one look (not 3 totally different tiles) throughout the area. Your house is beautiful….as always.
Christy K. James says
Oh that will be gorgeous, Chris!! I have seen a tile floor that looked like wood in a model home and it was beautiful, and that will be so easy to keep clean! I am so excited for you!:)
S Wilkerson says
How brave you are to DIY! Looks really good. 🙂
Did I miss a post about your living room rug – it’s wonderful!
Sheila
Christy K. James says
Thanks, Sheila! I didn’t post specifically about the rug, just a few pictures for my Summer home tour which you can see here if you missed it: https://www.confessionsofaserialdiyer.com/my-summer-home-tour/ I’ve been keeping my eye out for new rugs for a while and found these at a local furniture store. 🙂
S Wilkerson says
Hi. Christy,
I had my fingers crossed that you had gotten the rug some place I would have access to. 🙁
Thank you for the link – y’all have done a marvelous job on the house.
Sheila
Christy K. James says
Oh I’m sorry. I tried to do a search on their site, but this is not on there. Maybe it’s just part of a Summer collection? Thank you for the sweet compliment. 🙂
S Wilkerson says
You’re welcome and thank you for checking for me. 🙂
Carole says
Hard to believe a small person like you can do all of that work yourself. Even when I was young I wouldn’t have even thought I could accomplish such a big job. You amaze me every time. The floors are beautiful and I love the color and texture of the wood. Great job!!!
Christy K. James says
Ha ha…I honestly don’t know what makes me think I can tackle these projects, Carole! I guess if I want something done badly enough…I just give it a go. 🙂
Sandy says
Christy you are amazing!!! What a massive project, but the finished results super. Great job❤️
Christy K. James says
Thanks so much, Sandy! It was a big project, but imagining my beautiful new floors was a great motivator! 🙂
Julie @ Southern Wild Design says
Oh, my. The demo is not for the faint of heart! I managed to get only a few feet of tile out before I called in the demo professional team! So, way to go! The final look is beautiful! ~Julie
Christy K. James says
Ha ha no it sure isn’t! That tile floor was the worst part. You were smart to call for back up! 🙂
Rose says
Christy, that brought me bitter sweet memories the dust just about killed me. Your floors look rich and warm and cleaning them is going to be a breeze.
Christy K. James says
Oh yes…dust everywhere! I don’t miss that at all, and you’re right…the clean up so far has been so much easier! XO
Vivian says
Looks wonderful. I like the light contrast of the carpets against the dark hardwood. Where did you get the carpets?
Christy K. James says
Thanks, Vivian! I purchased them at Haynes, which is a local furniture store here in Virginia.
Ruth Anne says
And now I am totally jealous of your floors! Ours, on the first floor, are a dated mixture of carpeting, vinyl tiles, and parquet. I’d love to do what you did and have all the floors the same. Maybe someday. Thanks for sharing your lovely home!
Christy K. James says
Oh Ruth Anne I have been there my friend! We had four different types of flooring here! I actually had to really convince my husband that the old floors weren’t working at all. He thought they were fine. When he finally agreed, I jumped at the first chance I had. 🙂
Luisa says
Oh so gorgeous!!!!
Christy K. James says
Thanks so much, Luisa! 😀
Kendra @ www.joyinourhome.com says
Oh Christy, it looks amazing!!!! I love your home… I was just enjoying these pics soo much! Your ceilings are beautiful too, as is your open staircase!! We had 3 diff. kinds of flooring on our main floor too! Thanks for sharing!
Christy K. James says
Aww thanks, Kendra!! I like looking back at those pics too…it was so clean ha ha. 🙂
andi says
Hello my friend! Beautiful, stunning, gorgeous! Congrats on your amazing new floors and a job well done!!
xoxo
-andi
Christy K. James says
Andi!!! I’ve missed you, my friend! 😀
Gilly @ Colour Saturated Life says
The floors look absolutely amazing!
Ange says
I’m just seeing your transformation. Wow, it was Well worth all the effort. I know how hard it is to do this kind of project since we did the same thing about 6 years ago. We too have an open concept and I hated the vinyl and carpeted areas. We went with 5″ hand scraped oak planks. Love the dark color. But what I have found out is that the raised area is starting to show some wear, which I’m not lovin at all. On the bright side it only shows when the sun is directly shinning on the flooring. Now I’d love to paint our sad looking builder grade orange oak cabinets.
Christy K. James says
I love our new floors, Ange! I have heard about people having trouble with the raised areas showing wear, but not until we had already installed ours. Oh well, it’s still better than what we had any day, right? Tackling the cabinets is a tough one too, but well worth it! 🙂
Cal Driver says
Thanks for sharing! It takes guts to show your house in a state of mid-DIY-ness. Not sure I have the self-confidence to do that. The hardwood floor finished product looks GREAT. Gives me inspiration to try some myself. Thanks again!
Silas Knight says
I have to say, the hardwood flooring you put in looks great! You’re right, the space all seems to flow together, it’s a big improvement. It looks like it was quite a project, but I think the final product was worth it.
KIMMY says
love your floors and the results of your projects. i do think you have too many rugs covering those beautiful floors; don’t need a rug behind the couch or under the kids table or in the kitchen! Show off your floors and you will be happy to have less carpet vacuuming!
Christy says
Thanks so much, Kimmy! I agree the floors would be beautiful left uncovered, however my hubby had a sting ray injury in his right foot several years ago and the bare floor is just too hard unfortunately. Plus my boys need a soft place to roll around on. I do love them uncovered too though! 🙂