I’d like to say that the ideas on my blog are all my own and I am a creative genius, but there are times when I’m inspired by the amazing work of others.
Most of my projects are the product of “I’m cheap”+”Hey I found this (insert any miscellaneous item here), what can I do with it?!”
However in this case, I was inspired by this adorable wreath Karianne at Thistlewood Farms made.
I always have a hard time with what to hang on my door after the Holidays, so I hang nothing. When I saw her wreath. I thought it would be perfect!
I started by collecting as many branches as I could find in my yard. (Then I had to go around behind my neighbor’s fence to gather more.) That area is on a busy main road. I’m sure people were wondering what on earth I was doing out there!
This is what I started with:
(Karianne includes great instructions you can view at the link to her version above.)
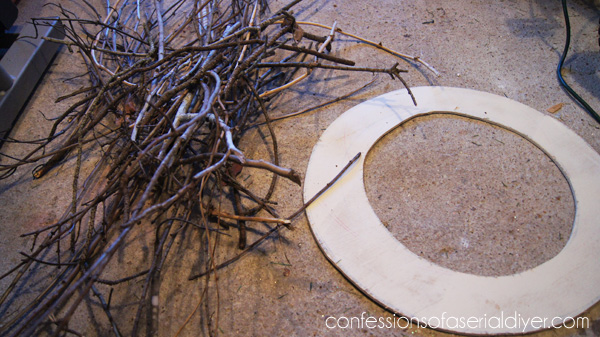
I made mine quite a bit bigger since I wanted to hang it on my front door. My husband cut the ring out of an old piece of wood we had in the garage. Its a bit wonky, but that’s my fault since I drew it ha ha. That’s okay it’ll be covered.
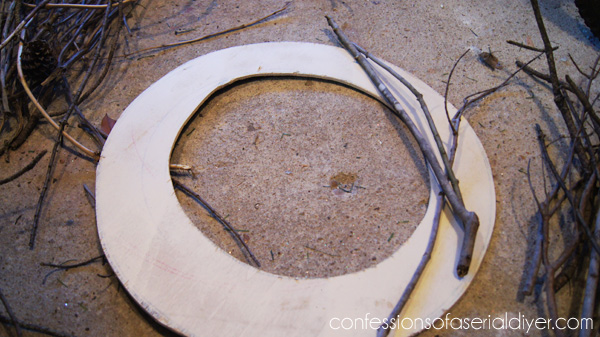
Seeing this, I remember really having my doubts before this project even got off the ground.
But I continued to add branches, hot gluing them as I went…
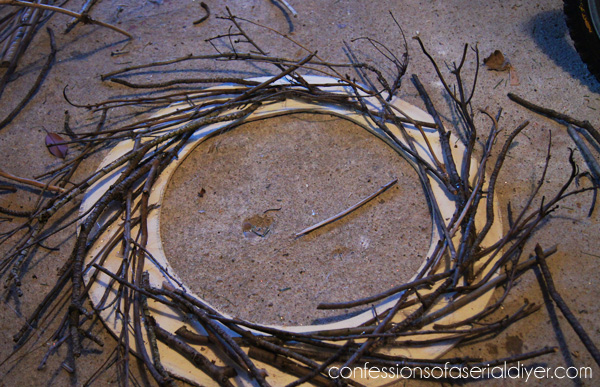
Coming along, right? Then I ran out of twigs and branches! So I bundled up (it was about twenty five degrees that day-cold for coastal Virginia!) and out I went to steal collect some more from behind my neighbor’s fence.
People probably thought I was looking for kindling to light a fire. What other reason would I be out there in the freezing cold?? (To make a cute wreath, people!)
Here is what I found in case you want to see what a pile of twigs and branches looks like 🙂
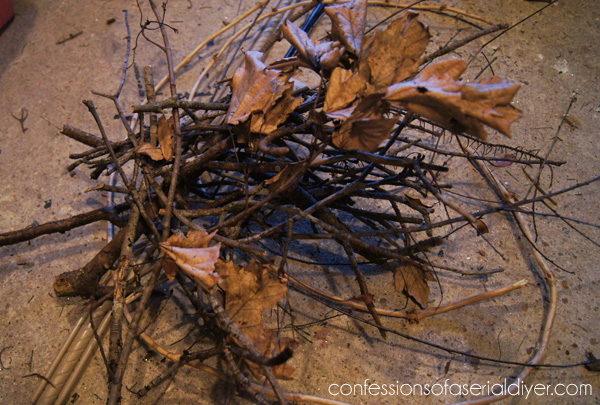
I used everything I had found and this is how it turned out:
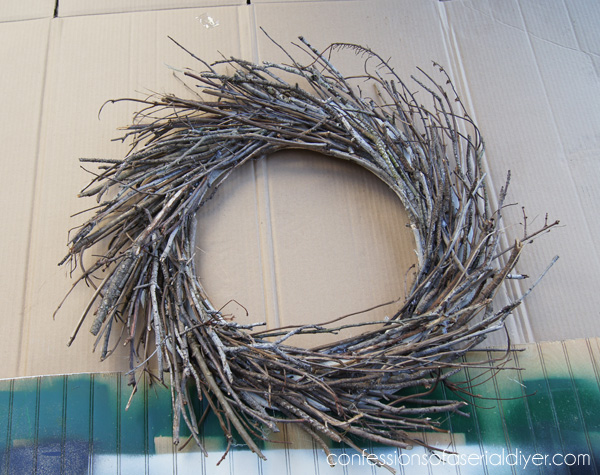
Pretty Awesome, right?
I like it au natural, but I have a stained front door and I didn’t want it to fade away.
So I sprayed it off-white (because I already had it=free).
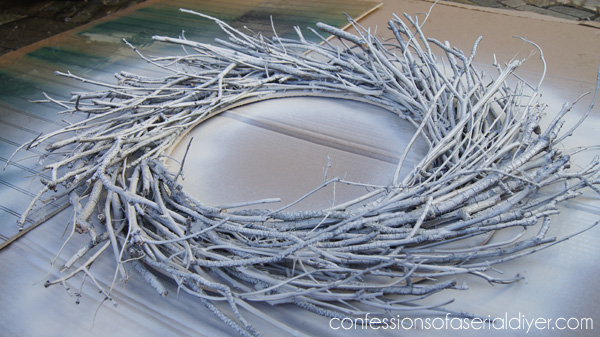
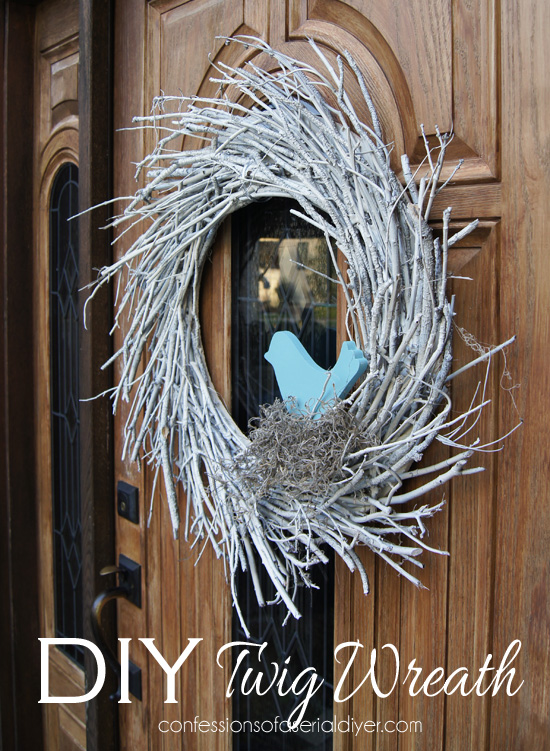
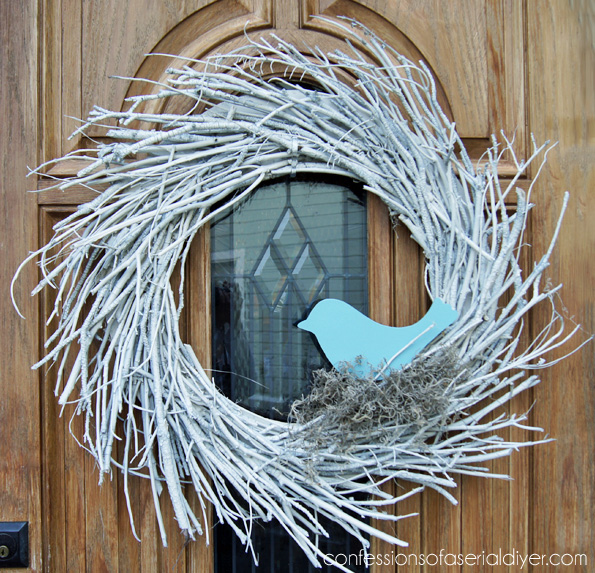
Nice! Then I just added a couple of fun finishing touches:


This wreath is a great transitional wreath for Winter to Spring! It says it’s Winter, but the bird gives it the feeling that Spring isn’t too far away!
It’s fun to be inspired, right?
I love how this turned out and the only thing I had to buy was the little wooden bird (2.99 at Michaels) and the blue paint!
Thanks Karianne! 🙂
XO,
![]()
Don’t Miss a Thing!
If you like what you see, there are several ways to follow along!
Email * Facebook * Pinterest * Twitter * Instagram


Donna Wilkes says
Very cute and I loved the story behind those twigs! the blue bird was the right touch.
Christy K. James says
Thanks Donna! I didn’t realize how many twigs I would need! One of my neighbors walking her dog did stop to ask me what all the sticks were for. I told her I was making a wreath and she made a comment how I was so crafty but I’m sure inside she was thinking I was a bit coo coo ha ha!
Linda@Coastal Charm says
Oh my…I LOVE it!!! Thanks for sharing this darling wreath at my party.
Blessings,
Linda
Christy K. James says
Thanks Linda, everyone enjoys your party! It
always has so much good stuff to see:)
Kim @ Sand & Sisal says
I love how you up-cycled the twigs into such a beautiful wreath. (I’m sure your neighbor isn’t missing them!) Thanks for linking up to our Countdown to Spring Party! I’ll be featuring your wreath tomorrow. 😉
Christy K. James says
Thanks, Kim!! What a nice surprise:)
Anja says
So pretty, love it! Now I should better go outside and collect all the twigs I can find, right?
Christy K. James says
That’s right, ha ha. My neighbor just put a bunch of twigs on the curb and I was really tempted to steal them lol!
Kim says
Super cute! Love this idea for that in-between season…or I could even see this in summer, with starfish or shells added to it! Pinning it! 🙂
Christy K. James says
I love the idea of adding starfish!!
Brittney says
How did you secure the twigs? Did you use glue or a nail/staple gun?
Christy K. James says
Hi Brittney! I used hot glue. It left a lot of glue strands, but when I was done, I used a blow dryer on them which melted then away instantly. Otherwise you would see them when you spray paint…I enjoyed making ths wreath!
SueSchneid22 says
Great tutorial! I had thought about this many times, but hadn’t gotten around to playing with it. Now I can get right to it! We have a couple of acres and sticks abound! Thanks and Happy Thanksgiving!
Christy K. James says
Thanks, Sue! This was fun to make and really easy. I needed more twigs than I thought, but they were free and plenty! Thanks for visiting 🙂
Shelly- MinettesMaze says
LOL Wonky!! Made me giggle! I love it!!
Google Optimierung Innsbruck says
Hello! I’m at work surfing around your blog from my new iphone!
Just wanted to say I love reading through your blog and look forward to all your posts!
Keep up the excellent work!
T'onna says
Gorgeous wreath! I really like the little birdie and the nest. Too cute!
Navy Wifey Peters @ Submarine Sunday Link Party
Christy K. James says
Thanks, T’onna! Unfortunately I rehabbed it into a Christmas wreath last month, so I’m now in need of a winter wreath! Thanks for stopping by! 🙂
Katelyn says
I love, love, love this! It’s so simple & beautiful! I’d love for you to link this up at Link’n Blogs Link Party! Hope to see you there! http://learningcreatingliving.blogspot.com/2014/01/linkn-blogs-link-party-8.html
Christy K. James says
Thanks for the invite, Katelyn! Just linked up 🙂
Danielle says
This is so cute. I need to put up something new on my door and this would be perfect especially with all the downed branches in my yard from winter storms. Thanks for sharing.
Christy K. James says
Thanks, Danielle! The best part is it was almost free 🙂
AnnMarie says
Very, very cute! You are so creative adding that bird and nest…perfect! I still have the twigs I gathered this past Fall to make a similar wreath but, never getting to it I put them in an enamelware pot on my front porch with some pine branches…wintery too! Visiting from Be Inspired…
Christy K. James says
Thanks, AnnMarie! I bet your pot with the branches is pretty too 🙂
Jenny says
Wow, I LOVE it! Great job!!!!!
Christy K. James says
Thanks, Jenny! 🙂
Megan @ Our Pinteresting Family says
What a beautiful wreath!
Christy K. James says
Thanks, Megan! (& almost free too…don’t we love free??)
Cathy says
I love this idea!!! I can do this 🙂 I pinned this!!
Christy K. James says
Yes! Glad you like it, Cathy…the hardest part was collecting the twigs, which you can enlist the help of your kids for that! 🙂
Michelle says
Love it! Thanks for the detailed tutorial too:)
Christy K. James says
Thanks, Michelle! You are SO welcome! XO
Lisa@ Creative Raisins says
That is the cutest wreath ever. I like the pop of blue on the bird, it is just perfection
Krista @ Joyful Healthy Eats says
Oh… love this! Totally pinning so I can make this soon. Super cute!
Christy K. James says
Thanks, Krista! Glad you like it 🙂 XO
Kim says
I love it! Thank for the wonderful (and humorous) tutorial. Your wreath is perfect! 🙂
Blessings,
Kim
Christy K. James says
Thanks, Kim! I’m quite sure my neighbors think I’m nuts 🙂
Jennifer @TheRebelChick says
This is such a pretty winter wreath! I love that it’s understated and rustic-looking 🙂
Christy K. James says
Thanks so much, Jennifer! XO
Sinea Pies says
This wreath is so pretty. Just pinned it. Would love it if you’d stop by my Wonderful Wednesday Blop Hop to share it. It just went live!
Blessings,
Sinea
Ducks ‘n a Row
Christy K. James says
Thanks for letting me know about your party! Just linked up:)
Sherry says
I love wreaths… You did a beautiful job creating this twig wreath! Thanks for sharing:)
Christy K. James says
Thank you, Sherry! 🙂
Rhonda says
I just took down my Christmas wreath and normally don’t put one up again till spring but thought I might make a winter wreath. So naturally I took to Pinterest for ideas and yours is exactly what I was looking for. My question is how did you attach the branches to the wood? Hot glue? Thank you.
Christy K. James says
Yep! I was inspired to make my version from someone else, so I linked to her tutorial which shares more details including how they were attached. This was such a fun, easy, project…and it was free! Have fun! 🙂