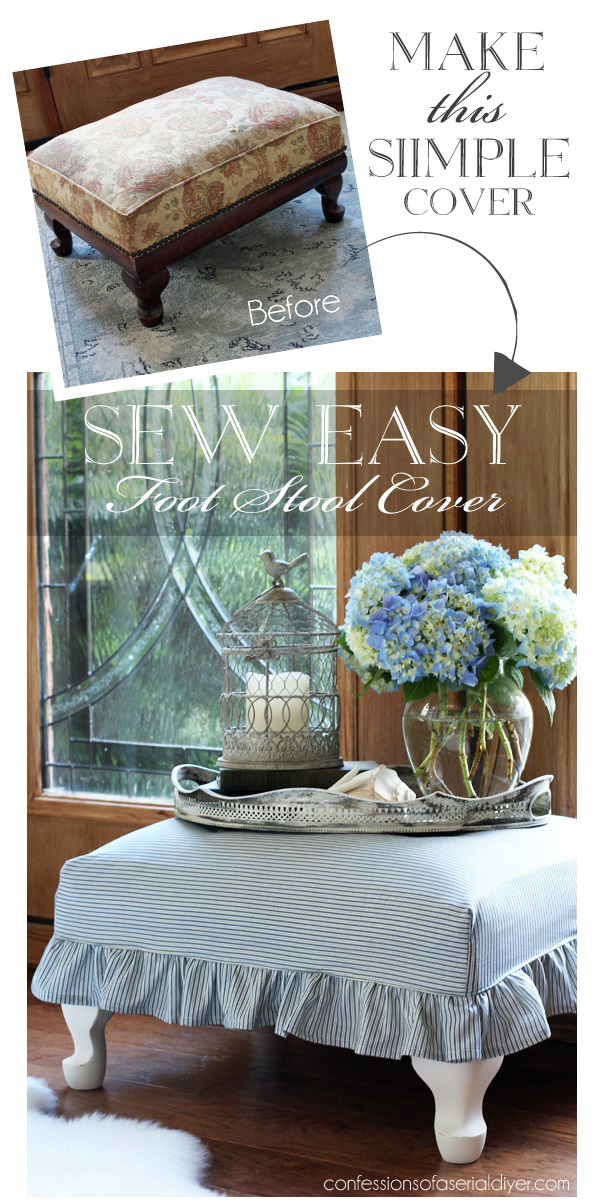
Hi Friends and welcome to Themed Furniture Thursday!! I gave you a peek of this little footstool the other day:

I snapped it up at my neighborhood yard sale last year for $10. Now my Mom was in the market for a footstool not too long ago, and that’s when I remembered I had this little fella in my to-do pyramid.
However when she saw it, she kindly said, “No, thank you.”
Then I redid it…

And guess who thought it might work after all?
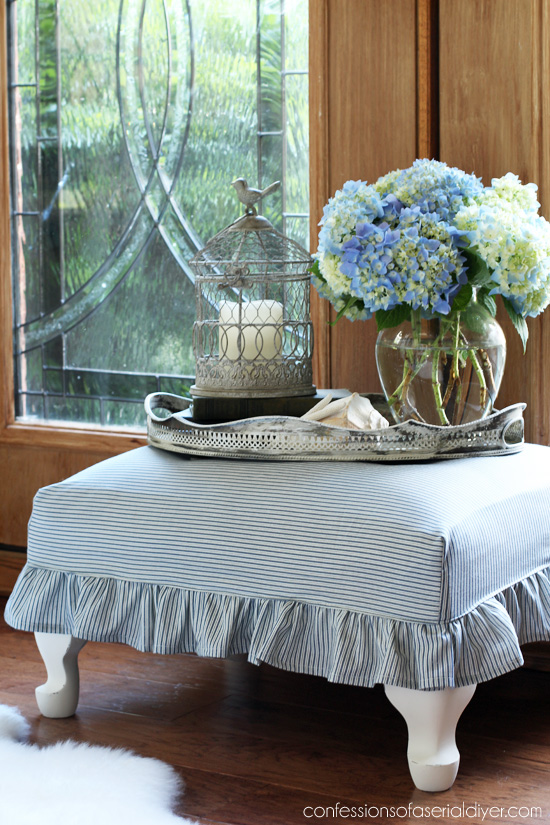
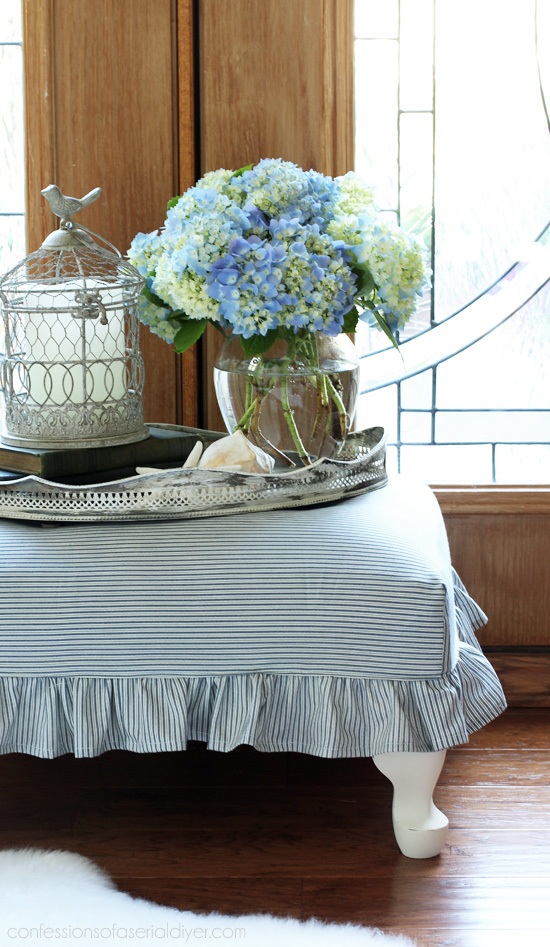
It really is so much cuter now…perfect for my quaint little oceanside beach cottage…that I don’t own…a girl can dream. 😉
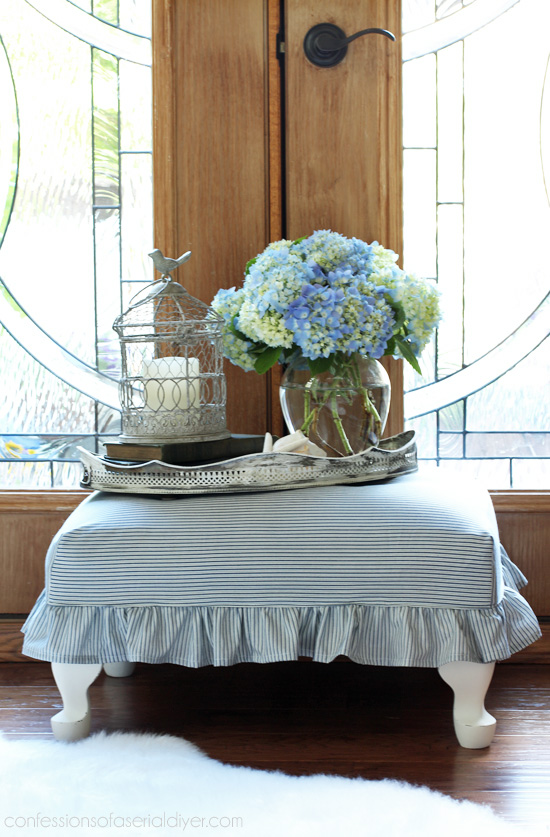
I started this makeover by painting the base and feet in DIY Chalk paint in a mix of Behr’s Cottage White and Pure White.

The cover was really so simple to make.
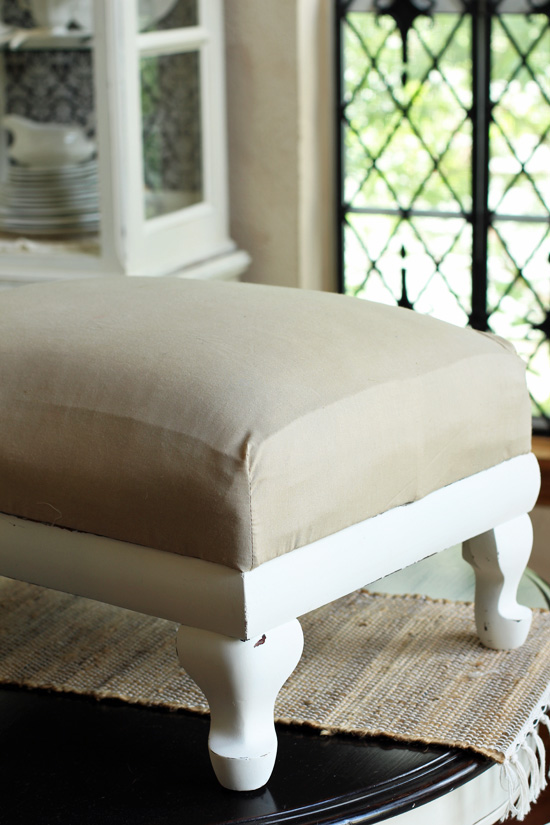
First I covered the original with simple muslin fabric I had left over from my doll-making days. Here you can see it peeking out from under the skirt:
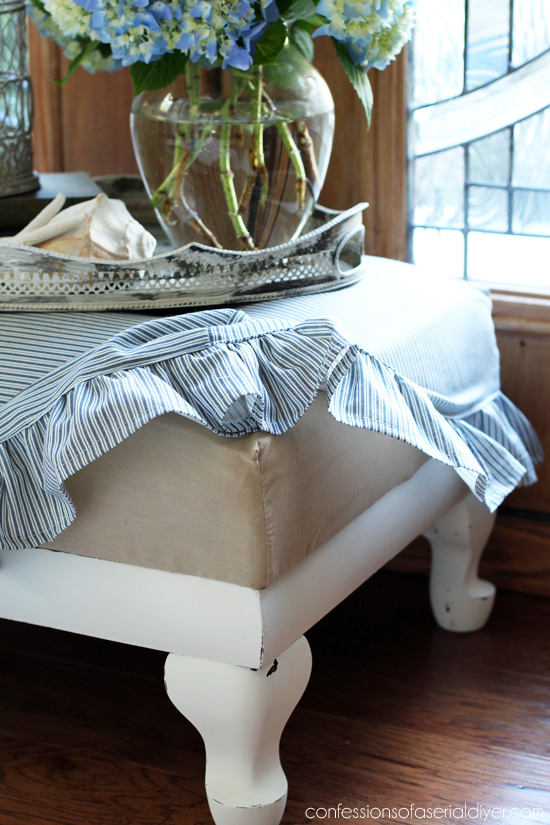
That provided a clean “new” base to go under the cover.
To do that, I removed the top since it comes off to reveal a storage space beneath. Then I laid my muslin, that was cut slightly bigger, across the stool top, and pinned each corner like this: Then I sewed each corner straight down.
I turned it right-side out and put it back on the foot stool, trimmed the excess fabric, and folded the edges over. Then I used my staple gun to attach the muslin to the underside of the cushion:

Now my stool has a clean fresh base.
Now for the slip cover. Although the original had piping, I wanted to keep this as simple as possible.
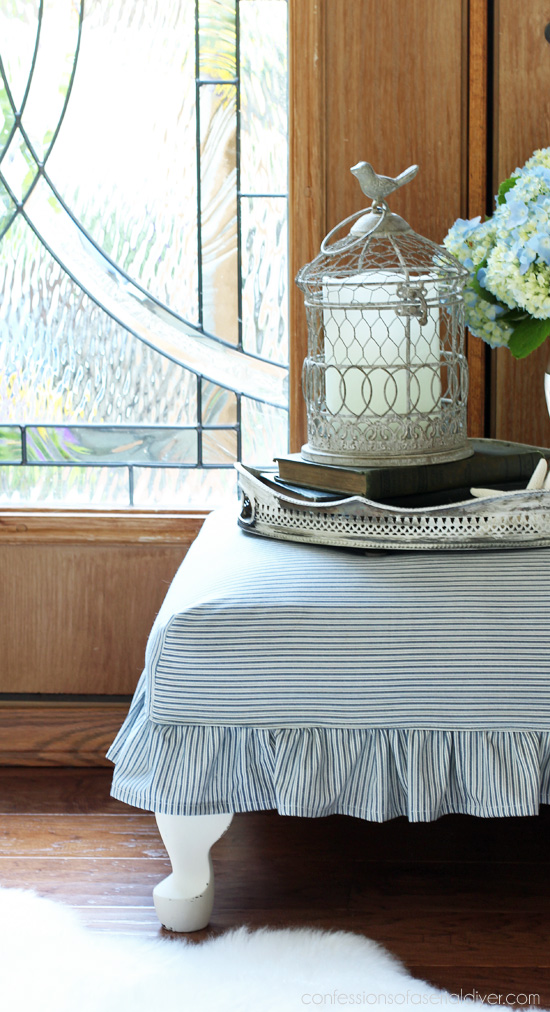
This month’s theme is Red, White, or Blue, and I remembered I had this blue and white ticking fabric that I found at a yard sale for one whole dollar a while back. It was just a small piece though, so I had to make it work. (Prewash and dry your fabric on the same settings it will be washed and dried on in the future first.)
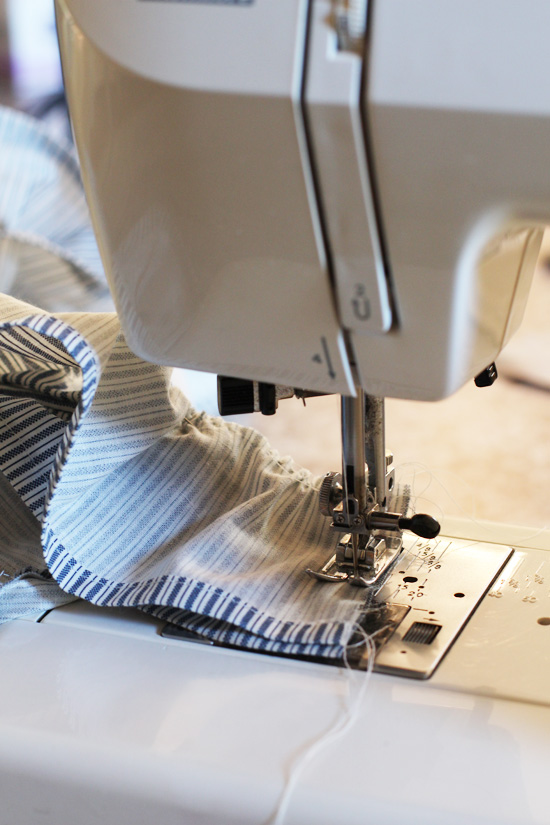
I started the same way as the muslin base cover, only I made sure to lay the fabric right side down. Then I pinned each corner.
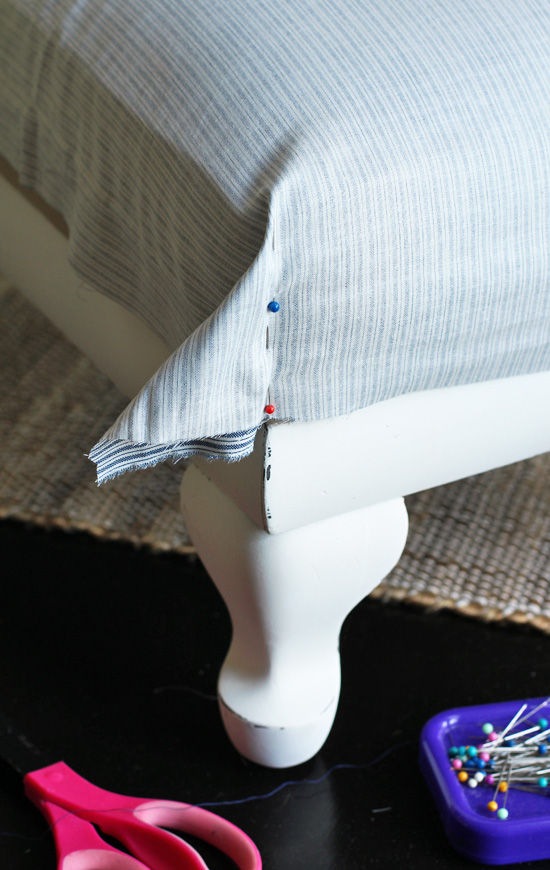
And sewed down each.
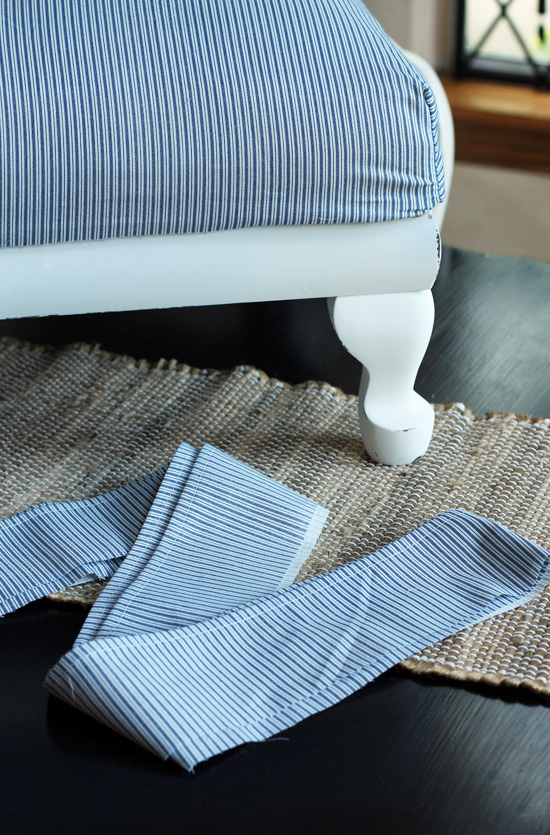
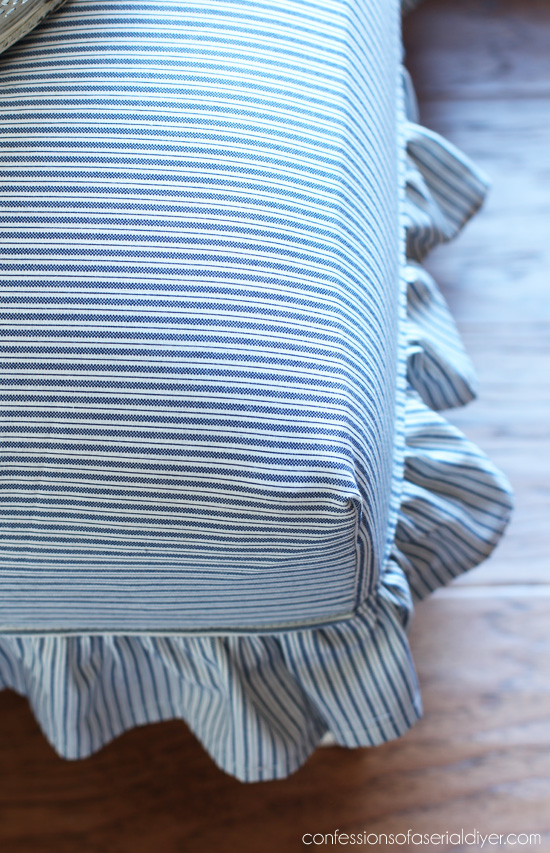
I flipped it right-side-out and put it back on. Then I tucked the bottom under all the way around. (See photo below.)
For the ruffle, I cut four inch strips at least twice the length of the perimeter of the stool, using my rotary cutter and straight edge. I had to join a few strips together to make one long strip.
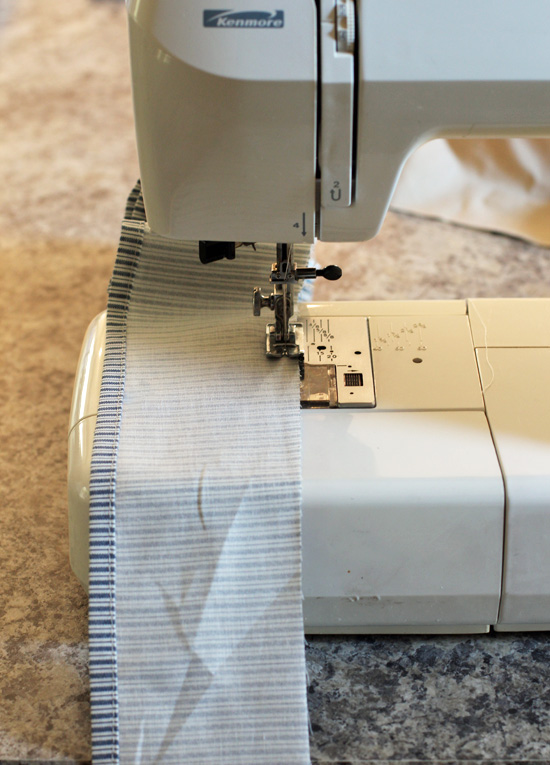
Then I hemmed one edge of it…
To ruffle the fabric, I started by basting the unfinished edge. (Sewed along the unfinished edge with the longest stitches my sewing machine makes.)
Then, of the two threads hanging off at the start, I pulled one gently and pushed my fabric along it, causing the fabric to ruffle.
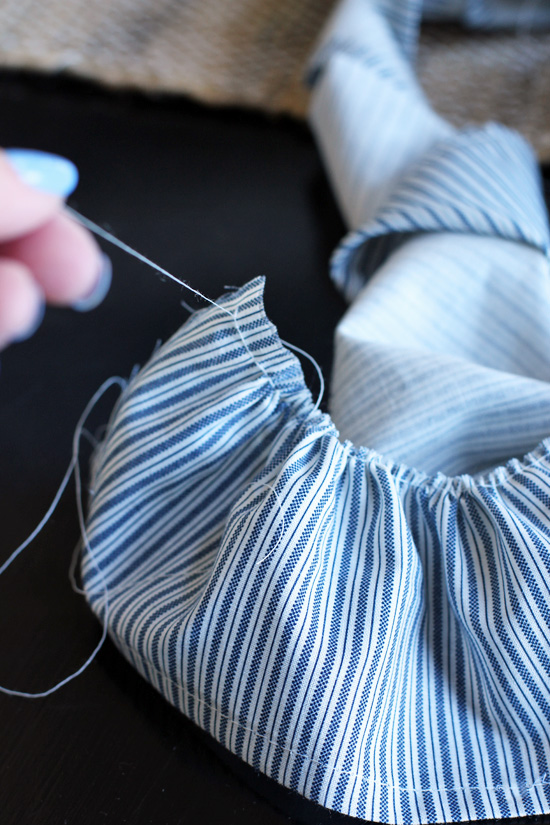
I did this until all of the fabric was ruffled. Be careful not to pull too hard or the thread will break and you will need to baste again.
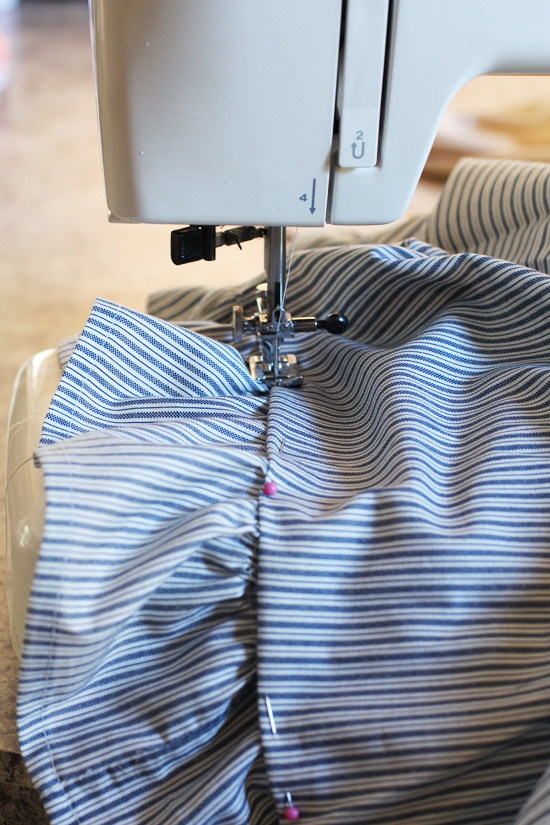
Then I pinned it to the underside of the stool cover.
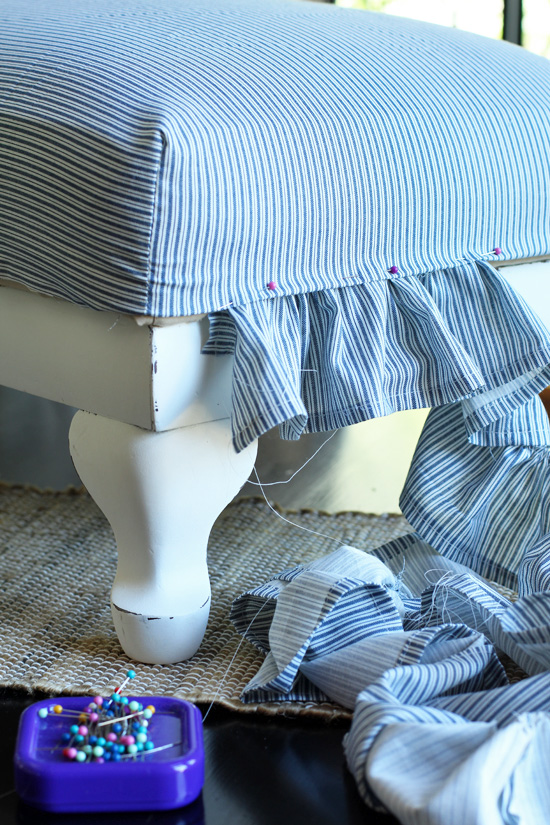
When I made it almost all the way around, I removed the cover and sewed the raw ends together.
Then I finished pinning, and sewed it in place:
After, I ran a small zigzag stitch along the raw edges underneath where I attached the ruffle to the top part, to prevent fraying in the wash.
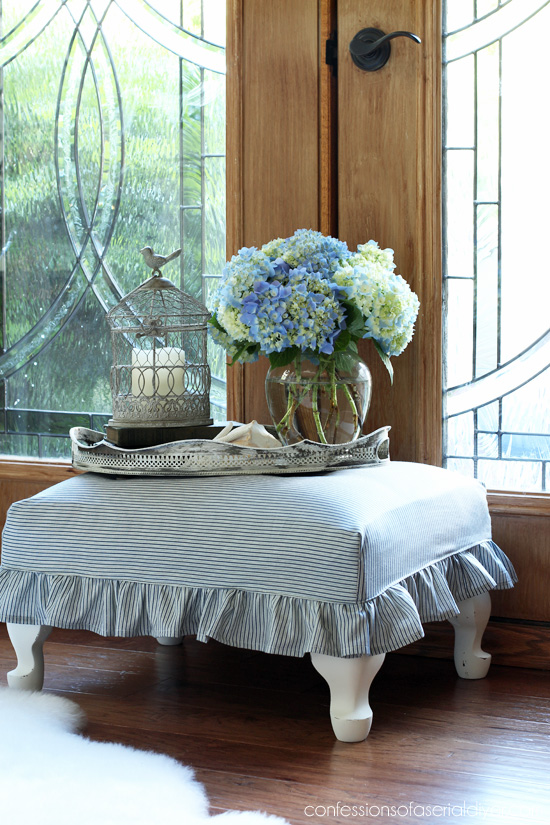
And voila!
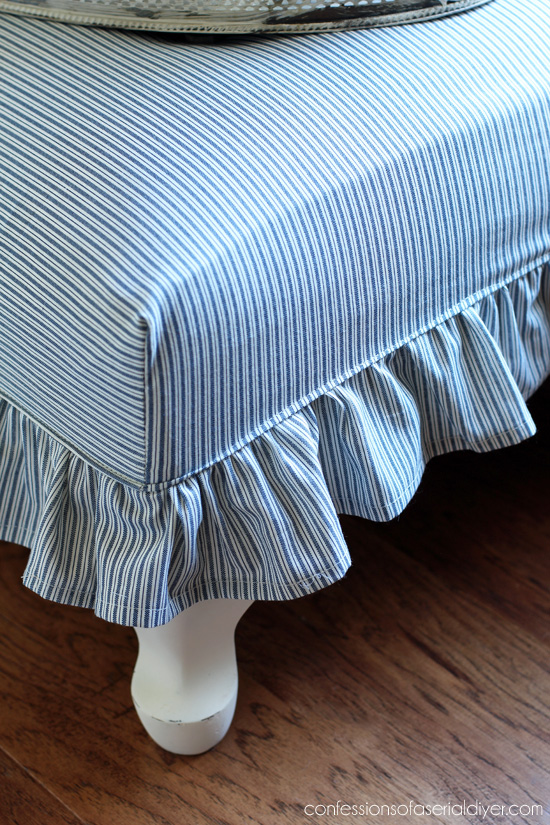
Sew easy, right?
The ruffle is a bit of a throw back, but I love the charm it added to this stuffy piece.
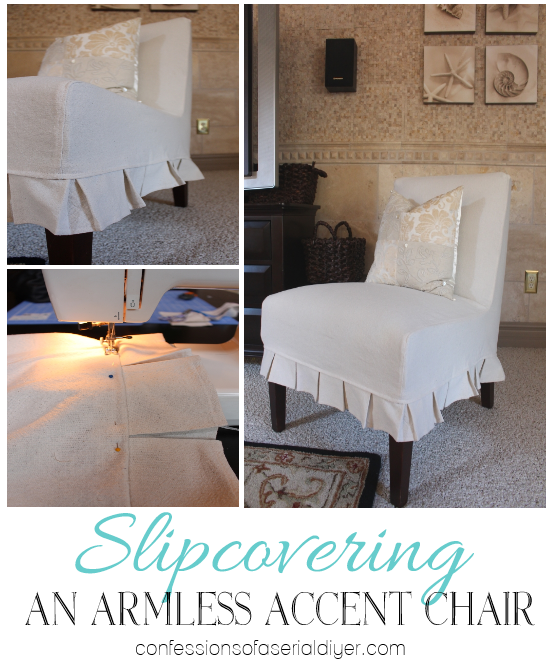
A pleated ruffle would have been sweet as well. See how to do that in this tutorial for covering armless accent chairs:
Now to see if this will end up at Mom’s house after all!
My Furniture Flippin Friends are also sharing Red, White, or Blue furniture makeovers today too!

Check them out below:
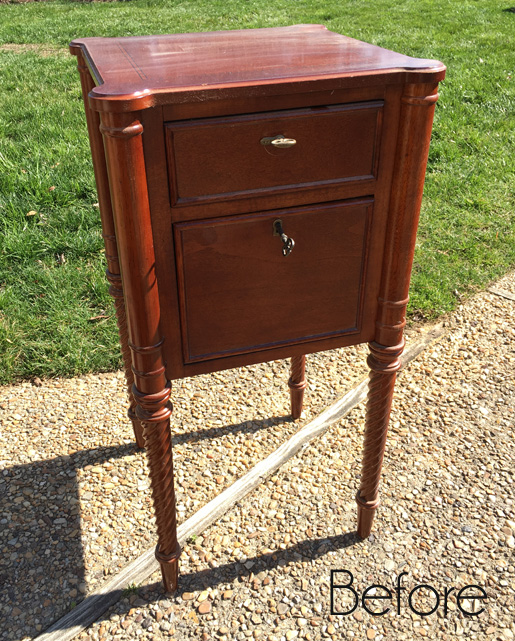
I’m working on this little table which I hope to share next time!
Have a great day! 🙂
UPDATE: See this how this little side table turned out HERE now!
XO,
![]()
Don’t Miss a Thing!
If you like what you see, there are several ways to follow along!
Email * Facebook * Pinterest * Hometalk * Twitter * Instagram


")


Mary Kaiser says
Love it Christy, now to find a foot stool at my thrift store. Your instructions are amazing. I CAN DO THIS!! Thanks for the inspiration and the great inspiration.
Christy says
Thank you, Mary! Yes you CAN totally do this!! XOXO
Larissa ~ Prodigal Pieces says
eep! I not only love the little legs peeking out, but that ticking…my favorite! Great tutorial and project, Christy.
Christy says
Thanks, Larissa!! XO
Susie@TheChelseaProject says
Love the striped fabric. Great slipcover directions. It’s a win win post all around. Kudos on a great project. Susie from The Chelsea Project
Christy says
Thanks so much, Susie!! XOXO
Lucy ~ Patina Paradise says
Love the ruffle on the cover and the ticking is just totally timeless and classic. You have me itching to sew up a slipcover as cute as yours!
Christy says
Thanks, Lucy!! XO
Lindsay Eidahl says
Another one of your projects that makes me want to get that new sewing machine going. I love this!!!!
Christy says
Yes, Girl! Bust out that sewing machine…if you can sew a straight line…you can totally do this! XO
Marcie Lovett says
How cute is that! I can see how Mom would not be impressed with the “before.” You make the process look so easy, I might have to find something to recover.
Christy says
Thanks, Marcie! She really was not impressed at all at first. And she called me this morning after seeing it in my post saying again how much she likes it now…totally missed that I referenced her in my post since she only looks at the pictures ha ha! XO
Dorothy says
I love what you did with this footstool. Looks so fresh. I also love that you give us all the tips on how to do this Thank you so much for sharing.
Christy says
Thanks, Dorothy! You are so welcome. 🙂
Suzan Oxenreider says
I found the same foot stool at a yard sale 2 years ago! I also made a slipcover for mine as I did not want to deal with pulling off the hobnail tacks. I used a hunk of painter’s canvas and added a fussy fringe. I think these little ones are so darling with that lift off storage space under the cushion. Have a great holiday weekend!
Christy says
Ha I never though of leaving the tacks since I was covering it anyway…I should have. Oh well…I sweet-talked my hubby into removing them for me. I bet yours is so pretty!!
Jeanie says
I just adore this! I have to have one! That’s it – I’m on a lookout for a footstool that I can makeover just like this! By the way, we must be neighbors – I have a beach cottage just like yours – in my dreams ; )
Pinning for when i find (or make) that footstool!
Christy says
Thanks, Jeanie! Ha ha we must live in the same fantasy neighborhood! Oh wouldn’t a cottage by the beach be so wonderful?? XOXO
Marie, The Interior Frugalista says
Oh my gosh Christy, I swear just last week I wanted to sew a slipcover (from an old red ticking chair slip cover) for a footstool I no longer use to take to the outdoor market last weekend. I gave up because I didn’t have the time to figure out how to sew one in the time crunch I was under. Thank you for this awesome tutorial – I can do this!!! Love the transformation you gave this stool and no surprise your Mom said, yes please.
Christy says
Ha ha too funny! This way is super easy! XOXO
Gina Keysor says
You do such clean sewing work, even underneath is perfect! So, did Mom end up with this little stool? Aren’t daughters great? I have a precious one myself, we love to do projects together and hunt for trash to treasures. She has a great eye too! Thanks again for sharing, always look forward to your projects.
Christy says
Thanks so much, Gina! My Mom ends up with a lot of my things ha ha. We’ll see if she ends up with this stool. That’s great that your daughter enjoys treasure hunting with you…I have boys, but my oldest doesn’t mind yard saling with me. 🙂
Paula@SweetPea says
So cute! I love that the skirt can come off to be laundered.
Christy says
Thanks, Paula! Slipcovers are so nice in that you can just throw them in the wash!
Jackie says
I love, love, love the way you give us instructions! Thank you for taking the time to explain everything perfectly! Once again, a fabulous piece! I’m betting Mom will end up with this one! LOL
Christy says
Thank you…I’m so glad you appreciate the step-by-steps, Jackie! They help me too…I even find myself looking back to see how I did something! Mom usually gets her way, so if she wants, it’s hers. 🙂
Stacy @ Anastasia Vintage says
Wow! How did I not know you were such a sewing master?! That’s really so impressive! I wish I had your skills. Perhaps I’ll work up the courage to try something like this one day 🙂
Christy says
Aww thanks, Stacy!! I’ve been sewing since I was 12 or so, and made and sold dolls for about 15 years. I was so over sewing after that that I almost dread dragging out my machine, but sewing projects are so much quicker than painting ones! You can totally do this!! 🙂
Jen @ Girl in the Garage says
Christy this footstool is so adorable now! I love the ticking with the ruffle – so charming and just perfect for a cottage or beach house <3
Christy says
Thanks, Jen! I’m so glad I was able to finally use that fabric on something. 🙂
Marty says
Christy, I really enjoy your blog. You do such beautiful and creative things. Thanks for providing such great pics and tutorials and sharing your knowledge.
Christy says
Thank you so much, Marty!! It really is my pleasure. 🙂 XO
Tania says
Aww, how cute! I love the little ruffle!
Tania
Christy says
Thanks, Tania! XOXO
Laurie says
Love it! You do a great job!
Christy says
Thank you, Laurie! 🙂
Kim Jones says
Christy, this is such a sweet piece! I’m not a sewer at all but you certainly did a wonderful job on this remake!
Christy says
Thank you, Kim! I kinda want to keep it for myself now. 🙂
Karin Chudy (ART IS BEAUTY) says
Christy, this is just beautiful! OH how I wish I could sew! You transformed this beautifully~
Christy says
Thank you so much, Karin! XOXO
Wendi @ H2OBungalow says
This is too sweet and I LOVE the idea of an undercover! I have chairs I want to recover with slipcovers. You are too talented and creative! Pinned and sharing!
Christy says
Thanks so much, Wendi! I was originally going to remove the original fabric, then thought why?? I can just cover over it…much easier! 🙂
Rebecca M says
I have a couple of footstools that need re-doing and I’m going to try a corner box pleat! I love how easy you made this look and I’m hoping it is easy! I really love the finished look of your stool! Have a great weekend!
Christy says
Thank you, Rebecca! This IS easy, I promise! You have a great weekend too! 🙂
Shanna Gilbert says
You are always such a magician with that sewing machine! This looks so sweet and fresh! Beautiful job my friend!
Christy says
Aww thanks, Shanna!! XOXO
Becky says
So cute! I like those curvy little feet!
Christy says
Thanks, Becky!! 🙂
Tami @ Curb Alert! says
I really need to fix my sewing machine, as seeing projects like this make me crave sewing again. My daughters always make fun of how hideous some of my furniture pieces while I am working on them but somehow are the very ones begging for me to gift it to them when I am finished. Makes me happy!
Have a great weekend!
~Tami @ Curb Alert!
Christy says
Ha ha my hubby and my oldest are the same way when they see me drag something home swearing I can make it beautiful again. I think they doubt me much less than they use to though lol. 🙂
andi says
So cute…she reminds me of a little girl off to pick flowers. 🙂
-andi
Christy says
Yes, who just flashed here underpants to the world. 🙂
Kerryanne @ Shabby Art Boutique says
Christy, that footstool is adorable. What a sweet make-over!!
Thank you for sharing it at Shabbilicious Friday. I’m delighted to be featuring your slipcovered stool at tomorrow’s party.
Hope you have a fabulous weekend my friend. Hugs ~ Kerryanne
Christy says
Thank you so much, Kerryanne!! XOXO