
Hi friends. Has it warmed up enough yet in your area to start thinking about getting your outdoor spaces ready for Spring? We are almost there, I can feel it. I’ve actually been able to spend a couple of days working in my garden, but today is cold again. Some of you are lucky enough to enjoy pretty temps all year!
Today I am re-sharing an oldie but goodie, my Sew Easy Outdoor Cushion Cover Tutorial…perfect for this time of year. It’s so much more cost effective to recover your old cushions, and there are so many more fabrics to choose from.
First, I’d love to share a couple of readers’ photos of their finished cushion covers. I am always so excited to hear from a reader that they were inspired by something I shared. It’s even more exciting to see pictures!
Most recently I received this email from Judith:
“Thank you so much for your directions on making outdoor cushion covers. They were so clear and easy to follow, even I (who is direction-challenged) could follow them. You saved me time and money and I am so proud of my new slipcovers!”Here is the photo she shared of her beautiful new cushions:
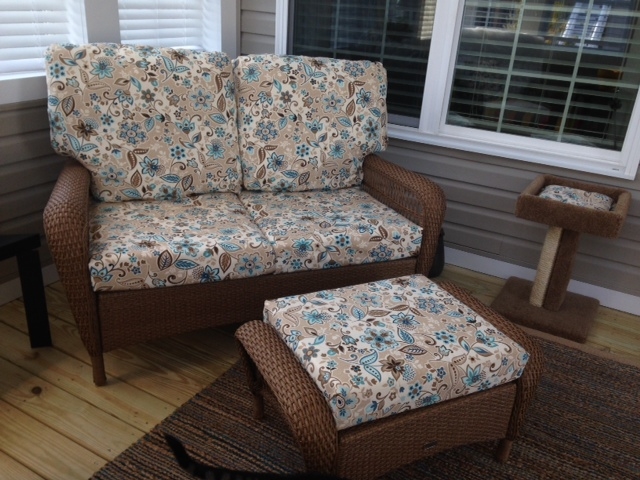
Great job, Judith! Nothing feels better than tackling a project yourself, especially if it’s saving you a lot of money!
Tonya keeps up with my blog on Facebook and she was also excited to share her cushions she made using my tutorial:
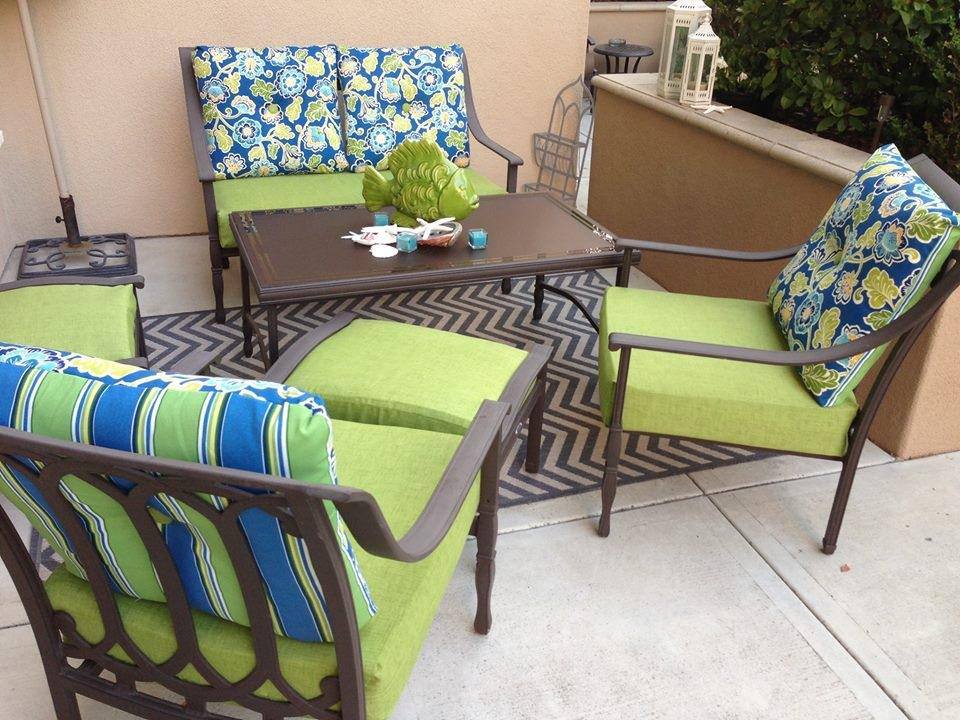
Don’t you want to sit out here with a few friends? She did an amazing job!
One more to share is this little set Heidi at Junkin Junky shared on her blog:
“I followed a fantastic tutorial by Christy at Confessions of a serial diyer. Easiest covers, ever.”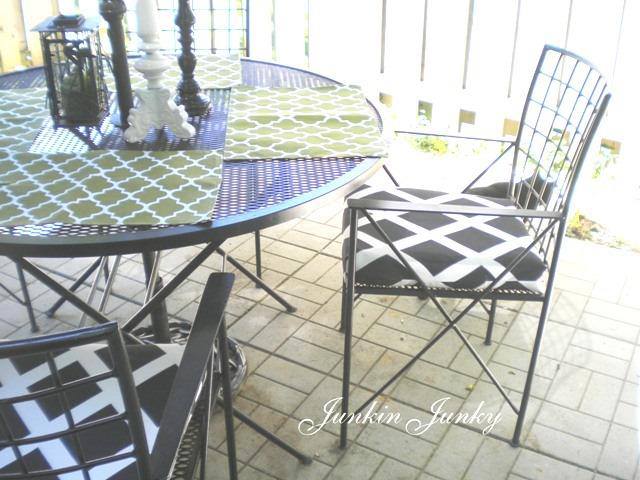
See? I told you these are SEW EASY! Thanks, ladies!
Enjoy the original post…

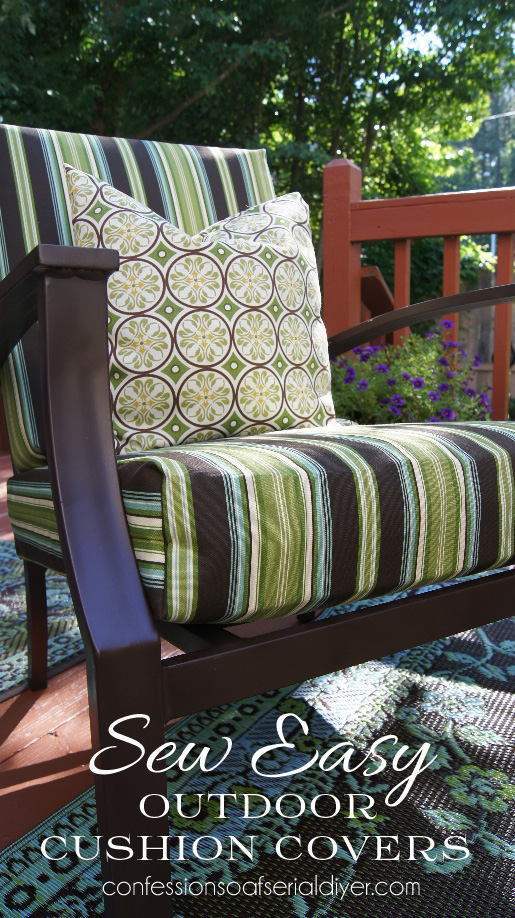
Looking to replace your outdoor cushion covers? You’ve come to the right place!
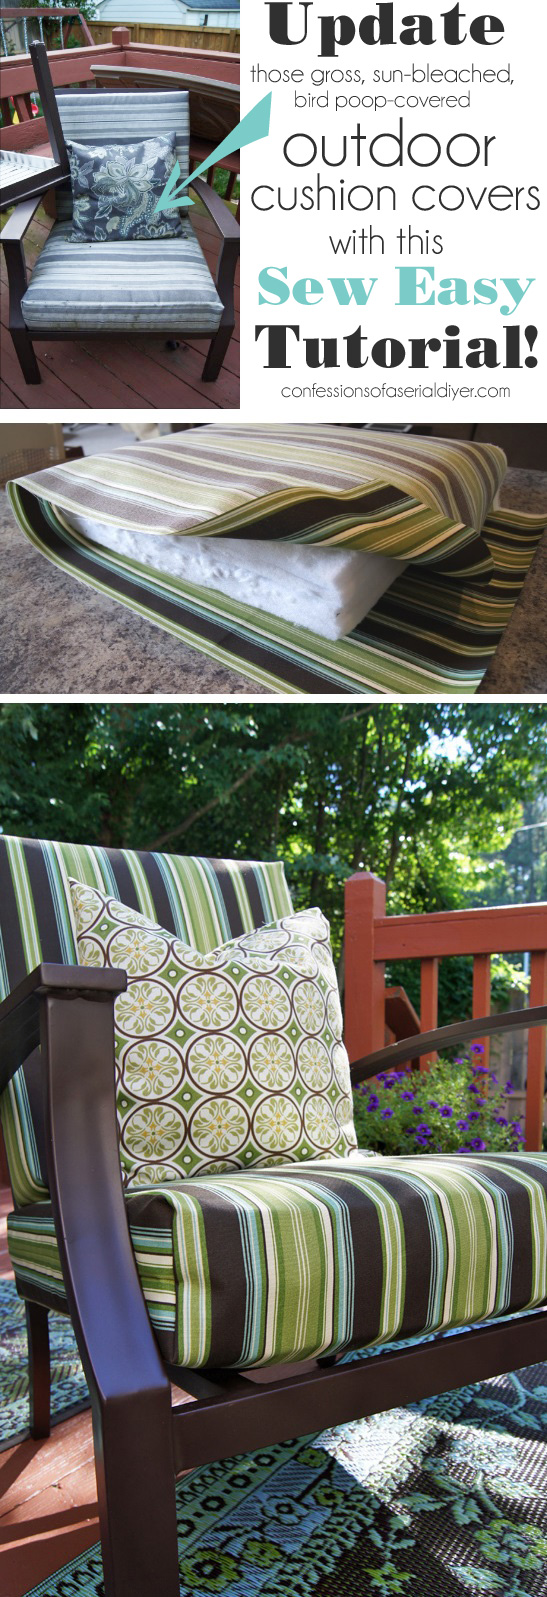
I’m going to show you step-by-step how easy it is to make new covers for those faded, time-worn, covered in bird poop and who knows what else, outdoor cushions!
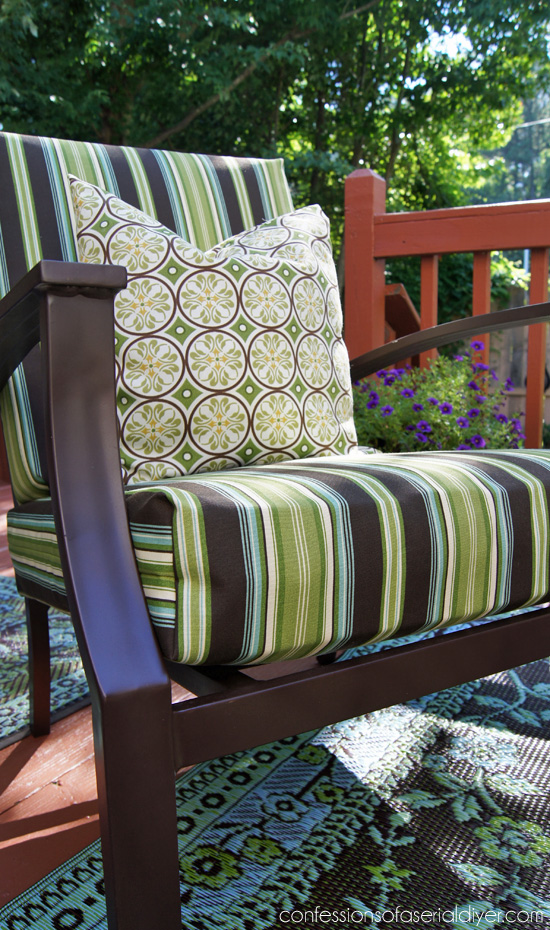
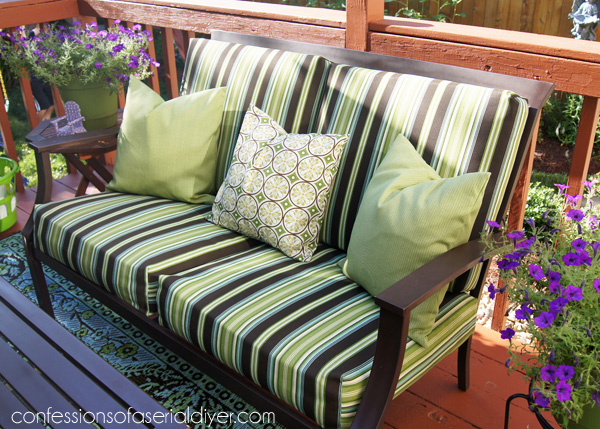
Making new covers made my outdoor furniture look brand new again! (Plus I spray painted the actual chair, again…good for another year!)
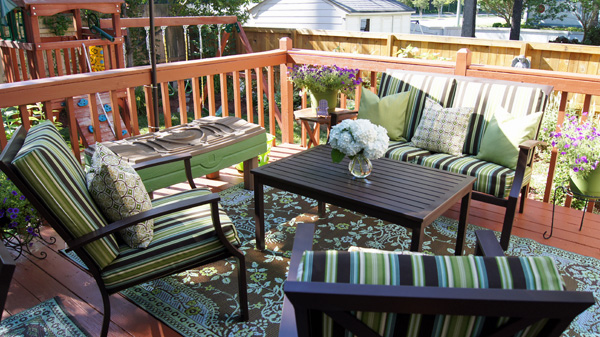
I purchased this set at Target years ago. It came with several pieces and the price was right. I bought it when I had an in-ground pool at my old house and needed lots of furniture to fill the space around it. Only then it was white with light green cushions.
Since then it’s had two wardrobe changes, not including this one, and a new paint job. I give it another light coat of spray paint each Summer to freshen it up.
Maybe some day I’ll get a new set, but when it still looks this good, why bother?
The before was really just so sad…downright embarassing:
And the deck…gross! Not to worry though, I spent the past three days out there. (And believe me, my arms are not happy right now!) A little demo and lots of elbow grease and it’s looking so much better. How does it end up like this??
UPDATE: You can see the deck HERE now!
Ok so here we go!
First, you need to select your fabric:
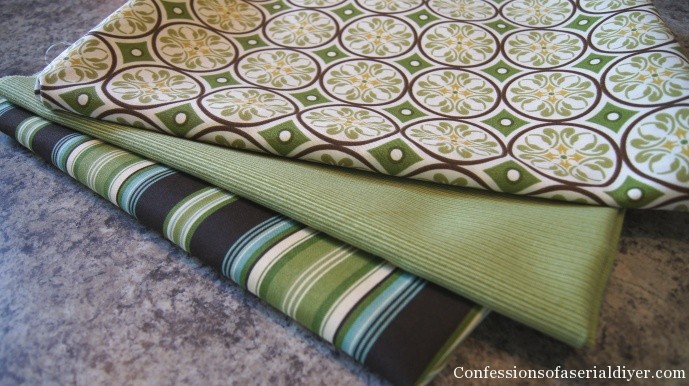
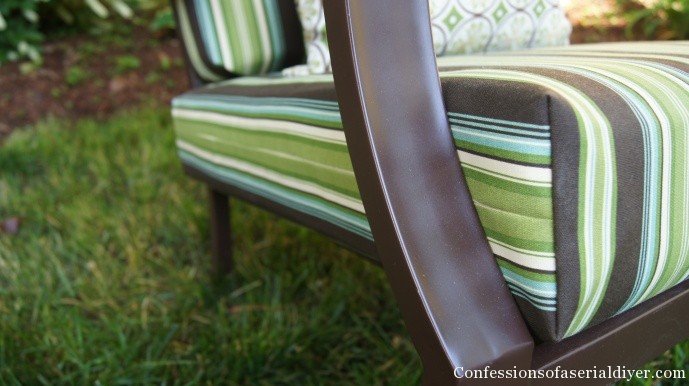
I prefer to use stripes or something with a geometric pattern to make cutting a straight line easier.
Next you’ll want to lay out your cushion so that folded over, the fabric covers the cushion from top to bottom. (Here I removed the old cover, but I didn’t remove them all. They actually keep their shape better if you keep the old covers on.)
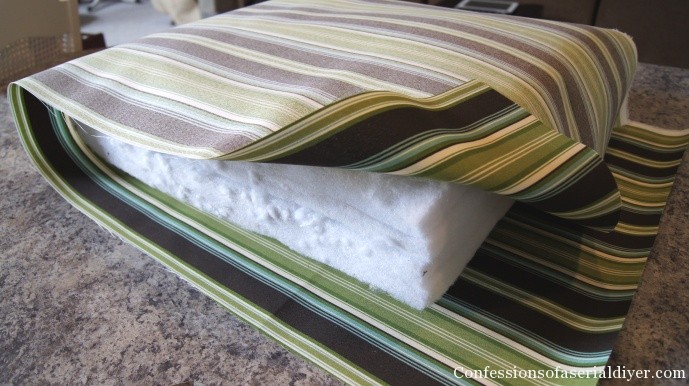
This fabric is 54″ wide. I was barely able to cut enough for two cushions side-by-side. Your sides only need to be long enough to meet each other in the middle with a 1/4″ seam allowance for both top and bottom.
You’ll want them snug so they lay nicely!
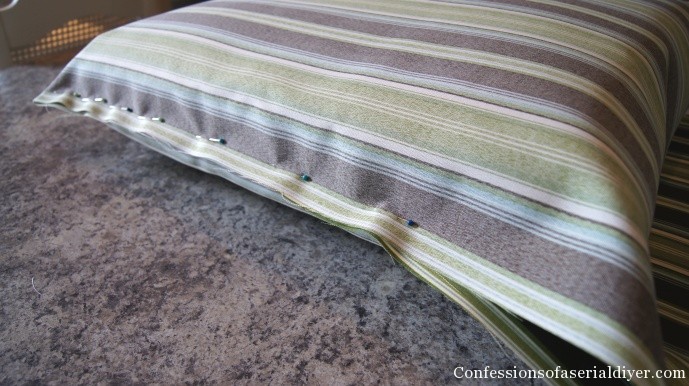
Next, with right sides together (back of fabric facing out), I pinned the side seam on both sides:
Then, also starting at the folded edge, I sewed straight from folded edge to the open edge on both sides:
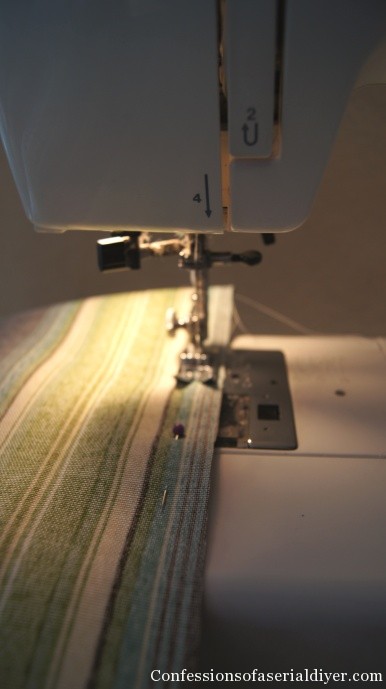
I’m not sure why I bothered pinning it all the way. After about a third of the way, I took out the rest of the pins and followed the line of the fabric. (See why stripes are the way to go?)
Next you’ll need to put your cover back on the cushion (still inside out) and pin your two corner seams. These will be the front corners of your cushion:

Remove the cover and sew those seams: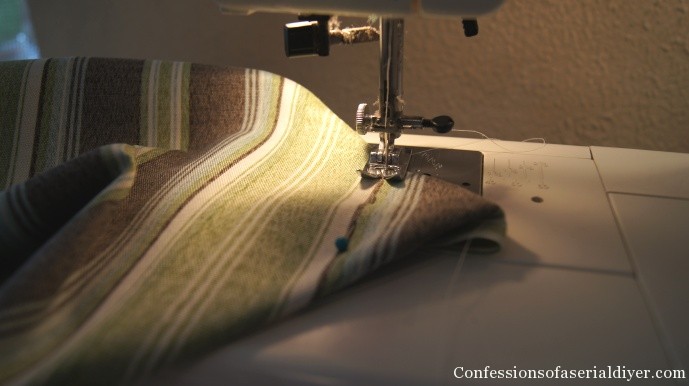
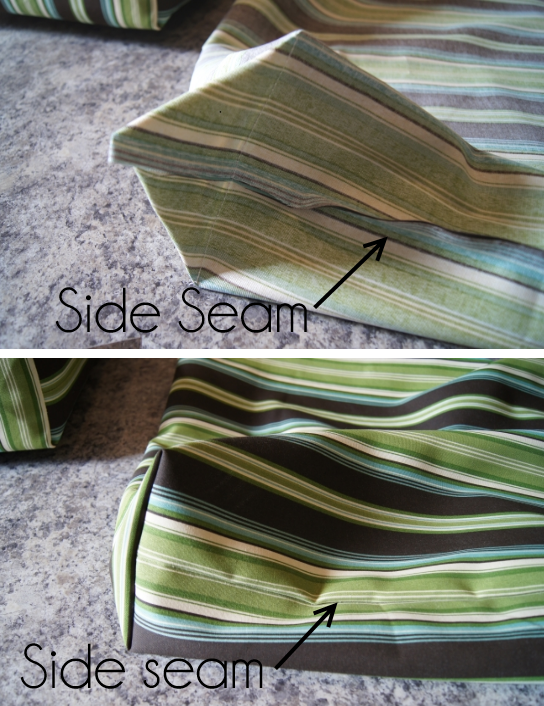
Here’s your corner seam after sewing, both inside-out and right-side out:
You can trim the extra fabric, but I didn’t bother. I didn’t reinforce my seams either because I don’t plan on removing them to wash them. I’ll just make new ones again when these have had it.
Insert your cushion again and tada! Perfect!

Just look at that beautiful corner! And you can barely make out the side seam because of the stripes!
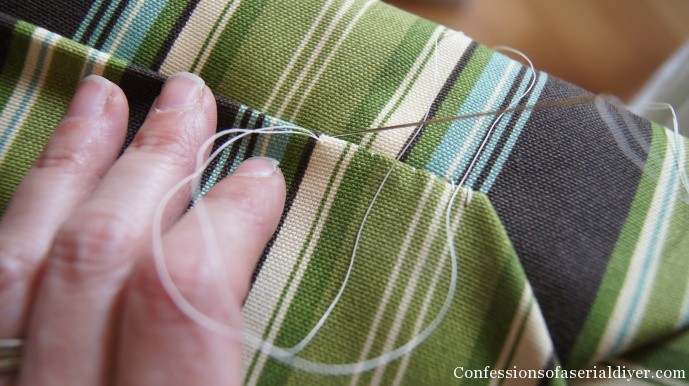
To finish off the back of the cushion, fold it like you’re wrapping a present:

And hand sew it up:
Here’s to another fabulous year!
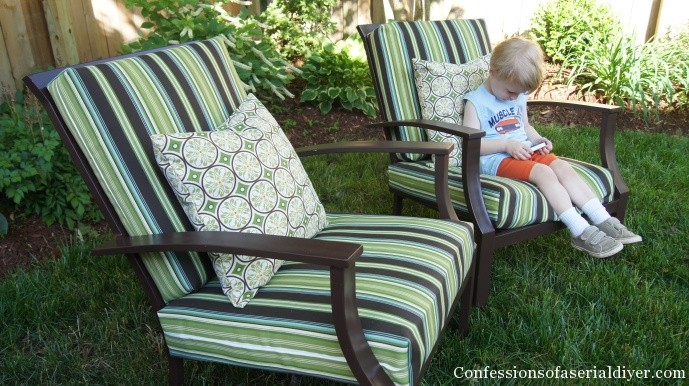
My assistant is texting his friends while on the job again.
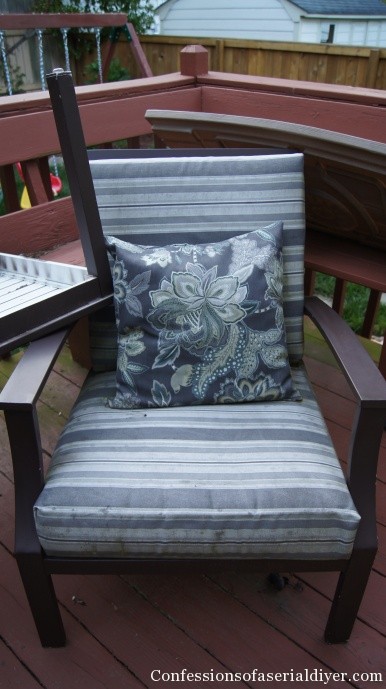
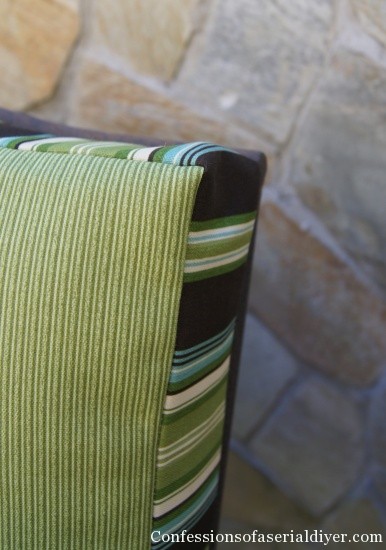
My pillows got a makeover too…
Before:
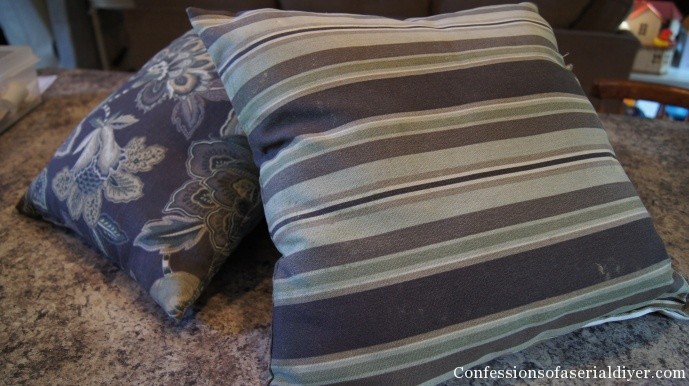
Ahh…
Oh how we love the after:
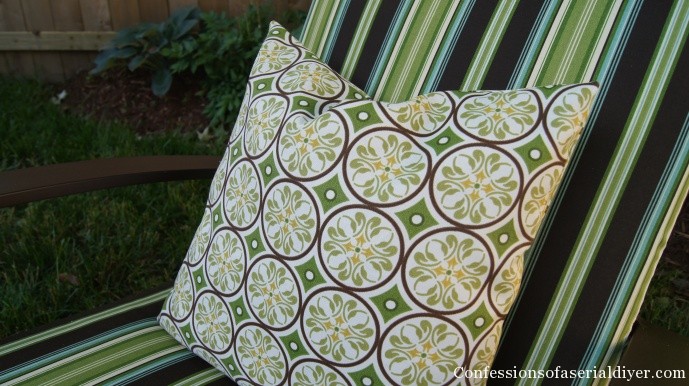
So new!! (But we know better!!)
I wasn’t crazy about the stripe at first because I used a stripe last year. I really wanted to use the geometric fabric I used on the pillow for the cushions, but there were only two yards left on the bolt.
The stripe is so classic, though and it is really easy to sew with, so I’m happy with how it turned out!
I stuck with the same color scheme as last year because it matches my awesome recycled plastic (what?!) outdoor rug which I’ll share with my deck makeover.
It took me almost eight yards to cover all the cushions. That includes a total of eight cushions.
That’s approximately one yard (54″ wide) per cushion, but I was able to cut two side-by-side in my fabric. These are quite thick so you should be able to do the same.
This is only part one of my sew-easy outdoor cushion lesson. I kick it up a notch with my settee cushion covers in my entry foyer courtyard thing-a-ma-jig. (Seriously we don’t know what to call it.)
I’m sharing those in a separate post here.
Here’s a sneak peak:
That was pretty easy right?
Hopefully you are feeling inspired!
XO,
![]()
Don’t Miss a Thing!
If you like what you see, there are several ways to follow along!
Email * Facebook * Pinterest * Hometalk * Twitter * Instagram

I love to share at these great parties:
The Happy Housie Design Dining and Diapers Liz Marie Blog Funky Junk Interiors Savvy Southern Style Tatertots and Jello DIY Show Off Between Naps on the Porch Just a Girl and Her Blog Sand and Sisal Interior Frugalista


")


Andi says
Loved this project. 🙂
-andi
June G. says
That was a great tutorial! I think I’ll tackle my outdoor bar stools soon….the hot sun and the birds have really worked them over the last few summers. Thanks!
Christy K. James says
Great, June! It’s so fun to freshen everything up! 🙂
Nancy @ Artsy Chicks Rule says
One of my favorites!! Sew envy!! 😉
Nancy
Christy K. James says
Awww. thanks! I could sew teach you 🙂
Nancy @ Artsy Chicks Rule says
I might hold you to that…funny girl!! 😉
Christy K. James says
I’m sew serious, ha ha ha…okay stop me. Seriously though 🙂
Christine says
Wonderful tutorial…..this one makes me want to buy a sewing machine and give it a try. If you knew me, you’d know that my last sewing machine and I despised each other, so to get the last word I sold him…for 2 bucks. LOL
Christy K. James says
Oh no! Sewing can be frustrating at times, but a little sewing here and there can also save a lot of money! I hope you try again 🙂
Miss Kitty says
Thank you so very much for sharing this tutorial. I really need to update my outdoor cushions but the prices I see in the stores are just too high for me to buy new ones. I will be trying your tutorial and sending you photos.
Christy K. James says
Great, I’m glad you found my tutorial! Making new covers is so much cheaper. I can’t wait to see how they turn out! XO
Deb @ Frugal Little Bungalow says
Funny ( as in coincidental ) to see this at the Cozy Little House link party ….because I was just Googling about this a week or so ago and found this post then 🙂
Christy K. James says
That is funny! I still get questions about these cushion covers, so I thought it was a good idea to repost this year. I hope you try this tutorial, it’s really easy! 🙂
Marty@A Stroll Thru Life says
I love them and such a fabulous tutorial. I would love for you to link up to my Inspire Me Tues. party – – -http://www.astrollthrulife.net/2014/03/210th-inspire-me-tuesday.html
Hope to see you there. Hugs, Marty
Christy K. James says
Thanks, Marty…it’s all linked up 🙂
The Style Sisters says
Great tutorial!! Amazing transformation…I need to redo my cushions this year and have been dreading it but you have inspired me!! I would love to have you join me for my Centerpiece Wednesday linky party and share this post with us. Come on over http://thestylesisters.blogspot.com/2014/04/centerpiece-wednesday-cool-blues-with.html
Karin
Christy K. James says
Thanks, Karin…just linked up! 🙂
Deidre says
Great tutorial! I really love the finished look on these cushions, youve inspired me,thank you!
Christy K. James says
Awesome, Deidre! They really are easy 🙂
Loretta says
Love this tutorial!!! Thanks for sharing! My cushions off curved at the top like yours that you show in the other tutorial. Do you think this exact method would work for covering those, without having to do a separate side piece like you show in the other tutorial?
Christy K. James says
Thanks, Loretta! I think to get a nice fit with a curved top, the separate pieces would work better. It is a little more work, but the finish is really nice. Good luck with your cushions. 🙂
Loretta says
ok, thanks! one last question…did you use upholstery thread since these will be outside and that kind of thread is rot proof?
Christy K. James says
I have always used all-purpose thread and that has held up perfectly. I leave my cushions out all winter too. I think the cushions will end up fading long before the thread wears out and you’ll want to make new ones by then anyway. I usually get two good years and then I’m ready for an update anyway. 🙂
Deb says
Great idea, great photos, and instructions! Now don’t forget to get some custom covers & cover your furniture and new outdoor cushion covers which will protect your investments from the elements. 🙂
Cindy says
Thanks for the very helpful tutorial! I tried to buy new outdoor cushions last year, but they are an odd size and nothing local worked. I started to catalog shop, but the prices were unbelievable. So, off to Joann Fabrics for a look at their fabric. I had them done in an evening and a morning. My husband has never seen me sew, so even he was impressed. I just love the ideas and help we get online.
Christy K. James says
That’s fantastic, Cindy!! It feels so great to tackle something ourselves, doesn’t it? 🙂
Heather says
I am slightly confused on the front corner seams. I see in the pic u make a vertical sewing line. Do you do this after u get the sides completely sewn or do u do the corners first before u sew the sides? Also do u have a video to watch to be a helpful guide… Sorry newbie here
Christy K. James says
I can see why you’re confused, Heather! I added that pic for another reader who couldn’t understand how to do the corners, and that was the only pic I had that showed the corner really well. You want to sew the sides completely first, then put the covers back on (still inside out) and pin the corner seams. Then remove them again and sew the corner seams. Unfortunately I don’t have a video, but you can totally do this! Hope this helps. I think I’ll remove that particular photo as it is a bit confusing! Good luck 🙂
PAS says
Hello! I’m a newbie and have several questions. Most importantly, How do I know how much fabric to buy?
Thanks!
Christy K. James says
Hi there! One yard is three feet, and since fabric is sold by the yard, I measured my cushions and then figured out how many yards I needed from there. Your fabric will most likely be 45″ wide. Hope this helps!
Kathie says
Christy,
Thank you so much for this post. You gave me the courage to reupholster an old glider (probably from the 1950s) that was handed down to us. As you suggested, I kept the original cover on (only goodness knows what type of filling was used back then!) and I just found toss pillows to match!! I feel so accomplished! Thank you! 🙂
Christy says
Awesome!!! Thanks for the positive feedback, Kathie! I love that you were able to revive a vintage piece! XO