Friends!! Can you even believe that tomorrow is the first day of September?? What?? It seems like we were just toying with the idea of making the big move here and BOOM! here we are, and Fall is already knocking on our door!
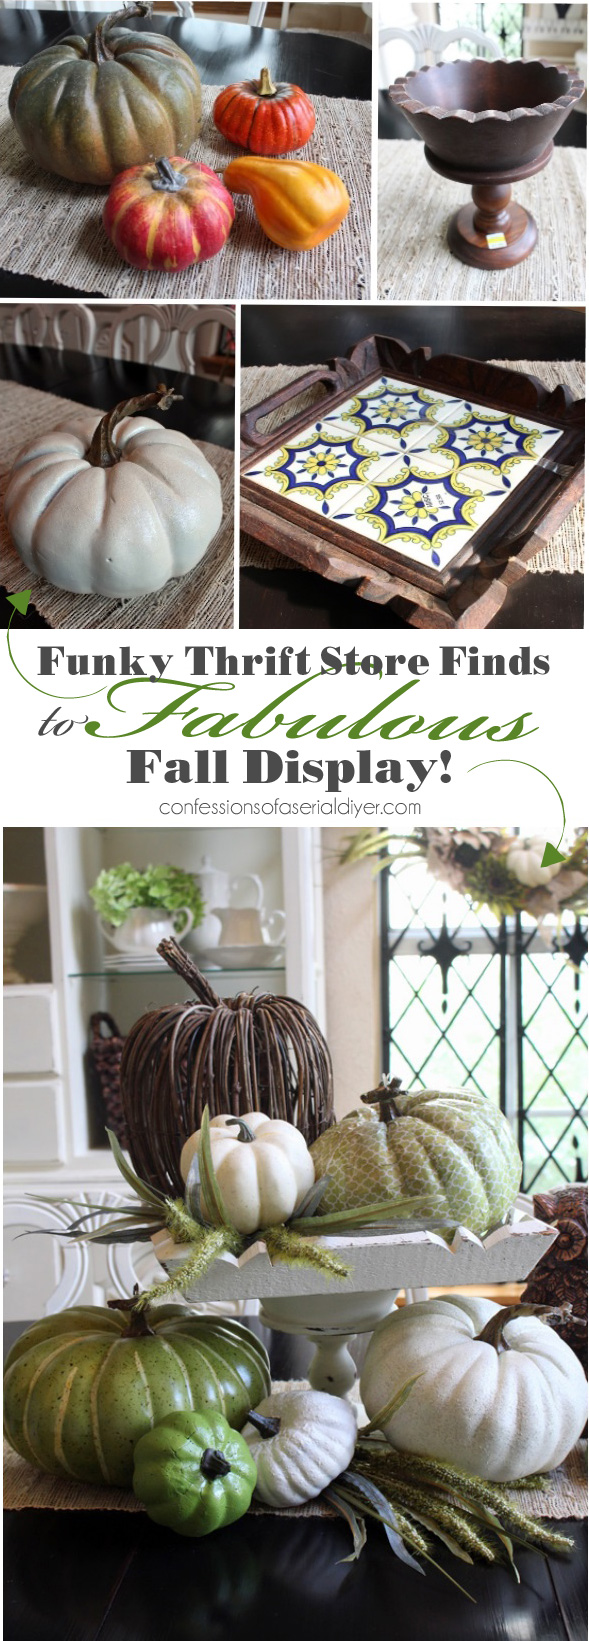
Today I thought I’d pull out an old Fall favorite I shared three years ago: my dining table centerpiece that I created on the cheap cheap cheap! Adding seasonal touches to your home does not have to cost a lot of money, I promise.
For the past few years I have moved towards more neutral Fall colors and it started with this Fall wreath. I am hoping I will be settled enough here in the house to bring out my Fall décor this year, here’s hoping anyway!
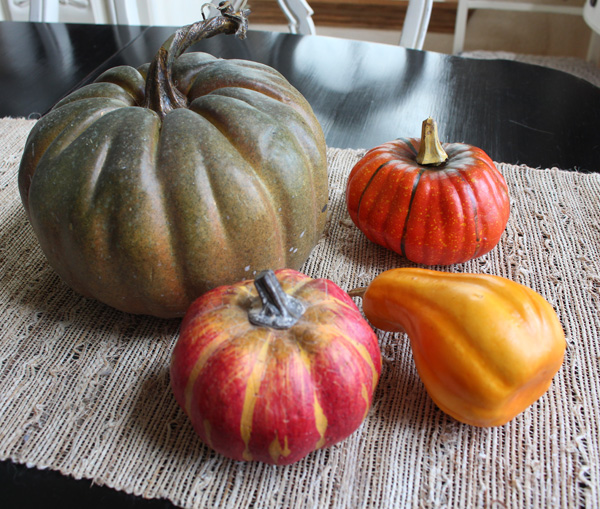
I started this centerpiece with this collection of reject pumpkins and oddball items:

Perty huh?
I’ve included a few affiliate links so you can find the products I used.
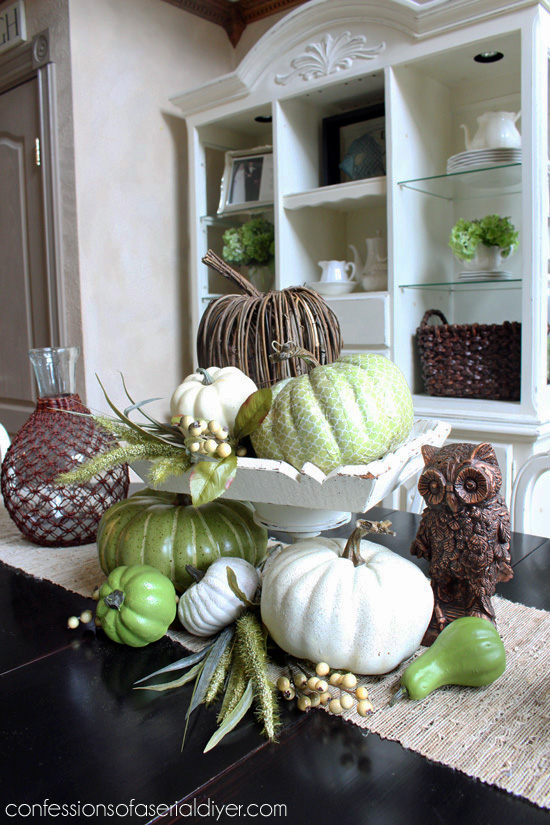
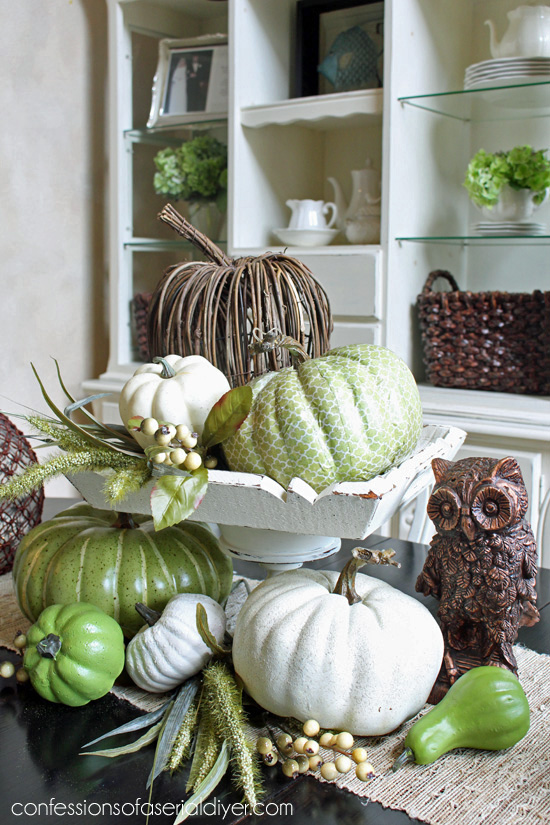
Here is what they became:

Yes those are the very same pieces!
The tiled tray and the wooden bowl-on-a-stand were thrift store finds that cost me less than $5 for both. I removed the tiles and painted the tray and the odd bowl with a mix of Annie Sloan’s Old White and Pure White, gave them a coat of clear wax and they were set. I attached the bowl like a pedestal using E6000 glue, and let it set up for a day or so.
They were perfect as a base for this centerpiece.
This gorgeous ahem pumpkin was first on the pumpkin hit list:
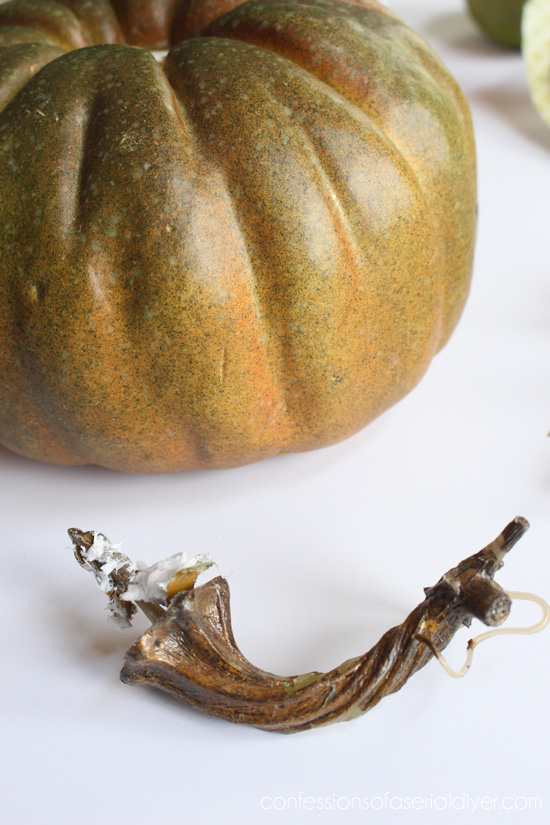
The colors were just awful. I found it at a yard sale last year with two others that were much prettier for a quarter a piece.
I decided to Mod Podge this one: If you’ve never decoupaged a pumpkin before, here’s a quick run-down on how I did it:
- To Mod Podge paper onto a pumpkin, you’ll need scrapbook paper, Mod Podge (I used regular Mod Podge, you could also use a Matte Mod Podge), and an old brush.
- If possible, remove the stem of the pumpkin.
- Tear your scrapbook paper into about 2″ strips, smaller if the pumpkin is smaller.
- Mod Podge the back of each strip and add them to the pumpkin, one by one. It is okay if it looks all wrinkly!
- After adding each strip, add some Mod Podge over the edge to make sure it lies flat.
- When the pumpkin is completely covered, give it a coat of MP on top of the paper and let it dry with as little of the pumpkin touching anything else as much as possible.
Add the stem back and voila!
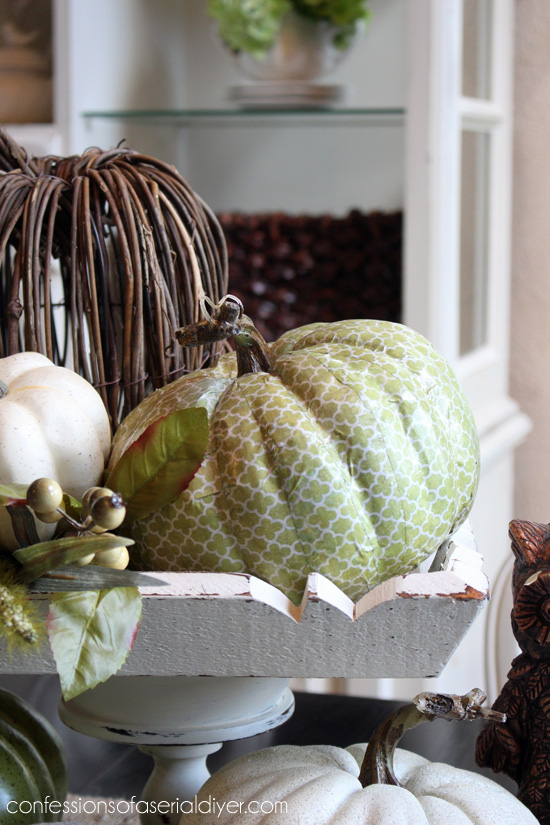
The paper I used was from a paper stack I already had. (So really it was free.)
This was one of the other pumpkins I found at that yard sale for a quarter. I spray painted and added glitter to it the year before:
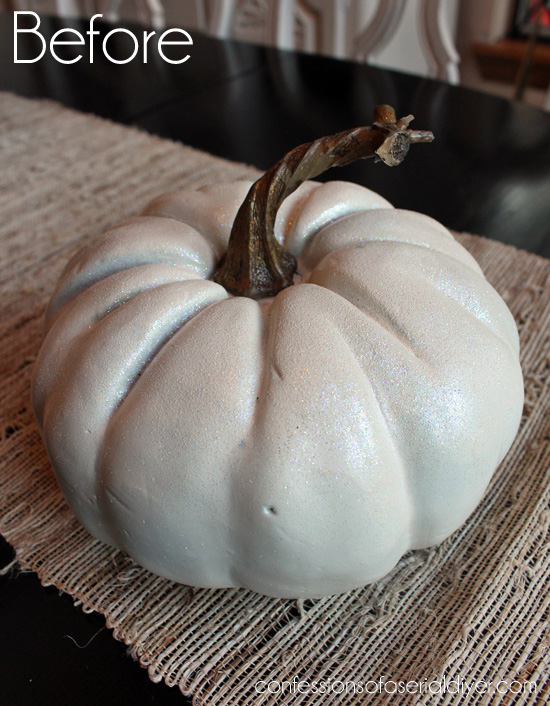
It still looked a little sad, so I decided it needed a little texture with Rustoleum Stone Textured paint:
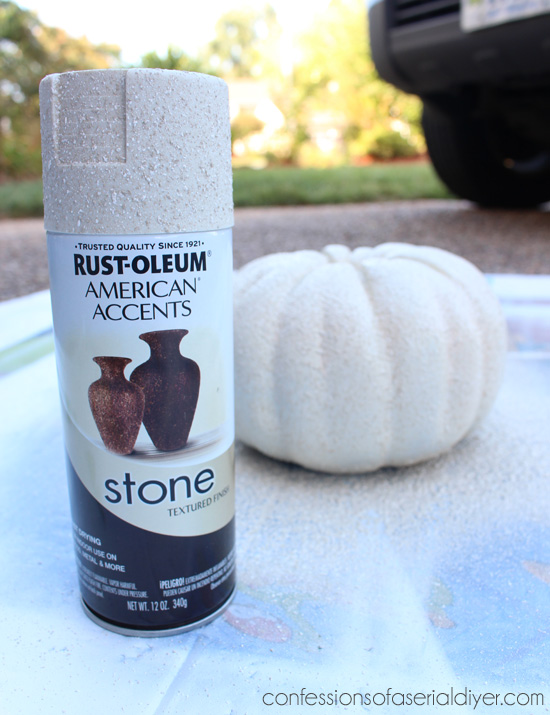
That paint is awesome for pumpkins!

So much better, right?
These little pumpkin wanna bes came from various bags of pumpkins I purchased over the years. There’s always a few odd balls…
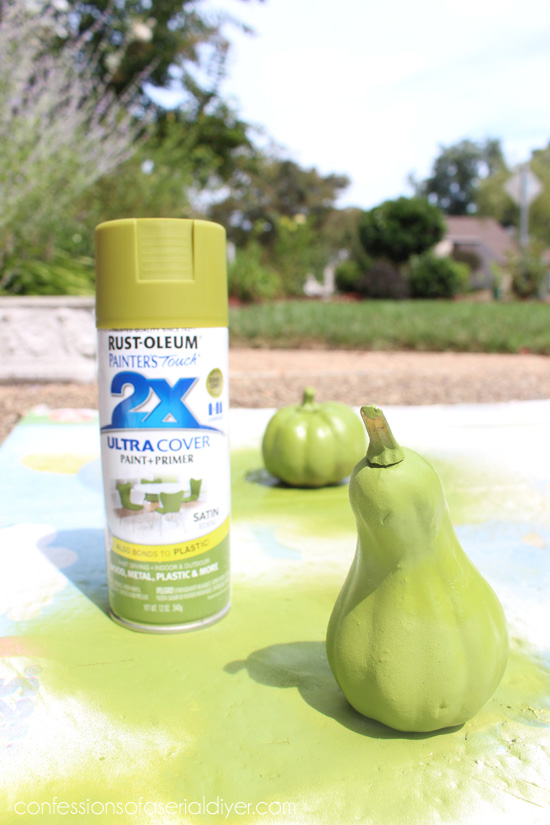
(You already saw the big daddy get a decoupage makeover) I painted two of the smaller ones in Rustoleum’s Eden…
And the last little guy just got a coat of Rustoleum Heirloom White and a spritz of the stone paint. I painted the stems in brown acrylic craft paint I found in my stash.

The only pumpkins I purchased new were the larger green pumpkin (Found at Michaels on sale and with an extra 20%off coupon for about $8.) and the small ivory pumpkin on top. (Also from Michaels on sale for $2.)

The tall vine pumpkin was a Walmart clearance special from a few years ago. I removed the orange arrangement that was on top. I think it was around $3.
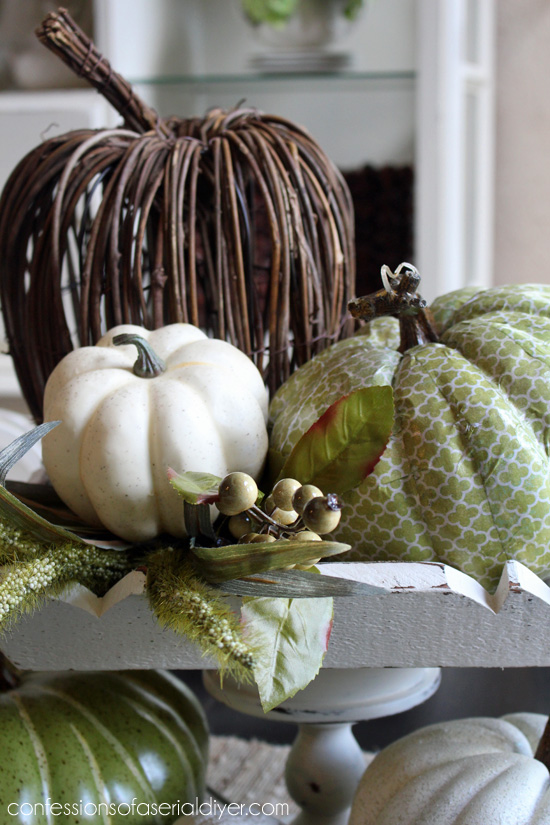
The greenery and berries were left over from my new Fall Wreath.
The little owl was a church flea market find for 50¢.
It doesn’t have to cost a fortune to dress your home for the season. Granted I did have a few of these things on hand, but I found them all for cheap!
This little thrifty display even made it into Country Sampler’s Autumn Decorating Edition last Fall:
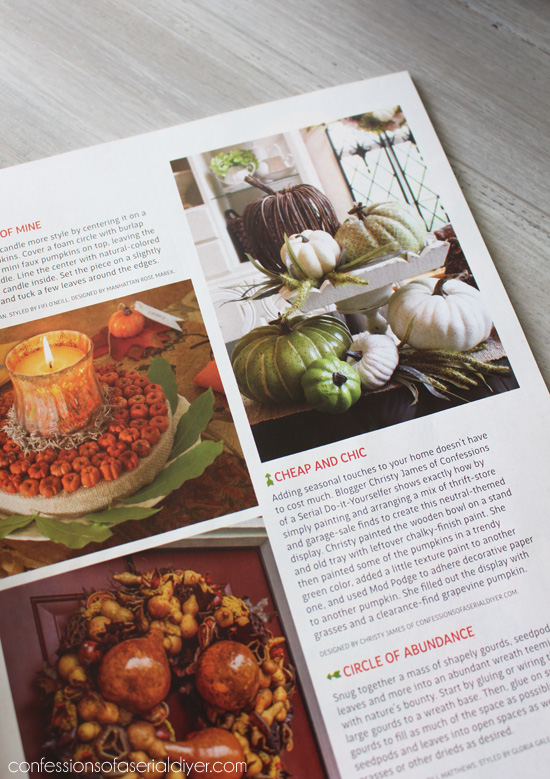
Unfortunately magazine features don’t pay, but it is kind of cool to see my projects in print! 🙂
**I discovered I have a couple of readers in the area that was affected by hurricane Harvey. Please keep them in your prayers, and if you are looking for ways you can help, this post HERE from the Huffington Post lists several ways you can donate. Anything helps and these people will need help for many months to come.
Before I go, I wanted to share that I found two more chairs to go with my kitchen table set I shared last week! I was on the hunt at my usual thrift stores, and I was also looking on Craig’s List and a Facebook yard sale group in my area, but everything I saw was for a set of six chairs which I didn’t need.
Then I stopped in at HomeGoods on Tuesday:
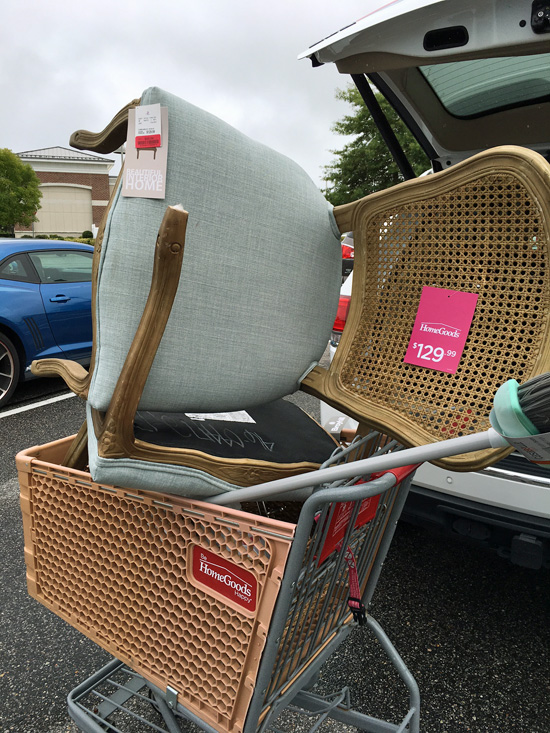
I had spied these back when I first started looking for chairs, but the gold just didn’t do it for me, and at $129 I didn’t want to have to paint them, but they looked a lot better at $95 on clearance! Now I can redo them to match the other two I already have. They have very similar lines as the others as well…soon they’ll be a family. 🙂
If you’re looking for more neutral Fall décor ideas, there are six more projects you might like in this post:
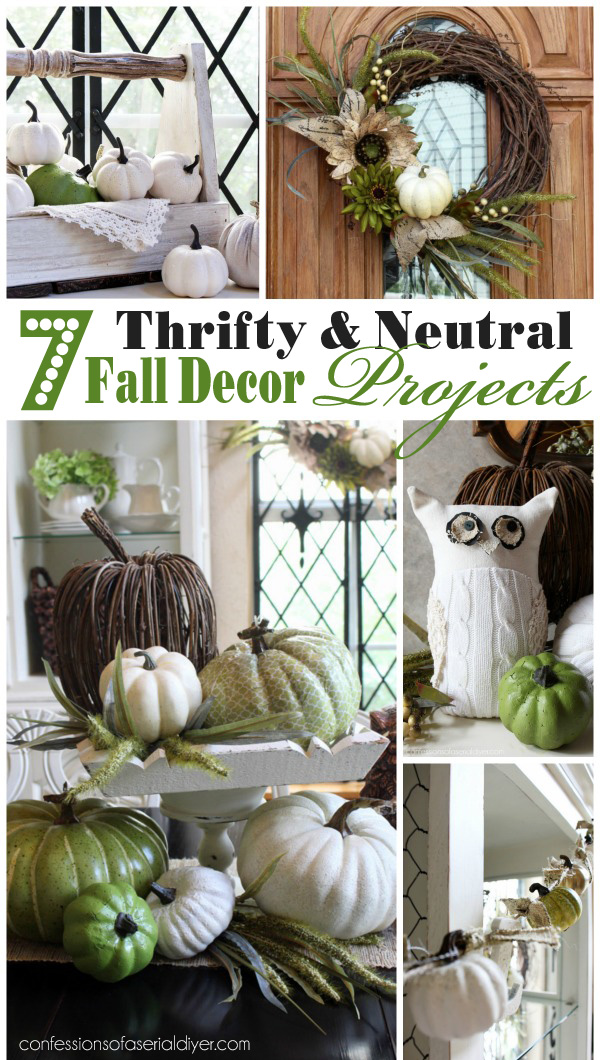
7 Thrifty and Neutral Fall Décor Ideas
Allrighty, amazing friends! I’ll meet y’all back here Tuesday and I’ll hopefully be sharing my new and improved bathroom that looked like this when we moved in:

Not anymore!!
Have a great holiday weekend!
XO,
![]()
Don’t Miss a Thing!
If you like what you see, there are several ways to follow along!
Email * Facebook * Pinterest * Twitter * Instagram


Norma says
Oh my!!! I will have to go and get some faux pumpkins!! Beautiful and love it! Thank you and God bless
Christy says
Thanks, Norma! I’m hoping I get a chance to actually display them this year! XOXO
Michelle says
So much inspiration! You are one creative person! Love it all. Thx so much for sharing. Can’t wait to see your bathroom!! Have a great weekend. P.S. You have become my favorite blogger and look forward to seeing your posts!
Christy says
You totally made my day, Michelle! Thank you!! I am so glad you enjoy what I share! Hope you enjoy your weekend too! XOXO
Mother Deer says
That is such an attractive arrangement. Wow! I never thought that I’d be decoupaging a pumpkin…but perhaps my time has come 🙂
Christy says
Ha ha thank you, Mother Deer! Decoupage to the rescue for that one for sure! ????
Heidi says
Always amazed by your creativity. Love your blog posts. Can’t wait to see your chair makeovers as I have 2 similar chairs but the fabric is velvet and I’ve been waiting to take the plunge to redo them.
Christy says
Thank you, Heidi!! I just painted my chairs this morning…hoping to get them done today! XO
Margie says
I!m loving these colors for fall this year.Look forward to all your blogs & your sweet personality that comes through,thanks.
Christy says
Thanks so much, Margie! That was very sweet of you to say! I love these colors for fall as well! Have a great weekend! XOXO
Donna says
You know I had to pin this! Love what you did to all the thrift store pumpkins and tray. The end result is just lovely. Season appropriate but not gaudy…well done!
Christy says
Thank you, Donna! I’m glad I was able to do something with all those not-so-pretty pumpkins! 🙂
Cori says
I would like to send you two photos of the before/after of chair I did that is very similar to your latest Home Goods purchase. Mine had a double layer of wicker in the back. My design met that challenge. It doesn’t appear this site allows for pics….understandably.
Christy says
I’d love to see them, Cori! You can send them through my FB page or email them directly to christykjames@cox.net
Julie Briones says
I’m so glad you re-posted this! LOVE!
Christy says
Thank you, Julie!! Hoping I get the chance to use my fall décor this year! XO
Cheryl says
HI CHRISTY,
LOVE~LOVE~LOVE ! YOUR FRESH FALL PUMPKINS! MY WHEELS ARE TURNING.
THANK YOU!
MY QUESTION IS ~ HAVE YOU TRIED MODPODGE WITH COTTON FABRIC
STRIPS ON THE PUMPKINS?
Christy says
Thank you, Cheryl! I have not, but I think fabric would be equally as cute!! XO
Deborah says
LOVE getting instructions for all the different techniques and paint treatments you used on your pumpkins and gourds! You make it all seem so “do-able”! Thank you for this post!
Christy says
My pleasure, Deborah! I’m so glad you enjoyed this post! XOXO
Angie @Knick of Time says
It’s amazing how beautiful those cheap pumpkins look now!
Christy says
Right?? Who knew they could be so cute? Thanks, Angie!!