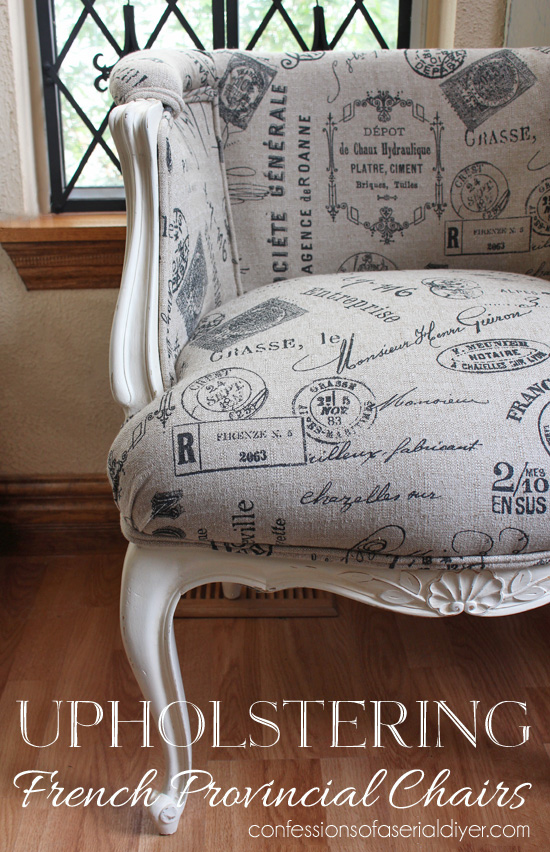
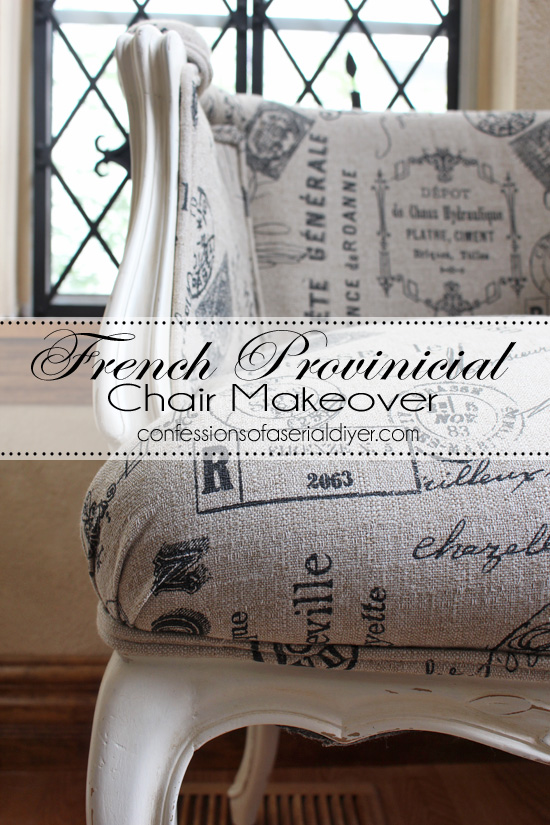
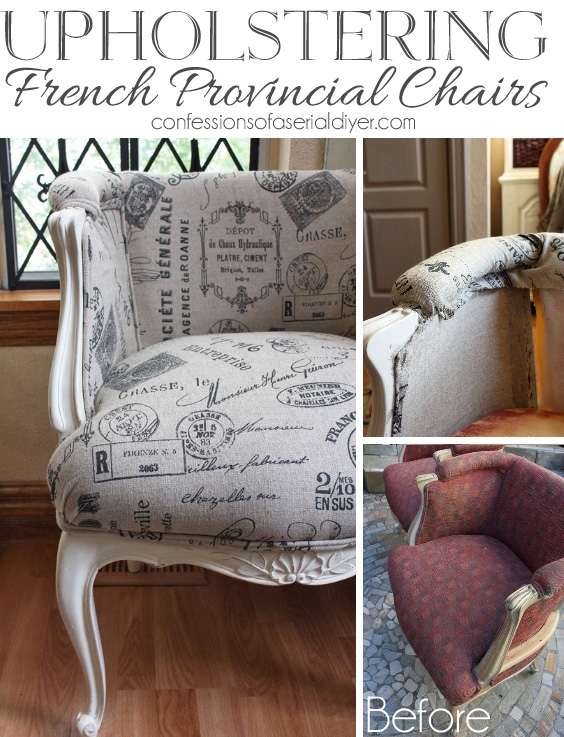
Who out there has a chair in need of a serious wardrobe change? I do I do! Or at least I did. My Mom passed on a set of French Provincial chairs to me that she picked up at an estate sale. They were so bad, y’all. Many of you know exactly what chairs I’m referring to. These lovelies:


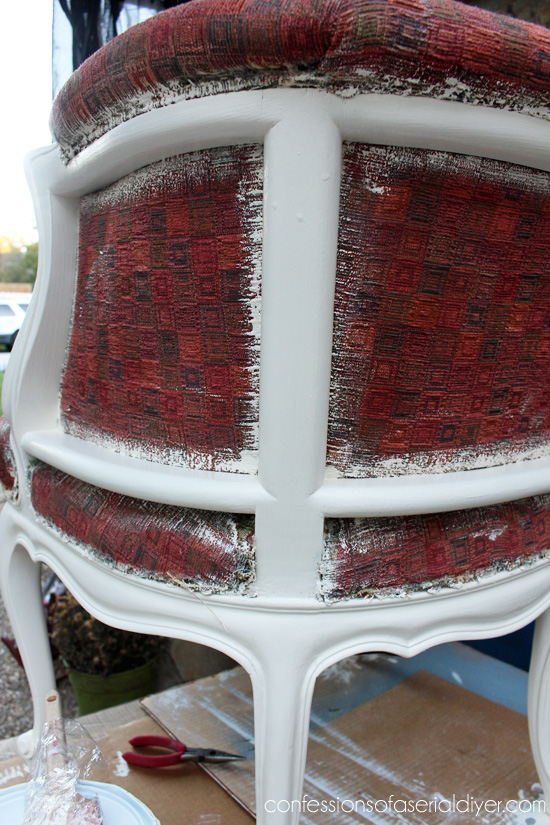
Only they weren’t always so lovely…
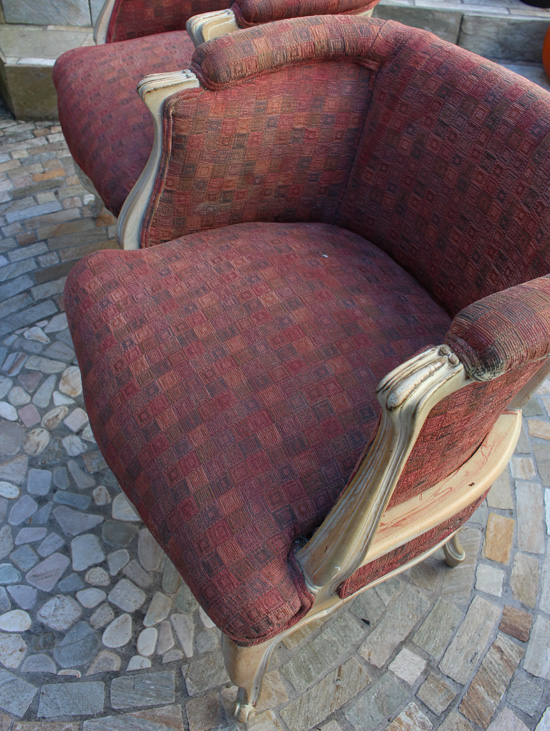
Were they? If you can’t tell, the fabric has a terrible paint job.
I posted this makeover back in the Fall and I had many requests to see the how-to on the upholstery for these chairs.
I’ll tell you, this was my first time taking on such a project, but I truly believe this is something anyone can tackle. Even if there were times along the way when I felt like this:
Ha ha! Good times. So let’s get started!
-
Take Photos
The first thing I did was take photos. A lot of photos, not only because I’m a blogger who takes an obnoxious amount of photos, but because you’ll need them to reference later when you put your chair back together.

-
Remove Piping
Removing the piping gave me a better idea of how it was put together.

-
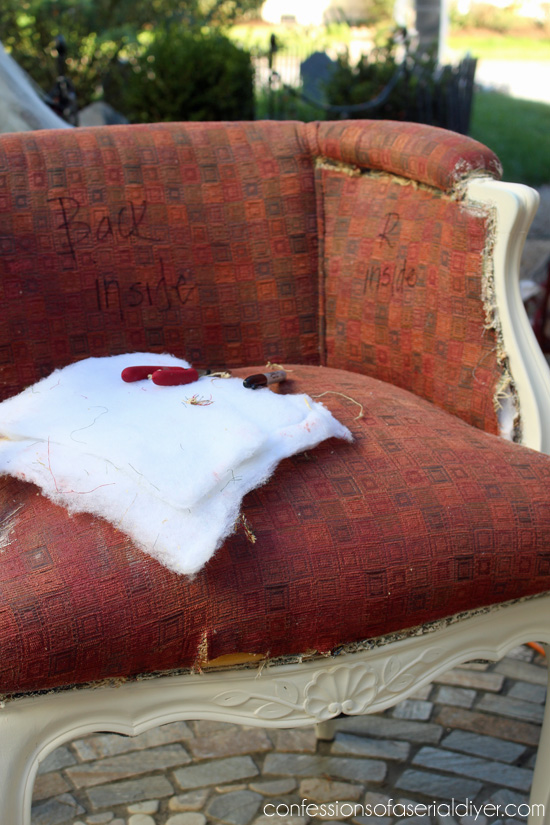
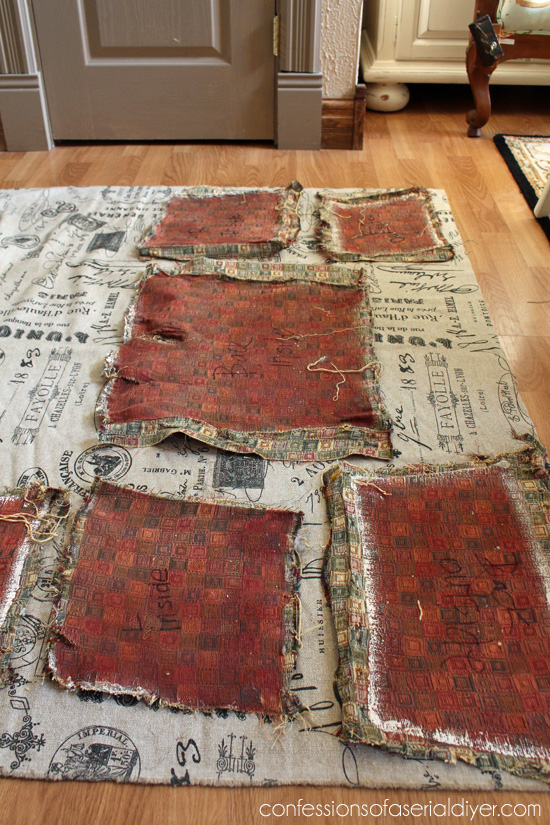
Label the Pieces to be Replaced
I used a sharpie to mark my pieces to use as a pattern for the new fabric.
-
My Big Mistake
For some reason I thought I could upholster the entire chair over the existing upholstery. No problem. So I carried on painting the wood:
It was after that I realized it would be impossible to upholster over the existing fabric.
-
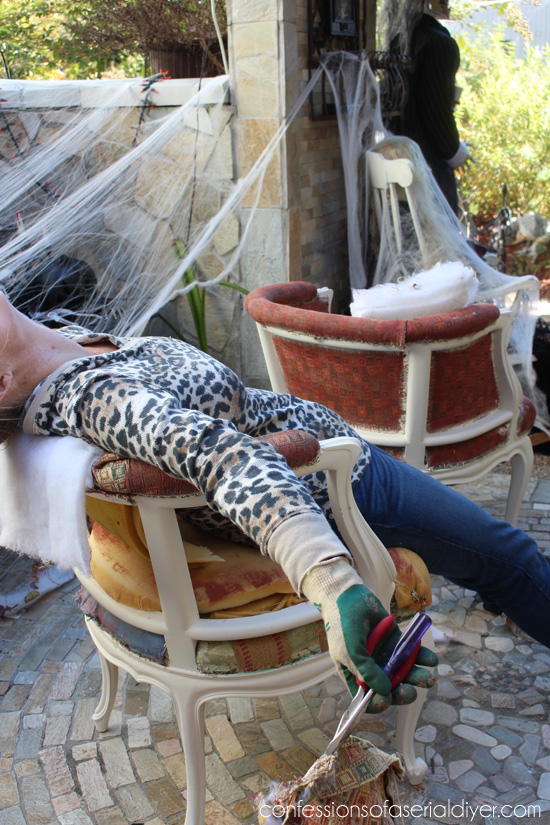
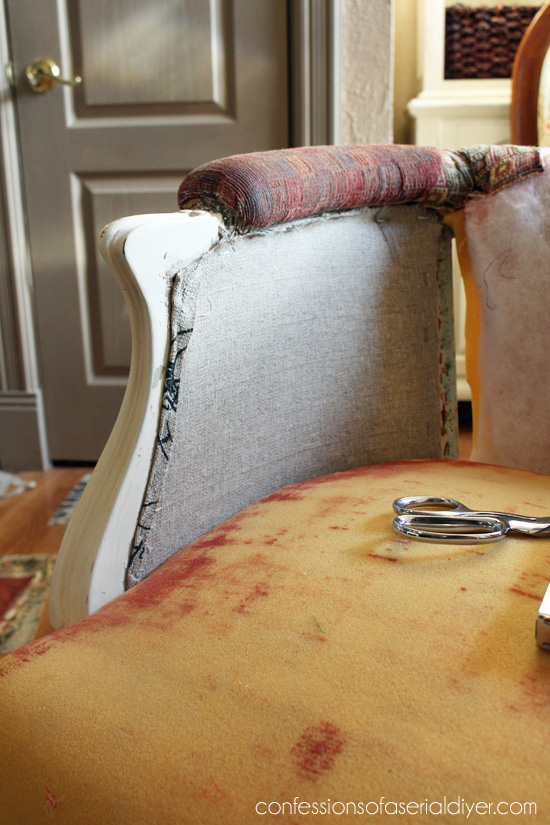
Deconstruct the Chair
So I continued to deconstruct the chair, taking pictures as I went to reference later.
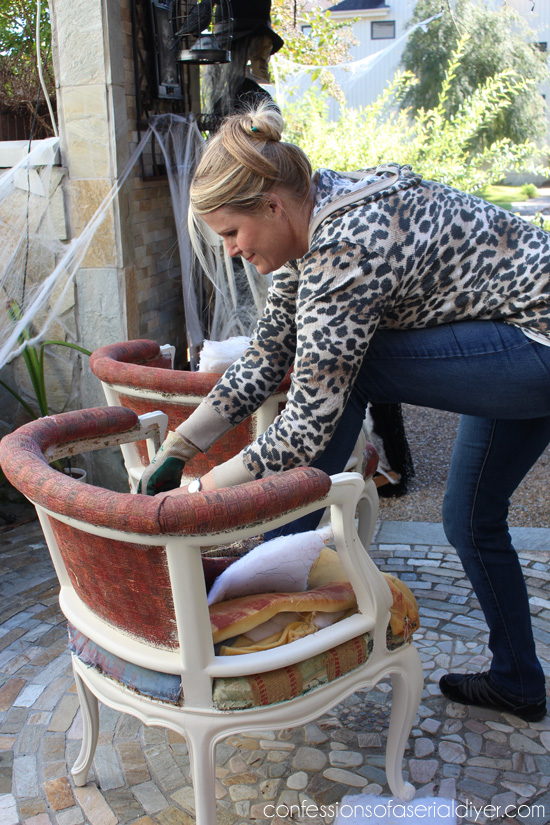
I couldn’t resist another opportunity to show me in serious work mode. 🙂 Gloves (yes, those are gardening gloves), and needle-nosed pliers were my two best friends here. I took my chairs down to this point:
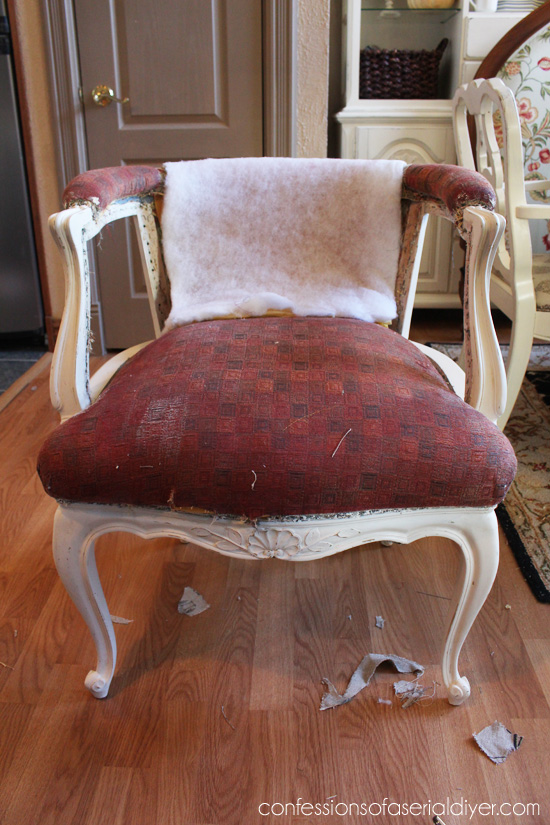
This is the point where I should have painted the frame.
I kept the fabric on the top of the arms in tact and by the time I got to the second chair, I realized I could keep the bottom intact also. The rest of these instructions are the first chair with the chair fabric removed. My seats were in really good condition, so unfortunately for you I don’t have instructions on how to redo that portion, but here is a peek at what was underneath:

-
Cut New Fabric Pieces
I used the old fabric pieces as patterns for my new pieces. I also tried to be mindful of what part of the pattern would show where, since I had a graphic pattern.
- Let the Upholstery begin!
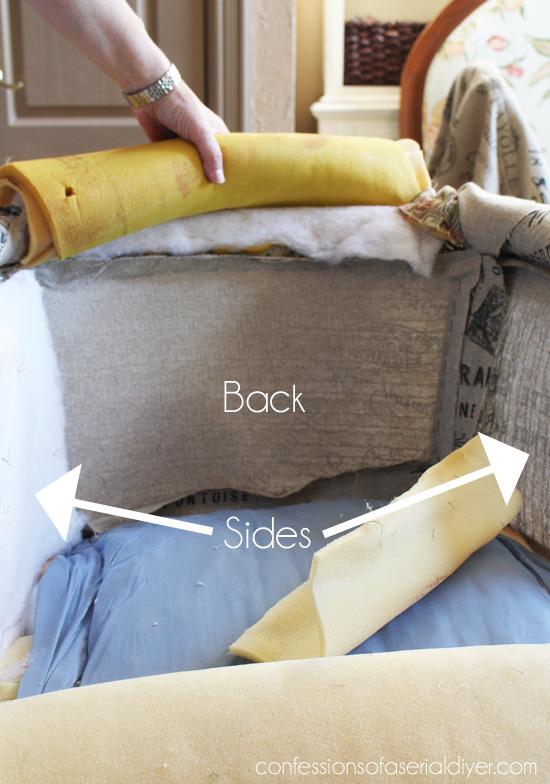
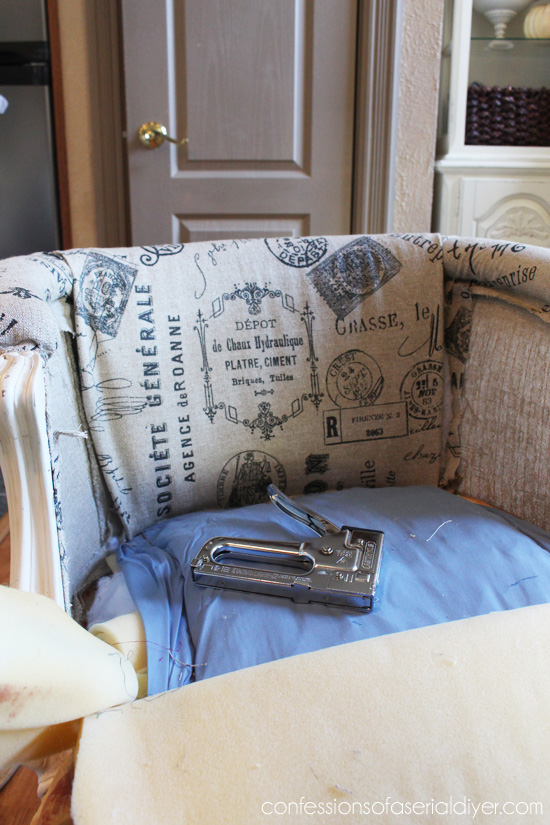
I started with the sides. These are the pieces that will be seen from the outside. The staple gun I used was a $9 Stanley staple gun from Walmart. I used 3/8″ staples. I own an electric staple gun and a heavy duty Arrow staple gun, but neither worked as well as my cheapie version, and it was smaller and easier for my small hands.
Then I added the back panel:
Next I moved on to the tops of the arms.
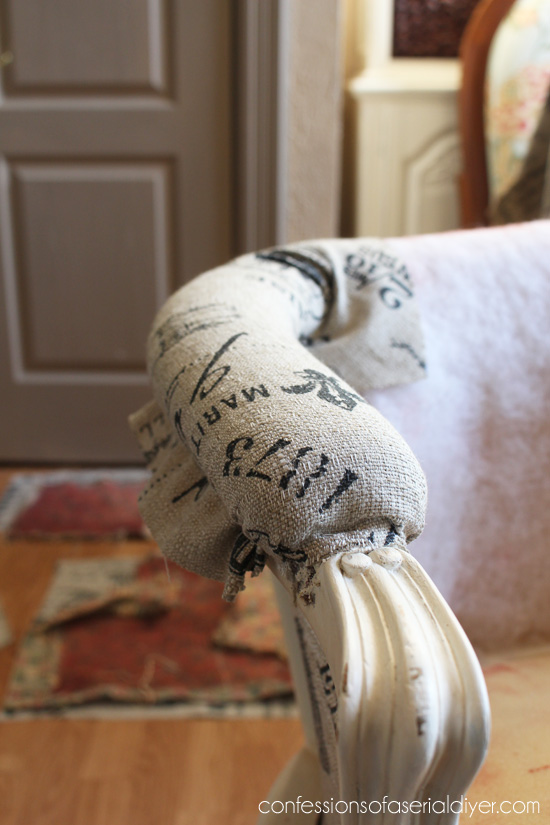
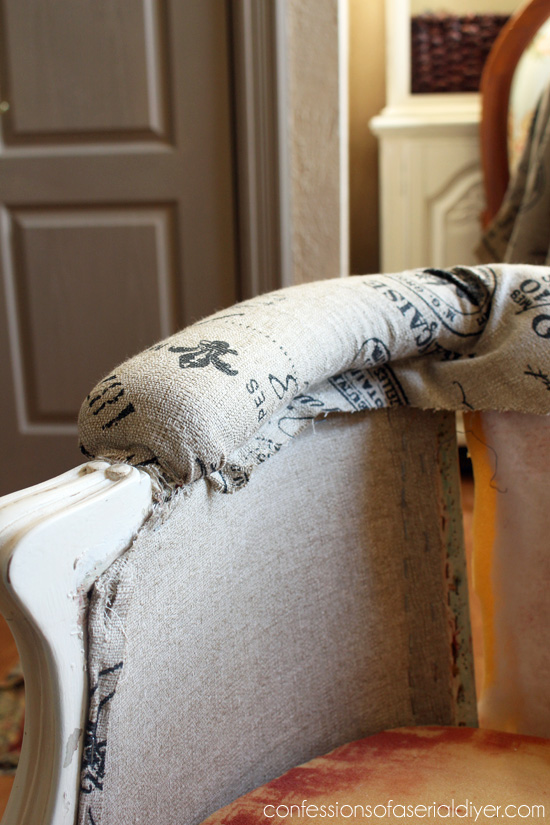
Everything is secured using the staple gun.
For the inside pieces, I started with the back, using my staple gun to adhere the fabric under the top edge of the back and folding it over the front. I staple gunned it place down either side. You can see my mighty staple gun in this photo:
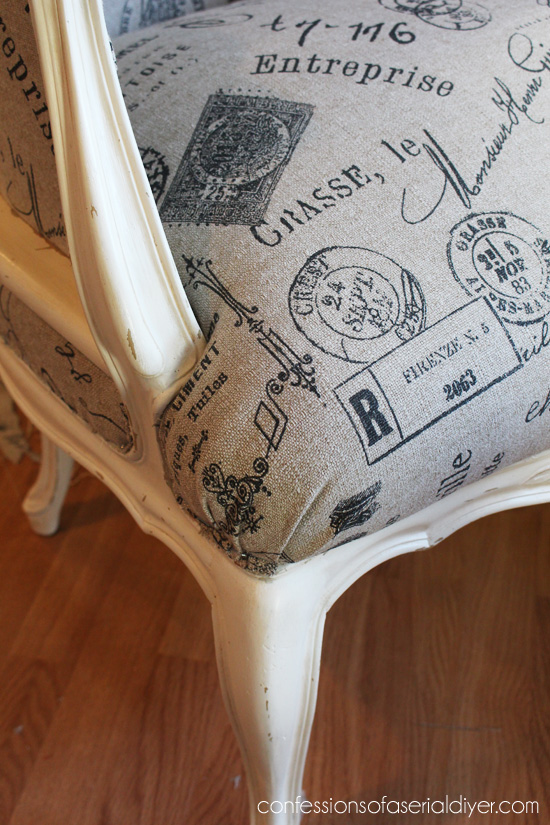
To create a nice seam for the inside corners, I referred to my before photo:

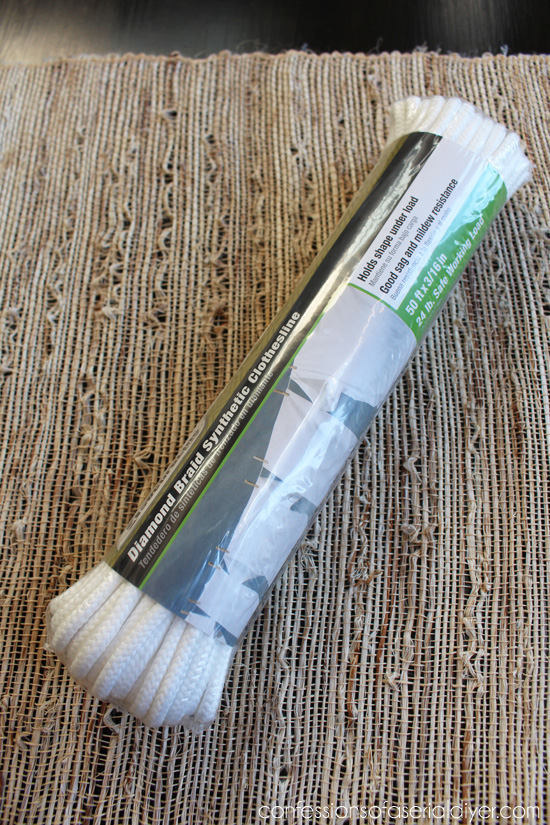
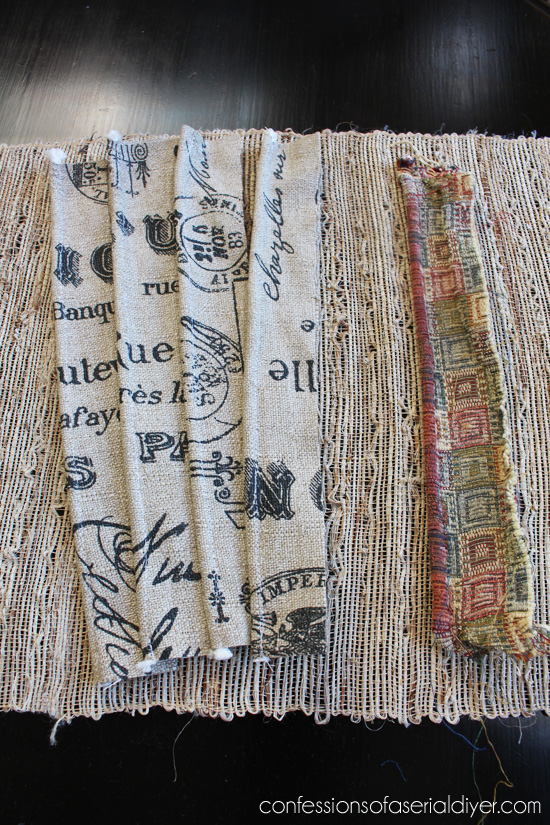
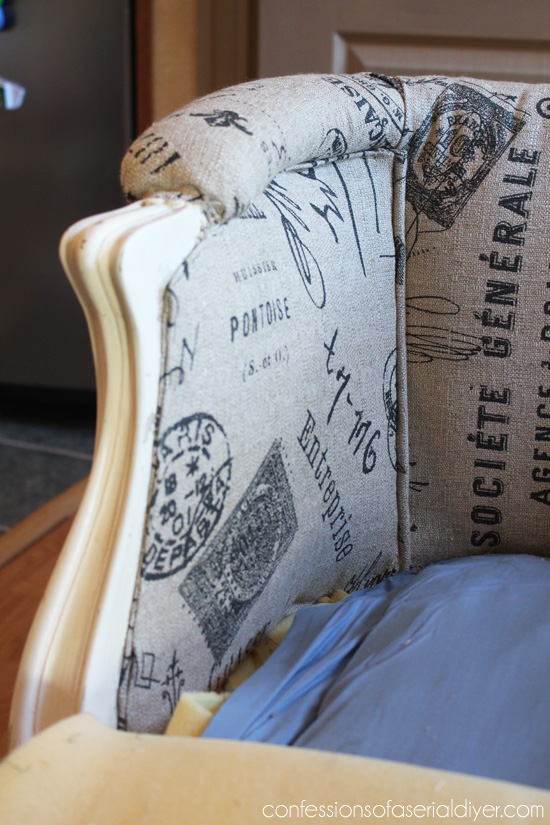
I needed to create the piping pieces seen in the corners. For my piping, I use clothesline cording from Walmart.
I folded 2″ strips of fabric over the cording and sewed close to the seam (using regular sewing foot) to create these pieces (two for each chair):
I also have a piping tutorial that includes a SEW and a NO SEW version here.
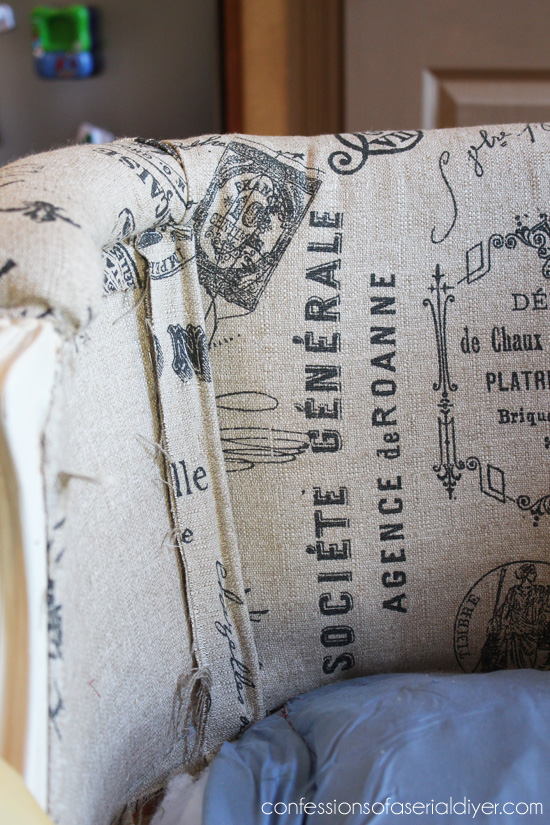
I added these pieces to each inside corner, folding them over slightly at the top first:
To create a clean edge for the side pieces against that piping, I used a strip of cardboard:
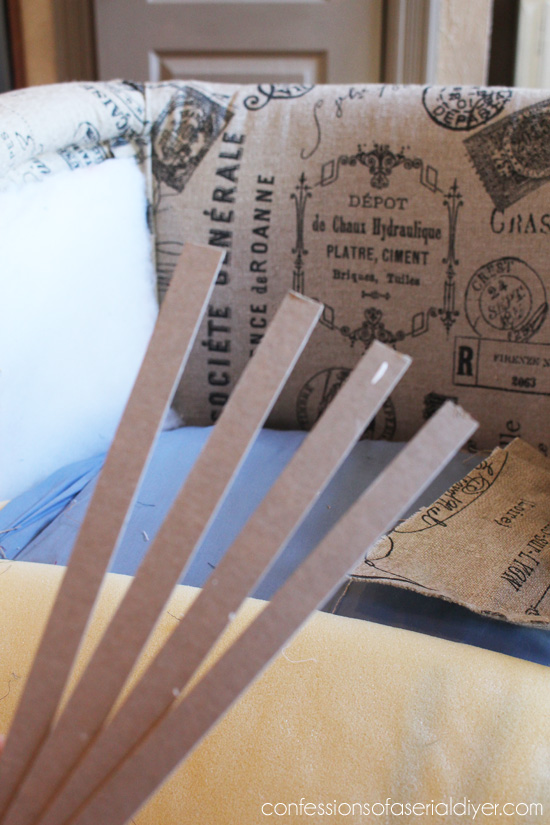
Again, I learned this from the photos I took while taking the original upholstery off.
I folded the edge of the side panel aver the cardboard and stapled in place:

I reused the original batting, two layers thick:
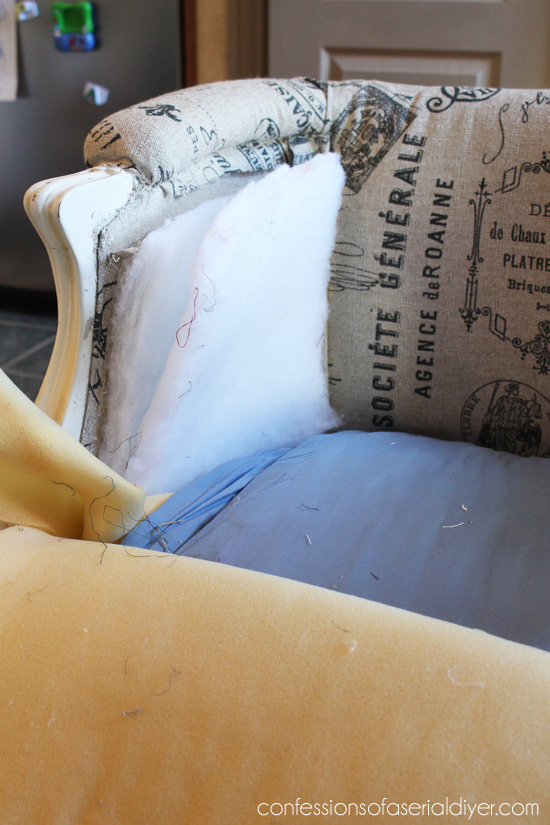
And folded the side panel back over it:
Then I secured it all around the edges with the staple gun. These edges will be hidden by the welting.
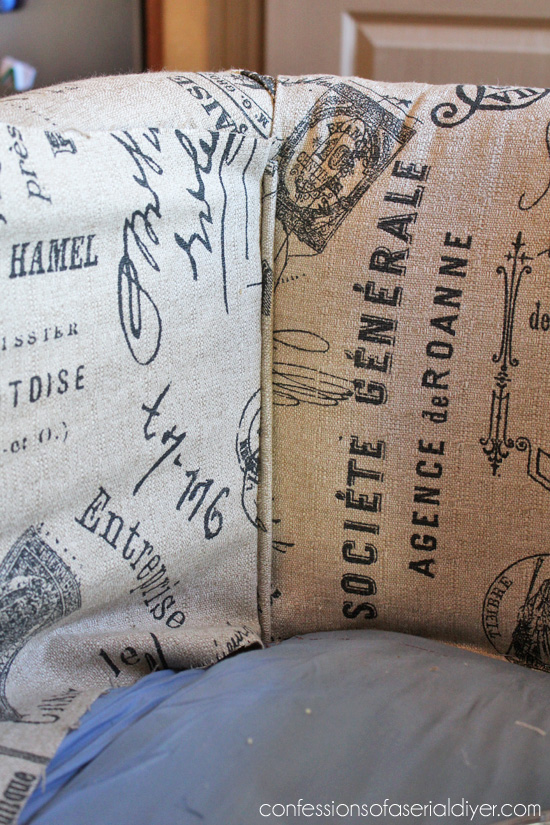
Voila.

Just the seat and the welting to go!
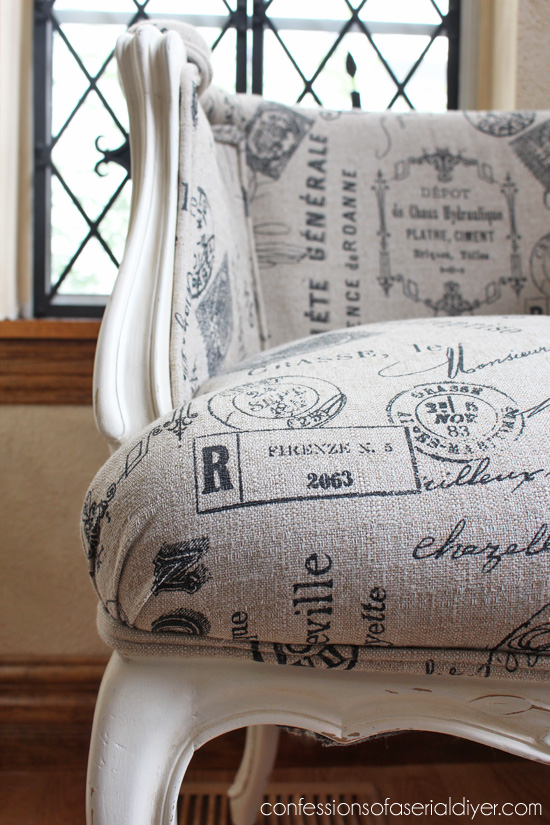
The seat wasn’t too difficult. There will be pleats on the front corners, just try to keep them neat and symmetrical.

The final stage of this process is adding the welting. There are several options for ready-made welting on the market, but I wanted to stick to the original idea of matching welting so I made my own.
I posted a full tutorial on making your own double welting here:
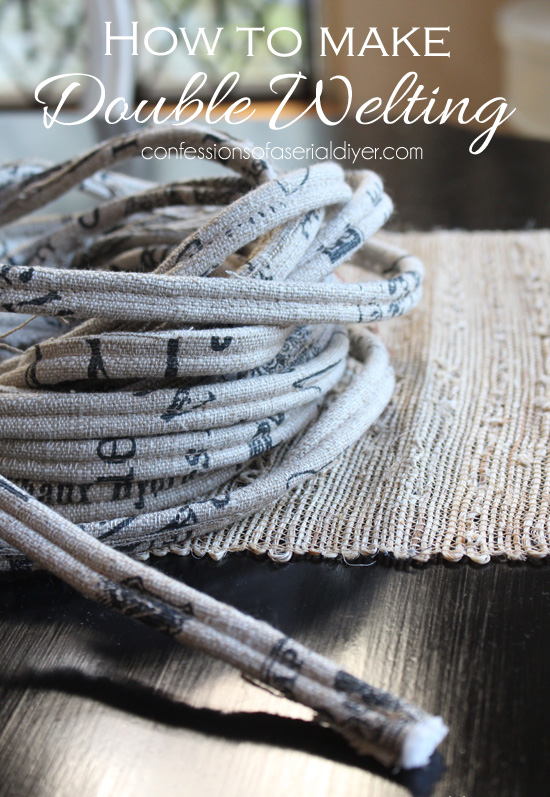
I added the welting using hot glue and that is it!
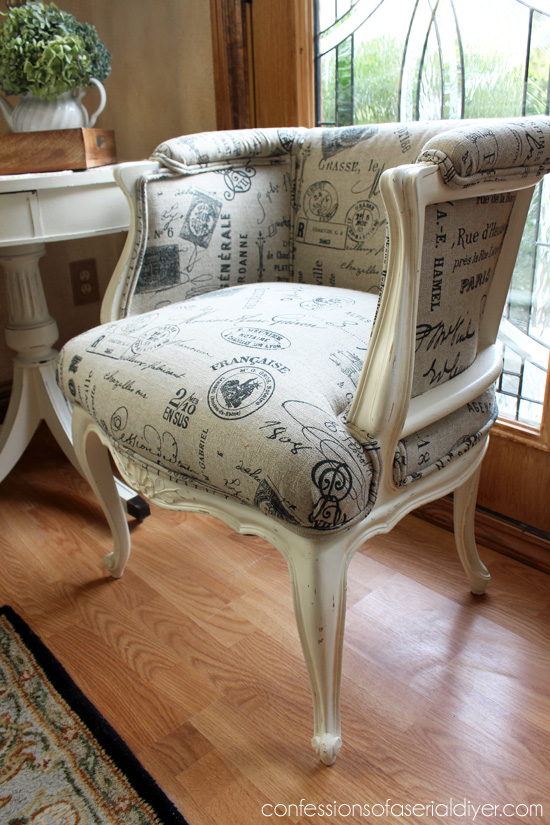
You can see more pretty after pictures here:
Now that you’ve seen the break down, is this something you think you can do? Of course you can! One step at a time. Your hand might be in a cramp for a few weeks from all the stapling and staple-removing, but it’s a fair trade for beautiful décor, don’t you think? 🙂
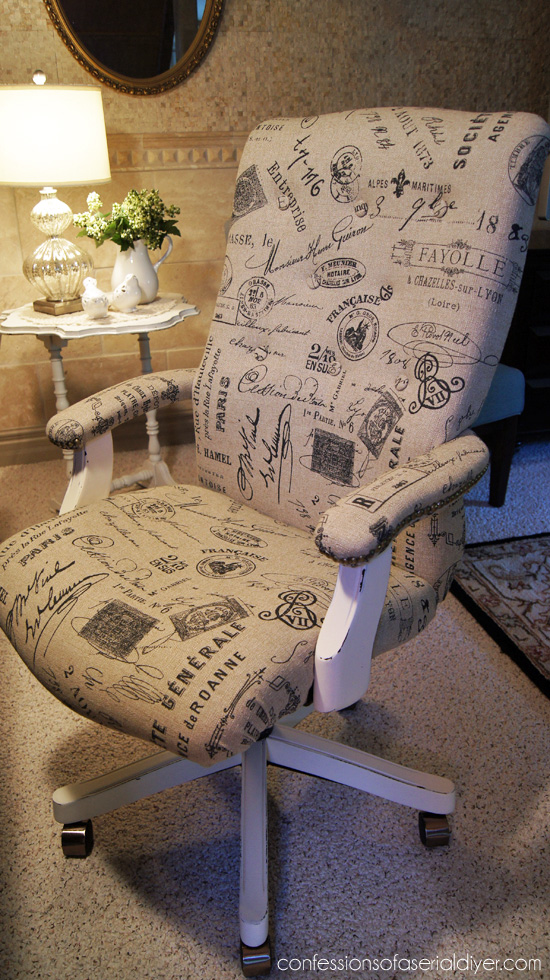
If you enjoyed this post, you might also like to see how I upholstered my leather desk chair:
If I missed anything, leave me a message in the comments and I’ll try to answer the best I can!
XO,
![]()
Don’t Miss a Thing!
If you like what you see, there are several ways to follow along!
Email * Facebook * Pinterest * Hometalk * Twitter * Instagram

I love to share at these great parties:
The Happy Housie Design Dining and Diapers Liz Marie Blog Funky Junk Interiors Savvy Southern Style Tatertots and Jello DIY Show Off Between Naps on the Porch Just a Girl and Her Blog Sand and Sisal Interior Frugalista


Paula@SweetPea says
Thanks for this step-by-step tutorial. After seeing the steps broken down, I think this is a project that I could tackle. Now if I see chairs like this that need new fabric, I’ll consider them instead of immediately passing them by. Great job!!
Christy K. James says
Thanks, Paula! Projects certainly seem more do-able to me when they are broken down step by step too. 🙂
Joanne Boulter says
That’s a lot of work but they look great and well worth what you did to them. I really like the fabric you choose for them. Enjoy those beautiful chairs. Jo
Christy K. James says
Thanks, Joanne! XOXO
Marie@The Interior Frugalista says
I’ve been waiting for this post Christy – thanks! Pinning for future reference.
Christy K. James says
Great! Glad I finally got it put together. 🙂
Julie @ Southern Wild Design says
Nice…and thank you! The trick with the cardboard certainly answered my questions as to how that attachment is made. ~Julie
Christy K. James says
Sure…sometimes a peek underneath answers a lot of questions. 🙂
mariah hensley says
I really enjoy all your posts. I have a leather ottoman that I am getting ready to reupholster, so between this and the office chair post I am all set! Thanks a bunch!
Christy K. James says
Thanks so much, Mariah! I bet your ottoman will turn out fantastic! Thanks for following along. 🙂
Relle says
Love, love love your chairs. You did a fabulous job re-covering them. Would you mind sharing where you got your gorgeous fabric from?
Christy K. James says
Thanks, Relle! The fabric came from Hancock Fabrics. I’ve used it on several projects! 🙂
marilyn polifroni says
Great Job !! they are beautiful … Did you take the seat off to cover it? was wondering how you stapled the fabric on the seat seeing the back and sides were done??
Thanks
Marilyn
Christy K. James says
Thanks, Marilyn! I left the seat in tact. The fabric for the seat went across the seat and out under the sides and back, and was stapled on the outside, if that makes sense.
Gaye Ingram says
Christy, you should hire out as a technical writer! I’m a retired English prof and editor, and lifelong re-do-er, though my husband always tackled the upholstery of the sort you show. Still, I watched and sewed the welting. And this plain English, straightforward instructions, correct in language and technique. Good for you. I noticed that “y’all”—-a Southerner?
Christy K. James says
Thanks, Gaye! I really appreciate your thoughtful feedback. I am in southeastern Virginia. 🙂
Caressa Bashful-Tate says
These chairs are AMAZING! I really love the fabric! I used the tutorial that you posted for your office chair to re-cover my sewing chair (). I totally love the results! Thanks so much for the inspiration; I gain more confidence as I tackle more and more projects!
Christy K. James says
Thanks, Caressa! Your chair is fantastic! Love the fun print you chose! Thanks so much for sharing. I am thrilled that you were inspired; that’s my favorite!! XOXO