Hello amazing friends!! If y’all have followed me for any length of time at all, you know I have a hard time passing up a few things. One of them is old flatware boxes.
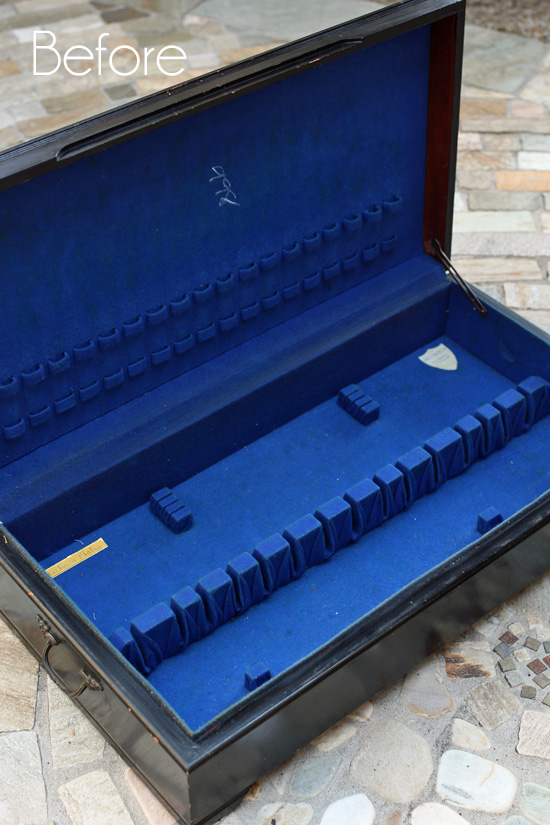
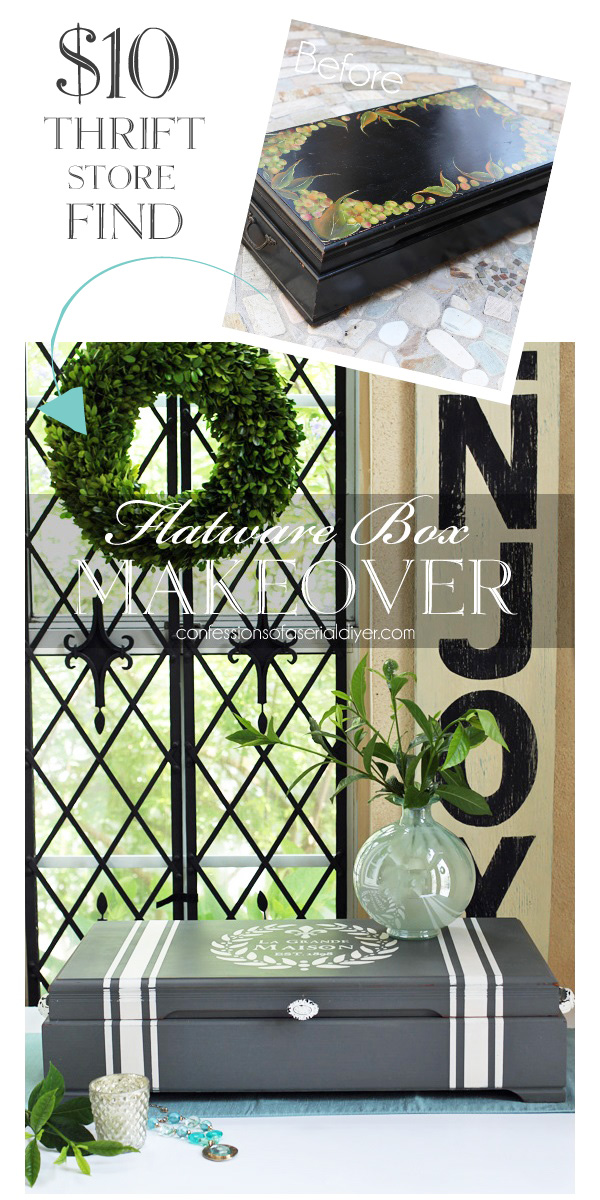
Imagine my delight when I happened upon the mother of all flatware boxes at the thrift store by my Mom’s house a few months ago!

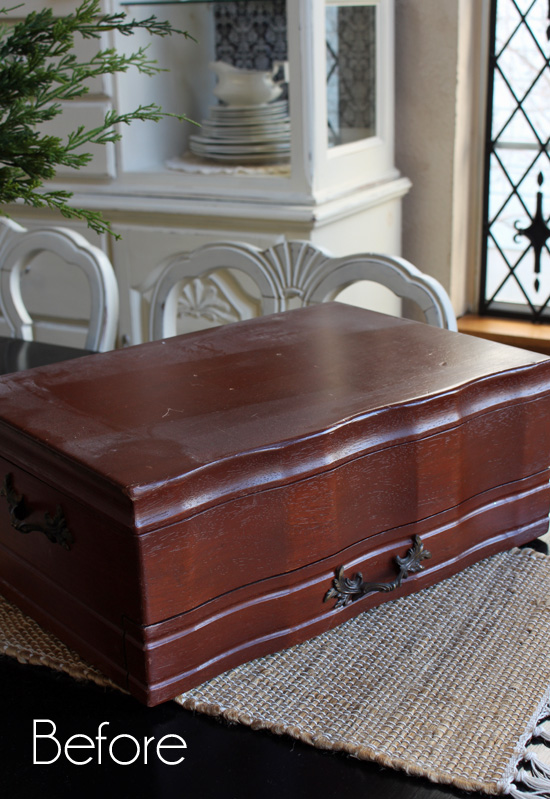
I should have put a soda can in the picture so you could appreciate how huge this thing is! It is over two feet wide.
It was $9.98 and immediately went into my cart. I’ve included a few affiliate links so you can find the products I used.
I decided to remove the existing paint finish using citristrip gel so I could remove all of the decorative painting on the top and get a smooth surface.
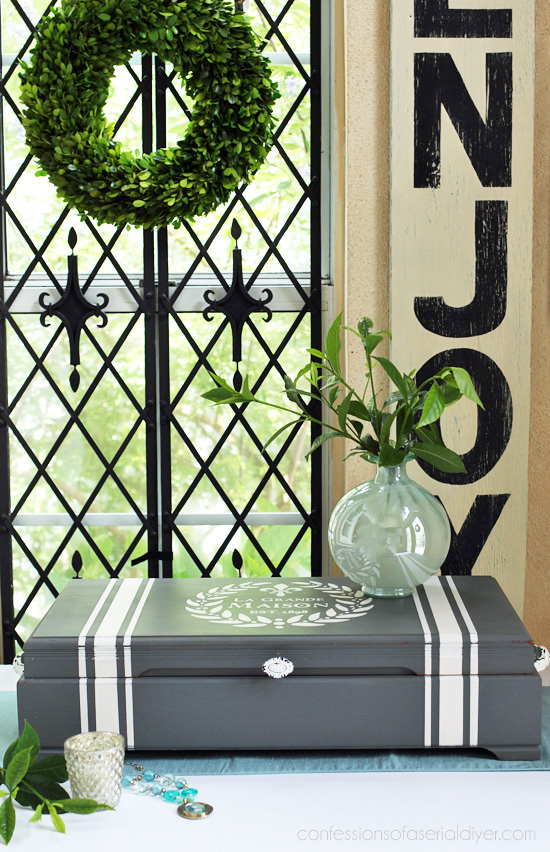
I chose a darker hue than my normal paint colors:
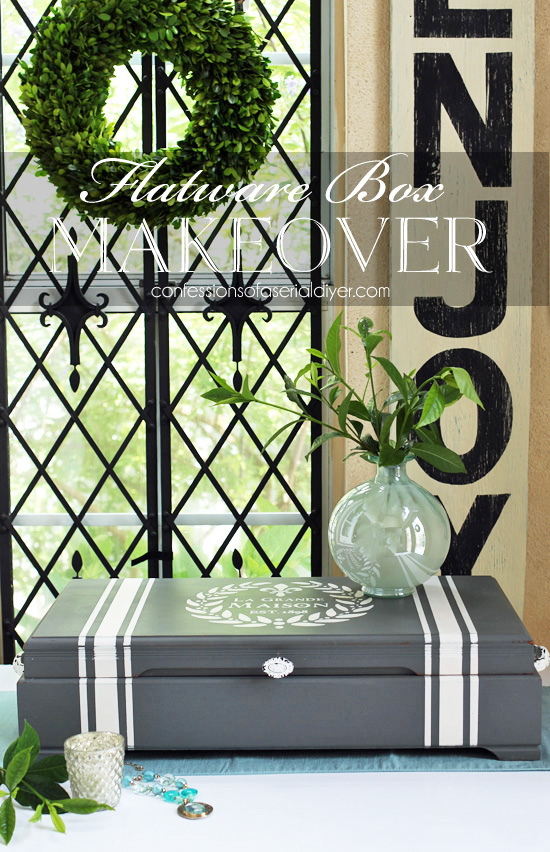
This is Behr’s Dark Ash that I made into chalk paint. (Recipe with video HERE.)
I think it gave this box a more sophisticated feel.
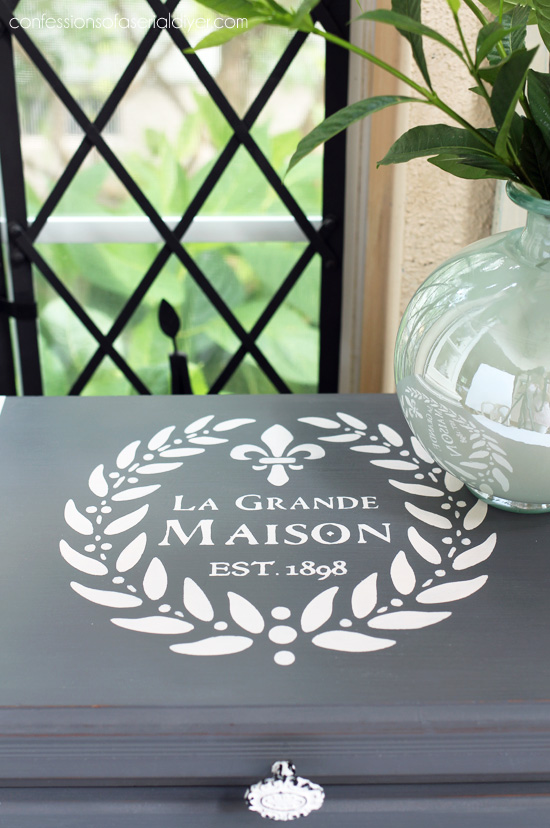
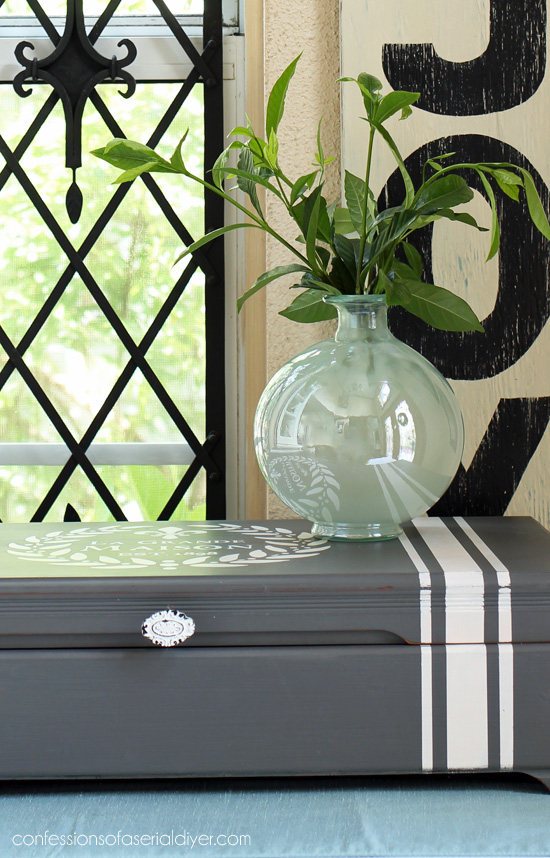
I didn’t have any ideas of where I wanted to go with this box, so I just started painting. Then I decided to add a stencil to the center of the top…

I like to use spray adhesive to hold the stencil in place. Then I used a small brush and acrylic craft paint, trying to brush away from the edges as much as possible.

I also filled in the breaks in the letters with a liner brush to make it look a little less like a stencil.
Then it looked lonely on the large wide top all by itself, so I decided to add a grain sack stripe to either side of the stencil using FrogTape:
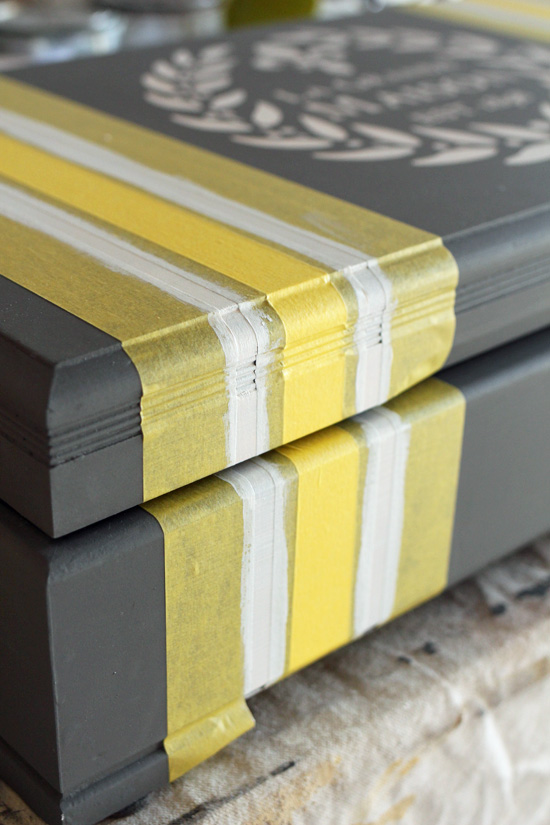
I pulled the tape off while the paint was still wet.
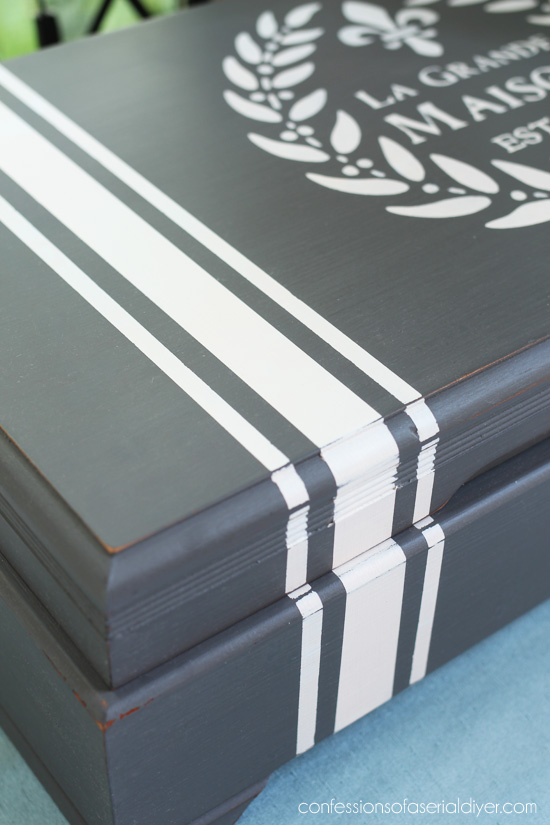
Those stripes were just what this piece needed.
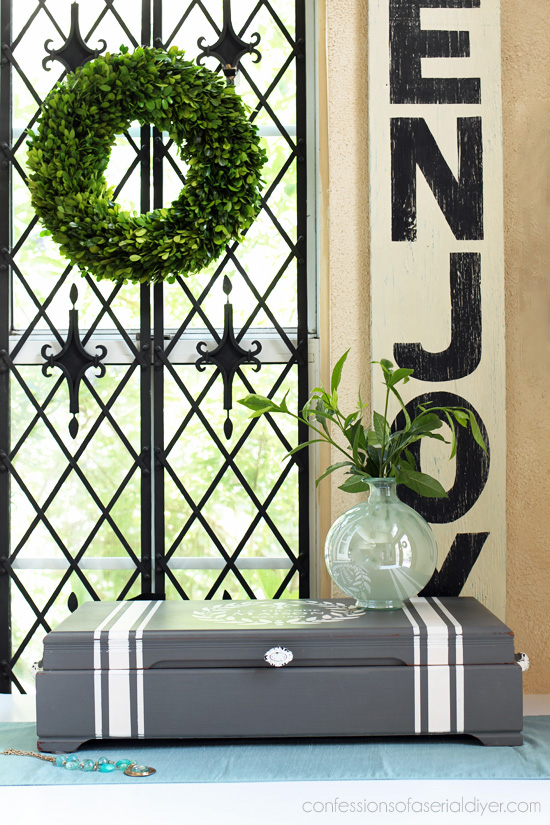
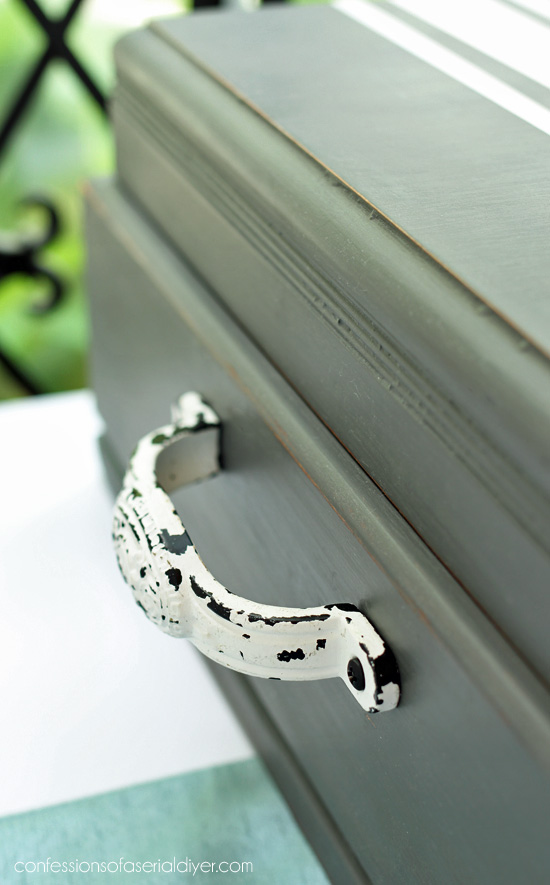
I finished off the outside with a light sanding and a coat of Annie Sloan’s clear soft wax. Then I added the jewelry…
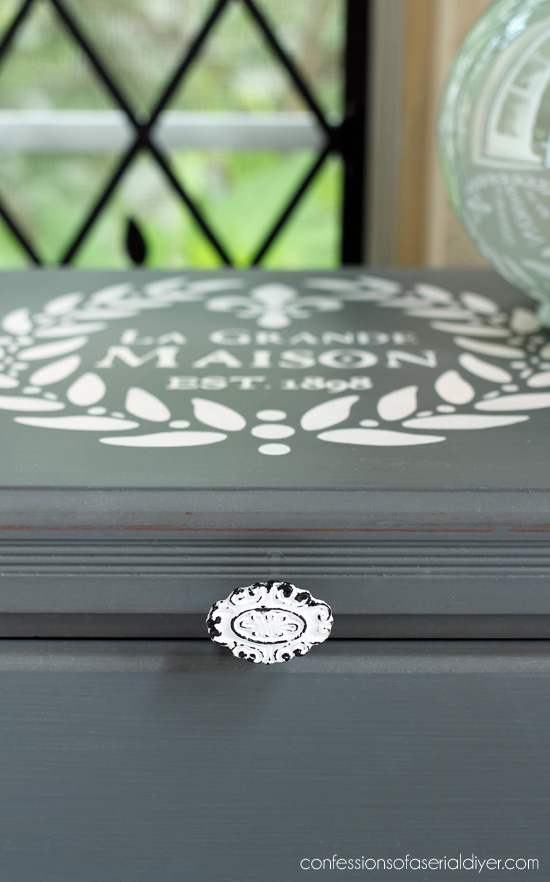
This knob from Hobby Lobby was perfect, along with these handles for the sides, also from Hobby Lobby:
The inside was fabulous with its royal blue felt lining:
But it had to go. I gave it something a little more fitting:
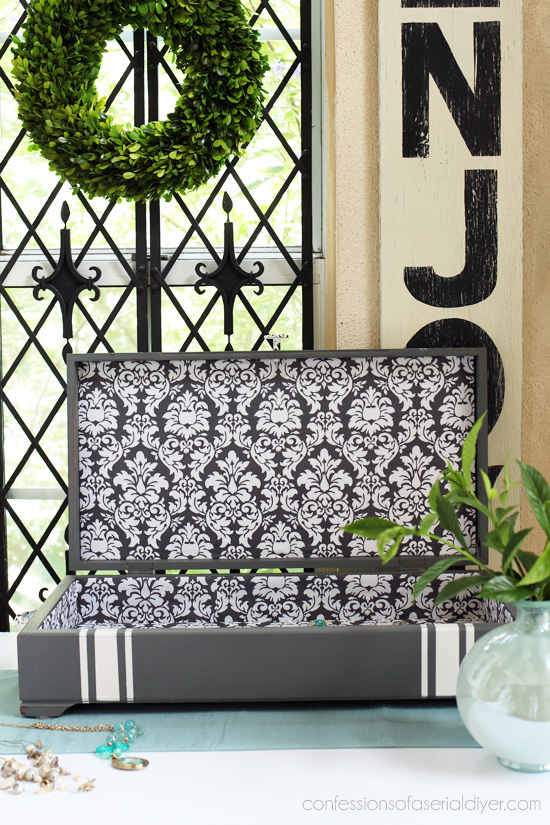
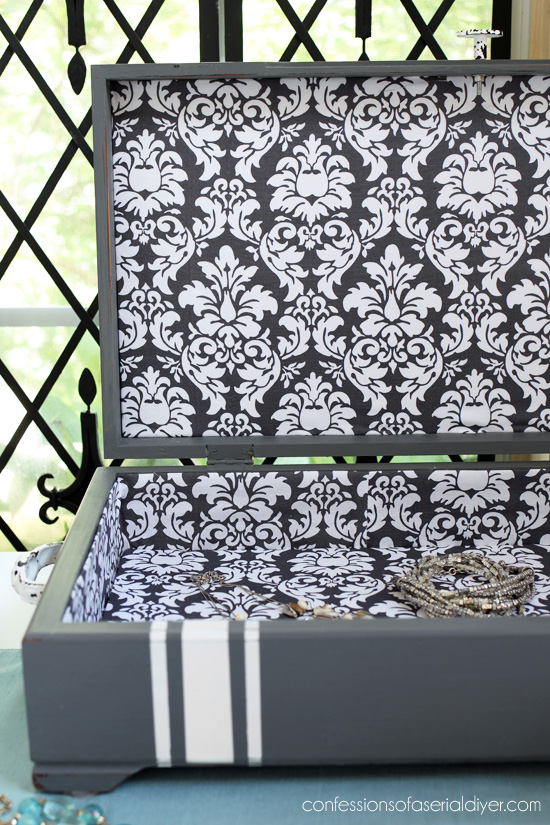
Ah yes that’s better! (Fabric from Hobby Lobby)
I lined the sides of the bottom first…
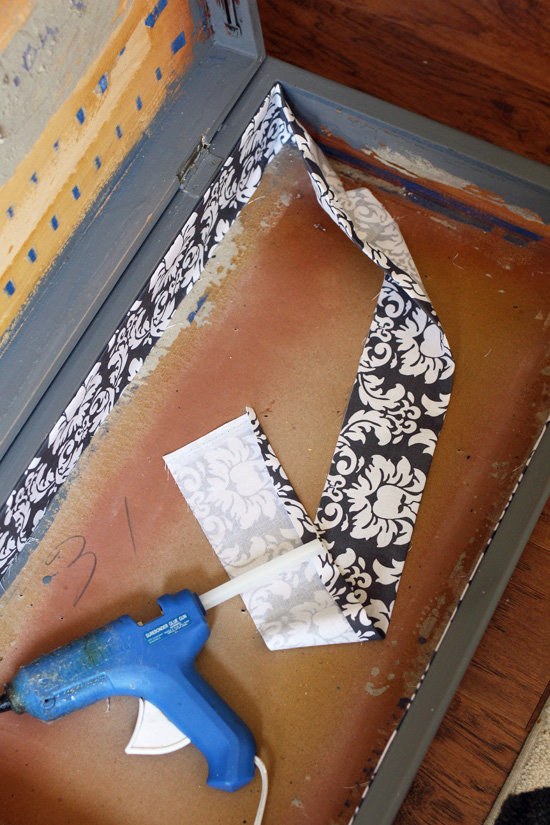
Then I wrapped a piece of foam core for the top and bottom that I cut to fit (using my rotary cutter and straight edge), and glued them in place.
I was able to remove all the felt from the sides of the top really well, so I just painted them instead of lining them with fabric.
This is so big, it could be a great place to store so many different things. I love pretty storage that can be left right out in the open!
This is my seventh flatware box that I have shared here on the blog, but this one is probably my favorite:
See how it turned out HERE. 🙂
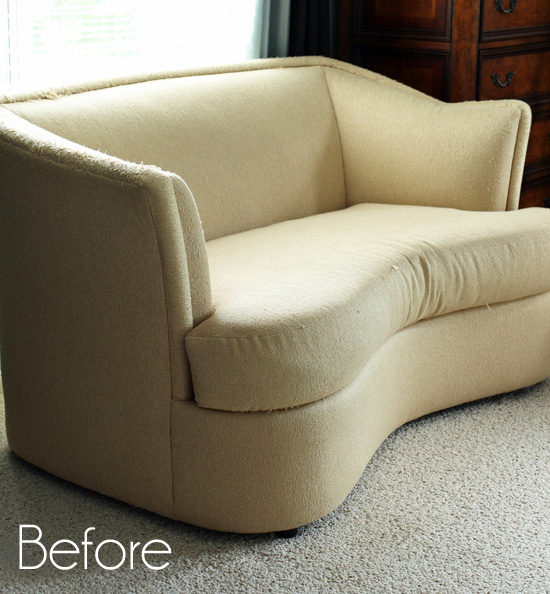
I’ll be back on Thursday with my Furniture Fixer Upper crew sharing how I gave this sofa a whole new look:
Have a great day!
UPDATE: Hey don’t go anywhere just yet…click HERE to see how this sofa looks now!! 🙂
XOXO,
![]()
Don’t Miss a Thing!
If you like what you see, there are several ways to follow along!


Mary Kaiser says
How cute is that!! I love it. Can you just imagine how heavy that big box was with silver in it? It turned out amazing! Love the color.
Christy says
Thanks, Mary! I cannot even imagine how heavy it was filled with silver. You’d better be in good shape before trying to move it! XO
ColleenB. says
Beautiful.
Haven’t seen a flatware box quite this large.
Awesome find and great buy
Christy says
Thanks, Colleen! I haven’t either…it is huge! XOXO
Christina in FL says
Christy, this is gorgeous! Wow! I will never look at a flatware box the same way again. I don’t know why it took until this makeover to see this, yet I love it all the more. Great for stationery! Does anyone (but me) actually send social snail mail any more?
Thanks always for the great inspiration and tutorials!
Christy says
Thanks, Christina! You are always so sweet!! This is perfect for stationary, although I’m afraid I don’t send much in the way of hand-written letters these days. I do miss getting those thoughtful letters too! XOXO
Jamie Kennemer says
Oh goodness!!????????????????????. That is beautiful!!!
Christy says
Thank you so much, Jamie!! XOXO
Carol Whewell says
This is an amazing and beautiful transformation!
Christy says
Thanks so much, Carol!! XOXO
Sandy W. says
Love this! Is there a reason you used craft paint over chalk paint for the lettering?
Christy says
Thanks, Sandy! I sometimes use chalk paint as well, but it doesn’t wash off of the stencil as easily. 🙂
Marianne Tiffany says
This is soooooo beautiful. I see these all the time at Goodwill and never dreamed what you could do with one. I live in Northern Wisconsin and am wondering what thoughts you’d have on a stencil for a more Northwoods feel?
Christy says
Thank you so much, Marianne! Something more botanical maybe? Here is the site where I buy most of my stencils: https://www.artisticstencildesigns.com/ Maybe you’ll find one that inspires you! 🙂
Jo says
Love the box makeover…very pretty!!
Christy says
Thanks, Jo! XO
Josie says
It’s a good thing you have a hard time “passing things up a few things” because you wouldn’t have these amazing transformations! It’s beautiful!
Christy says
You are too sweet, Josie, thank you!! XOXO
Janice says
Love the flatware box. The stencil looks great and the grain sack strip is a favorite of mine.
Christy says
Thanks, Janice! I love grain sack stripes too! 🙂
Denise says
hi just wondering what’s the best way to clean a stencil after using spray adhesive
Christy says
Hi Denise! I usually rinse the paint off in my kitchen sink using my fingers or an old washcloth while running the stencil under water. Then I let it dry on a paper towel sticky side up. There really is no way to clean off the sticky residue that I know of…it will dry tacky. I just stack it on top of the rest of my stencils when it’s dry and then when I need to use it again, I give it a fresh spray of spray adhesive.
Cindy says
where do you get your stencils ?
Christy says
Hi Cindy! Sorry, I usually include a link. I buy most of my stencils here: https://www.artisticstencildesigns.com/ I have no affiliation with them, I just love their stencils!
Rose Lefebvre says
Definitely nice enough now to leave out! You did a spectacular job!
Christy says
Thank you so much, Rose! XOXO
Susan Renaud says
I love this site. Recently I purchased an old, but good-condition cigar box and was hesitant to change it in any way. Since viewing your remake of the cutlery box, I’m convinced I will love the change. Can’t wait to get started.
Christy says
Thank you, Susan!! Paint can do amazing things…good luck! XO
Ange says
I like the darker color-a lot! Very classy.
Christy says
Thanks, Ange! I bought it a while back to try on a piece of furniture but forgot all about it! XOXO
Sherry Stuifbergen says
Well, guess what? I liked the original. I think it had some rose molling (sp.) done on top. I liked it the way it was. IF it was in REALLY bad shape, I liked what you YOU did. If ti were me, I would have cherished it like it was. That’s me. You do good work. Your painting is impeccable. Thank you.
Christy says
That’s okay, you are allowed to love the before! It was very nicely done. You at least like the after of the inside better though, right? Ha ha! Thank you, Sherry! XOXO
Julie Briones says
I LOVE this darker gray… It’s different from your normal colors, but you can still see this is TOTALLY you! Can’t wait for the settee! I don’t remember seeing something like that done by you.
Christy says
Thanks, Julie!! It’s out of my norm, but I kinda love it! The settee was a hand-me-down from my MIL. 🙂
Marie|The Interior Frugalista says
You know I’m a sucker for flatware and jewelry boxes too. You always do such a lovely job breathing new life into them, Christy. I love how you line yours with pretty fabric. Pinning Can’t wait to see what you did with that settee!
Christy says
Yes they are so functional! Thanks, Marie!! XOXO
Christine says
Love the make-over! When stenciling, how do you get such a smooth finish? When I use multiple thin coats, the paint tends to seep under the edges of the stencil. If I use thicker paint, I get lines from my brush and have to sand which then damages the paint finish of the piece. Your stencil technique looks flawless.
Christy says
Thanks, Christine! Since I usually use chalk paint, I sand the area to be stenciled very lightly first (220 grit). Then I use a spray adhesive which helps to hold the stencil firm to the project, then I try to brush away from the edges as much as possible, and sometimes I still need to touch up here and there when I remove the stencil. After the paint has dried thoroughly, I go back and lightly sand across the entire surface of my project to knock down any rough spots and smooth it out. I seal with wax. Hope this helps!
Becky says
Lovely!
Christy says
Thanks, Becky!! XOXO