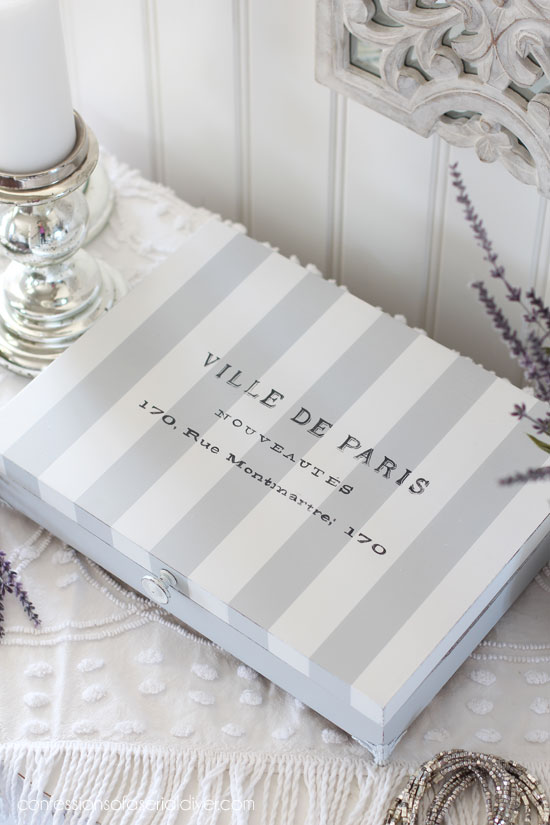
Hello lovelies!! I’m back today sharing how I updated this flatware box:
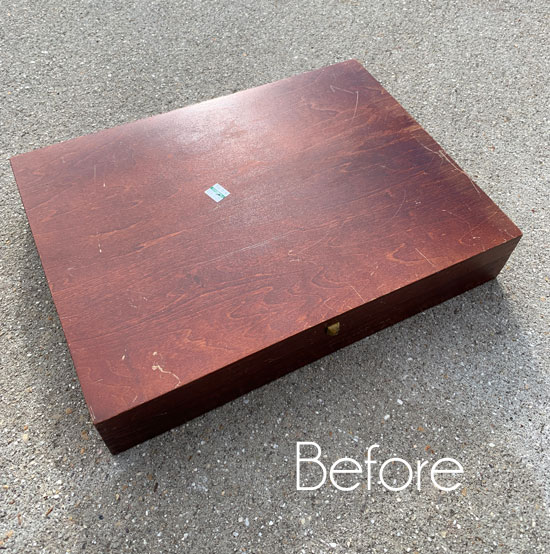
The title suggests it was only $2, but it was actually marked $3.25. However all green tags were half price the day I found this, so it was even cheaper…$1.63! It would have been weird to put that in the title. In fact, the only reason I picked this up is because it was so cheap!
Some of the flatware boxes I come across are just beautiful, but there is nothing fancy about this one at all.
I’m so glad I bought it though because it turned into a real charmer!
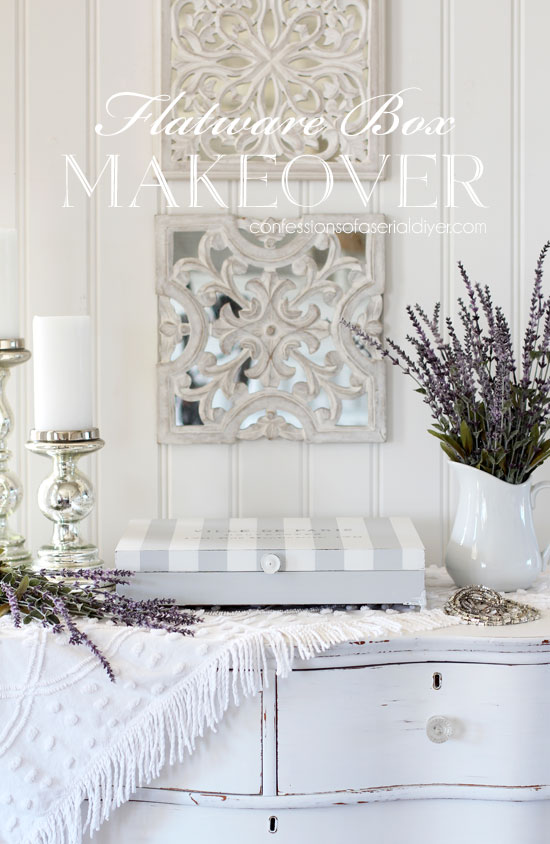
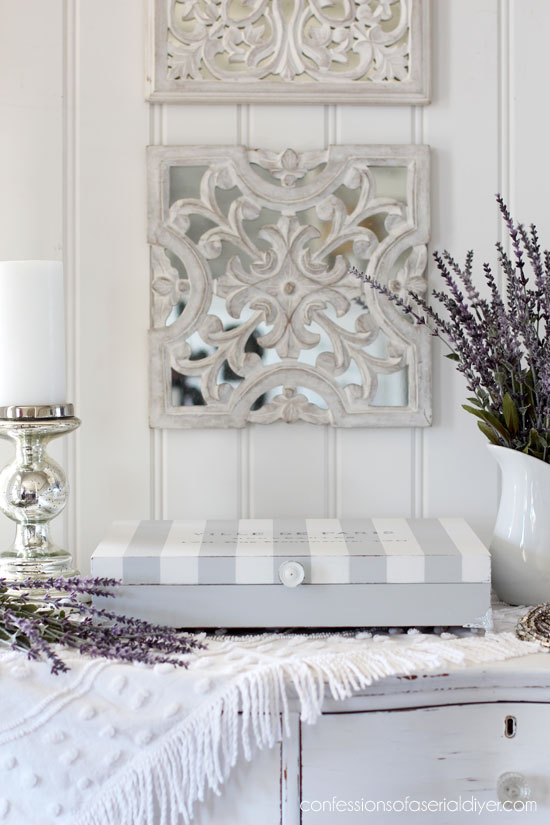
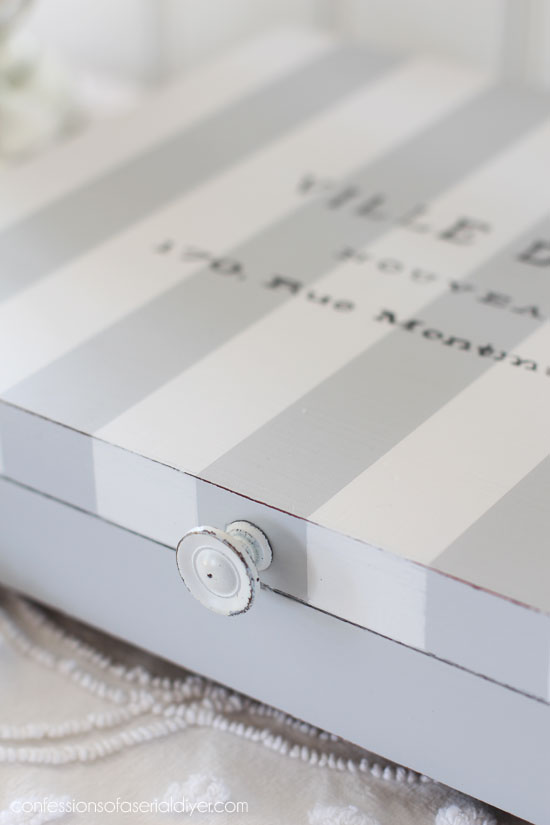
Stripes are always a win in my book, and the addition of a simple French-inspired graphic adds a touch of romance. I’ve included a few affiliate links so you can find the products I love.
I am really loving this silvery gray color. I actually used an old oops paint for this one and turned it into DIY Chalk Paint with this recipe HERE.
I added the stripes using my favorite tape, FrogTape for delicate surfaces:

See how I measure out my stripes perfectly in this post HERE.
I removed the tape as soon as I applied the second coat of white paint:
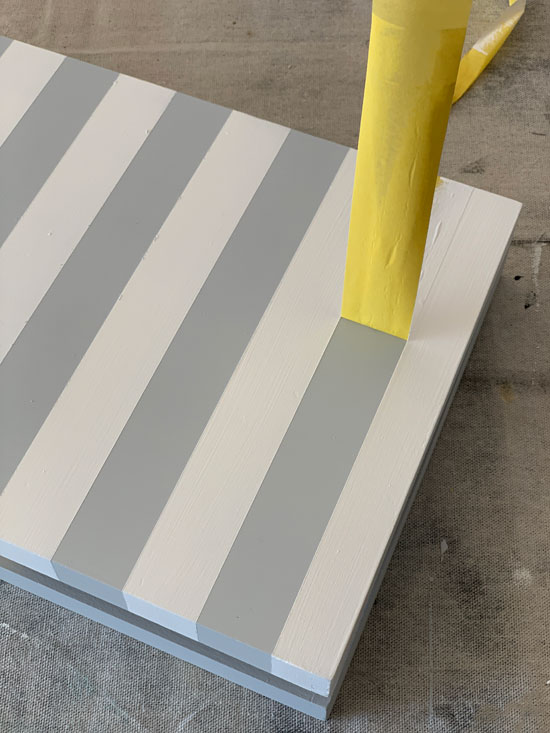
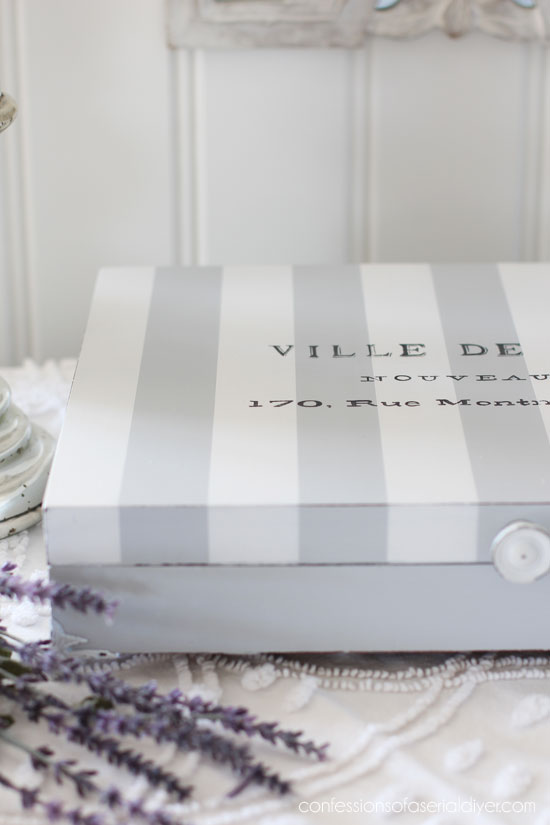
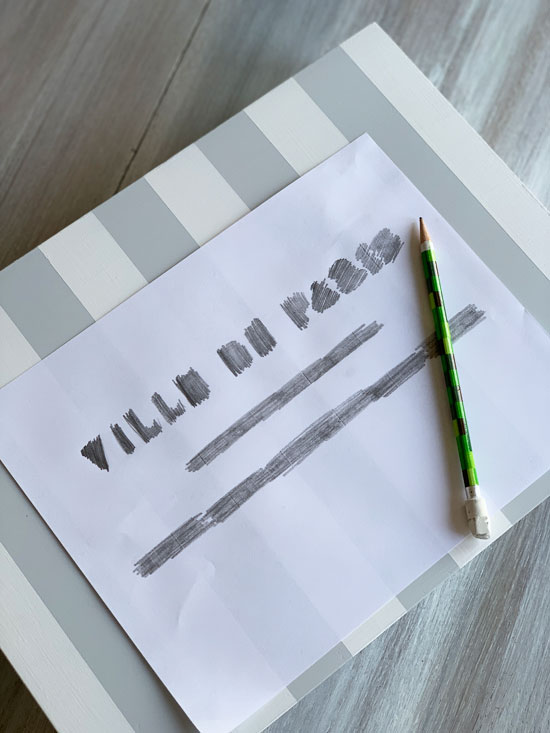
When the stripes were dry, I gave them a very light sanding with 220 grit sandpaper to smooth out the surface. Then I used the old school method of adding graphics to add mine to the top.
I found this graphic at the Graphic’s Fairy, already in the reverse and ready to go HERE. I just saved it to my computer and then printed it out. I will also mention that this method requires an inkjet printer, which most home printers are.
You can see more details on how to transfer images without any fancy machines HERE.
It looks something like this (Minecraft pencil optional):
Which will get you this:

Then I used black craft paint and my script liner brush to fill in the wording:
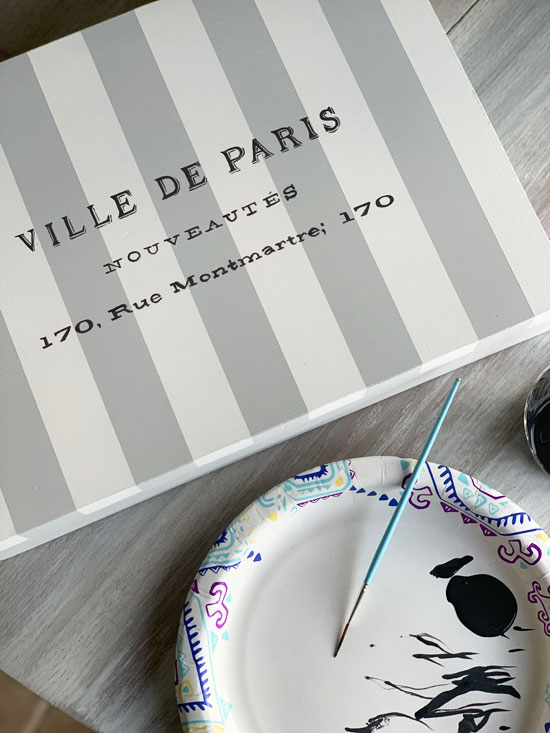
It does take a steady hand, but more than that, it takes the right brush! I love this style HERE, but any script liner will do.
When the painted graphics were completely dry, I sanded all over lightly and again across the top surface to smooth everything out. I sealed it with clear wax.
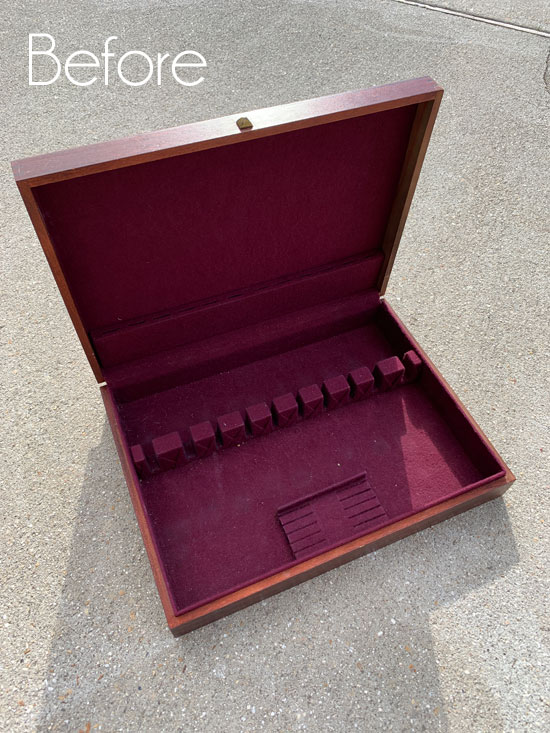
Tackling the insides of these boxes is always the most challenging part. Here is the inside before:
It took a few tools to get the innards out:
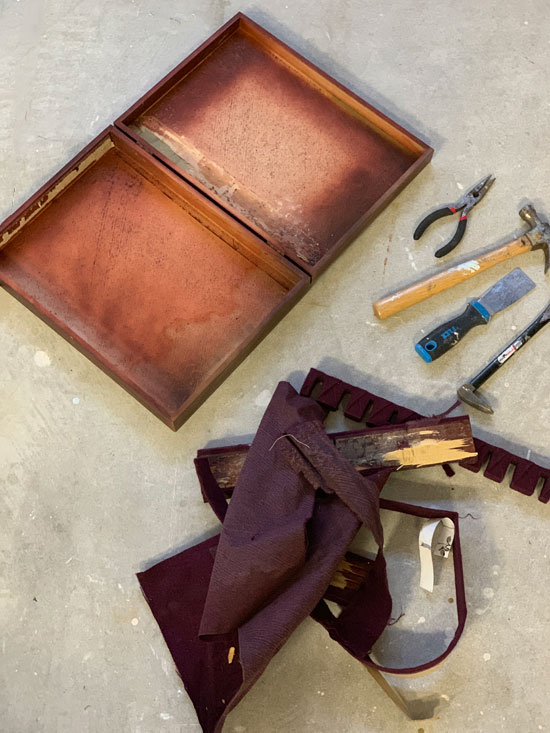
And after:
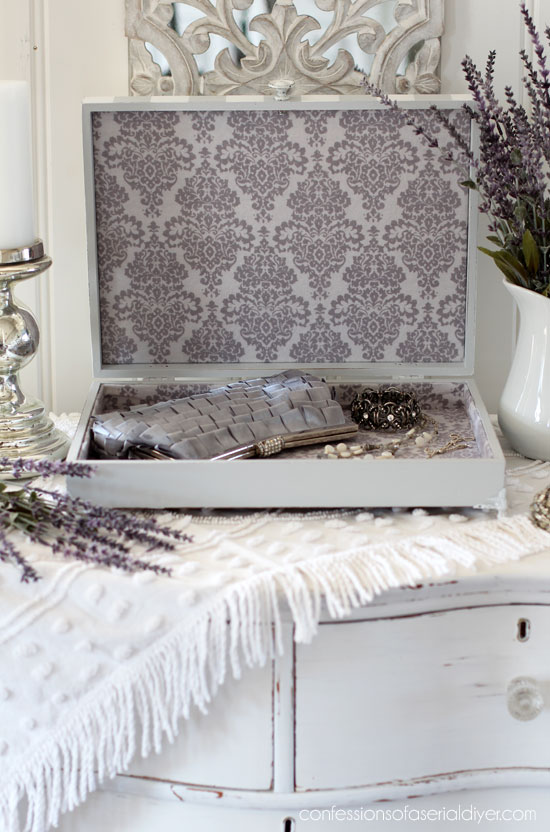
This is actually flannel fabric I had in my stash and I have absolutely no clue why I bought it? Oh well, it worked out great here!
To see how I lined this box with fabric, visit this post HERE.
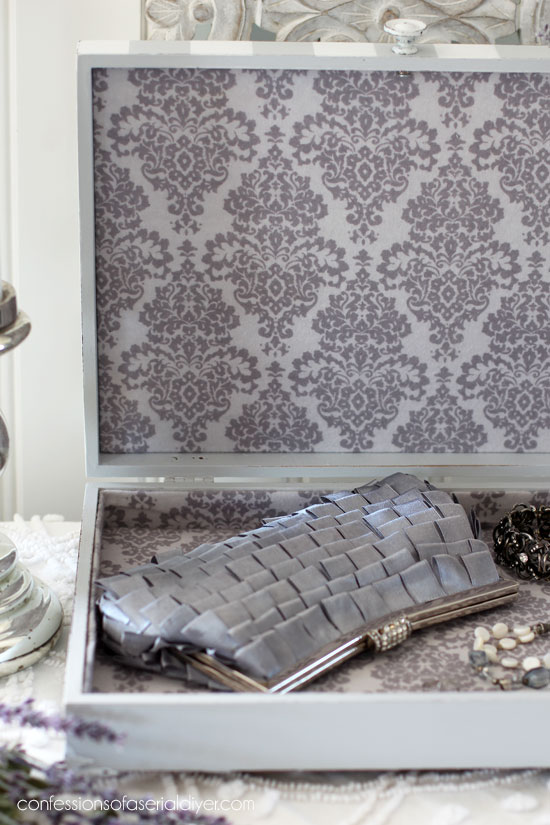
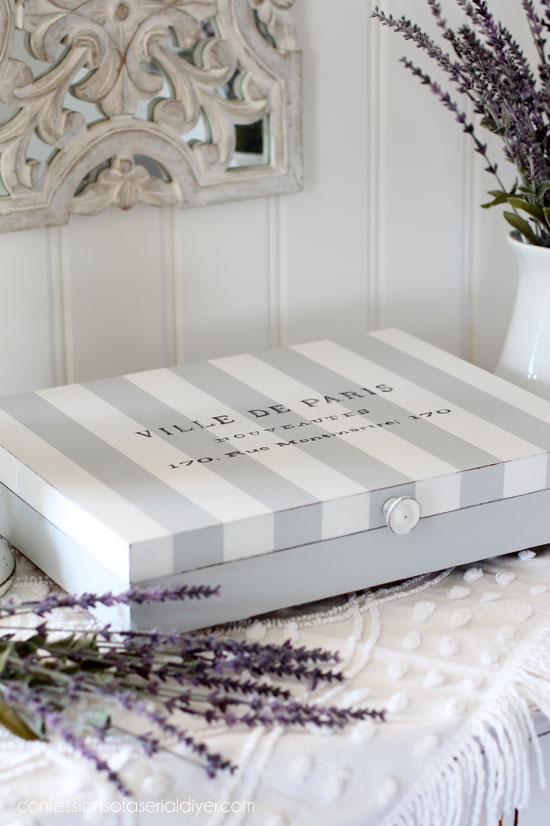
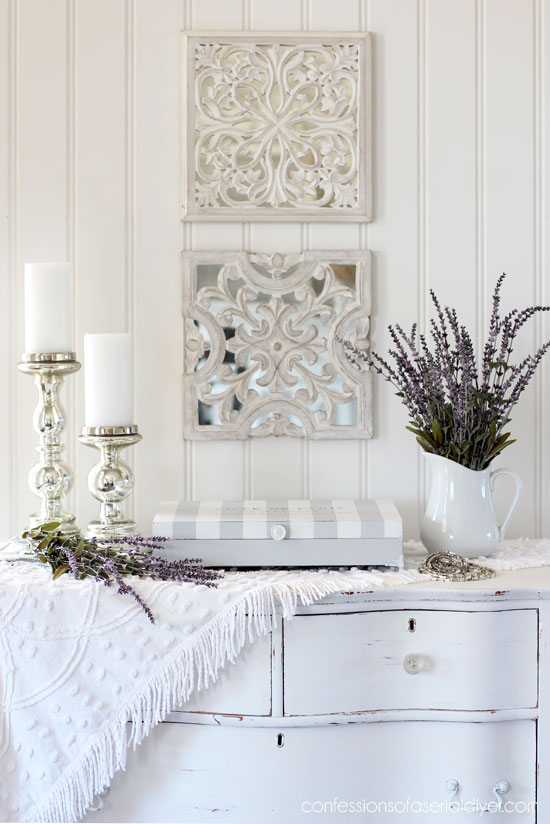
This would be a beautiful addition to any dresser, perfect for holding jewelry.
Now let’s talk about those pretty feet!
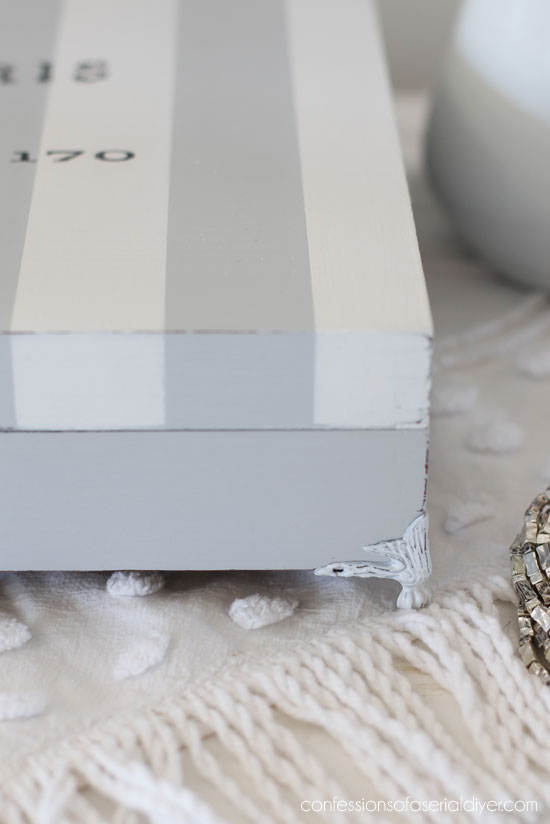
These are a game changer! After I used similar ones on this box a few weeks ago, I went online in search of larger ones and ordered these.
I spray primed then spray painted these and just scratched them a bit with my nail to distress them:
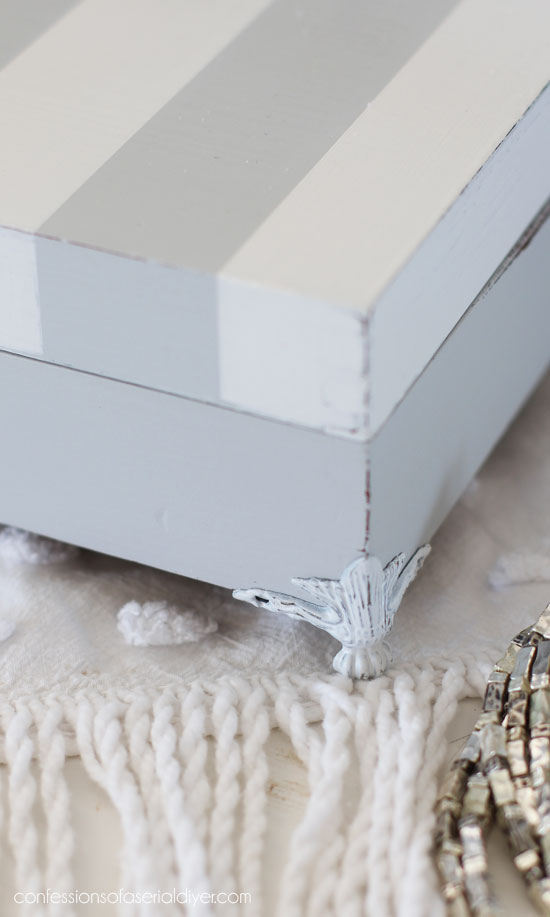 They are held in place with tiny screws on the bottom.
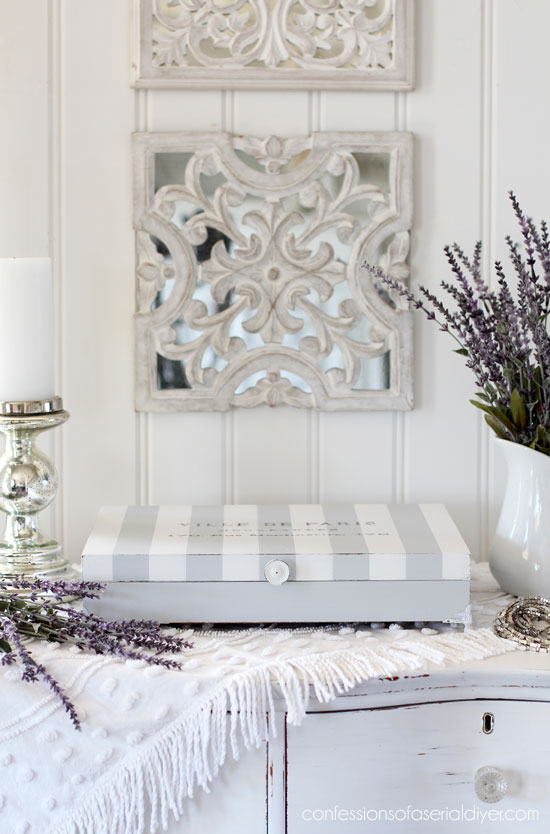
The knob is one I had removed from something else long ago. I primed and painted it white also:

Another project crossed off the list woohoo!

If you’ve missed any of these makeovers so far or just want to have another peek, you can find them all here:
$30 Thrift Store Coffee Table Makeover
How to Recover a Tufted Footstool (The Cheater’s Way!)
Drop Leaf Repurposed (Corbels)
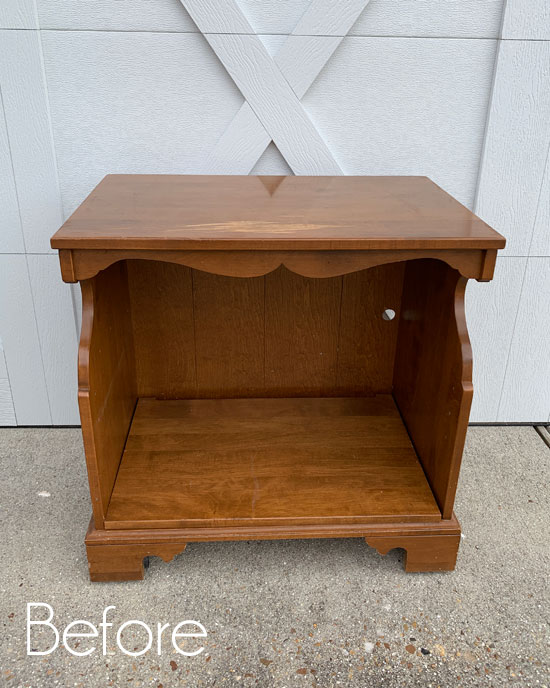
Tuesday is Trash-to-Treasure day and nothing I have left is that trashy, so unless I come across something trashier, I’ll be back with this night table:
Have an amazing weekend!
UPDATE! See what this little table looks like now HERE! 🙂
XO,
![]()
Don’t Miss a Thing!
If you like what you see, there are several ways to follow along!
Email * Facebook * Pinterest * Twitter *Instagram


Mary Kaiser says
I Love the feet you put on that, it makes it so much better not having it sit flat. It is so cute! I have a box down stairs in my “pile” that I am going to order some of those feet for mine! Great ideas always come from you, thanks!
Christy says
Thank you, Mary! Those feet just make it! XOXO
Christina in SW FL says
Christy, I adore this little box and what a treasure you have created!
So glad you brought home the serpentine dresser, it is a winner. 🙂
Have a wonderful weekend and I am looking forward to the nightstand makeover.
Christy says
Thank you, Christina! I’m glad I brought home the serpentine dresser as well. I’m making a space for it in our dining room! XOXO
Jamie says
Oh my!!! How I love it when you redo flatware boxes! Those feet????????????!!! Pure perfection! ❤️
Christy says
Aww yay! I can rarely pass them up, especially at this price! XOXO
Janice Holt says
Beautiful box. So glad you have included instructions as to how you line the inside because I plan to try it in the future.
Christy says
Thank you, Janice! Yep…lining the insides isn’t too hard to do at all! XOXO
Dawn Monzu says
Oh my goodness! I love this box. I have always wanted to get things like this at the thrift store (my sister works at one!) and remodel it, but I guess I’m a little scared to screw it up. I know, that’s silly because I can always just re-paint it. Anyway, I love seeing your “before and after” pics, thank you!
Christy says
Thank you, Dawn! Don’t be afraid to mess things up…that’s how you learn! XOXO
Suzy says
I have a silverware box that needs help! I may have to do something like this with it!
Christy says
Glad I could offer an idea…good luck with it! XO
debbie says
Any tips on where you got your table or dresser scarf? Also your florals? Thanks. Everything is just beautiful. I wish I lived closer so I could just shop your booth!
Christy says
Thank you, Debbie! My dresser scarf is actually a piece of an old chenille bedspread. I found it at a yard sale for $5, but it had a few moth holes, so I cut it up to use for other things! The faux lavender came from Hobby Lobby. This is about $20 worth. If you have a Hobby Lobby near you, their florals are 50% off every other week. And I wish you lived closer too!! XOXO
Pam A says
What is a paint deck?
Christy says
Hi Pam! Sorry about that…a paint deck is a set of paint swatches that comes in a deck that you can fan out and see all the colors. 🙂
Kathleen Hicks says
I bought a silverware box also, quite awhile ago now, and left the wood natural and decopauged a piece of wrapping paper with a sewing room look on teh top; glued decoative plaid paper in side and in the drawer. I forgot to say this box had a small drawer also. So now I havee a perfect sewing box for my sewing machine table. Yours is nice for looks but mine is for important use-sorry no pictures-but be assured it is cute.
Christy says
Oh it sounds cute!! Great purposed for it too. XO
Marcie Lovett says
You always make flatware boxes beautiful, Christy! It was already looking great, then those feet added the perfect touch.
Christy says
Thank you, Marcie!! I love those little feet…and they were pretty inexpensive too! XOXO
Lisa says
Love the outcome. I bought two flatware boxes, one is exactly the same as this one. Good inspiration, thank you!
Christy says
Thank you, Lisa! My pleasure…have fun with yours! XOXO
Kimberly Wollmer says
It turned out so beautiful! Once again, you made me smile with your fabric comment. “I have absolutely no clue why I bought it.” Lol! Since when do we need a reason to buy pretty fabric?
Christy says
Ha ha no we do not! But I am curious what I bought it or used it for? Lol it will come to me one day! XOXO
LeAnn Hileman says
Those little feet are my favorite part! You’re so talented!
Christy says
Right?? I was so thrilled to find those little feet! Thank you so much, LeAnn! And I just took a peek at your site…YOU are seriously talented!! XOXO
Gloria says
I am just wondering why chalk paint is better than just leaving it as regular paint? I have never used a chalk paint and am just wondering what exactly the advantage is?
Christy says
Hi Gloria! When using regular paint on a project like this, you would need to sand the surface and then prime the surface before painting. With chalk paint there is no need to sand or prime…you can go straight to painting. That isn’t a huge deal with a small piece like this, but for a large furniture piece like a hutch, that is a huge time-saver. Chalk-painted pieces do need to be sealed though to protect the paint finish, which I use wax for. The soft lustre that a waxed chalk painted finish gives is so beautiful and buttery soft, plus if you like a distressed look, chalk paint is the way to go as it sands very nicely. Now if you need something super durable for a high-traffic, regular paint may be the way to go. Hope this answers your question! XO
Dawn Pronovost says
Just stumbled across this and subscribed immediately. Forgive my ignorance, but how would one go about sealing this with wax? Are you referring to something like beeswax? I have never done anything like this before and am very interested and excited to try! Thank you for sharing your experience and process!
Dawn
Christy says
Hi Dawn! I’m so glad to have you following along with me! I used to seal everything with wax, and by wax, I mean a furniture wax like Dixie Belle’s Best Dang Wax or Annie Sloan’s clear soft wax. Wax was the only sealer I knew of that I could use on chalk paint that didn’t yellow over white paint. Since then I have discovered Dixie Belle’s clear coat in satin and it has been a game changer. The look is very similar to a waxed finish, but it is so much easier to apply, and it does not yellow over white paint. You can see more about it in a more recent post I shared where I recorded a video on how I apply it with a sponge HERE. Hope this helps! XO
Sue says
I always enjoy your posts, but it’s been fun to see you work your way through a stash of items you’ve bought and then photographed together like this.
Christy says
Thank you so much, Sue! I’m thrilled to hear that you are enjoying seeing these hauls worked though like this. I have to say, I am too! 🙂 XOXO
Denice Burger says
I just love you!!! You’re awesome and you’ve inspired me so much. My husband built an 8×12 workshop for me to create things like you, so I’d stop painting in our living room. Haha. I read every post and am using every product you recommend, with the exception that I’m still too scared to make my own chalk paint. I’ll get there. I just wanted to tell you that I’m thrilled to have found your blog!! I wish I lived in your town, I’d love go thrifting with you!
Christy says
Aww you are the best, Denice…you made my day!! Thank you so much! I’m so glad you found me too…and yes I’d love another thrifting buddy! Keep on creating, and don’t be afraid of the DIY chalk paint…it is exactly like the big brands! XOXO
Ange Mills says
I love the little legs you put on your new project. Also, a big thank you for giving us the link to the products you use. ❤️
Christy says
Thank you, Ange! Aren’t those little feet so cute? I might need to order me a couple more sets as I’m sure I’ll find uses for them! You are so welcome for the resources as well! XOXO
Shirley says
Absolutely lovely! When you put something like that in your store, generally how long does it take for you to sell something like that? Just a rough guesstimate. Thanks!
Flannel huh? Never would have thought to do that but it looks awesome!
Christy says
Thank you, Shirley! Smaller functional items like this sell pretty quickly. I would say this won’t hang around more than a couple of weeks. XOXO
Paula says
Looks great! I love the addition of the feet to elevate it off the dresser.
Christy says
Thanks so much, Paula! Aren’t those feet so cute? Have a great weekend…it is supposed to warm up on Sunday here so hopefully it will for you too! XOXO
Debbie says
I always love your makeovers. You have a way to make things fresh and new. The mirrored plaques in the photos are cool. Where did you find them?
Christy says
Aww thank you, Debbie! I appreciate that so much! I’ve had those plaques since before my oldest was born so about 18 years, but I believe I bought them at TJ Maxx. 🙂 XOXO
Virginia says
Love, love, love your site!
Such lovely ideas and not a lot of unimportant chatter!
Christy says
Aww thank you SO much, Virginia! I try to cut to the chase ha ha! XO
Sheila DelCharco says
One of these days I’m gonna make one of these just because you make them look so pretty! Not because I need one! Haha!
Christy says
Ha ha thank you, Sheila! They are fun to make over! XOXO
Petra says
I just cannot believe you found that for $2 😮 I really need one of those 🙂
Christy says
Right?? It was so plain that I probably would have left this one behind had it not been so cheap! XOXO
Julie Briones says
I’m buying those feet! Just sayin! Love your box makeovers. Still have mine that i want to turn into a tea bag holder. 😉
Christy says
Yay! Those feet were very reasonable too! Thank you, Julie! Have fun with yours! XOXO