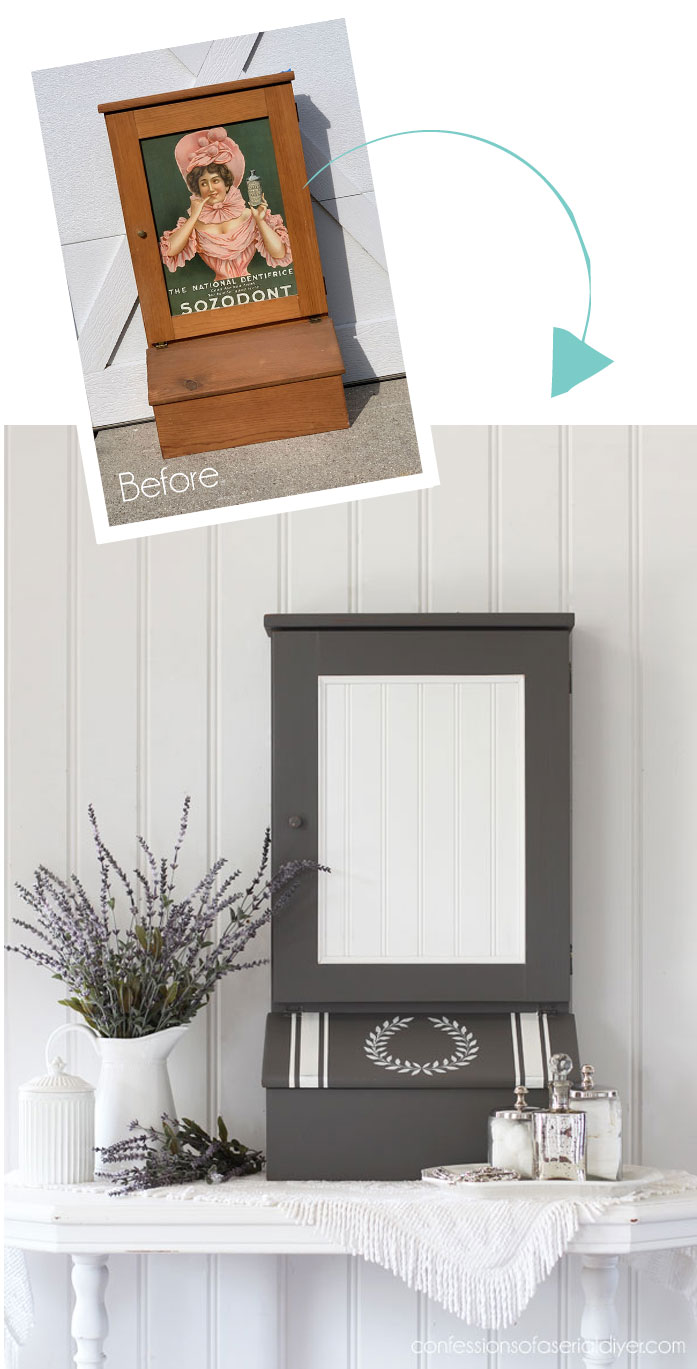
Hello beautiful friends! Today, I’m sharing a cabinet makeover straight out of the 80’s!
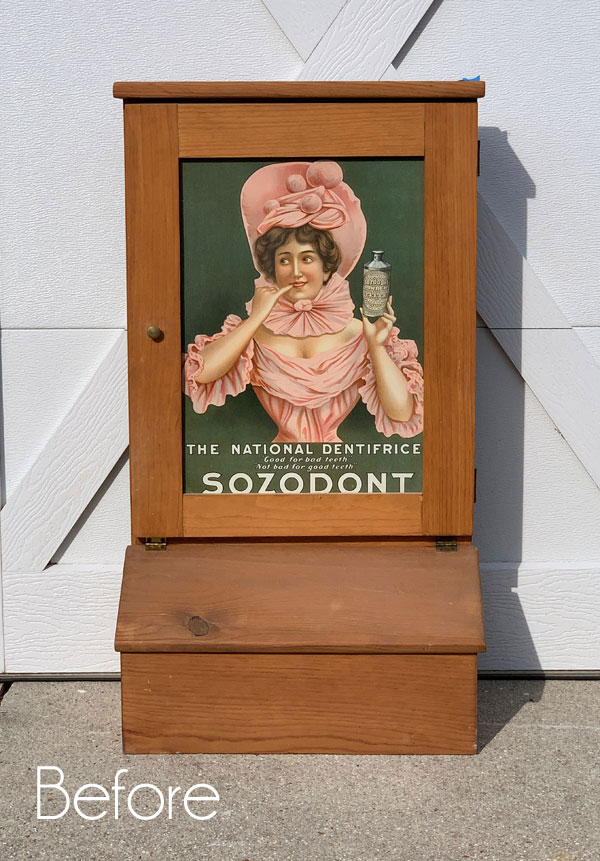
This country cabinet belonged to one of our neighbors who was moving at the beginning of the Summer. They had several country decor items including a few adorned with the ever popular hearts. The husband kindly offered to show me the pile of things they were gathering for a yard sale, and said to take anything I was interested in, and this cabinet caught my eye:
They are the same awesome neighbors I curb-shopped my new porch chairs from that I shared in the Spring!
I hope no one gets too upset with me for not leaving the Dentifrice gal as is. Just forewarning y’all, I didn’t keep her.
I’ve included a few affiliate links so you can find the products I love.
Prepping for this cabinet makeover
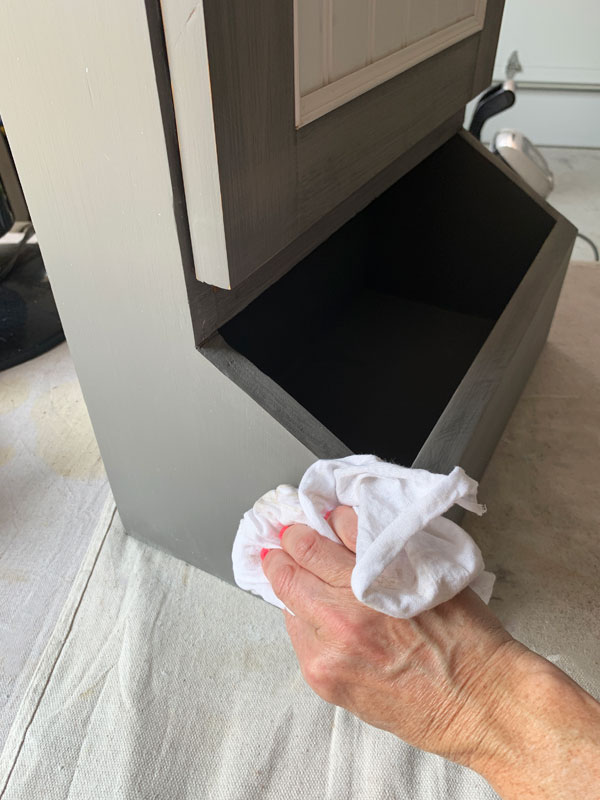
The first step in recreating this cabinet was to give it a good cleaning with White Lightning:
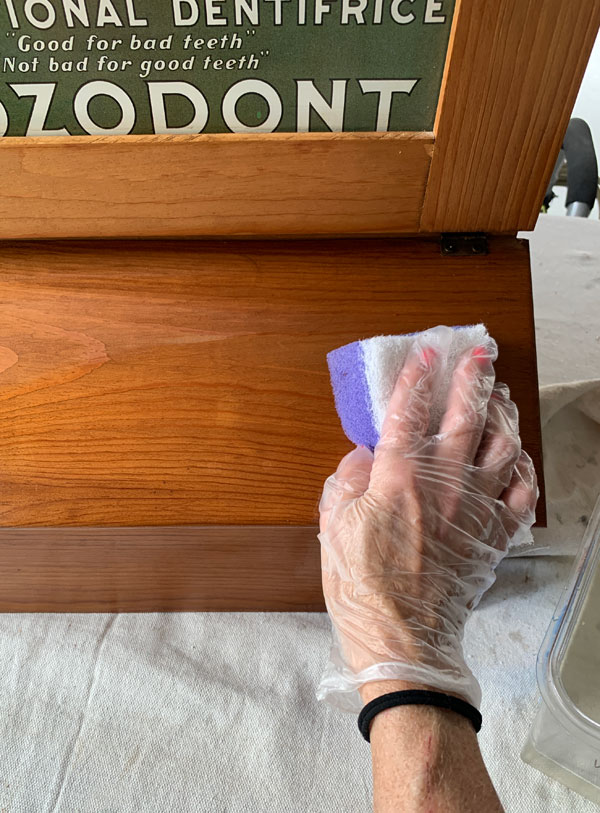
It was very clean when I got it, but anything that was in our garage when the new kitchen tile was installed got coated in a layer of dust from the tile cutter.
I swapped out the water for clean water and gave it another wipe down to rinse.
There was a knot on the front, so I filled that in next with Dixie Mud since it would be noticeable after painting:

I let that dry overnight and then sanded just that area with 220 grit sandpaper wrapped around an old sanding sponge to smooth it out. There was no need to sand the rest since I chose to use chalk paint for this makeover.
The dust got vacuumed up with my shop vac, and I gave it a quick wipe down with a clean cloth.
Then I was ready for paint!
Painting the Cabinet
I chose Hurricane Gray for this one. It is a gorgeous dark gray:
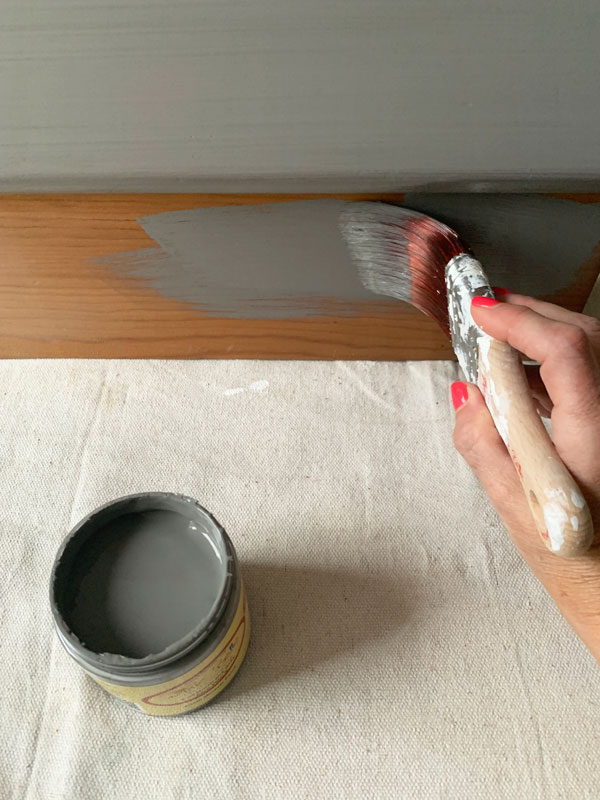
Everything inside and out got two coats.
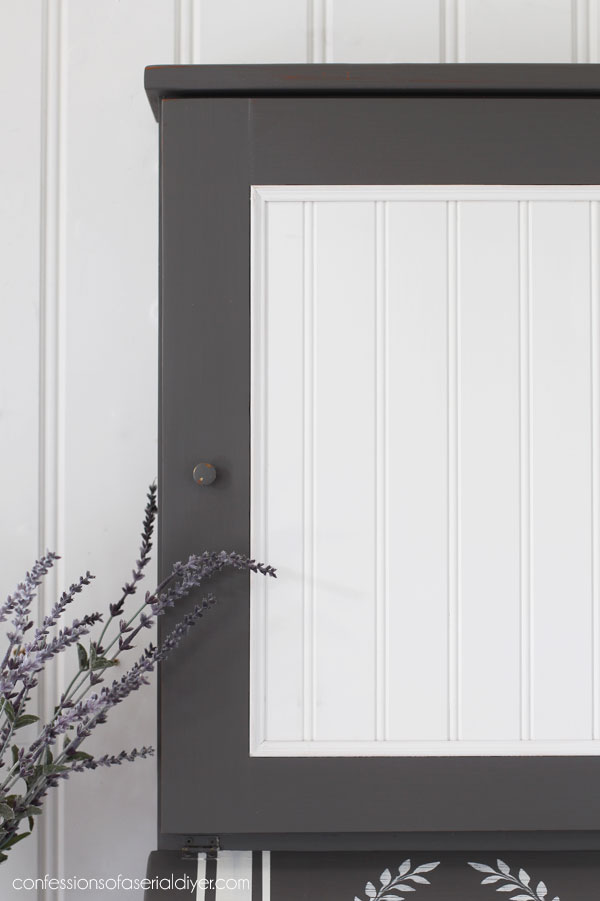
Updating the Cabinet Door
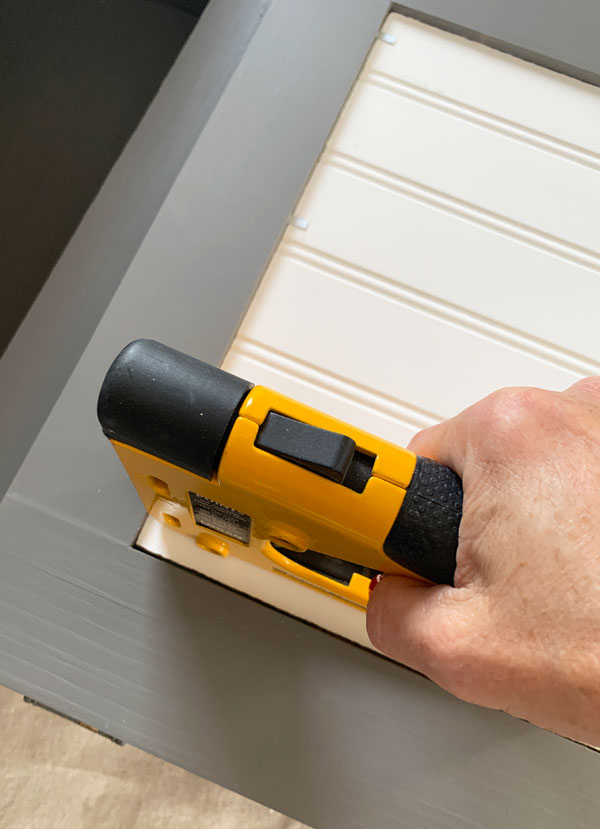
For the door, I was unable to remove the girl as she was built into the door, so I decided to cover her with bead board that I cut to fit using my 5″ circular saw. This saw is smaller than a traditional circular saw and super easy to handle. Most of the Ryobi tools I use are run by batteries which is awesome, but they can be costly. However, if you buy one of their sets of tools, they usually include a battery and are much more cost effective. I got this saw in a set with a jig saw and drill, I believe.
I attached the bead board with some liquid nails and my Logan Point Driver:
Then I trimmed it out with small trim I found at the Home Depot, attaching it with Wood Glue:

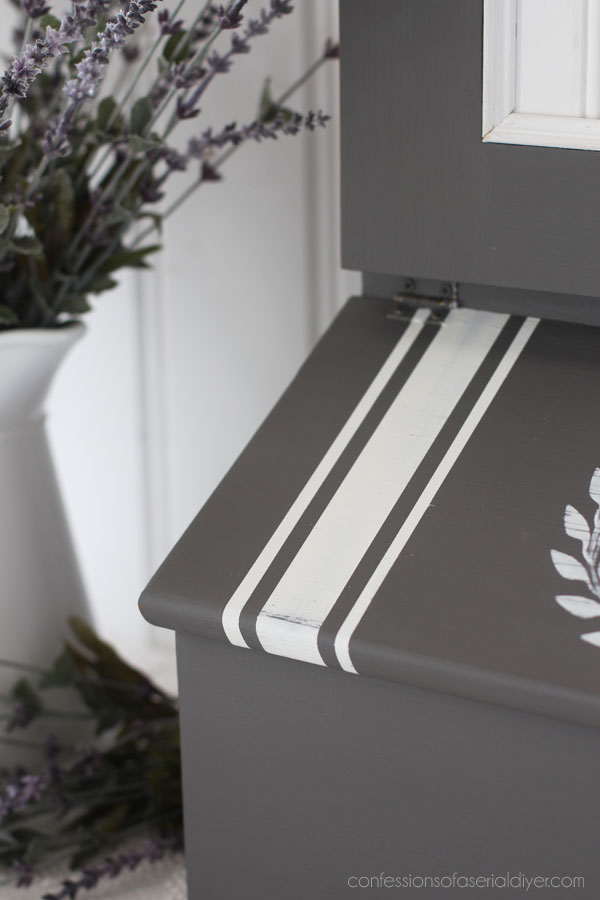
Adding a Stencil
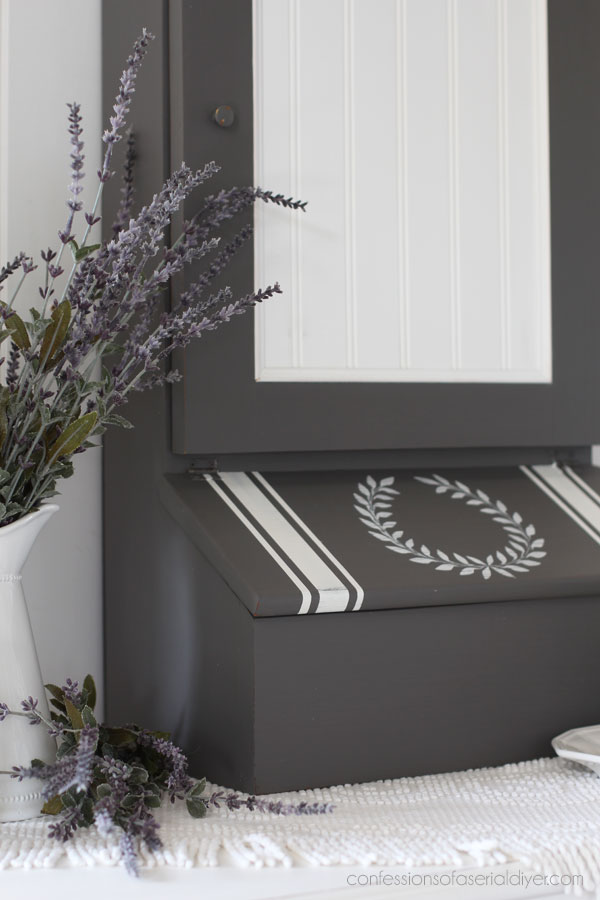
The next thing I wanted to do was embellish the top of the compartment on the bottom.
I removed it to be able to work on it more easily and chose a small wreath stencil I had in my stash:
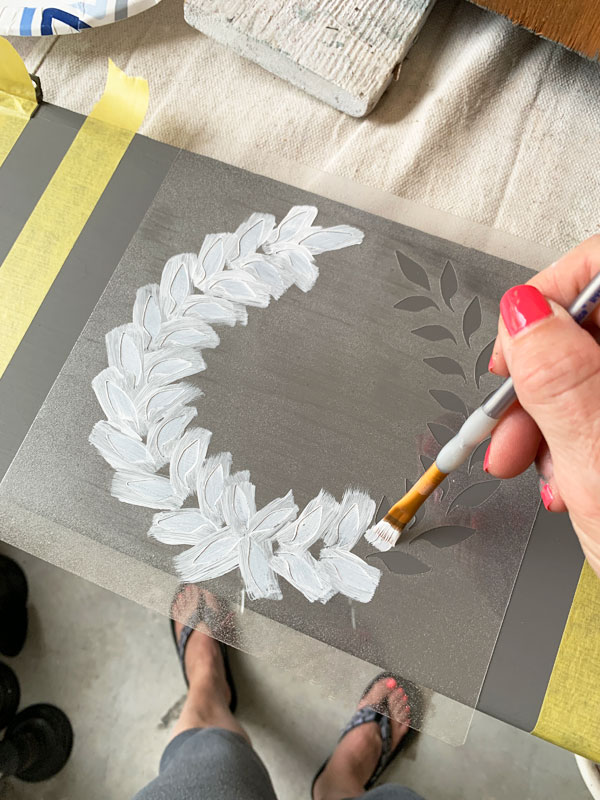
This is one that Dixie Belle used to sell but no longer does. I secured it to the surface using spray adhesive, spraying the back of the stencil. This holds it securely in place and helps to prevent the paint from bleeding under the stencil. I then used a small brush to paint in the stencil with acrylic craft paint, making sure to brush away from the edges as much as possible.
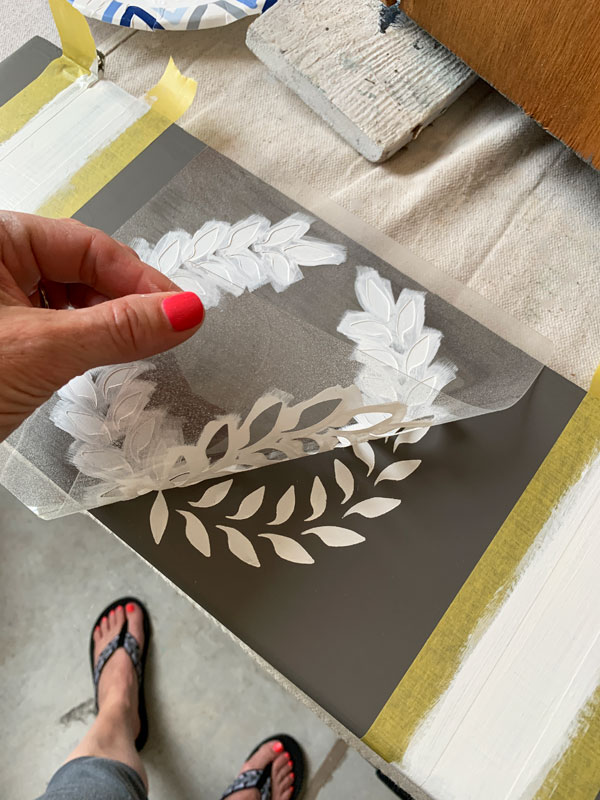
I also decided to add a grain sack stripe using FrogTape, to fill the space on either side.
It took three coats of paint for solid coverage. After the final coat of paint, I removed the stencil and the tape right away.
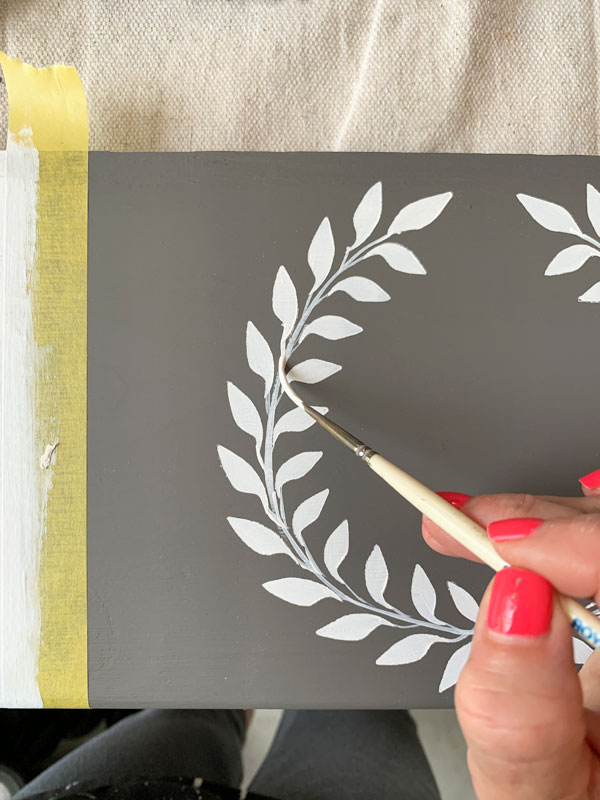
It looked lot a lot like a stencil, so to make it look more hand painted, I went back with a liner brush and connected the leaves:
You can see more on how I stencil in this video:
If you have trouble viewing, find it on YouTube HERE.
Sanding the cabinet
Once everything was dry, I gave it a good standing with 220 grit sandpaper. Sanding over the stencil will smooth out any imperfections:

Sealing the Cabinet
After vacuuming up the sanding dust with my shop vac and giving it a final wipe with a clean cloth, it was time to seal!
I chose Best Dang Wax in Clear as I often do with these smaller projects. (My go-to for furniture is still Clear Coat in Satin.)
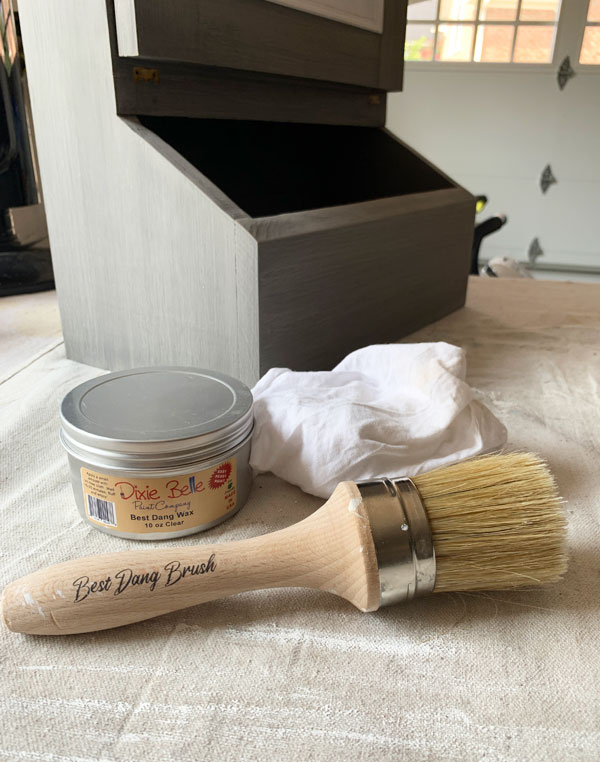
I worked in sections, applying it with my Best Dang Brush and buffing it away using a clean, soft cloth:
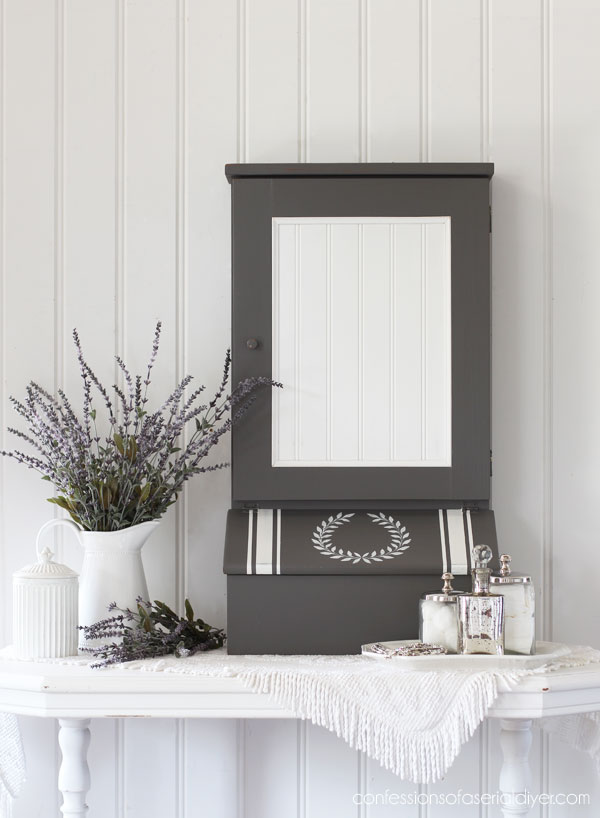
The After
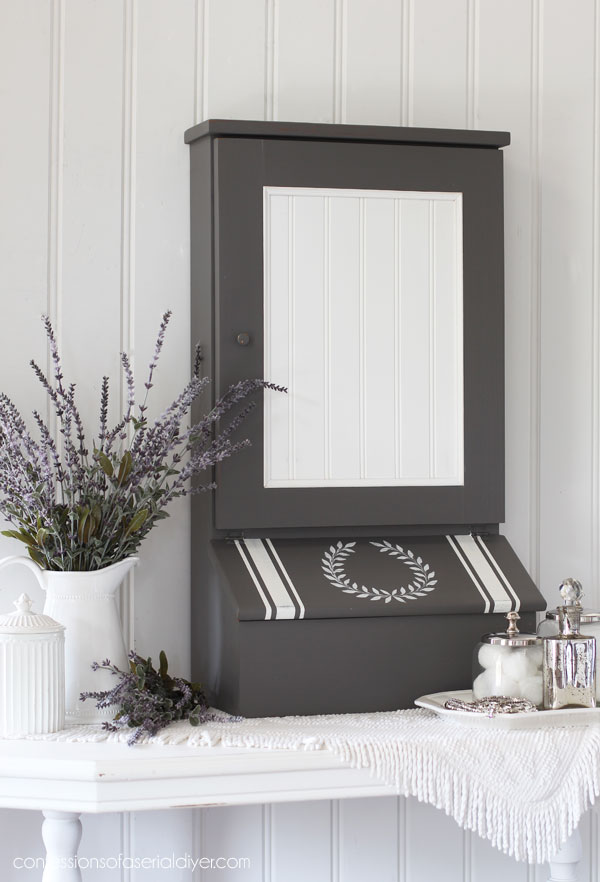
Ready to see the result??

I don’t often use darker shades, but Hurricane Gray is one I love.
It contrasts so perfectly with the bright white. The bead board is painted in Cotton.
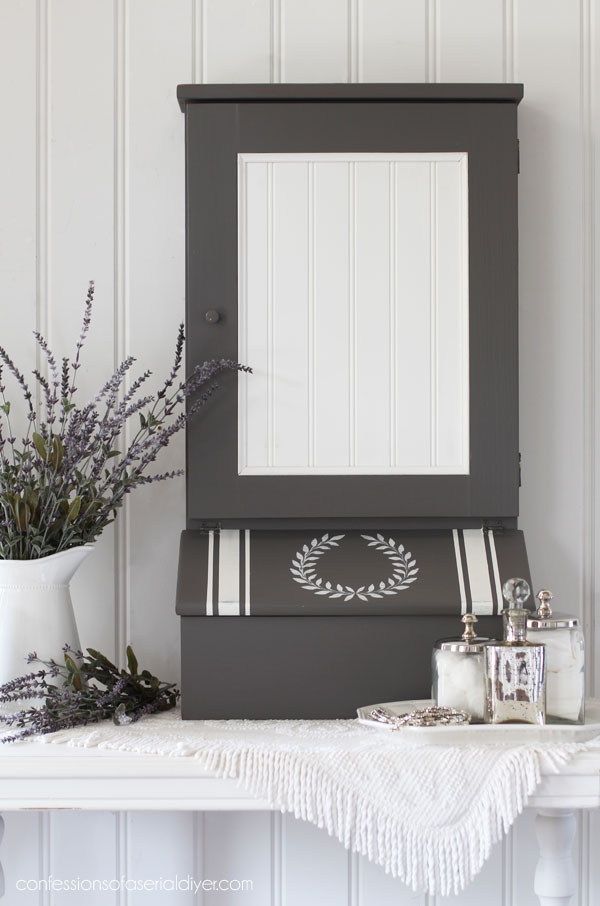
The FrogTape creates perfect stripes!
I considered adding a chalkboard to the front, but I’m glad I went with the bead board.
The inside was painted in the same gray…
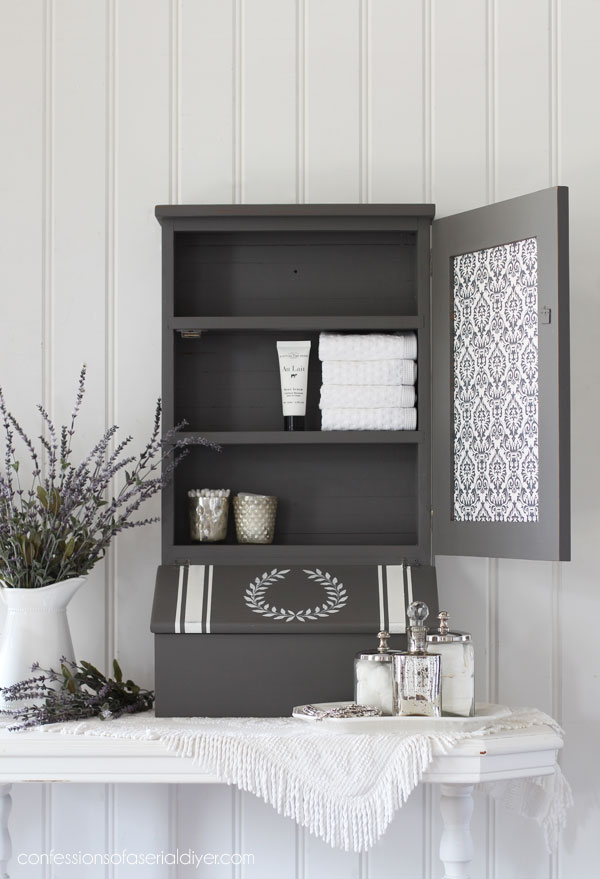
I lined the inside of the door with pretty paper:

One cool feature of this cabinet is that the back was made of several strips of wood.

It isn’t screaming 1985 anymore!

Shop News
In shop news, Dixie Belle has just launched a couple of new products, and they are now available in my Etsy shop!
New item #1
The first is a paint brush cleaner called Clean as a Whistle:
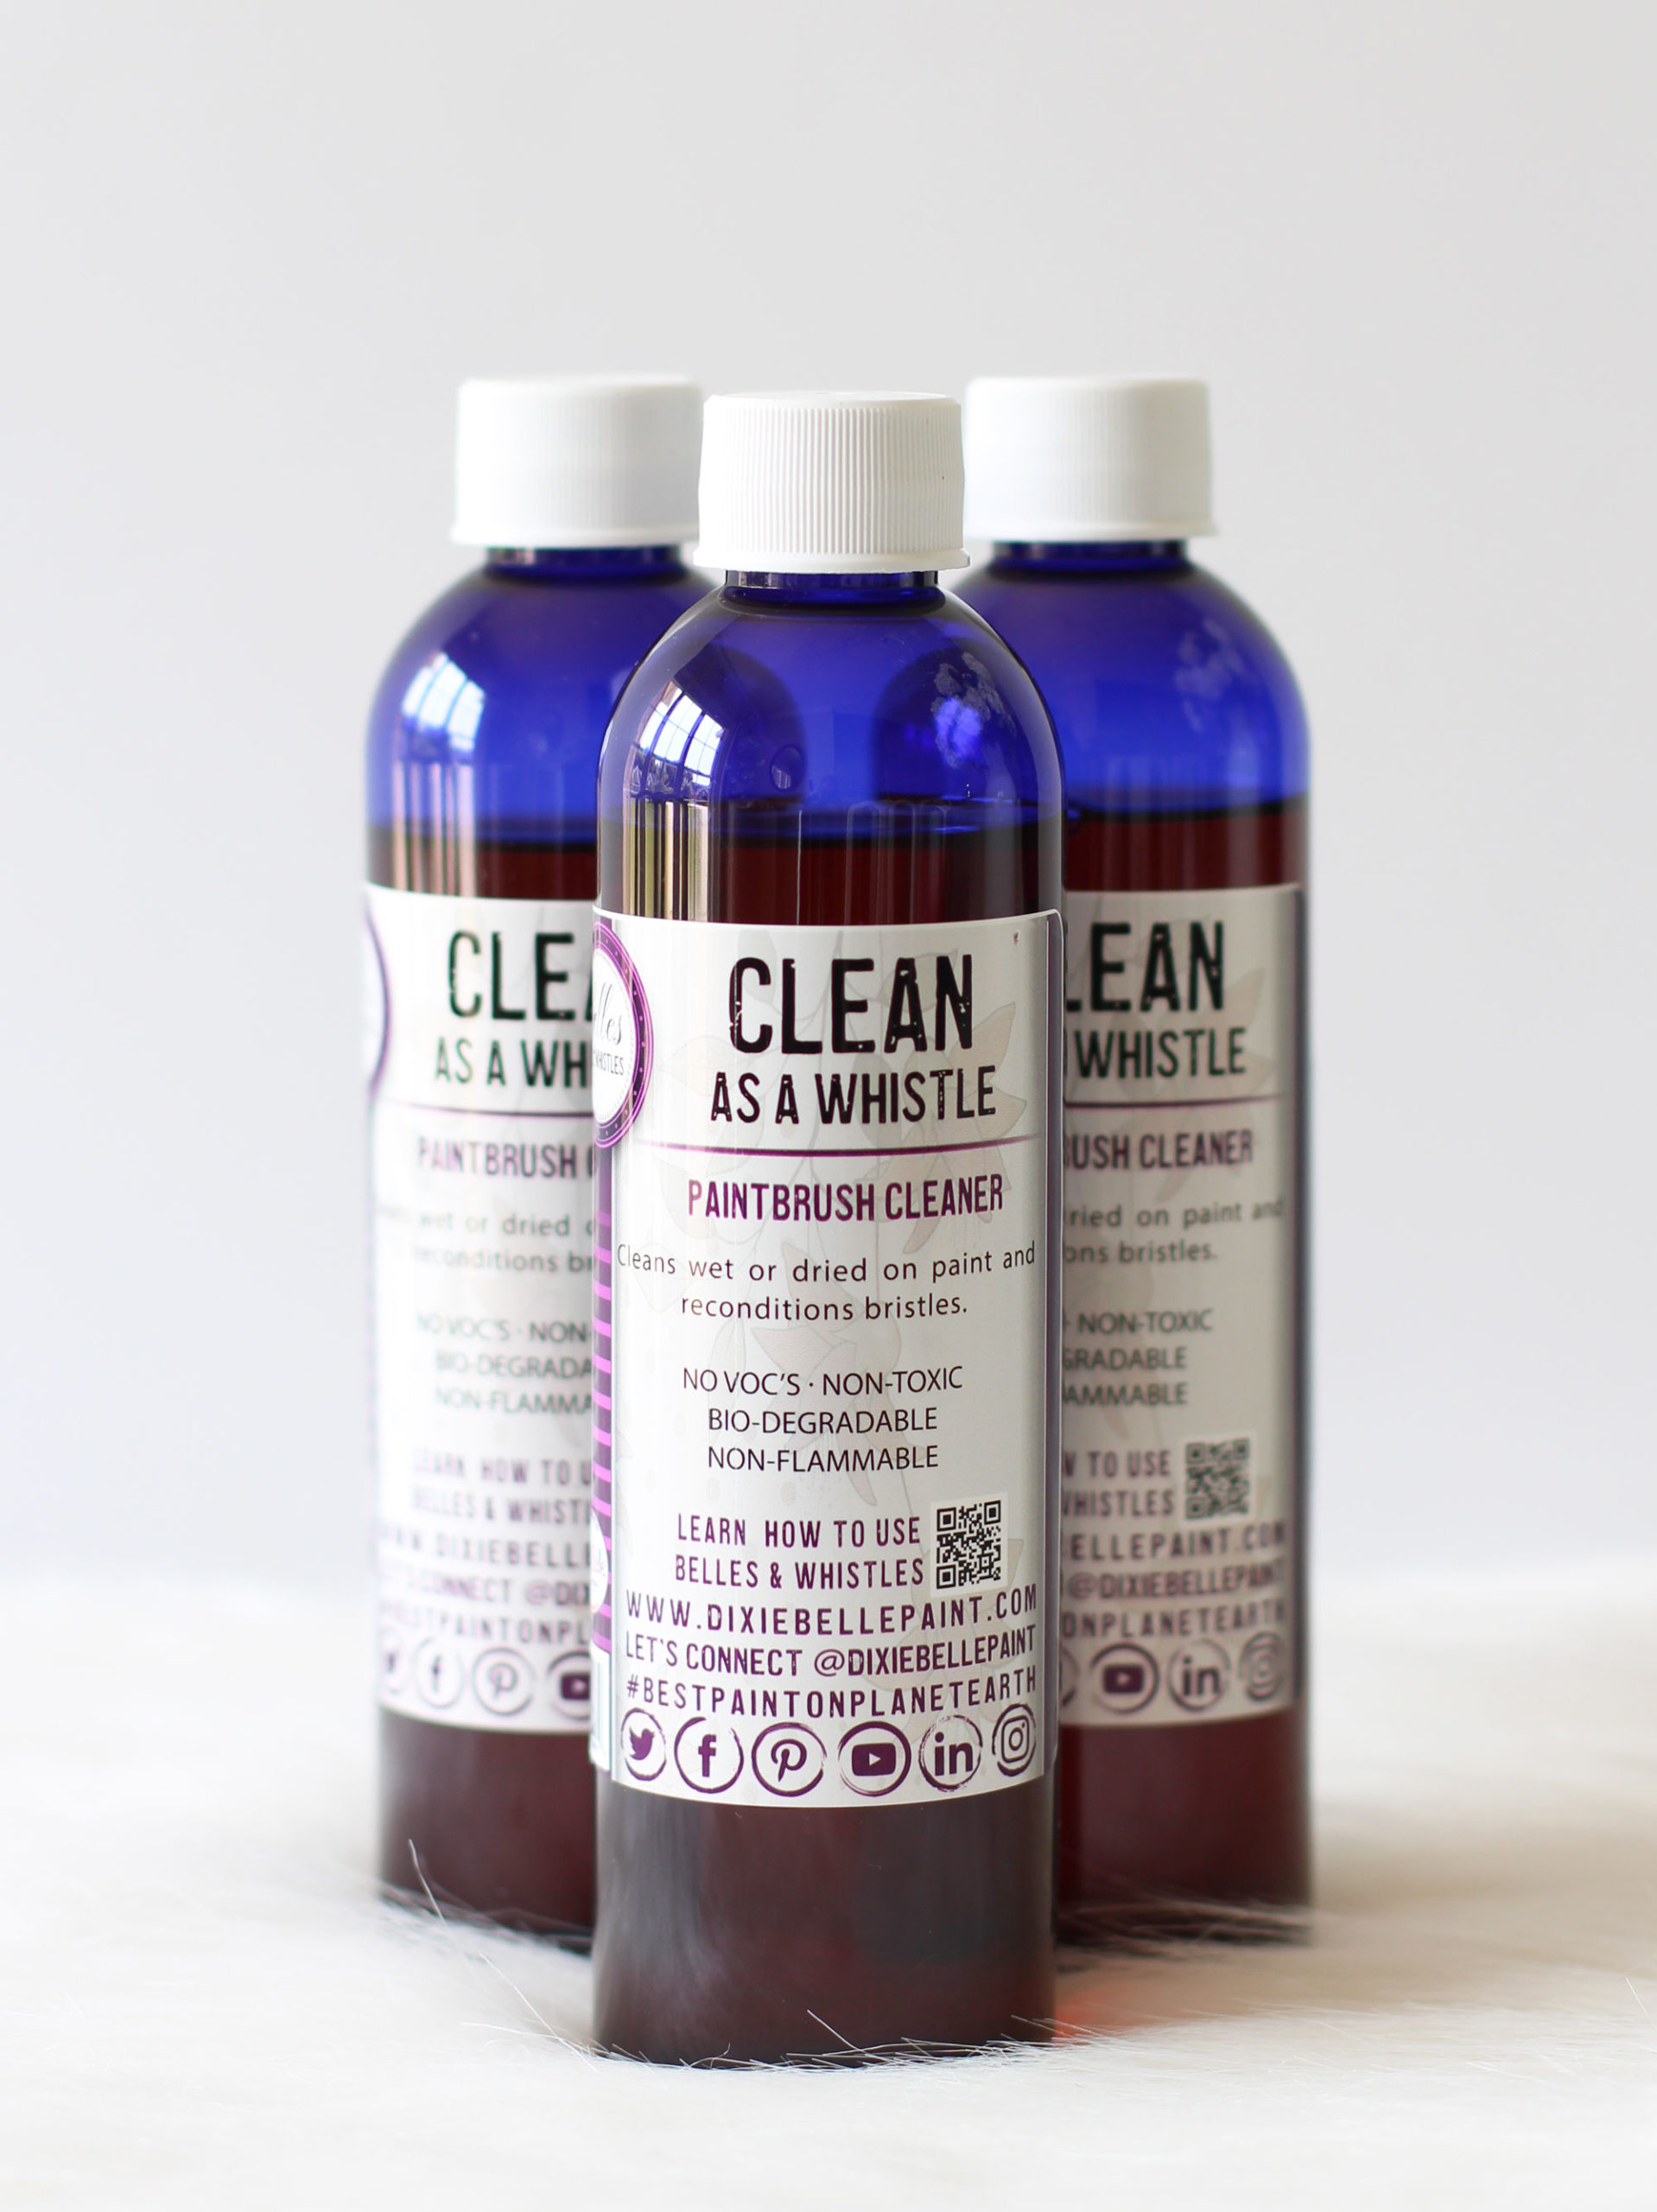
These products were just launched last Wednesday, and I was unpacking them on Sunday, so I haven’t had a chance to try this brush cleaner yet, but I’ll report back when I do. It’s a cleaner and conditioner for your brushes! It retails for $11.95.
New item #2
The second item launched are sample packs of the Silk line! There are two sample packs that each contain two 4oz sizes of Silk paint. You ‘ll be able to test the Silk out on something small to see how you like it!
The first pack includes one 4oz jar of Whitecap and one 4oz jar of Bay Breeze, and the second sample pack includes one 4oz jar of Cape Current and one 4oz jar of Anchor:
These retail for $14.95.
I also added a few of Dixie Belle’s Oval Medium Brushes:
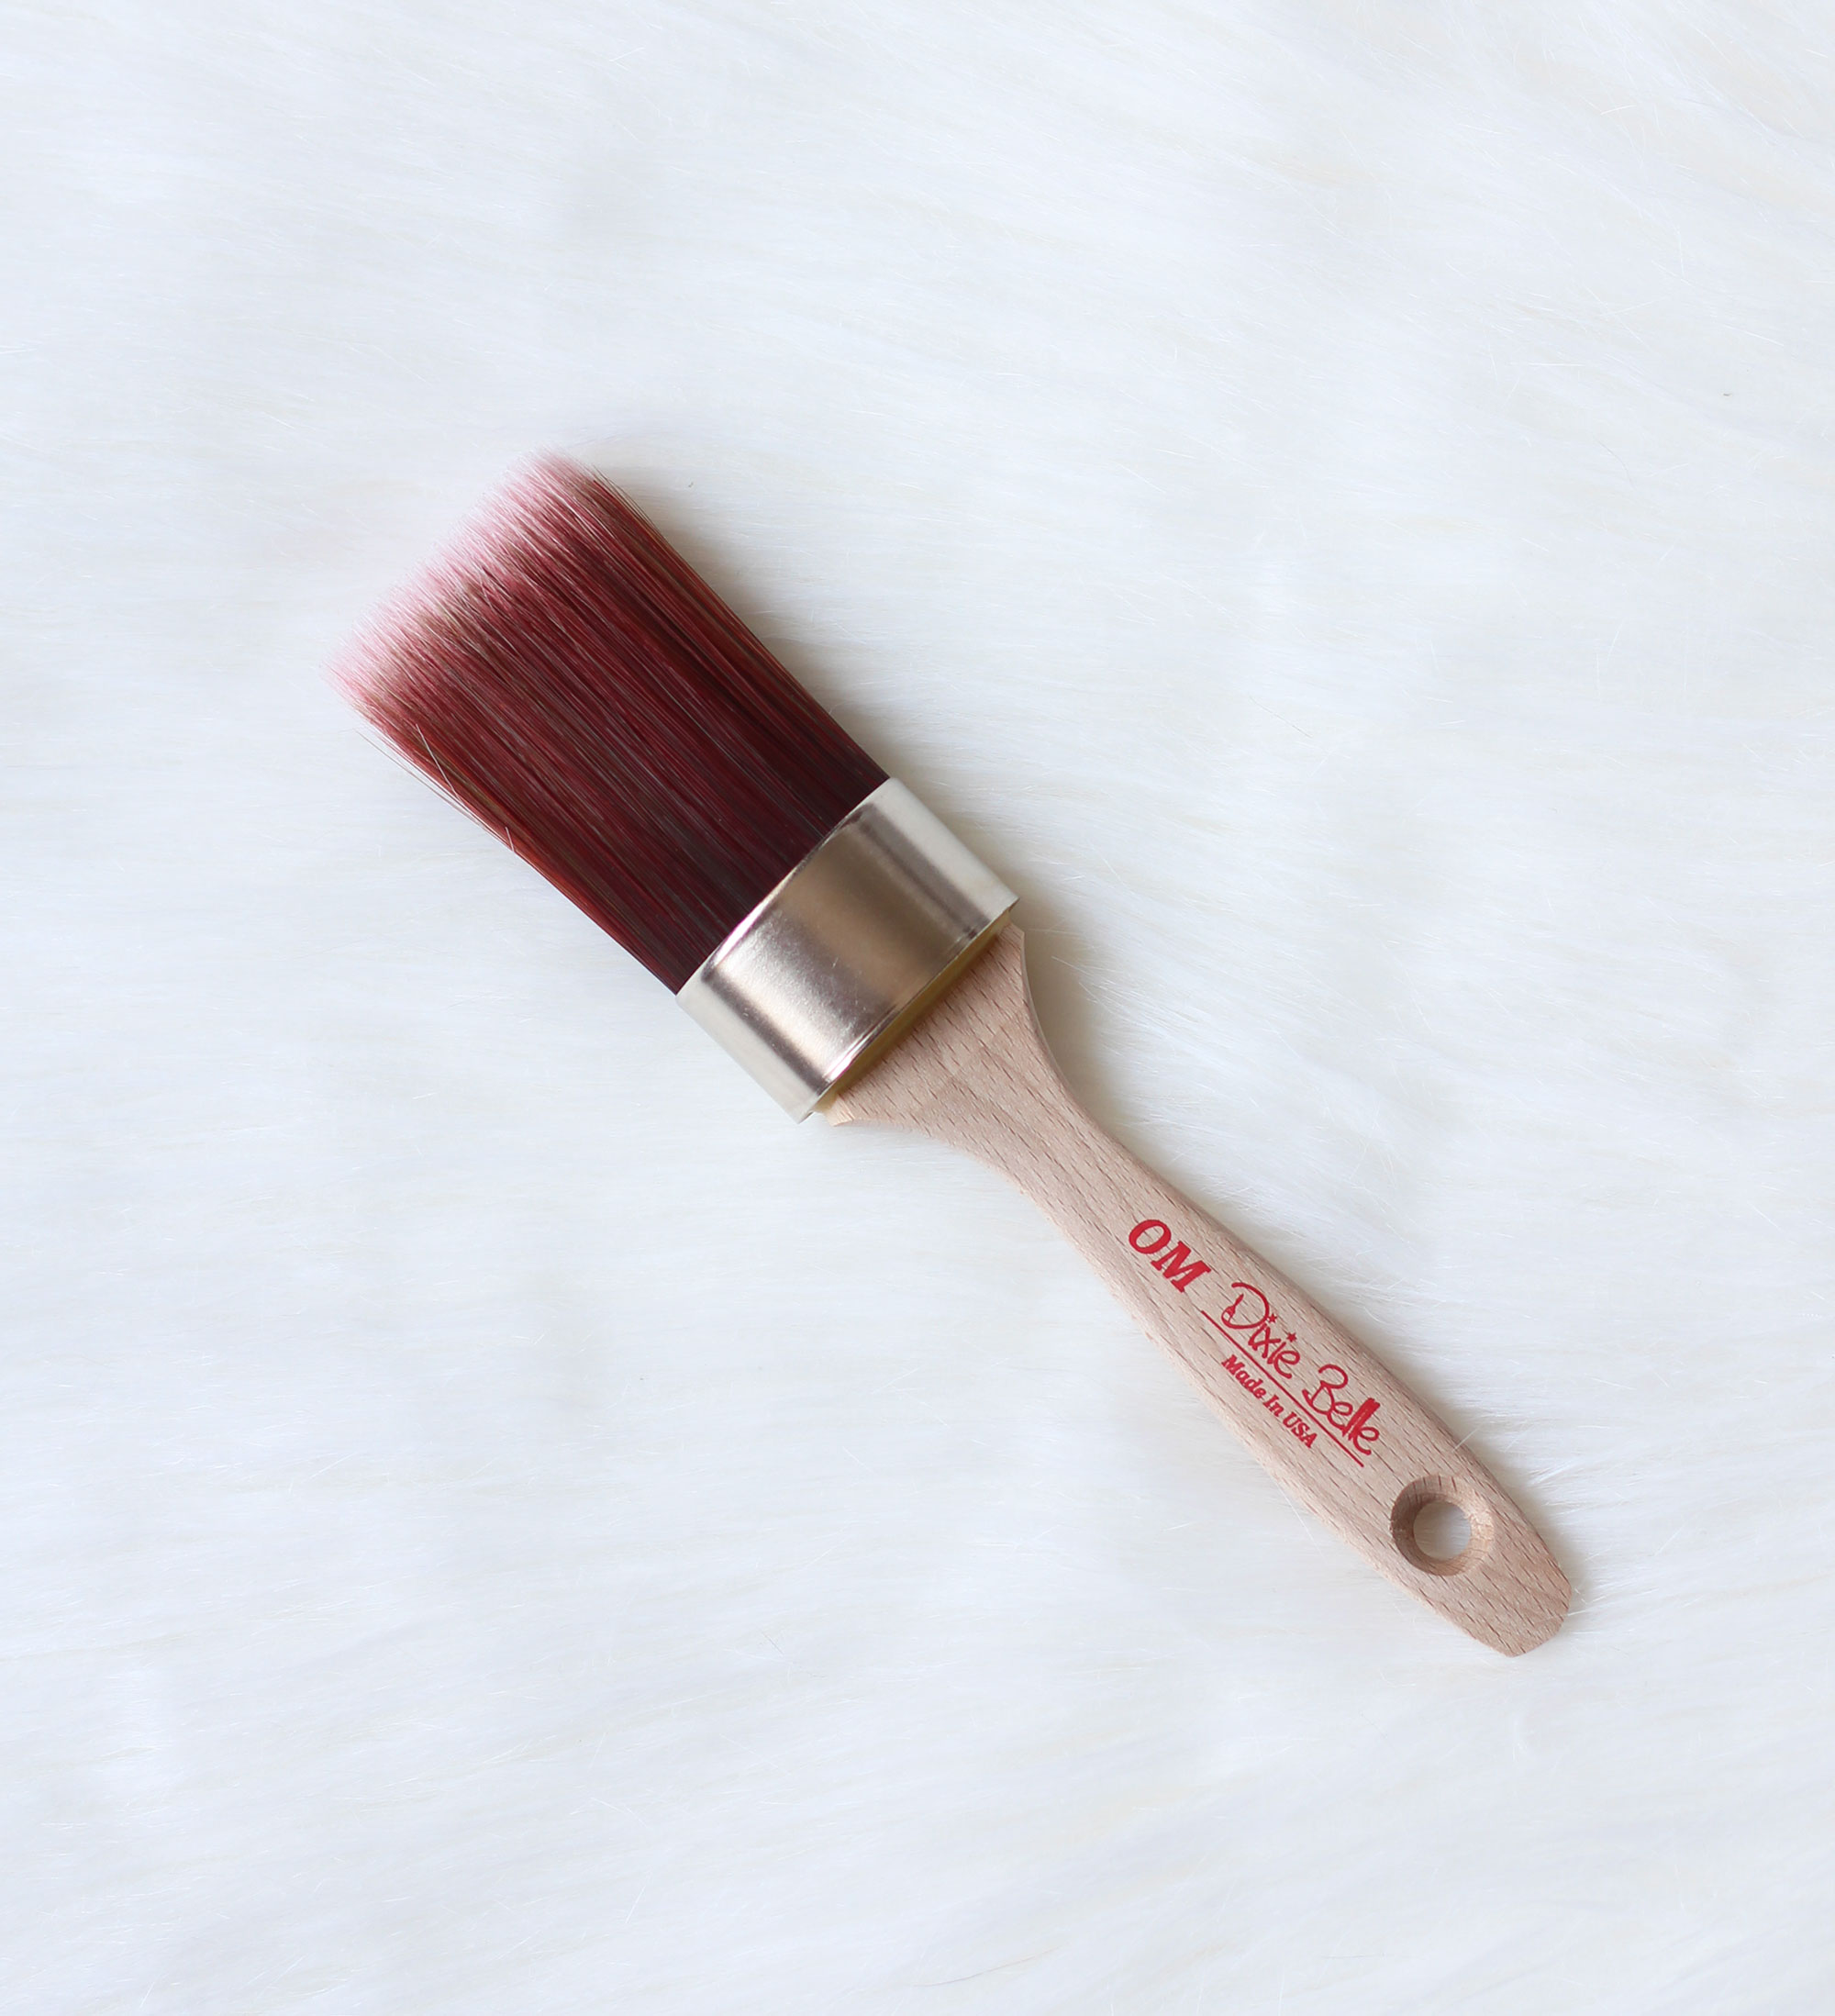
They’re not new, just a bit pricey at $40. That’s why I’ve hesitated to stock them, but I had a request to carry them, so I started with just a few.
And that’s it!
Awesome new stuff and another project complete!
If we were playing Summer Haul BINGO, I just won ha ha!

See any you might have missed at these links!
Four Thrifty Basket Makeovers
Farmhouse Hutch Makeover
How to Repurpose small lamps
How to Repurpose an Old Swivel Mirror
Coastal Dresser Makeover
$5 Bulletin Board Makeover
$3 Thrift Store Basket and Lid Repurposed
Summer Basket Wreath from a $3 Thrift Store Find
$7 Thrift Store Mirror Makeover
Vintage Cane Club Chairs Updated
$6 Thrift Store Shelf Makeover with Transfer
Pub Table Makeover
Becky’s Secretary Desk Makeover
Update a Thrift Store Box with Fabric
$5 Buffet Lamps Updated with Decoupage Paper
Mirror Harp Repurposed
I’ll be back on Thursday with this antique table I picked up an estate sale:
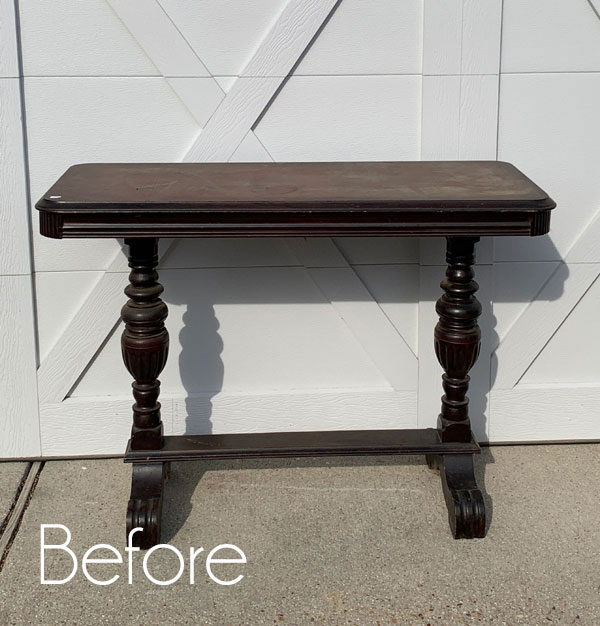
See y’all then!
UPDATE!! See how this pretty antique table looks now here!
XOXO,
![]()
Don’t Miss a Thing!
If you like what you see, there are several ways to follow along!
Email * Instagram * Facebook * Pinterest * Twitter


Mary Kaiser says
I totally love how this cabinet turned out. Once again you have picked the perfect paint colors and the perfect accents for it. That will sell super quick in your booth! I love it!
Christy says
Thank you, my friend! Hoping for a quick sale always ha ha! XOXO
Maryellen Webber says
This cabinet really needed a makeover! It looks beautiful with the hurricane gray and the stenciled wreath. I love the stripes as well! I’m sure this will sell quickly! Have a great day Christy!
Christy says
It sure did! Thanks, Maryellen! XOXO
Cheryl Atkinson says
Hi Christy! I love Hurricane gray. The wreath and grain stripes look so good but if I may suggest something g that I think is missing. Some kind of typography on the bead board. Maybe APOTHOCARY? Or Roycycled decopauge papers has some great ones. Just a suggestion. It looks great as is too.
Christy says
Great suggestion, Cheryl! I considered adding something to the front panel, but I was afraid it might compete with the stencil? It probably would have looked pretty though! XOXO
Christina says
Christy, this cabinet is such a winner! Love the Hurricane grey! Bead board is so charming. Great job with the trim!! Love the stencil and stripes. You made a charmer out of a 1980’s leftover. Sweet!
Have a great week! (Can’t wait to see the table!!)
Christy says
Thanks so much, Christina! Good bye ‘85 for sure lol! Enjoy your week too and I’ll see ya Thursday! XOXO
pc reis says
Great job on the country cabinet! And I LOVE how your pantry turned out, fabulous!! I enjoy seeing all your project befores and afters!
Christy says
Thank you so much! XOXO
Janice Holt says
What a pretty cabinet. The grain sack stripe just makes it. Great color also.
Christy says
Thank you, Janice! XOXO
Paula@SweetPea says
You did a great job with this makeover! It looks so good and I know that it won’t last long at all in your shop.
Christy says
Thank you so much, Paula! XOXO
Toby Peplow says
Love Love Love!!!
Christy says
Thank you, Toby!! XOXO
Ashley says
Went from dead, to alive. Well done!
Christy says
Ha ha thank you, Ashley! XOXO
Cecilia from Georgia says
You put a great deal of work into this project! It turned out fantastic! The stencil looks so good with the grain stripes. Thanks for sharing!
Christy says
I’m so glad you like it, Cecilia! Thank you!! XOXO
Teresa Farrell says
What a transformation. I think she is one of my favorites. Beautiful and useful. Have a great day!
Christy says
Aww yay! Thank you, Teresa!! Enjoy your day too, my friend! XOXO
Sharon L Austin says
I’m not even sure that was 1985, more like 1885, LOL. At any rate, it looks so much better now. Christy to the rescue again!!
Christy says
Ha ha right? Thank you, Sharon! XOXO
Tracey Baxter says
Hi Christy, you are one clever lady. Well done.🌸🎨🌼
Christy says
Aww I appreciate that, Tracey! Thank you! XOXO
Shari Carter says
Oh dear, I so loved the “before” – your stenciling is lovely, but this picture is definitely a keeper — in my unsolicited opinion.
Shari Carter
Christy says
That’s okay, Shari! I knew some would be sad to see her go! XOXO
Mikki Gilmore says
Love this little cabinet! I have one very close to this. I think I’m going to be a copy cat. LOL. I was on your website looking at the sample packs of silk paint, they’re $24.95 there. You show them at $14.95 here. Is there a type-O?
Christy says
Thank you so much, Mikki! Copy away lol! And thank you for catching the typo…it’s all fixed! XOXO
Niki says
Very cute Christy! I like the hurricane grey color. In my house grey is the color of gloom. Everything in my livingroom is one shade of grey or another with aqua and burnt umber accents (it’s time for change) I think the darker charcoal greys add depth. Looking forward to seeing what you do with the antique table, I’m looking for something similar for a console table.
Christy says
Thank you, Niki! This is a great gray and would definitely add some depth! See ya Thursday! XOXO
Sue H Mellette says
Hi! What an amazing makeover. I also like the gray you chose as well as the bead board. The stencil and stipes add the perfect touch. The paper on the back of the door really makes it pop! I am curious, did you finish the inside of the bin/drawer! This piece could be placed anywhere and look great!. Also thank you for the update of your shop. I really need to return and take a nice long look. There are so many colors, stains, tools, etc.
I appreciate all the details you share in your makeovers. They are very helpful and inspiring!
Christy says
I’m so glad you enjoyed this one, Sue! Thank you! I did paint the inside also in the same gray color. I took a photo but it just looked like a dark hole lol. XOXO
Sharon says
Up until now, I have loved every makeover you have done. But I have to tell you I really loved the girl on the cabinet. Wish you would have saved her and just up dated the paint and framed her. Just say’in. Have a blessed day.
Christy says
That’s totally okay, Sharon! I knew some would be sad to see her go. She’s been eyeing me in my workshop for a couple months, so I really wanted to cover her up lol. XOXO
Mandy says
Wow! I love it!
Christy says
Thank you, Mandy! XOXO
Mariele says
I’m a lover of wood and vintage things, yet I still prefer the after. 😉 You did a great job–someone else said you took it from “dead” to “alive” and I couldn’t phrase it any better myself. If anyone is sad about seeing the ol’ dental hygiene ad go, just Google some images, download them, then have them printed at a service like Shutterfly (it’s very inexpensive). Everyone wins!
Christy says
Oh yay! Thank you, Mariele! This gal has been eyeing me in my workshop for a couple of months now, so I was happy to see her go lol! XOXO
Eileen says
Very, very nice madam! I love seeing how you can look at something and visualise it in a totally new way. Well done! x
Christy says
Aww thank you so much, Eileen!! XOXO
Addie says
Like the new color choice. My first thought was you were going to put a mirror on the front but new mirror can be expensive. Is the girl still under there? She was cute!!!! If that was a repro not big deal….if it was original maybe not a good idea to remove it.
Christy says
Thank you, Addie! You know…as I was setting it up to take photos, it occurred to me that it would be great with a mirror in it! She is still under there and definitely a repro! XOXO
Larissa ~ Prodigal Pieces says
So super cute!
Christy says
Thanks, Larissa! XOXO
shelly bartz says
Love this! Great job!
Christy says
Thanks so much, Shelly! XOXO
Phyllis says
As always, beautiful. So much better than the ‘before’.
Christy says
Thank you, Phyllis!! XOXO