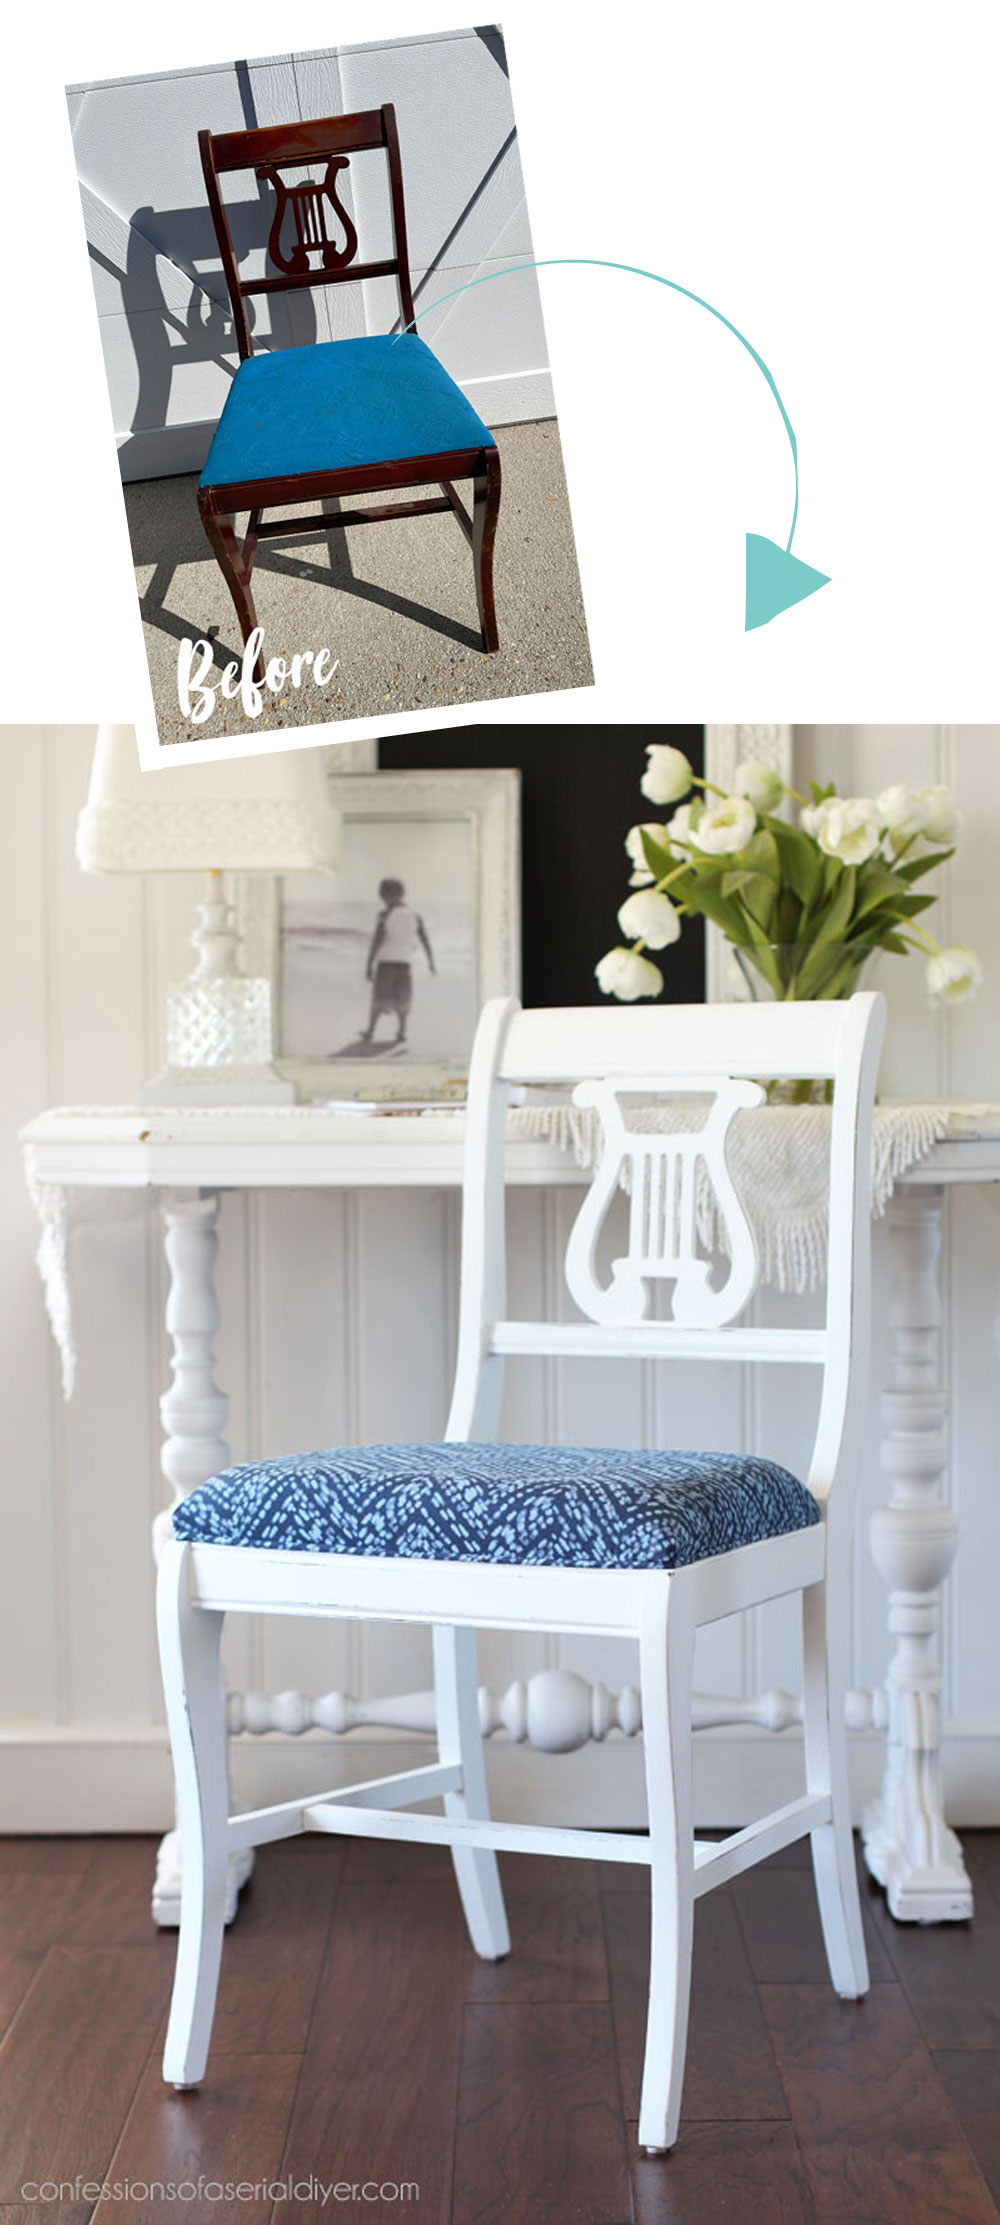
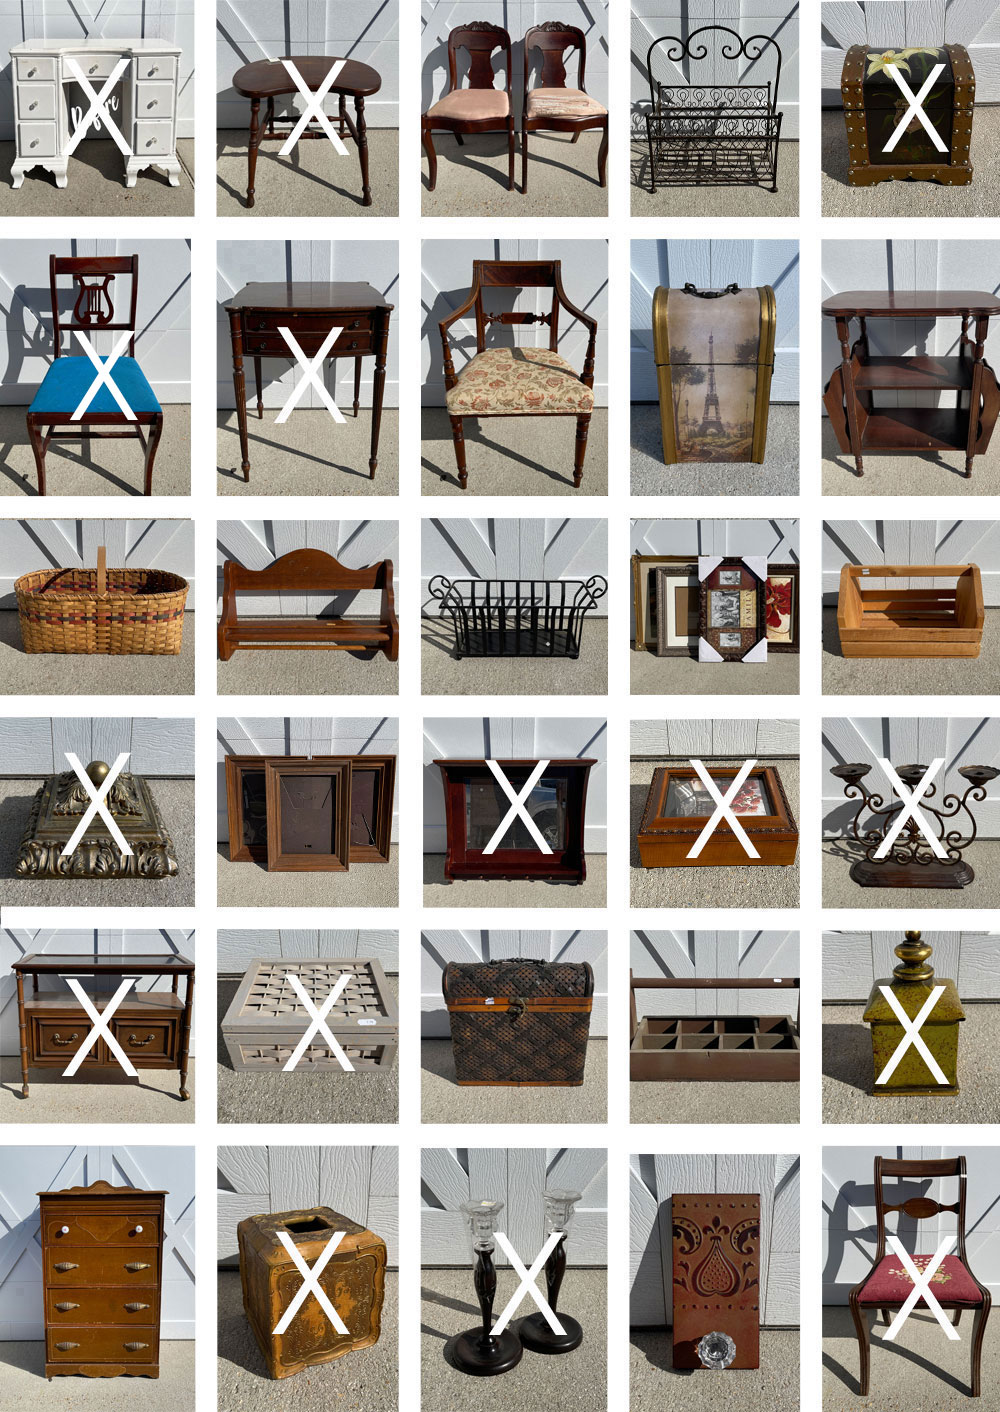
Hello dear friends! I’m steadily working through my latest haul, and today I’m back sharing what I did with this freebie chair I scored:

It was one of two I came upon outside the antique mall where I have my booth:

If you missed how I repurposed the other chair, you can see that HERE!
I’ve included a few affiliate links so you can find the products I love.
Did this one stay a chair??
Yes!! Unlike the other chair, this one was quite sturdy and so I decided to keep it as a chair.
After dropping off this desk I redid at my booth, I knew I needed to paint a chair to go with it!
Prep
I almost always start with a good cleaning, but this chair had quite a few bumps and bruises, so I started instead with sanding all those rough edges with a sanding sponge…
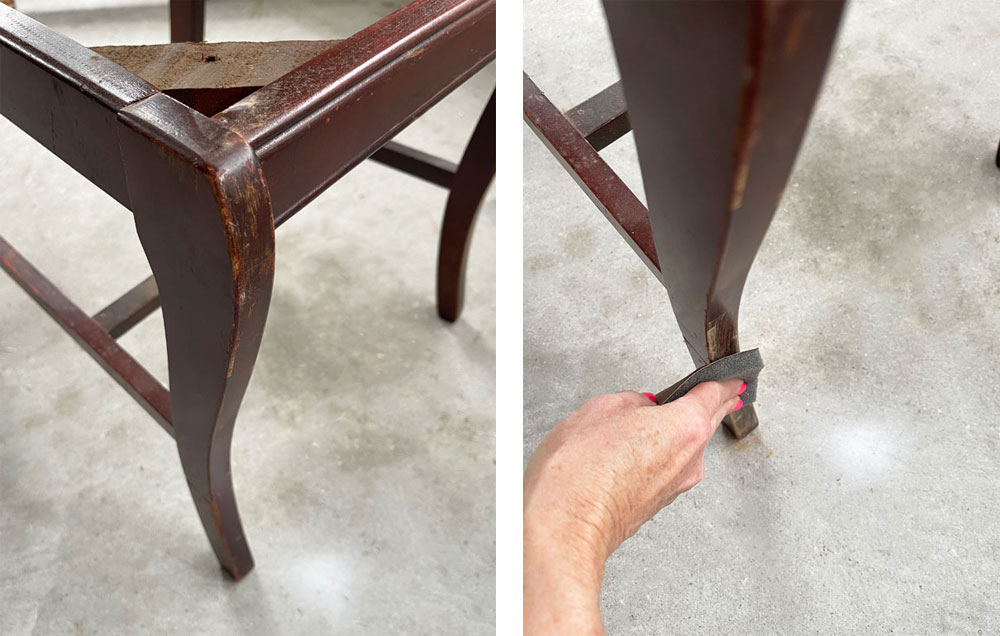
Then, I was ready to clean! I used my tried and true White Lightning. I mixed one scoop of White Lightning with a half gallon of warm water and gave this chair a good wipe down all over:
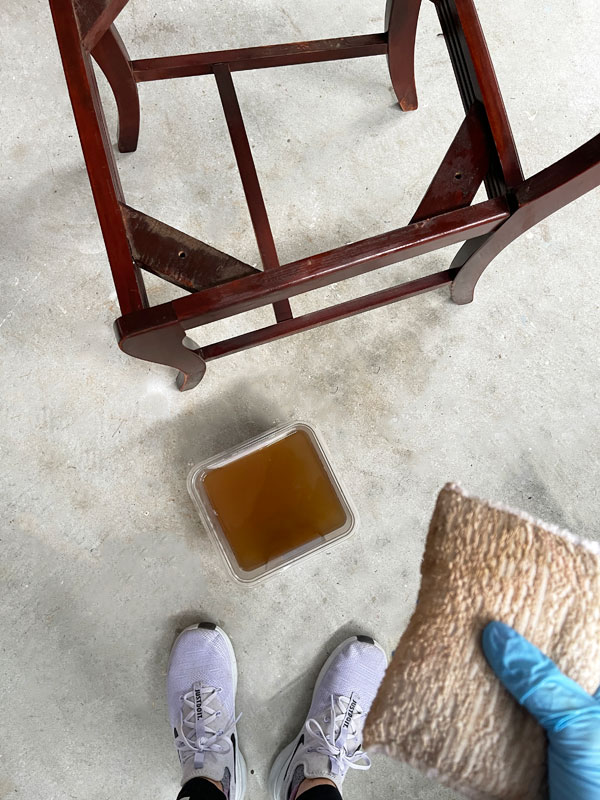
That brown water and the color of my sponge are good indicators that this thing is going to bleed! I swapped out my water for clean water and wiped it down once more to rinse any dirt and residue left behind.
BOSS
I primed with white BOSS since this is an older piece with those wonderful red tannins that love to bleed through:

I left it to dry overnight.
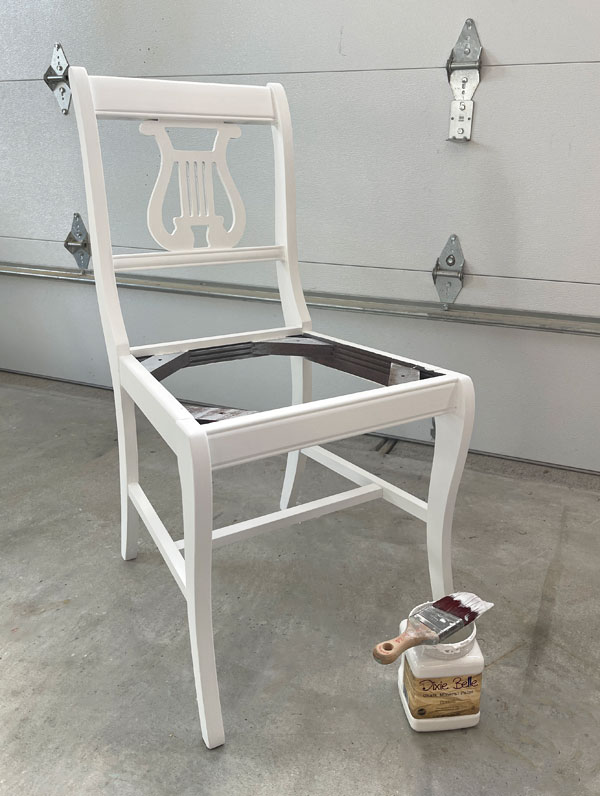
Paint
The next day, I gave it a coat of Cotton white and noticed that I was still getting a bit of bleed in a few areas, so I spot primed again with the white BOSS. I rarely have to do more than one coat, but every once in a while, I run into a stubborn piece!
I left it to dry most of the day and then followed up with another coat of Cotton and I was good to go:
Recovering the Seat
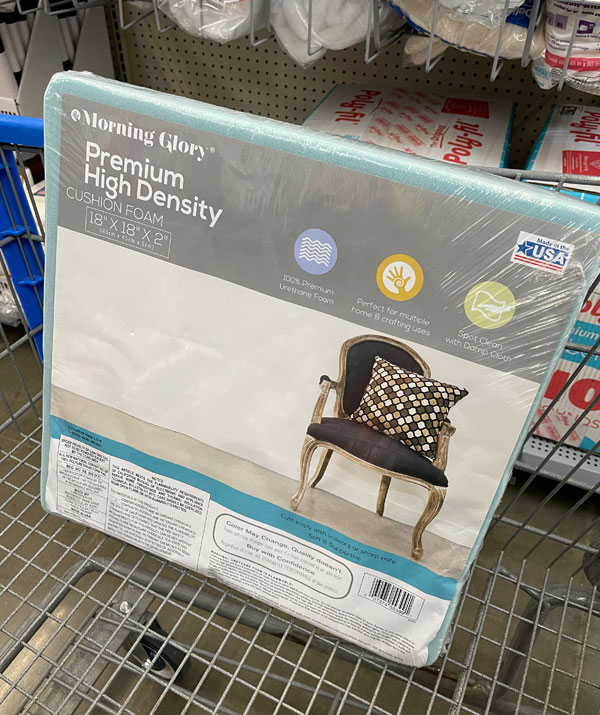
While that was drying, I headed to Walmart to pick up a few things I would need for recovering the seat:
A square of foam:
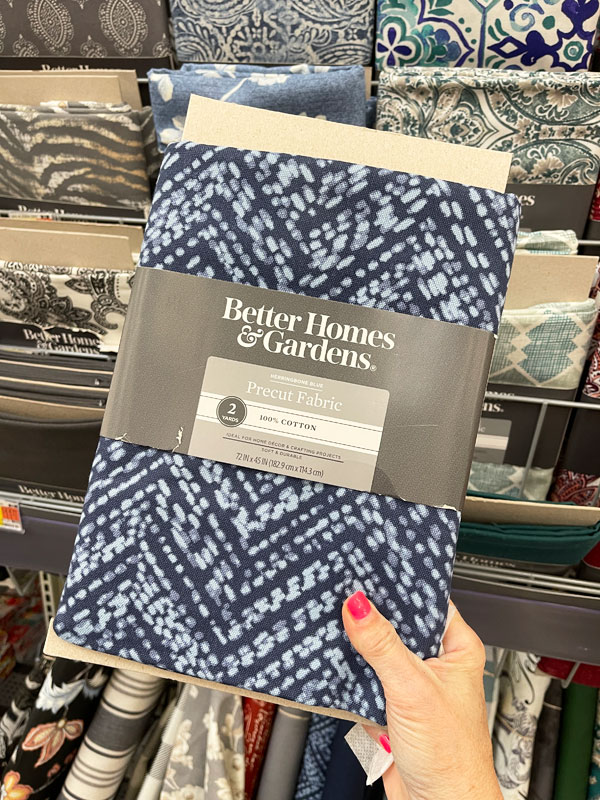
Pretty new fabric:
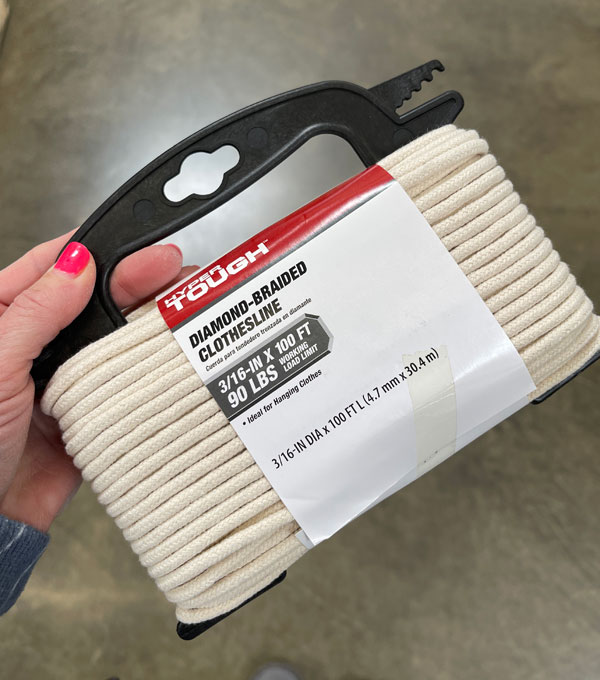
And some cotton cording that I could use for the piping:
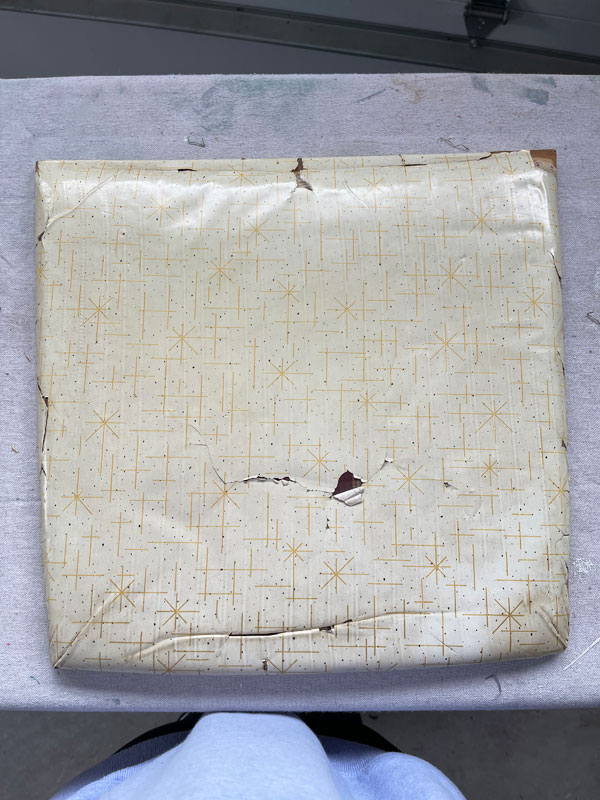
Then, it was time to see what was under the seat fabric…always a fun experience to see what is under there!
Here is what was on the outside to start:
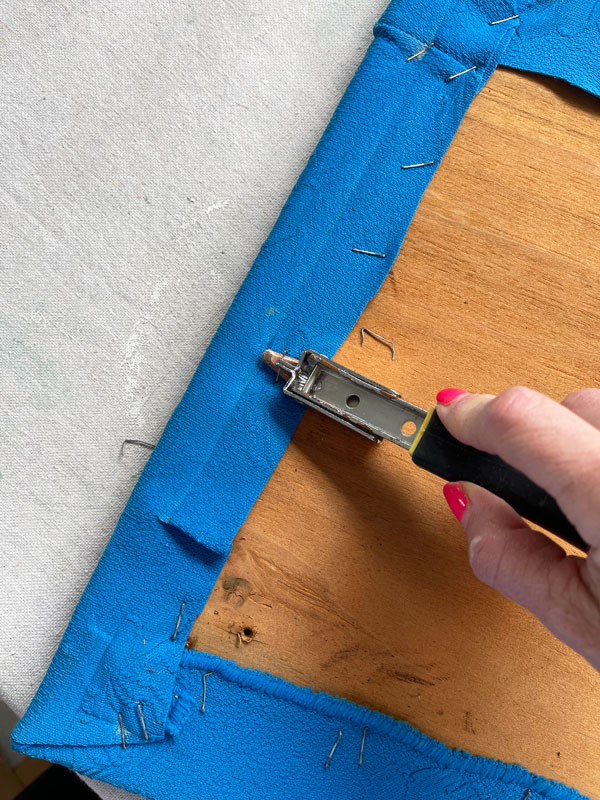
I used this handy tool to remove the staples:
The seat felt crunchy, so I thought I was going to find a plastic covered seat underneath.
I couldn’t believe what it actually was under there…
That’s contact paper!
What the??
I might be even more baffled that the person who covered over it didn’t remove it first ha ha!
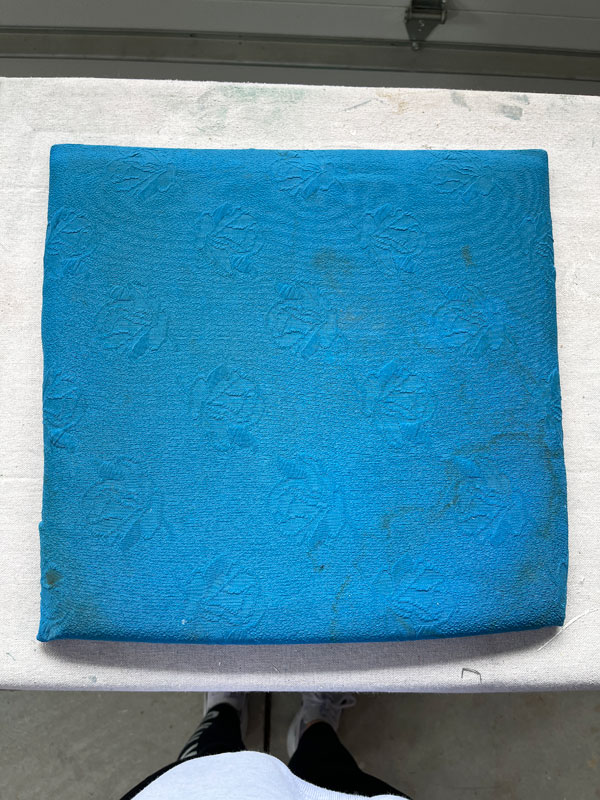
I pealed that layer away to reveal this burgundy and gold stripe:
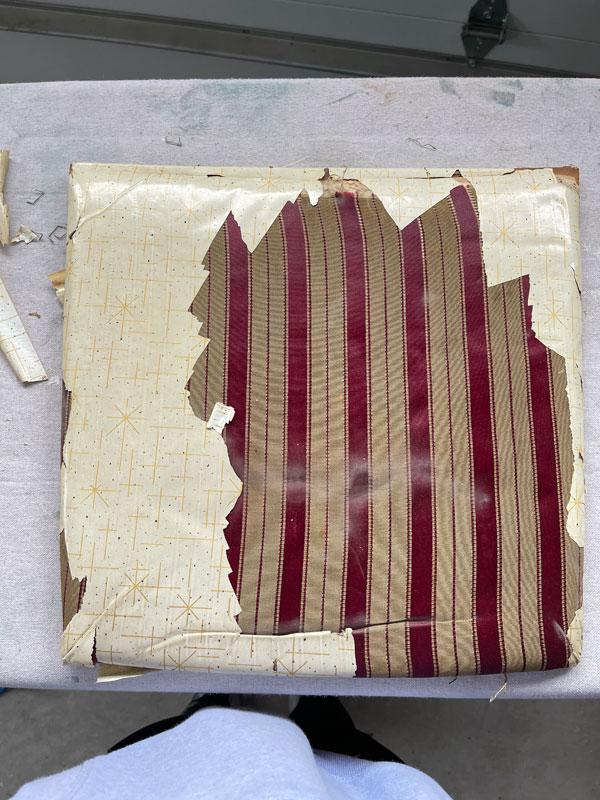
I’m not sure if this was the original fabric or not, but it was the last layer.
It had a thin layer of batting underneath which I tossed and I was left with the wooden base:
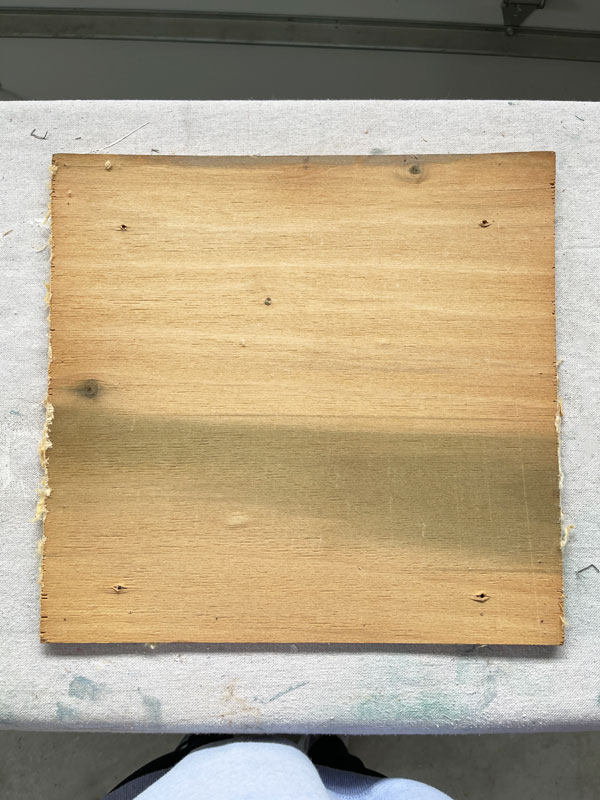
After tracing the wood onto the new foam, I used my electric carving knife to cut it:

This is the easiest way to cut foam..it goes through it like butter! I picked mine up a thrift store for a few bucks several years ago.
I usually add a layer of batting over the foam to soften the edges, but I didn’t realize I didn’t have enough left until I got home and so I proceeded without it this time.
See my detailed tutorial for replacing chair cushions HERE!
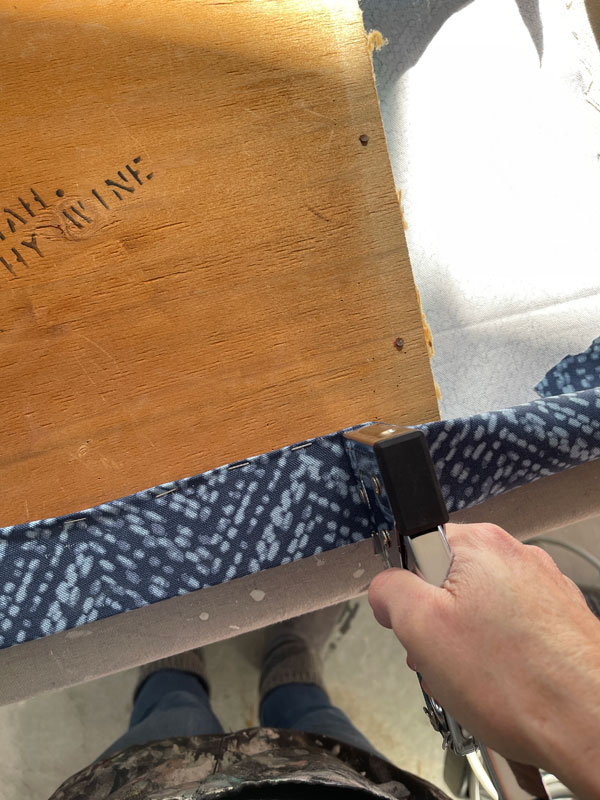
I used my cheap staple gun to apply the new fabric to the chairs:
I like to finish off my chairs with piping. I think it really adds to the finished look. If you can sew a straight line, you can totally make piping!
See my sew and no-sew tutorial for making that HERE.
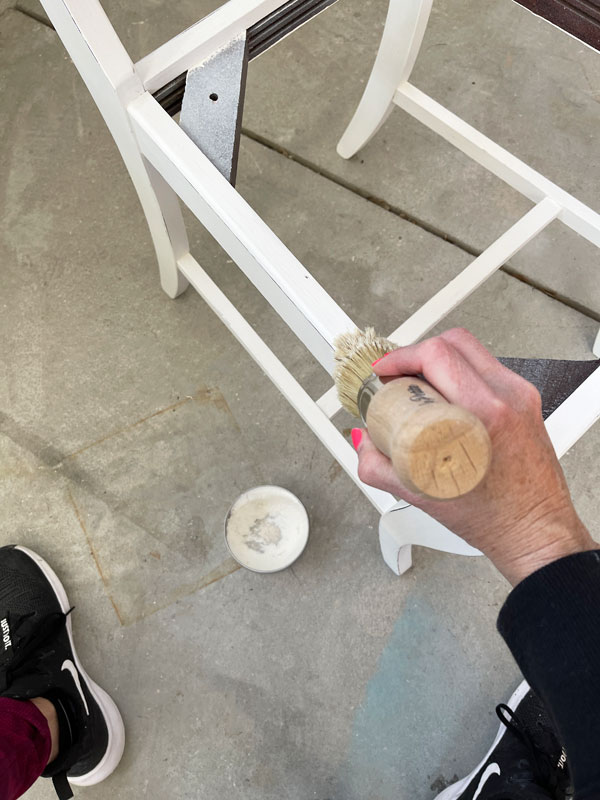
Seal
I chose to seal with Best Dang Wax in clear for this chair. I applied it with my La Petite wax brush:
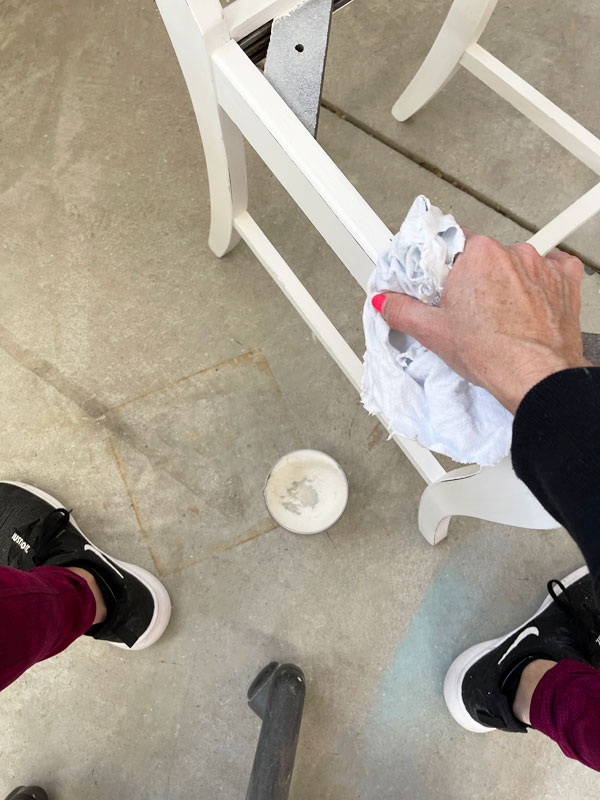
Then I buffed it in and buffed away the excess with a clean soft cloth:
All that was left to do was add the chair seat back to the frame with the screws I had removed earlier and this chair makeover was complete!
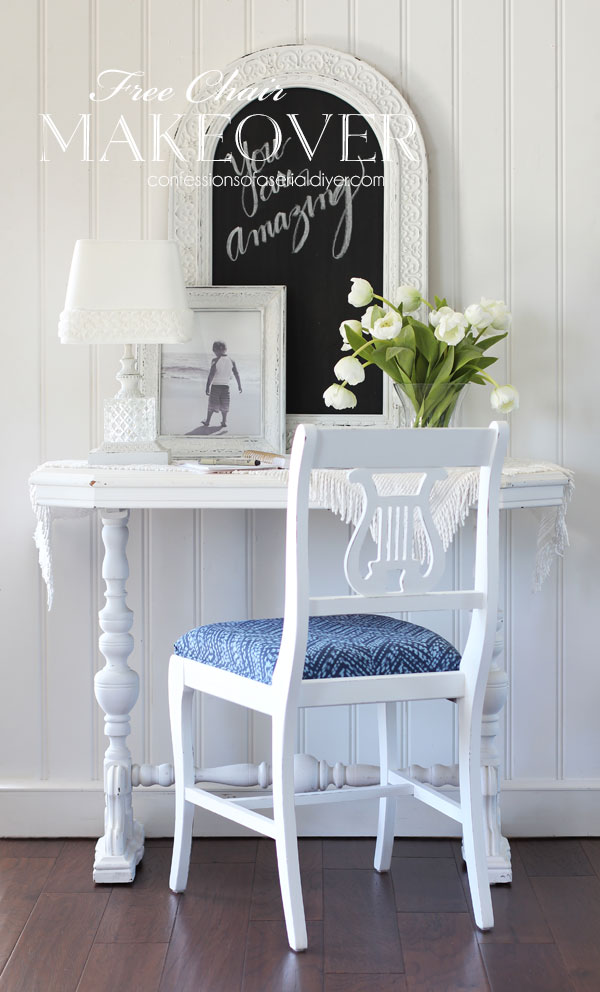
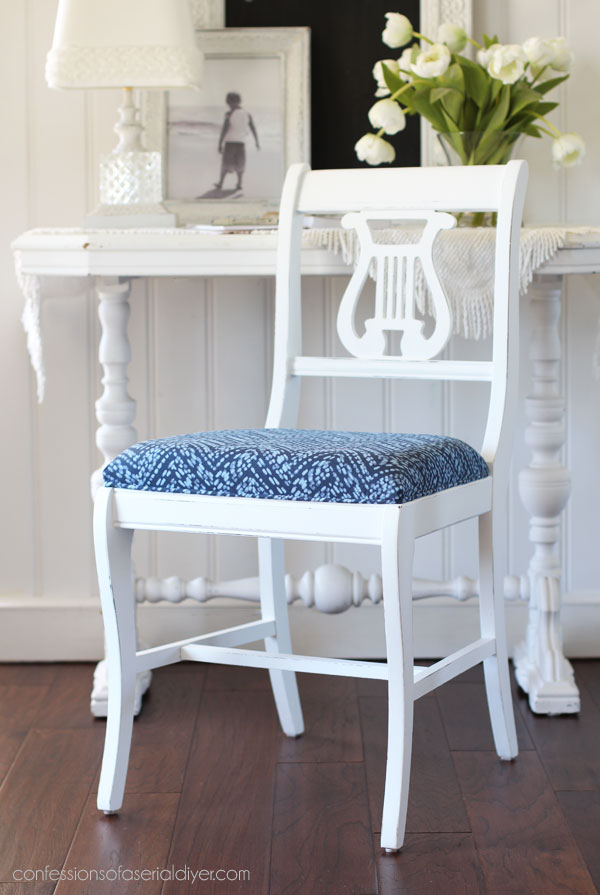
The After
Here is how this free-to-good-home chair turned out:
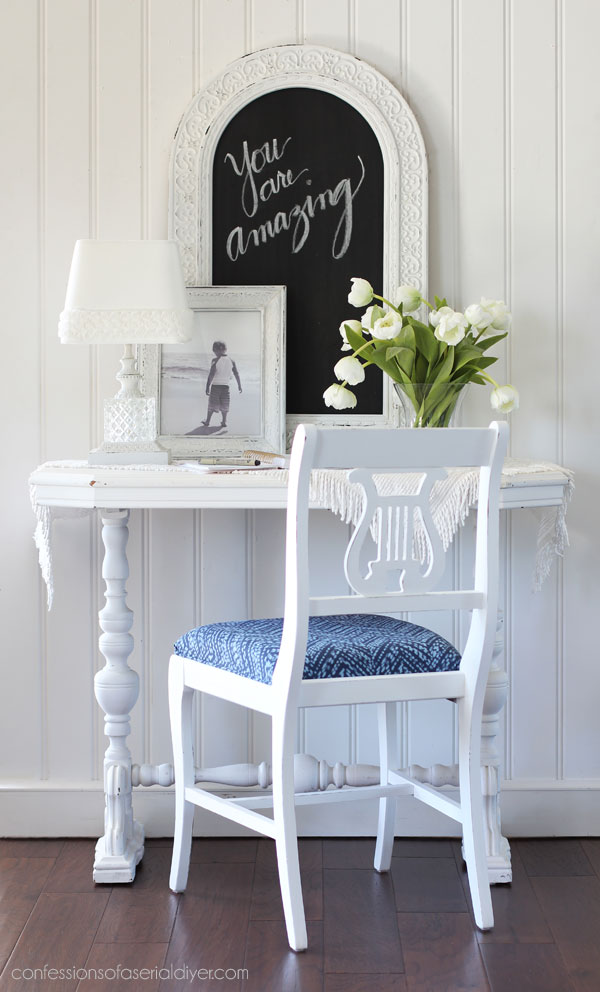
And here is another peek at the desk I am pairing it with:
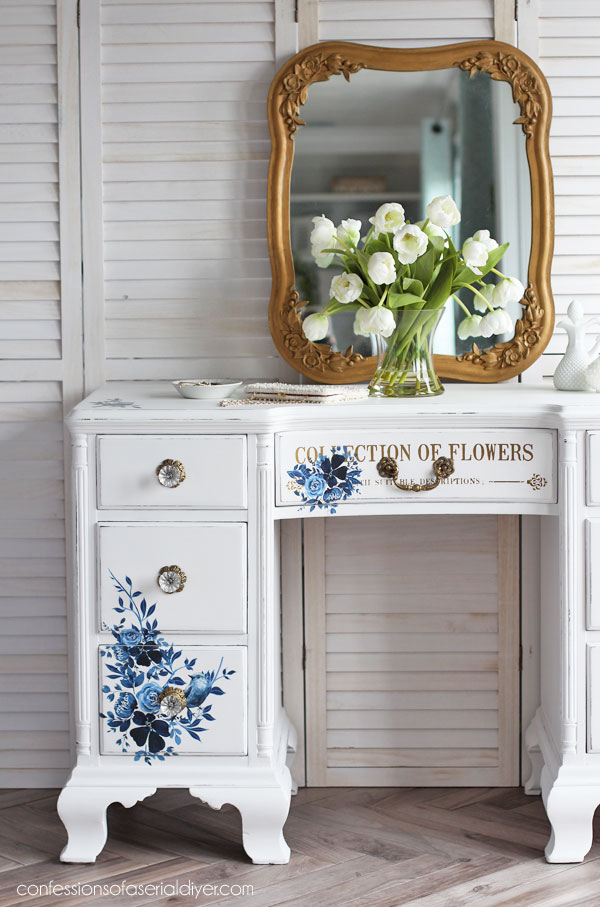
I matched the fabric to the Pretty in Blue transfer that I used on the desk:
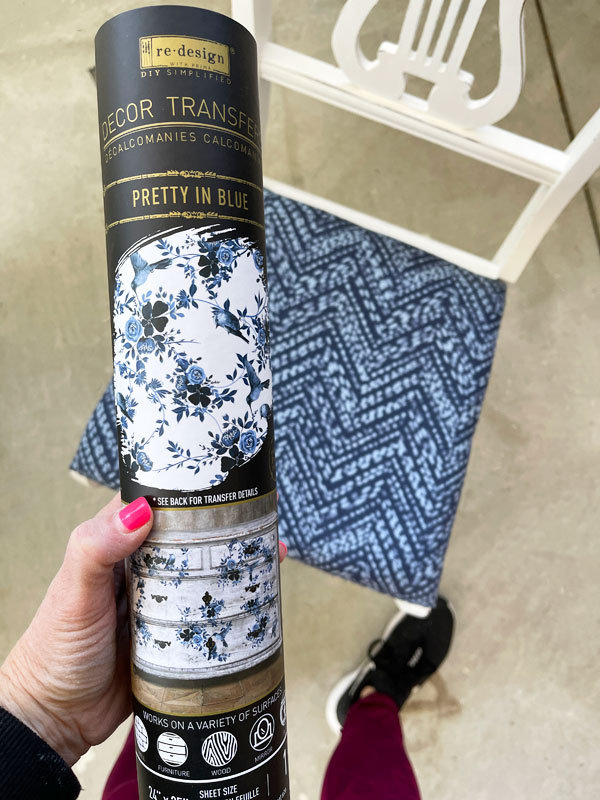
Perfect, considering my choices at Walmart were limited!
Here they are together in my booth:
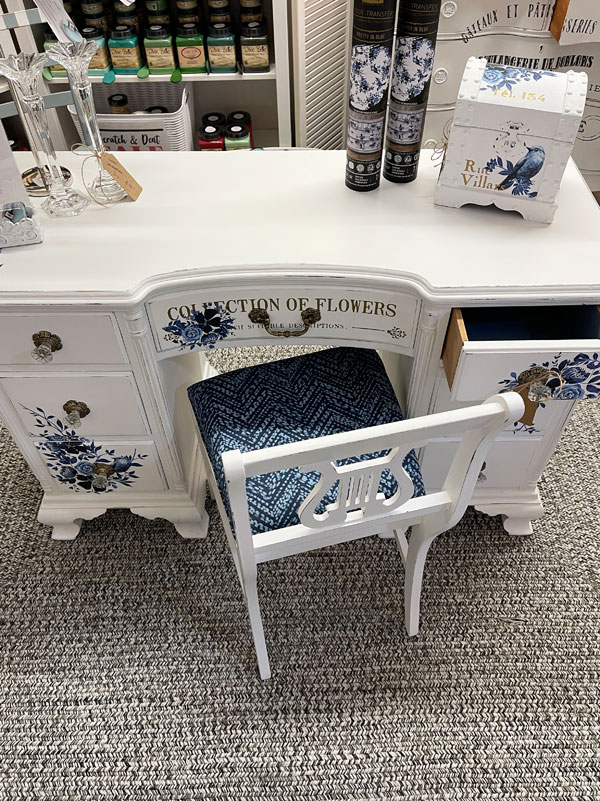
Such a good match, right??
What a difference a new cushion makes!
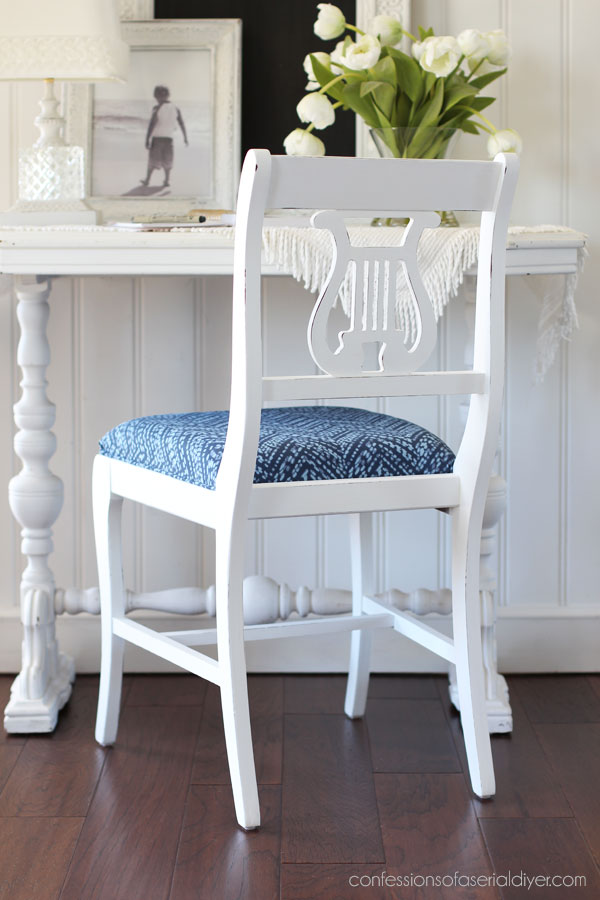
The original one was almost nonexistent.
I did distress this one here and there, but nothing too crazy at all.
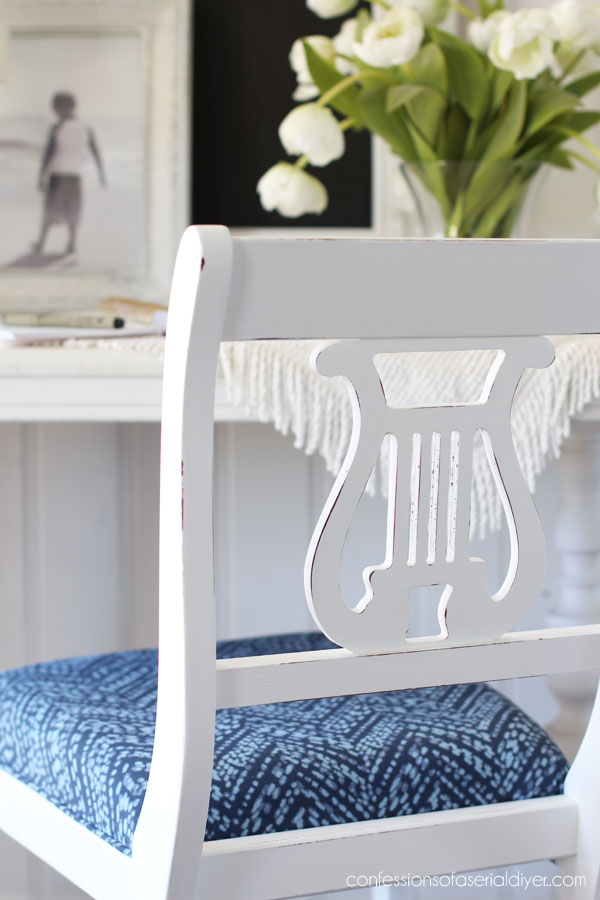
Just enough!
Here is a front view:
The piping really adds to the finished look…
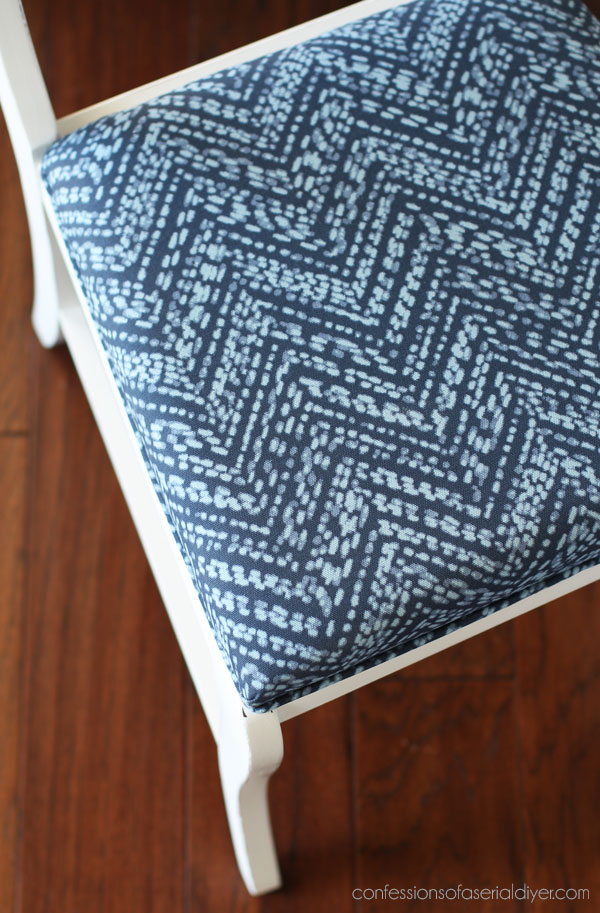
Not too bad for a chair that was being given away!
I can’t wait to take it to meet its new buddy in my booth!
One more done yay!
See what I’ve redone so far at these links:
Vintage Stool Makeover with Terra Clay Paint
Mini Basket Box Makeover
Mirrored Wall Shelf Makeover
Rolling Buffet Makeover
Painted Antique Side Table
Pretty in Blue Box Makeover
A Great way to Repurpose a Chair
Painting the Smalls #20 (Six mini makeovers!)
White Painted Desk with Transfer
Meet me back here on Tuesday to see what I did with this tri0 of frames!
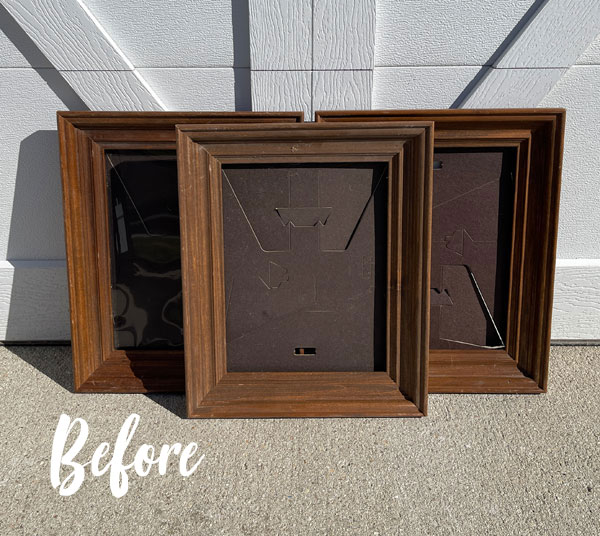
UPDATE: See what I did with these frames HERE now!
Have an amazing weekend!
XOXO,

Don’t Miss a Thing!
If you like what you see, there are several ways to follow along!
EMAIL * INSTAGRAM * FACEBOOK * PINTEREST


Get FREE SHIPPING on all orders over $50. No code needed at checkout! Orders under $50 always enjoy $8 flat rate shipping! Most orders ship same or next business day!


Mary Kaiser says
Oh it is so pretty now! That will be so nice with the desk your pairing it with. They will be such a beautiful couple! That is so great that it got it for FREE!!!
Christy says
Thank you, Mary! I just couldn’t pass up free chairs lol! I can’t wait to take it to my booth! XOXO
Janette says
Love it, it looks beautiful and the fabric you chose is perfect. Got to say I think we will all be more than surprised as to what was under the layers of that seat…you have to wonder about folks :))xx
Christy says
Thank you, Janette! Right? That was such a funny find under there! XOXO
Cecilia says
Lol, contact paper! Whatever were they thinking? Stain proof? Easy cleanup? That’s a first. Too funny. As for the makeover, it looks wonderful. I hope you share a picture of it with the pretty desk. They should compliment each other perfectly!
😊Cecilia
Christy says
Ha ha right?? I guess you have to do what you can do, but I think I was more surprised that it wasn’t removed when they recovered them again lol. Thank you, Cecilia! I’ll be sure to take pictures when I drop it off. XOXO
Jane Prey says
Love the chair! How did you make the piping?
Thanks!
Christy says
Thank you, Jane! I linked to my piping tutorial, but you can see that here: https://www.confessionsofaserialdiyer.com/how-to-add-piping-to-dining-room-chairs/ Super easy! XOXO
Ginny says
How did you attach the piping?
Christy says
Hi Ginny! I linked to my piping tutorial which shows how I usually attach it with hot glue here: https://www.confessionsofaserialdiyer.com/how-to-add-piping-to-dining-room-chairs/ But, this time I just used my staple gun! XOXO
Shelley says
Very well done! Of course, I love the blue and white palette, but your simple creativity here is just lovely. I love you taking something that could be a giveaway or throwaway and making something that will be special to someone for many years to come.
Christy says
Thank you so much, Shelley! It is such a treat for me to bring these forgotten pieces back to life! XOXO
Niki says
Nice! The blue fabric against the bright cotton white just looks so good, and the piping does finish it off perfectly.
Christy says
Thanks so much, Niki! XOXO
sharon austin says
Looks great! I actually love that contact paper, it has such a vintage vibe.
Could think of better uses for it though, lol! Walmart has great prices on fabric, but not a lot of selection (at least mine doesn’t). Quick question: do you wash the fabric first? I’m always torn as to whether that’s really needed or not when using it in a crafting sense.
Christy says
Ha ha! Thank you, Sharon! My Walmart is limited too, but they do have decent options. For something like this, I don’t wash the fabric first, but for something that will be washed in the future like slipcovers, I definitely do just to get all the shrinkage out of the way before starting. XOXO
Diane McCormick says
Christy, it’s beautiful! I’ve had the identical chair for years. It’s been waiting in my stash for a makeover to serve as an extra dining room chair. And, mine has the same striped fabric on the seat, so perhaps it is original! You’ve inspired me to bump this one up in the queue. Can’t wait to bring it back to life! Thanks for all you do.
Christy says
Thank you, Diane! Awesome!! It does say “Cathy wine” on the bottom so I thought that may be referring to the fabric, so it probably was. Thanks for sharing that and good luck with yours. It’s going to be so cute! XOXO
Amanda says
This chair turned out lovely! I never thought it could be pretty, considering its original look! Good work!
Christy says
Thank you, Amanda! I often underestimate what something can be too, so it’s always a nice surprise when it turns out so cute! XOXO
Susan Drewelow says
I can tell you without a doubt that the maroon and gold stripe fabric was the original fabric. My mother’s dining room set had those exact same chairs and I remember that fabric well!
Christy says
Thank you, Susan! Someone else just confirmed also…great to know! It was the best of all the layers for sure! XOXO
Sue Carole McCombs says
Hi Christie, I found a surprise in a small stool I purchased at a local flea market.
When I removed the fabric it had a huge layer of horse hair laying there. I looked it up and article said stopped using horse hair in upholstery in 1900. Guess I found a real “antique”. It is so cute. I’ll post when I redo it.
PS My sprayer is working great, I’m planning on buying 2 more. I figured it was just operator error lol.
Christy says
Oh yes, you found a real oldie! I redid a chair a few years ago that had horsehair and springs in it here: https://www.confessionsofaserialdiyer.com/thrift-shop-shakedown-5-my-10-chair-makeover/ Funny to see how things have evolved over the years! Glad you are enjoying your sprayer! XOXO
Janice Holt says
Oh the secrets that are hidden under upholstery!! New one on me; never have seen contact paper. Don’t you know that looked pretty. It did turn out so well and the blue matches the transfer on the desk perfectly. Another beautiful job. Have a great week-end.
Christy says
Ha ha, right? That is a new one for me too lol. Thank you, Janice! I hope you have a lovely weekend too! XOXO
Denise Zdziennicki says
Oh those layers were so interesting…lol! Love the new look of this chair and it’s going to look GORGEOUS with that blue floral desk! XOXO
Christy says
Thank you so much, my friend! I can’t wait to take it to my booth! XOXO
Laura C. Minor* says
Absolutely beautiful. You make the old look new. Love your fabric choice for the seat cover. You have an eye for these things.
Christy says
Thank you so much, Laura! I’m so glad they had a fabric that worked so well! XOXO
Cyndi says
That is beautiful! (And I had no idea that Walmart sells those foam chair cushions. I need one of those for a project I’m going to be working on!)
It will go perfectly with that desk you’re pairing it with. I hope you will post a pic! 🙂
Christy says
Thank you, Cyndi! Yes…they are really reasonably priced too! I’ll take pics when I drop it off…good luck with your project! XOXO
Lizzy says
It’s beautiful!
Christy says
Thank you, Lizzy! XOXO
Marietta Walker says
I freakin’ love that blue and white together. It came out perfect.
But now you have to get a pic of the chair with the desk, please. I feel incomplete.
Christy says
Ha ha! Thank you, Marietta!! I dropped it off yesterday and took a picture for ya! Will share on Tuesday! 🙂 XOXO
Marietta Walker says
Yay!
Debbie says
okay, you have me motivated. I literally have 3 chairs that need to be recovered, plus a chair that has wood arms and an upholstered back. What kind of batting do you use….when you use it? Thanks!
Christy says
Oh yay! I just use regular quilt batting. I linked to a more detailed post on redoing the seats in my post that should be helpful. Good luck with yours! XOXO
Caye Cooper says
Very fresh and appealing. Bet it won’t last long in your shop. Great job!!!
Christy says
Thank you, Caye! I dropped it off yesterday…it looks so cute with the desk! XOXO
Vicki says
Absolutely beautiful in blue and white, a match made in heaven! Love the turned legs on the desk. I need to check out your tutorial on making and attaching piping. Recovering chair/stool seats is one of my favorite projects, and Wal-Mart has a good selection of decor weight fabric! Thanks for sharing!
Christy says
Thank you, Vicki! That is a super old post but good info! And yes, I love that I don’t have to drive across town to the fabric store for fabric since the Walmart has such a decent selection and it’s close by. XOXO
Petra says
Utterly gorgeous – blue and white for the win 💙💙💙
Christy says
Thank you, Petra!! Have a fantastic weekend! XOXO
Cheryl Atkinson says
Hi Christy! Your chairs always come out so pretty. I am very curious about what you are going to do with the three frames. I have a feeling I know but we shall see.
Christy says
Thank you, Cheryl! I am curious too ha ha! XOXO
Janet says
Hi Christy-Goodness, I just love your makeovers! That desk is just gorgeous, and your free chair is icing on the cake! You always do such a beautiful job.
I need to recover my 1920’s dining seats. They are hard as a rock and need some kind of foam (I want them to be soft, squishy, and comfy). Is the foam you show here a good foam for that, or is there something else you would recommend?
Looking forward to your next makeover….
Janet
Christy says
Aww thank you so much, Janet!! Yes, this foam is ideal for your dining chairs! XOXO
Karen Moore says
What an improvement! Great pairing. I bet the contact paper was for easy clean up. Obviously function over style. lol
Christy says
Thank you, Karen! Ha ha yes! XOXO
p says
So pretty now !! That contact paper was a real ‘find’ for sure 🙂
That will look great with your desk. Pretty fabric.
Question: You mentioned adding clear coat later. Can that be used over a wax finish ? I thought that was incompatible…?
I’ve used Annie sloan products in the past, maybe that’s where I heard
that … ?
As always – Your tutorials are wonderful.
Thanks !
Christy says
Thank you so much, P!! Dixie Belle wax is water-based and therefore can be sealed with the Clear Coat as long as the wax is dry. The AS wax is oil-based, so you would need to remove the wax with mineral spirits before sealing with a water-based sealer. If the wax is stinky, you know it’s oil-based. I hope that helps to clear that up! Enjoy the rest of your weekend! XOXO
p says
Ohhhh ! That makes sense.
Thanks so much for your reply.
I learned something new today 🙂
Christy says
You’re so welcome! Have a great week! XO
Michele M. says
Oh wow – that is so hilarious – Contact paper? And they left it??? LOL.
You took trash to treasure to new heights with that beauty. Do us a favor and when it is paired with that gorgeous desk let us see how nice they look together, please. What a perfect duo. Well done, Christy.
Christy says
Ha ha right? That was a new one for me! Thank you so much, my friend!! XOXO
Ewa says
Jak zwykle pięknie , dokładnie – po prostu uroczo 🙂 A że jestem wielkim fanem bieli i błękitów , ten skromny projekt po prostu trafia do serca 🙂
Christy says
Tak się cieszę, że Ci się podoba! Bardzo dziękuję! XOXO
Jackie C says
Hi Christy, this turned out really pretty! Haha I’m still laughing at the contact paper! I didn’t realize you could clear coat over wax. Good to know. Do you need to allow the wax to dry or set-up somewhat prior to buffing? The piping makes all the difference in the world.
Christy says
Thank you, Jackie! Right?? That was a first ha ha! And yep, as long as the wax is not oil-based. If it’s stinky, it’s oil-based. Dixie Belle’s wax is water-based and you don’t have to let it set up before buffing. I apply to a good sized area and then go back and start buffing. XOXO
Phyllis says
Gorgeous chair. Love your choice of fabric.
Christy says
Thank you, Phyllis! XOXO
Deb says
Christy, I found this exact same chair at our church yard sale. I remembered seeing your makeover post of the chair you found, so I had to take it home. This will be my first attempt at a chair makeover. I will use your process and tutorials to guide me. I hope my chair turns out half as nice as yours! Thanks for sharing your work!
Christy says
Oh awesome! I’m sure you will make it beautiful…good luck!! XOXO