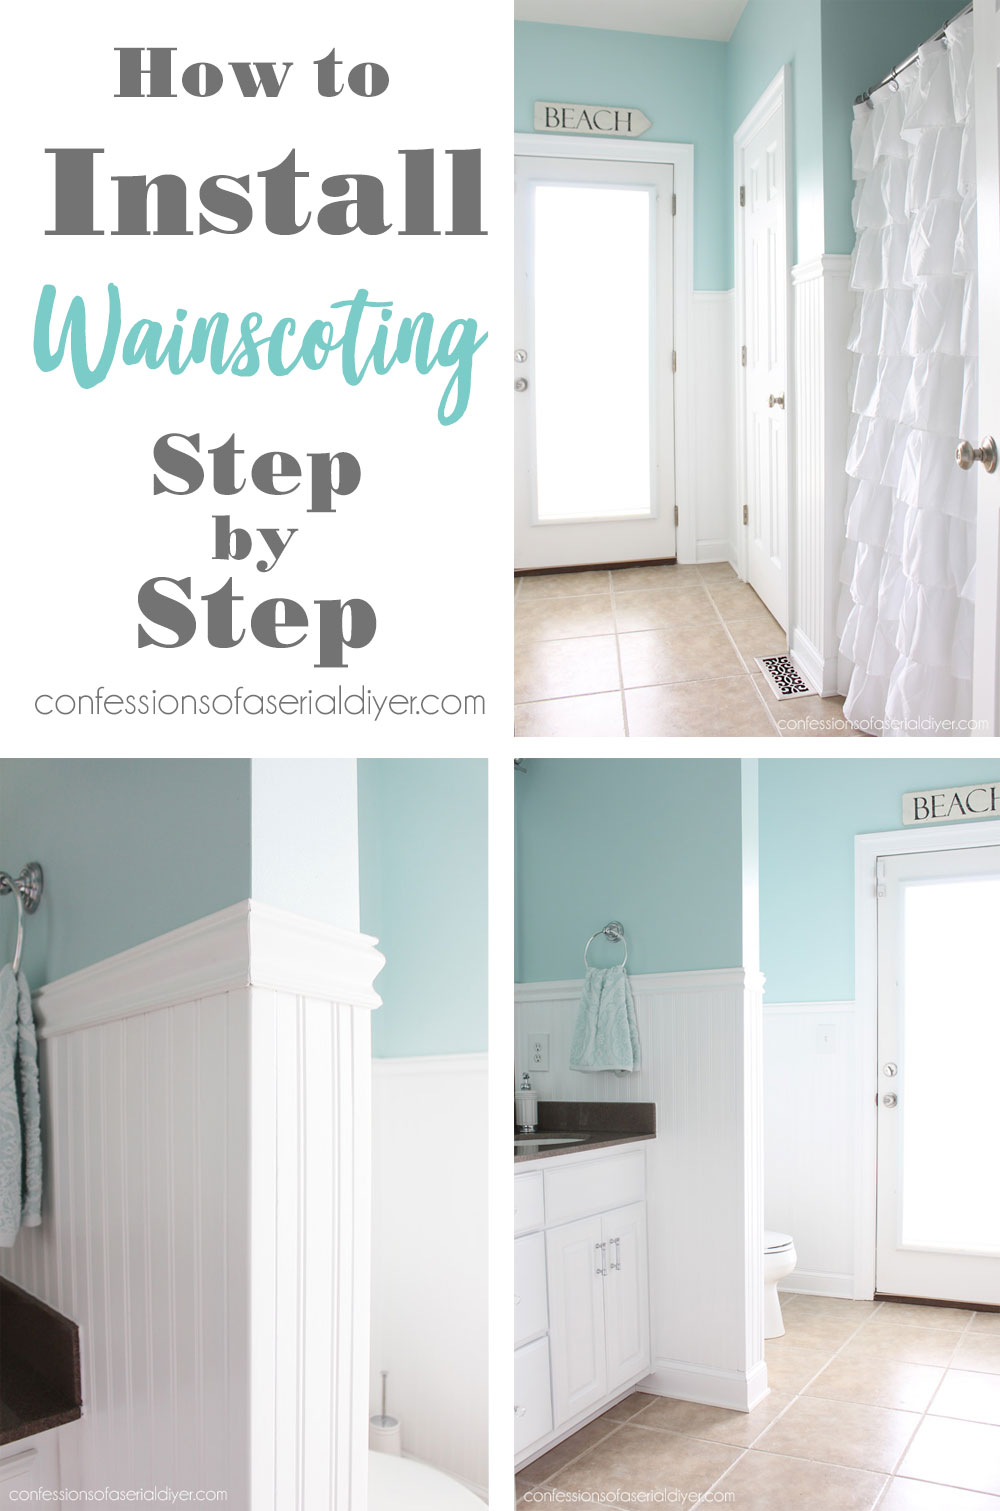
Hello weekend warriors!! So you want to add wainscoting to a room, eh?
Today I am sharing how to install wainscoting to a space step-by-step!
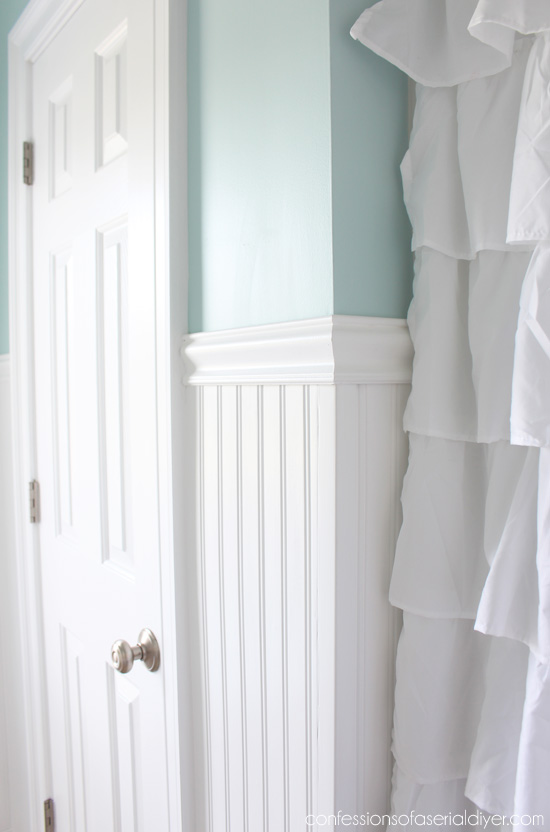
I added 48″ wainscoting to our guest bathroom.
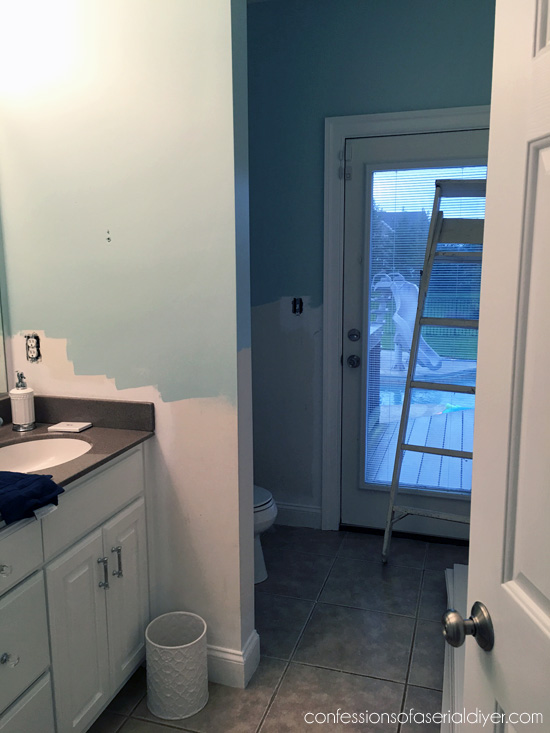
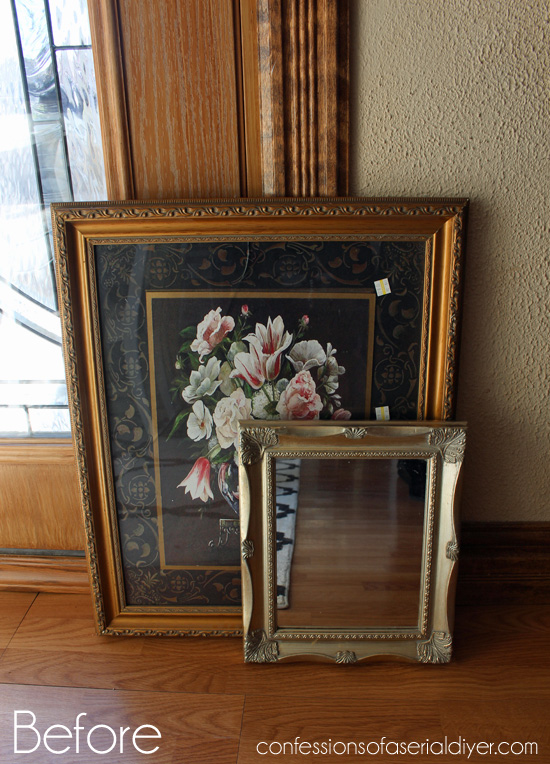
Here is how this space started:
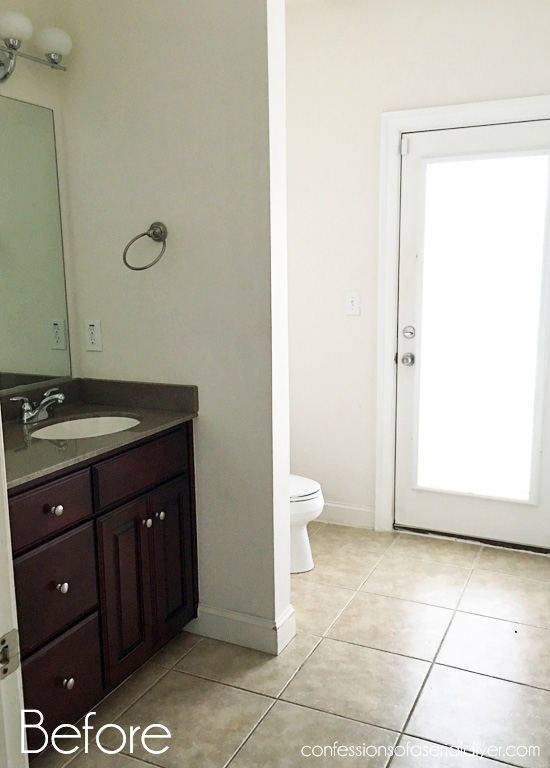
This is the first time I saw this bathroom and I was taking photos to remember it.
And here’s what a little wainscoting (and paint magic) can do:


I know, right??
See the whole makeover HERE.
Adding wainscoting to the walls added so much charm to this space, and it can be done in a weekend or two.
{I will warn you that most of these tutorial photos were taken with my cell phone, and at all times of the day, so they aren’t the best quality but at least they will give you an idea of how this space came together! }
I have included a few affiliate links so you can find the products I used.
How to Install Wainscoting
First let’s talk about what you will need to complete this project.
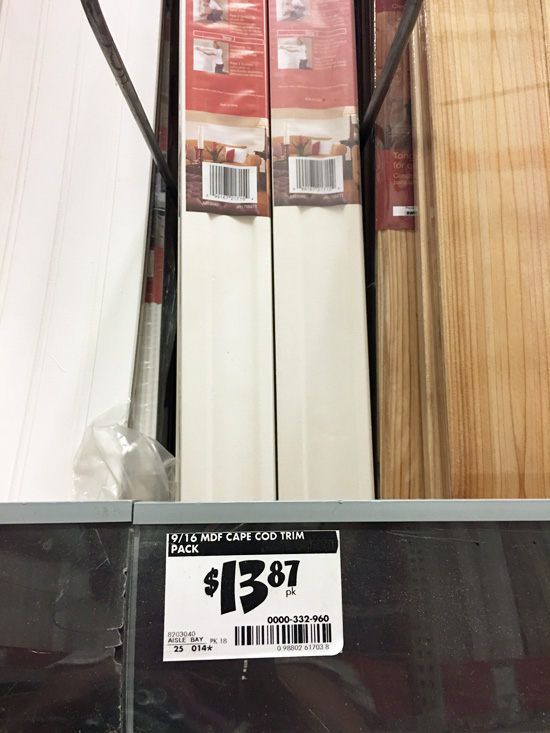
I used 8′ Cape Cod Plank Wainscoting I purchased in stock from the Home Depot:

There are three 7″ wide sections in each package, so one package will cover a section 21″ wide. HOWEVER these are 8′ long and I cut them in half, so for wainscoting at 48″ in height, each package covers a wall section 42″ wide.
For the trim, I used the coordinating Base Molding and Chair Rail Trim Kit:
This included 8′ of base molding and chair rail, but I only used the chair rail.
My space also had three outside corners to contend with, so I also needed this corner molding:
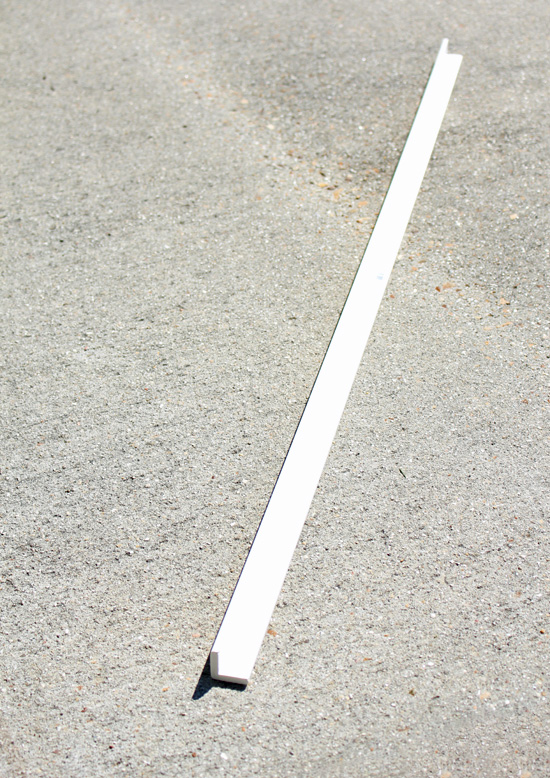
It is not necessary for inside corners.
You will need to allow your wainscoting to acclimate in the space in which you plan to install it for at least 72 hours before hanging it. Follow the manufacturer’s instructions for full details.
If you are interested in a more traditional height, Home Depot also sells this product in a 32″ height HERE. I decided on a height of 48″ because I like the look of taller wainscoting.
You will also need:
- Miter Saw (I have this one and it cuts pieces up to 12″ wide.) OR Miter Box and Hand Saw
- Jig saw
- Table Saw (Optional-for cutting a piece lengthwise, but a jig saw and a steady hand can work too.)
- Liquid Nails for Paneling
- Nailgun and 1 1/2″ straight finish nails ( I have this Nailgun ) OR finishing nails, hammer, and a Nail Set
- White Paintable Caulk for Doors, Windows, and Molding
- Caulking Tool
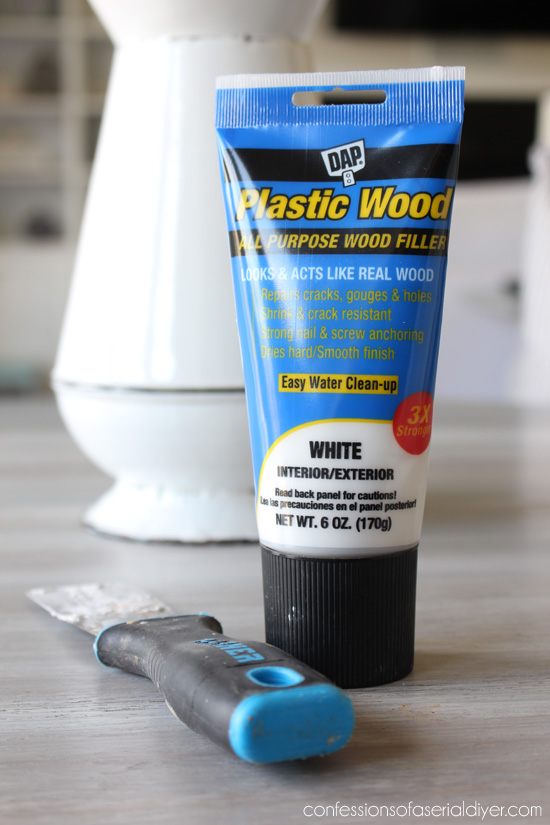
- White Wood Filler
- Paper Towels
- 220 Grit Sandpaper
- Tape Measure
- Pencil
- Small Phillips Head Screwdriver
- Behr’s Ultra Pure White paint in Satin Finish
- Paint Brush or 4″ Foam Roller and paint tray
Once my planks were fully acclimated, I cut them in half lengthwise using my sliding miter saw.
Paint first
I started by painting the top of my walls.
As you can see I only went down as far as I had to:
INstall the Wainscoting
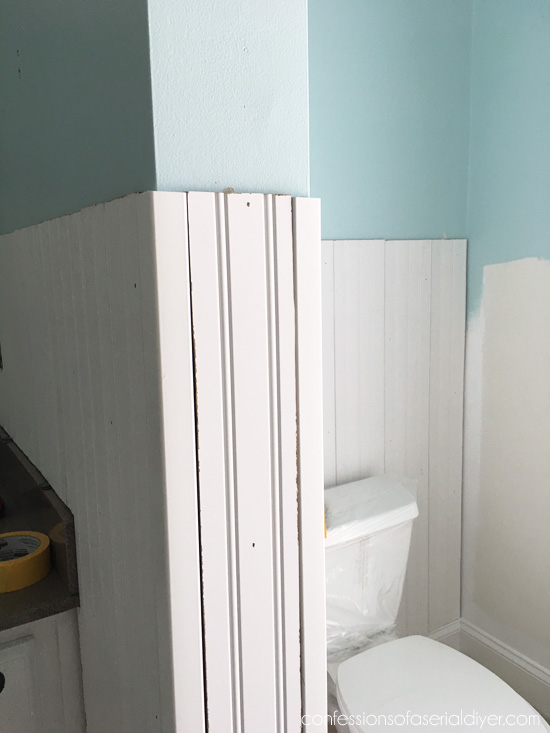
Then I began installing the wainscoting.
I added each 7″ panel one at a time, left to right, adding Liquid Nails to the back of each panel, and then following up with my nailgun. It is a tongue and groove application, so each 7″ piece slides into the adjoining piece. I found this easiest to do by getting the bottom left corner into the groove of the adjoining piece and then sliding it down into place so that there was a nice snug fit with no gaps.

When you get close to the corner, you should be able to slide those pieces down from the top. A small hammer to help may be needed to help them along.
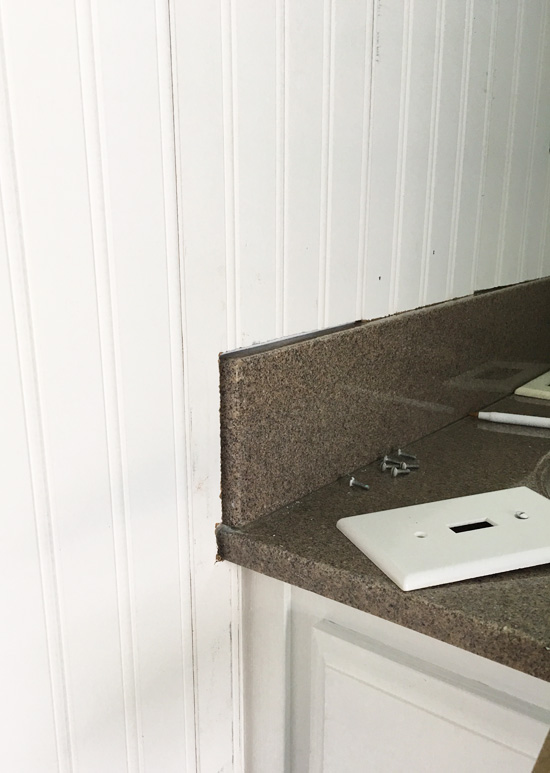
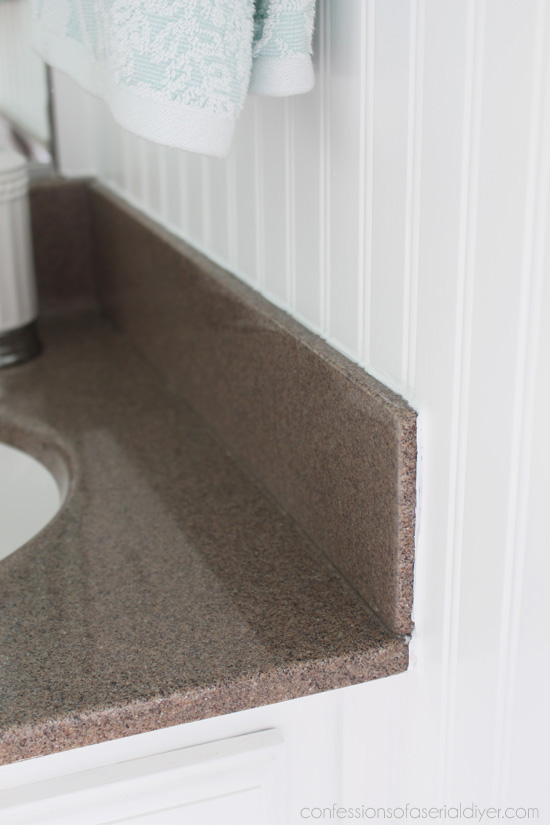
You can see where the pieces connect to one another in the photo above, but those obvious joints disappeared with paint. **Note also that I kept my original base molding in place and just installed this above it.
I used my jig saw to cut around the light switches and around the counter:
I just used my tape measure to measure out where to make my cuts. I didn’t do so hot on the first try, second time was a winner!
See on this side how nicely caulk filled in those gaps:
For the light switches and outlets, you will need to unscrew the small screws holding them in place and pull them forward a bit so that they are level with the wainscoting:
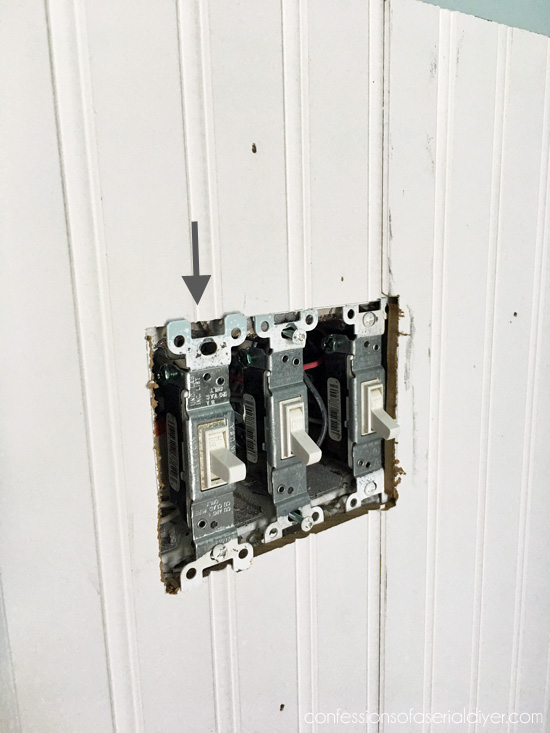
You my need longer screws to secure them back into place. I had some in the garage that worked.
I continued around until I got to my first outside corner. You may or may not have any of these to contend with. I bought a piece that is actually called “Outside Corner” and it is made of PVC, to cover the corners:
I had to cut the wainscoting to make room for it. You can also see in the above photo that I chose to cut the wainscoting that goes between the two corners so that the lines were centered.
It looks kind of like a hot mess there, right? Don’t worry…caulk and paint are magic:
And you can see those outside corner trim pieces keep those corners looking perfect. Of course, you also have the option of adding the corner pieces over the top to hide the cuts, but I preferred to do it this way.
I made my way around the rest of the bathroom.
FIll the Holes
Then I went back and filled in all the nail holes with wood filler:
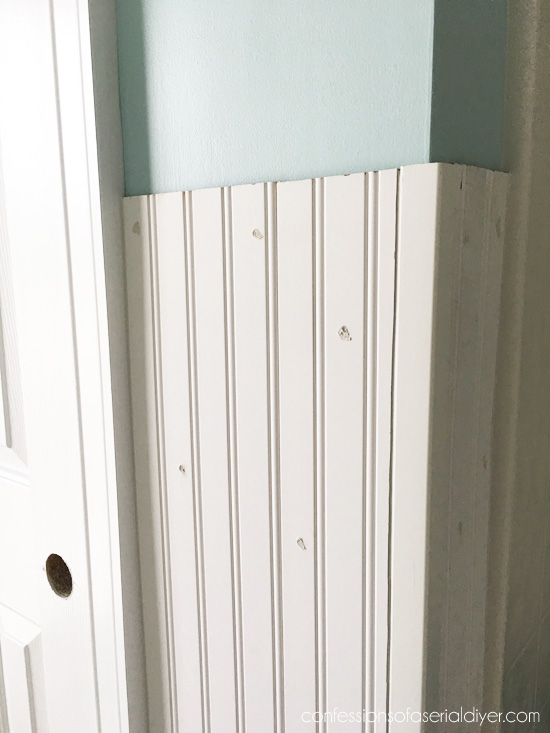
Sand
I let it sit overnight then lightly sanded those areas smooth with 220 grit sandpaper that I wrapped around an old sanding sponge:

Caulk the gaps
Next I broke out the caulk and caulking gun and caulked all the corners, gaps, etc. I also caulked all pieces that were next to doorways, basically anywhere I saw any gaps. (TIP: If you push the release trigger on the caulk gun after you are done applying, it will stop the caulk from continuing to ooze out while not in use.)
THIS TOOL is the best thing I’ve found for removing the excess caulk. It leaves the perfect amount behind every time. SO much better and more effective than your wet finger! Just be sure to wipe off the excess caulk onto a paper towel after each pass. Keep a whole roll of paper towel and a trash bag at the ready.
Paint the wainscoting
Time for paint! I chose Behr’s Ultra Pure White right off the shelf in a satin finish. (The same as I used on the cabinets.)
I loved seeing all those lines disappear!

I used a brush to apply the paint, but you could use a foam roller also. I felt like the brush put the paint in the grooves more easily.
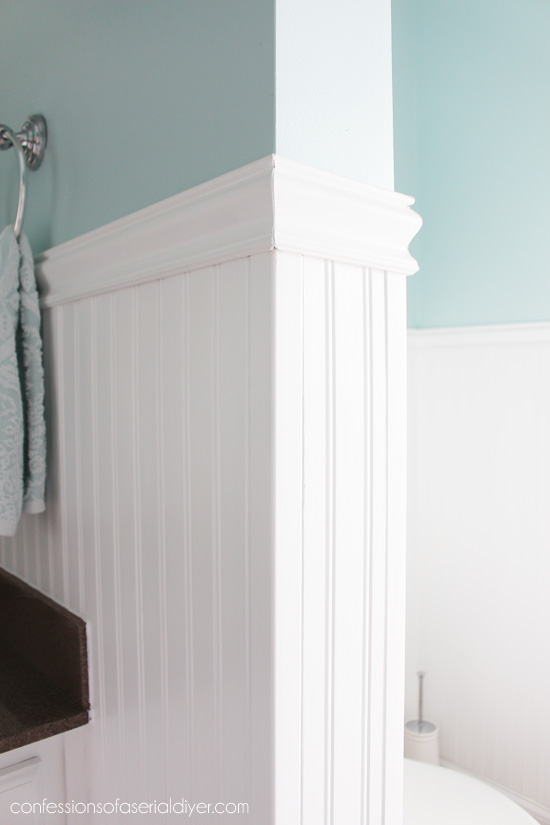
Add the finishing molding
Finally it was time for chair rail molding. I bought the trim kit that included both the base molding and the chair rail, but I only used the chair rail. I was unable to find chair rail molding for wainscoting by itself. You might have better luck. **I painted all of my chair rail pieces prior to making any cuts.
I used my miter saw to cut all of my chair rail pieces. You could also use a miter box and saw kit. I recommend cutting your mitered ends for the corners first for each piece to be sure you have a good fit, then cut the straight pieces that will go against doorways or windows:
I did not get any photos of cutting these trim pieces since I was working on cutting them when my oldest son had several friends over. Five teenagers together can be a bit distracting. 😉
Just don’t lay your trim pieces flat to cut the mitered pieces, stand them up against the back of the saw (or miter box), and move your miter saw from side to side as needed to make your cuts. I hope that makes sense without a visual!
I attached them with Liquid Nails and my nail gun, then I filled in the holes with wood filler. A quick paint touch up and I was done!
The chair rail is definitely the icing on the cake!


This project took me just a few days from start to finish, and I just love the charm that wainscoting added to this space!
The hardest part was cutting around the vanity, but once I got those cuts, the rest was easy. If you decide to install a shorter height, you won’t have to deal with that issue at all.
I hope you found this tutorial helpful!
Have a great weekend, dear Friends!! I’ll see you Tuesday with this oldie but goodie:
UPDATE: See how I married these two pieces to make one pretty décor piece HERE.
XOXO,
![]()
Don’t Miss a Thing!
If you like what you see, there are several ways to follow along!
Email * Instagram * Facebook * Pinterest * Twitter


Norma says
Loved the bathroom and how it turned out God bless
Christy says
Thanks, Norma!! XO
Mary Kaiser says
Thanks for the tutorial. You make every thing look so easy. Not sure I have any where to do this in my home, but I love the look and I have it saved if I decide to do it I will have it. Your bathroom turned out amazing.
Christy says
Thank you so much, Mary, and I am glad to share! Yes this bathroom is miles from where it started. 🙂 XO
Susan W. says
Thank you for the great tutorial! Your bathroom looks so fresh and bright. I have the same shower curtain and rings! (Wayfair) !
Christy says
My pleasure, Susan! Thank you, and you have excellent taste! 😀 XO
Terry M says
Your bathroom turned out great, it looks very nice. I plan to do this in one bathroom as well, your tips and tutorial are very helpful, thanks!
Christy says
Thank you, Terry! I’m happy you found this helpful! XO
Marcie Lovett says
I love the look of the taller wainscot. This bathroom is divine! I think I need to invest a few bucks in the caulk tool – the wet finger didn’t work so well the last time I used it. As always, thanks for the inspiration!
Christy says
Thanks, Marcie!! That caulk tool rocks…yeah I gave up on the wet finger method for good when I found that tool! Have a great weekend! XOXO
Sara Miller says
Awesome tutorial!! Thank you for doing this!
Christy says
My pleasure, Sara! XO
Paula says
Thank you for posting the tutorial. I not only admire your creative talents, but also your ability to get er done. You have so much going on and you sat down and put this tutorial together for us. You truly amaze me!!
Christy says
My pleasure, Paula! I don’t mind at all! Thank you so much! XOXO
Julie Briones says
You are amazing… Did anyone else ask where you got the cute little trash can? 😉
Christy says
Aww thanks, girly! I found that at HomeGoods! 🙂
Anita Ellison says
Thank you Christy for the detailed instruction. I know I can do this! One question about the metal plate doohickey covering the water line from the wall to the toilet – did you leave that off after installing the wainscot or did you put in longer screws to hold it in place? Sure do appreciate the time you spend writing all this out!
Christy says
My pleasure, Anita! My water line has a ring around it that rests against the wall to cover the hole that was cut in the drywall for it so it looks neat. I was able to slide that down the water line and away from the wall. Then I cut a hole out of the wainscoting using a 1″ drill bit, and then cut a slit in the wainscoting below that hole large enough to get it over the water line. Then I used liquid nails to put that piece I cut out back and filled it in with wood filler to make it barely noticeable. I slid that ring back down the line and against the wall when I was done. I hope that makes sense!!
Nancy says
I had requested this tute and have enjoyed it thoroughly (each time I have watched). I would love to do this is a bathroom, and you make it look so easy, but I know it takes talent to pull it all together. It’s on my bucket list. Thank you for sharing.
Christy says
I’m so happy you found this helpful, Nancy! I was glad to put it together! 🙂
At Rivercrest Cottage says
this turned out fantastic! I woke up this morning thinking I should put board and batten or beadboard in my master bathroom and then saw this post this afternoon! I read every detail and feel I learned so much. Thanks.
Christy says
Thanks! I love both looks…actually getting ready to do the board and batten in my boys’ bathroom! 🙂
Rose Lefebvre says
I had wainscoting put in my kitchen/ dining area and love it. Would like to do it in more rooms.
Christy says
I love the charm it adds to a space! 🙂
JoAnn Robinson says
A great tutorial on installing wainscoting but what happens when you decide you want a different look and have to take it down? It seems the use of liquid nails would greatly impede your ability to remove it (without doing major damage to the wallboard). Can you just nail the wainscoting in place? Seems it would be easier to patch nail holes rather than dealing with the aftermath of glue. But the room looks fabulous!
Christy says
Thanks, JoAnn! You certainly could use just nails, but you risk having boards warp over time. I was taught to use both so that’s why I did…I guess it’s a good thing I love it and plan to keep it a long time ha ha! 🙂
Jackie says
Beautiful! Just Beautiful!
On a side note… Where did you get a shower curtain that comes to the floor? I really like that one you have up.
Christy says
Thanks, Jackie! I ordered that shower curtain from Amazon. You can find it here: http://amzn.to/2wSco9X 🙂