Amazing friends, I have done it! I have finally put together a video on how to chalk paint furniture using chalk paint! I get a lot of questions about chalk painting furniture, and although I have a very detailed tutorial on my blog for How to Paint Furniture using Chalk Paint, it’s always so nice to see it in action!
Not only am I sharing how I paint furniture with chalk paint in the video, but also how I sand my pieces after! One of the most asked questions I get is how to minimize brush strokes, so I’ll be sharing all the tips I have for that in the video also!

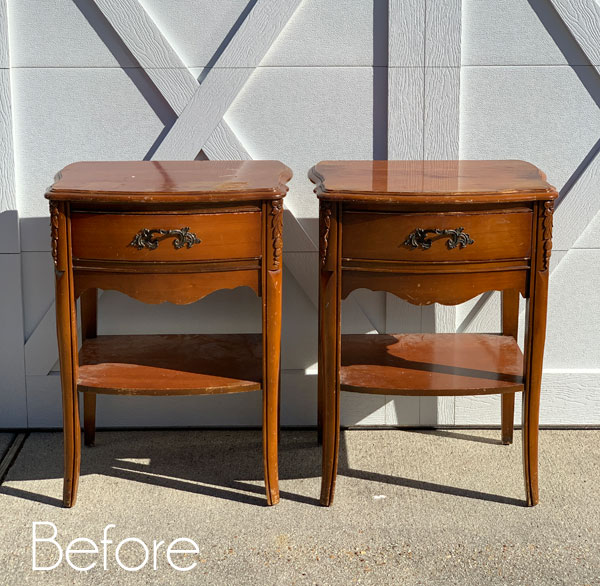
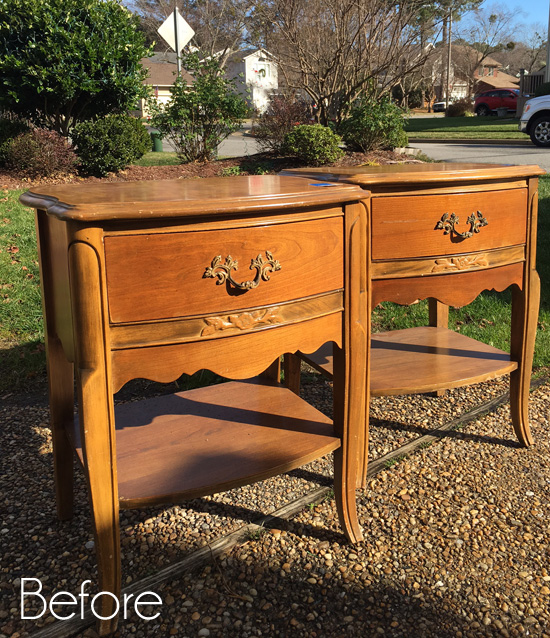
These tables that I scored for only $10 each were the perfect candidates for my chalk painting tutorial:
I had purchased a desk at the thrift store and was driving around to the back to pick it up when I spied these stacked outside. They must have just been dropped off:
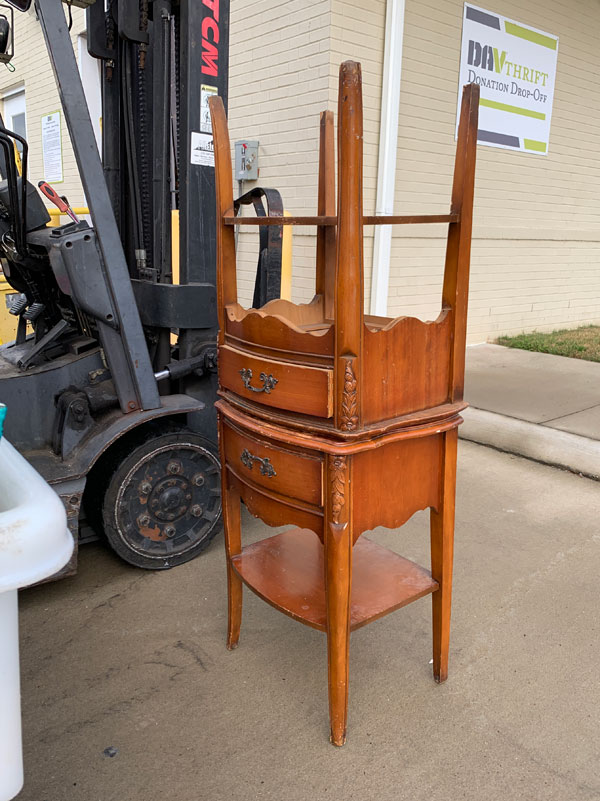
I told the guy I was interested in them and was expecting him to tell me that I needed to wait until they were processed, but instead, he asked me how $10 a piece sounded. (I hope I didn’t just get him in trouble!)
SOLD! I paid the man and shoved them in my car as quickly as I could and was on my way!
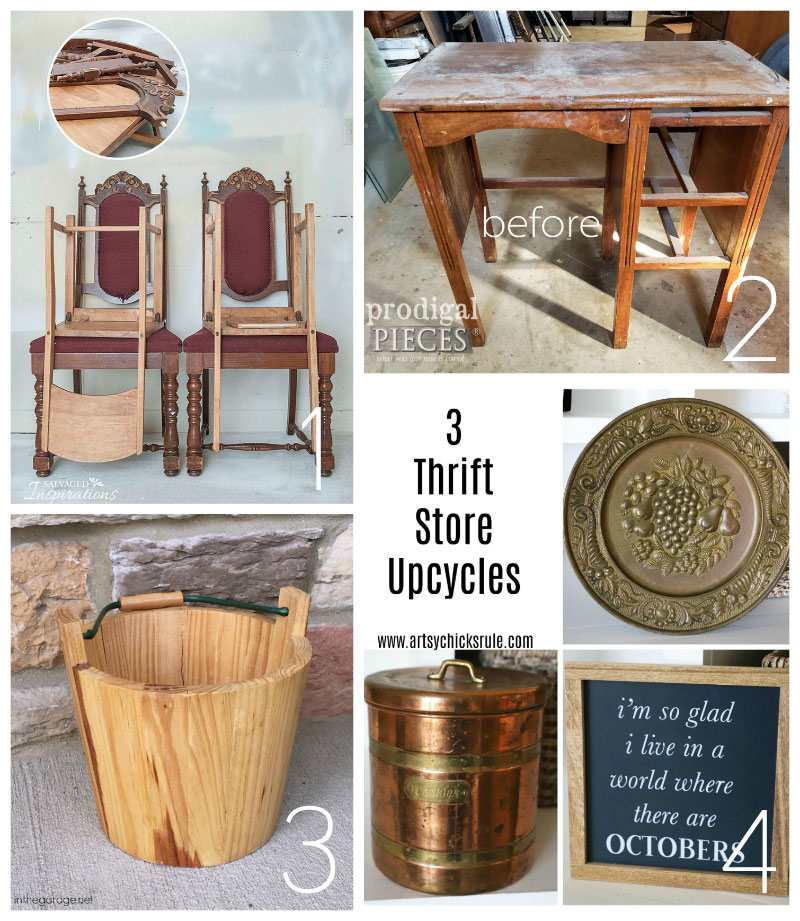
Today is also Trash-to-Treasure Tuesday!! The second Tuesday of every month I get to join four of my favorite treasure-maker friends to bring you trashy makeovers! Be on the lookout for their makeovers at the bottom of this post!
Here is what these tables really looked like up close…
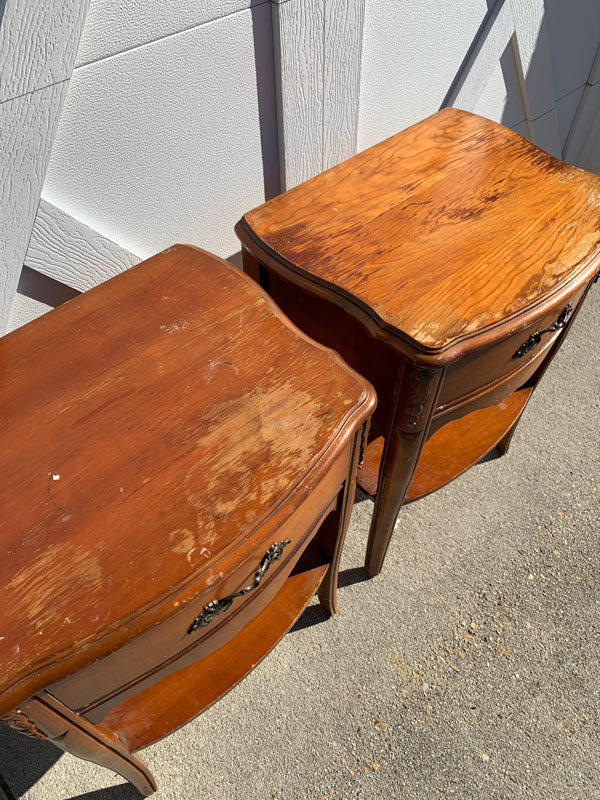
Pretty trashy! They definitely haven’t been living their best life. The tops were in terrible condition and the rest of these tables were so dirty. The insides of the drawers were a mess as well!
I’ve included a few affiliate links so you can find the products I love.
If you were to paint over a surface that has areas of stain that are chipping, you would see all those imperfections in your paint finish. To smooth the tops of these tables out, I sanded them down with my rotary sander using 120 grit sandpaper first, then 220 grit sandpaper.
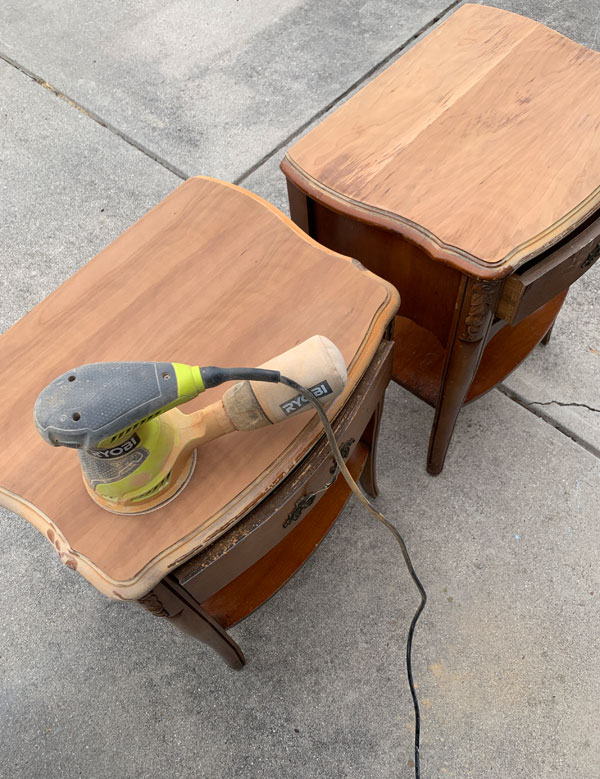
That sander definitely earns its keep around here!
I cleaned up all the dust with my shop vac and gave them a good wipe down with my Walmart brand wipes. That is all the prep I did.
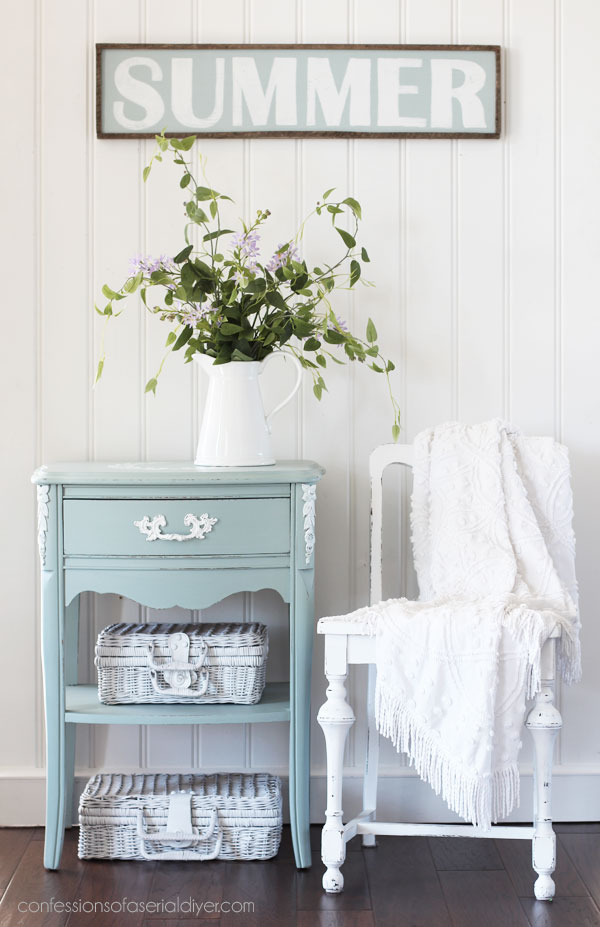
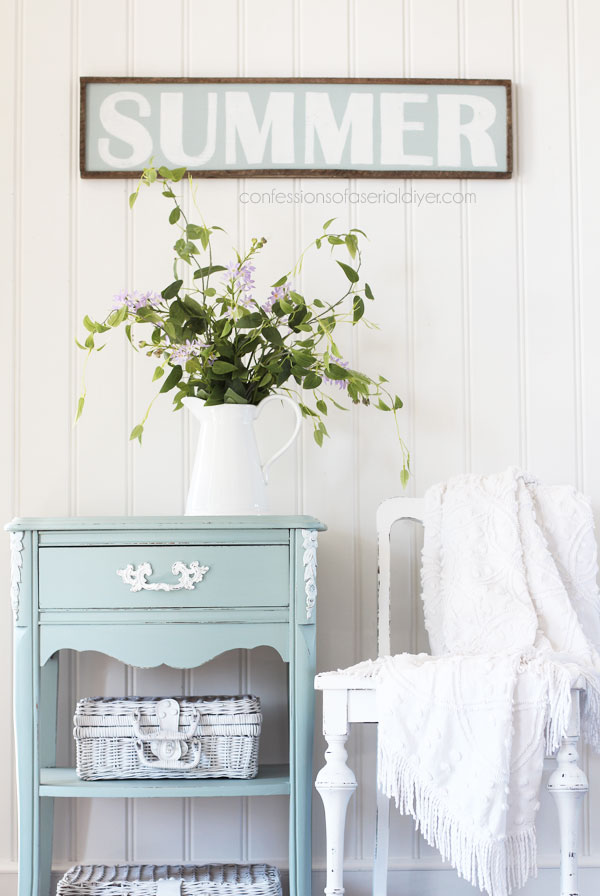
Here is how one of these cuties turned out:
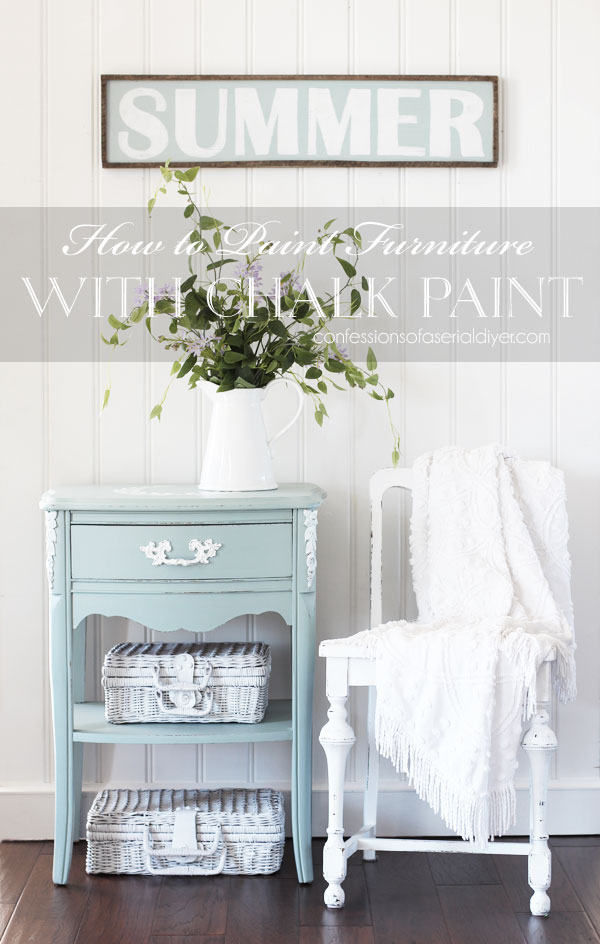
I chose to use a 50/50 mix of Vintage Duck Egg Blue and Cotton for these tables. I love Duck Egg Blue, but I love it even more lightened up a bit.
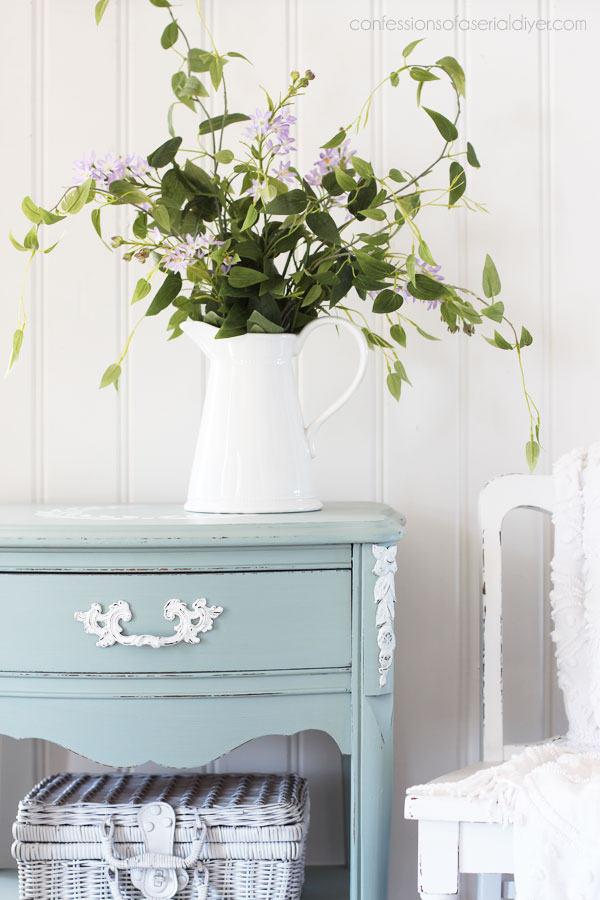
It is a very soothing, coastal blue.
And here’s that video I promised!
How to Paint Furniture with Chalk Paint Video Tutorial (How I sand after included!):
If you have any trouble viewing this video, see it on my YouTube channel HERE.
It was a tad long, but I wanted to give as much information as possible!
Here’s Everything you need to chalk paint furniture:
- Cleaning wipes or White Lightning cleaner
- Chalk-style paint (I used a 50/50 mix of Dixie Belle’s Vintage Duck Egg Blue and Cotton. You can find my DIY Chalk Paint recipe HERE.)
- Good quality brush (My favorites are this Purdy brush and this Dixie Belle brush (the 2″ Mini Angle Brush)
- FrogTape for taping off any areas that need to be protected
- BOSS by Dixie Belle* (comes in white and clear)
*This is only needed if you get the dreaded bleed-through or suspect you will get bleed-through. (usually antique mahogany and cherry pieces)
To sand after painting you will need:
- 220 grit sandpaper
- Foam sanding sponge (an old one is perfect for wrapping the sandpaper around)
- shop vac with brush attachment
- Clean soft cloth
I shared all the tips I have for getting a smooth finish and how I sand my pieces after in that video. I mentioned in it that I would link a few other videos below, but you can find all my videos in one place at the “My Videos” tab at the top, or by clicking HERE. That includes how I apply the clear coat in satin to seal using a sponge applicator and my video for how I line drawers with fabric.
Dixie Belle products are available in MY SHOP.

As always, enjoy free shipping on any order over $50, NO code needed! It will automatically be deducted at checkout! All orders under $50 ship for a flat rate of $8.
You can see how smooth the surface is after using the tips I shared in the video:

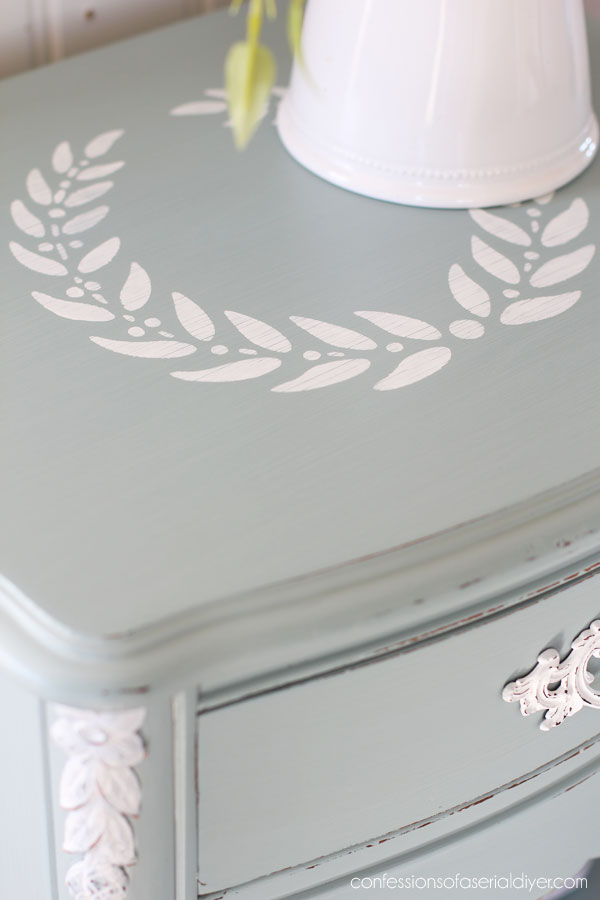
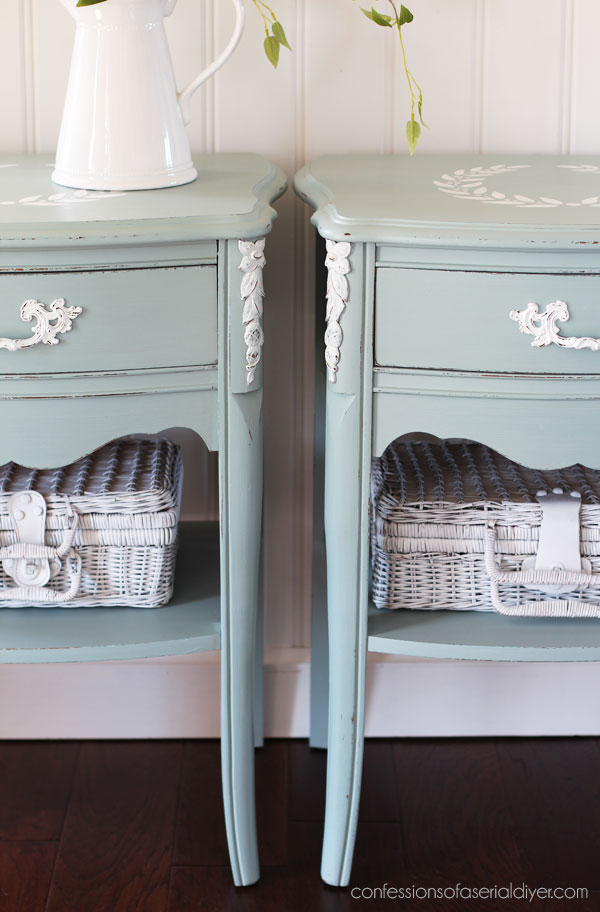
Adding a stencil
When the paint was dry, I added part of this stencil to the top:
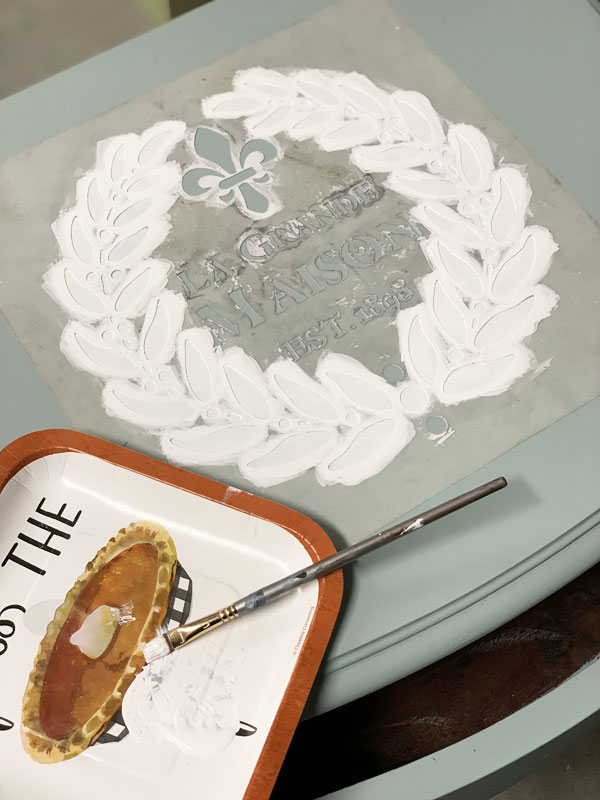
I held the stencil in place by spraying the back of the stencil with spray adhesive first. Then I used white craft paint applied with a small flat brush to fill it in, brushing away from the edges as much as possible. It took three coats and then I removed the stencil right after the third coat went on. I showed in the video how I sanded right over the top with 220 grit sandpaper to get a super smooth finish.
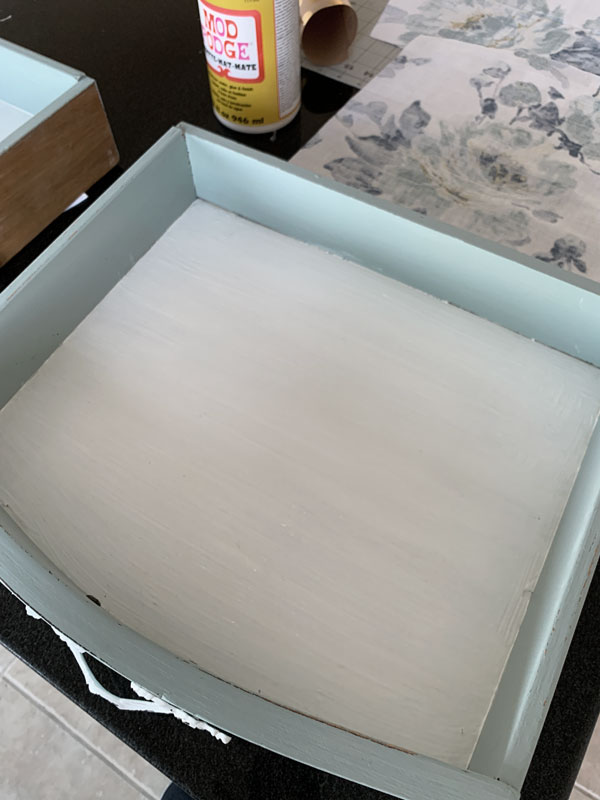
I decided to paint the sides and the insides of the drawers on these pieces this time because they were in pretty sad shape. Normally, I would only paint the fronts. The inside got a couple of coats of white paint since the fabric I planned to use had a white background…
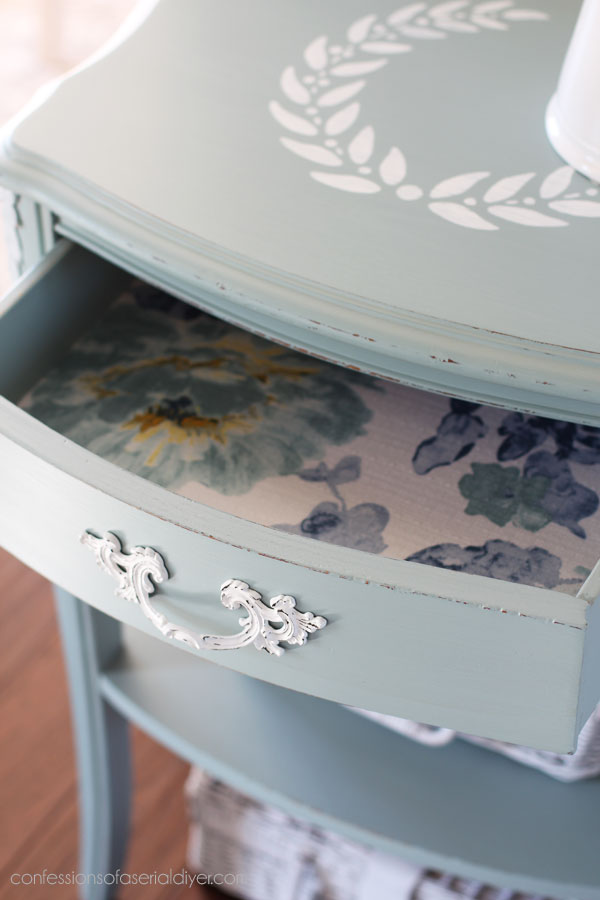
Lining the Drawers with Fabric
For a detailed video on lining drawers with fabric, visit here: How to Line Drawers with Fabric.
Because the fronts of these drawers were curved, I used some wrapping paper to make a pattern for the fabric to line the bottoms.
Then I used my rotary cutter and cutting mat set to cut the pieces out…

Any guesses where I bought my fabric?? Ya’ll know I love TJ Maxx and HomeGoods drapery aisles for my home decor fabric.

These curtain panels were $19.99, so I got almost five yards of fabric at 50″ wide! I must love y’all if I did math for you!
I had plenty left and I know I’ll use it on future projects as pretty as it is with this color:
I don’t know if anyone noticed, but the original handles were on upside down. I removed them and painted them in two coats of Cotton. I distressed them a bit and gave them a quick spray of Rustoleum Clear Spray to seal.
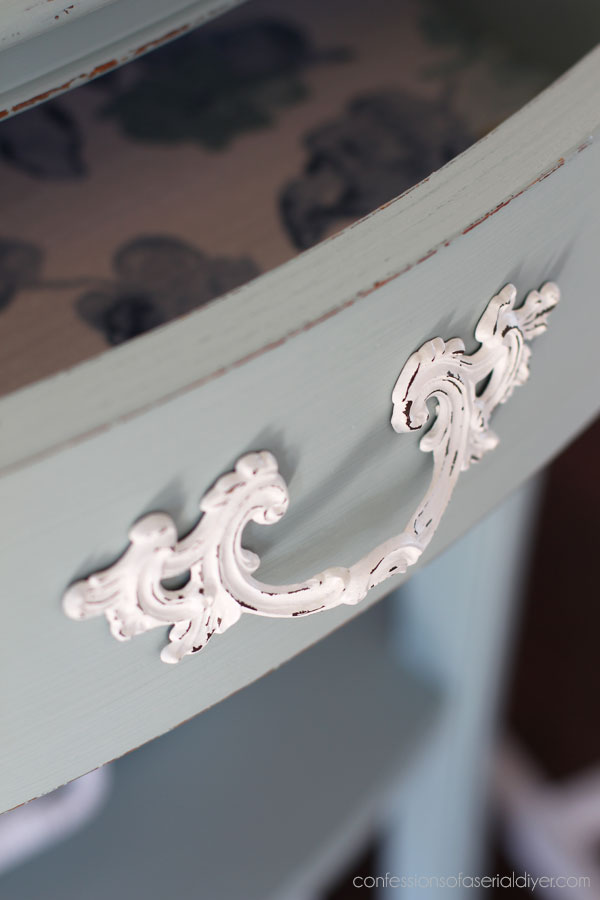
And yep…I did them both! Twins!
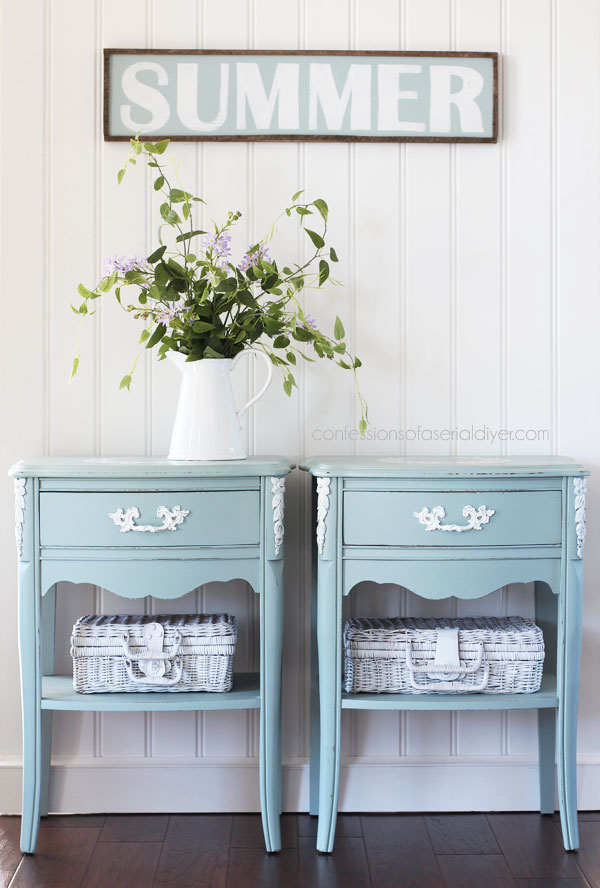
Remember my Summer sign that I made out of an old dirty Porch sign from my Haul of Shame? I made it the easy way! No fancy cutting machines required.
Oh how I love Summer! I love how this sweet set turned out!
Don’t forget my girlfriends are sharing trashy makeovers of their own today!

I hope that if you watched the video, you found it helpful! Feel free to ask any questions in the comments if you have any at all!
I redid these two very similar tables several years back:
See how this set turned out HERE!
I can cross two more pieces off my list!
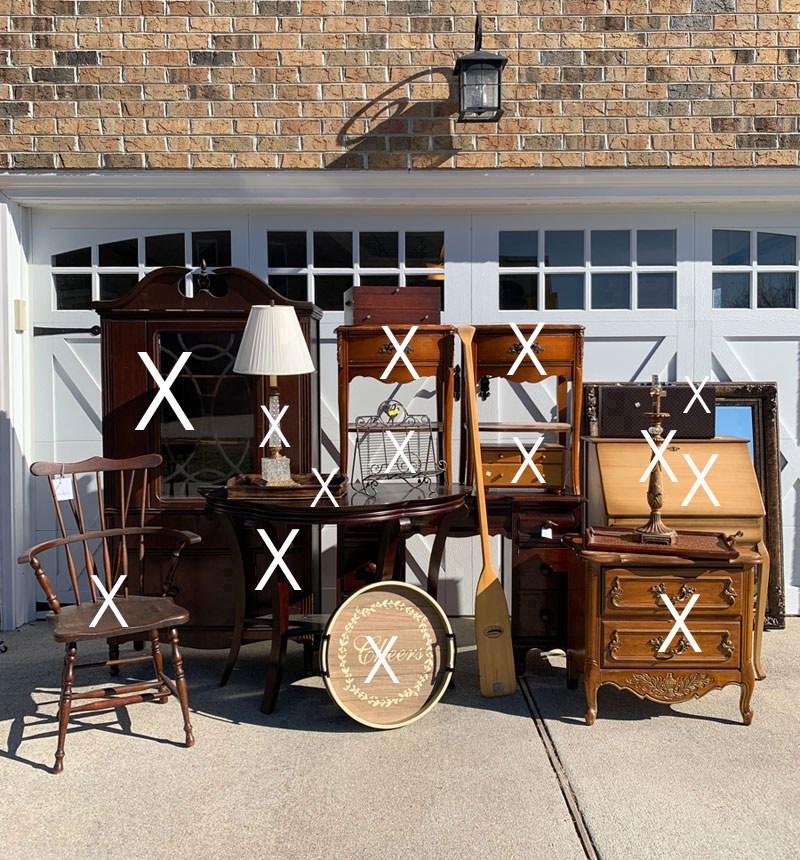
If there’s anything you missed, you can catch up below:
$4 Thrift Store Case Repurposed
$25 Thrift Store China Cabinet Makeover
$3 Lamp Makeover (& How to Rewire a Lamp)
Windsor Chair Makeover (& Drop Leaf Table Take Two)
How to Wet Distress (& a $5 Lamp Makeover)
$5 Thrift Store Chest Makeover
My next project piece is this flatware box…there’s one in every haul, right??
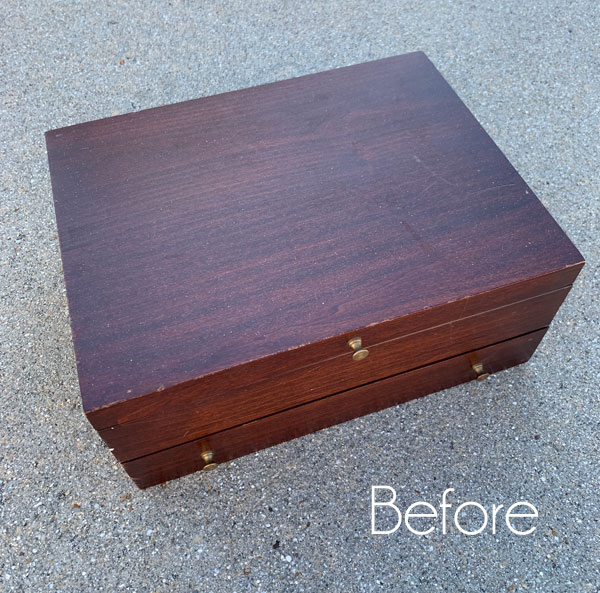
UPDATE: Check out how this flatware box looks now HERE! It might be my favorite! 🙂
XOXO,
![]()
Don’t Miss a Thing!
If you like what you see, there are several ways to follow along!
Email * Instagram * Facebook * Pinterest * Twitter


Mary Kaiser says
LOVED the video! The whole time I was watching your video, I kept saying “you missed a spot LOL! I think you got all of them though, and they turned out beautiful! I am such a visual person and I know it was great to actually see it being done, GREAT VIDEO!! I hope you will record your adventure with Nancy because I love watch the thrifting videos you two do. Thanks for showing how to recreate beautiful pieces of furniture! Looking forward to your junk giveaway!!
Christy says
Thank you so much, Mary! The video is a bit on the long side, but I wanted to share as much as I could. I’m so glad you found it helpful! And ha ha…I did actually miss the left side of the bottom shelf lol. I had to go back and paint it after filming! Nancy and will be filming so we should have a new thrifting video to share soon! See ya Thursday!! XOXO
Janice Holt says
Such pretty tables. Love the color and the white details on the front sides. Were they something you had in your stash? Great job as usual.
Christy says
Thank you, Janice! Yep, these were part of my Winter haul! 🙂 XOXO
Pam Walsh says
The video on chalk painting was wonderful !!! You explained everything in detail, and it was so informative. I will definitely be painting a piece of furniture very soon. Thank you so much for sharing !!!
Christy says
Oh yay! I’m so glad you found it helpful, Pam thank you!! XOXO
Larissa ~ Prodigal Pieces says
Score!! Me wonders if the store guy pocketed the cash. Haha! Beautiful save, Christy.
Christy says
Yes!! And haha…maybe! Thanks, my friend!! XOXO
Christina in SW FL says
Gorgeous Christy!! I mean seriously! I have to admit I knew the drawer pulls looked weird but hadn’t thought they were upside down. lol
Love that fabric and a great deal!! Beautiful color and I can’t wait to watch the video after work today.
Thanks always!!
Christy says
Thank you, Christina!! I didn’t even notice the drawer pulls at first lol. Have a great day!! XOXO
Micah says
Beautiful as always! Great colors, plus that fabric is perfect! I thought those handles looked funny in the before pictures. Now I know it wasn’t just me. Thanks for all the great makeovers!
Christy says
Thanks so much, Micah!! I loved that fabric…it isn’t always easy to find one that I like as much that works so well with this pretty blue. I was so excited about scoring these tables for such a deal that I didn’t even notice the handles lol! XOXO
Betty Bilnoski says
Christy, the tables are lovely!!
And thank you for the detailed video. It’s very helpful for a novice like me.
Christy says
Thank you, Betty! And you are so welcome!! XOXO
Gail says
Thanks for including the video. I guess I was unaware of these so will he searching for more. I have several items that I want to do but have been a little g*u*n – shy! Can’t wait now!
Christy says
You are so welcome, Gail! Just go for it!! You got this! XOXO
sharon austin says
Totally LOVE the way these turned out!!
Christy says
Thank you, Sharon!! XOXO
Kellie says
I absolutely love these tables! My cat enjoyed watching your video with me and he especially loved the “fast sanding” part! ha ha
Christy says
Thank you, Kellie! Oh ha ha!! I bet that was funny to watch. My cat sits right on my desk and tries to catch my cursor lol! XOXO
Mikki Gilmore says
Those two night stands are stunning!!! I LOVE the fabric you chose for the inside of the drawers. When you’re out thrifting, check out skirts. You can get a lot of yardage for very little cash in a thrifted skirt. Plus, there are so many different prints to choose from! Have fun shopping this week! XOXO
Christy says
Thank you so much, Mikki! And thanks for the tip on the skirts!! I definitely will! XOXO
Cheryl Atkinson says
Oh Christy these are so sweet. They will be gone before you know it and I love the fabric! Thank you for the video and everything else. You are amazing!
Christy says
Thank you so much, Cheryl! I appreciate that!! XOXO
Robyn Wright says
The manufacturer put hem on UPSIDE DOWN?! CRAZY! LOVE how they came out!
Christy says
Right?? That is crazy lol! Thanks, Robyn!! XOXO
Candace says
Hi, Christy! I love your blog. I look foward to seeing your creations every week. Thank you so much for sharing your techniques. I hope to one day have my own shop space to sell my creations as well. For now, I’m busy honing my skills on old pieces of furniture around my own house. On a side note…. I think your house is beautiful. You have done a phenomenal job decorating it. Wondering, what color that is on the walls of your dining/ family room in the video? Thanks, for sharing!
Christy says
Aww thank you SO much, Candace!! That color is Campfire Ashe by Behr and I just love it! I would choose it again if I had to! XOXO
Cecilia from Georgia says
You really transformed these little tables into a beautiful set. I haven’t watched the video (no time with a 4yo grandson to keep up with!), but will when I have time. The comments give your video great reviews!
Christy says
Thank you so much, Cecilia!! Yes, 4 year olds can certainly keep you busy ha ha! Enjoy! XOXO
Debbie in TX says
Girl! These tables are awesome, and that color draws me right in every time. Love it!! The video is so helpful. I need two nightstands in my guest bedroom, so maybe a stop at the thrift store would turn up something I could tackle. Thanks for all the inspiration 🙂
Christy says
Thank you, Debbie! I love this color too! I’m so glad you found the video helpful. Good luck in your nightstand search! XOXO
Kathy Walsh says
I LOVE YOUR BLOG!!!
Tables are adorable and to think those pieces were 60 years old!
I so enjoy your videos – so inspiring! And you make it look so easy.
First time using chalk paint so trying an old magazine rack – then on to the cedar chest.
Thanks Christy
😊
Christy says
Aww yay!! Thank you, Kathy!! I appreciate that so much! Good luck… you got this! XOXO
Nancy @ Artsy Chicks Rule says
These turned out so great, Christy! Love the interior of the drawers too! xoxo
Christy says
Thanks, Nancy! I love that fabric too! Can’t wait for our day out Thursday!! XOXO
Ashley says
Those night stands looks so pretty, Christy! 👏🏻
Christy says
Thank you, Ashley!! XOXO
Marcie Lovett says
The tables were okay before, but now they’re beautiful, Christy! You got an amazing deal on them and you always find the best fabric (and of course, I did notice the handles were upside down from the earlier post, and it drives me crazy whenever I see it on furniture 😁) I predict these aren’t going to stick around long. Now, the question is whether to sell them separately or as a set.
Christy says
Thanks so much, Marcie!! They were a steal for sure and what is with these handles…they clearly looked upside down lol! I will probably sell them separately! XOXO
M. Constance Colvin says
Thank you for the video Christy! I thoroughly enjoyed it and loved seeing you execute your looooooong final strokes! I DO have a nagging question to ask you: how many times can you spray adhesive on your stencils before they become a mess? Or before the build-up of dried adhesive layers makes the stencil sit too high off of the surface that you’re stenciling? Thanks again and for taking the time to answer this!
Christy says
You are so welcome, Connie! I’m glad you enjoyed the video and ha ha yes…the secret, which I repeated a bajillion times, is long, sweeping strokes ha ha!! I have used some of my stencils for years and years. The spray adhesive is so fine that I don’t think build up is too much of an issue. I guess if you used a stencil so much that it was, you could always replace it every so often! XOXO
Marian says
Christy,
Why oh why do I live so far away? I would buy these in a heartbeat! I really like the color and the white details. My painting skills leave a lot to be desired. I am afraid to try them on furniture. I get so much joy seeing you take that leap every week. Thank you.
Christy says
Aww thank you so much, Marian! I wish I could put these in a box and send them right to you! XOXO
ROSE LEFEBVRE says
I LOVE, LOVE, LOVE THESE! I would have bought so many items from you that I would be broke. Living in Oregon keeps me from being penniless! You do beautiful work!
Christy says
Aww darn…I wish you lived closer lol! Thank you so much, my friend! XOXO
Rhonda says
Love your blog!! You make everything look so beautiful and easy. Thanks for the video on chalk painting- starting a bedroom do over and really needed that visual help and encouragement .
Christy says
Thank you so much, Rhonda! I’m glad the video helped… sometimes seeing it in action makes it seem less daunting! You got this!! XOXO
Rosie says
Love how the tables turned out!! I too love the colour duck egg blue. Thank you for the tutorial it is great to see it visually. I do a lot of chalk painting myself but you make it look so effortlessly so I will refer to this video for when I need reminders lol. Beautiful job Christy on the tables as well as the video😍
Christy says
Thank you so much, Rosie!! I appreciate that and yes…I too love that color!! XOXO
Cate says
Thank you Christy! I feel so inspired by you that I feel confident I’ll be able to tackle a bedside table my husband made in high school shop class back in the 60’s! I love how detailed your instructions were….thank you so much! The tables turned out darling!
Cate
Christy says
Aww I love that, Cate! Thank you!! How cool that you have a piece that your husband built?? Have fun with it!! XOXO
Jen @ Girl in the Garage says
What an awesome score, and you turned them into beauties Christy!! XO
Christy says
Thank you so much, my sweet friend! XOXO
Bunny Congdon says
So loved your video on chalk painting your night stands! You are so inspiring and I can’t wait to get started on my own projects. All your tips are so helpful! Thanks for the video. I will check all your others out!❤
Christy says
Thank you so much, Bunny! I’m so happy you found the video helpful!! XOXO
KATHY BINKLEY says
Christy, I’m never surprised how beautiful you paint and how well the finished piece turns out. I showed my husband who you were because I have bought paint from you and I have followed you for years and learned much from you. Your such a perfectionist and thats why your pieces turns out beautiful.
Christy says
Aww you are so sweet, Kathy thank you!! I love hearing that you have learned a few things along the way especially! XOXO
Kerryanne says
You always inspire me Christy!! I truly do love every one of your make-overs and especially how detailed your tutorials are. These tables look amazing!
Thank you for sharing your talent at Create, Bake, Grow & Gather. I’m delighted to be featuring this post at tomorrow’s party and pinning too.
Hugs,
Kerryanne
Christy says
Aww thank you so much, Kerryanne! I’m always excited when I have a project that might be a good fit for your party…it’s the only one I share at! Stay well, my friend! XOXO
Karen says
You made that look so easy. Beautiful as always.
Christy says
Thank you so much, Karen! It isn’t too hard at all! XOXO
Sumer says
These look
beautiful! I do have a question. I just finished and am about to start another dining set. When I do my chairs, I really struggled getting the paint smooth on the edges without drips or a thick overlap of paint, especially on the small bars on the chairs’ backs. Any suggestions?
Christy says
Thank you, Sumer! When painting things like that, I sometimes just have to keep going back over areas and making sure there are no drips. Ideally, if you had a sprayer, that is the best for chairs! I have a pretty inexpensive one (under $60) that I use for chairs when I have a lot of them to do. You can see what I mean on my sisters kitchen chairs I redid here: https://www.confessionsofaserialdiyer.com/how-to-stain-furniture-white/ SO much faster! Hope this helps! XOXO