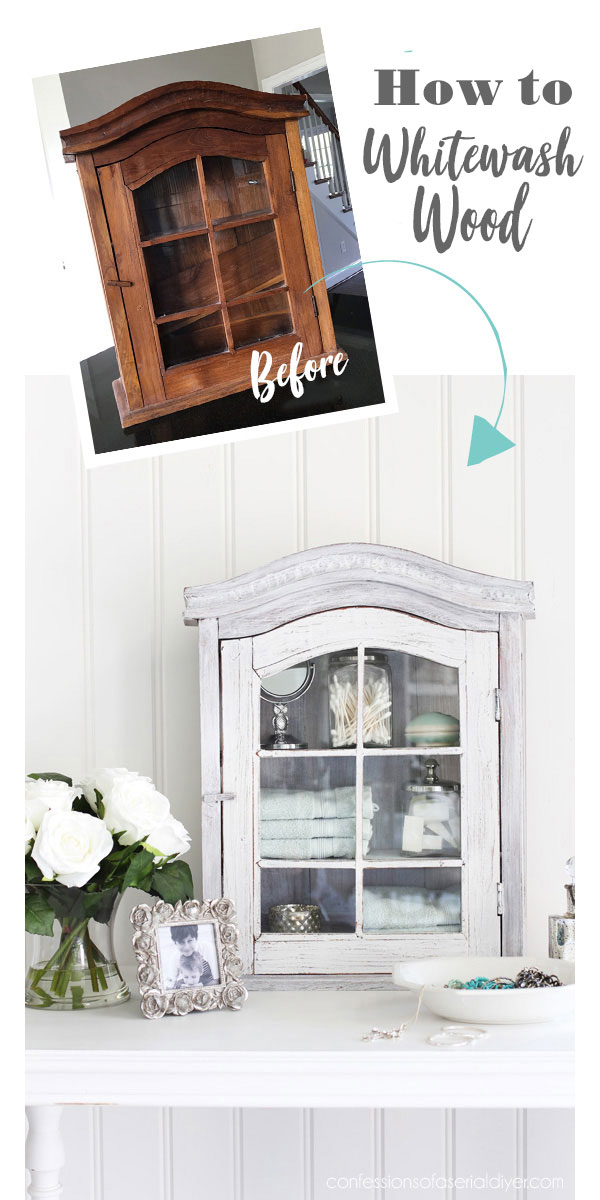
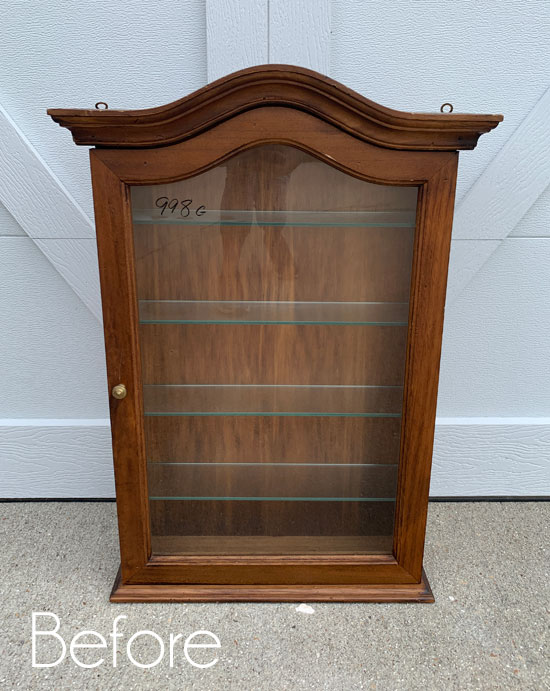
Hello beautiful friends! I’m back today with this gorgeous wood cabinet to share how to whitewash wood:
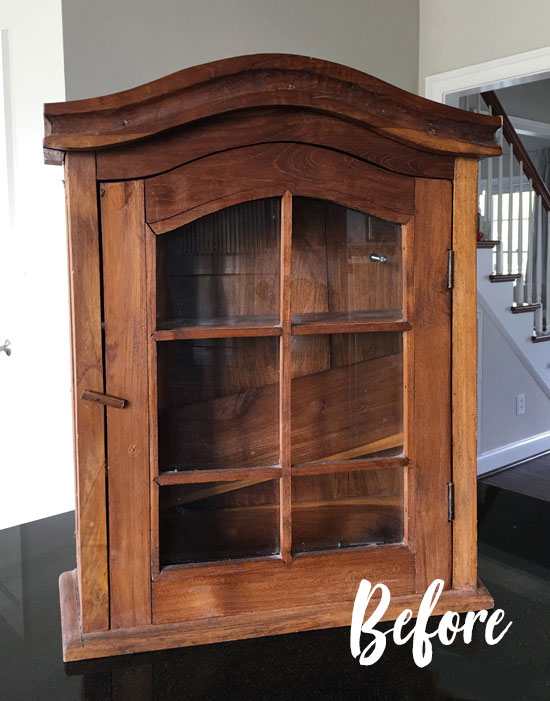
It was marked $12 at the thrift store, and I just couldn’t pass it up.
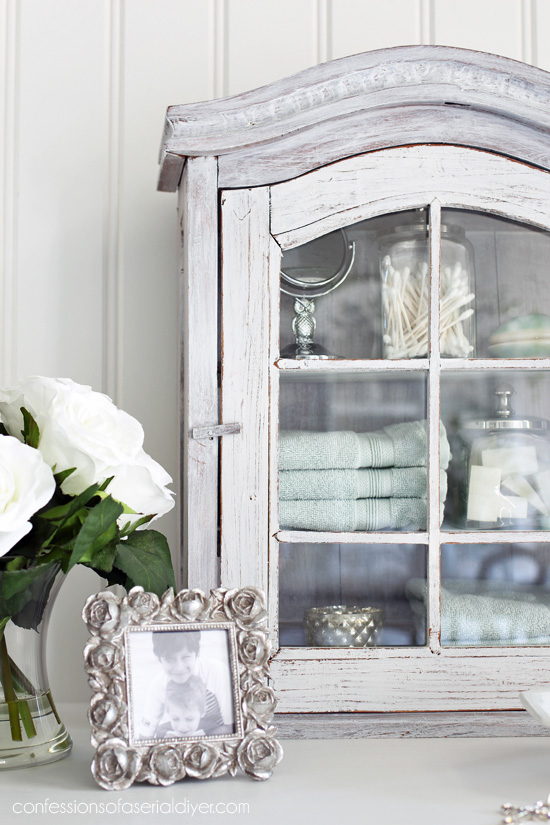
Although it is lovely as is, I envisioned a lighter, more coastal feel for this handsome cabinet.
I often use Dixie Belle’s Voodoo Gel Stain in Up in Smoke as a base because I love a gray base for whitewashing.
Here is what I’m talking about as you can see on this paddle I redid back in 2020:

I sanded back to the original wood and then applied the gray gel stain before whitewashing.
But what if you want to whitewash right over your wood surface?
I’ve had that question asked many times! If you decide to whitewash right over the wood, you will get the original wood color peeking through instead!
How to whitewash wood
For this cabinet, after a good cleaning, I was able to get straight to the whitewashing part because there was no sealer on this piece.
If you suspect potential bleed-through which can happen with older cherry and mahogany pieces, you may want to prime first with a coat of clear BOSS.
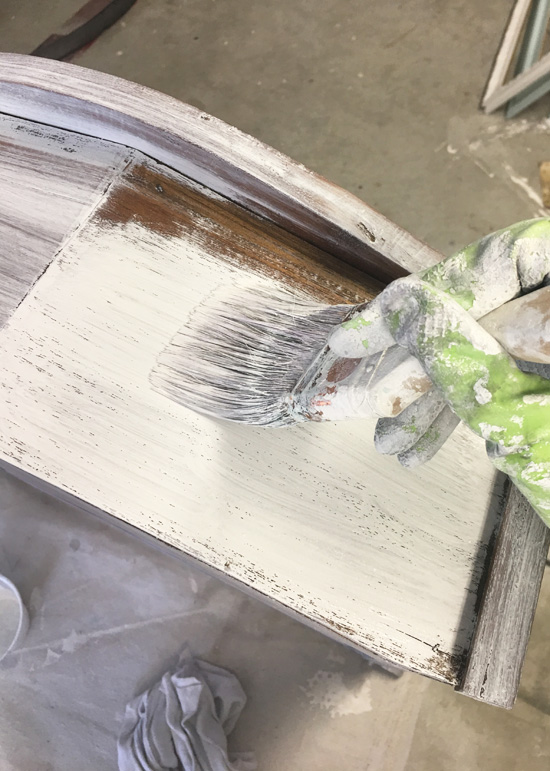
To whitewash this cabinet, I watered down white chalk paint just enough to thin it a bit and brushed it on:
Then, I took a clean cotton rag and wiped it back off, going with the grain of the wood…
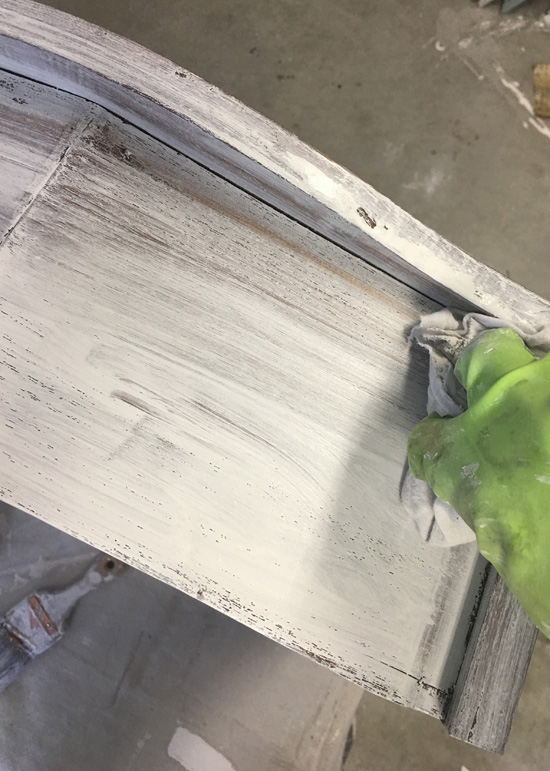
I reccomend gloves for this step since it’s pretty messy.
Whitewashing is a really easy way to update a piece. You should be able to get away with one coat if your paint isn’t watered down too much.
Although I would normally stain the wood first with the gray stain to get it a little more gray, I really like the result here too!
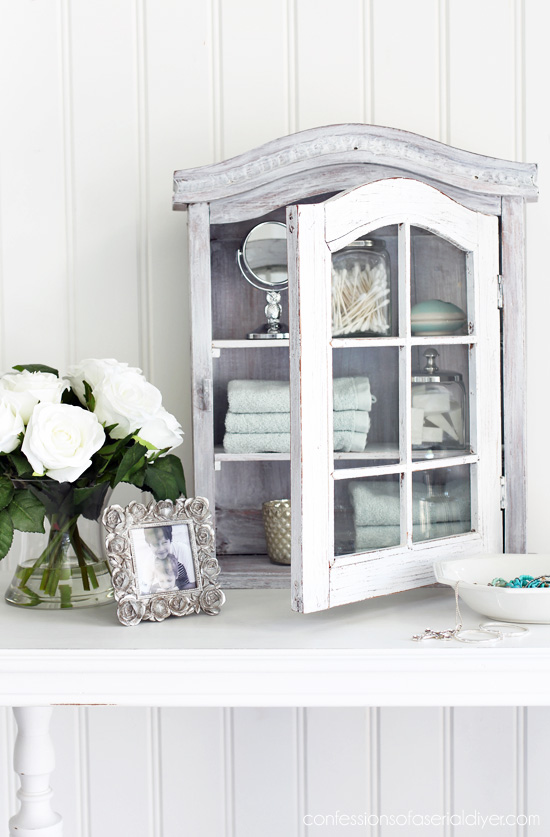
The After
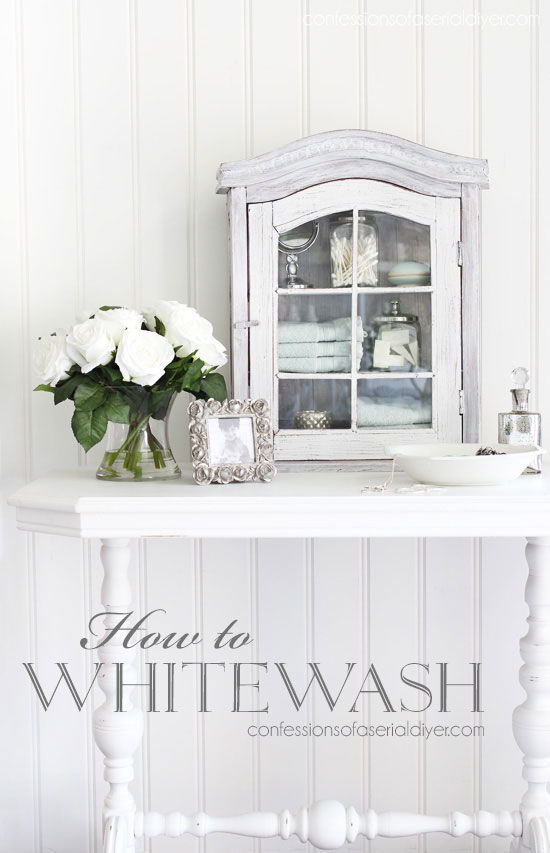
I decided to whitewash just the body of the cabinet and paint the door more solid:
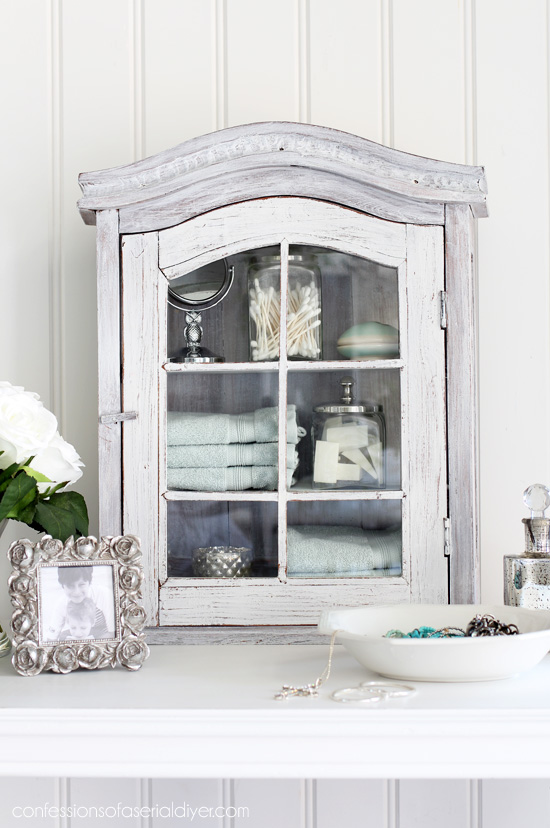
I love the combination of the two!
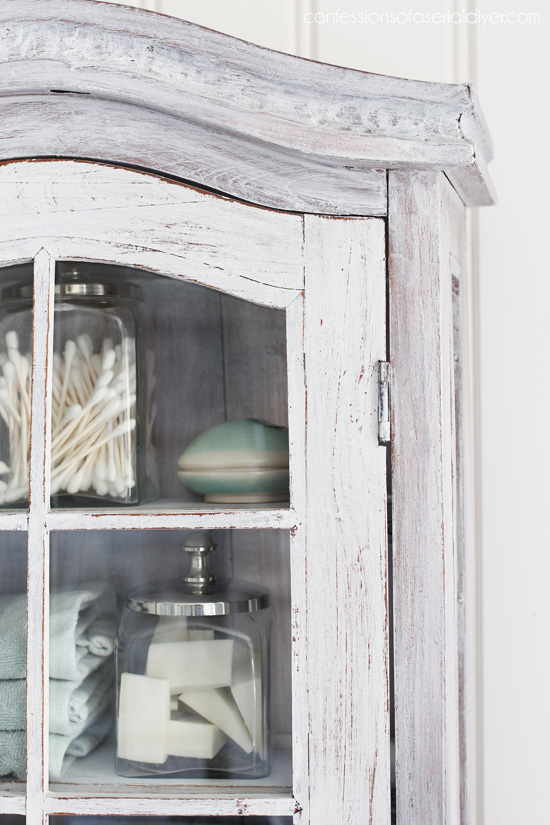
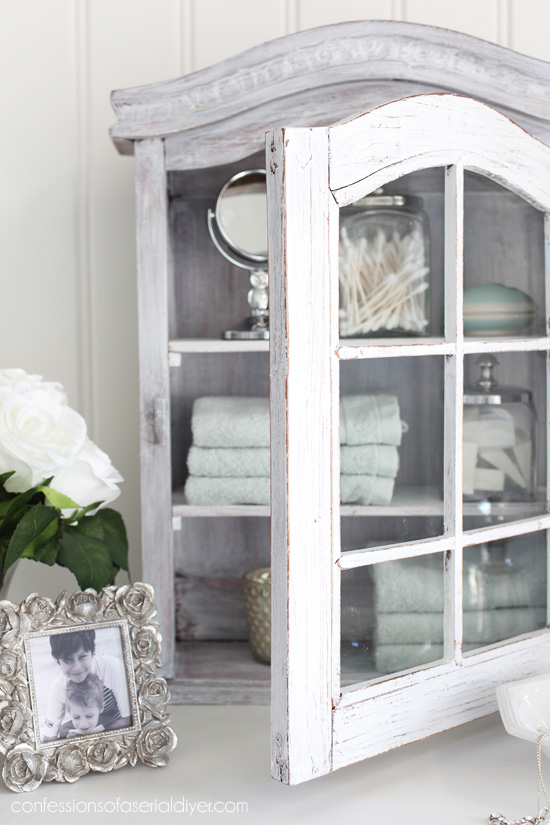
The door got just one coat of chalk paint, and a quick sanding with 220 grit sandpaper. The contrast is just enough.
I removed the glass insert to be able to paint the grids more easily…
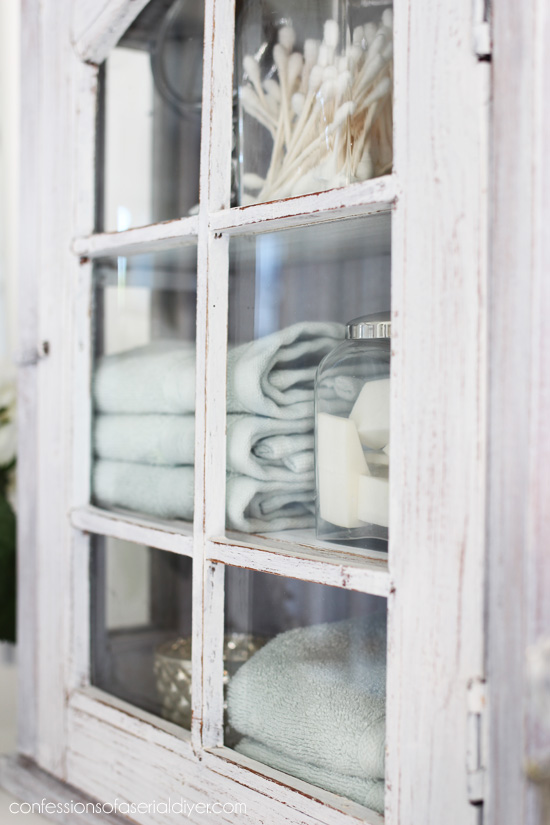
There are glass panels on the sides as well:

To hold the glass in place after I replaced it, I used a bead of hot glue all around the inside edge.
Everything was sealed with clear wax.
Isn’t it a cute cabinet? I wish I had a place for it!
I painted the shelves on the inside in the solid white as well…
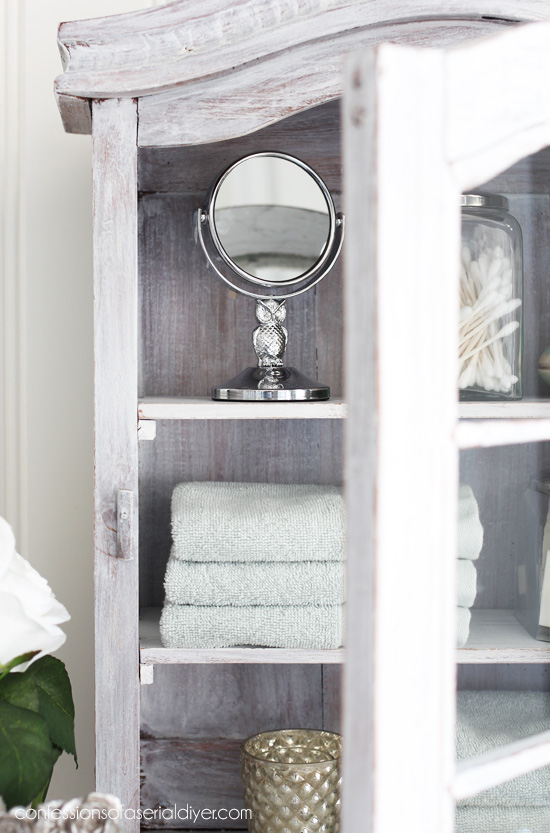
The rest of it almost looks pickled. I just love this relaxed coastal feel now!

It definitely took away the heaviness of it!
I hope you enjoyed this simple update today!
If you enjoyed this one, you’ll like this one too!
It’s very similar but involves fabric. See what I did with it HERE!
I’ll be back to my Spring Haul next week for Trash-to-Treasure Tuesday with this metal bread box my mom passed along to me:
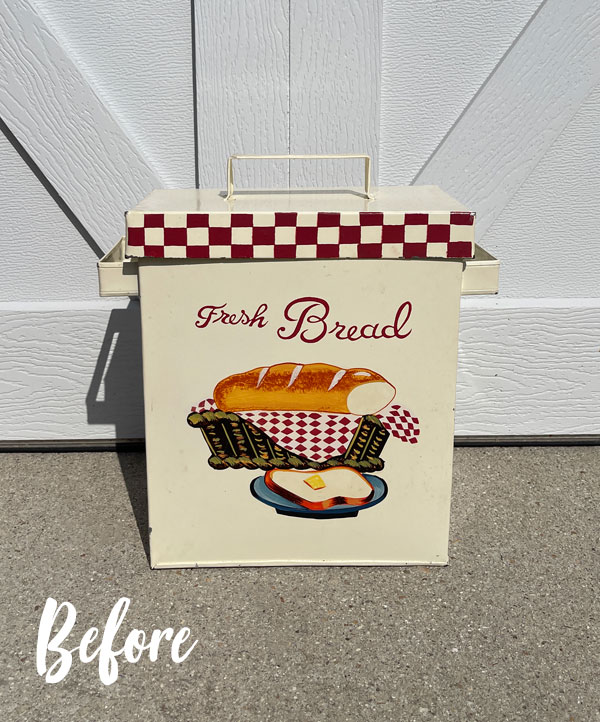
See ya then!
UPDATE: See how much cuter this little box looks now HERE!
XOXO,

Don’t Miss a Thing!
If you like what you see, there are several ways to follow along!
EMAIL * INSTAGRAM * FACEBOOK * PINTEREST


Cheryl Ware says
Very lovely, Christy! I have this exact little cabinet that I’ve been thinking about painting but haven’t decided yet. Thanks for the inspiration!
Christy says
Thank you, Cheryl! I’m so glad I could give you an idea for yours!! XOXO
Mary Kaiser says
Wow is that beautiful now! I love how that turned out! That one would be hard to take to the booth! I love little cabinets like this, especially after you put your amazing talent on them!
Christy says
Aww thank you, Mary! I really wish I had a spot for it!! XOXO
Kate says
It’s pretty! You do love a bargain:). $12 is definitely worth it, I thought you’d say it was well over $20!
Christy says
Thanks, Kate! I am cheap ha ha!! XOXO
susan says
That IS a simple update for you 😆😆
No color on the inside, no stripes, no transfers…..🤣🤣
Christy says
Right?? That’s all it needed! XOXO
Mary Smart says
I had this very same cabinet about 20 years ago and sold it at a garage sale. My whole house was done in Country French and all of my furniture was that reddish brown. I do not own any of that furniture now.
Christy says
It sounds like we had very similar taste back then! I had lots of that reddish brown furniture too lol! XOXO
Celia says
Oh I really love this cabinet, both before and after! But I like the white the best, stems from my love of shabby chic. It was a nice way to get my morning going your stuff is the best!
Christy says
Aww I appreciate that so much, Celia!! Yes, my heart belongs to the shabby chic version too! XOXO
lynda says
hi i just love everything u do…i have followed you for years and u are the best diyer ever…but for this little piece i really loved the dark wood better…i usually paint most everything white…but lately have been loving some pieces dark beautiful wood…ha thanks so much for your blog…
Christy says
Aww thank you so much, Lynda! It really was cute before too, and people are loving wood more and more again these days! XOXO
TRACY A TOTTY says
I almost always love your makeovers so creative, but this time I would have left that piece alone. I think you need some wood in its natural state.
Christy says
Thank you, Tracy! It was cute before as well for sure! XOXO
Denise - Salvaged Inspirations says
Super cute makeover! Amazing what a little paint can do, right?! Have a super day my friend, XOXO
Christy says
Thank you, my beautiful friend! Paint is the best!! Enjoy your day too!! XOXO
gwen says
Aaah, but you DO have a place for it – I’m sure it’ll sell quickly! I did a similar cabinet in a turquoise color, by mistake really, but I loved how it turned out and yours too!
Christy says
Thank you, Gwen! Sadly, I do not have a place for it ha ha! I bet yours was gorgeous in turquoise!! XOXO
Debra Hubbs says
I love little cabinets like these. I had a large one with great detail that I had gotten with my sideboard (which i still intend to paint lol) and sold it and I wish I hadn’t. I have a question. Can you use the Voodoo Gel stain over a DB topcoat? Going to check out your post on that cute paddle shown. I have a cute little set of oars that are a bit bright and this might be just what they need lol.
Christy says
Oh no…I too have gotten rid of things I later wished I hadn’t! I think you could probably use it kind of like a wash? Although I have not tried that. A glaze might work better…we do have a Grunge Gray color. 🙂 XOXO
Debra Hubbs says
Thank you.
Christy says
You’re welcome! 🙂
Cyndi says
This is adorable!! I love the curves and details. Yes, the “before” was definitely “heavy.” The whitewashing is a big improvement!
Christy says
Thanks so much, Cyndi! It’s such a great little cabinet for sure! XOXO
Marietta R Walker says
Hey you,
It’s just so “Not you!” It’s pretty enough, but I too would prefer it in it’s original state or seen it with “Traditional Christy”: Beautiful paper on the background, perhaps some decal or stencil down the sides and some highlighting to bring out the detail at the top.
It’s not you, it’s us. We are use to your super-over-the-top-WOW factor! This one is such a change, we don’t know what to make of it!
Still love what you do girl!
Christy says
Hi Marietta! I absolutely love how sweet you are about telling me you don’t love it lol. That’s okay…it really was pretty in its before state too. I do really love it painted and washed though. I tend to add the extras when there are blank spaces that need filling, which this one didn’t have much of. I hope you have wonderful weekend, my friend! XOXO
p says
So nice ! I love the simple slightly shabby look.
Such a cute piece. 🙂
Thanks for sharing !
p
Christy says
Thanks so much, P! It is a cute one! XOXO
Robin says
Hey Christy,
I think that there is a slight difference between pickled and white washed?To my mind, yes, this piece is white washed. I think pickled would be having the paint thinned even more and wiped back so more of the wood would show through? It does have pretty lines and because it is so small I think that paper in back would not have a design impact. Good job.
Christy says
Thank you, Robin! Oh yes…for sure…that’s why I mentioned that it almost had a pickled look…not quite, but almost. 🙂 And I agree about the paper! Have a fantastic weekend, my friend! XOXO