Hi sweet friends! Happy Fall!! Today I’m sharing another thrifty way to add a little Fall to your décor.
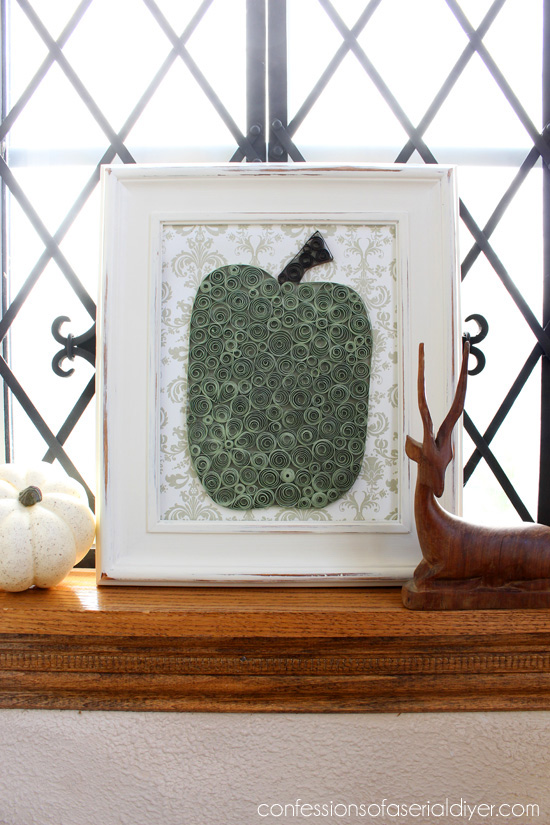
A few pieces of scrapbook paper and a yard sale frame is about all it took to create this fun quilled paper pumpkin:

This was so simple to make. And it was cheap, as in less than $2! That’s my kind of project!
Want to make one?
Here’s what you’ll need: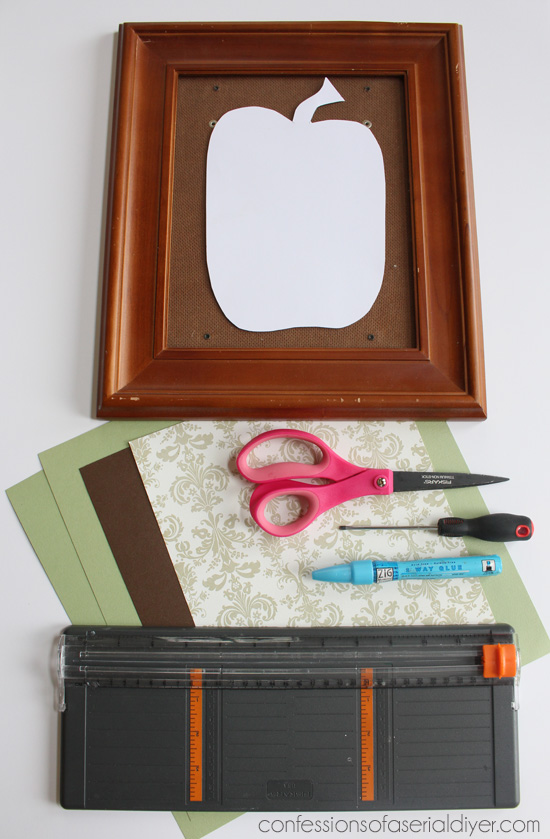
- Frame
- Card Stock (I used one for the stem, three for the pumpkin, and one for the background.)
- Pumpkin silhouette. I drew this one to use as a template.
- Scissors
- Glue
- Paper cutting tool
- Tiny flathead screwdriver
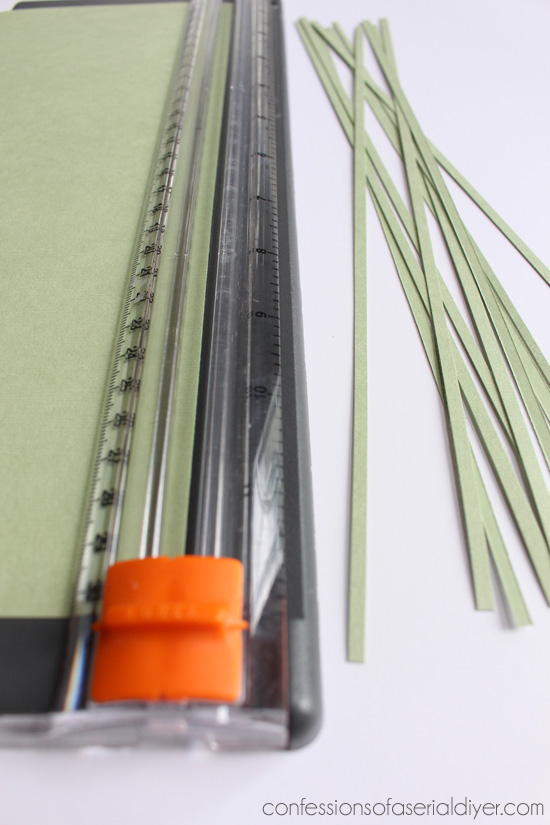
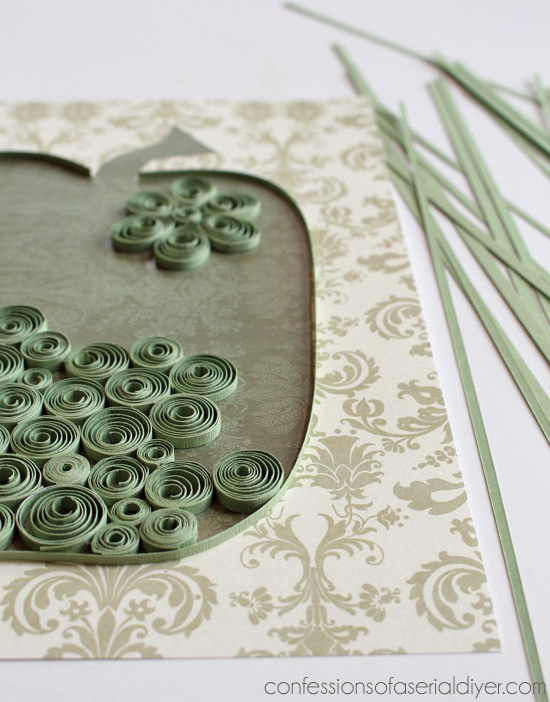
Start by cutting two pieces of card stock into 1/8″ strips. (You can purchase quilling strips already cut at your craft store, but this is a simple step and much cheaper.)
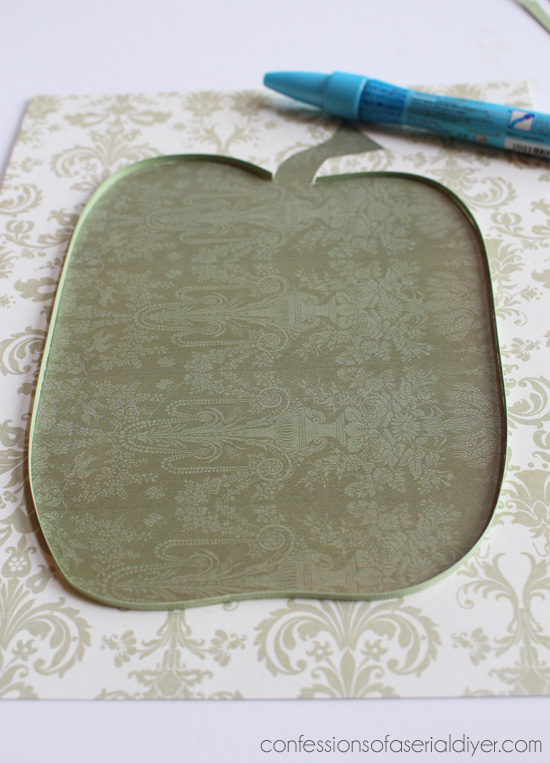
Cut a piece of cardstock in the shape of your pattern. I thought I wouldn’t have enough of the green, so I pulled a piece out of my stash that was close in color.
Glue the pumpkin to the background. Then outline the pumpkin with paper strips, attaching with glue as you go. I like these Zig glue pens I purchased at Michaels.
Roll a strip tightly around the tiny flathead.
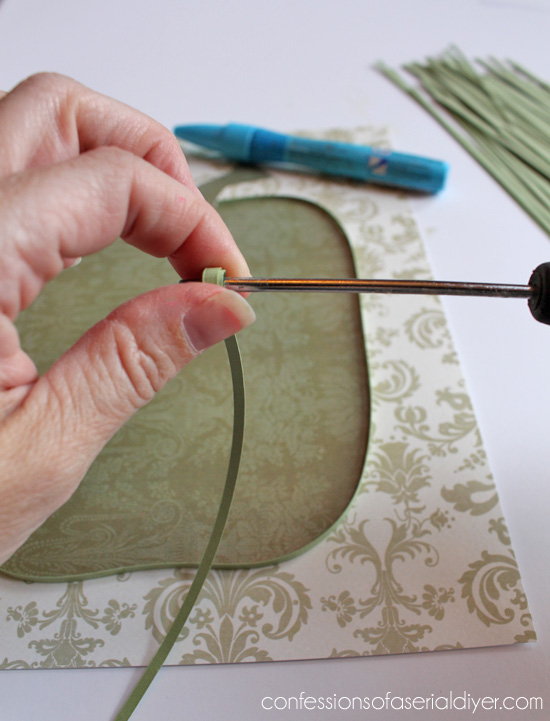
Let it unravel to the desired size and glue in place.
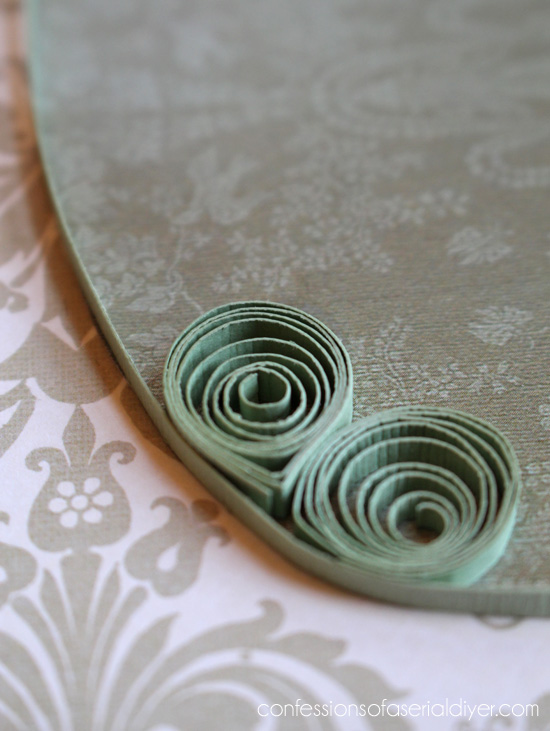
You can pinch one end to create a petal or move the “eye” of the circle to one side for a different look. You can really have fun with it.
Continue to fill it incompletely…
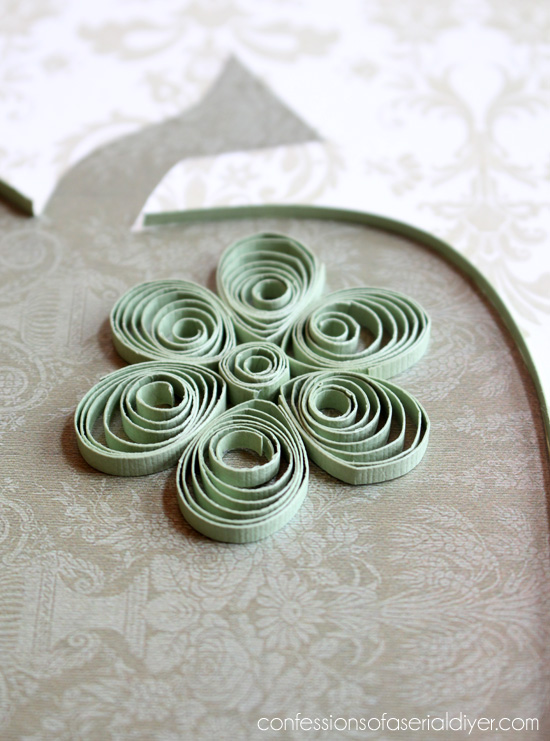
You can roll half of your strip in one direction, then switch and roll the other half in the other direction to create two smaller circles too.
For the stem, outline in brown and fill in the same way.
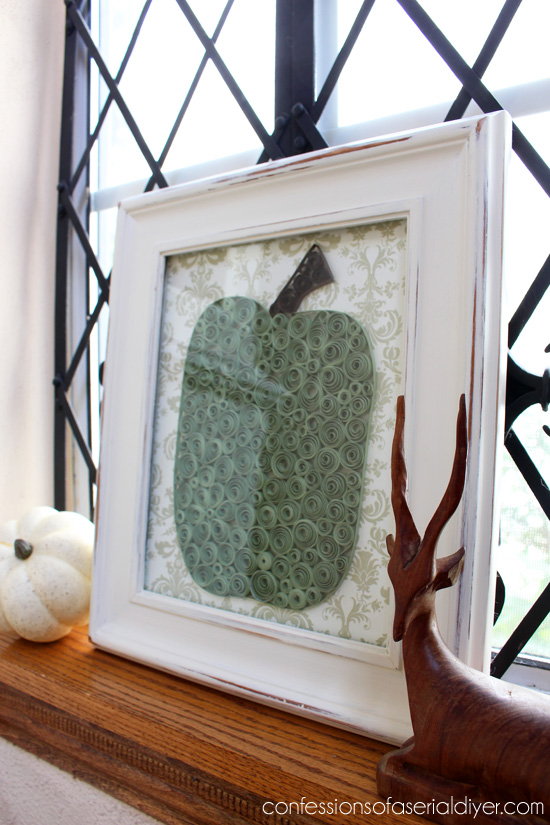
Here is mine completely filled in. I removed the glass to get a picture without the glare.
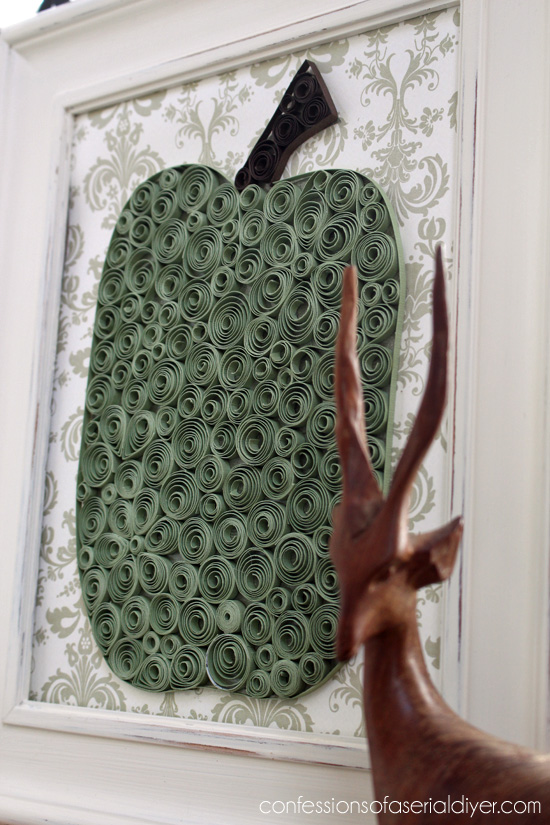
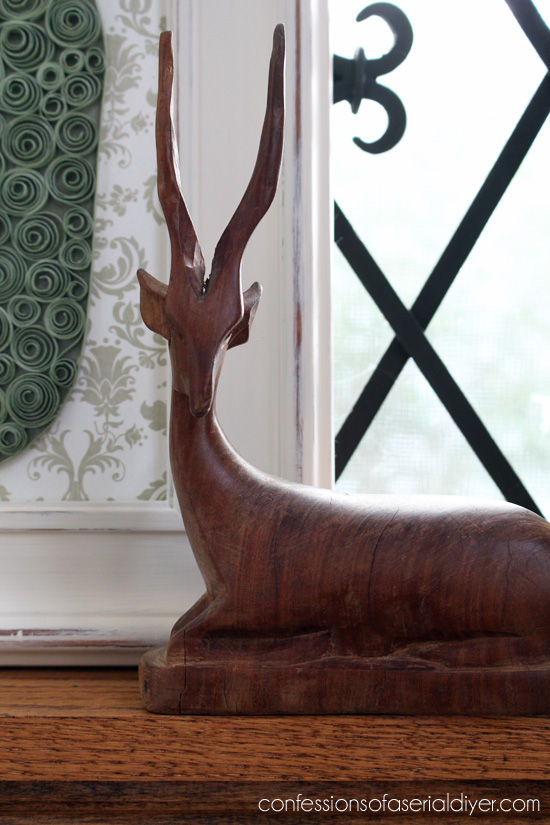
The deer doesn’t say Fall at all, but I just found him at a thrift store for $1.58. Isn’t he a cutie?
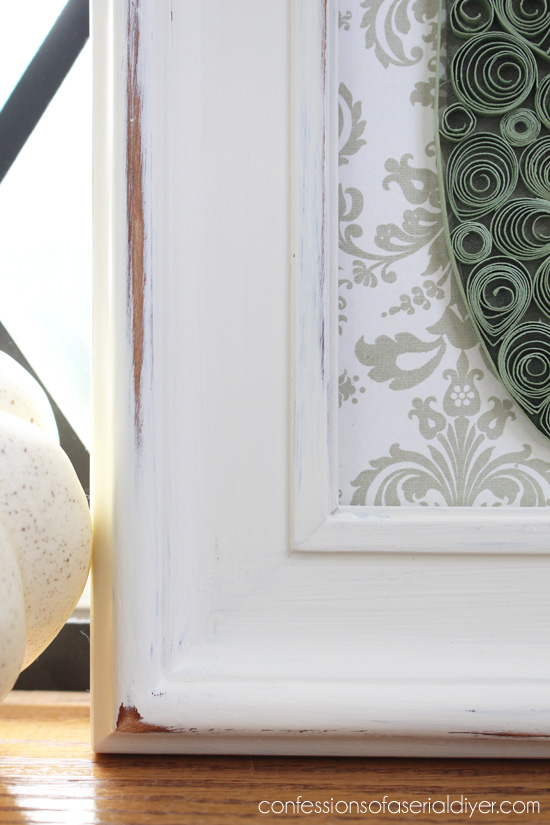
This frame was a yard sale frame I found for a dollar. I painted it and sanded it bit.
Here it is with the glass, reflecting my china hutch.
I made a Quilled Paper Skull for my Halloween mantel last year. This is such an inexpensive way to add a little seasonal décor to your home.
I made this one to match my New Fall Wreath:

It also matches my Thrifty Fall Centerpiece. Would you believe I made it from these items?

If you missed it, it’s a must-see!
At least now you know why I chose green for my pumpkin! Of course you can choose a more traditional, vibrant color if you prefer.
I also have an amazing giveaway today to welcome Fall, my favorite season!! This will be my last giveaway for a while so make sure you register to win this one!
I am teaming up with some of my favorite bloggers to give away two $250 Visa gift cards!

Just follow the tasks below to earn several chances to win!
Good luck on the giveaway and I hope you are inspired to try a little paper quilling! It is very relaxing, which makes it such an enjoyable project. 🙂
XO,
![]()
P.S. The Kitchen Aid Mixer giveaway is still going on too! Click on the image to register!

If you like what you see, there are several ways to follow along! ![]()
Email * Facebook * Pinterest * Hometalk * Twitter * Instagram
I love to share at some of these great parties:
Home Stories A to Z Not Just a Housewife Kammy’s Korner The Happy Housie Design Dining and Diapers Liz Marie Blog Funky Junk Interiors Savvy Southern Style Tatertots and Jello DIY Show Off Redoux Interiors Between Naps on the Porch The DIY Dreamer Oh My Creative Little Miss Celebration Just a Girl and Her Blog Sand and Sisal Interior Frugalista House on the Way Addicted 2 DIY I should be Mopping the Floor Miss Mustard Seed


Erin says
Soooo cute! And can’t believe I missed the skeleton. Pinned both. Bought a quilling tool and some quill strips as and easy craft for my girl scouts a couple years back but never thought of just a fill in. Thanks so much. Will be trying soon.
Christy K. James says
I should probably break down and buy the tool, huh? I did a heart for my Valentine’s mantel also. So many possibilities!
Marie@The Interior Frugalista says
Christy, you are so freak’n creative and talented – talk about classy looking pumpkin art! It’s so pretty – just love it! Thanks for the awesome giveaway too 🙂
Christy K. James says
Thanks, Marie! I love quilling, it’s so relaxing. There aren’t too many projects we take on that allow us to sit in one place for very long! XO
marian boll says
How great and doable!!!!
Christy K. James says
Thanks and it’s absolutely doable. 🙂
Nancy @ Artsy Chicks Rule says
That is so great Christy!!!Very unique…I love that! 🙂
Nancy
Christy K. James says
Thanks, Nancy! 🙂
Krista @thehappyhousie says
It is so beautiful Christy- and you are so patient!! Amazing!
Christy K. James says
Aww thanks! It’s really relaxing unlike painting furniture lol 🙂
Loreena Meer says
would love to try it
Christy K. James says
It’s easy…give it a go! 🙂
sherry elston says
hey, just wanted to tell I think you made a ROCKIN centerpiece.
from someone who does not have a blog of her own, I just troll around and peek at the others!!!
Christy K. James says
Thanks, Sherry! I’m so glad you stopped by. I enjoy lots of other blogs out there too…there is so much inspiration in Blogland! 🙂
Felecia says
Hi Christy! I love this project! You have inspired me to try quilling with your step-by-step tutorial! Thanks for sharing! And thanks for the chance to win the Visa card! Blessings from Bama!
Christy K. James says
Quilling is unexpectedly relaxing! Most of my projects involve a lot of bending, etc painting furniture. This was a nice change of pace. 🙂
Jessica C says
The picture is absolutely beautiful ! it has giving me an idea for a decoration I would love to try out in my home.
Christy K. James says
Awesome! I’m so glad you feel inspired, Jessica. And it’s super cheap to make…that’s the best. 🙂
Kendra @ www.joyinourhome.com says
It is so beautiful, Christy! Wow! I didn’t know how to do the “twirling”… Great tutorial 🙂 Would love for you to share any of your beautiful DIY at our new link up party please 🙂 Enjoy your weekend!
Christy K. James says
Thanks, Kendra! Just linked up a couple. Good luck with your party! XO
Amy | Canary Street Crafts says
I’ve been wanting to try quilling for a while now! I just love the way it looks. Your pumpkin is too cute!!
Christy K. James says
Thanks, Amy! It is actually a very relaxing craft, which not many of my projects are these days. 🙂
Jamie | anderson + grant says
This is really a lovely craft. I like the texture of the quilled pumpkin on top of the patterned pumpkin. Great Job!
Barbara says
That is one classy piece of art! I love quilling (or at least the finished product. I’ll have to give it a try. I love pumpkins, and like you say, this is a good way to appreciate quiet and creativity as well!
Christy says
Thanks, Barbara! I love quilling too…it is so relaxing! 🙂