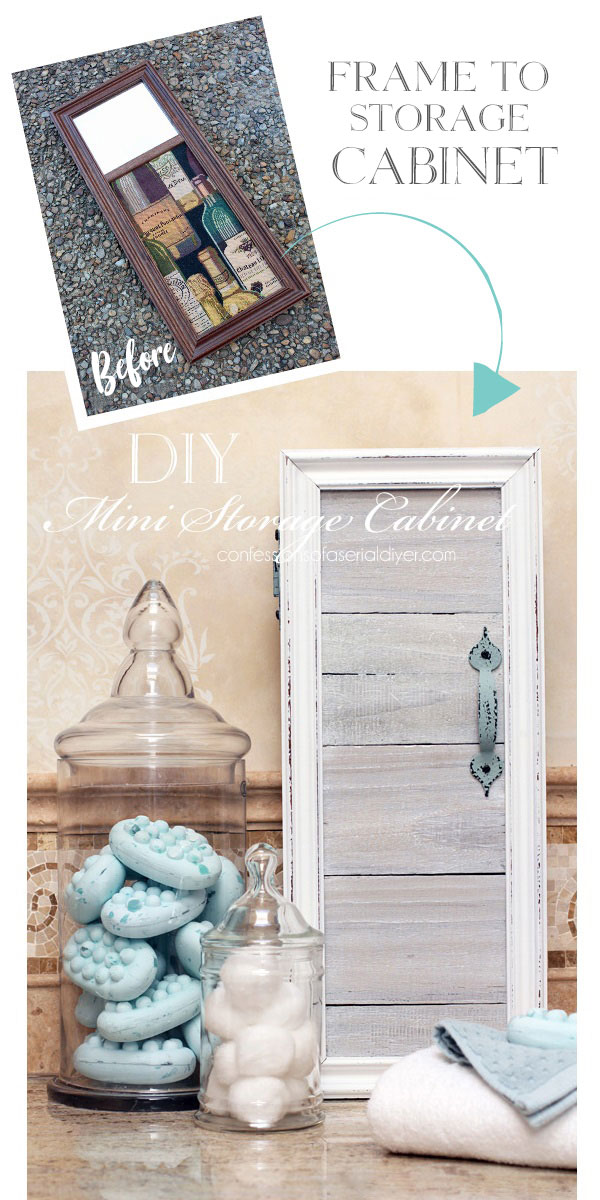
Hello, awesome Friends! I hope your week is going well so far! I reached way back into the archives to 2016 for today’s replay! One of my dear friends had saved this framed mirror/corkboard for me thinking I could do something with it and I finally did! Today, I’m resharing how to repurpose a frame into a mini cabinet door using this piece!
Here is what I started with:
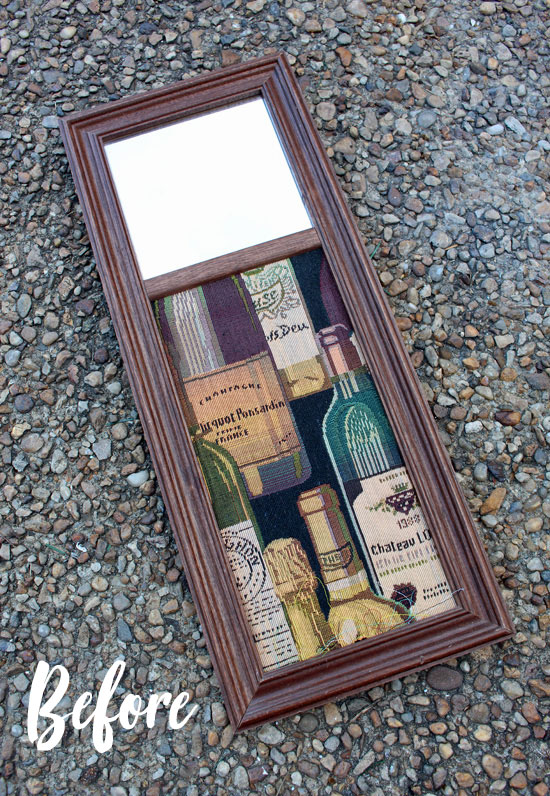
When I was deciding what to do with it, I decided I wanted to build a small cabinet. At the time, I was quite the hoarder and used to call my hoard my to-do pyramid lol. It had been hanging around for years! Now, I try to work through hauls of items so things don’t sit untouched for too long.
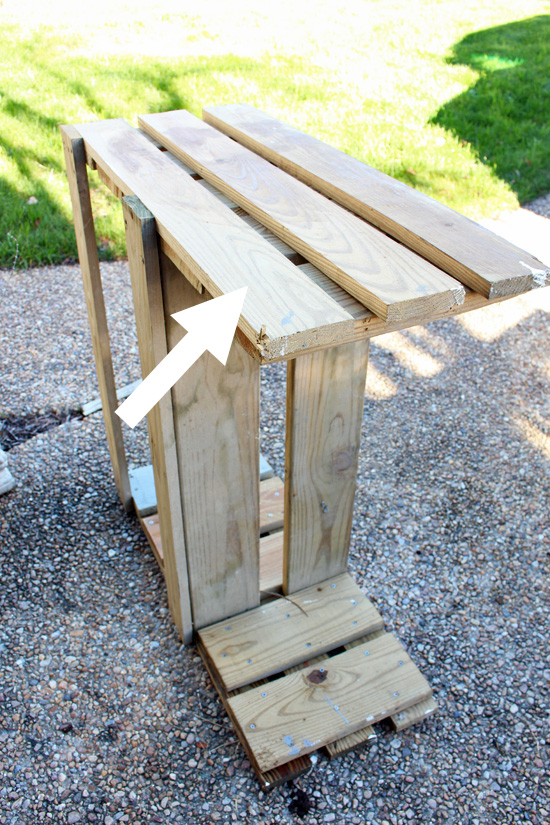
I had just cleaned and purged the garage at our old house and this piece was heading for the trash. I ended up taking it apart instead, and I discovered that the lumber on the sides was perfect for the body of my new cabinet!
I’ve included a few affiliate links so you can find the products I love.
Building the cabinet
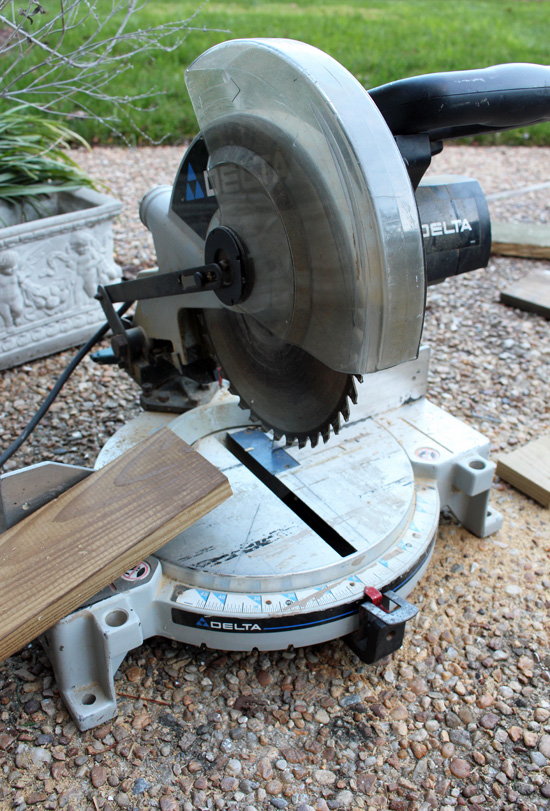
I used the wood for both the cabinet and the shelves, cutting everything with my miter saw…
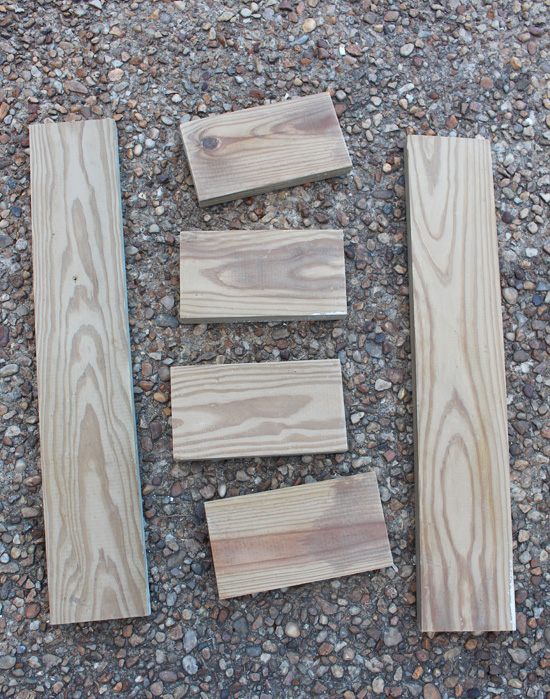
I used the frame as my guide for how big to cut the pieces since that would be the new door, and the cabinet needed to be the same size.
This is one of my favorite saws because it cuts smaller pieces into nice, straight cuts…
Once I had all the sides and shelves cut, I began assembling my cabinet. I used wood glue and my nail gun to attach the top and bottom to the side pieces creating a rectangle. Then, I secured the two shelves the same way. Finishing nails and a hammer would do the job as well.
Next, I found two old wooden fence pickets in my stash that I cut to fill in the frame that would become the new door:

The After
I didn’t take as many in progress photos seven years ago, but I will share all the info throughout the after shots.
First, here is how my sweet new cabinet turned out:
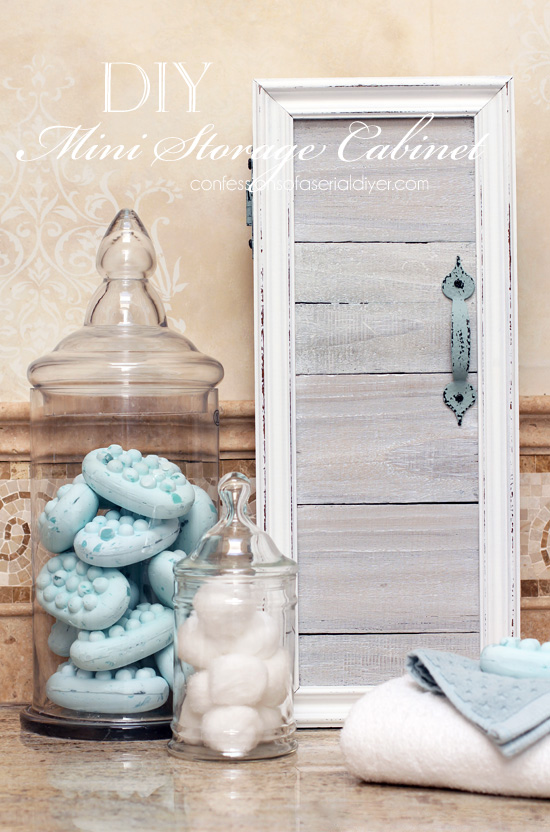
Isn’t it so cute?
The frame was painted with white chalk paint, then sanded and sealed with clear wax.
The fence pickets were white-washed with white paint mixed with water using this method. I did not seal any of those pieces.
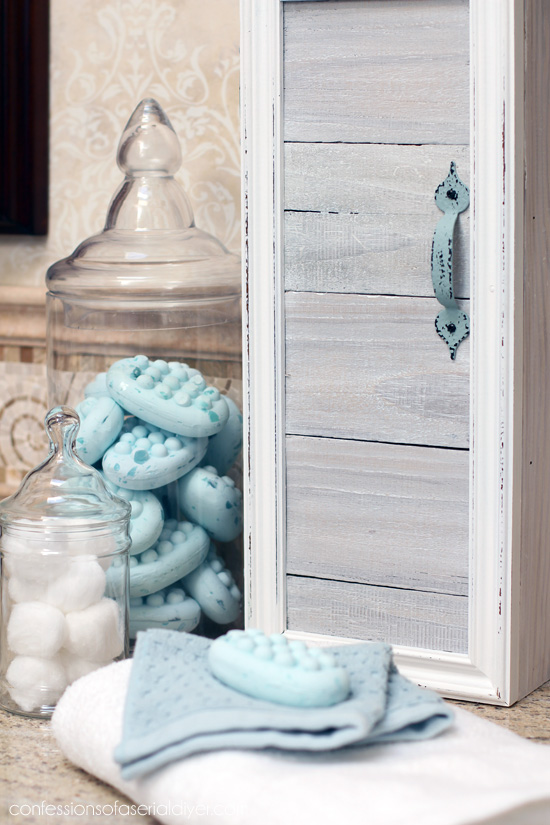
To attach the fence picket pieces to the frame, I just used my cheap staple gun since they were flush with one another.
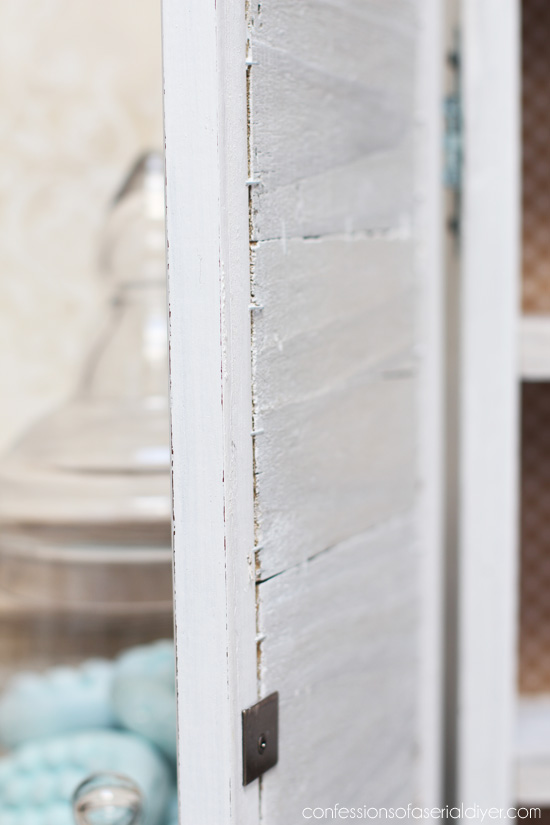
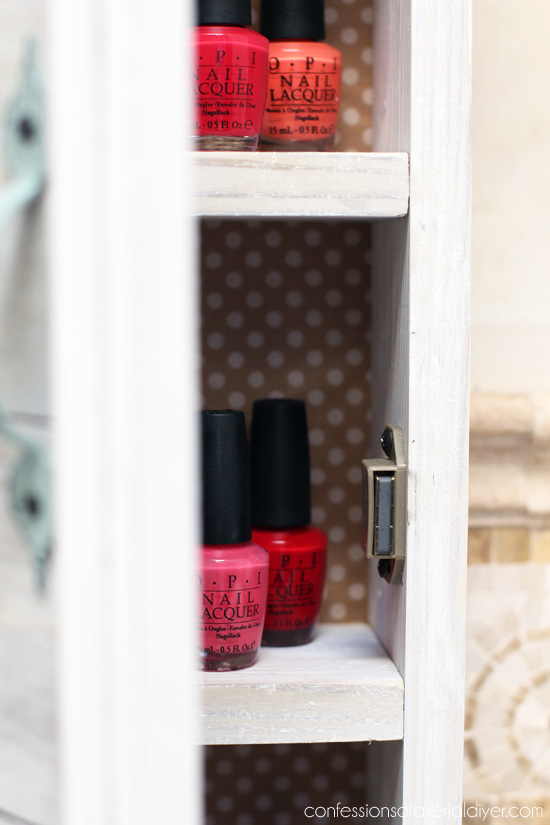
You can also see I used a magnetic closure I picked up for 97¢ to hold the door closed.
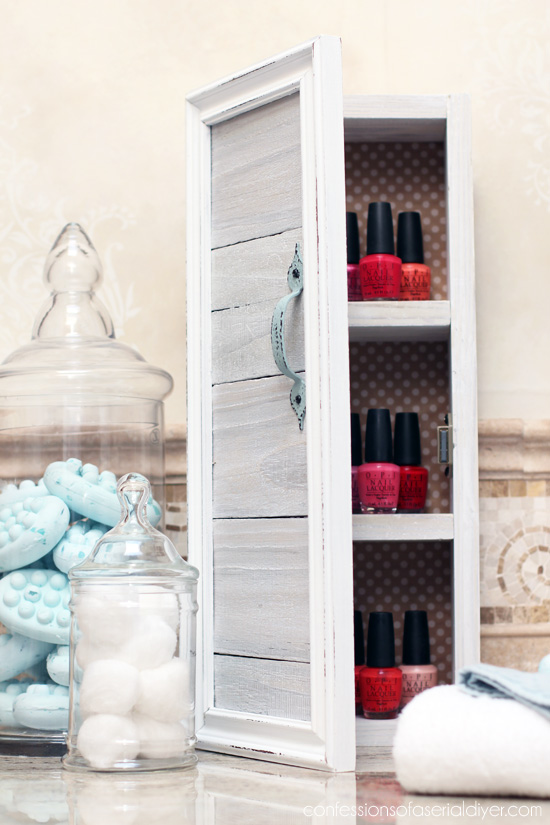
For the back, I cut and covered an old picture that came out of another frame.
It was thick like frame matting but a bit more stiff and perfect for the backing.
I used spray adhesive to cover both sides with pretty brown wrapping paper, then staple gunned it to the back as well.
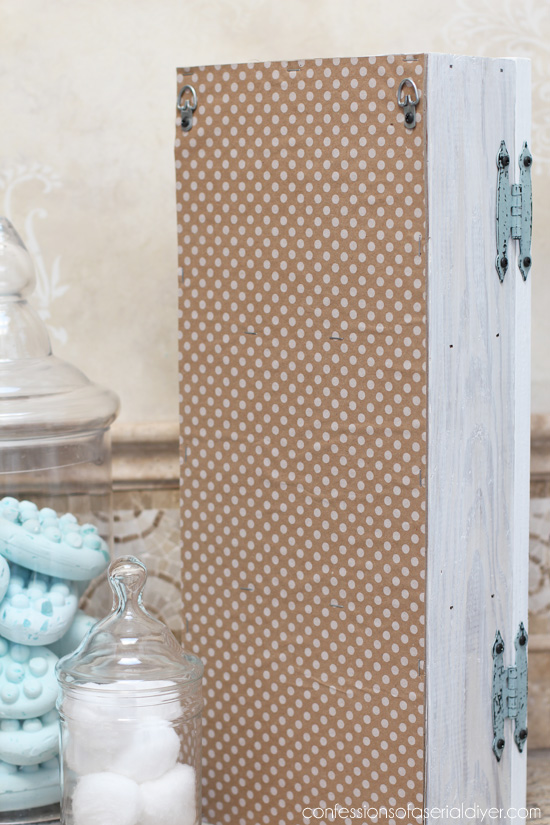
I also added a couple of D-rings for hanging.
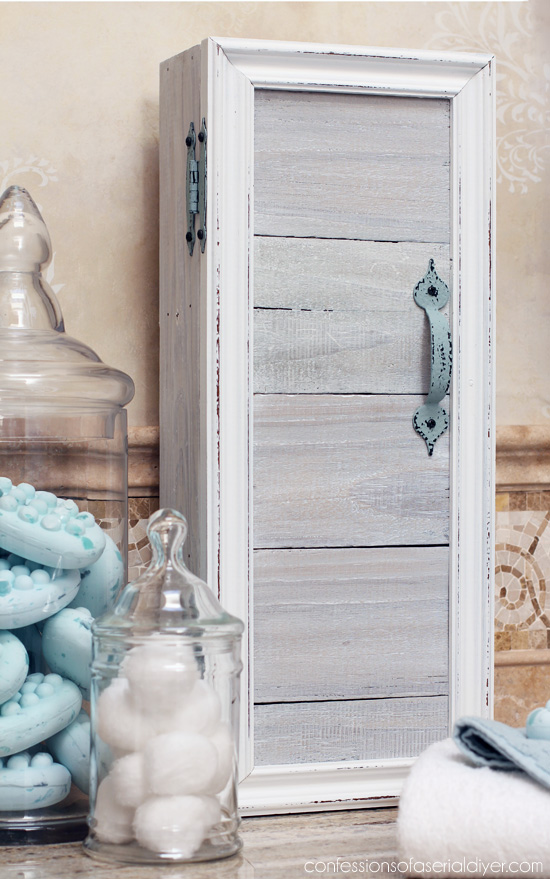
To add a little coastal accent, I painted the hardware in this pretty coastal blue:
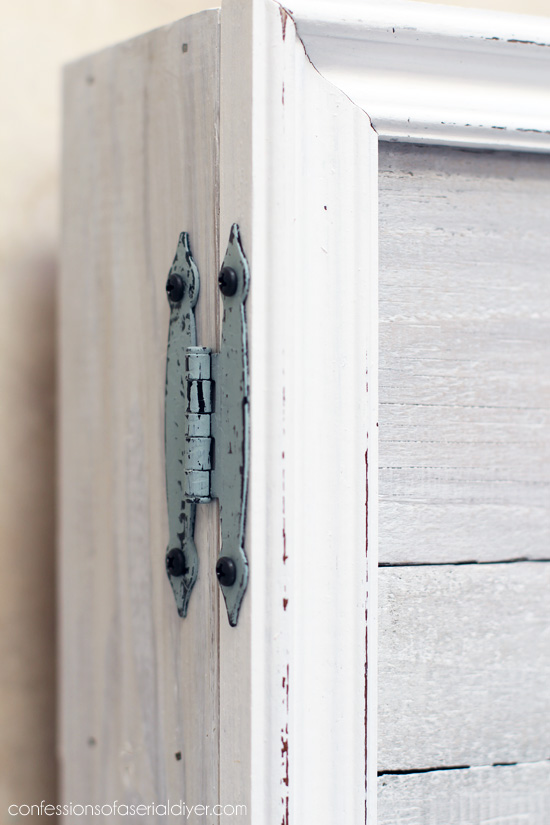
These were black hinges I already had, but didn’t love.
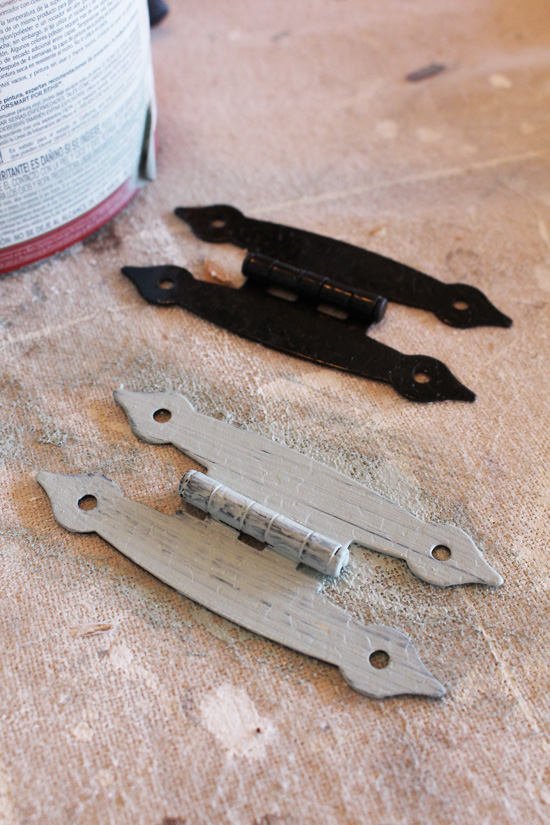
Paint really did wonders for them!
I painted the matching handle the same way…
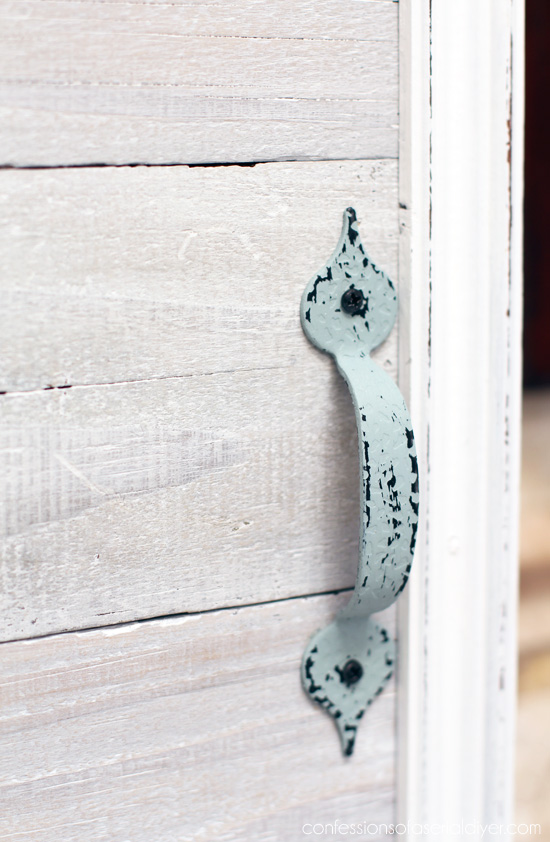
So much better and they really add a little pop to this cabinet.

I staged it with nail polishes, but this would be great for makeup as well, or in a kitchen for spices?
This was one of those projects that came together as I was going. Sometimes you just need to start even if you don’t know how it’s going to end!
If you enjoyed this post, I have done several projects in the past using reclaimed wood (aka old fence pickets):
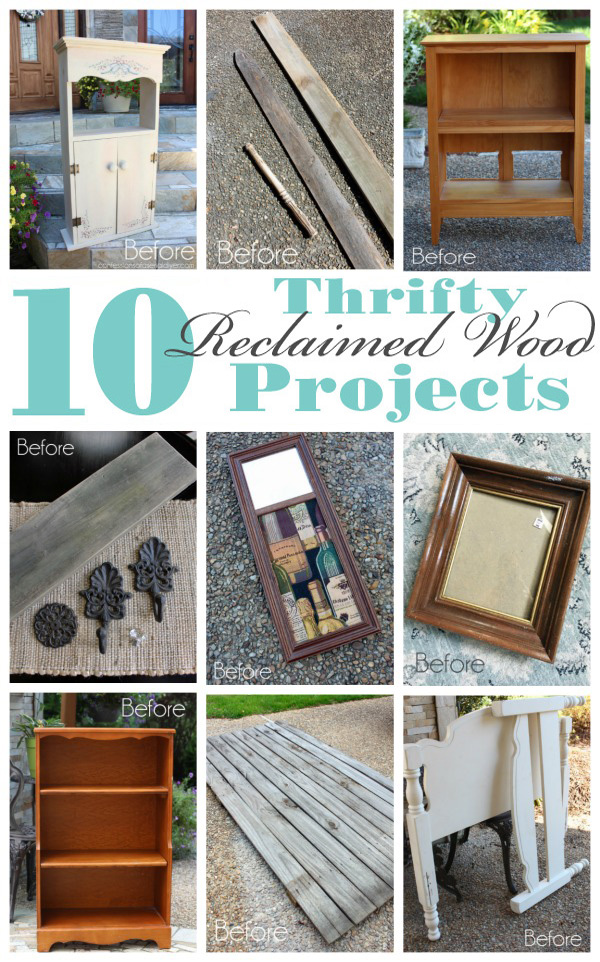
You can see all ten of them HERE!
My sister flew out yesterday, so it’s back to work for me! I’ll have a brand new Trash-to-Treasure project made out of this chair on Tuesday:
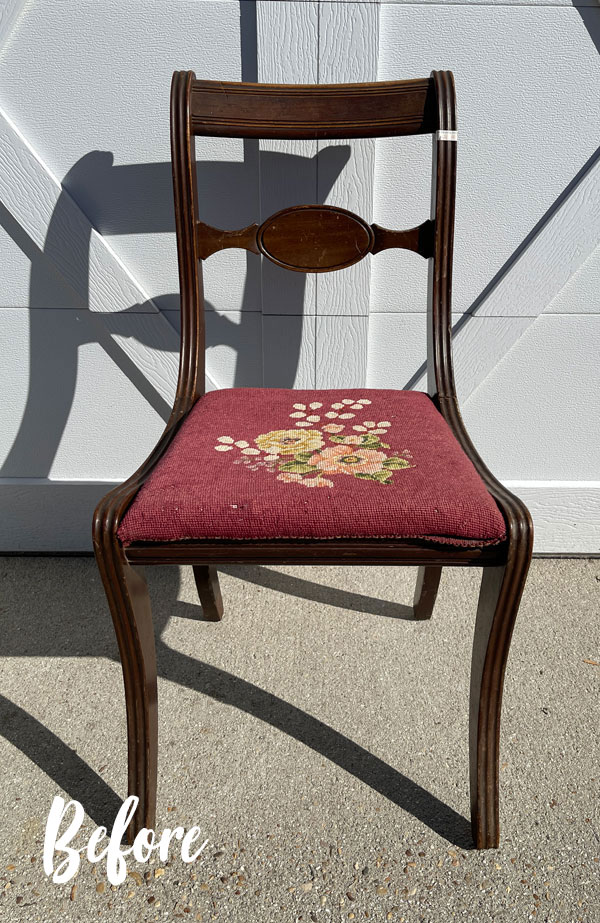
Update: See how I repurposed this FREE chair HERE now!
Have an amazing weekend!
XOXO,

Don’t Miss a Thing!
If you like what you see, there are several ways to follow along!
EMAIL * INSTAGRAM * FACEBOOK * PINTEREST


Get FREE SHIPPING on all orders over $50. No code needed at checkout! Orders under $50 always enjoy $8 flat rate shipping! Most orders ship same or next business day!


Mary Kaiser says
I remember this little cutie cabinet, it was so adorable! Love seeing it again, makes me remember how creative you really are!!
Christy says
Aww thank you, Mary! I couldn’t recall if I had shared this one a second time or not before, but it’s an old favorite of mine…probably because it was made out of junk lol! XOXO
Kathleen says
I love it. What an awesome idea.
Christy says
Thank you so much, Kathleen! XOXO
Toby says
Excellent!!! Love it Christy!!!
Christy says
Thanks so much, Toby! XOXO
Cecilia says
Ooo, that is cute! I did think chalkboard at first (and it would have made a good one) but this is way better. Nowadays, it could hold essential oils too. Really lots of uses are possible. Can I say I miss being in a neighborhood where you can find old fence pickets? My stash is long gone. Oh well, I like being in the country!
I need to head over to Etsy to leave you a review, but my order came yesterday! I can’t wait to get started on my dresser! Thanks for always shipping quickly. You’re the best!
😊Cecilia
Christy says
Thank you, Cecilia! Ooh yes, prefect for essential oils! I snagged a bunch of old fence pickets this summer when my sister was getting a new fence, but they are larger…haven’t done anything with them yet. And I bet the country life is so nice! Happy creating!! XOXO
Nancy Wilson says
I love the Mini Cabinet! What a creative thinker you are! This is a great way to keep the little stuff tidy and everything looking pretty!
Nancy
Christy says
Thank you so much, Nancy! Absolutely! XOXO
Cecilia from Georgia says
It’s wonderful that you had time to spend with your sister! Show some pictures of your Moms birthday!
Christy says
It was really nice! Would you believe we only took one photo? It was of my sisters and me wearing tiny hats we had at the party…we totally forgot to take more! XOXO
Niki says
Cute little cabinet Christy! Good way to reuse frames for sure. Have a great weekend!
Christy says
Thank you, Niki! It really is! Enjoy your weekend too! XOXO
Julie O says
Adorable and practical! I love your work
Christy says
Thank you so much, Julie! XOXO
Jennifer Boyd says
Good Morning,
I love your projects! I do small projects but want to do a few larger ones. I see that you use various decorations. Do you ever use stencils? If so, where do you get those made or how do you make them? What are thoughts on how to make signs stencils? Thank you in advance.
Christy says
Thank you, Jennifer! I do use stencils. This is a fun stenciled project I did at the end of the summer using silkscreen stencils: https://www.confessionsofaserialdiyer.com/stenciled-demilune-table/ They are my first choice as they are so easy to use and you get no bleeding since they have a sticky backing. I linked to the one I used in that post…it’s in the clearance section of my Etsy shop. I have a few regular stencils in there also… you can find my shop here: https://theserialdiyer.etsy.com I also like thestencilsmith.com. I hope that helps! XOXO
Cory says
What a pretty project! Thanks for sharing it. I can see so many used of this lil’ cabinet. 👏👏🙌🙌❤️❤️
Christy says
Thanks so much, Cory! Yes…a good way to hide the clutter lol! XOXO
p says
Basically… thoughtful ‘hoarding’ is a good thing. 🙂
That cabinet is such a cutie now !! Can be handy for so many uses – and with such cute style.
Another winning rescue.
Thanks !
p
Christy says
Thank you, P! I do still have a tiny hoard that you might call “thoughtful” ha ha…I know I’ll use those things…eventually lol! XOXO
Debra Hubbs says
Wow, great idea for that. Proof you are not only a furniture refinisher but also a furniture builder. So creative.
Christy says
Aww thank you, Debra! I do love to build every once in a while! XOXO
Michele M. says
Oh, that is just too clever, Christy!!!
Christy says
Thank you, my friend! XOXO
Tracey Baxter says
Christy, you are a very creative lady who sees and transforms items with foresight and flair. Well done🌸
Christy says
Thank you so much, Tracey! XOXO
Cheryl says
You always have such a great imagination for these kind of things!
Christy says
Thank you, Cheryl! It is always fun to see what something can become! XOXO