Happy December, beautiful friends! Can you believe it’s here already?? I’ve got a fantastic way to repurpose a headboard into a shelf today! It’s an oldie, but still a goodie!
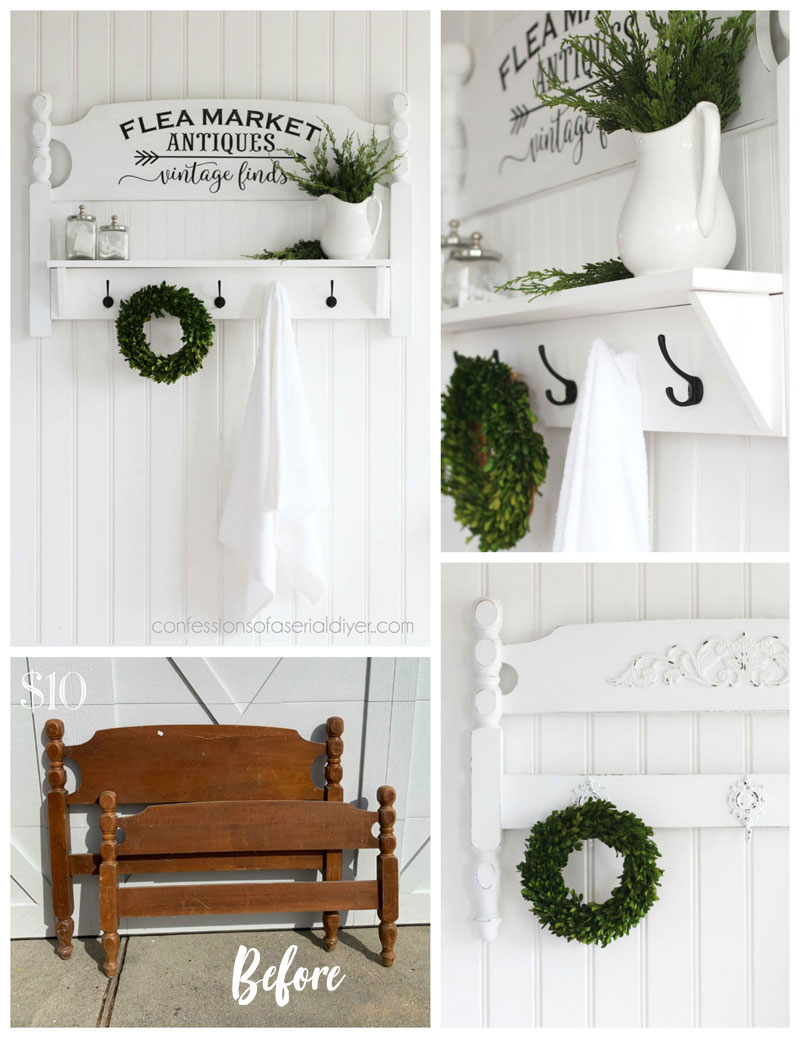
I found this headboard and footboard set at a yard sale for only $10:
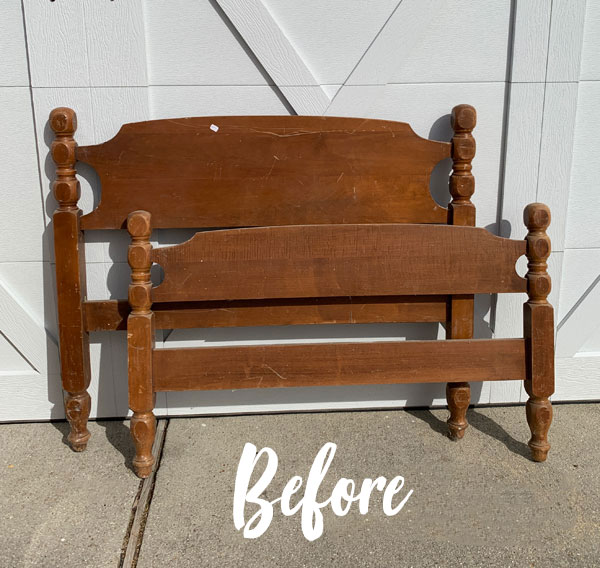
I usually turn these sets into headboard benches, but I wanted to do something different with this one. That’s probably because I’ve already made a headboard bench or two, or TEN lol.
Repurpose a Headboard into a Shelf
For this project, I started by giving both pieces a good cleaning with White Lightning.
I followed with a quick rinse with clean water and then stood there staring at both pieces while I waited for inspiration to strike.
The staring worked, and I decided on a plan which required a quick trip to Home Depot for these:
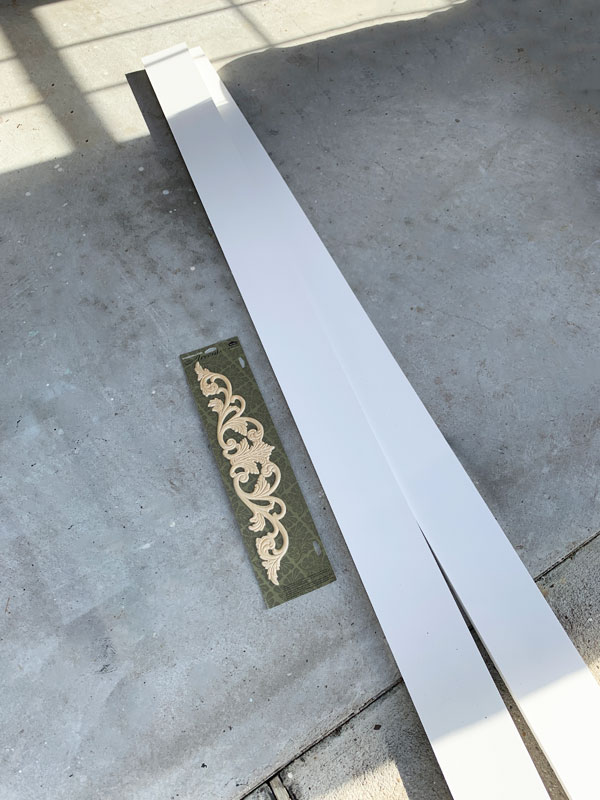
I only ended up using one of the primed 1x4s.
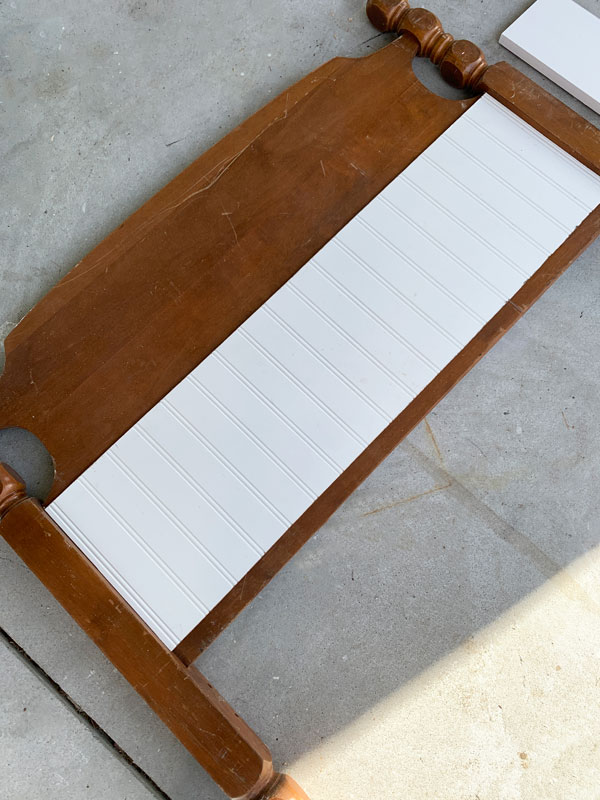
Add bead board backing
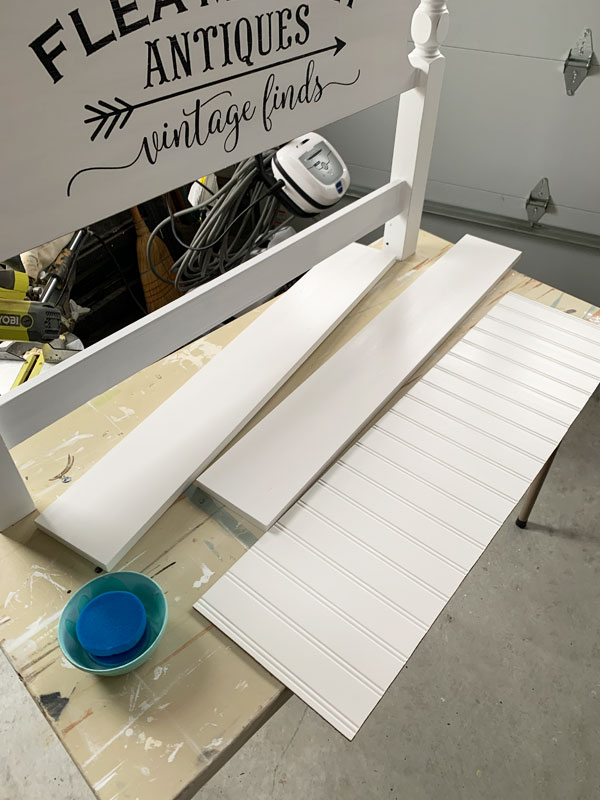
I had a piece of scrap bead board that I cut to fit the opening of the headboard, so I started there:
Cut shelf parts
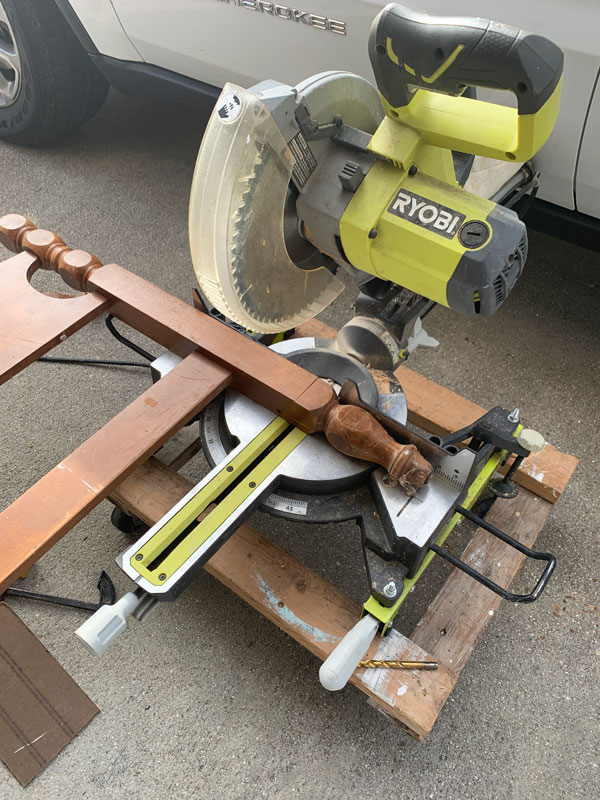
Then, I cut the 1×4 to bulk up the cross piece on the bottom using my miter saw. This would also be the new shelf support.
I cut it to fit just inside the bed posts, and I cut two support brackets as well:
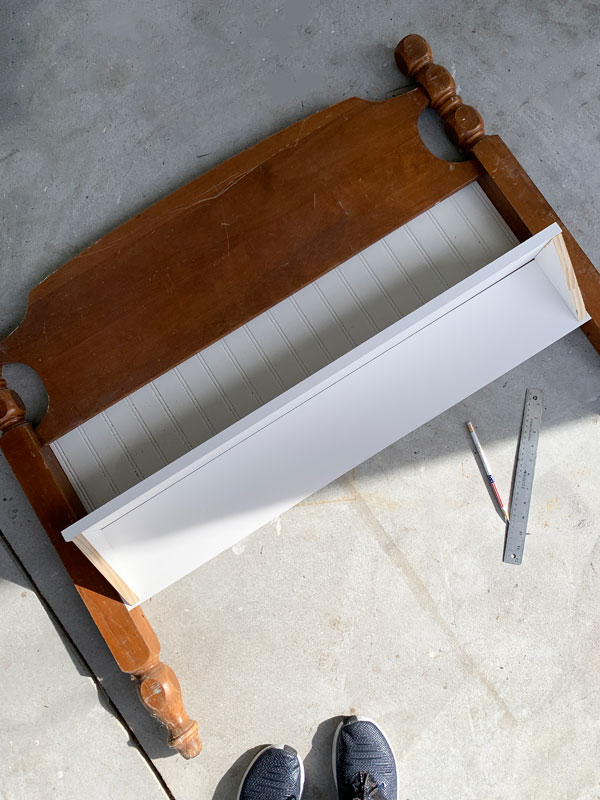
I was just dry fitting everything into place there. I’ve included a few affiliate links so you can find the products I love.
I ended up deciding that the legs needed to be cut off, so I did that with the help of my miter saw also:
I’m not sure what wood this headboard was made of, but the sealer had worn off in several places and that is usually an indication that it may bleed-through in those areas, so I gave it a coat of BOSS in white to be safe and let it sit overnight. It works wonders on bleed-through!
It’s not any extra work since being white, it saves a coat of paint.
Paint
Then the next morning, I gave everything two coats of Dixie Belle’s Cotton:
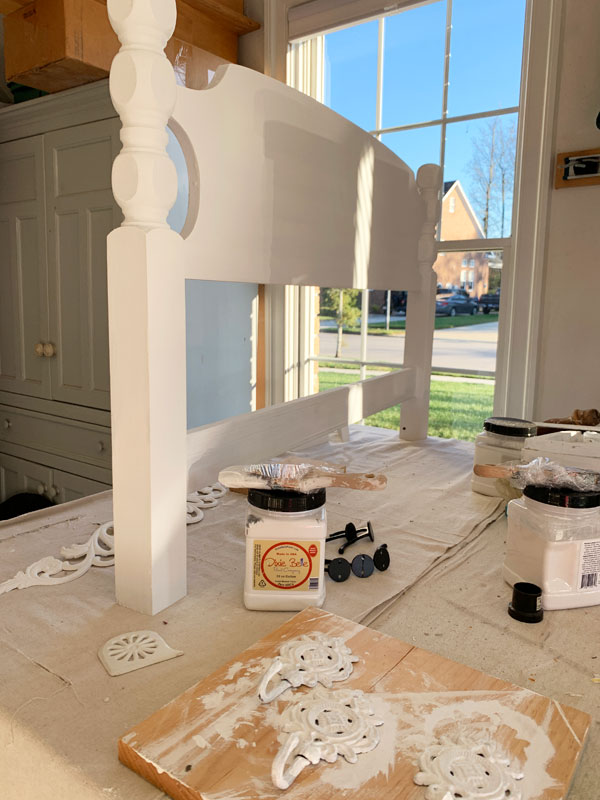
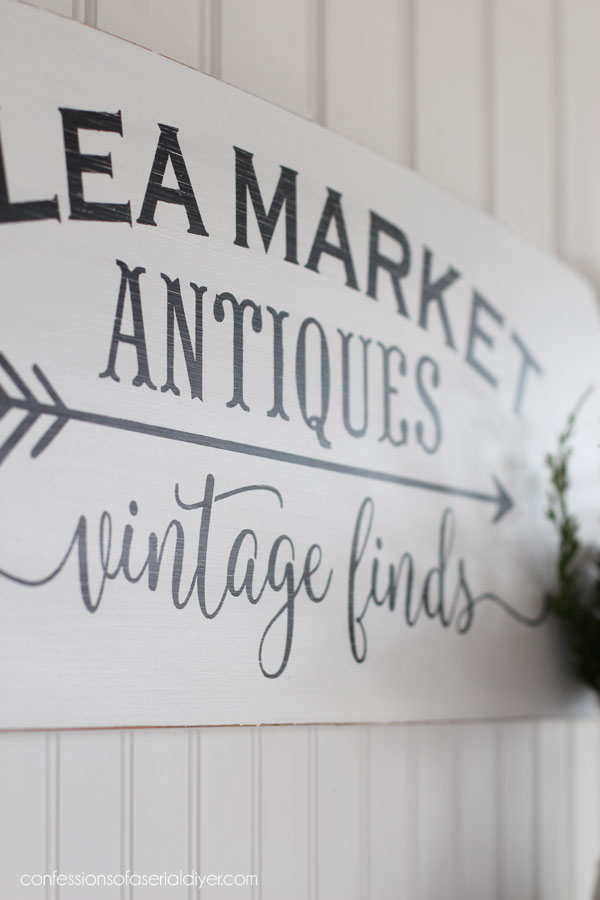
Adding a stencil
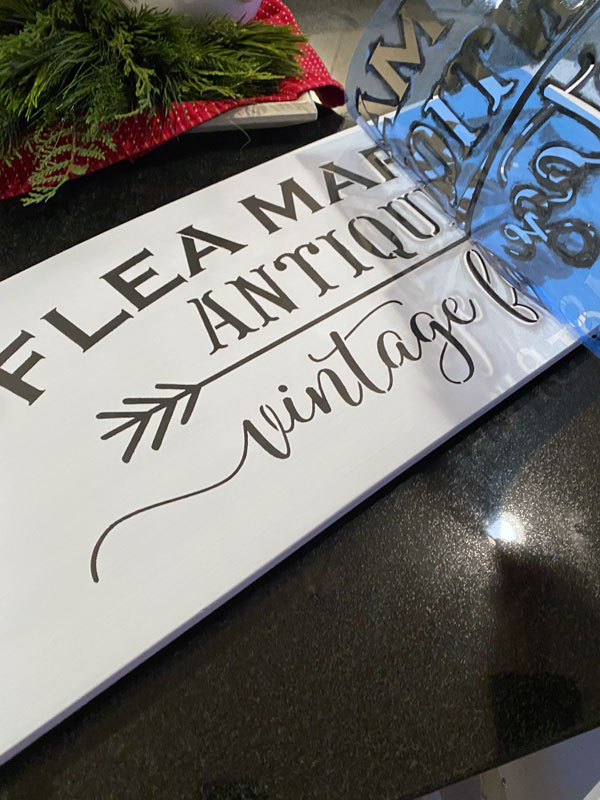
When that was completely dry, I pulled out this stencil and added it to the headboard using acrylic craft paint:

I prefer acrylic craft paint for stencils since it washes off easily, and the brand I linked to above doesn’t give me any trouble with smearing when I sand later.
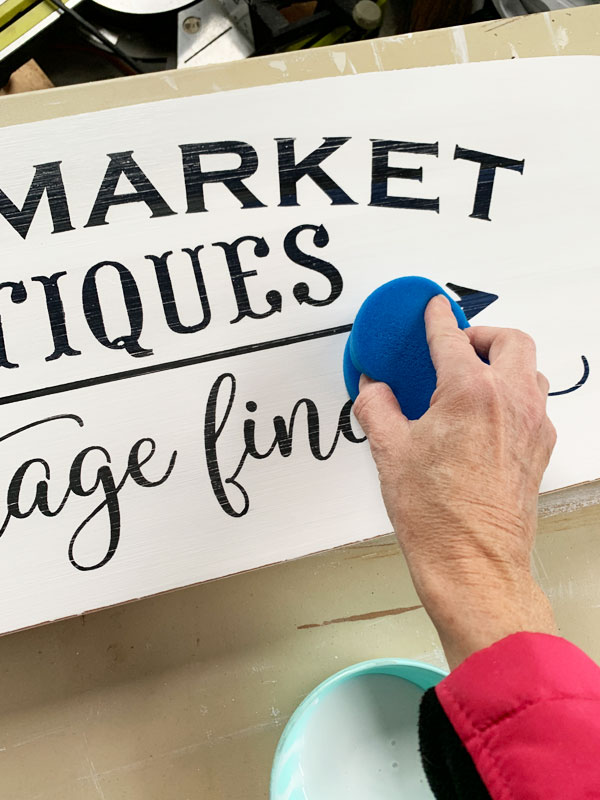
I gave it two coats and removed the stencil immediately after. (I applied spray adhesive to the back of the stencil to hold it in place.)
Then I went back with a liner brush and filled in the breaks in the stencil:

This makes it look less like a stencil.
After allowing plenty of dry time, I sanded the entire headboard and across the stenciled surface with 220 grit sandpaper wrapped around an old sanding sponge to smooth everything out.
Seal
I sealed with Dixie Belle’s Clear Coat in satin using their blue sponge applicator:
As you can see, I left everything unassembled to make painting and sealing easier.
Assembling the Headboard Shelf
Then, I put it together. If you don’t need this much detail, you can skip to the pretty afters below!
To assemble the shelf, I started by attaching the bead board to the back of the opening with small screws. I also attached the 1×4 that will act as the shelf support. I pre-drilled those holes since those screws were a bit larger and then screwed it in place from the back:
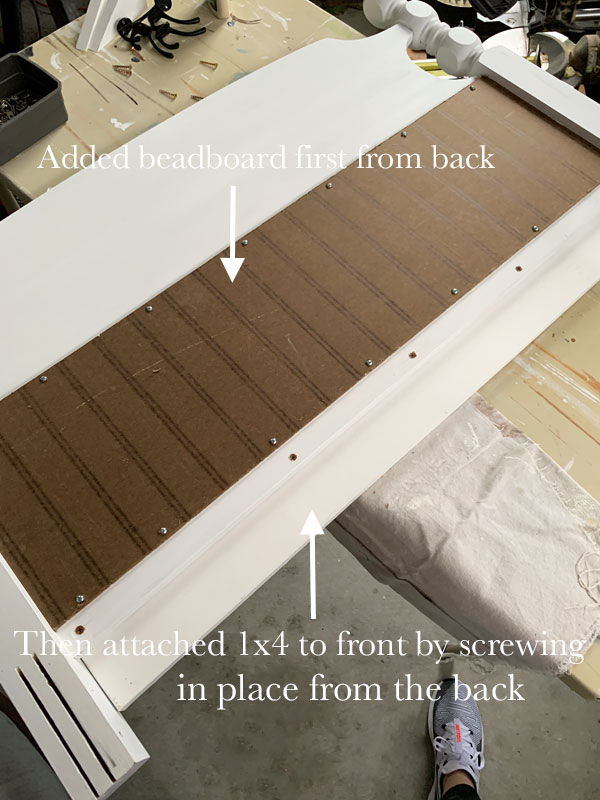
Then I flipped it over and added the shelf to the front by drilling wood screws (pre-drilling first to prevent splitting the wood) down from the top:

You could counter-sink these and fill the holes, but honestly, I didn’t bother. I just painted them!
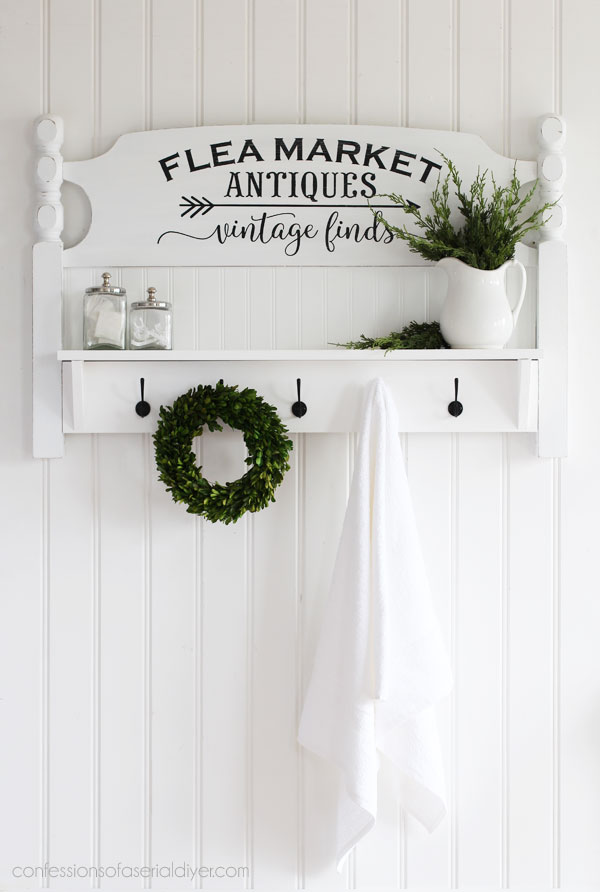
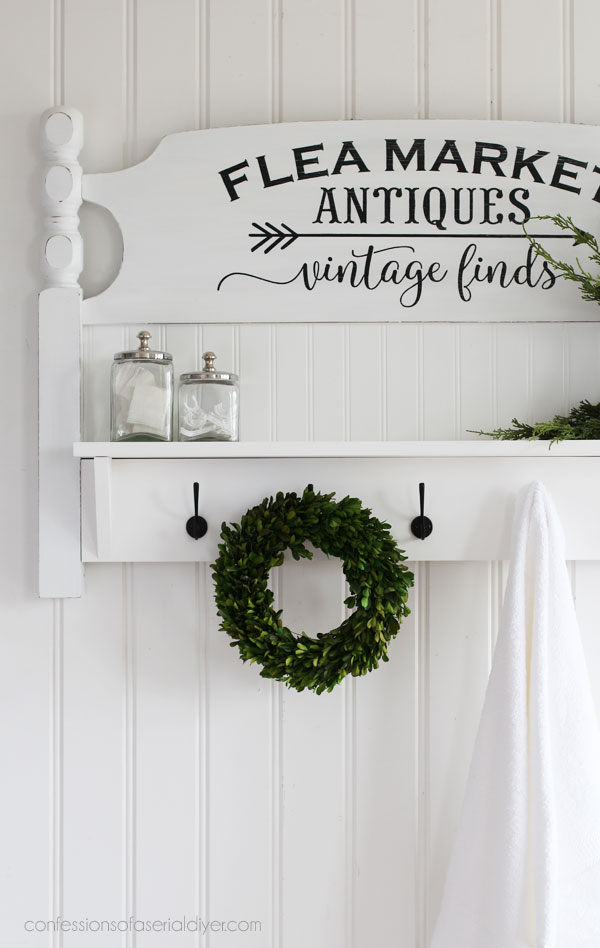
Are you ready to see the final shelf??
Here ya go!
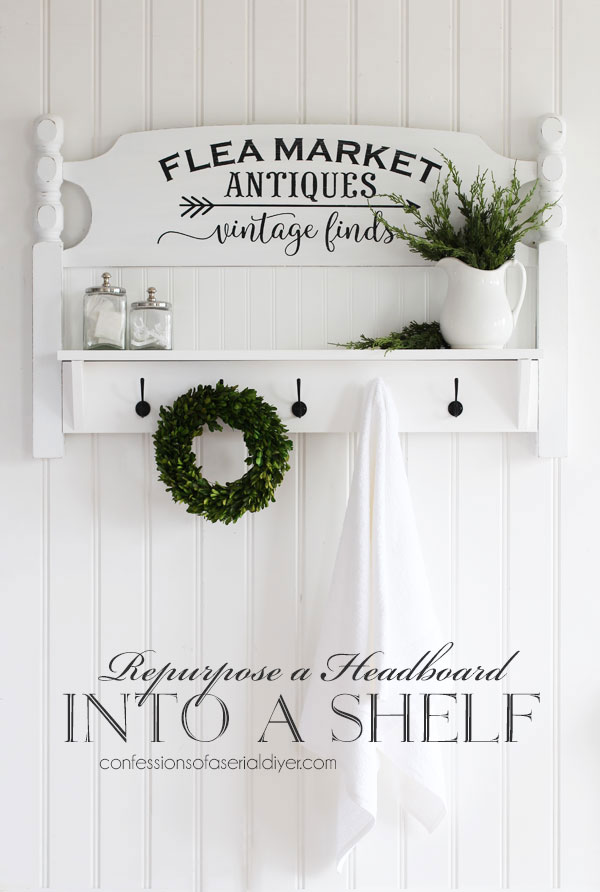
Cute, no?
I added these small black hooks from Hobby Lobby across the bottom:
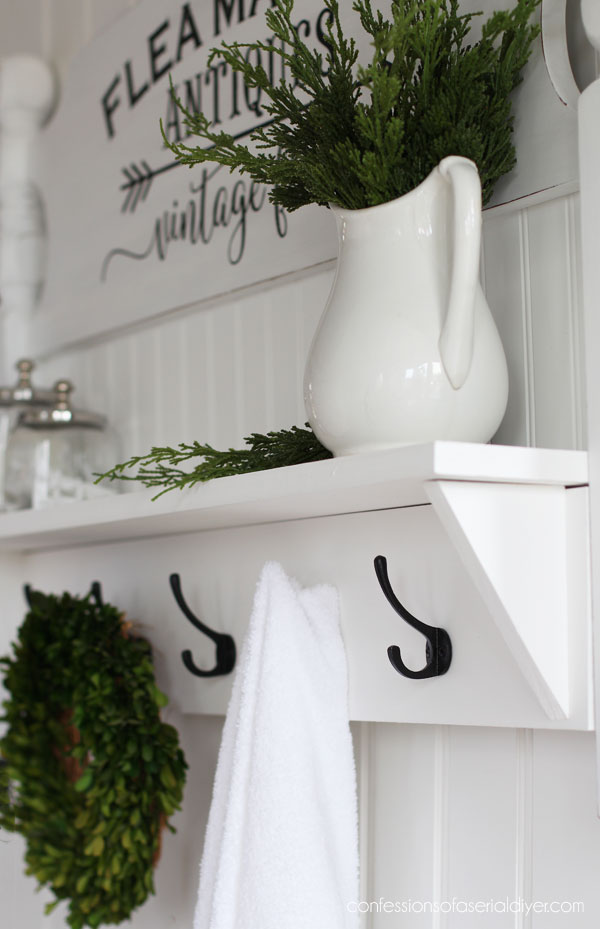
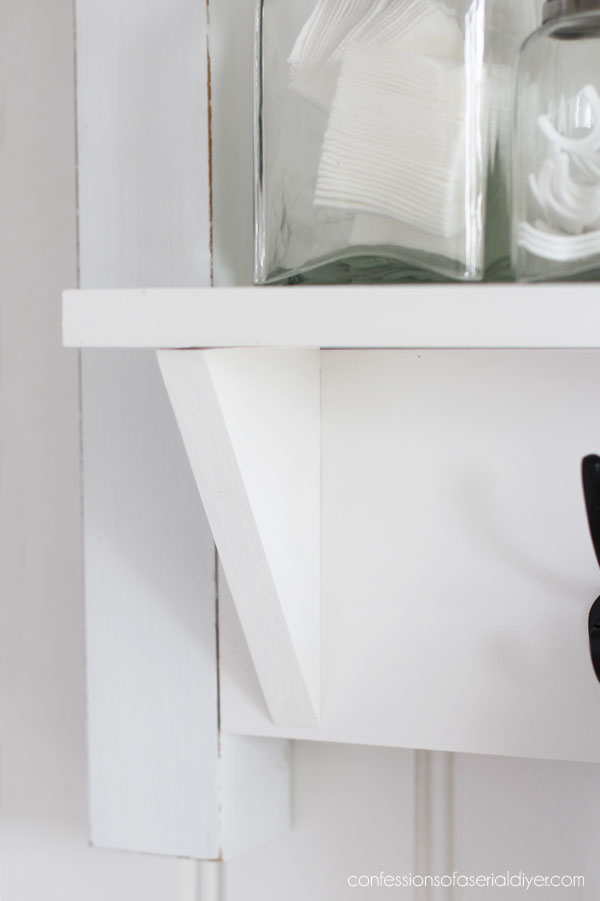
And those support brackets I cut were added just for looks with wood glue:
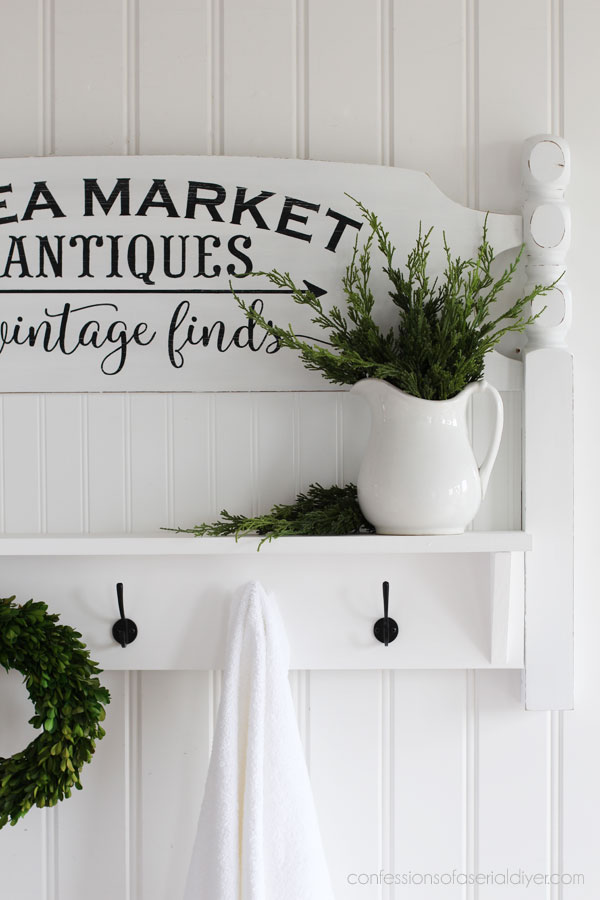
I love the look of black graphics against a white background!
Adding that 1×4 across the bottom to support the shelf also allowed me to add hooks which added even more function:
I really enjoyed working on this project!
And what about the footboard?
I turned that into a more simple piece:
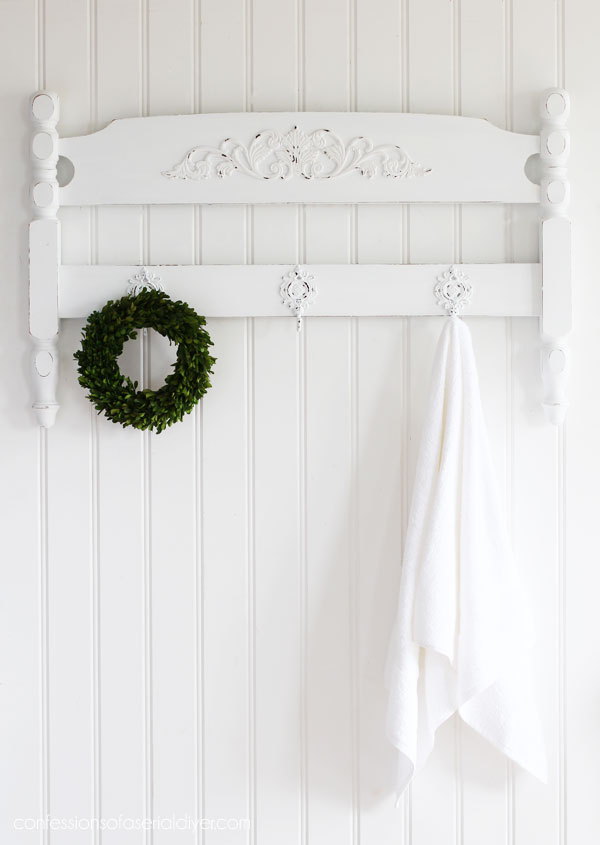
The wood applique I found at Home Depot was for this one!
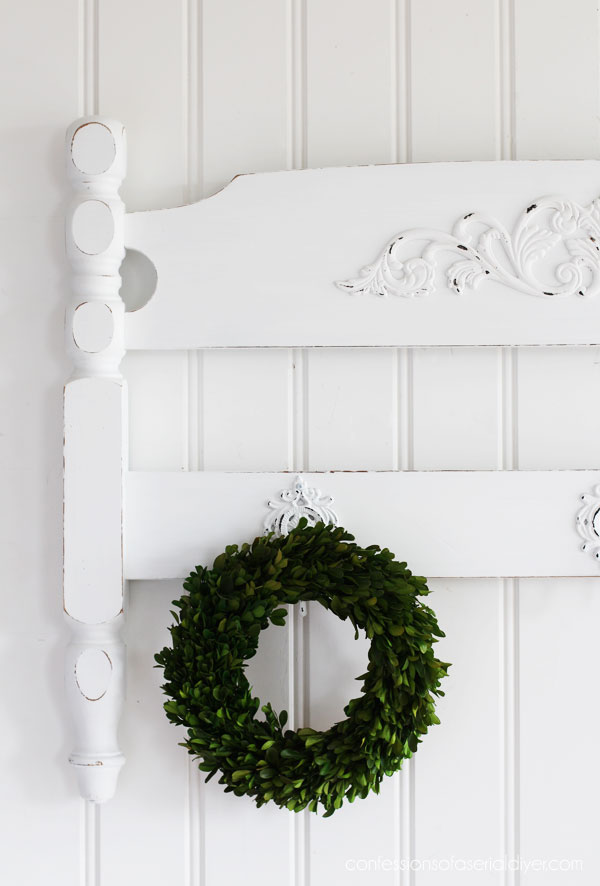
Because it was new wood under the paint, I brought out my distressing block to faux distress it using a bit of Coffee Bean:

You can see more on how I do that in this quick video:
If you have any trouble viewing, you can see it on YouTube HERE.
I attached it with wood glue.
I used the block on these hooks that I painted from from Hobby Lobby also…
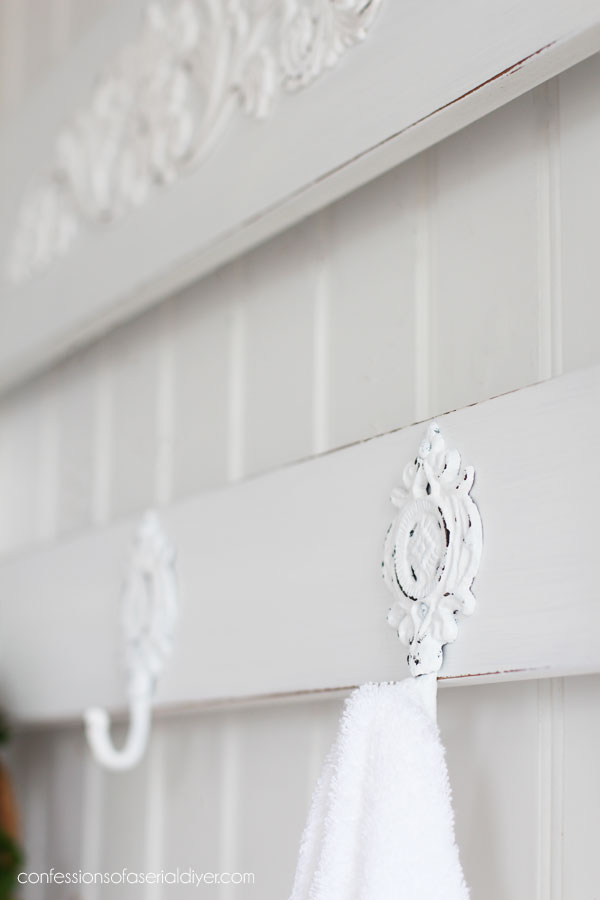
This one only required a drill! I added D-ring hanging hardware to the backs of both pieces for hanging.
And that was it!
This bed set is a long way from where it started!
I hope you enjoyed these makeovers!
Here’s a set of headboards I did a couple of years ago that actually stayed headboards! ( I rarely keep them as beds!)
![]()
See what I did with these headboards HERE!
I’ll be back on Tuesday with some of my Seasonal Simplicity friends sharing our Christmas decor!
UPDATE: Take the tour HERE now!
Have a wonderful weekend!
XOXO,

Don’t Miss a Thing!
If you like what you see, there are several ways to follow along!
EMAIL * INSTAGRAM * FACEBOOK * PINTEREST


Get FREE SHIPPING on all orders over $50. No code needed at checkout! Orders under $50 always enjoy $8 flat rate shipping! Most orders ship same or next business day!


")


Mary Kasier says
Oh I so remember these when you did them. I also remember how beautiful they turned out!! I have been busy crafting for Christmas, and I want you to watch your mail because there is a very special Christmas present on the way to you! I made it just for you as a way to show how much I appreciate everything you share with me all year long! I really hope you like it! I am excited to see your new smalls, I really love the smalls!!
Christy says
Aww thank you, Mary! You are so incredibly thoughtful always…I’m SO excited to see what comes my way! I appreciate you too! I know your grandbabies are going to love their chairs!! XOXO
Carol says
Absolutely beautiful transformation!!!
Christy says
Thank you so much, Carol! XOXO
Janice Holt says
May be an oldie but it’s a good one. Can’t wait to see your decorations. Have a great week-end.
Christy says
Thank you, Janice! I was so excited to share this one when I did it! Enjoy your weekend too!! XOXO
Tanya says
We’ll you did it again! Making it soooo hard for me to say what my top 5 favorites are! We’ll done!
Christy says
Aww thank you so much, Tanya! I’m so glad you like how these turned out! XOXO
Lynn Pritchard says
Hi Christy! Can you please tell me how you priced these two pieces for your booth? And how do you price chalkboards for your booth?
Thanks, Lynn
Christy says
Hi Lynn! The footboard is actually still in my booth. I have it up on top of the paint shelves for display lol. I think it is priced at $59. The shelf made from the head board I believe was $79. I don’t know if you’ve seen my post on pricing, but you may find it helpful:https://www.confessionsofaserialdiyer.com/how-to-price-items-for-resale/ XOXO
Sharon L Austin says
Those both turned out really nice! Your imagination knows no bounds. I see head/foot boards at the roadside all the time and always think of you-LOL. Maybe one of these days, I will grab some and try my hand at a bench or sign.
Christy says
Thank you so much, Sharon! They are like a blank canvas and hold so many possibilities! XOXO
Peggy says
Gorgeous! So fresh and clean. Great save! Good job, Christy!
Christy says
Thanks so much, Peggy! XOXO
Denise Zdziennicki says
I love it! I got rid of the headboards/footboards in my inventory but after seeing this I’m kicking myself. Have a sweet day my friend! XOXO
Christy says
Thank you, Denise! Oh no! Isn’t that always the way ha ha?? XOXO
Becky says
I love these!
Christy says
Thank you, Becky! XOXO
Cyndi says
Oh gosh, these are so cute! And I hope you do something cute with those parts of the legs that you cut off too. Candlesticks, maybe?…are they too short to use in between display trays? I don’t know, but I’m sure you’ll think of something! 😉
Christy says
Thank you, Cyndi! They are rolling around in the garage somewhere, but yes, hopefully I’ll find a use for them! XOXO
Cheryl r Atkinson says
I love these makeovers!!
Christy says
Thank you so much, Cheryl! XOXO
JEAN Young says
Wow, wow, wow!
They turned out so cute, love them.
Enjoyed your video on faux distressing.
Christy says
Thank you, Jean! Ha ha yes with my brace face lol. No more braces now yay! Glad you enjoyed it! XOXO
CC says
turned out just darling! i wasn’t sure when i saw the bead board coming out, but i should have known better – coming from you! great look!!
Christy says
Thank you so much, CC! XOXO
Mary King says
These both came out lovely, I am partial to a beautiful white painted finish and these did not disappoint. I had tendon surgery on my foot last week and I will be home recovering through the holidays and into the New Year. I look forward to seeing more of your finds turned into unique treasures. Hope you enjoy the rest of the Holiday Season!
Christy says
Hi Mary! Thank you so much! Wishing you a quick recovery, my friend! Enjoy the season! 🙂 XOXO
Mary says
Just beautiful, Christy! Both projects! I can’t believe I missed them before…thank you so much for sharing again 🙂 They were brand new to me! (I, too, am kicking myself for getting rid of my headboard/footboard set as one reader said! sheesh!)
Christy says
Thank you so much, Mary! I’m so glad they were new to you! And isn’t that always how it goes? Ha! XOXO
Cindy says
Hi Christy,
Two questions: #1 Do you prefer pre-cut purchased commercial stencils or do you have a stencil cutting machine (and can you share the brand); #2 Is stencil adhesive really that important vs painter’s tape (I have trouble removing adhesive from intricate, fragile stencils). Thanks!
Christy says
Hi Cindy! My favorite stencils are silkscreen stencils that have an adhesive backing already and can be used 8-10 times. I have a few in my shop in the clearance section as we make room for hopefully new designs. Next would be regular stencils I purchase already cut like the one you see in this post. And then I have cut them with my Silhouette Cameo also when I need something more custom. It is more work to design, cut, etc though. As for the adhesive, it makes a big difference for me as I prefer to brush my paint on rather than pounce it on, and it gives me less bleed issues Also, I rarely wash it off. You can with odorless mineral spirits though. I hope that helps! XOXO
Char Fisher says
You astound me with your creations! You never ever disappoint on your painting skills, distressing skills, and the transfers are beautiful. From the lamps to every kind of frame and furniture choices….everything you touch is absolutely gorgeous art. I have been hooked on your work for a long time Christy. Thank you for setting a wonderful high standard with your creativity in all your work. Thank you so much for sharing all of your designs!
Christy says
Well you just totally made my day, Char, thank you!! I get so much joy out of redoing these forgotten treasures, and I am so thrilled that y’all enjoy seeing what I do with them! I appreciate you following along with me! Have a fantastic weekend! XOXO