Hello beautiful friends! Whose in the mood for a Summer basket wreath?
I am super excited today to be joining the Seasonal Simplicity Summer Series hosted by my dear friend, Krista of The Happy Housie! This week of the tour is all about Summer crafts and DIY projects. I always try to join this week of the tour each season because y’all know I love a good DIY project! Several talented ladies are all sharing Summer projects of their own, so look for theirs linked at the end of this post!

Let’s get to it!
To find a subject worthy of a Summer DIY project, I had to go digging through my latest thrifty haul!
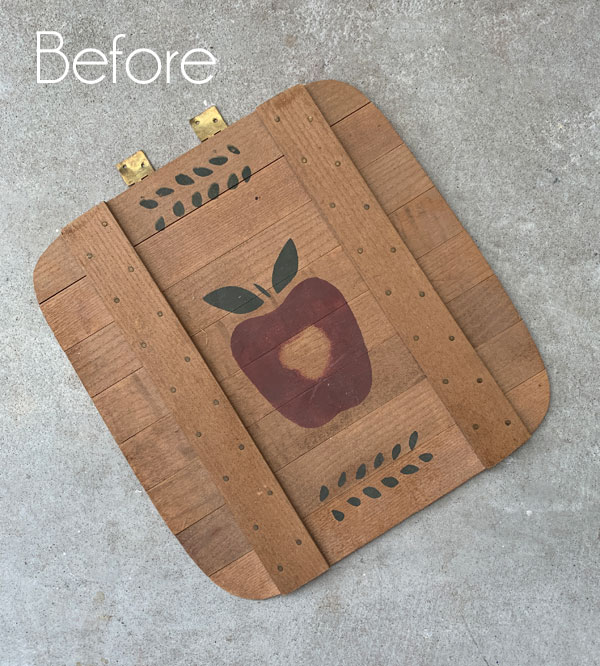
And I found just the one:
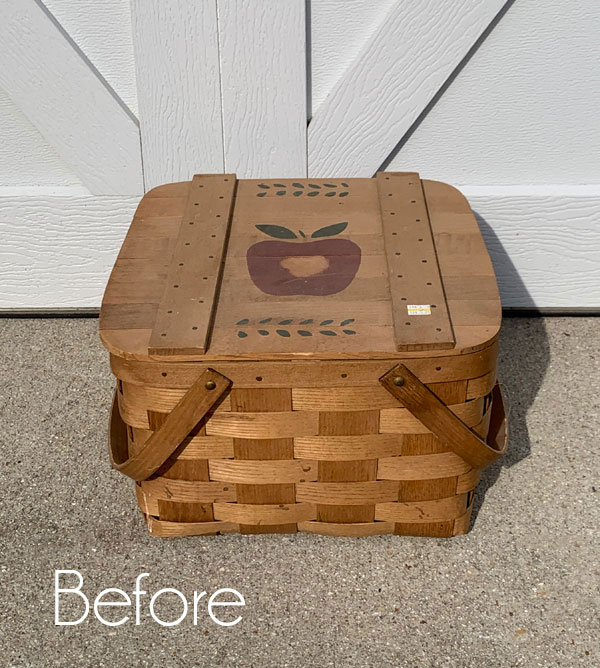
Isn’t she lovely? Isn’t she w-o-n-d-e-r-f-u-l?
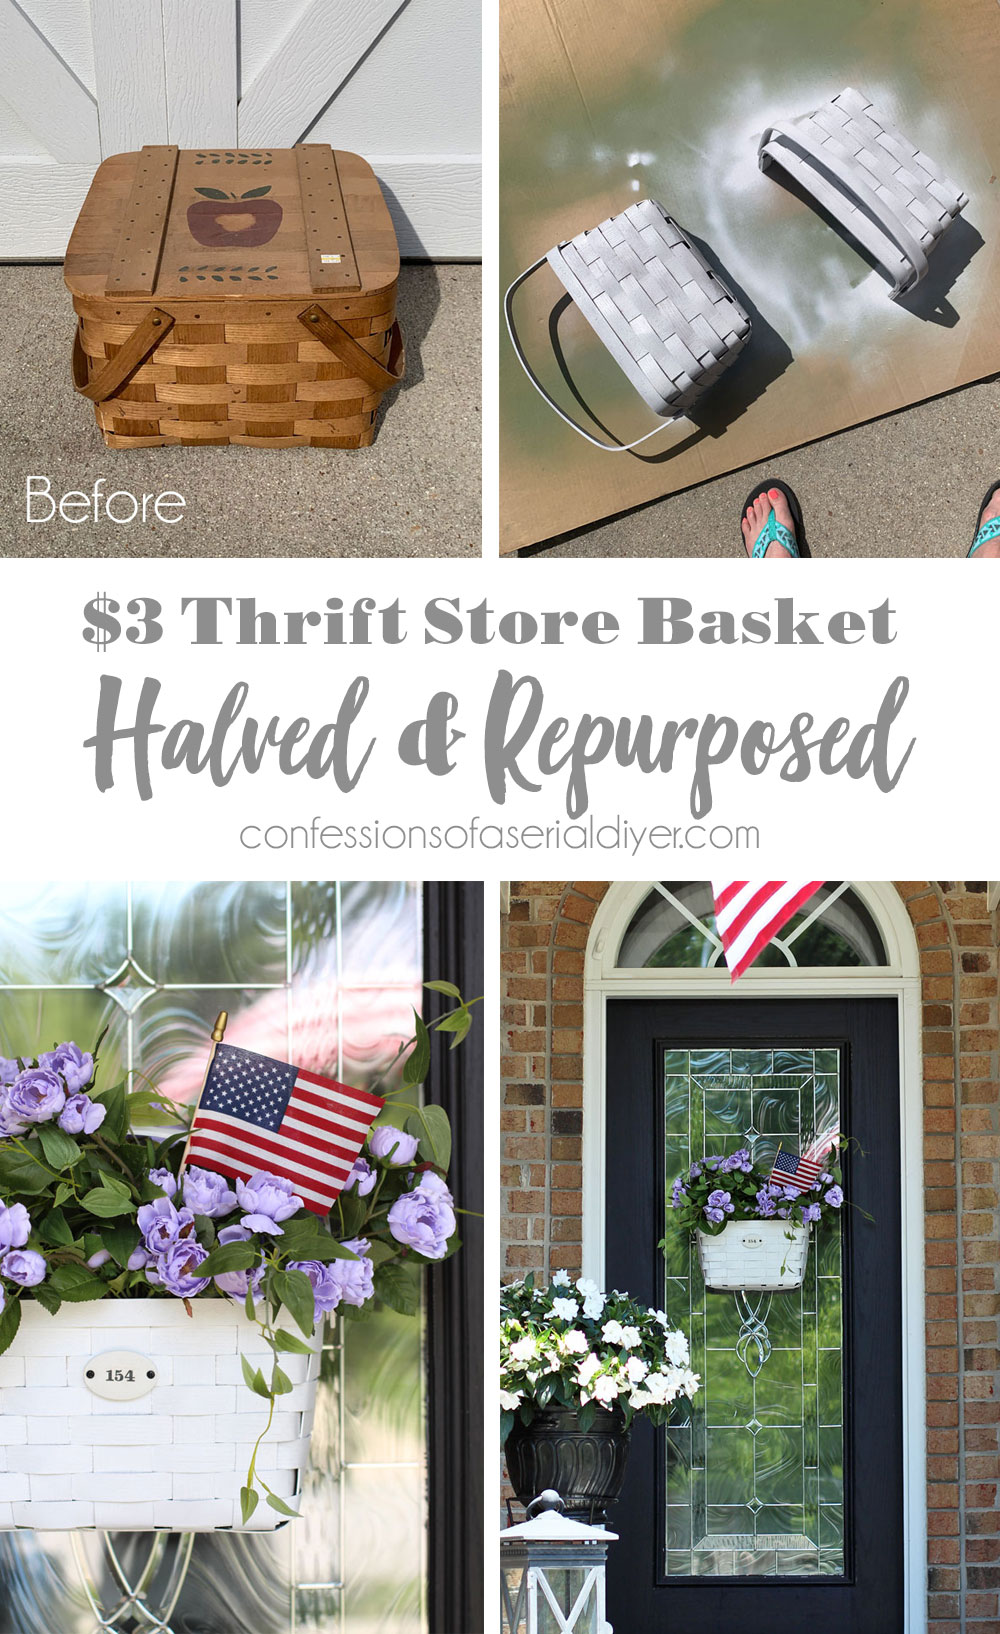
Not yet! This gem was $5.25 at the thrift store, but like the mirror I shared on Thursday, all yellow tags were half off, so I bought this for just under $3. And yep, this is going to become my new Summer basket wreath!
Although I really like the hydrangea wreath I have on our front door that I made for the Seasonal Simplicity Series a couple of years ago, after refreshing our front porch this Spring, I wanted something fresh for the front door too.
I’ve included a few affiliate links so you can find the products I love.
That’s when I got the bright idea to saw this basket in half and use it to create a basket wreath for our front door!
You heard that right. I know, I’m crazy.
Deleted Photos
Ya’ll know I like to take photos of all the steps, and I took beautiful photos and everything for you, but…I deleted them. Oopsie!
Here’s the exciting story all about it…(Not really, just a mom being a mom…feel free to skip ahead!)
Jack’s girlfriend, Abby, is graduating high school this year, and for graduation, her family rented a beach house for the week, much like we did for Jack’s graduation week last year.
He and Abby really wanted to make one of his favorite meals for her family one of the nights. So, I suggested he and I make it together this past Friday for us for dinner, so he would know all the steps involved.
However, he got held up at work and didn’t make it home in time to help, so I, being the generous and loving mother that I am, recorded the steps for him on my phone as I went. Midway through, I got an alert that my storage was full. (Always the worst timing, right??) So, I hurriedly checked off about 400 photos that could be deleted so I could make room and get back to it. And yep, that included the photos of sawing this basket in half!
I’m going to walk you through it though…just picture it in your head!
Cutting the Basket in Half
Here is what I used:

(Imagine two basket halves lying on the ground below and a battery actually attached to the saw.)
After removing the lid with the help of a screw driver, I added a piece of FrogTape all the way around the basket , inside and out, where I planned to cut, both to use as a guide and hopefully prevent splintering as well. Then I wedged it in between those leftover boxes of tile from our kitchen tile project to hold it in place.
I laid it on its side first and cut it with my 5″ mini circular saw. Then, I turned it upside down and cut across the bottom, and then I flipped it again and cut the remaining side. I was so excited it actually worked!
Painting the basket
I gave the basket halves a good spray of Rustoleum spray primer to get a quick coat of paint on them:

Then I cut a new back for each basket half with scrap plywood I found in the garage. I just traced around the basket and cut it out with my jigsaw. (Had pics of that too…booo!)
Next, I painted those pieces in Dixie Belle’s Cotton:
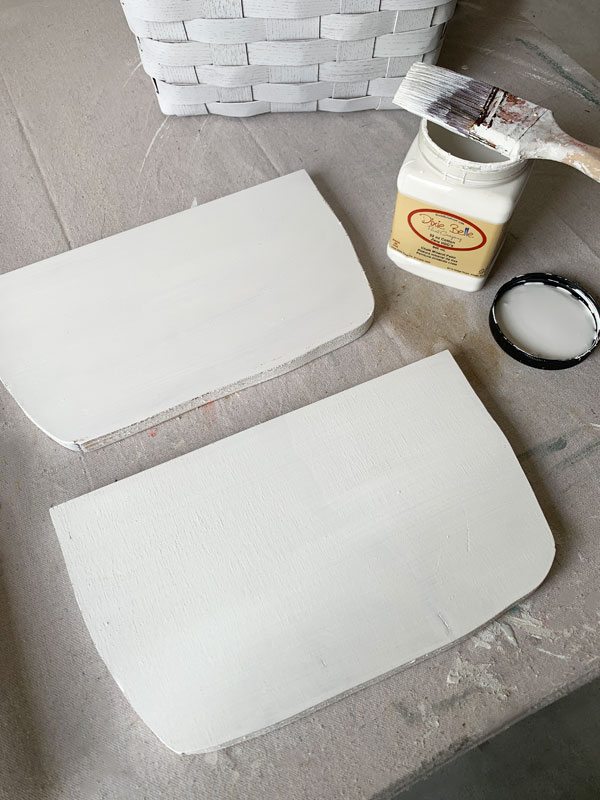
They’re not perfect, but they did the job!
I also hit up the basket halves with a coat of Cotton. The Best Dang Brush is awesome for this!
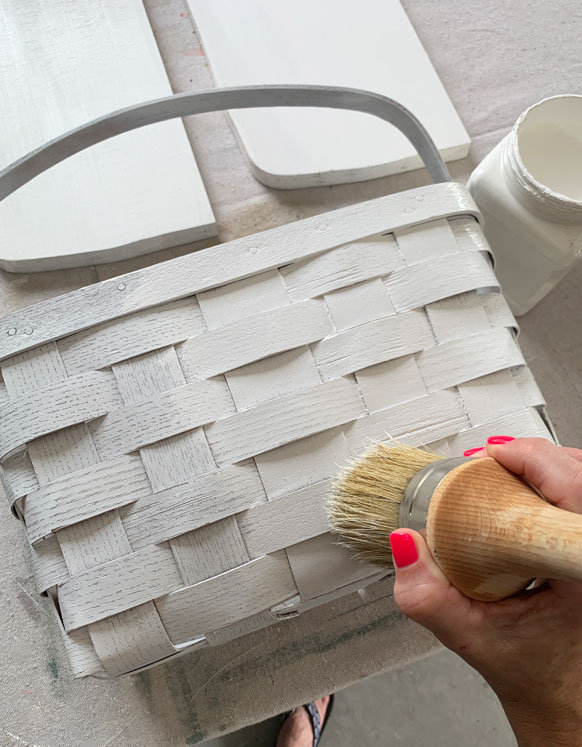
It get’s into all those details so easily and makes painting detailed surfaces like this a breeze!
Adding the backing
Once everything was painted, I attached the new back using small nails…
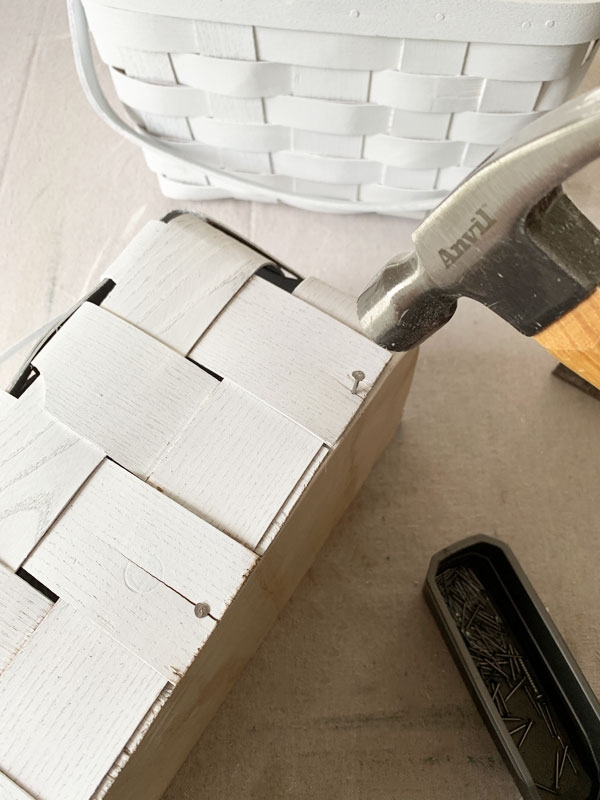
The weave did split in a couple of areas, but that is to be expected. It still held together really well.
I gave the whole thing a quick spray of Rustoleum Satin Clear Enamel spray to seal.
Turning it into a Summer Basket wreath
No Summer wreath would be complete without flowers!
Once the basket was done, I took a trip to Michaels to find florals to fill it.
Immediately, I found these purple blooms that were 60% off that I just loved:

I bought six of them for $4 each and was on my way.
This greenery bunch, also from Michaels, is one I that I had left over from my current wreath:

I stuck a foam floral brick down in the bottom of the basket and started adding the purple stems, which I cut down to size:
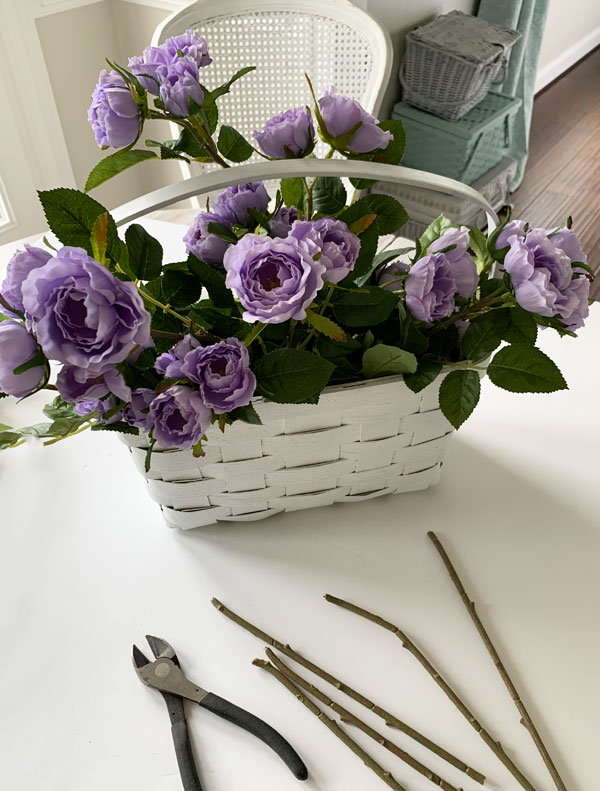
I’m not a floral arranger, so I kept it simple. I cut and added a few of the greenery stems also and that was it.
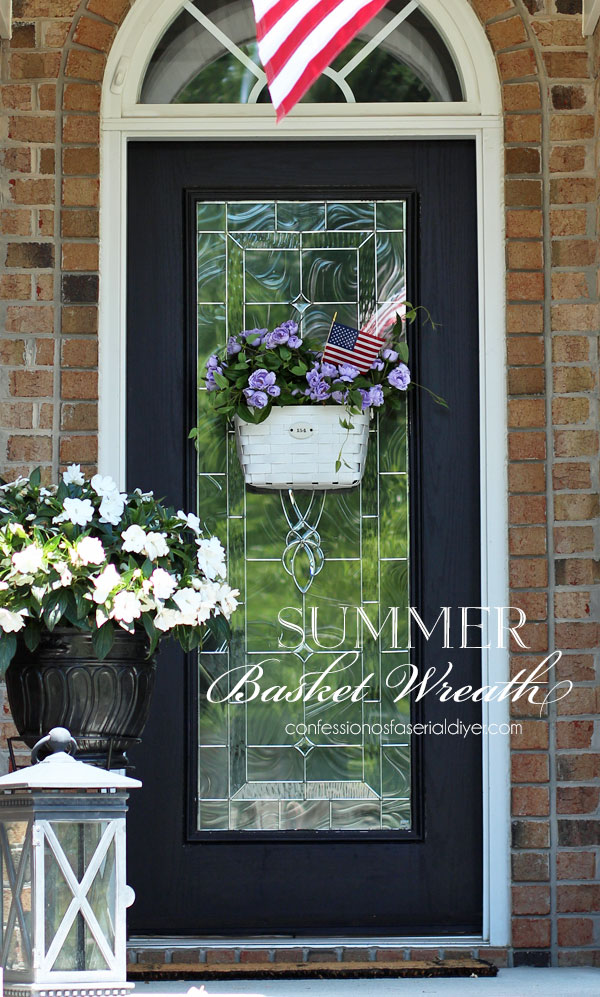
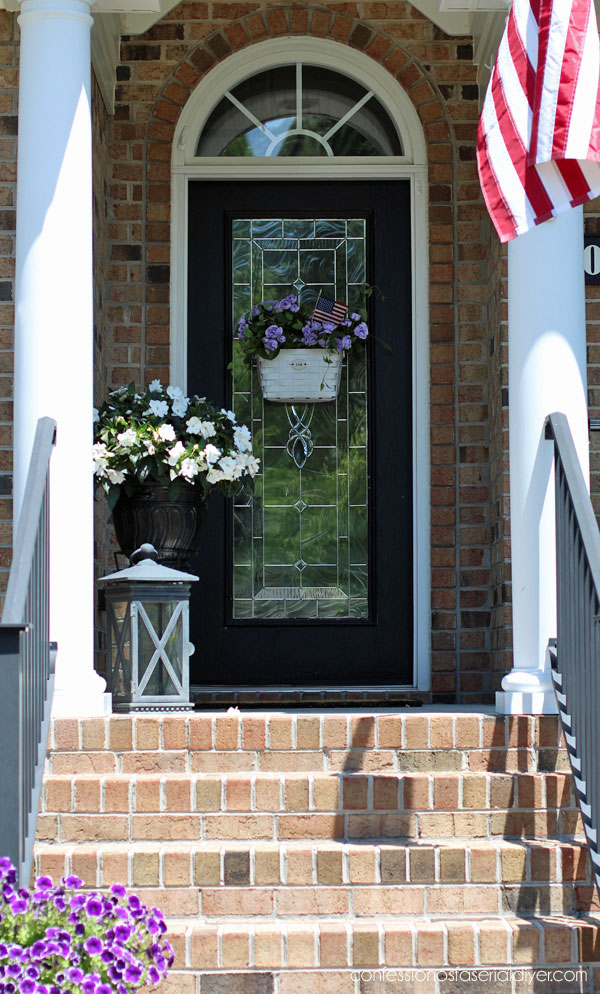
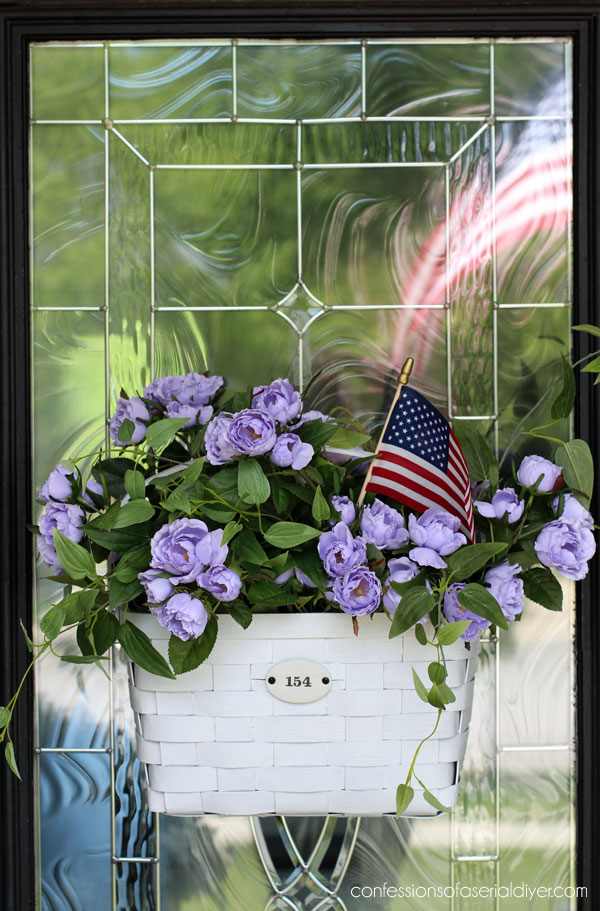
My brand new Summer Basket Wreath
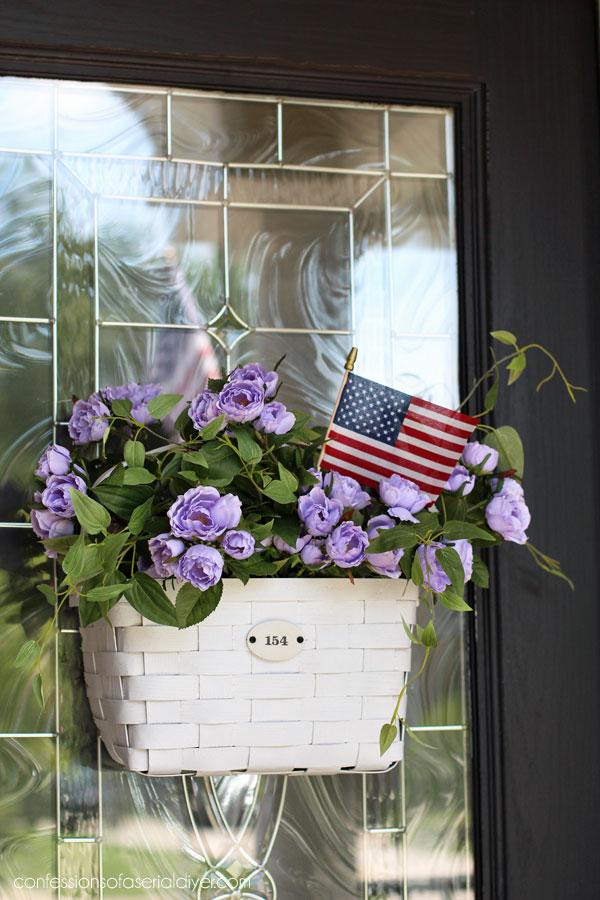
A little embellishment to the front of the basket and the addition of some patriotic pride, and my new Summer basket wreath was complete:
Let’s get in a little closer!
I used heavy duty velcro Command Strips to attach it to the glass on our front door.
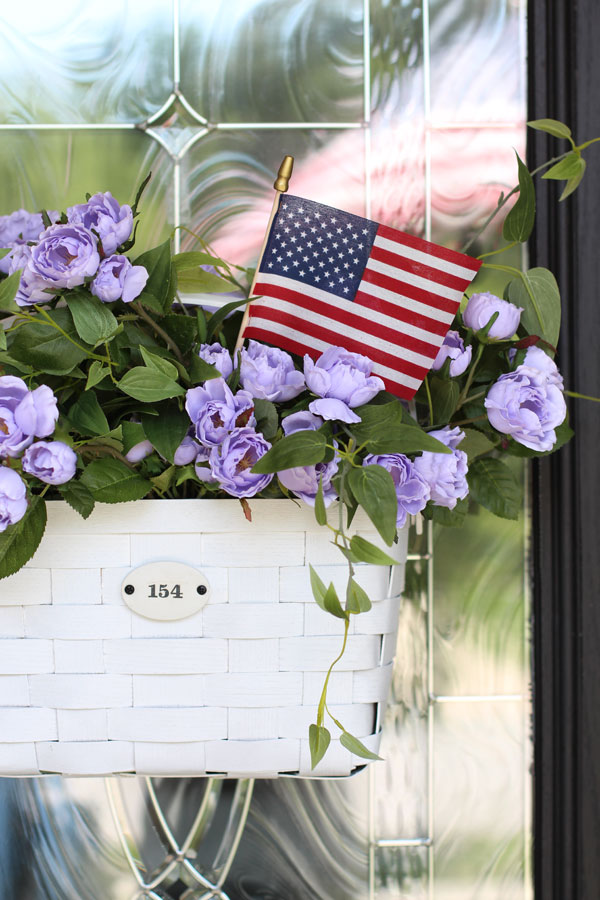
The small tag I added to the front of the basket came off of another thrift store find years ago. I painted it and added some rub on transfers.
It was a great addition to add a little charm to this basket:
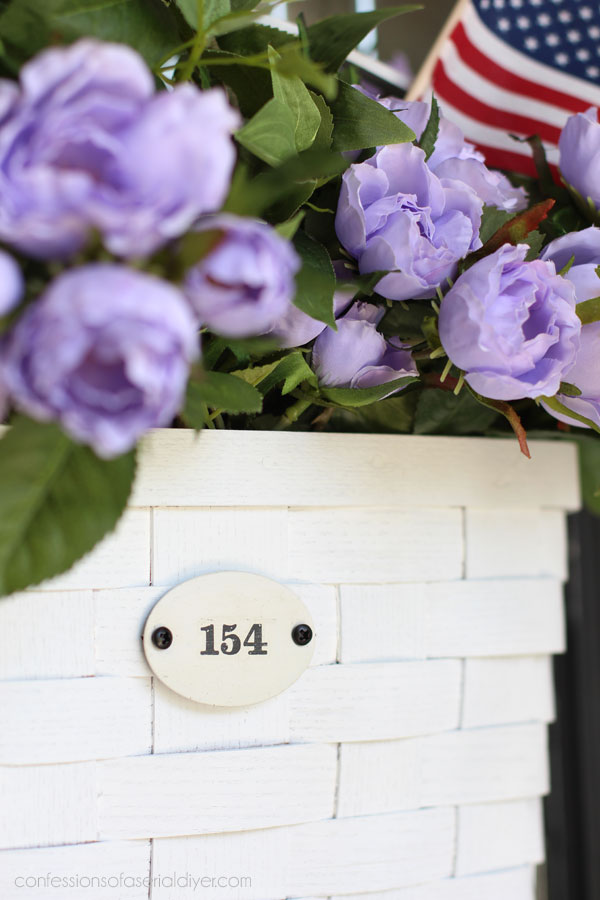
I predrilled tiny holes first so that the basket wouldn’t split when I screwed this tag in place, since you would see it on the front.
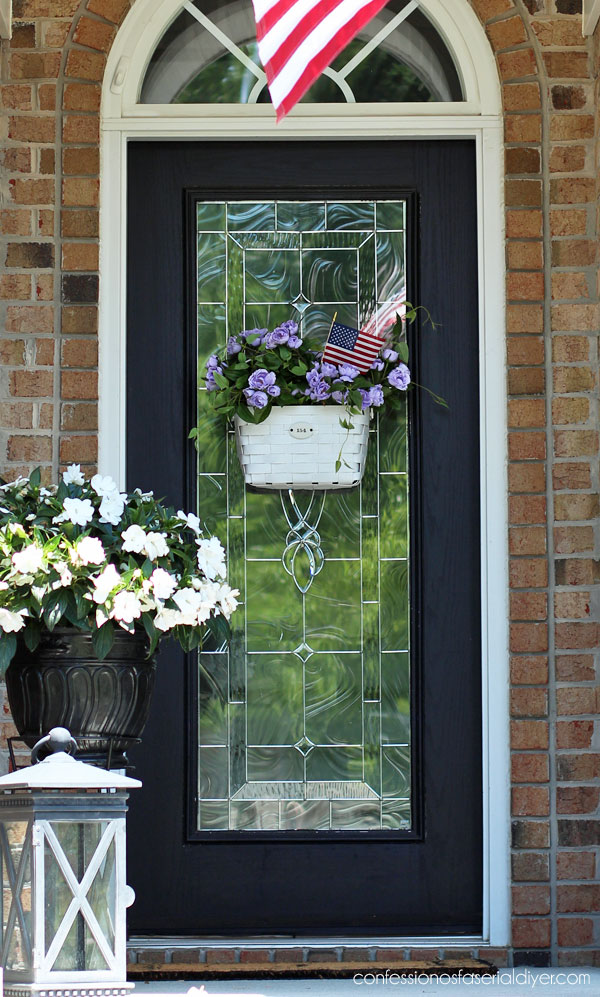
And here is the reason I chose purple blooms!
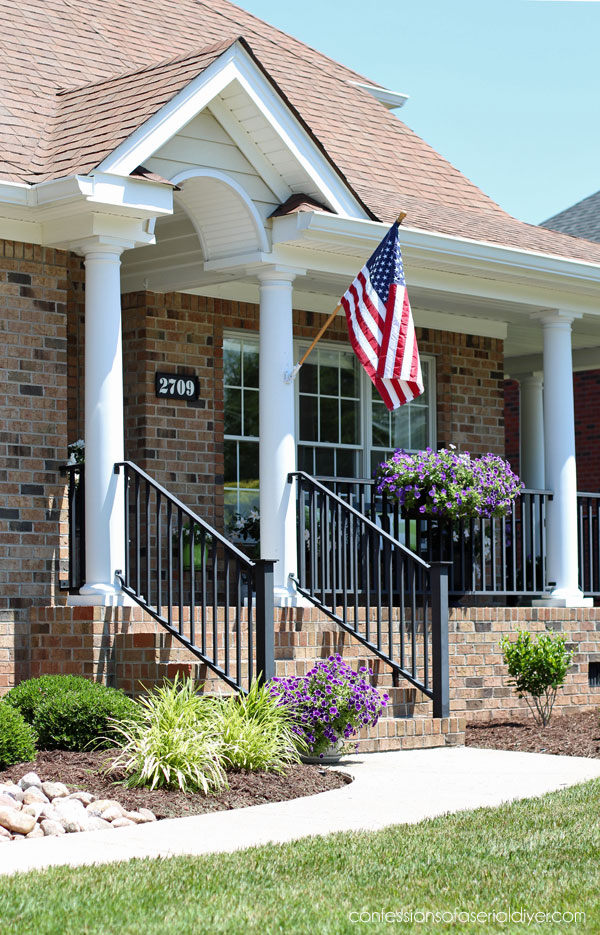
I wanted it to tie in with the petunias!
And the addition of our flag ties in with the larger one we have hanging.
I shared some updates to our front yard landscaping last month, along with our front porch, and as you can see, I haven’t killed the flowers in the flower boxes yet! They’re getting SO big!

But, it’s only June ha ha!
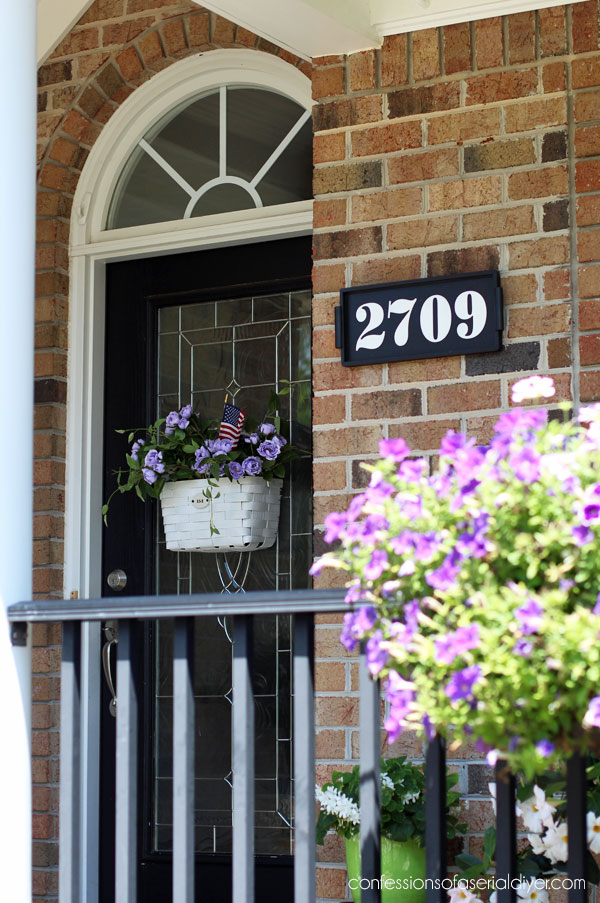
I just love this whimsical addition to our front door.

The number sign was made from a $3 thrift store tray.
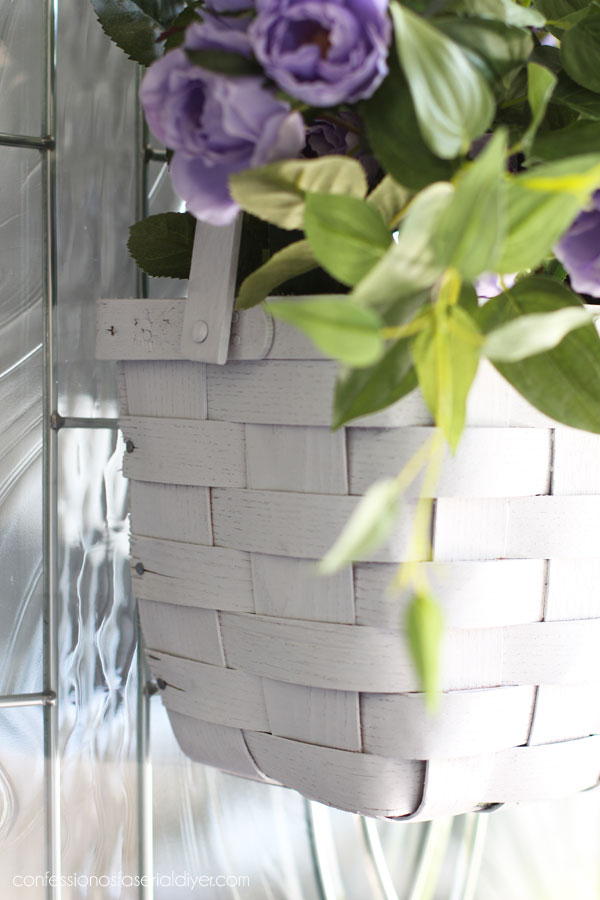
And here is a closer peek of the side where it attaches to the back:
I hope y’all enjoyed seeing what this basket became!
My friends from the Seasonal Simplicity Summer Series have even more Summer DIY inspiration for you!

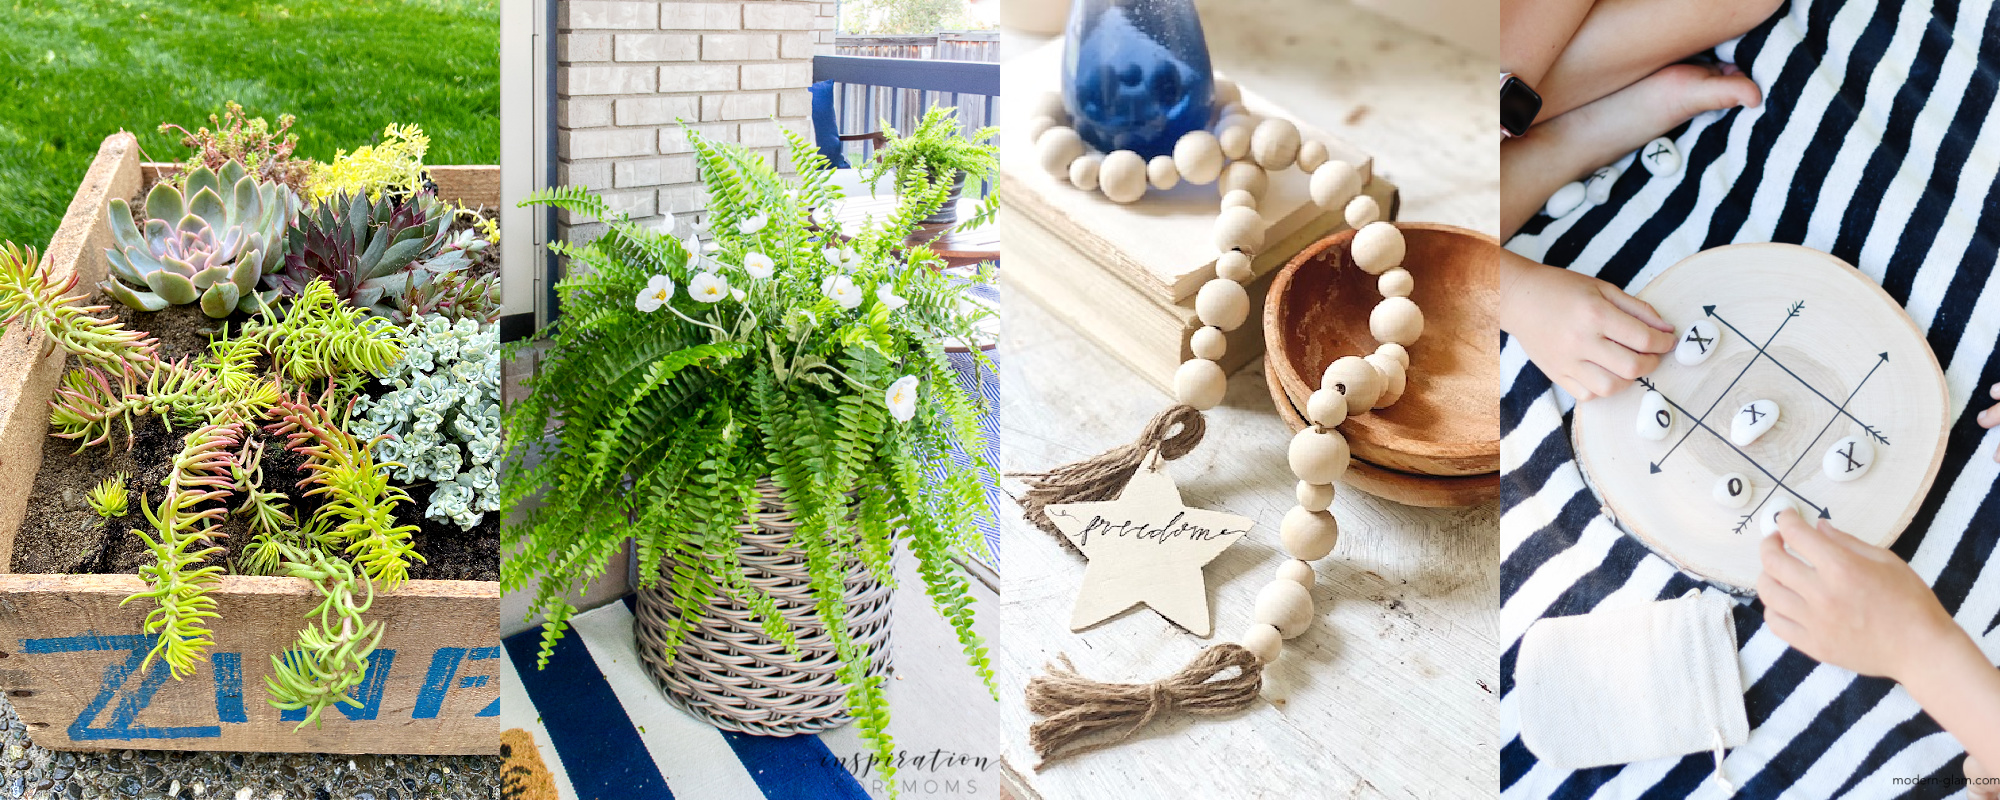
DIY Crate Succulent Planter at The Happy Housie
Poppy and Fern Front Door Planters at Inspiration for Moms
DIY Beaded Garland at She Gave it a Go
DIY Tic Tac Toe Board Game at Modern Glam
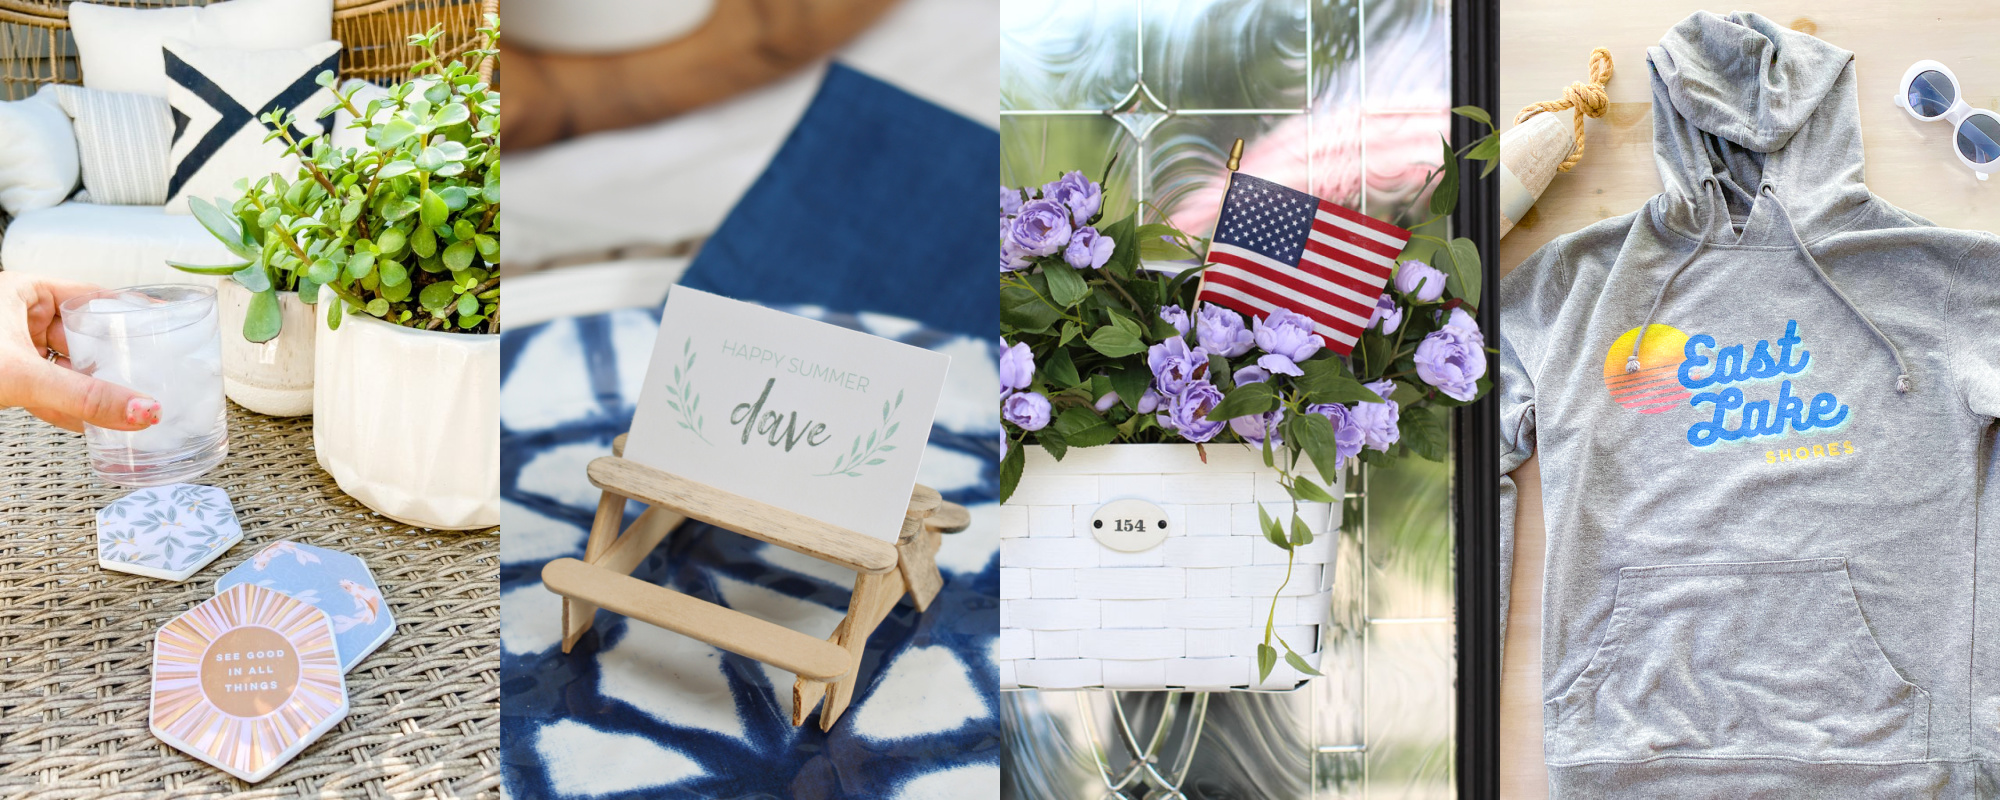
Summer Decoupage Concrete Coasters at Tatertots and Jello
Popsicle Stick Picnic Tables at Clean & Scentsible
Summer Basket Wreath from a $3 Thrift Store Find at Confessions of a Serial DIYer
DIY Custom Hoodies for Summer Fun at Rambling Renovators
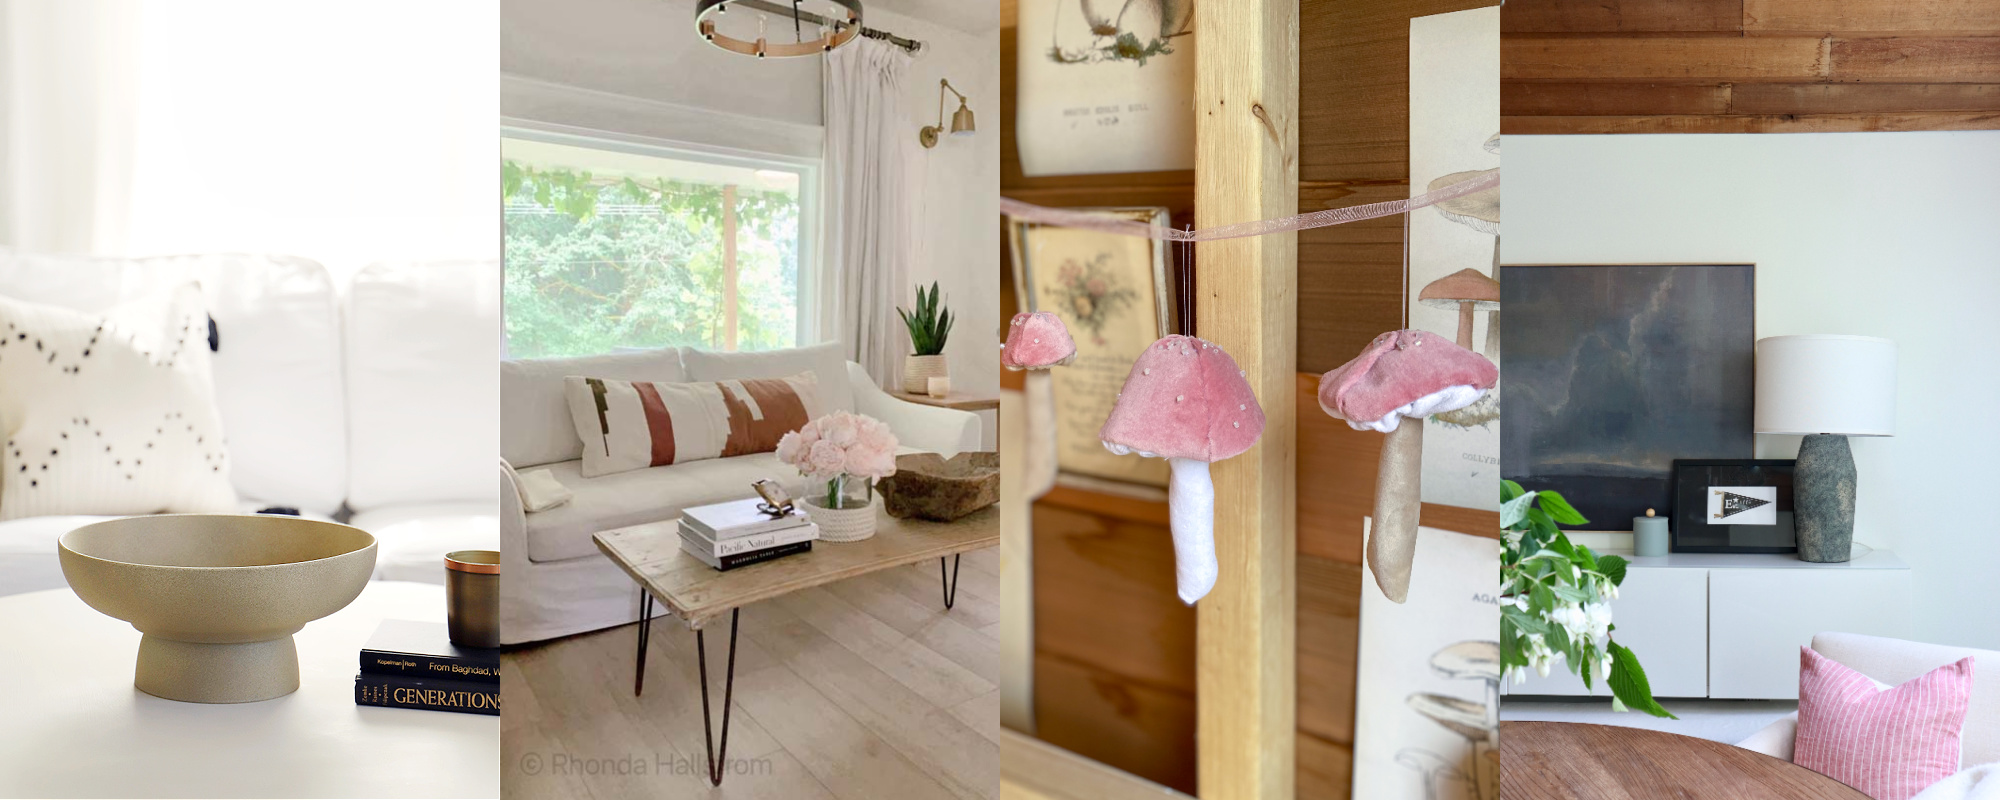
DIY Pedestal Bowl at Paint Me Pink
Dollar Store Hacks at Hallstrom Home
DIY Velvet Mushroom Cap at Life is a Party
Free 4th of July Printable at My Sweet Savannah
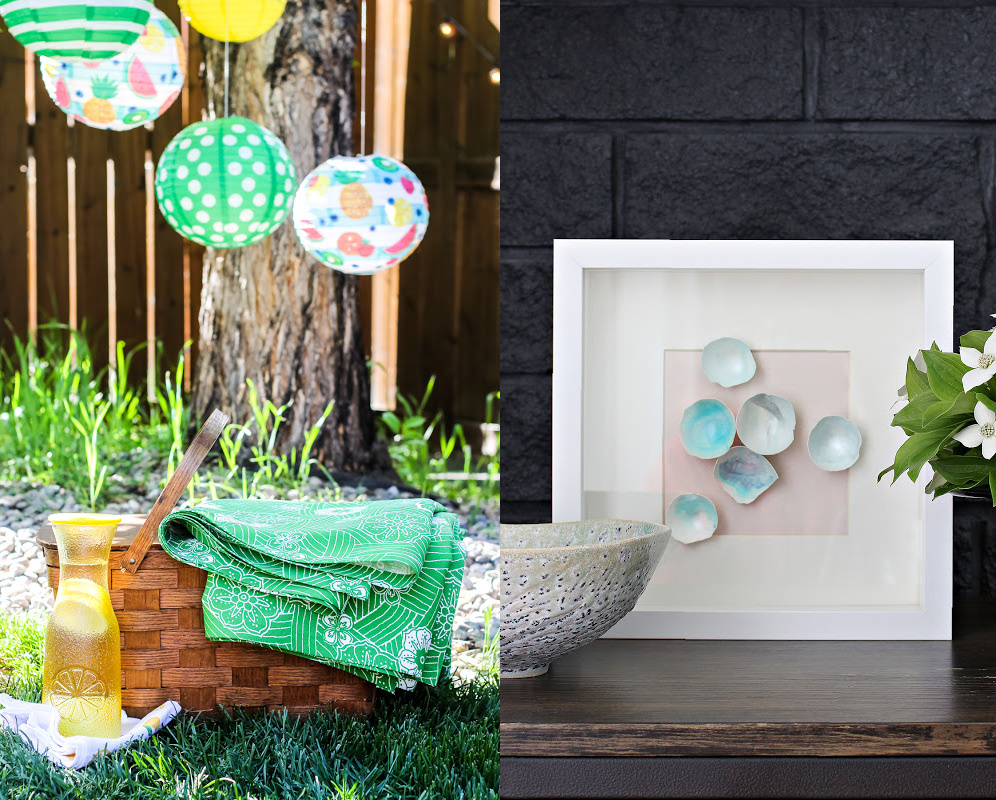
DIY No Sew Outdoor Tablecloth or Picnic Blanket at A Pretty Life
DIY Egg Shell Art at Dans le Lakehouse
I’ll be back on Thursday sharing what I did with the other half of this basket and what I did with the lid as well:
UPdate: No need to come back! See the remaining two things I made from this basket HERE now!
Have a fantastic week!
XOXO,
![]()
Don’t Miss a Thing!
If you like what you see, there are several ways to follow along!
Email * Instagram * Facebook * Pinterest * Twitter


Mary Kaiser says
That’s to bad you lost your pictures, but once I saw the basket cut I saw you doing it in my head, LOL! How creative was that to cut in in half to make a decoration for your front door!! I LOVE how it turned out! I can’t wait to see what you do with the other half and the lid! Great job!
Christy says
I know, but I’m glad you could imagine it! I never lose my photos lol! Thanks, my friend! See ya Thursday! XOXO
Sheila Pack says
Absolutely adorable!
Christy says
Thank you, Sheila! XOXO
Janice Holt says
I knew yoJu would do something with the other half of the basket. This one is just as cute as can be and looks so good with your Petunias. Nobody but you would have thought to do this. You are so very talented. Keeping those Petunias dead-headed is a job but they are worth it.
Christy says
Thank you, Janice! I know…I’m crazy ha ha! And yes, I love Petunias! XOXO
Christina says
Holy smokes this is pretty! Christy, this is your creative genius at work!! Love how you tied everything together. Beautiful!
I hope Jack and Abby make/made the meal. 🙂 Happy graduation to Abby!
Have a great week!!
Christy says
Thank you so much, Christina! Yes, they made it last night and he said it turned out great, so all worth it lol! Enjoy your week too!! XOXO
Cecilia says
I love it! That was a great idea. Hmmm, now what did you do with the other half? 😊
Christy says
Thank you, Cecilia!! Ha ha…you’ll see soon! XOXO
Christina says
PS Now I have that Stevie Wonder song stuck in my head. lol
xo
Christy says
Oh no…ha ha! Sorry about that! 😁
Teresa Farrell says
You are so talented. I would never have thought of cutting a basket in half….where did you get a battery operated mi I circular saw? That is so awesome.
Love watching you take basically nothing to wow
Christy says
Aww thank you so much, Teresa! I found that saw at Home Depot. We have the whole set of tools that share the batteries. The batteries are crazy expensive, but if you buy a set of like three tools, it usually comes with a couple of them! XOXO
Diana Cosgrove says
Good Morning Christy… You have a beautiful mind’s eye… What you are able to envision from the items that you pick up along the way is incredible… Thank you for sharing this picnic basket transformation! So pretty and how it brightens the front door…
Diana (p.s. still haven’t started my mirror re-do!)
Christy says
Good morning, Diana! Thank you so much! This was a fun one to work on. Now, get that mirror done lol! XOXO
Becky says
THAT is one of the coolest ideas ever! I love it!! Pinned and waiting for the basket to appear, haha!
Your landscaping is gorgeous too!
Christy says
Thank you so much, Becky! I was really crossing my fingers it wouldn’t end up a splintered mess lol! And ha ha…wouldn’t it be amazing if that’s how pinterest worked?? Have a fantastic day! XOXO
Toby Peplow says
I Love this!! The simplicity of your designs is what makes them so beautiful to me. Some people just put too much “junk” on their makeovers…but yours are not like that every. I feel like you take “junk” and turn it in more classic and classy pieces. And hey you even got a 2-fer out of this one! Can’t wait to see what you do with the lid! And who cares that its still June-I think our country needs all the patriotism it can possibly get right now. 🙂
Have a good day!
Christy says
Aww thank you so much, Toby! I love that I was able to get more than one project out of this one basket! And, I could not agree more! Our neighbors across the street hung an American flag also, and I love having it as my view! Enjoy your day too!! XOXO
Liz Shivel says
Hi Christy, the basket looks great! I have a couple of the picnic baskets like that but I never thought of cutting them in half! Looks great! How’s Jack? I sent him a graduation card last year! Poor guy, graduated in the middle of Covid! And getting cards from complete strangers is unusual, but nice too!
Christy says
Thank you so much, Liz! Jack is great! He just finished up his first year at college and finished strong. That was so special and thoughtful of you to send him a card last year. He really loved it! Any time I see you comment, I remember your generosity and kind heart! XOXO
Susan says
Such a great idea! I will be looking for baskets now.
Christy says
Thank you, Susan! Good luck in your search! XOXO
Debra Hubbs says
So clever and creative! It looks perfect on your front door. So pretty.
Christy says
Thanks so much, Debra! XOXO
Mandy says
What a cute idea! But then I love all of your “flips”. lol. I have a basket just like that, but it’s a Longaberger and since they went out of business I’d hate to cut it. I’ll have to scour my local thrift stores for one now. 🙂
Glad Jack and Abby’s meal was a success!
Christy says
Thank you, Mandy! Oh no, don’t cut up your Longaberger…you’ll find an inexpensive one like this eventually. I’ve come across a few of them! And yes, I was happy to hear the meal was a success too!! XOXO
p says
WOW ! This is such a creative idea !!
I can’t imagine what made you think to do this – but I’m so glad for your creativity. 🙂 I looks great !!
Thanks for sharing.
p
Christy says
Thank you so much, P! I’m so glad you enjoyed this one, and I’m so glad that it worked out lol!!
jennifer hadfield says
Such a pretty iea Christy! I love that you gave that basket a new life and looks amazing on your door! I pinned it to my summer board to share 🙂
xxo
Christy says
Thank you so much, Jen!! XOXO
Michele M. says
Oh don’t ya just hate it when ya accidentally delete good pics you intended to save? I loved your story as to why. As for me, it’s just being dumb.
Funny – my mother had that exact basket. Now you made me wish that we had kept it. Your creation is gorgeous….very clever!
Christy says
Yes!! I am usually so good with my photos! Oh well…thank you! And I have been just dumb before too lol! Bummer, you don’t still have your mom’s basket! XOXO
Sue Mellette says
Clever you, again! What a great idea for the split baskets. I love the color and the purple flowers with the flag and tag! It really complements your flowers and colors on your lovely front porch! Thanks for sharing and have a fun-filled week!
Christy says
Thank you so much, Sue! I am just tickled that it turned out and actually worked! Enjoy your week too! XOXO
Tanya from Dans le Lakehouse says
This is so clever! I loved how it turned out!
Christy says
Thank you so much, Tanya! XOXO
Sally says
You are so creative! Looking forward to seeing what you do with the other half.
Christy says
Thank you, Sally!! See ya Thursday! XOXO
Constance Colvin says
Wonderful as usual Christy! What will you do with the other half of the basket?
Christy says
Aww thank you, Connie! You’ll get to see on Thursday! XOXO
Jo-Anna says
What a great project Christy! It looks wonderful on your front door with all the flowers tucked inside! I’m sorry you lost your photos, but I can imagine just how you made it! Such a good idea!
Christy says
Thank you so much, Jo-Anna! I was so bummed I had deleted the photos by mistake, but I’m glad you could picture it! XOXO
Wilma Willson says
Love the basket, what a great idea. Seems like every time I go shopping I find baskets, I love them but never know what to do with them. You’ve give me inspiration. I love, love, love your petunias, what is your secret?
Christy says
Thank you, Wilma! I love baskets too! I don’t really have any Petunia secrets except water often. The ones in our boxes came from Home Depot and I think these newer varieties do well. Also, I have better luck with the purple ones in particular! XOXO
Krista says
Love it – so cute! What a great repurpose! When I upgraded my phone I went for the biggest memory I could this time;) I rue the day I’ll have to actually go through all my pics…
Christy says
Thank you, Krista! I definitely need to upgrade my phone! XOXO
Denise says
Christy I’m going to be spray painting my kitchen cabinet hardware a mat gold can I use your gator hide as a sealer or is there something better. Thanks a bunch for taking the time to answer.
Denise
Christy says
Hi Denise! Spray paint is very durable on its own since it is oil-based! XOXO
Norma says
Oh my goodness! That’s so amazing! It looks great on your front door.
Christy says
Thank you so much, Norma! XOXO
Patty says
Just so pretty, Christy!! I love your wreaths but this basket adds a little something special!! Your petunia baskets are even more beautiful than the last time you showed them. I think I’ll look for purple next year 🙂
I told my sister about your site & she had already painted my niece’s bedroom furniture using some of your ideas. She lives the beach. Turned out really pretty! She also has a kittie that looks so much like your sweet little Lyla.
I’m glad Jack had good year – hasn’t the past year been a doosie?! At least we are beginning to feel a little normalcy.
Christy says
Thank you, Patty! I thought the basket would be something a little different for sure. And yes, I love the purple petunias as you can’t really see the spent blooms since they are similar in color to the purple! I love that your sister had already found me, but I really appreciate you sharing me too! This year has been quite the test…It is so nice to see things coming back to life!! XOXO
Patty says
Spelling – I meant to say my niece “loves” the beach!!
Kathy says
I have this exact basket! I would never have imagined cutting it in half to make two. You are so creative. Your front door is beautiful, BTW.
Christy says
Oh yay! Thank you so much, Kathy! I never imagined I would saw it in half when I bought it ha ha! XOXO