One of my favorite spaces to decorate is a bathroom. It’s a small space so even on a tight budget, you can make it great. You can have fun with it too, and it doesn’t even have to match the rest of the house, especially in a kid’s bathroom!
Our Get Your DIY On party is coming up this Sunday and this month’s theme is Room Revamps. We redid our boys’ bathroom before I started blogging, and because my sister and her family were coming in town, I quickly threw stuff up on the walls. I’ve made several things for that space since then, but I haven’t been completely happy with it. This theme gave me the perfect chance to finish it the way I really want to.
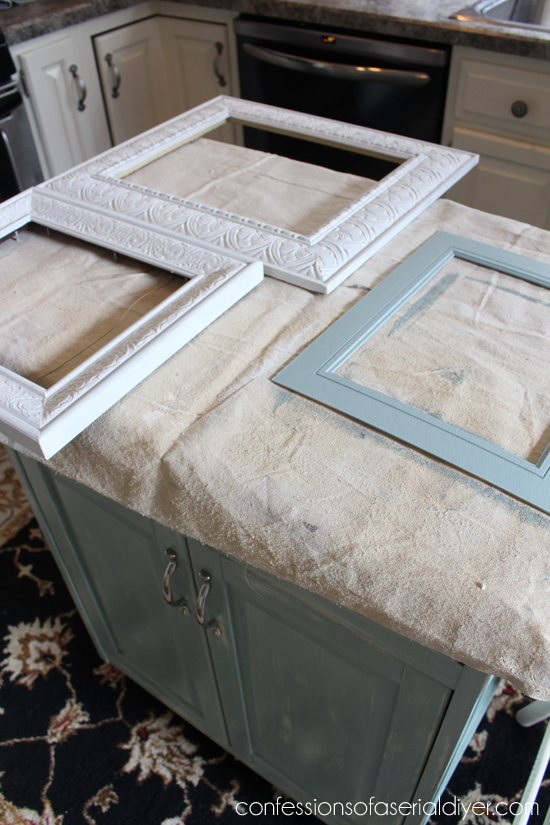
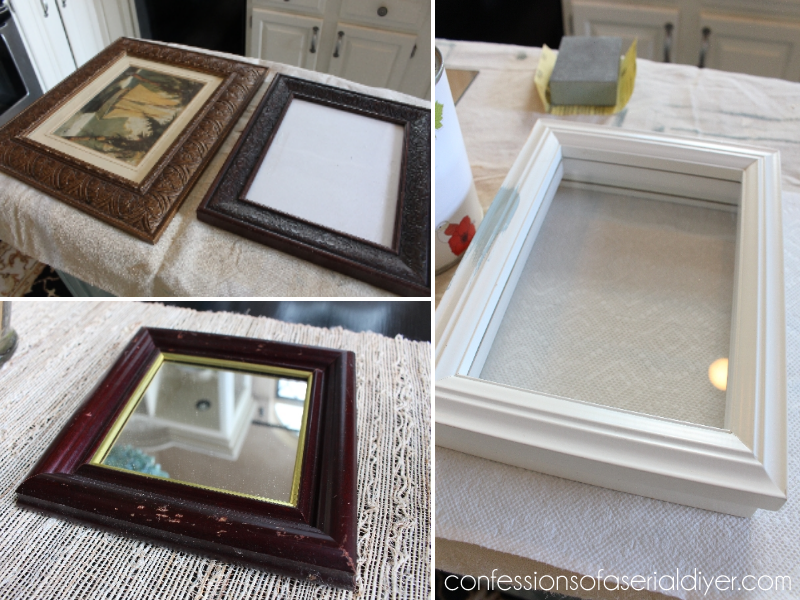
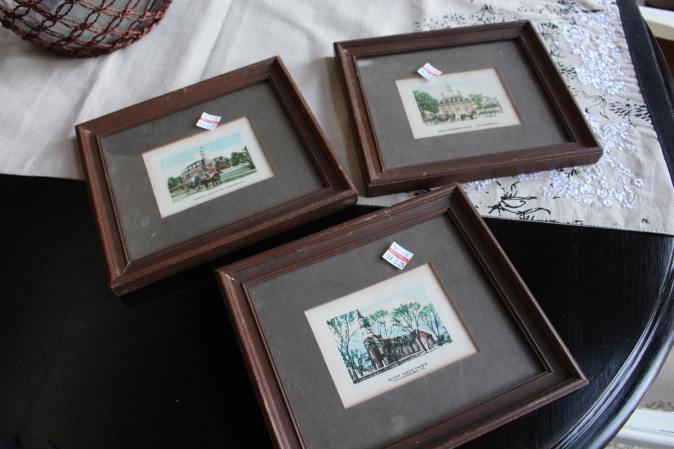
There was a time when I would hit the stores and buy all kinds of things for my new bathroom, but these days, I know I can create great pieces without spending a lotta dough. I went searching through my garage today to find a few pieces I could redo for the walls. I’m kind of a frame hoarder. I found three here at thrift stores…

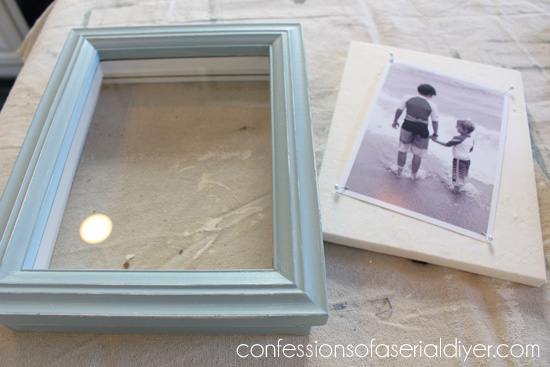
The theme in that space now is a bit coastal and I want to push it in that direction a bit more. I started by painting the two larger frames in Miss Mustard Seed’s milk paint in Ironstone. I also painted the mat from one of the frames with chalk paint. (My $15 rolling kitchen cart is fast becoming a favorite craft spot.)
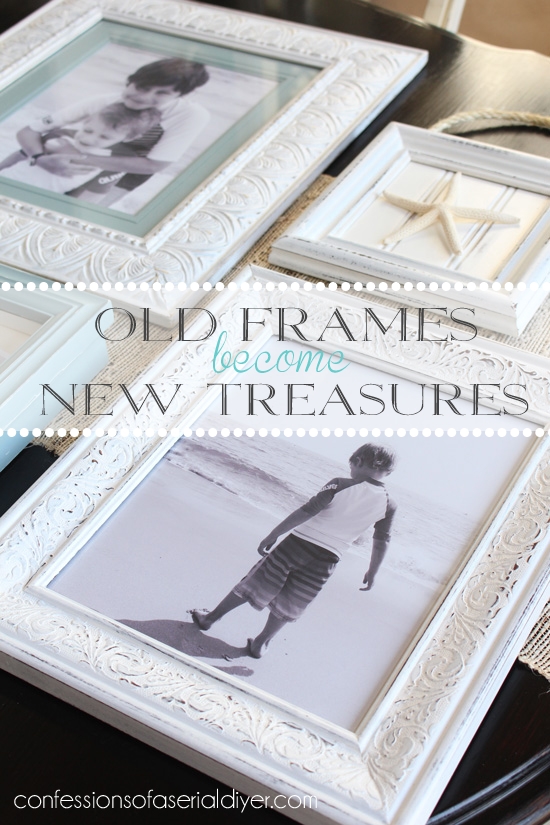
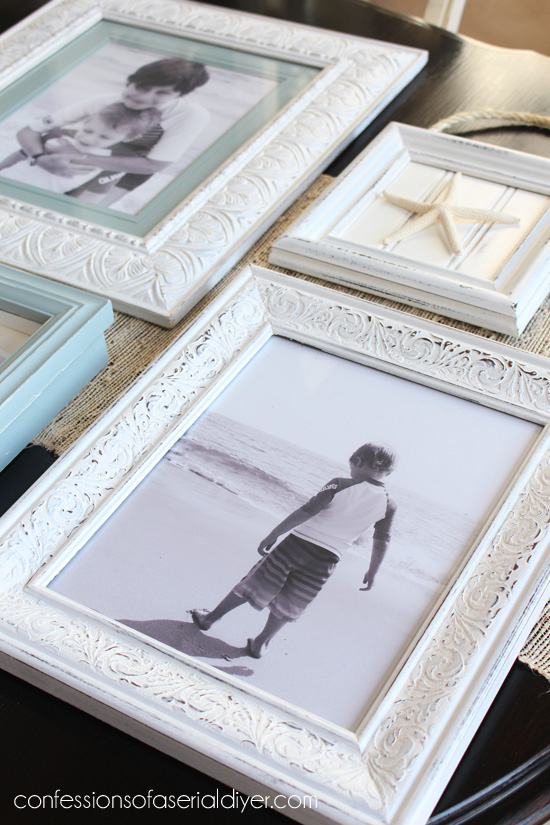
After a little sanding and a coat of clear wax they were ready to go. I printed out a couple of my favorite pictures from a recent trip to the beach, in black and white, to put in them…
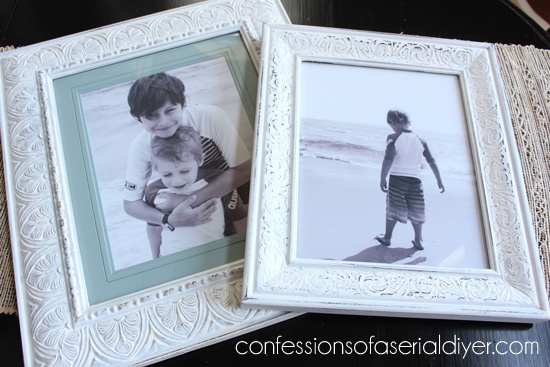
I love these pictures and they add such a personal touch to the boys’ space. I knew I wanted to add a few beach pictures, so what better than pics of my boys at the beach?
Next up was the shadow box frame.
I’ve had this for years, but it was time for an update. I painted this one with the same chalk paint I used on the mat. Then I attached the photo to the foam insert with small pins:
And that’s it!

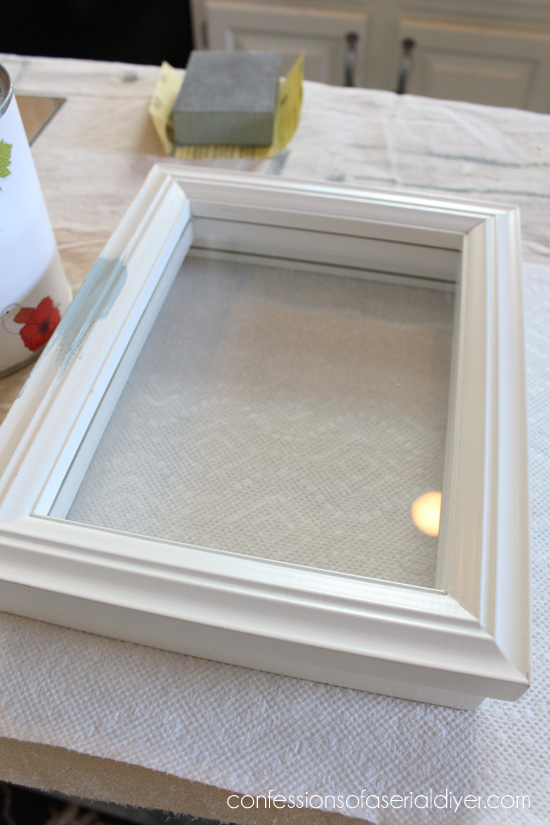
The last frame started out as a mirror:
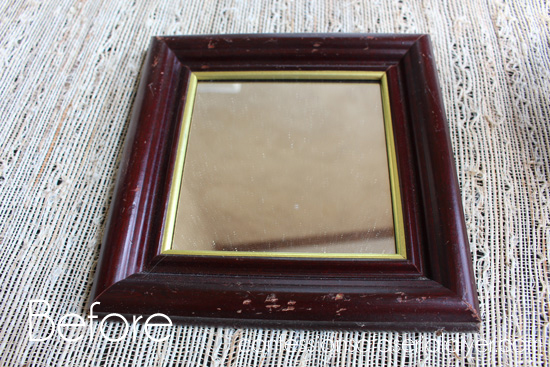
I removed the mirror and gave it a couple of coats of MMS milk paint in Ironstone. Then sanded and waxed it when it was dry.
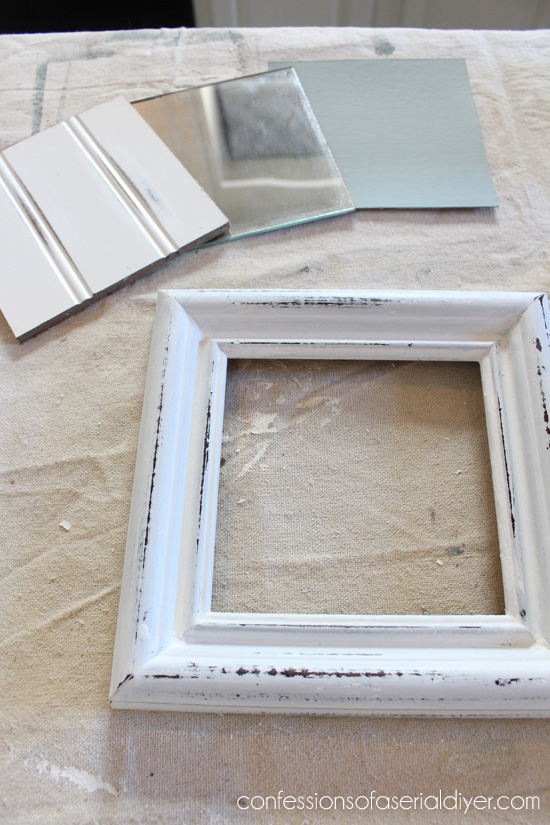
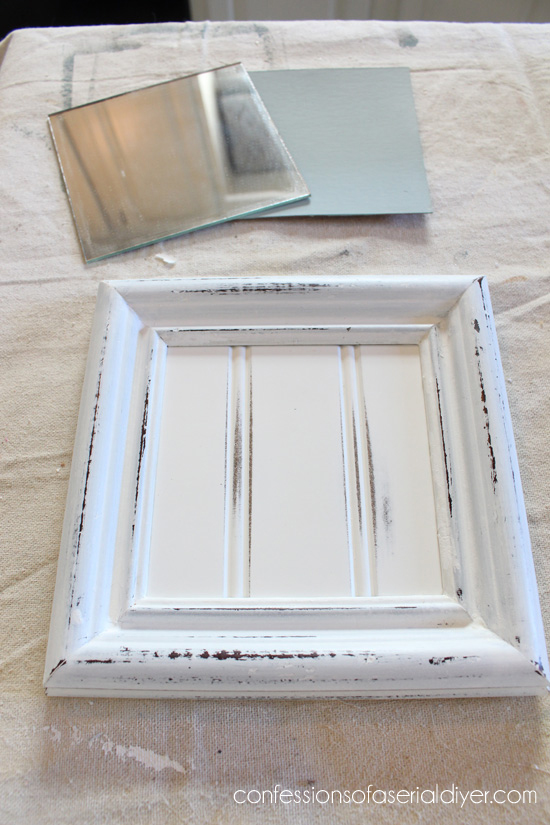
I had a couple of options of what to fill it with. I ended up using the bead board.
Then I added a rope handle, with the help of my staple gun…

And a pencil starfish to the center using E6000 glue…
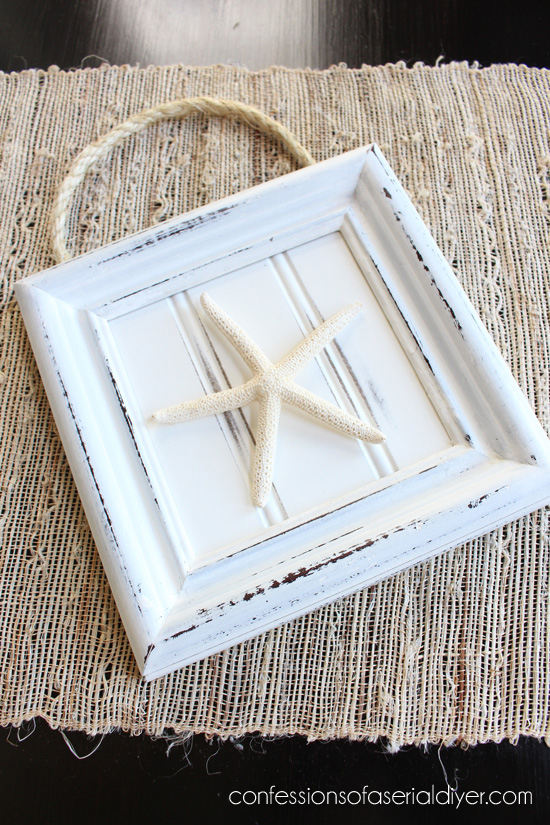
Cute, right? And really simple.
And that’s how I went from this:
To this!
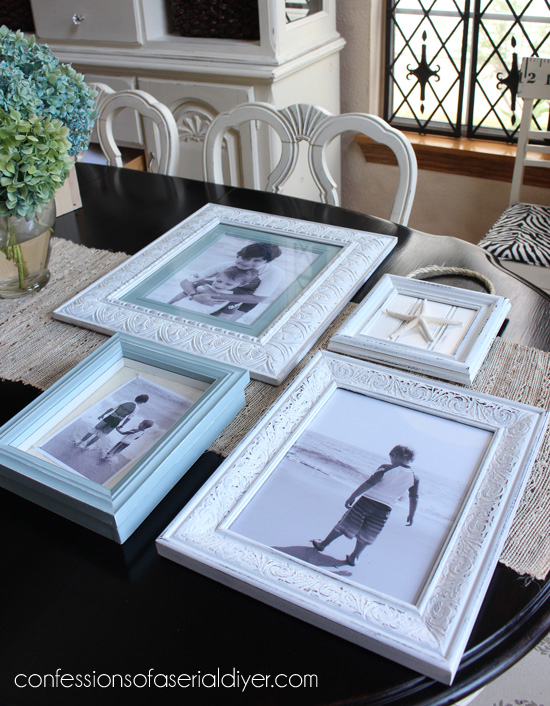
I spent hardly anything out-of-pocket and I have four lovely new additions to my boys’ bathroom. Now the fun part…hanging them!
I also made over these pictures to create some more fun pieces for that space:
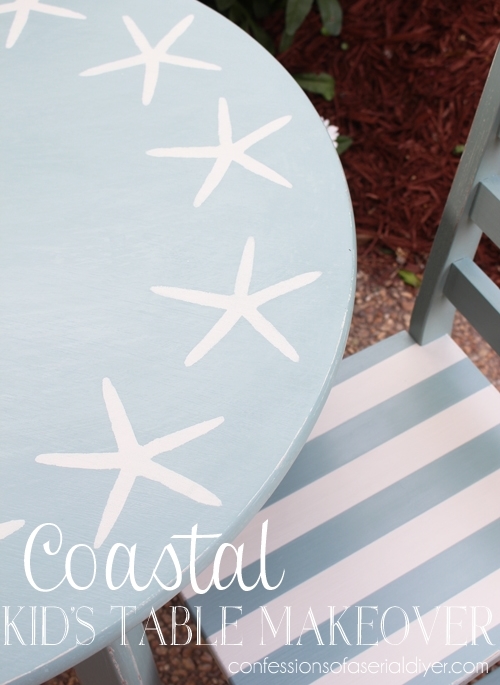
I must have coastal on the brain these days. I just redid Brennan’s table with a fun coastal feel:
Be sure to come back Friday to see the whole bathroom! 🙂
UPDATE: See it now here!
XO,
![]()
If you like what you see, there are several ways to follow along! ![]()
Email * Facebook * Pinterest * Hometalk * Twitter * Instagram
I love to share at some of these great parties:
Home Stories A to Z Not Just a Housewife Kammy’s Korner The Happy Housie Design Dining and Diapers Liz Marie Blog Funky Junk Interiors Savvy Southern Style Tatertots and Jello DIY Show Off Redoux Interiors Between Naps on the Porch The DIY Dreamer Oh My Creative Little Miss Celebration Just a Girl and Her Blog Sand and Sisal Interior Frugalista House on the Way Addicted 2 DIY I should be Mopping the Floor Miss Mustard Seed


Selene Galindo says
I love what you did with the frames!! They look so fresh and coastal!
Christy K. James says
Thanks so much, Selene! 🙂
Michele Ward says
Great Job! I especially love the beadboard background for the starfish…I think I’ll be doing that in my coastal bathroom!
Christy K. James says
Thanks, Michele! I think that’s my favorite…thanks for stopping by! 🙂
Terry says
Really cute and a great use of old frames!
Christy K. James says
Thanks, Terry 🙂
Laurie says
Great job! You have inspired me!
Christy K. James says
So glad you feel inspired, Laurie! 🙂
Lisa jones says
I am a frame hoarder as well! Love that you added the board in that one with the starfish. Very cute!!
Christy K. James says
Thanks, Lisa! I can’t say no to a good deal on a frame…I figure I’ll eventually find a use for them! 🙂
Karla says
I love these……thatnks for the great tips. You have inspired me to update my bathroom…..on my way to thrift stores to search for frames…….
Christy K. James says
Awesome! So glad you feel inspired, Karla! 🙂
Linda Petersen says
Finally caught up with my InBox! I love your frames~~~they look supercute:). Just the inspiration I needed to spiff up my guest bath. Thanks!
Christy K. James says
Thanks, Linda! A bathroom is always fun to tweek 🙂
Amanda @ Dwelling in Happiness says
Fabulous upcycles!! My master bathroom is all beachy/coastal themed, and I must try to replicate your little starfish on the batton. Absolutely adorable, and so creative! I never buy new frames anymore, I only buy thrift store frames and paint them. So much cheaper! 🙂
Christy K. James says
Amen, Amanda! I’m a bit of a frame hoarder, no lie, but I always find uses for them. 🙂
Marie@The Interior Frugalista says
Love what you did with these frames Christy. Love the bead board back and shell and love how you angled the photograph in the other. Very pretty…very coastal!
Christy K. James says
Thanks, Marie! If only I had that beautiful natural light in my bathroom, ugh! Photographed my bathroom today and no windows were a bit of a challenge. As always thanks so much for your sweet comments! XO XO
Marie@The Interior Frugalista says
I just saw your bathroom post Christy and for having no natural light, the pictures look pretty darn good!
Christy K. James says
Aww thanks, it’s s tough to work with NO light lol. Have a great weekend! XO
Kendra @ www.joyinourhome.com says
These are beautiful, Christy!! Love the beadboard back on the one especially! Thanks for some fabulous inspiration and hope your week has been lovely 🙂
Christy K. James says
Thank you, Kendra! I am having a great week…hope you are too 🙂
Rinny says
Time to get out all my old frames and get them on the wall – just love what you did with the frames!
Christy – is there anything that you do that doesn’t turn out awesome? lol
I love how you make your projects so easy to follow and create. Thanks!
Christy K. James says
Aww…thanks so much for the sweet comment, Rinny! That made my day! So glad to have you following along 🙂
Cindy@DIYbeautify says
Love , Love, Love these! I have several thrift store frames to paint and I love the idea of putting them as a set!
Christy K. James says
Thanks, Cindy! There was a time when I would have bought everything new for my bathroom…we know better now! XO
karen says
I am a total frame hoarder myself. I would never think to put beadboard in a frame, love that!
Christy K. James says
Thanks, Karen! Honestly I hoard a little of everything, but I’m really a sucker for frames! Have a fantastic weekend!! XO XO
Melanie says
What a difference a coat of white paint can make. These look fabulous! And the little touch of blusih-grey really pops with the black and white photos. Lovely.
Christy K. James says
Thanks so much, Melanie! I agree…paint can do amazing things 🙂
Michele says
Pretty! I <3 coastal decor too:)
Christy K. James says
Thanks, Michele! I love everything coastal 🙂
Maryann @ Domestically Speaking says
I LOVE how your frames turned out… so cute! I’m featuring them tomorrow in my Friday Features… thanks for linking up to Inspire Me Monday!
Alisa says
Thanks for sharing? What kind (or brand) of wax do you typically use for projects like these? I am new to this kind of DIY 😉
Christy K. James says
Hi Alisa- I used Annie Sloan’s clear wax, but since you don’t need the frame to stand a lot of wear and tear, especially if it will be hanging on the wall, you could probably just spray it with a clear acrylic spray sealer in a matte finish. Thanks for visiting! XO