Hey there sweet friends! Today I’ve got a super simple project to share with you. My tool girl crew and I get together once a month to share a simple project we’ve built using power tools. Hey those tools aren’t just for the boys, you know!
This month’s theme is Patio and Porch projects. I’ve been having a lot of fun with my front outdoor entry area this season so far. I started with giving my outdoor glider a makeover:
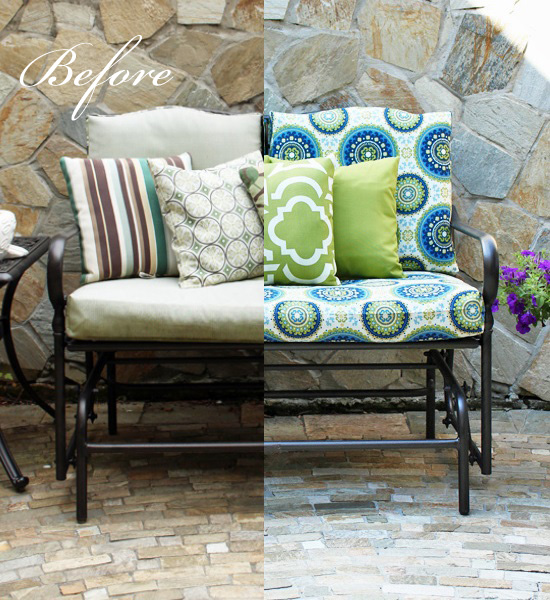
That before photo is actually after I had already spray painted the frame. It was really sad before. See more details of that HERE. The other day I also shared how I updated some old pots on the cheap HERE.
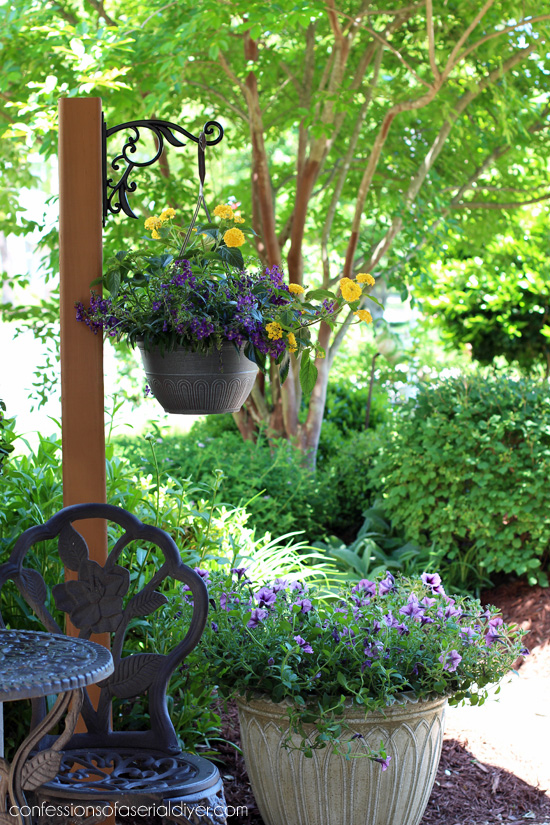
I decided for this month’s project challenge, I would create something to add a little height out there. I decided to make this standing plant hanger that would do just that, and would be the perfect project to share for this month’s theme.
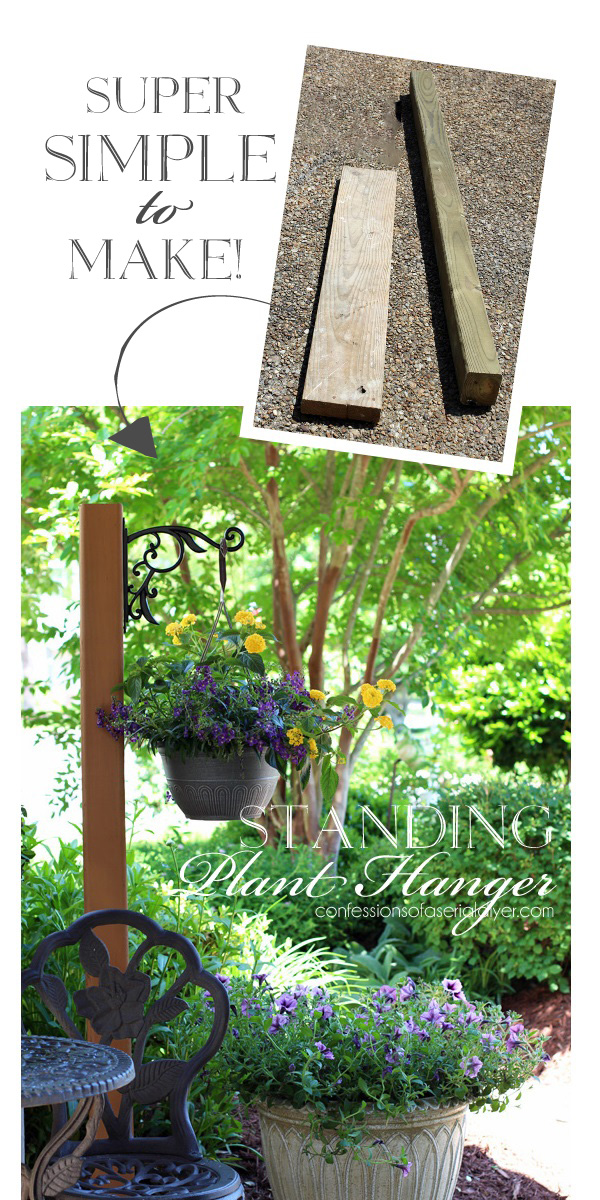
Here’s what I started with:
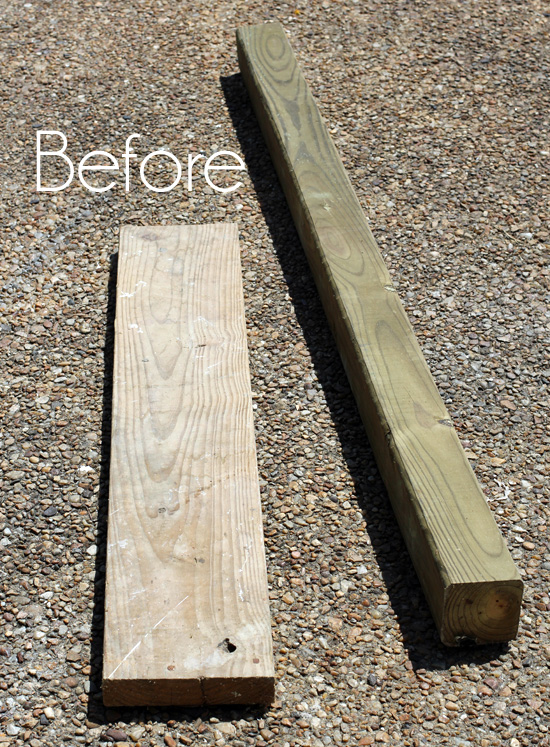
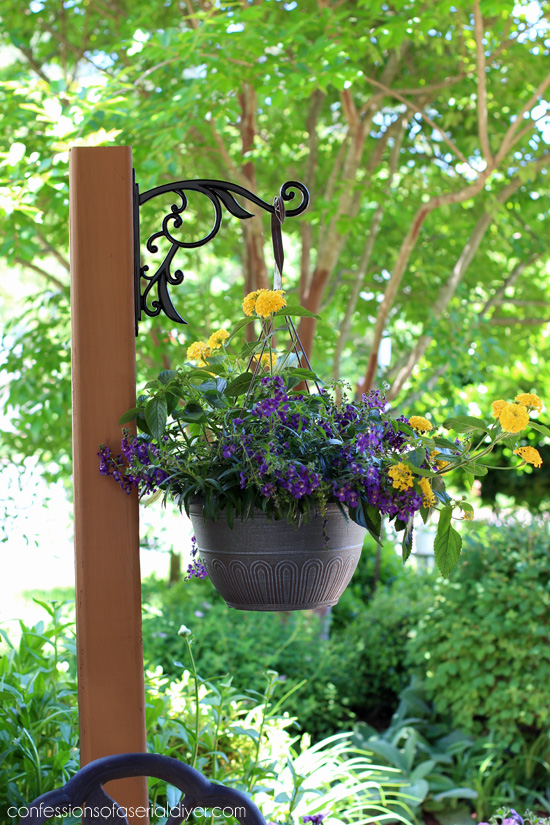
That’s a 4×4 and a 1×6 we had left over from previous projects. All I needed to purchase was a plant hanger which I found at The Home Depot to create this:
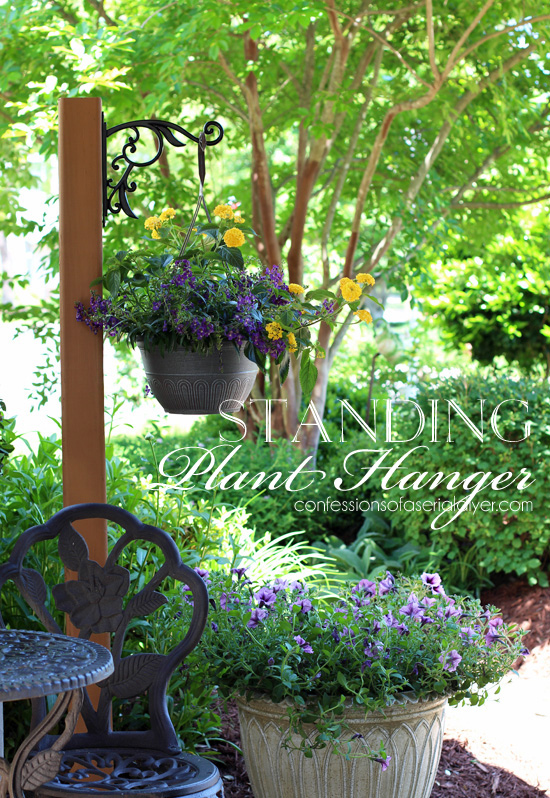
Okay it’s a post with a plant hanger. Could. not. be. easier, right?
But it looks so cute!

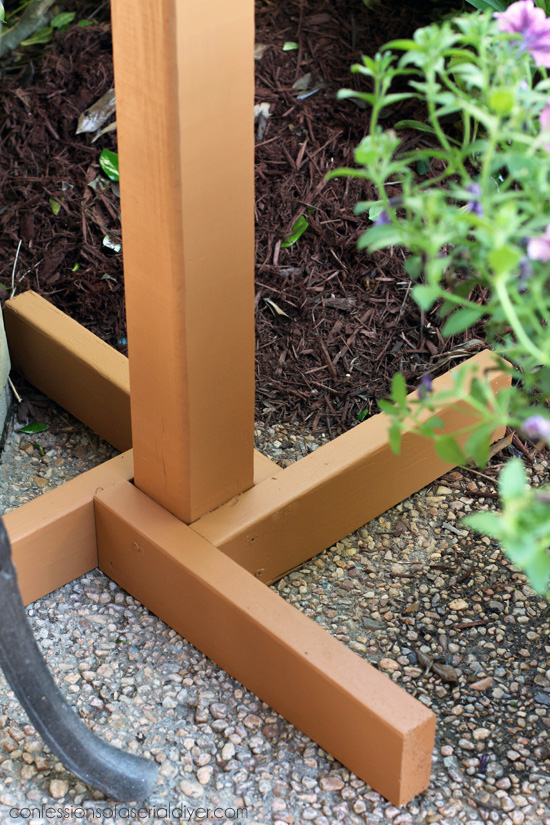
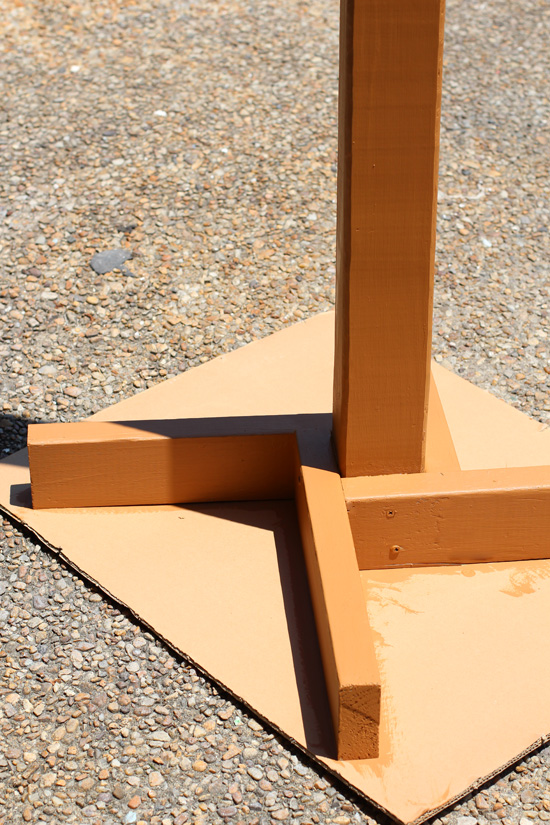
The bottom is supported like this:
I started by ripping the 1×6 down the center with my table saw:

That saw has seen better days, but it’s one of two saws I use ALL the time.
If you were to purchase wood for this project, I would recommend one pressure treated 2×4 in six foot length instead. You can have the awesome guys at the home improvement store cut it to four 16″ lengths for you, or bust out the miter saw (my second favorite) and do it yourself:

(You can totally handle that one.)
Here’s what you’ll need to create this simple project: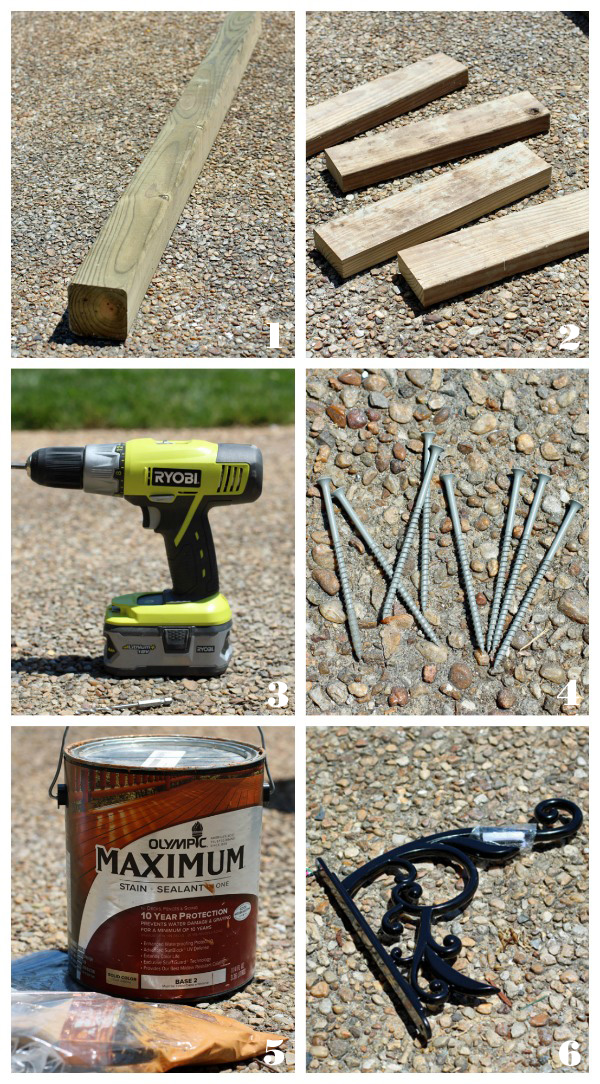
- Pressure treated 4×4 (I used mine at the height it was: 66″)
- Pressure treated 2×4 cut to four 16″ lengths
- Drill and bit for pilot holes
- Decking screws (I used 4″ because it’s what I had)
- Paint or stain (We are currently using this stain + sealer on our house trim.)
- Hanging bracket. (I purchased this one from The Home Depot.)
Now for the easy part…line up each base piece and drill two pilot holes:

This will ensure that the wood doesn’t split when you screw your screw in place.
Then screw each piece in place.
Stain or paint.
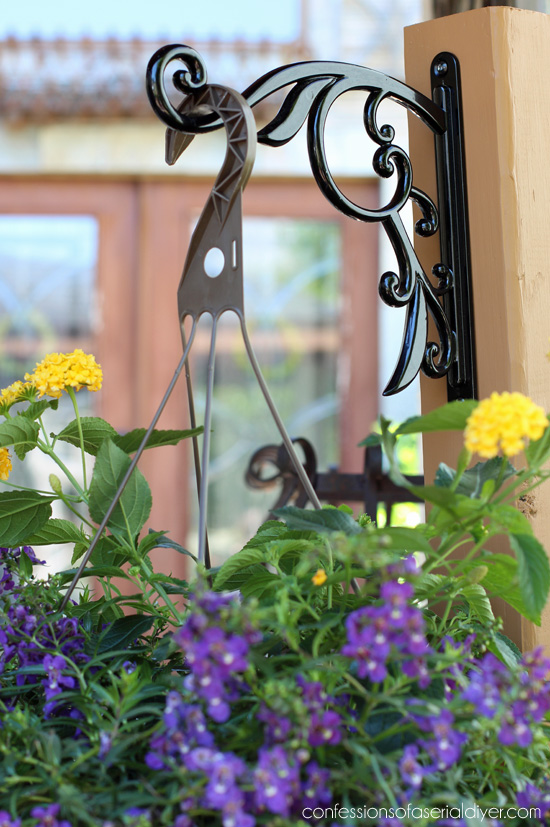
Add the hanging bracket with the screw provided, also drilling pilot holes first, and that’s it!
This project took maybe an hour from start to finish. That’s my kind of project!
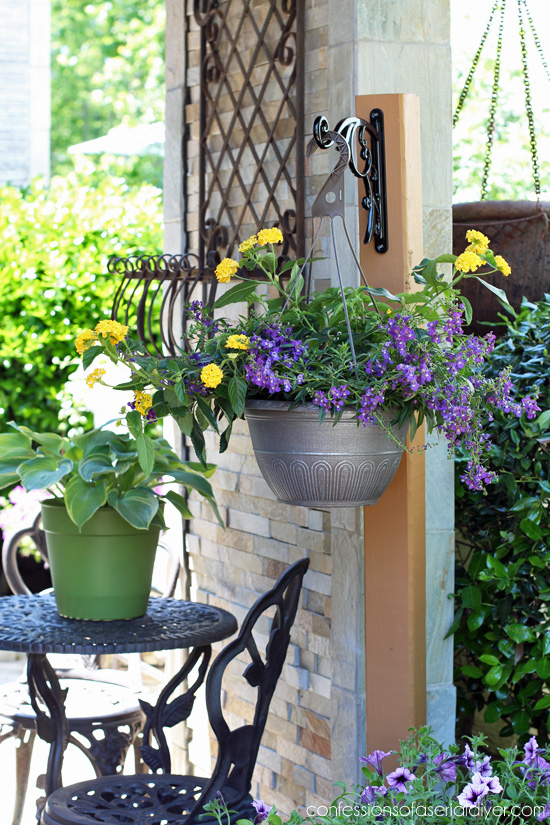
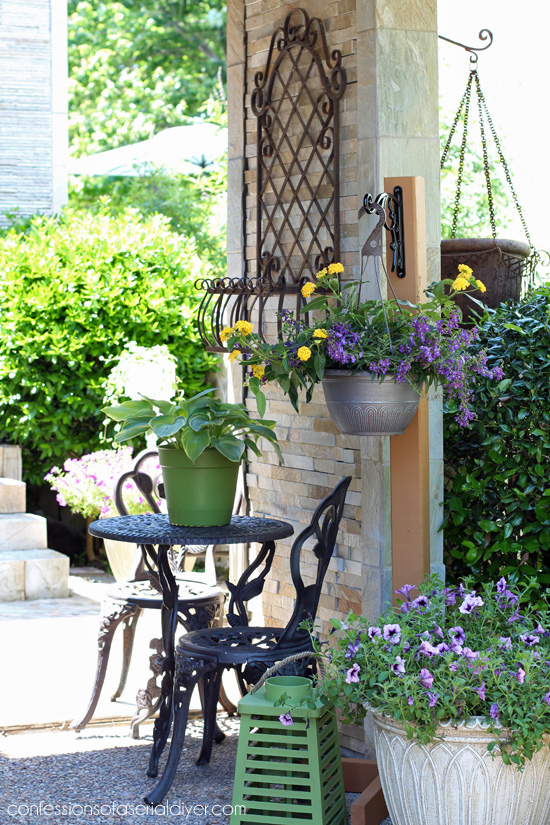
This would be perfect on a porch, patio, or deck space. You could also use it to hang a lantern.
If you added another hook to the other side as well, it could hang two plants or if you added one to all four sides, it would make the perfect towel holder by the pool!
I hope you enjoyed this super simple project today.
If you’re working on your outdoor space, you might also be interested in my Sew Easy Outdoor Cushion Cover Tutorial:

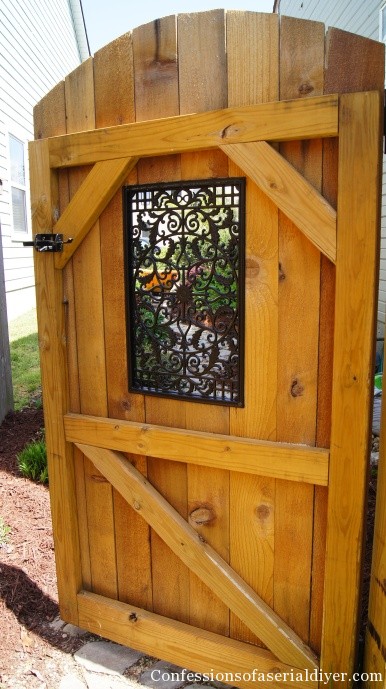
Or another project I tackled myself several years go…how I built my gate with this pretty window:
My tool girls are also sharing DIY outdoor projects today! Click the links below the image to see them!
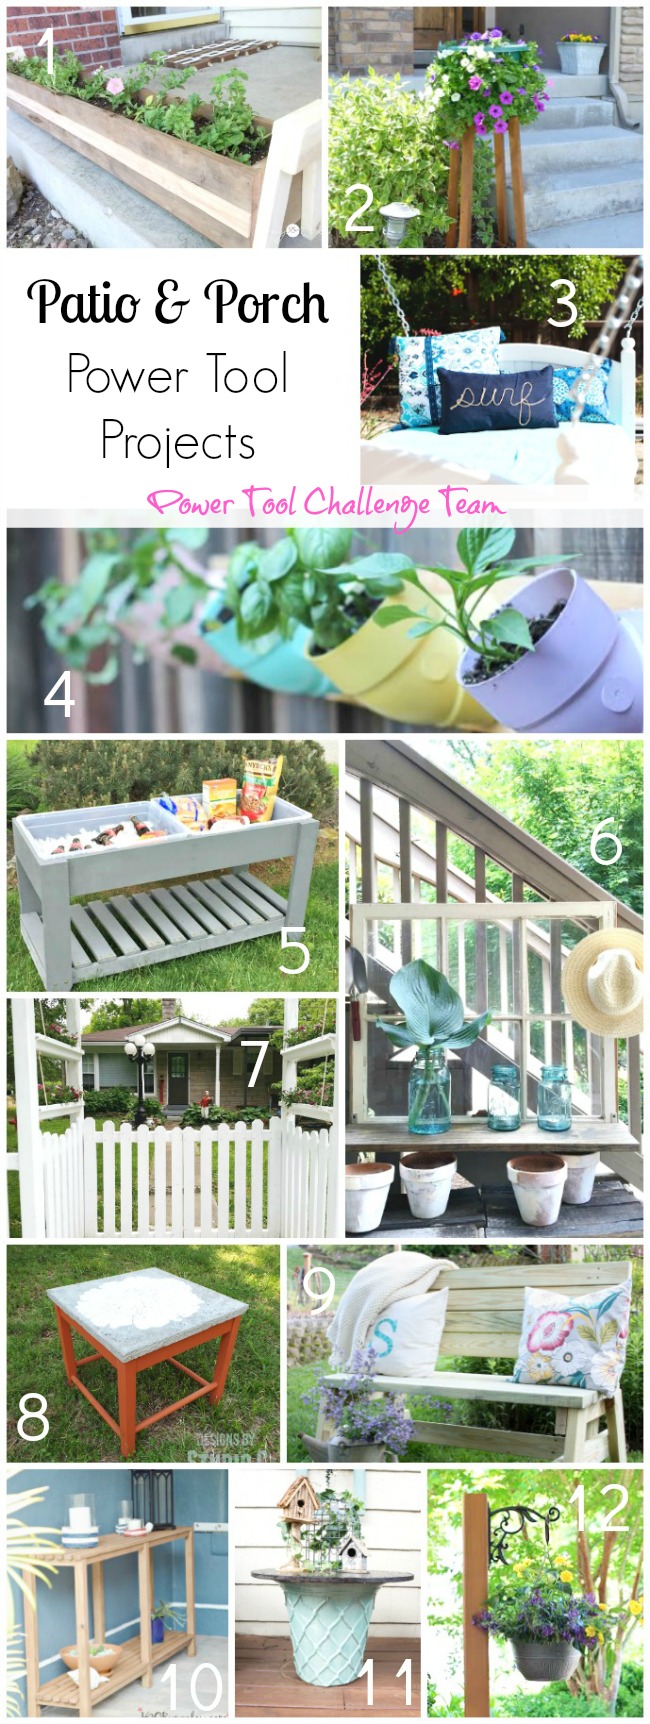
1. Long Porch Planters by My Love To Create
2. DIY Flower Pot Plant Stand by Her Tool Belt
3. DIY Easy Swinging Bed by Domestically Speaking
4. PVC Pipe Vertical Garden by Kim Six
5. How to Build An Outdoor Serving Table by Create and Babble
6. Repurposed Window Garden Shelf by Refresh Restyle
7. Trimming Out Porch Posts by My Repurposed Life
8. Stenciled Concrete Topped Table by Designs By Studio C
9. 2 X 4 DIY Bench by Virginia Sweet Pea
10. DIY Outdoor Sofa Table Tutorial by H2OBungalow
11. Repurposed Electrical Spool Holder Table by Designed Decor
12. DIY Outside Standing Plant Hanger by Confessions of A Serial DIYer
I hope you enjoyed this easy project idea, and all the cool outdoor ideas my friends shared as well!
I’ll be back on Tuesday sharing how I redid this collection of thrift store throw-aways:

UPDATE: Boom! See what I did with them right now HERE!
XO,
![]()
Don’t Miss a Thing!
If you like what you see, there are several ways to follow along!
Email * Facebook * Pinterest * Hometalk * Twitter * Instagram


Sue says
Love the plant stand!!! I have never used power tools. Wish I could!!!
BTW I finally have a date set for installation of our hardwood floors. They are going to start the day after Memorial Day. Can’t wait!!! I will let you know how it goes. Doing the whole house at once. I am not sure we will make it. LOL I am doing the hickory hand scraped engineered like yours. Thanks again for your inspiration.xoxo
Christy K. James says
Thanks Sue! And WOOHOO for your floors!!! I am so excited for you…ok not so much for the “during” phase ha ha, but it will be so worth it! Great choice on the hand scraped hickory, I still love mine! XOXO
Kim Six says
This is so smart. And what a great way to bring some color to the porch. Beautiful!
Christy K. James says
Thanks, Kim! XO
Becky says
Very nice! What a cute swirly hook! Since I noticed your hanging baskets in your flowerbeds, I’ve been working on adding some to mine – great way to get some height! Thanks!
Christy K. James says
Thanks, Becky! They’re also a great way to fill in bare spots where things died and never came back lol. 🙂
Becky says
Haha, is THAT the secret to success?! I like it! : )
Christy K. James says
Ha ha yep. 😉
Cecilia says
OH my gosh! I love your plant stand. That is definitely easy but packs quite the punch! I can see it being useful for al sorts of things…bird feeder holder, plus all the things you mentioned too. Wonderful!
Christy K. James says
Thanks so much, Cecilia! I never even thought of hanging a pretty bird feeder from it…that would be another great use for it! XO
Susan says
Hi, Great work as always!
#10 10 outdoor sofa table link will not open 🙁
Christy K. James says
Thanks, Susan! ANd I’ll check that link, thanks for letting me know. Here it is directly if you still want to see it…it’s a cool project: http://h2obungalow.com/2016/05/diy-outdoor-sofa-table-tutorial.html 🙂
Paula@SweetPea says
This looks so nice in your yard and I love that you can move it around! At first I thought that you were going to put your 4×4 into the ground but after seeing the stand you made, I like that idea a lot better. I could use one of these on my deck for a hanging plant. Thanks for the inspiration!
Christy K. James says
Thanks, Paula! Oh yes, that would be perfect! Might need to make one for my deck out back as well. 🙂
Patty says
I love your plant hanger and it is so versatile you could put it in a flower bed , on your front porch or most anywhere. Great job.
Christy K. James says
Thank you, Patty! So true…it can go just about anywhere! 🙂
Mindi says
I love this so much!! It looks so good in your magazine worthy space!! Beautiful job Christy!
Christy K. James says
Wow thank you so much, Mindi! XO
chris aka monkey says
i would be scratching my head for weeks trying to make that post stand up and you made it so easy love this xx
Christy K. James says
Ha ha thanks, Chris! I tested it too…it can hold quite a bit without tipping. 🙂
Amy says
Oh I love this flower pot hanger! Those hooks are perfect. I’m going to have to try this with some of mine.
Christy K. James says
Thanks, Amy! I loved your solution too! 🙂
Karen Moore says
So cute. Love your garden. It looks very inviting. I don’t know how you have time to do all your projects and have such a beautiful yard.
Christy K. James says
Thank you so much, Karen!! The initial work putting in our garden was before blogging, and it was a LOT of work, but not so bad to maintain now. 🙂
Maryann @ Domestically Speaking says
Oh I want to build a few of those… love how you did the legs!
Christy K. James says
Thanks, Maryann! Build away! 🙂
Wendi @ H2OBungalow says
Girlfriend, I am so making one of these! maybe even 2! Love the stand idea. We have no where to plant plant holders in our back yard but need something tall. Super smart!
Christy K. James says
Thanks, Wendi! These would work perfectly for you. I almost felt like I cheated this month when I saw everyone else’s projects because this was just SO easy lol!
Pamela says
I love it! It’s a simple & easy DIY project, my favorite kind. I really like how you made the stand base at the bottom. 🙂
Christy K. James says
Thanks, Pamela! My favorite kind too! 🙂
gail says
great outdoor planter stand Christy. The color is fun, and I love the way it is self standing with the 2×4 stand.
gail
Christy K. James says
Thanks, Gail! XO
Cheryl says
Awesome, I have boards just like this so I will give it a try. You are an inspiration, thank you!!
Christy K. James says
Oh awesome, Cheryl…yes make one! And thank you!! XO
Cher @ Designs by Studio C says
The plant hanger is really beautiful, Christy! The hook is amazing and I love the design of the stand!
Christy K. James says
Thanks so much, Cher! XO
DeDe @Designed Decor says
It may be super simple but what an impact it makes! I love your outdoor space, it looks so warm and inviting!
Christy K. James says
Thanks so much, DeDe! I almost feel like I cheated this month because it was so simple lol! 🙂
bonnie jay says
Hi Christy,
Do you have any easy idea on how to make sling back replacements for my 2 sling back chairs? Retail is about $100 each.
Thanks,
bonnie
Christy says
Hi Bonnie, Sorry but I haven’t tried to cover sling back chairs. Here is one of many videos I found on Youtube that may be helpful though: http://www.bing.com/videos/search?q=how+to+cover+sling+back+chairs&view=detail&mid=CA90955AE515196BC6F3CA90955AE515196BC6F3&FORM=VIRE Good luck!
Marie, The Interior Frugalista says
Christy, only you could take a 4 x 4 and a 1 x 6 and make something this beautiful! I am going to steal how you built the base. I am making all the DIY decor for my daughter’s wedding in August. One of the items on my list is making signs for the entry of both the outdoor venue for the ceremony and hall for the reception. The plan was to use a barrel filled with sand but the wedding is in another province and I wasn’t thrilled about hauling it in my van. This is the perfect solution and easy to transport from venue to venue. Pinning to share!
Christy says
Yes…this is a perfect solution! You could even assemble on site to save even more space in the van. Although I know weddings are a ton of work, they are so exciting to plan too. You’re daughter is lucky to have such a creative mama to help her! XOXO
Marie, The Interior Frugalista says
Excellent idea, Christy!