Amazing friends, I’m back today with my 43rd edition of Painting the Smalls! After talking y’all on a booth tour in my last post, I realized I could really use some smalls to fluff it up. These posts are such a good way to get a bunch of items done for my booth, and I just love knocking out six mini makeovers at once! !
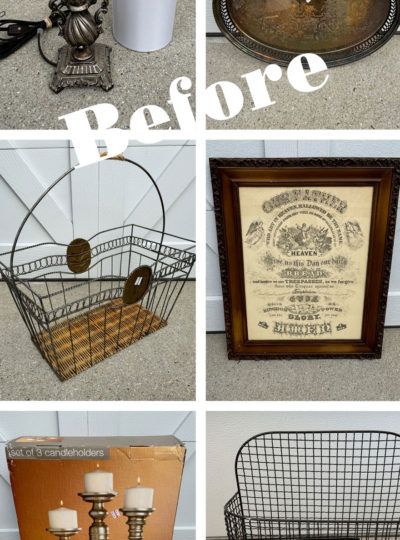
Here are the six pieces getting mini makeovers today:
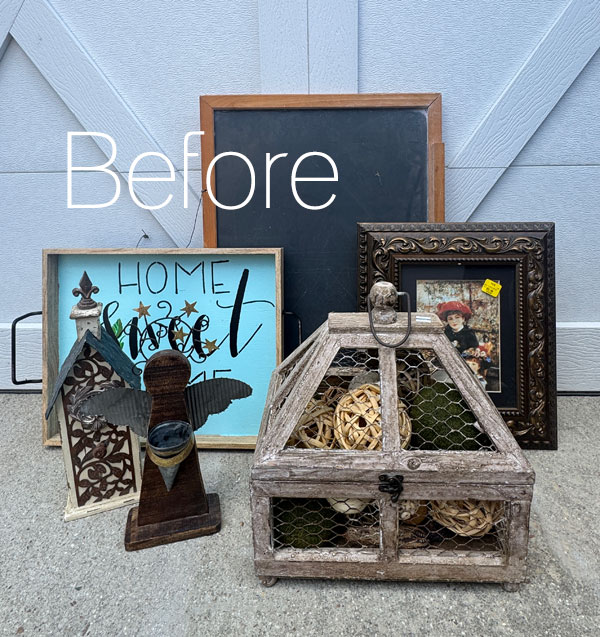
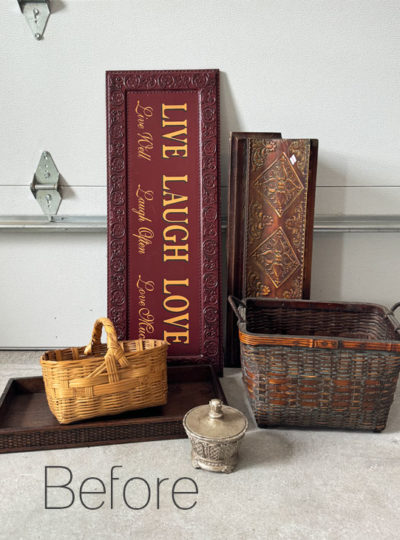
Although, a couple aren’t so mini!
Let’s jump right into it!
I’ve included a few affiliate links so you can find the products I love. Redesign with Prima products are often limited time only, so items may be sold out if you are visiting this post long after the posting date.
Clean
I won’t show the cleaning of every single piece in this haul, but they all started with a good cleaning first using White Lightning, mixing one TBSP into a half gallon of warm water:

Mini Makeover #1
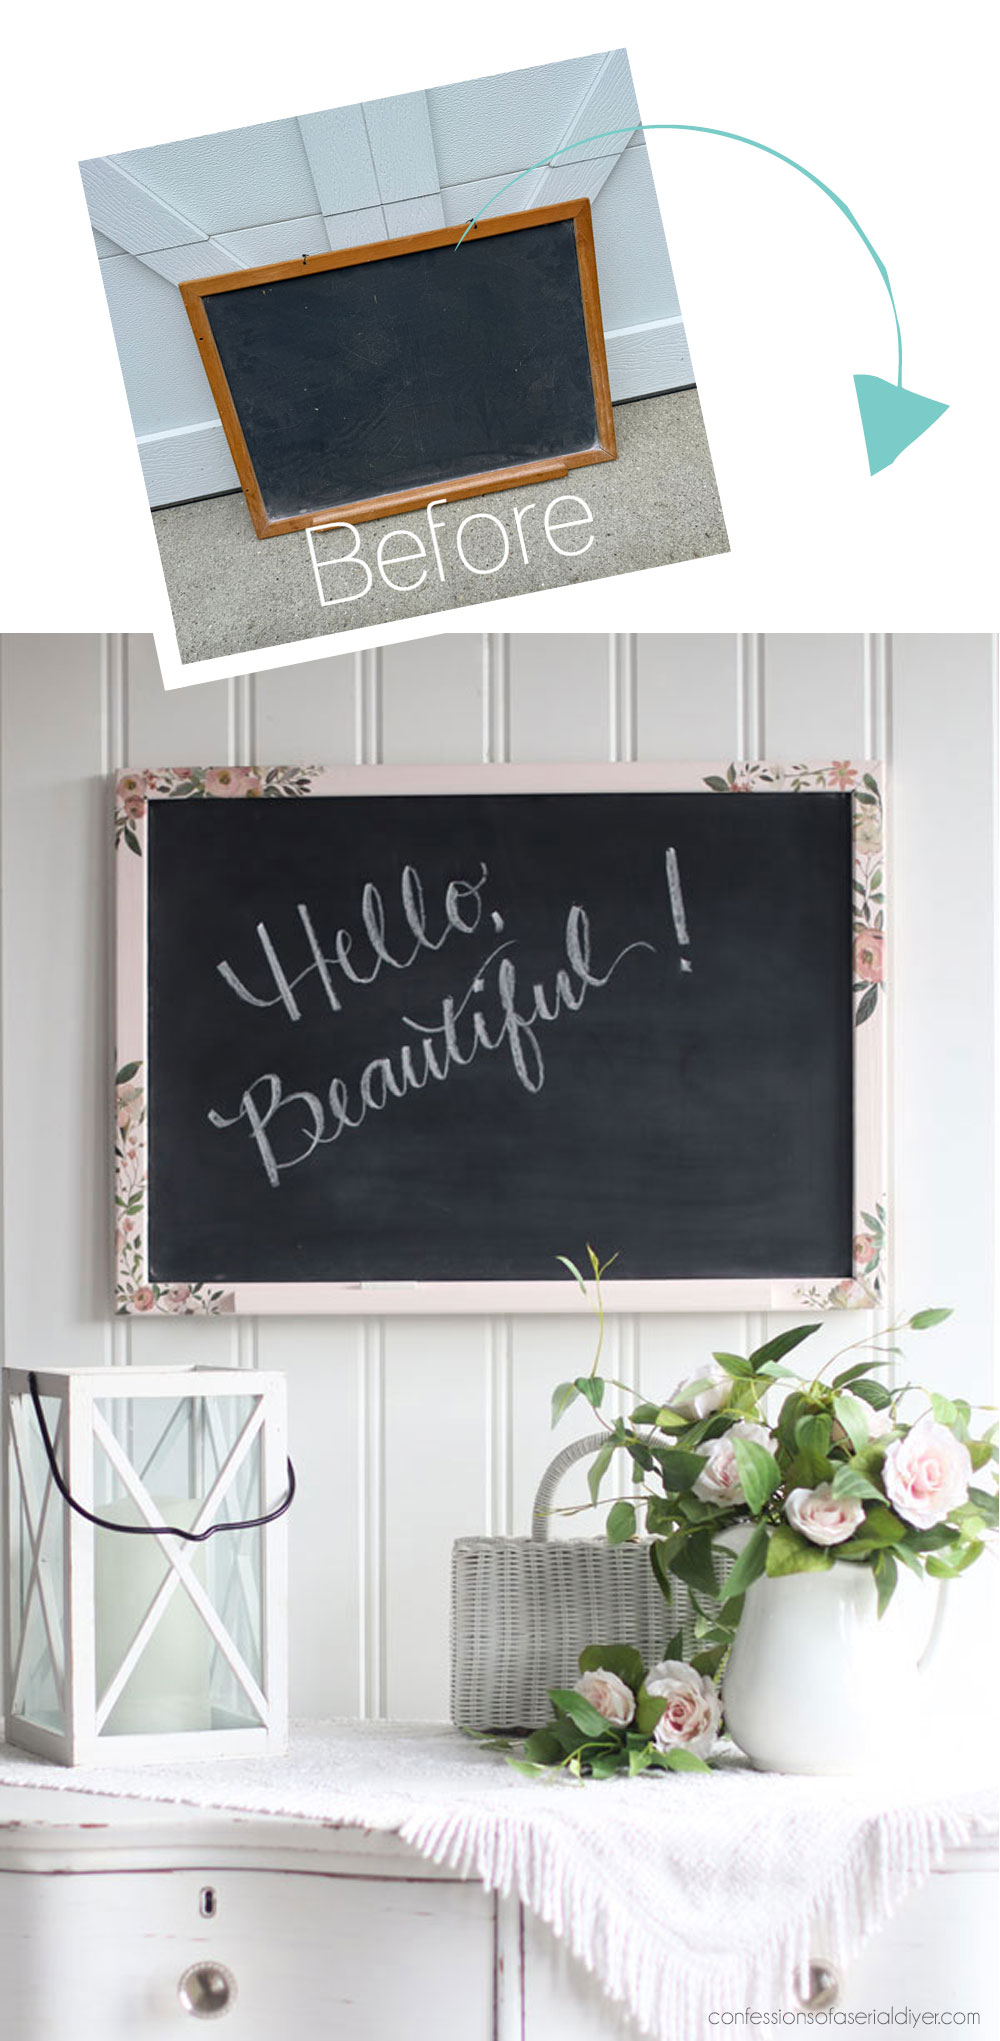
Up first is this old school chalkboard I picked up at the thrift store for $3.99:
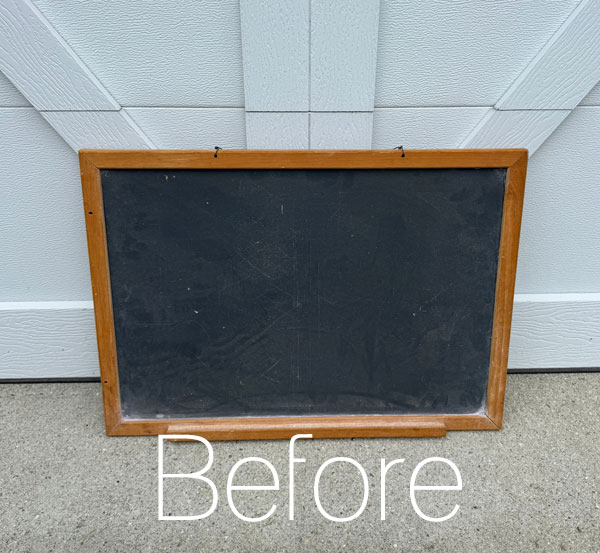
This reminded me of a chalkboard I had as a child. It was much larger than this though, and it was on a stand. I played school with it all the time. I remember my third grade teacher, Mrs. Hite, was an older lady who would purse her lips when she taught, so I would do the same thing when I was pretending to teach ha ha!
Repair
Before I could get to the fun part of this makeover, I needed to fill the holes left by the wire that was used to hang it, with Dixie Mud:
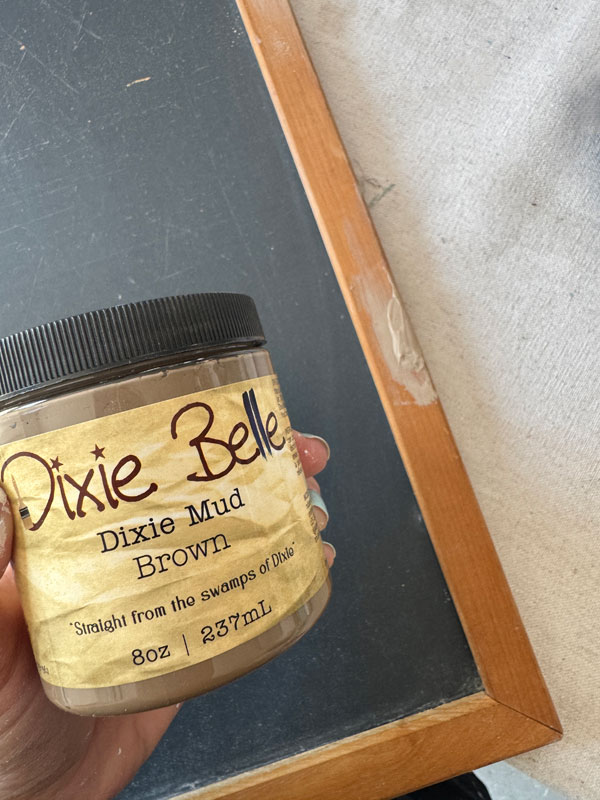
I left that to dry in the sun while I worked on other pieces. Once it was dry, I sanded those areas smooth with 220 grit sandpaper.
Paint
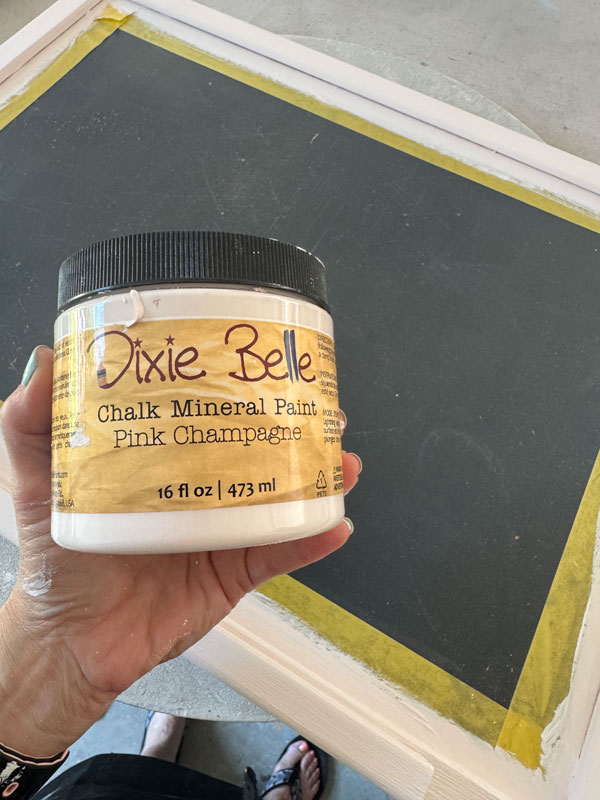
I decided to paint this chalkboard to coordinate with the dressing table I shared last week. Without a mirror, it really is just a desk, and this would be so cute above it!
For that, I painted it in the same color, Pink Champagne by Dixie Belle:
I used the large Blush Harmony transfer on the dressing table, and I had several pieces left from the smaller, coordinating Middy version, Blush Reverie:
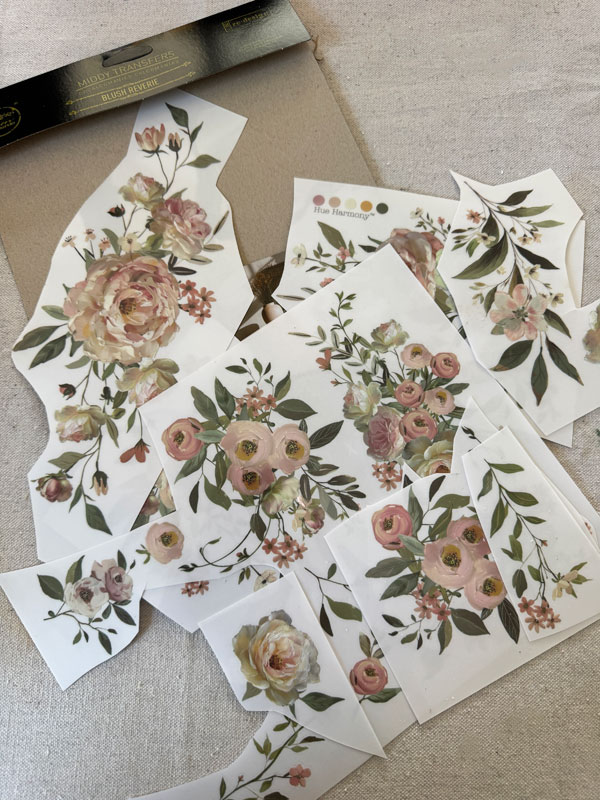
I added those pieces around the edges…
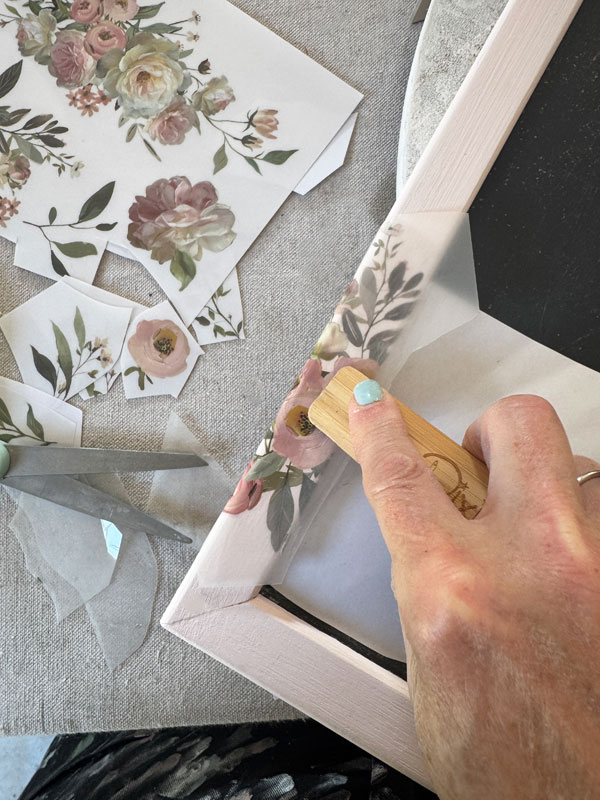
Seal
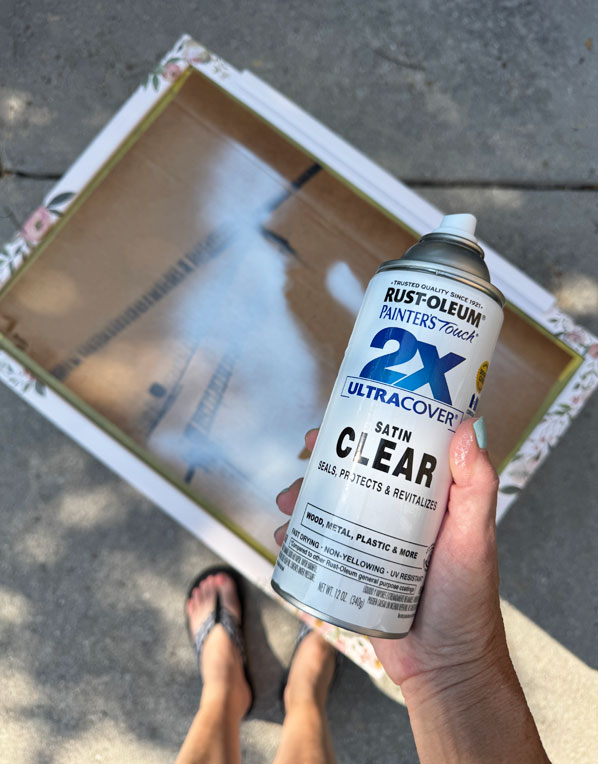
When I was finished, I taped off the edges of the chalkboard and covered the rest with cardboard in order to seal the frame with Rustoleum Satin Clear Spray:
Refreshing the Chalkboard
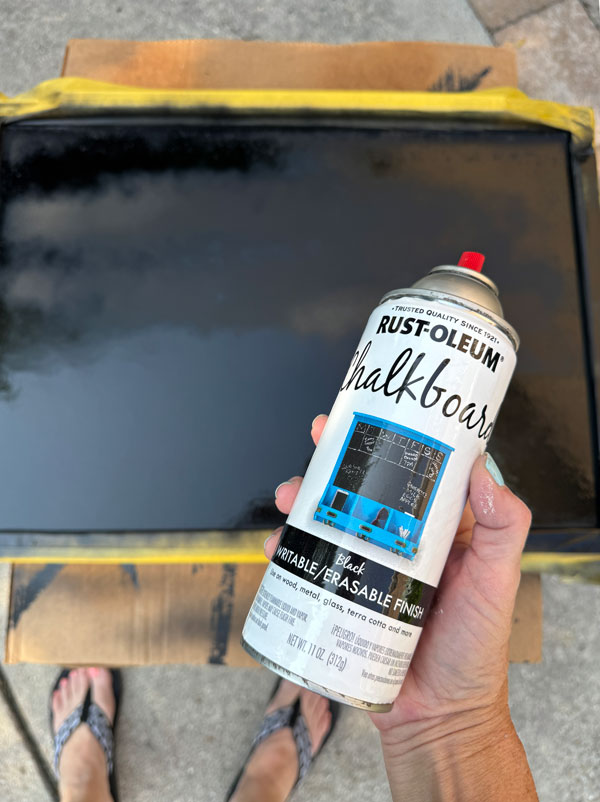
The chalkboard was in sad shape as you might expect an old chalkboard to be, but refreshing it was easy! I taped off the frame with FrogTape for Delicate Surfaces, and gave the chalkboard two coats of Rustloeum Chalkboard Spray paint:
I was sure to season it when it was dry by covering the surface in chalk and then wiping it back with a soft cloth:
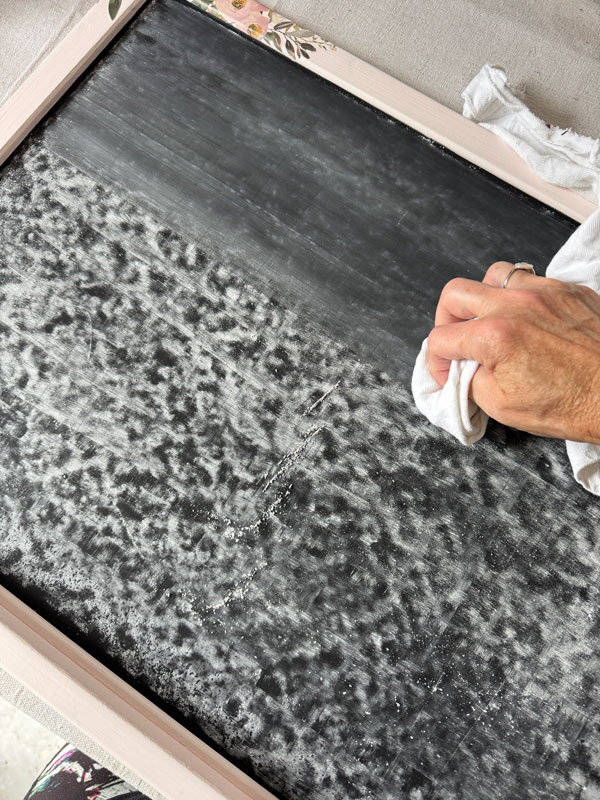
This is supposed to prevent the first thing you write on it from being burned into the surface, but will that really happen? I don’t know… I’m too afraid to take that chance it lol.
The After
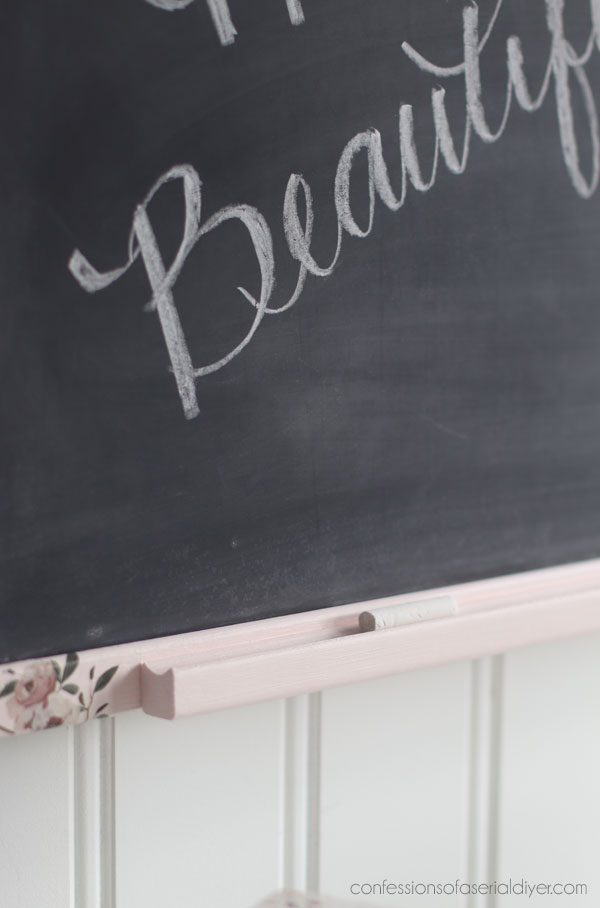
Here is how this hard worker looks now!
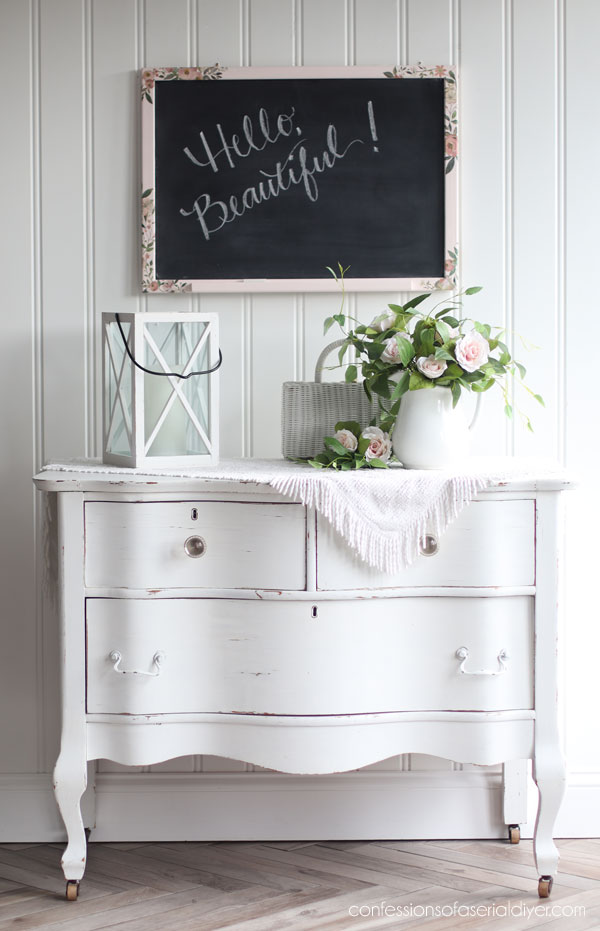
The chalkboard looks brand new again!
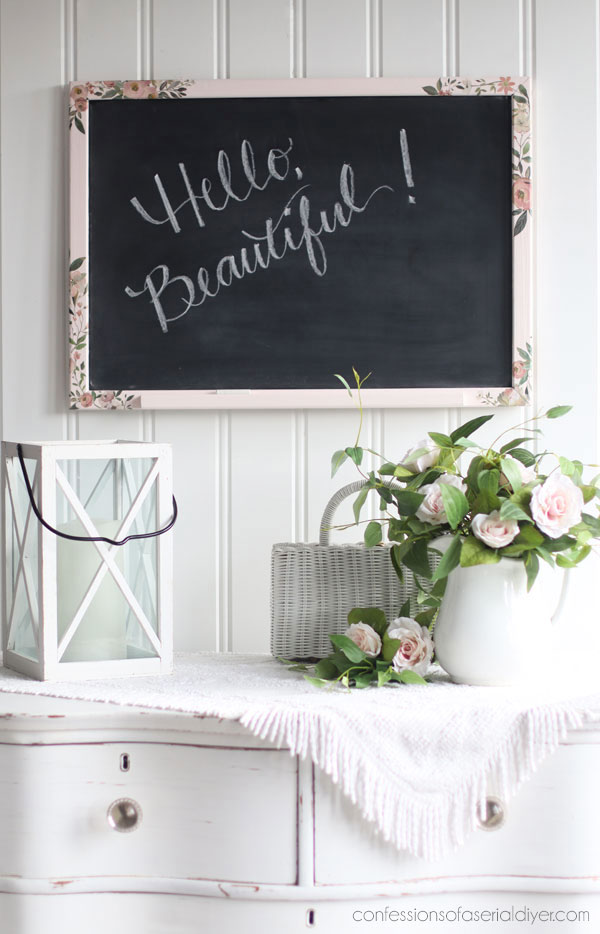
I didn’t have enough of the smaller flowers left in this transfer to take the flowers all the way around, but this works just fine…
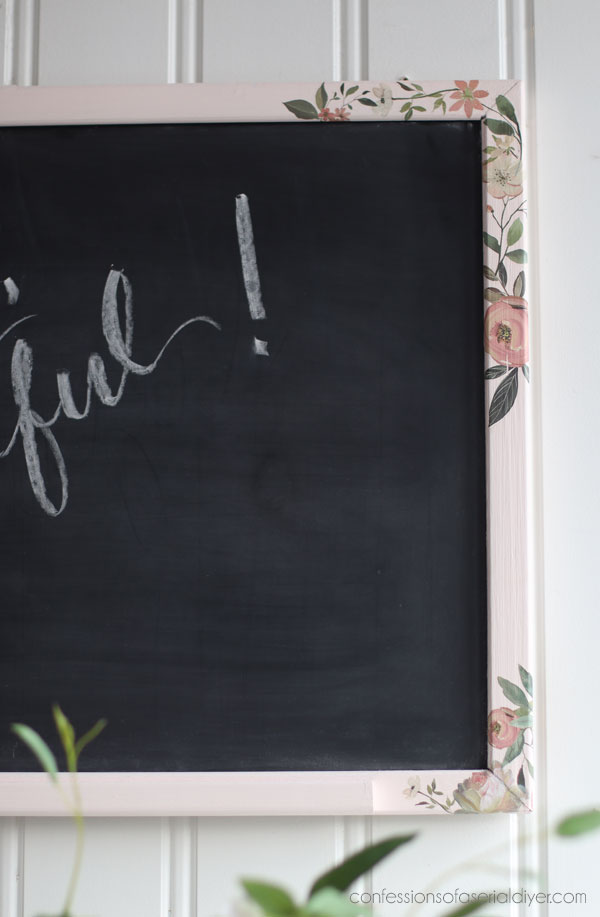
And I love that it has a ledge for the chalk just like mine did!
And here’s a quick peek at the back:
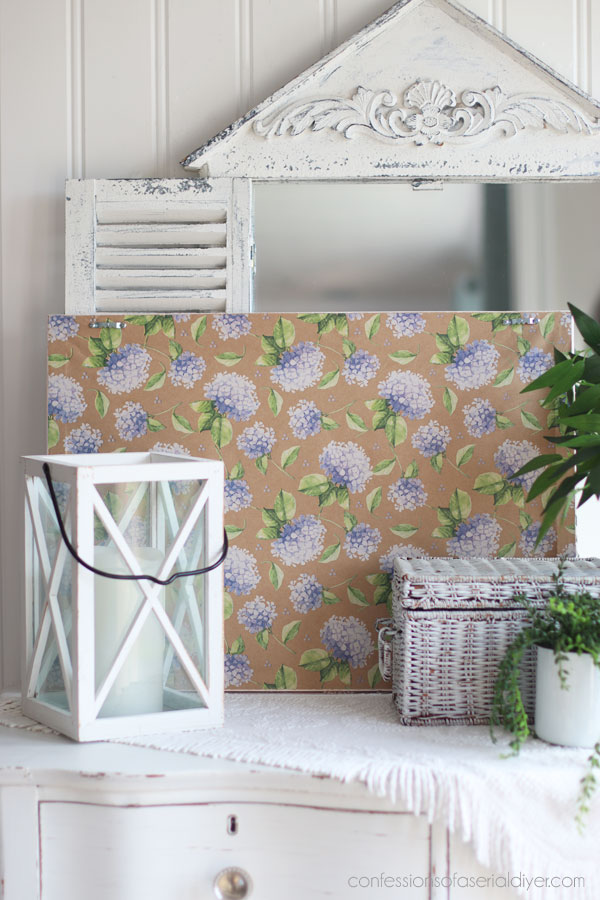
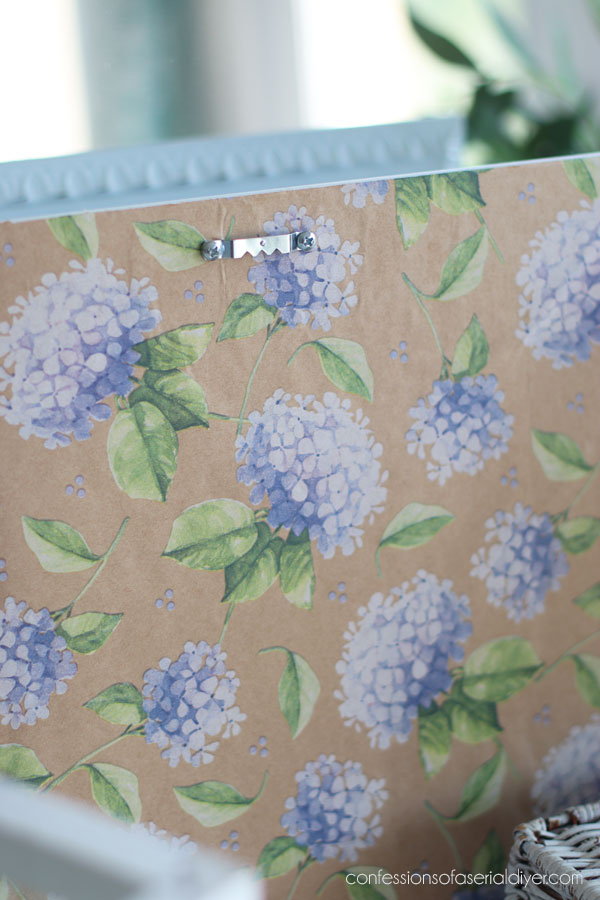
Y’all often ask what kind of hanging hardware I use, so here ya go! I used two sawtooth hangers on this one, one on either side. They’re perfect for hanging lightweight items. And that paper is from Amazon HERE. This is the brand of paper I always use to make the backs of my items pretty since it has a nice weight to it.
Mini Makeover #2
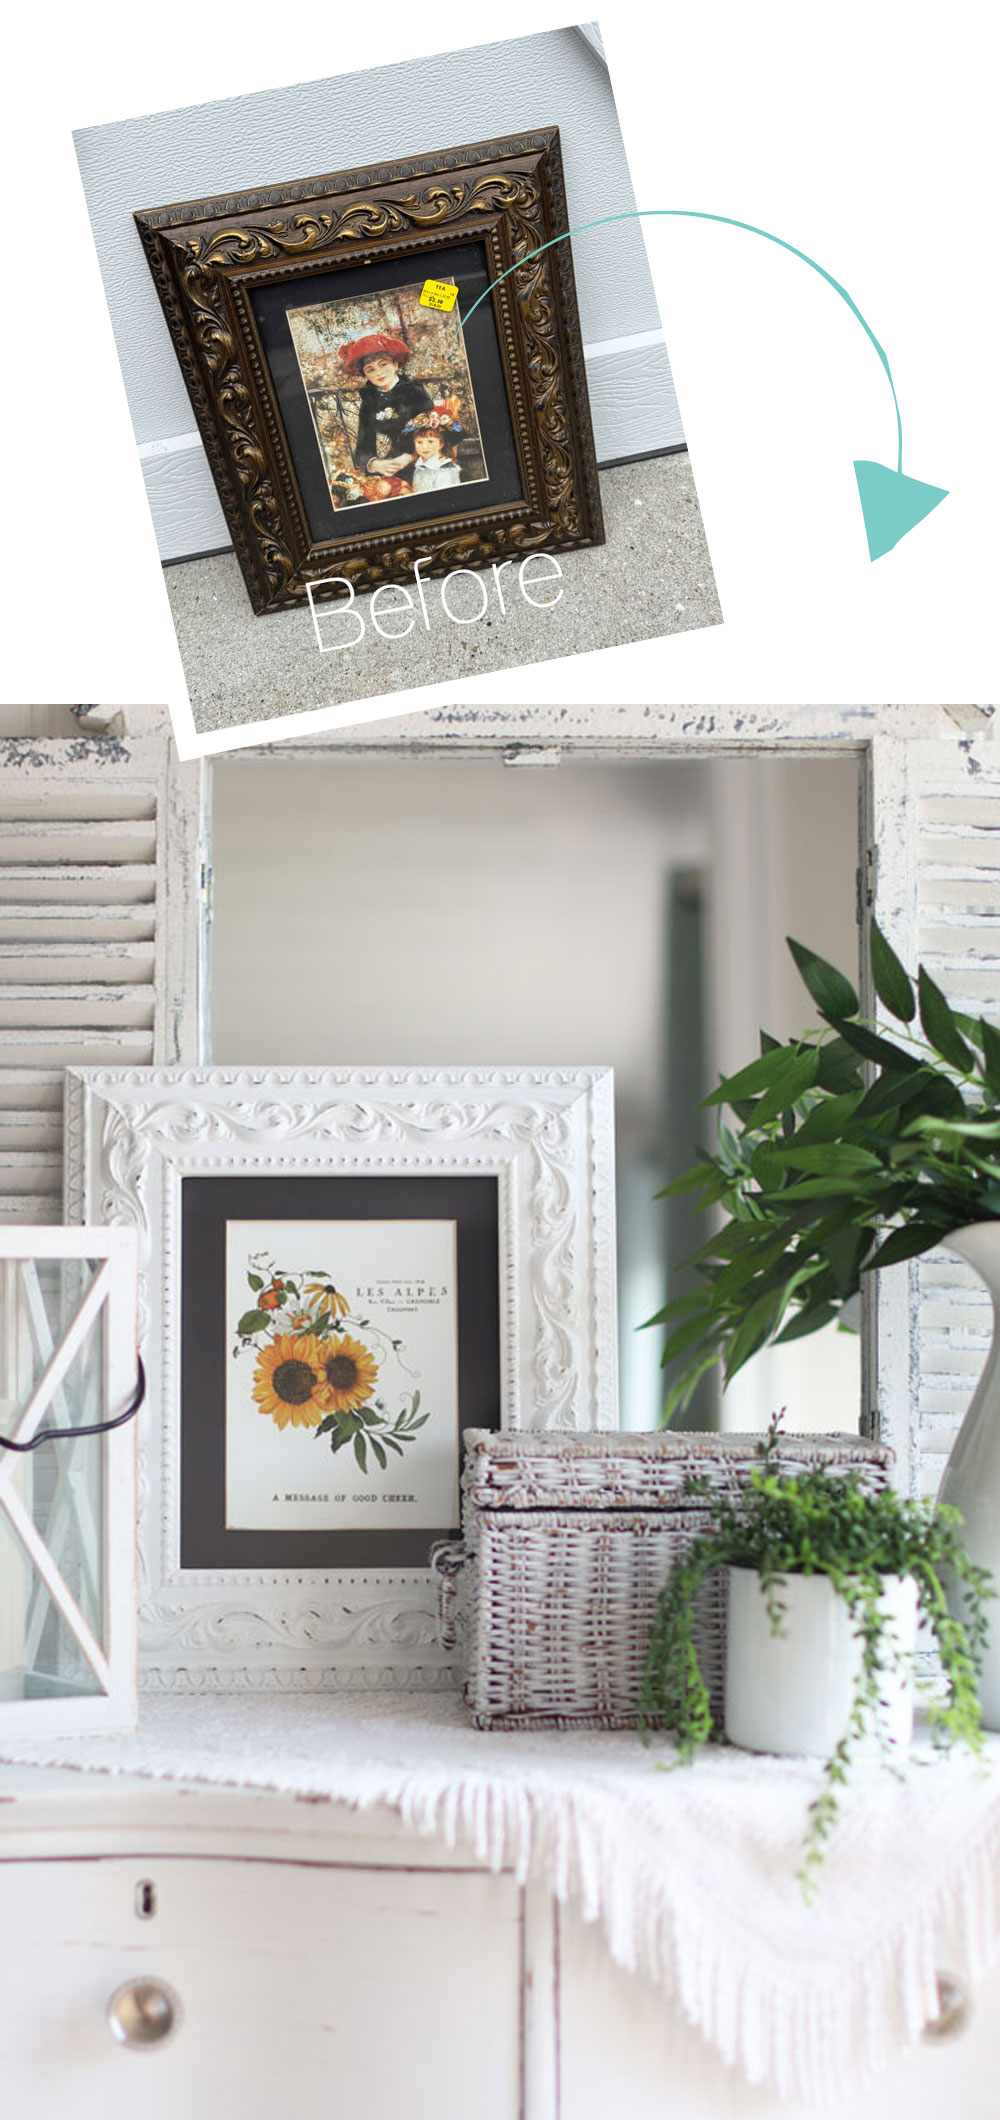
Next up is this gorgeous frame I picked up also for $3.99:
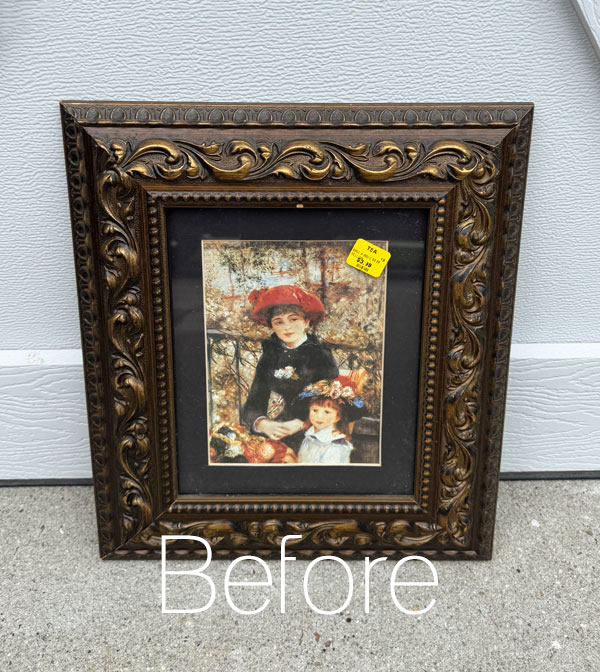
I loved that it had a black mat also and thought it would be great for the holidays. However, I also thought it might work with one of our new transfers!
Paint
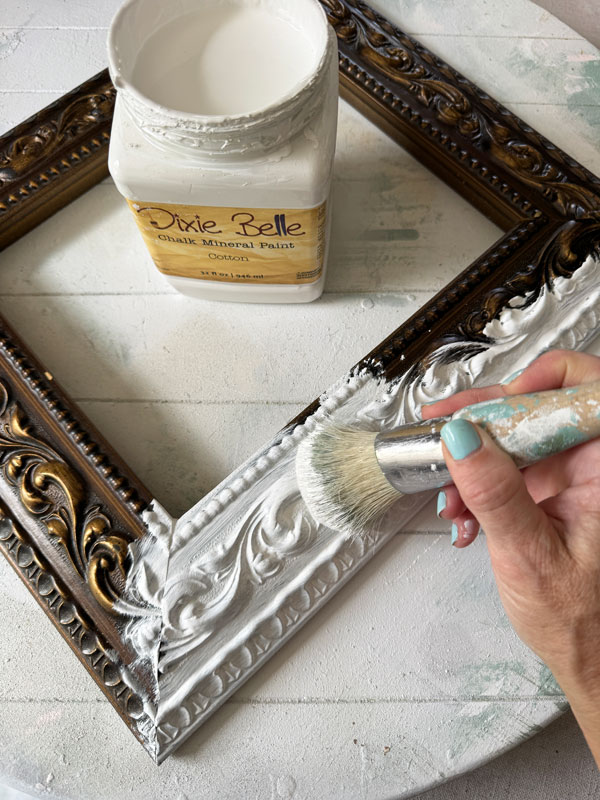
I chose Cotton for this frame, and gave it three coats for solid coverage using my Belle brush to get into all those details:
Wet Distress
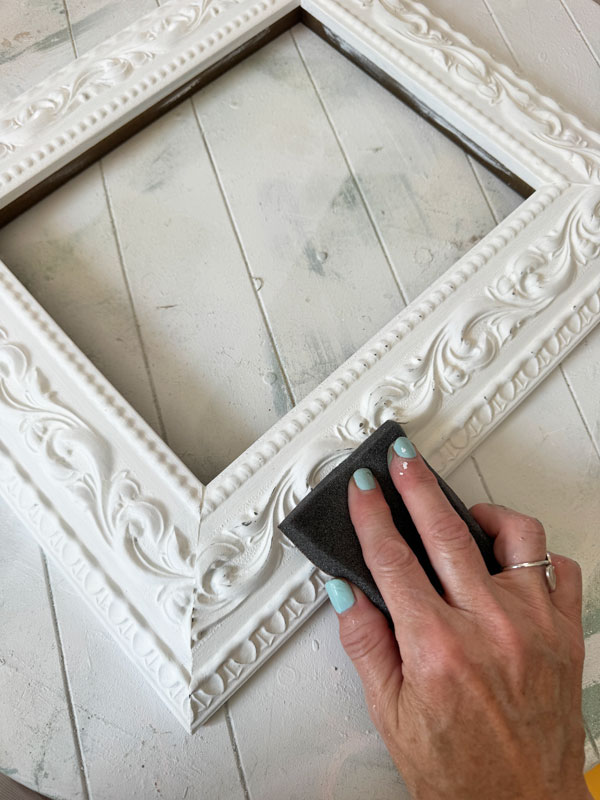
I knew I wanted to sand a little to reveal those pretty details. If I were to do that with traditional dry sandpaper, it would likely sand a bit too harshly and reveal the white material beneath the finish on this frame. Instead, I wet one of these fine grit sanding sponges, and used that to sand. It is less harsh and only took it down to the color just beneath the paint:
Seal
This too was sealed with Rustoleum Satin Clear Spray to get a quick seal on all that detail.
Creating new art from an H2O Transfer
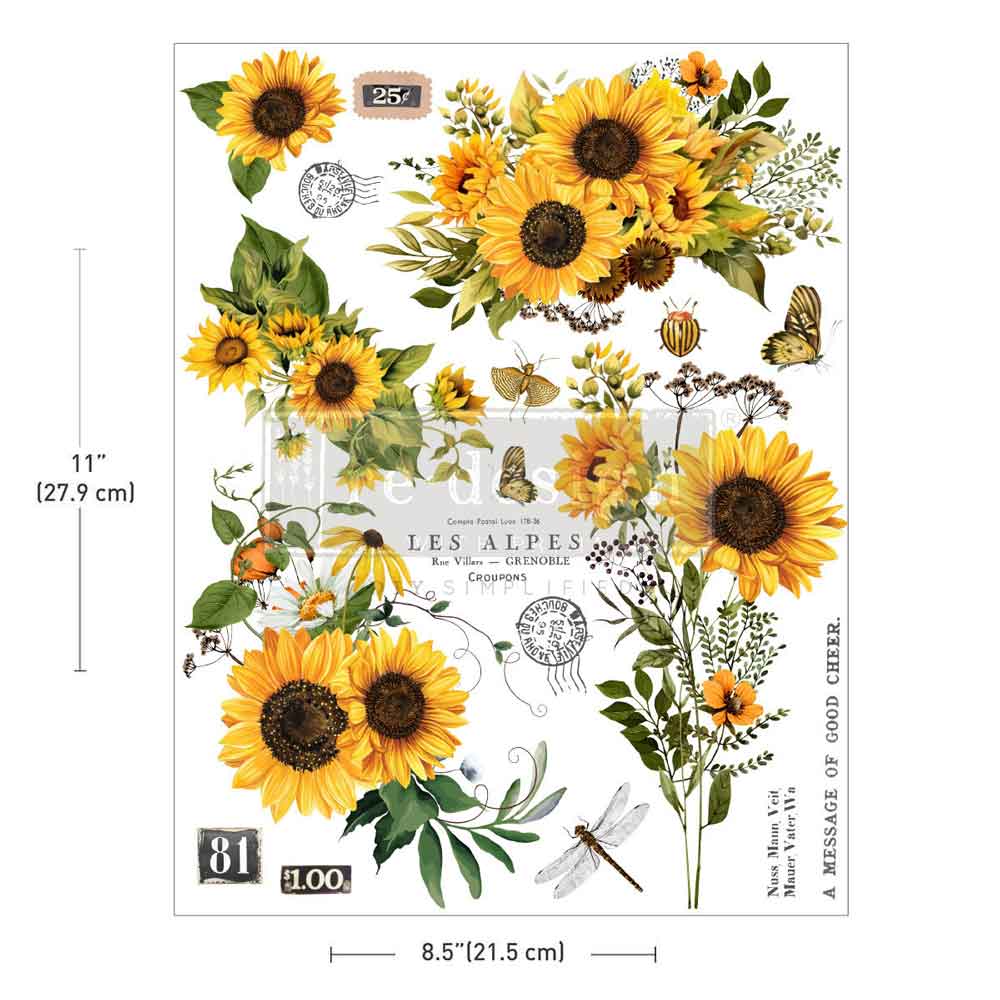
I knew I wanted to use this brand new Rustic Amber Petals H2O transfer:
 The H2O transfers are misleading because they come looking like this out of the package, but notice the words are backwards?
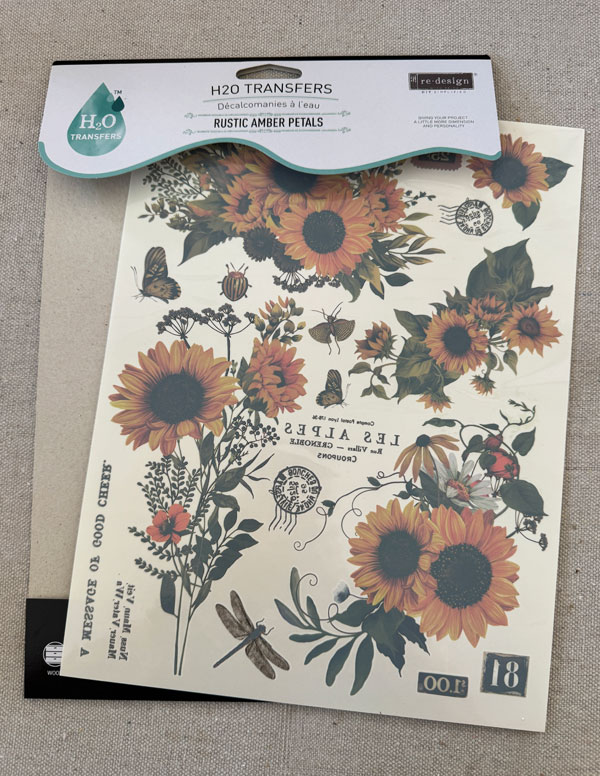
What you see is actually the backside of the transfer, so don’t worry, they are actually very vibrant!
And if you flip them over, they look this:
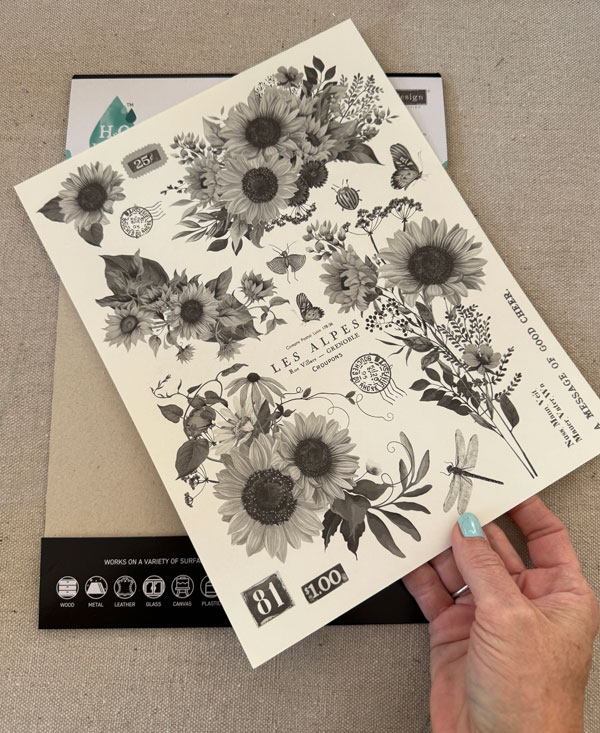
That’s just so you can see the image when you place it. Before I could get to that part, I needed to prepare my surface.
On the back side of the image I removed from the frame was a piece of green matting material that had not been cut. I used that as my canvas, painting it in Cotton as well.
I applied two coats horizontally, and one coat vertically:
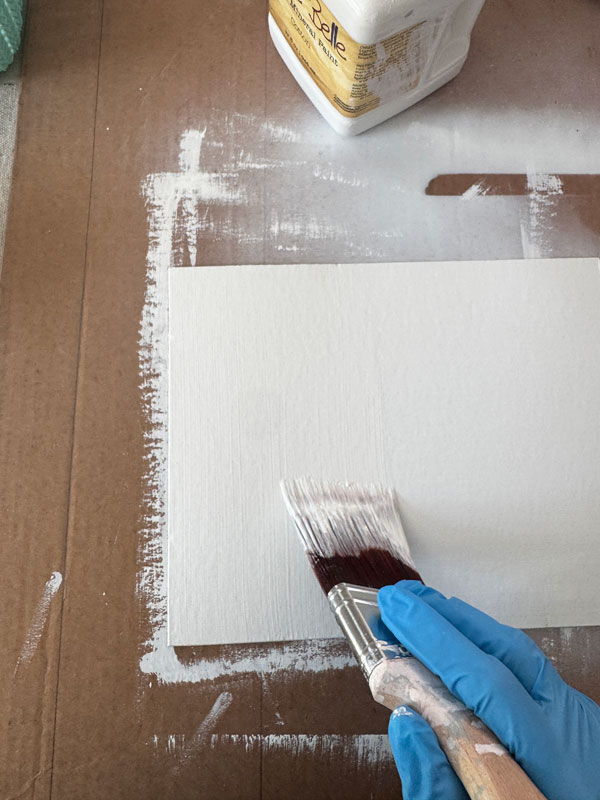
This gives the paper a linen look.
I left that to dry for about an hour befere attempting to apply a water transfer since I had never applied one on paper before.
Next, I cut and arranged the pieces how I wanted:
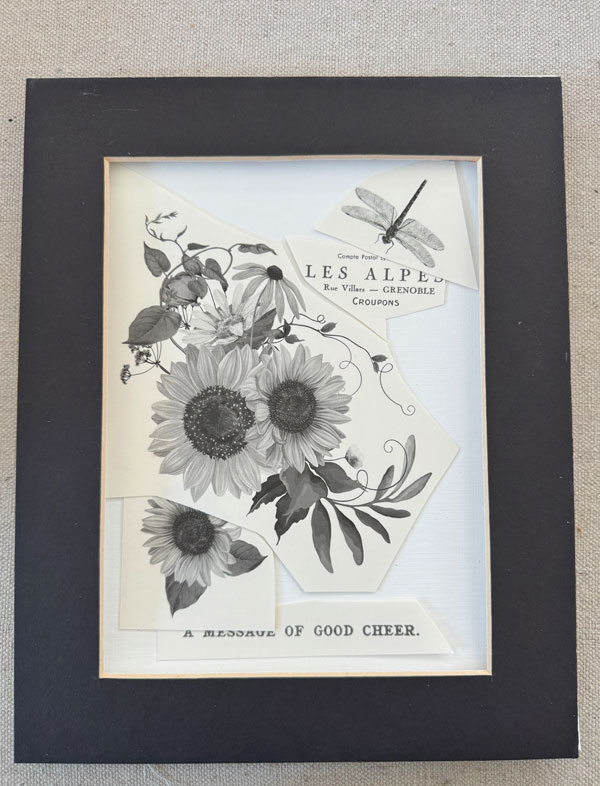
I removed the very thin plastic coating on the back first, and then I took one of my applicator sponges and wet it, wringing most of the moisture out. Then, I pressed it against the back of my transfer piece to release the image.
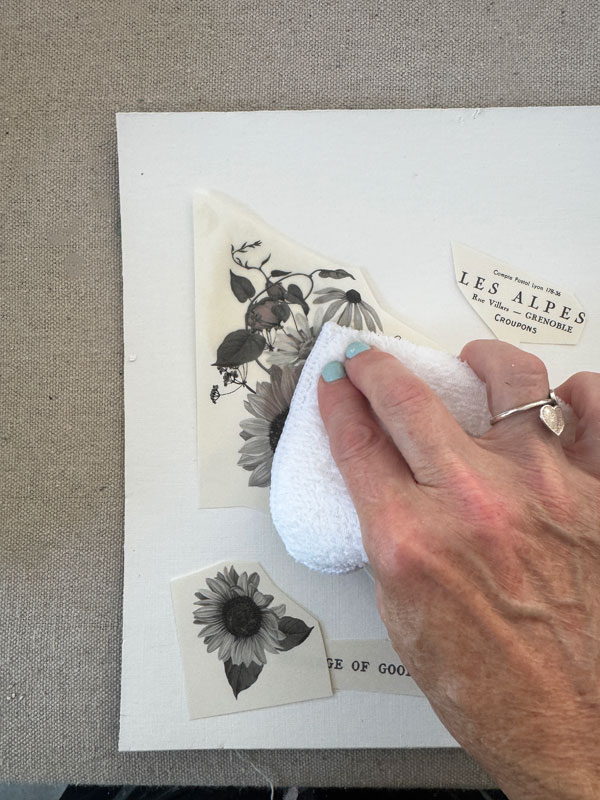
H2O transfers work much the same way as temporary tattoos. When you remove the paper, the image remains…so pretty! And here is the thin piece of plastic I mentioned:
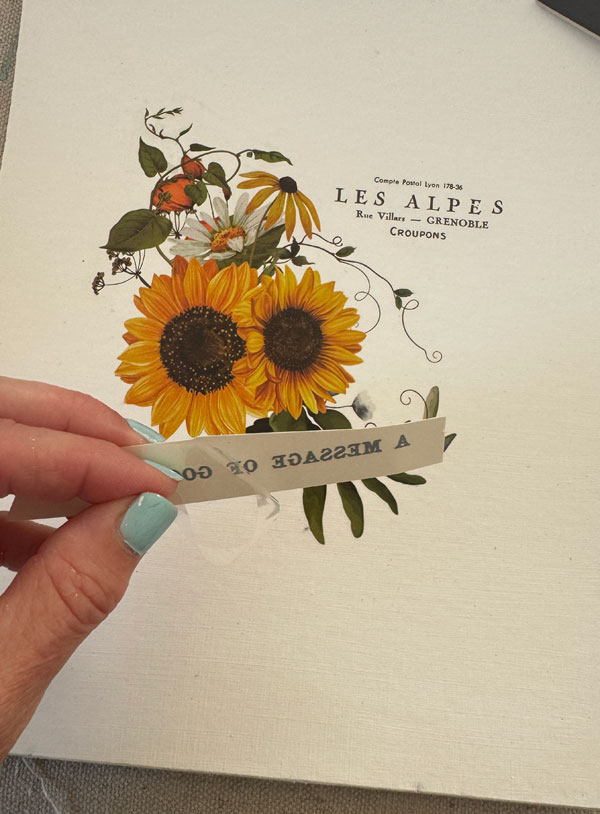
I was amazed at how well the transfer did on paper. I did get a bit of smeared moisture across my paper when I wiped the excess moisture, but I gave it a light spray of the Rustoleum Satin Clear Spray to seal it and it smoothed the finish right out.
The After
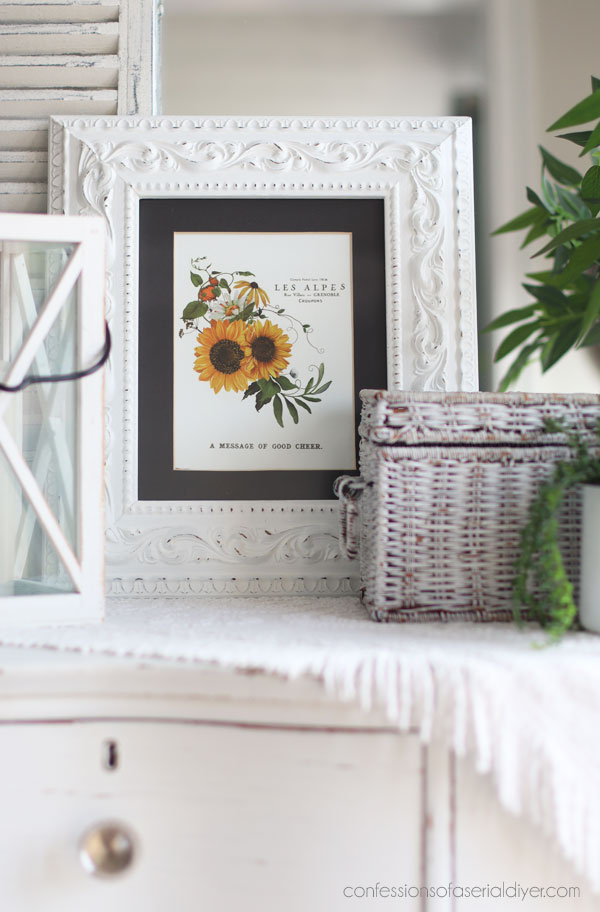
I feel like that could have been a post of its own! Here is how my new H2O transfer sunflower art turned out:
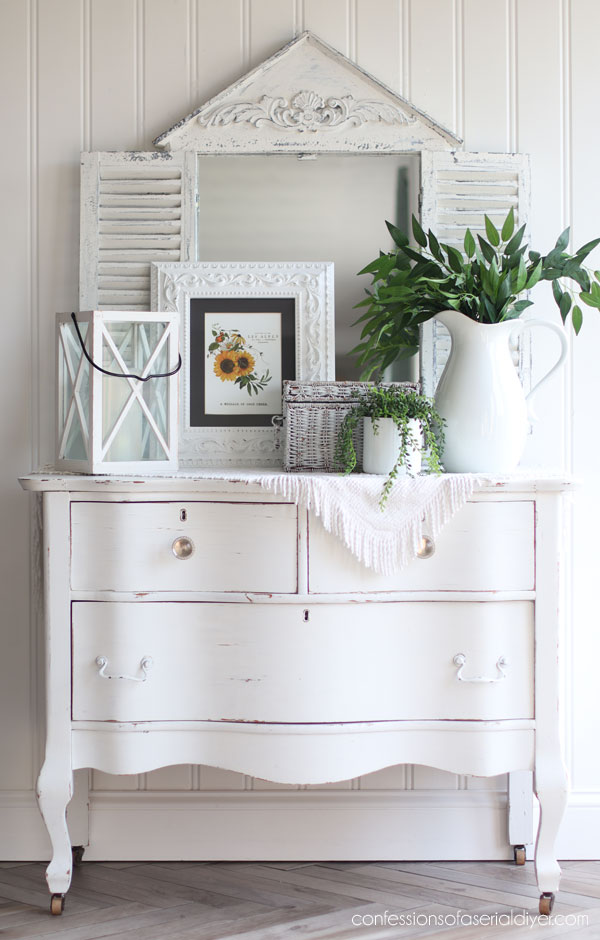
I thought the black frame worked nicely with the sunflowers…
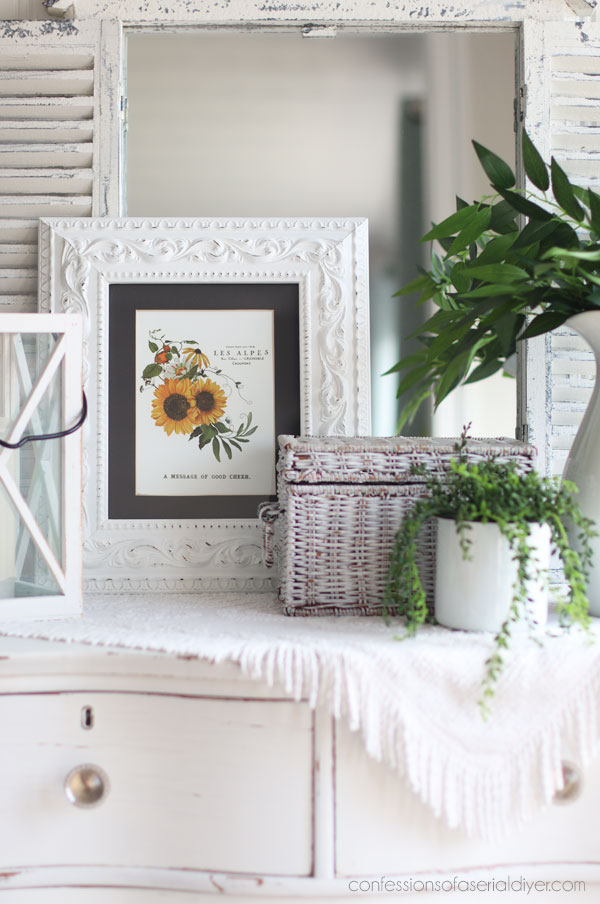
Here’s a peek at the frame…
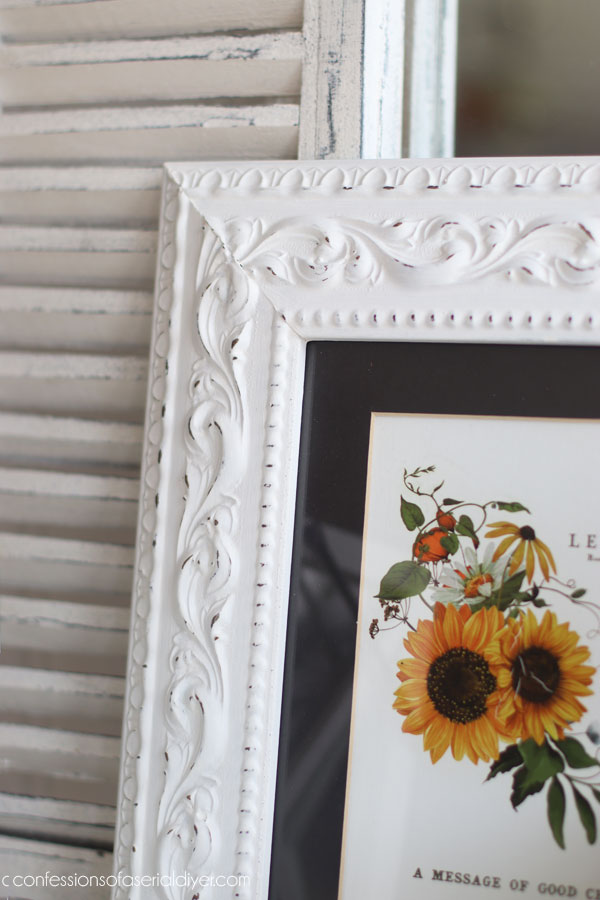
“A message of good cheer” After I had already added that line to the bottom here, I wished I had saved it to add to the top of the chalkboard!
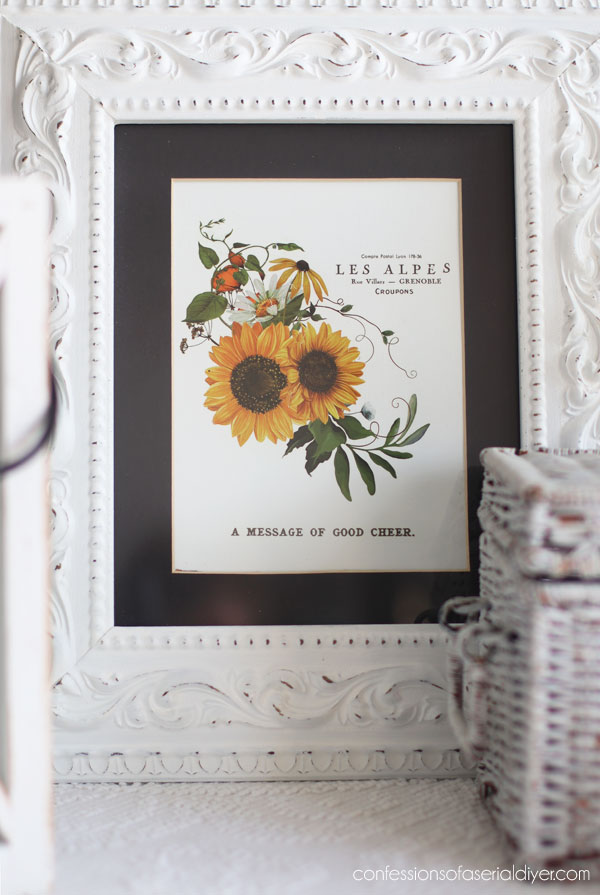
The detail on these H2O transfers is just incredible! And they really are so easy to use. I don’t know why I don’t use them more often, but I loved this one so much!!
And this one got the same treatment on the back as the chalkboard:
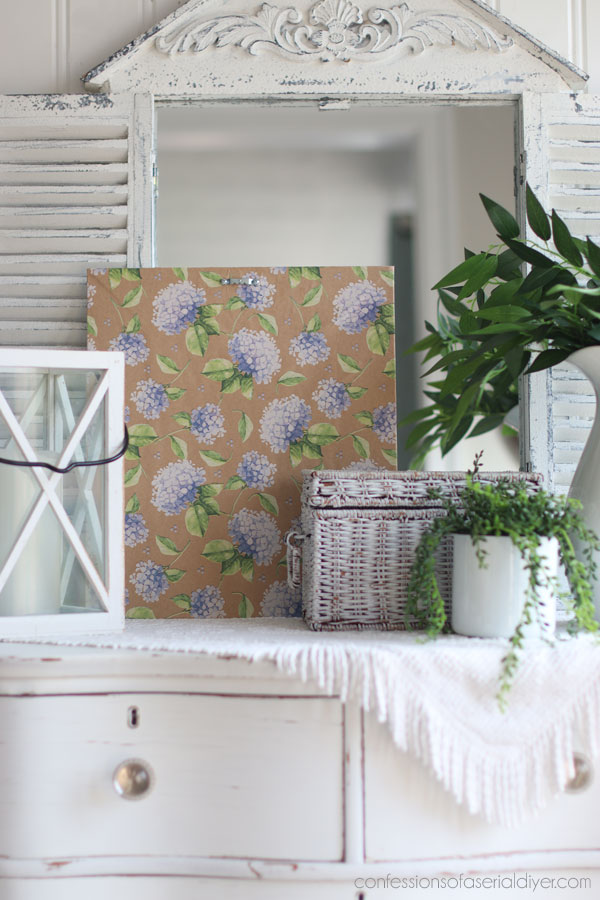
Except one hanger in the middle was fine here. (For heavier items, I use D-ring Hardware. These or these depending on the weight.)
And hello!
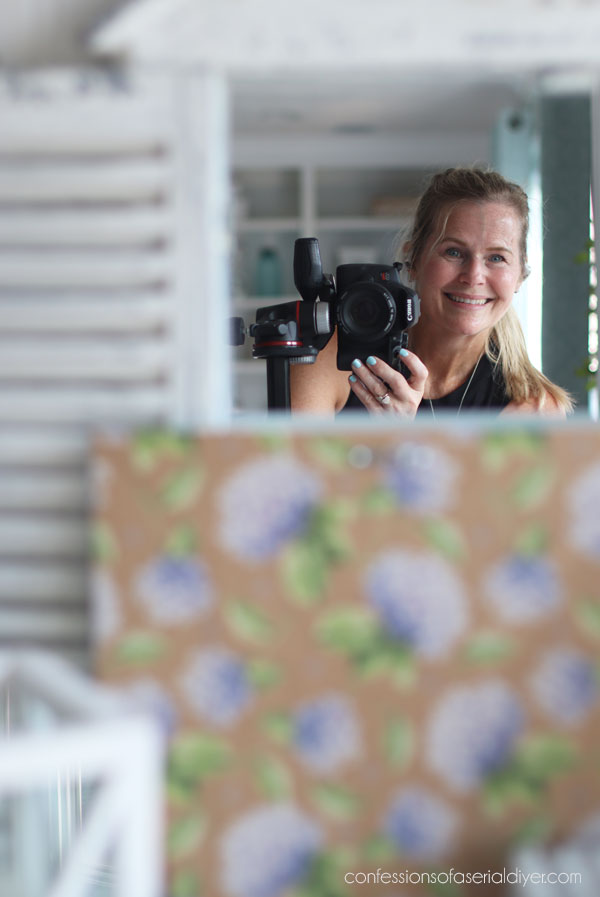
I was so sweaty working to take my photos here that you can see the vein on my forehead popping out lol!
Mini Makeover #3
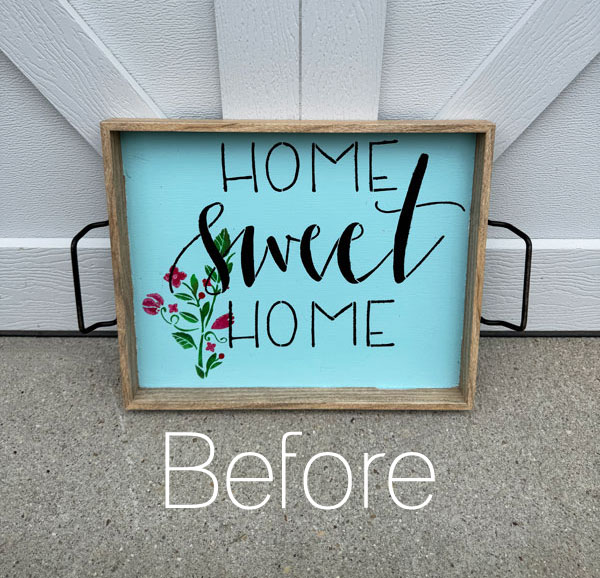
Next up is this tray I picked up for $5.99 minus 20%:
Repair
One of the handles was pulling away and taking part of the pressboard tray with it, so after cleaning, I filled that with Dixie Mud:
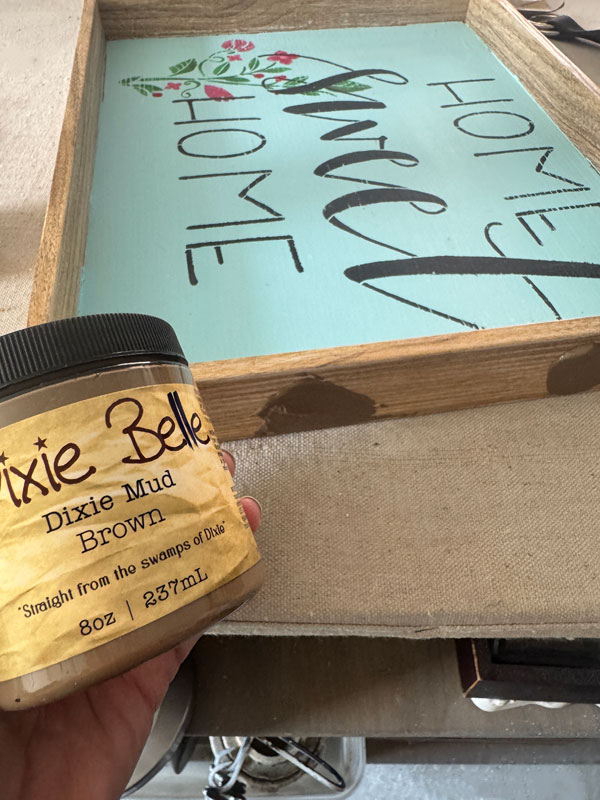
(I added the handles back slightly higher so they would be in new holes.)
Sand
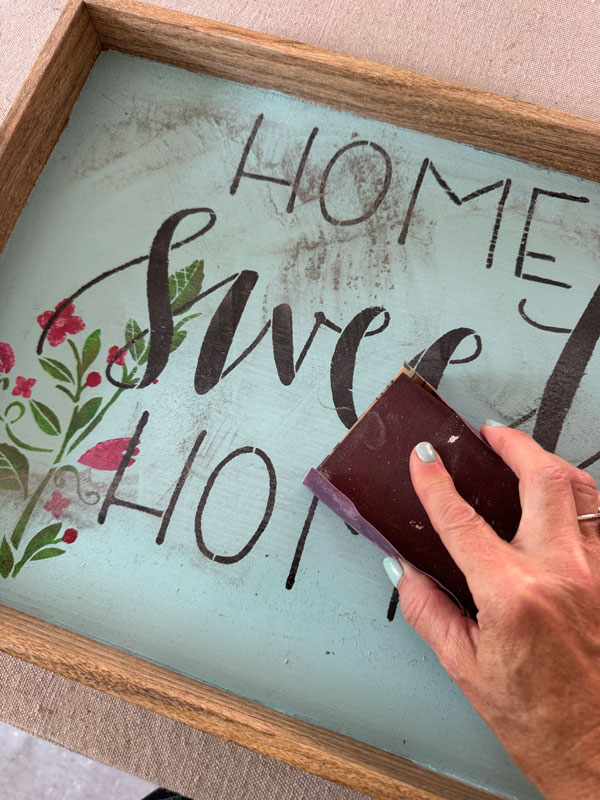
A stencil was used to create the design, so I knew I needed to sand that pretty well so you wouldn’t see the words coming through the paint:
Prime
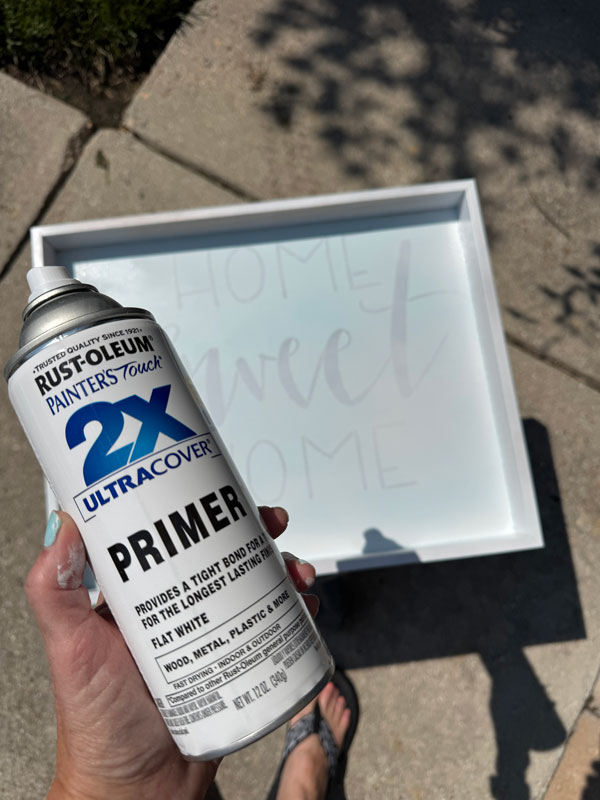
Once the mud was dry and sanded, I cleaned it up once again, and then gave it a quick spray with Rustoleum flat white primer to further cover up that image:
Paint
I then painted it in two coats of Cotton…
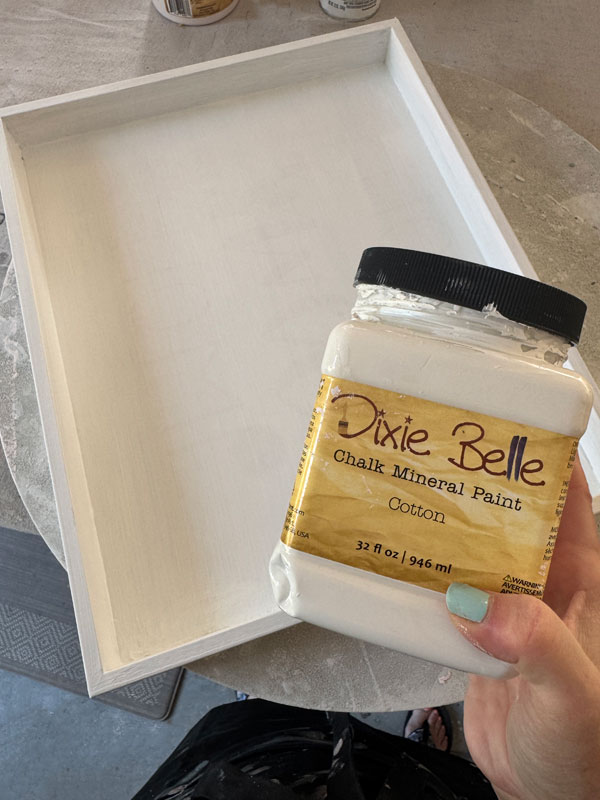
(That was after one coat.)
Next, I added a stripe in Pink Champagne using FrogTape for Delicate Surfaces in the widest size:
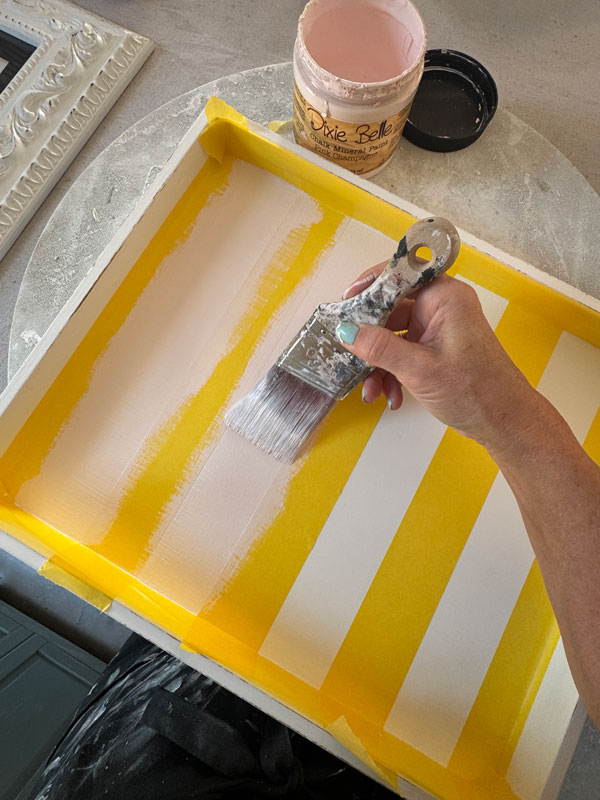
Can you see where this is going??
Yep! I redid this to match the dressing table too!
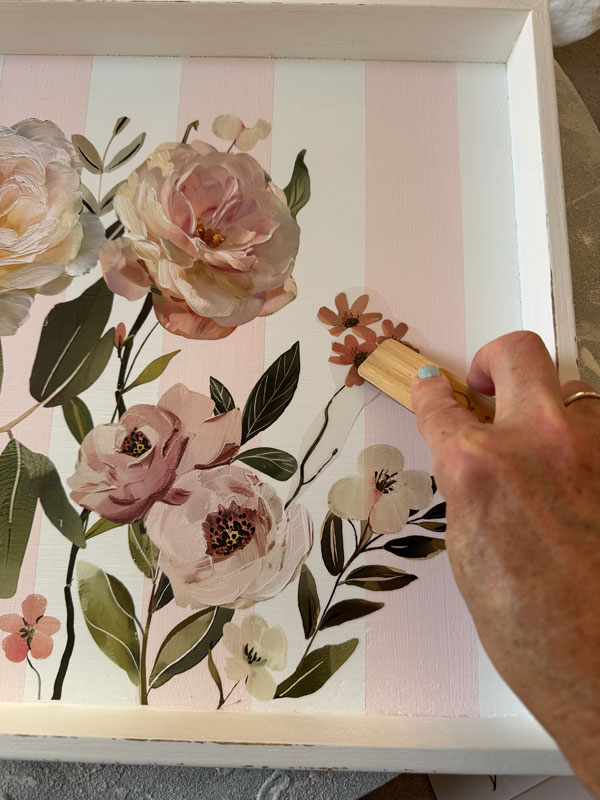
I had a few lefover pieces from the large Blush Harmony transfer that were perfect for this tray…
Seal
I sealed this one in Clear Coat in satin. Then I hit the handles with Gilding Wax in Antique Gold:
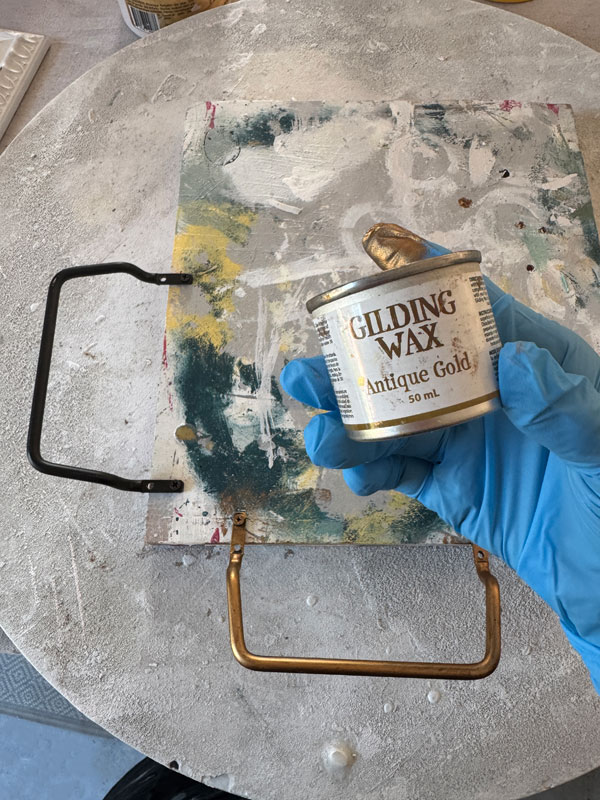
I left those to dry for a little over 24 hours and then buffed them to a sheen. Attaching them to a scrap peice of wood made it much easier!
The After
Here is how this tray looks now!
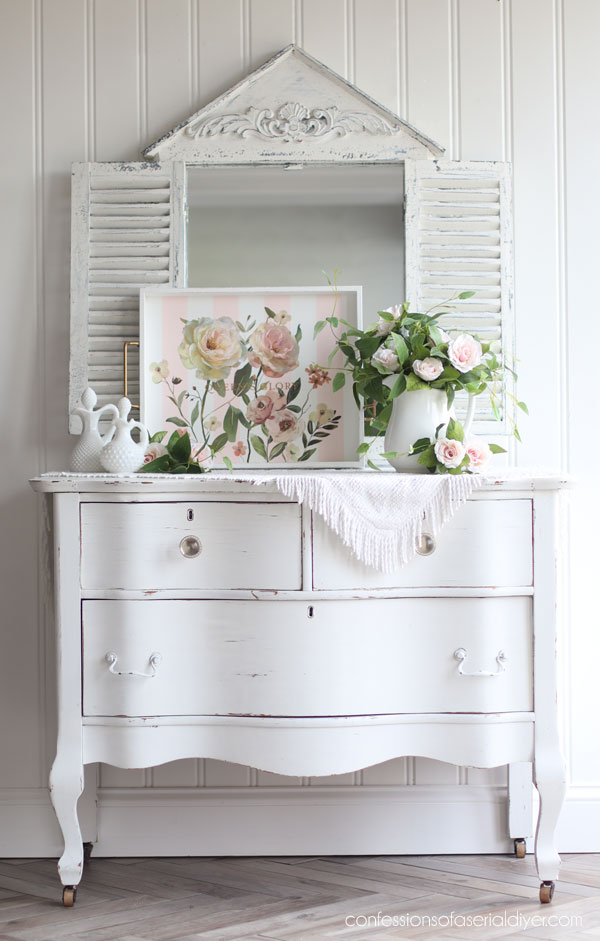
Night and day!
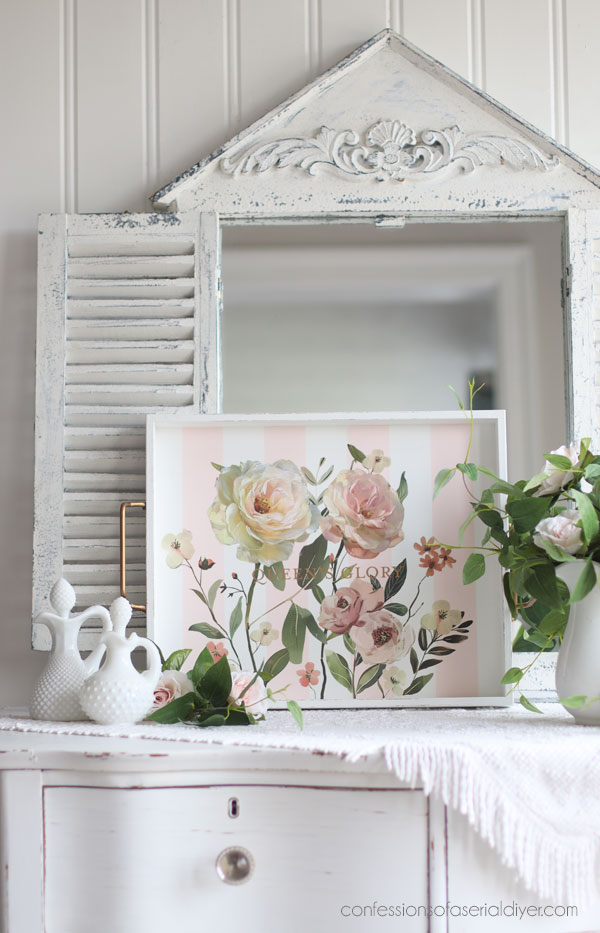
And it’s tough to see from far away, but up close you can see I also added a line of gold from the Queen’s Glory tranfser:
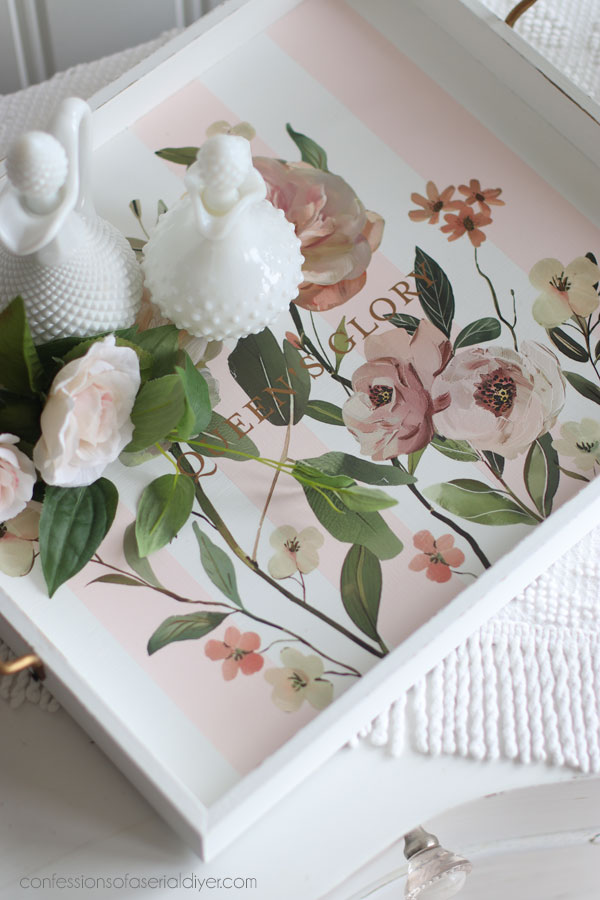 When your highschooler is home for the summer…
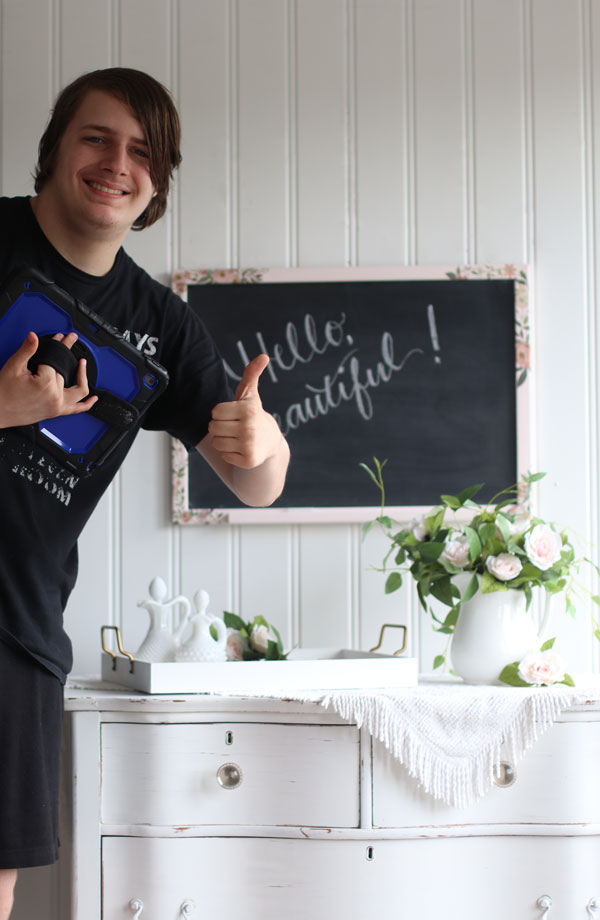
(Can you believe how grown Brennan is all of a sudden??)
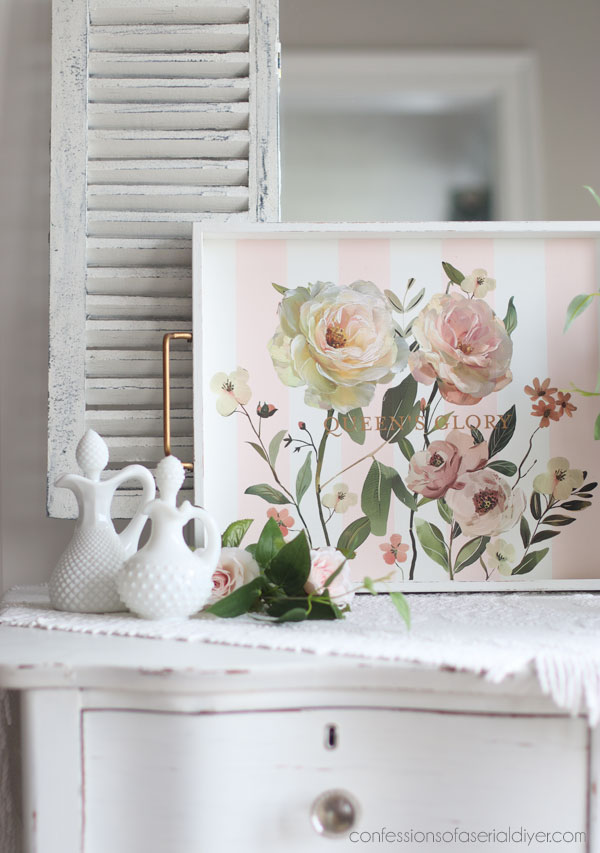
The handles look so much better in gold!
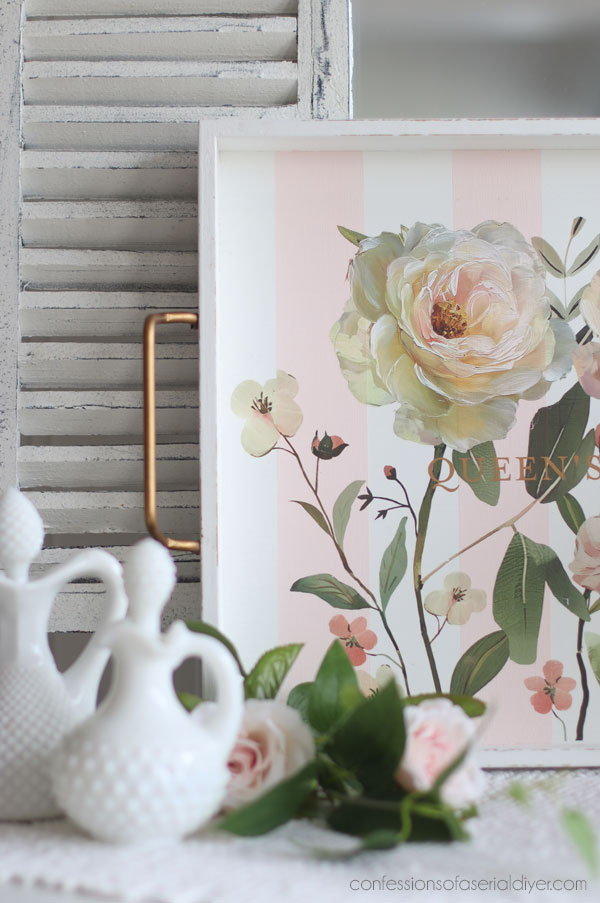
I just love this one!
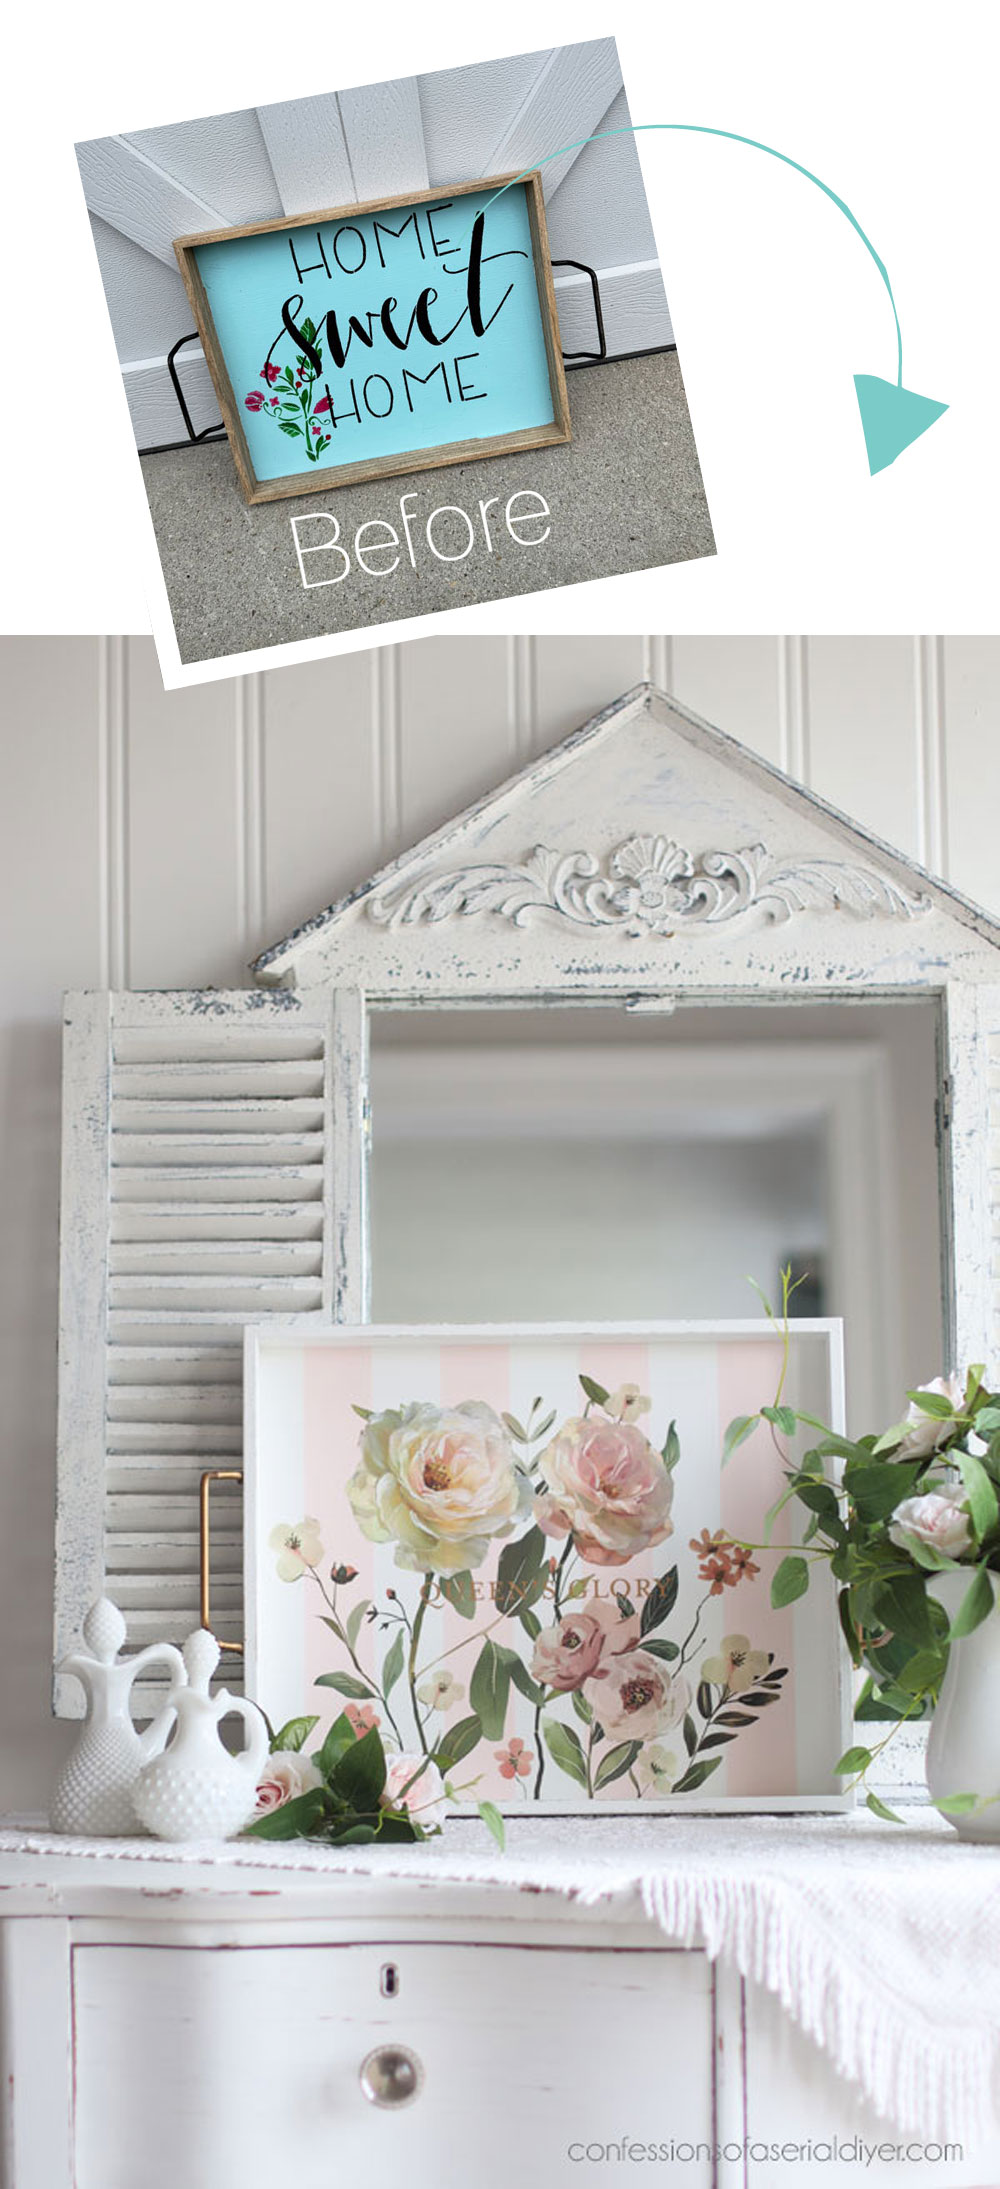
And here’s both pieces I redid to match the dressing table…
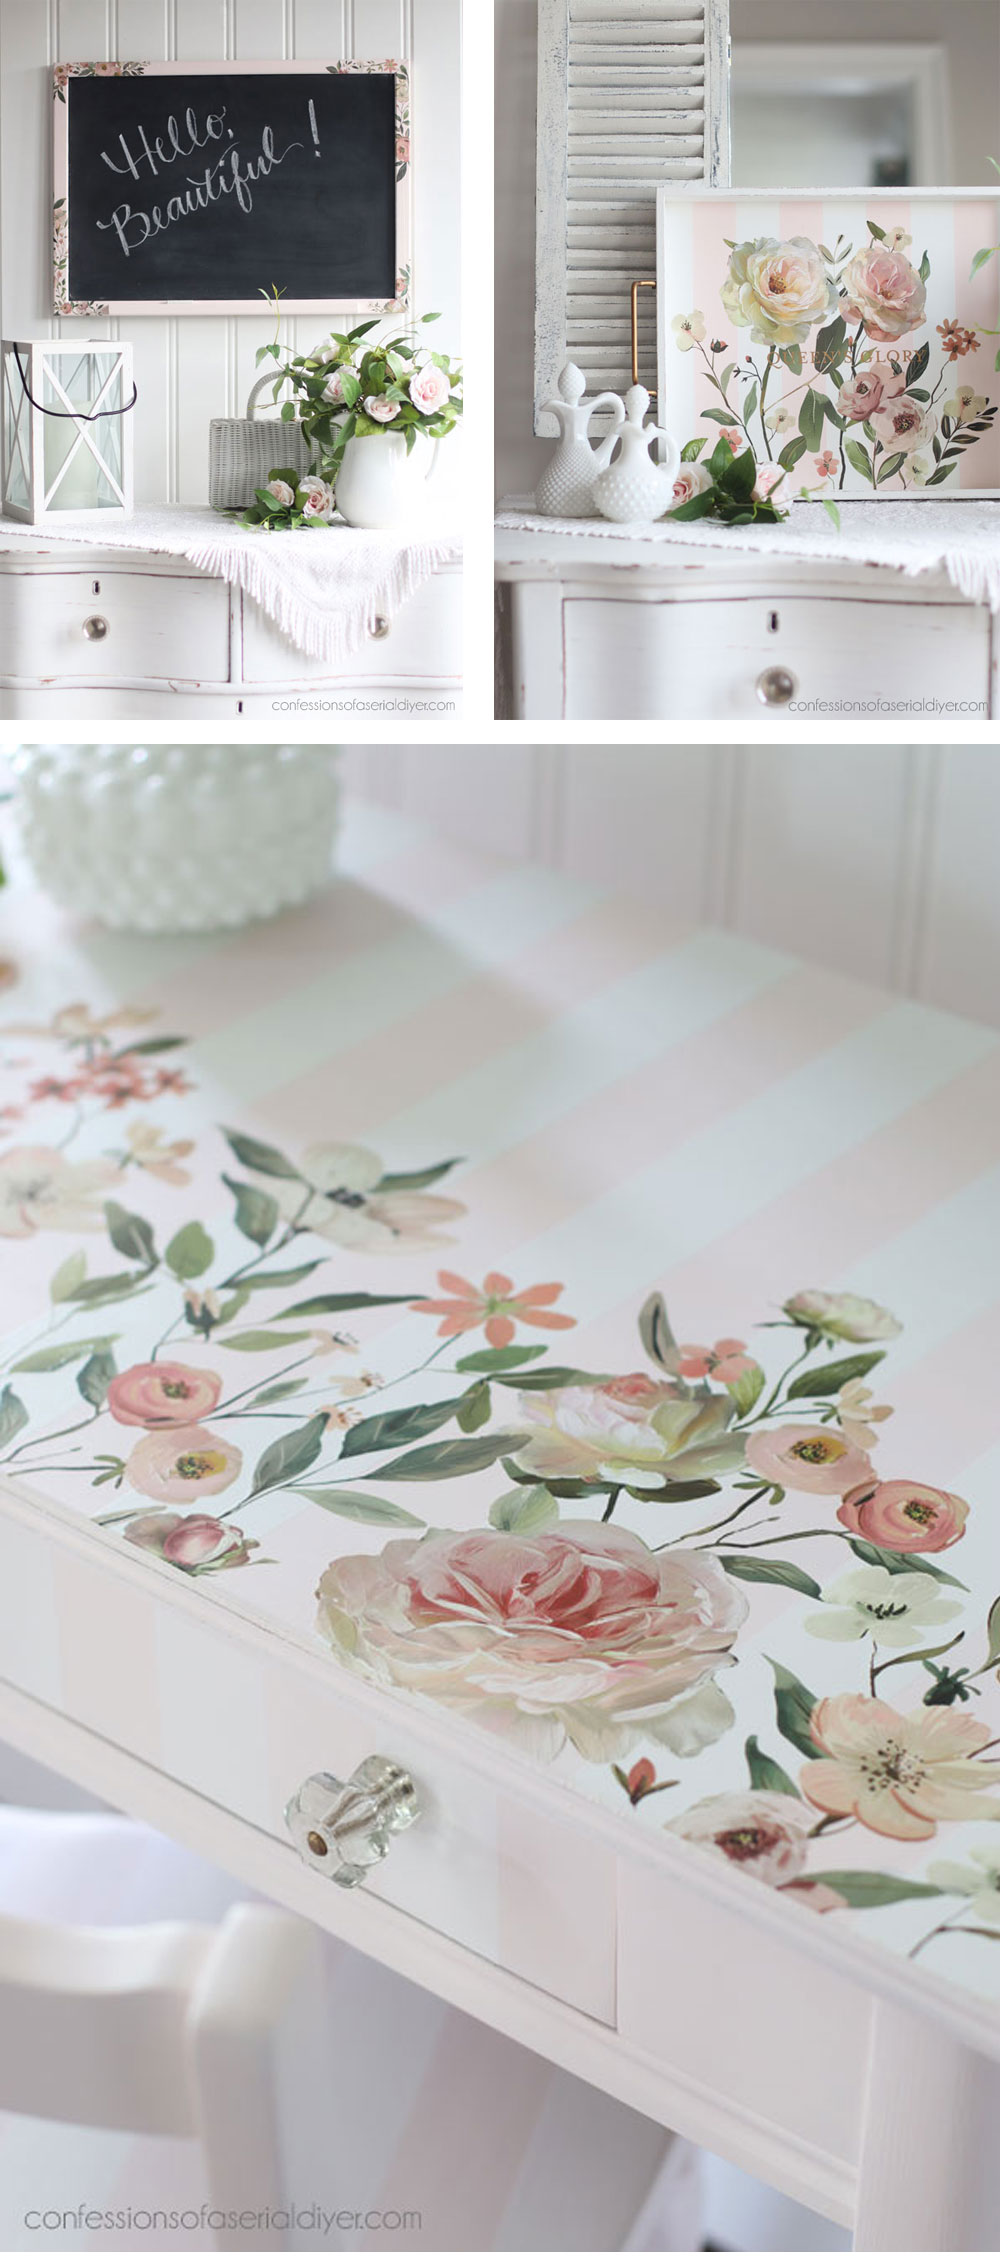
Now I have a couple of pieces to stage with this pretty set in my booth!
See the dressing table makeover HERE if you missed it.
Mini Makeover #4
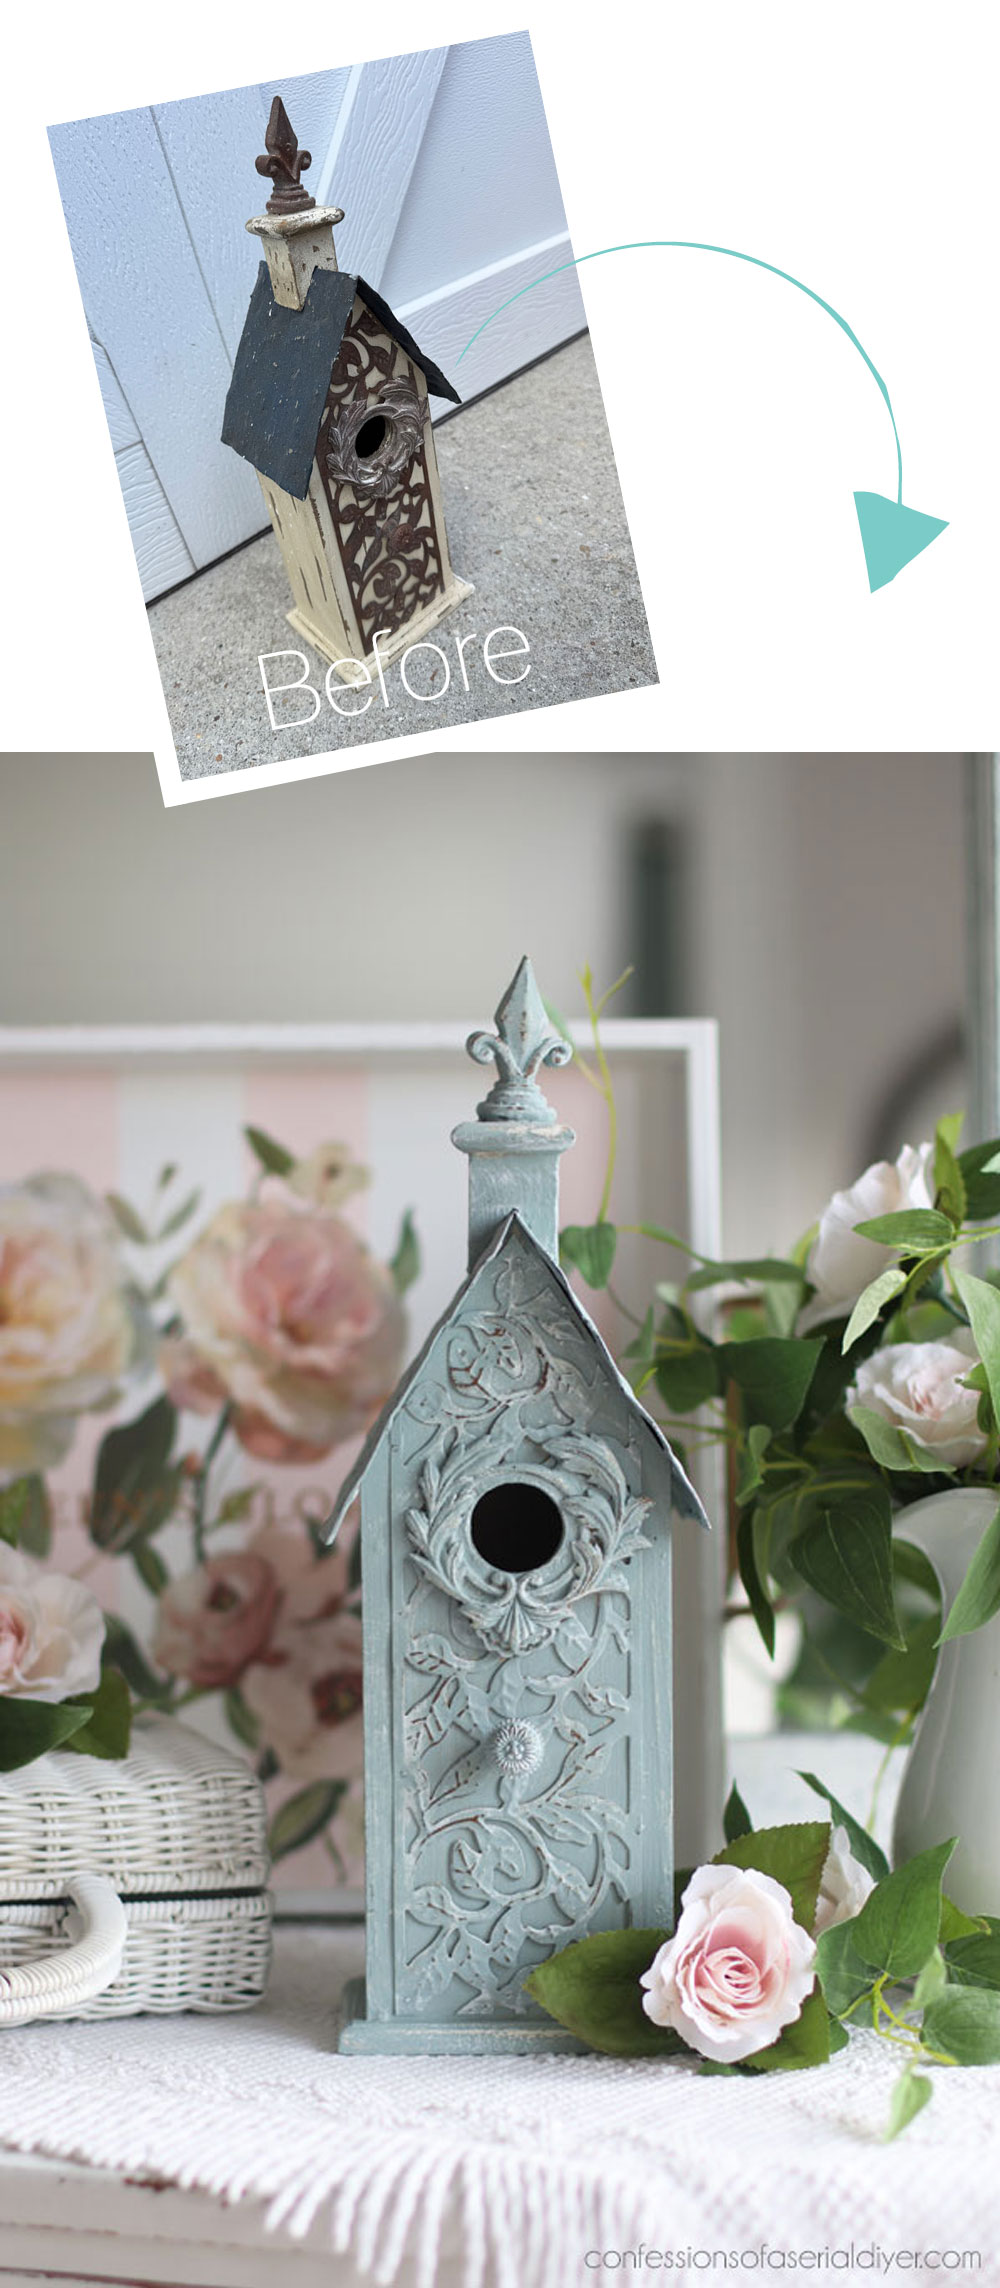
Mini Makeover #4 started out as this birdhouse I paid too much for at $6.98:
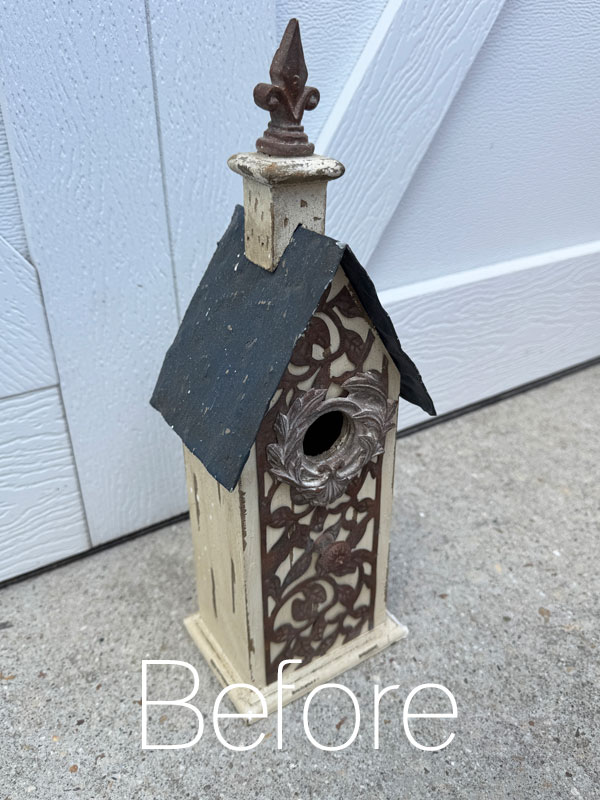
I really liked it though, so in the cart it went.
Paint
I decided to go with Vintage Duck Egg Blue mixed 50/50 with Fluff for this one:
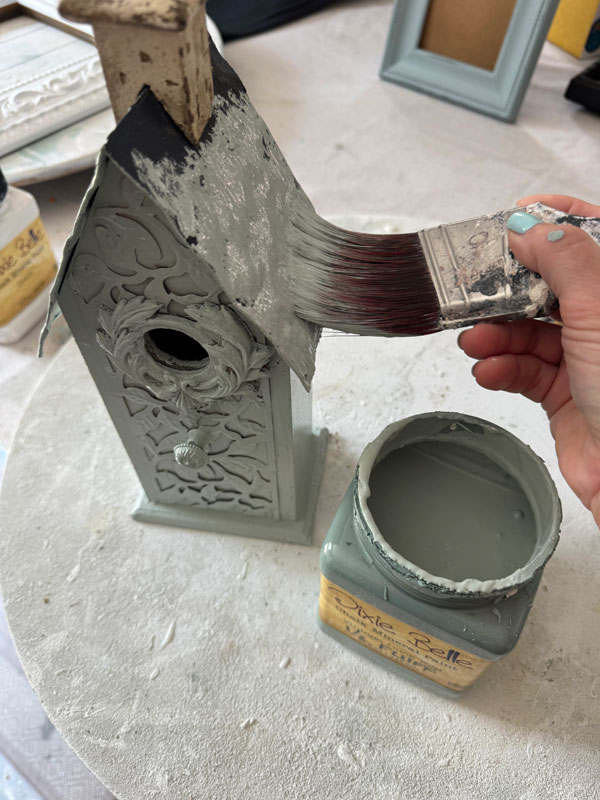
Super simple! I followed that up with a dry brushing with Cotton once that was dry:
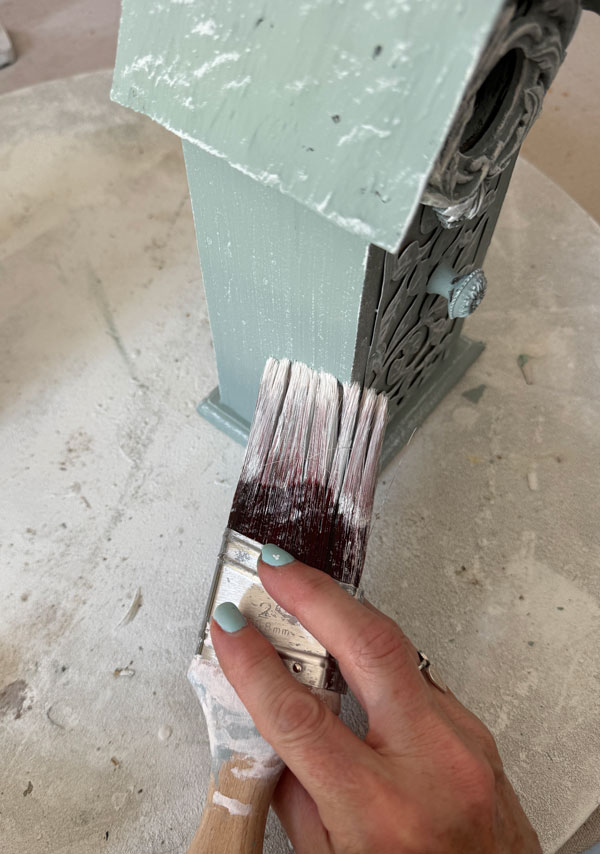
And then a bit of sanding here and there as well.
This was sealed just like the rest of them and this was complete! It was so nice to have an easy one!
The After
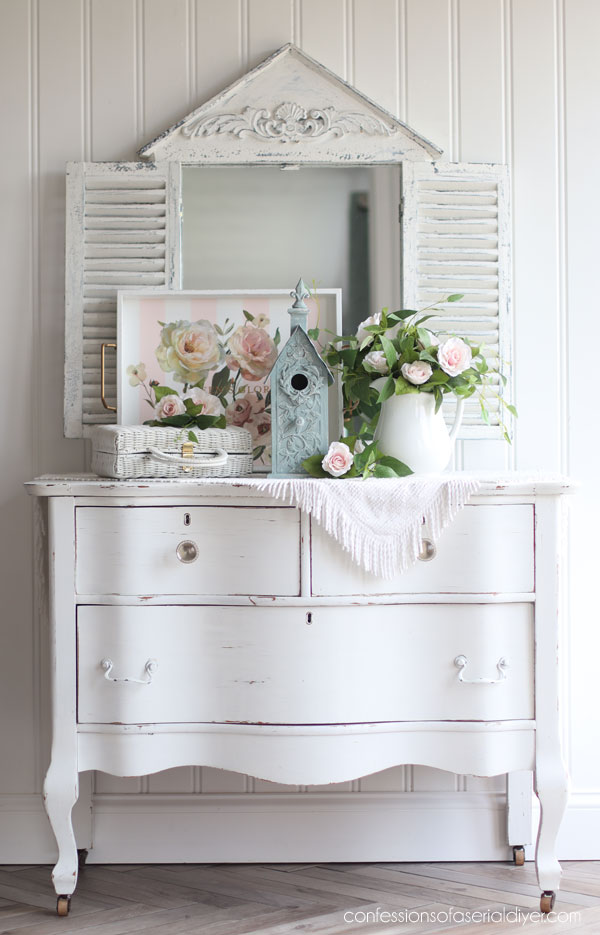
It’s so pretty with all the pink!
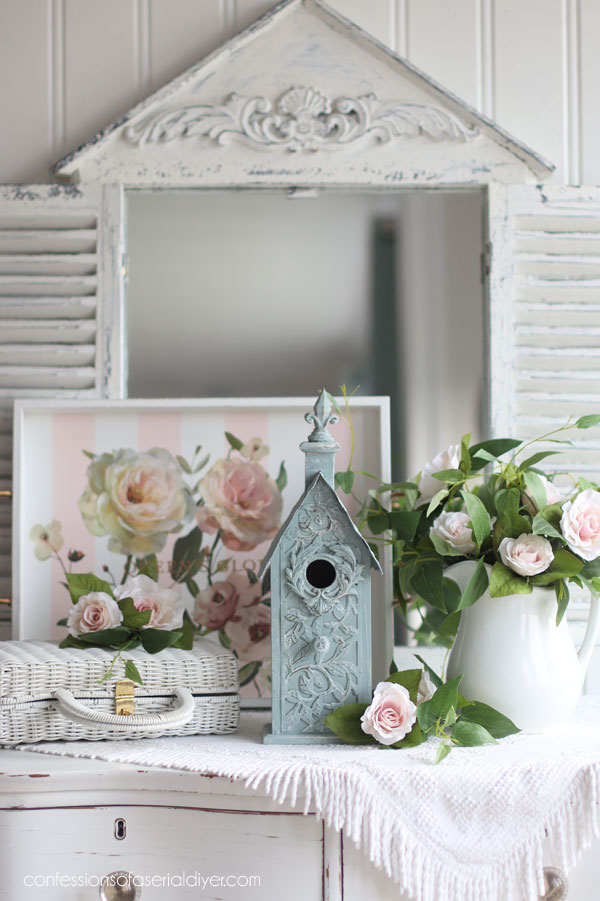
I thought about painting the roof a contrasting color, but in the end I went for easy!
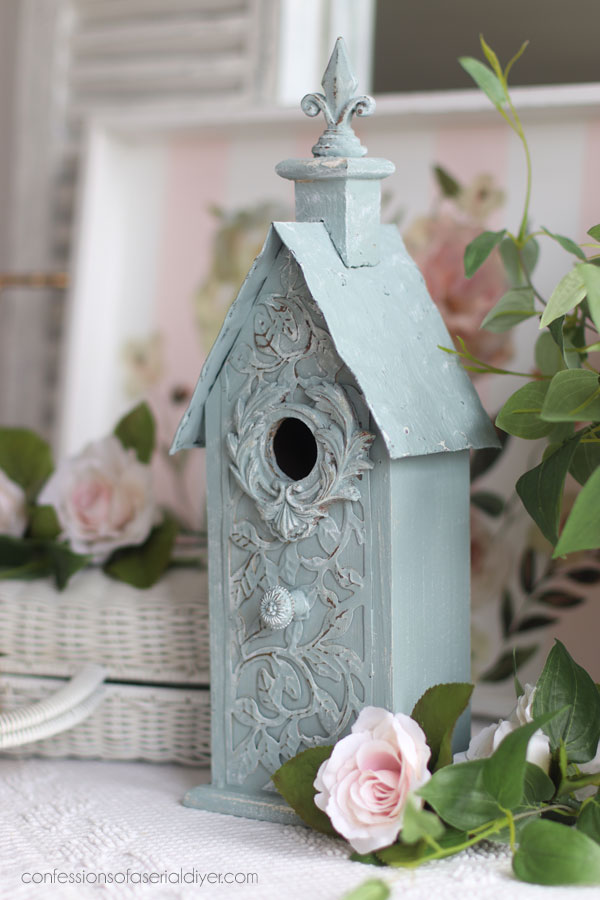
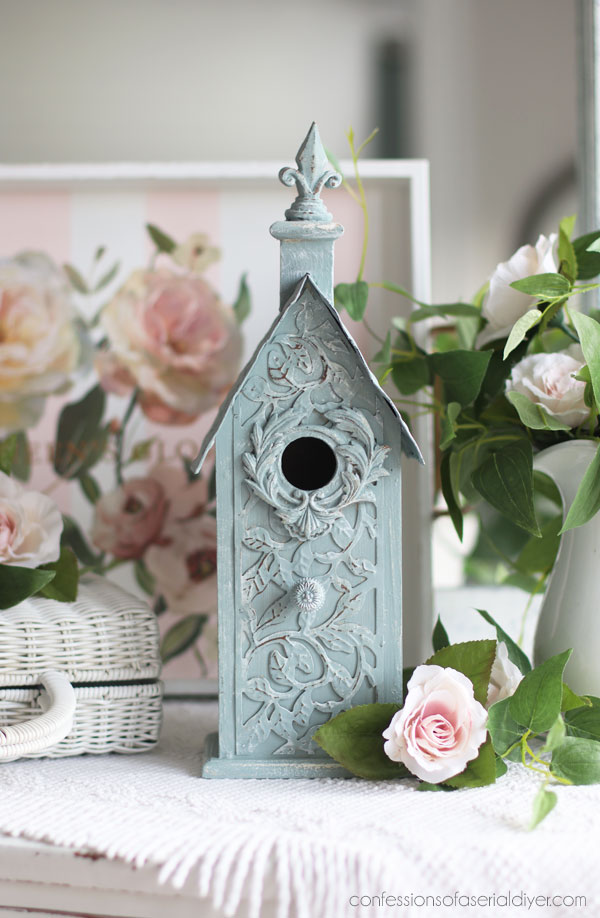
It wasn’t awful before, but I love the blue!
Mini Makeover #5
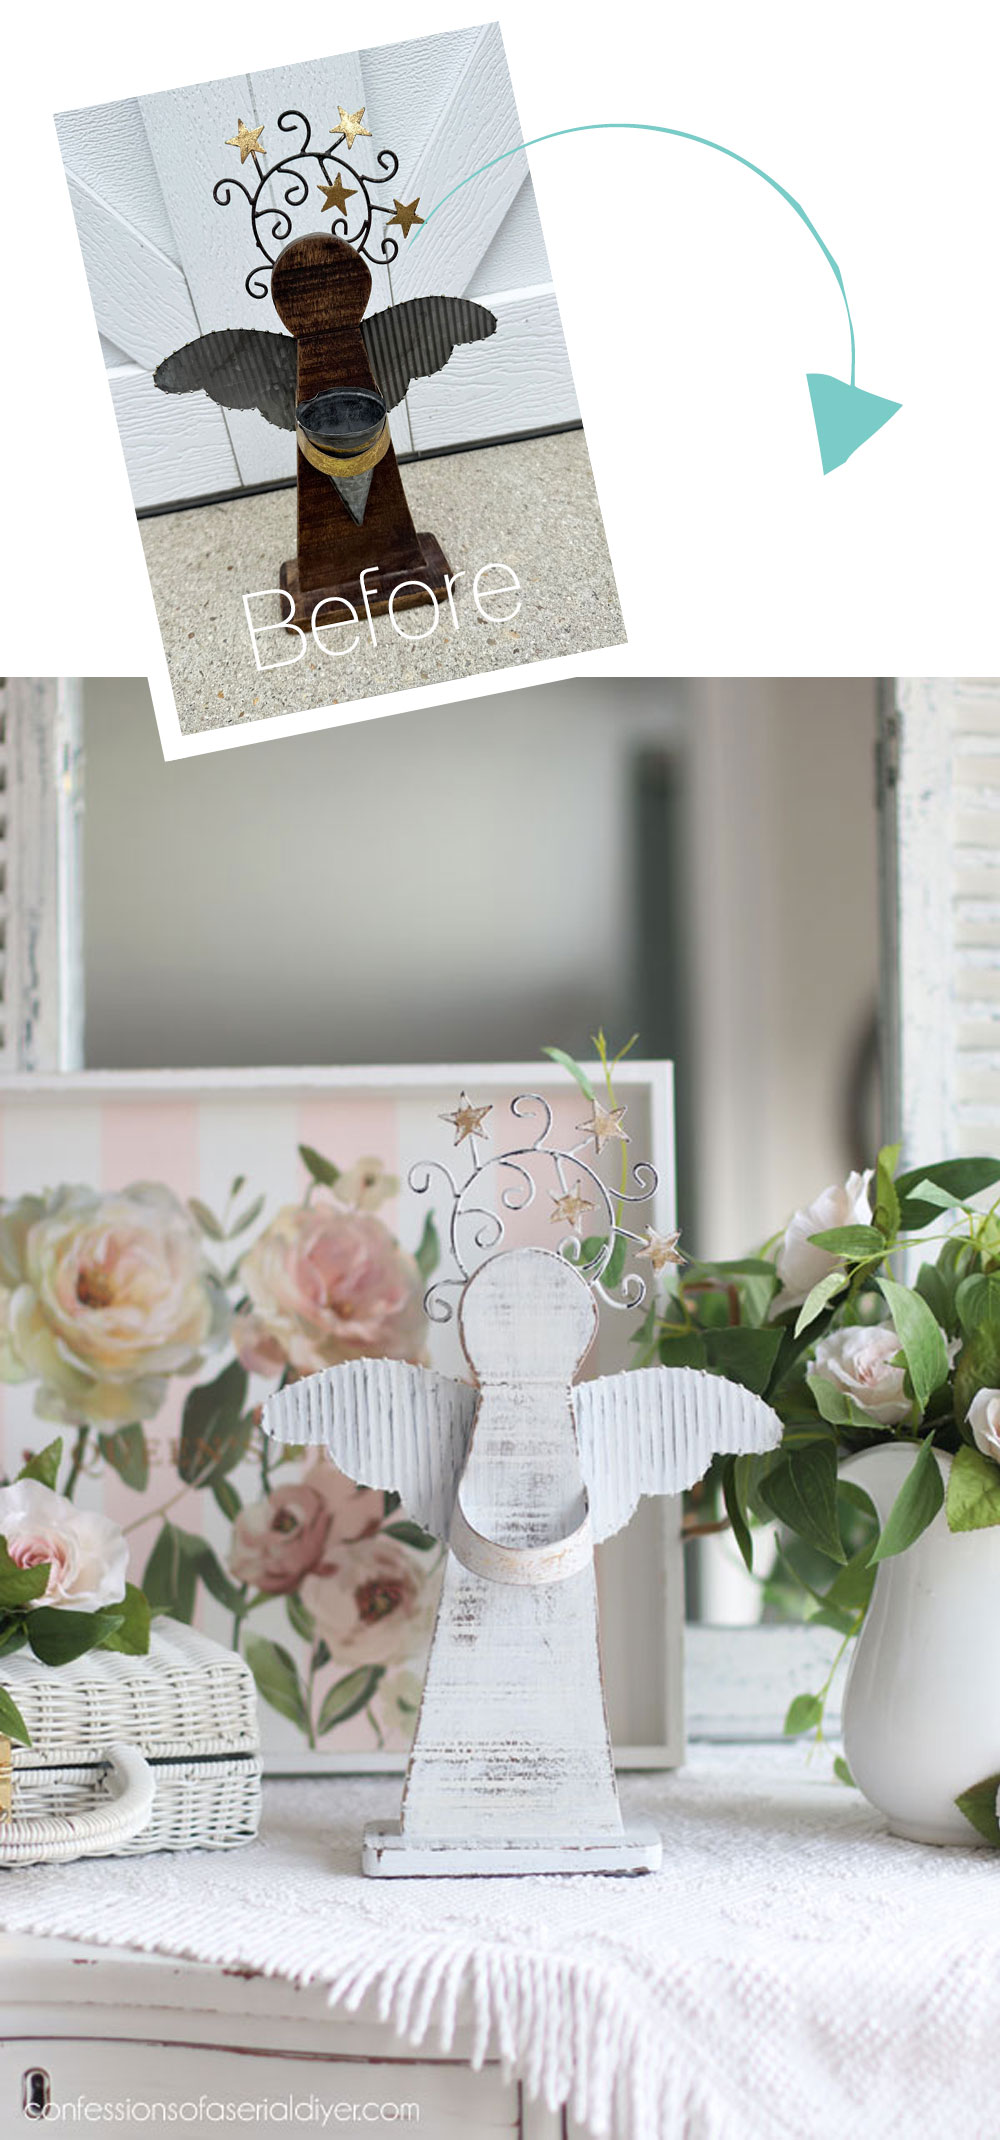
This next makeover started out as this little primitive angel I picked up for $3.99:
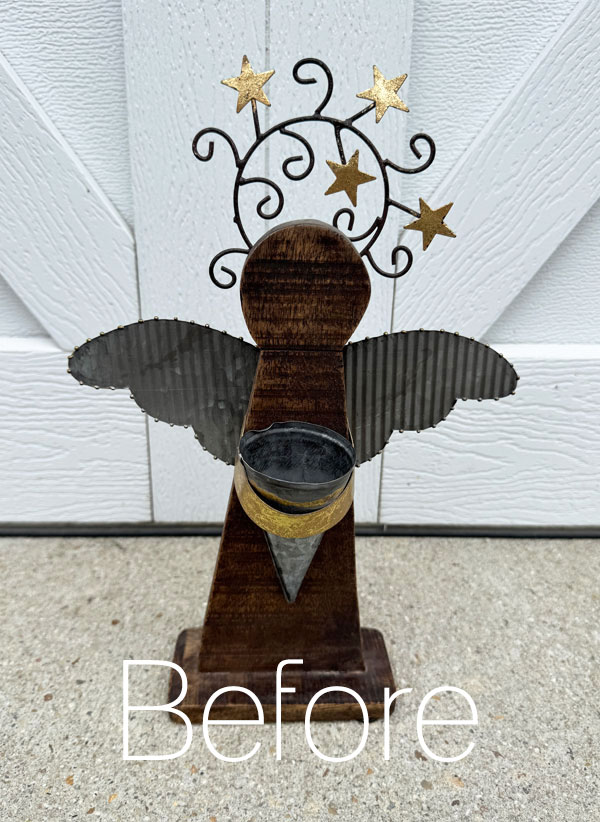
I just loved her, but she was pretty dark.
Paint
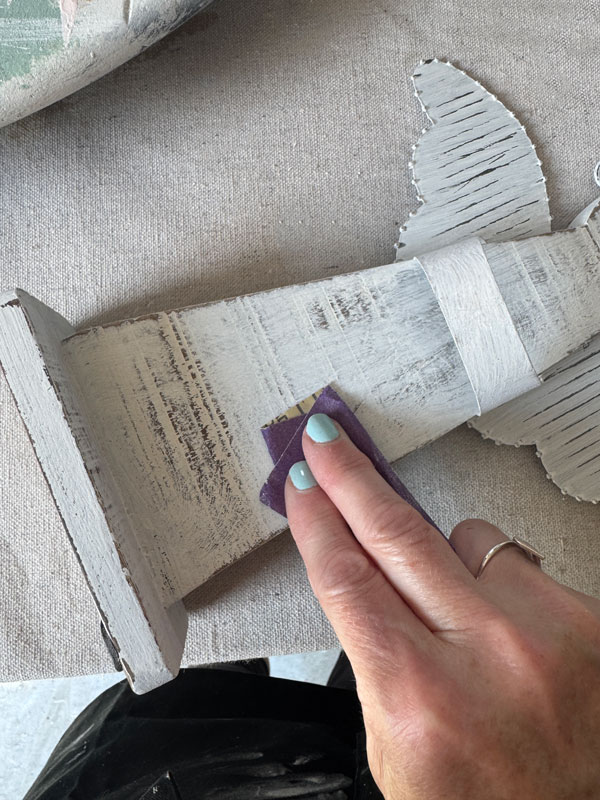
I lightened her up with one just coat of Cotton and then sanded her liberally all over once she was dry:
Seal
A quick seal with Rustoleum Satin Clear Spray and this makeover was complete! The miniest makeover of them all!
The after
SO simple but cute!
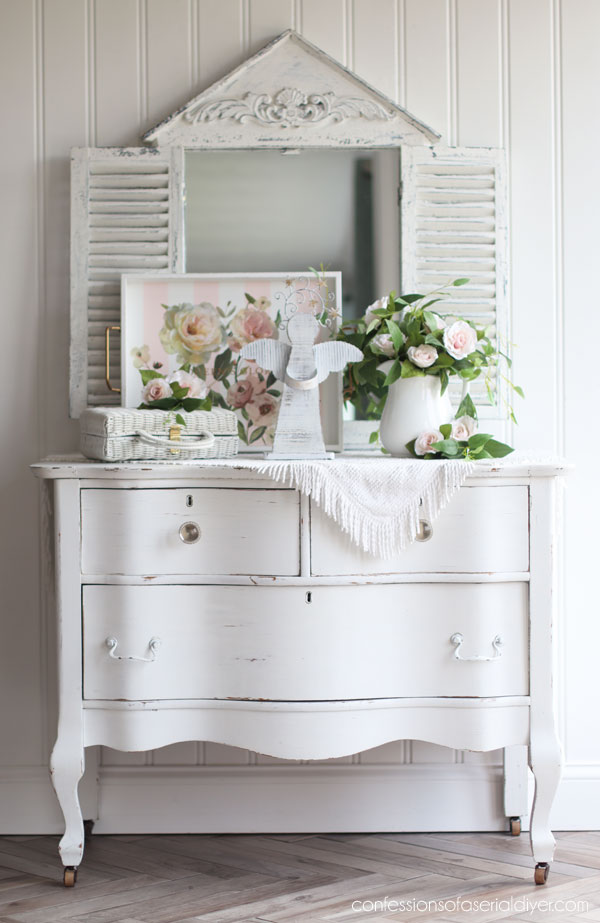
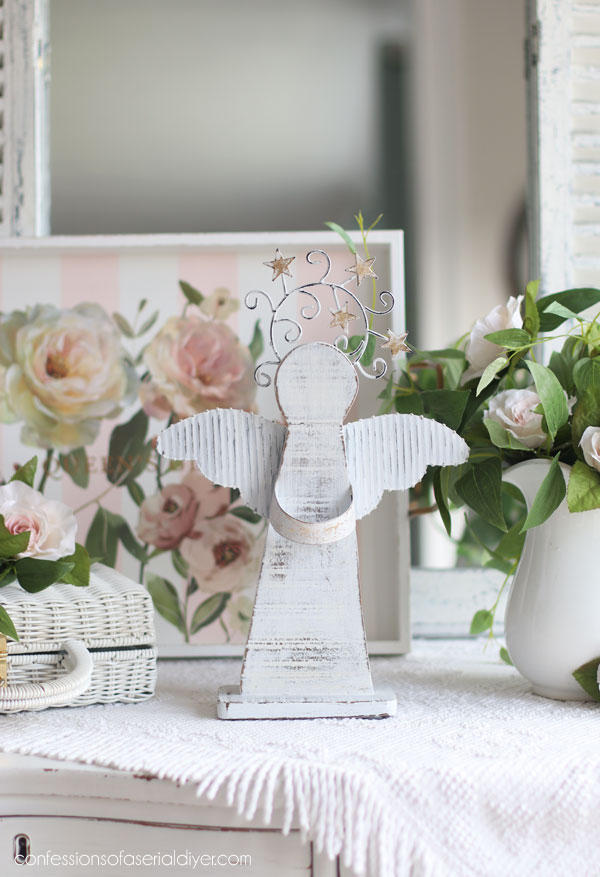
Anything angel-related that I put in my booth sells quickly.
I painted her little bucket too, but I forgot to give it back to her for the photos. She looks just as sweet without it though.
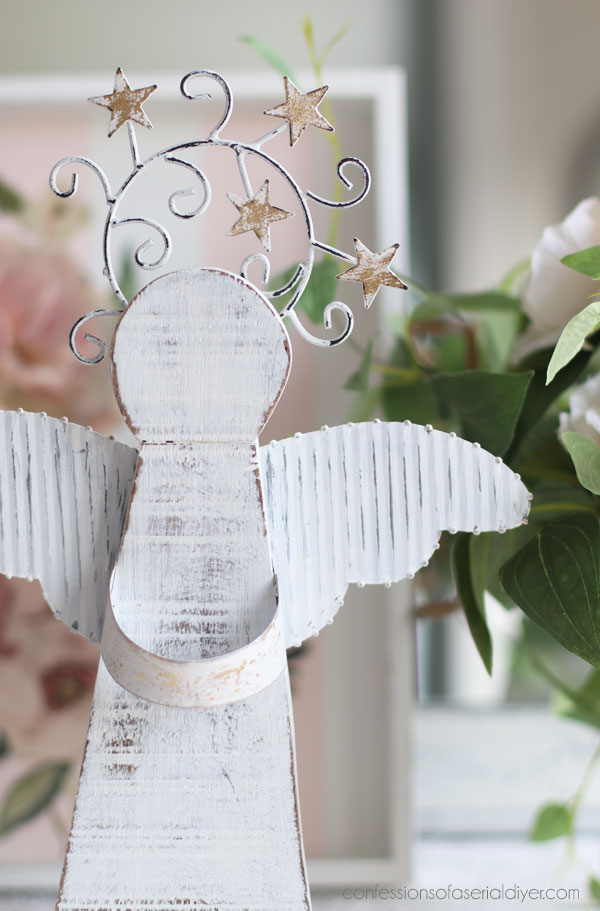
Such sweet details!
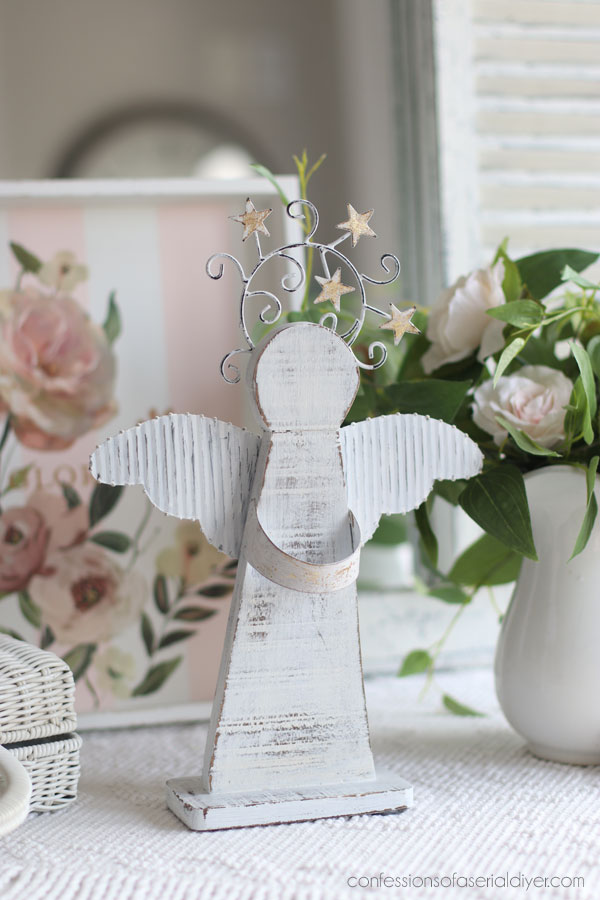
I know many will prefer her dark, but I love her both ways! How about you?
Mini Makeover #6
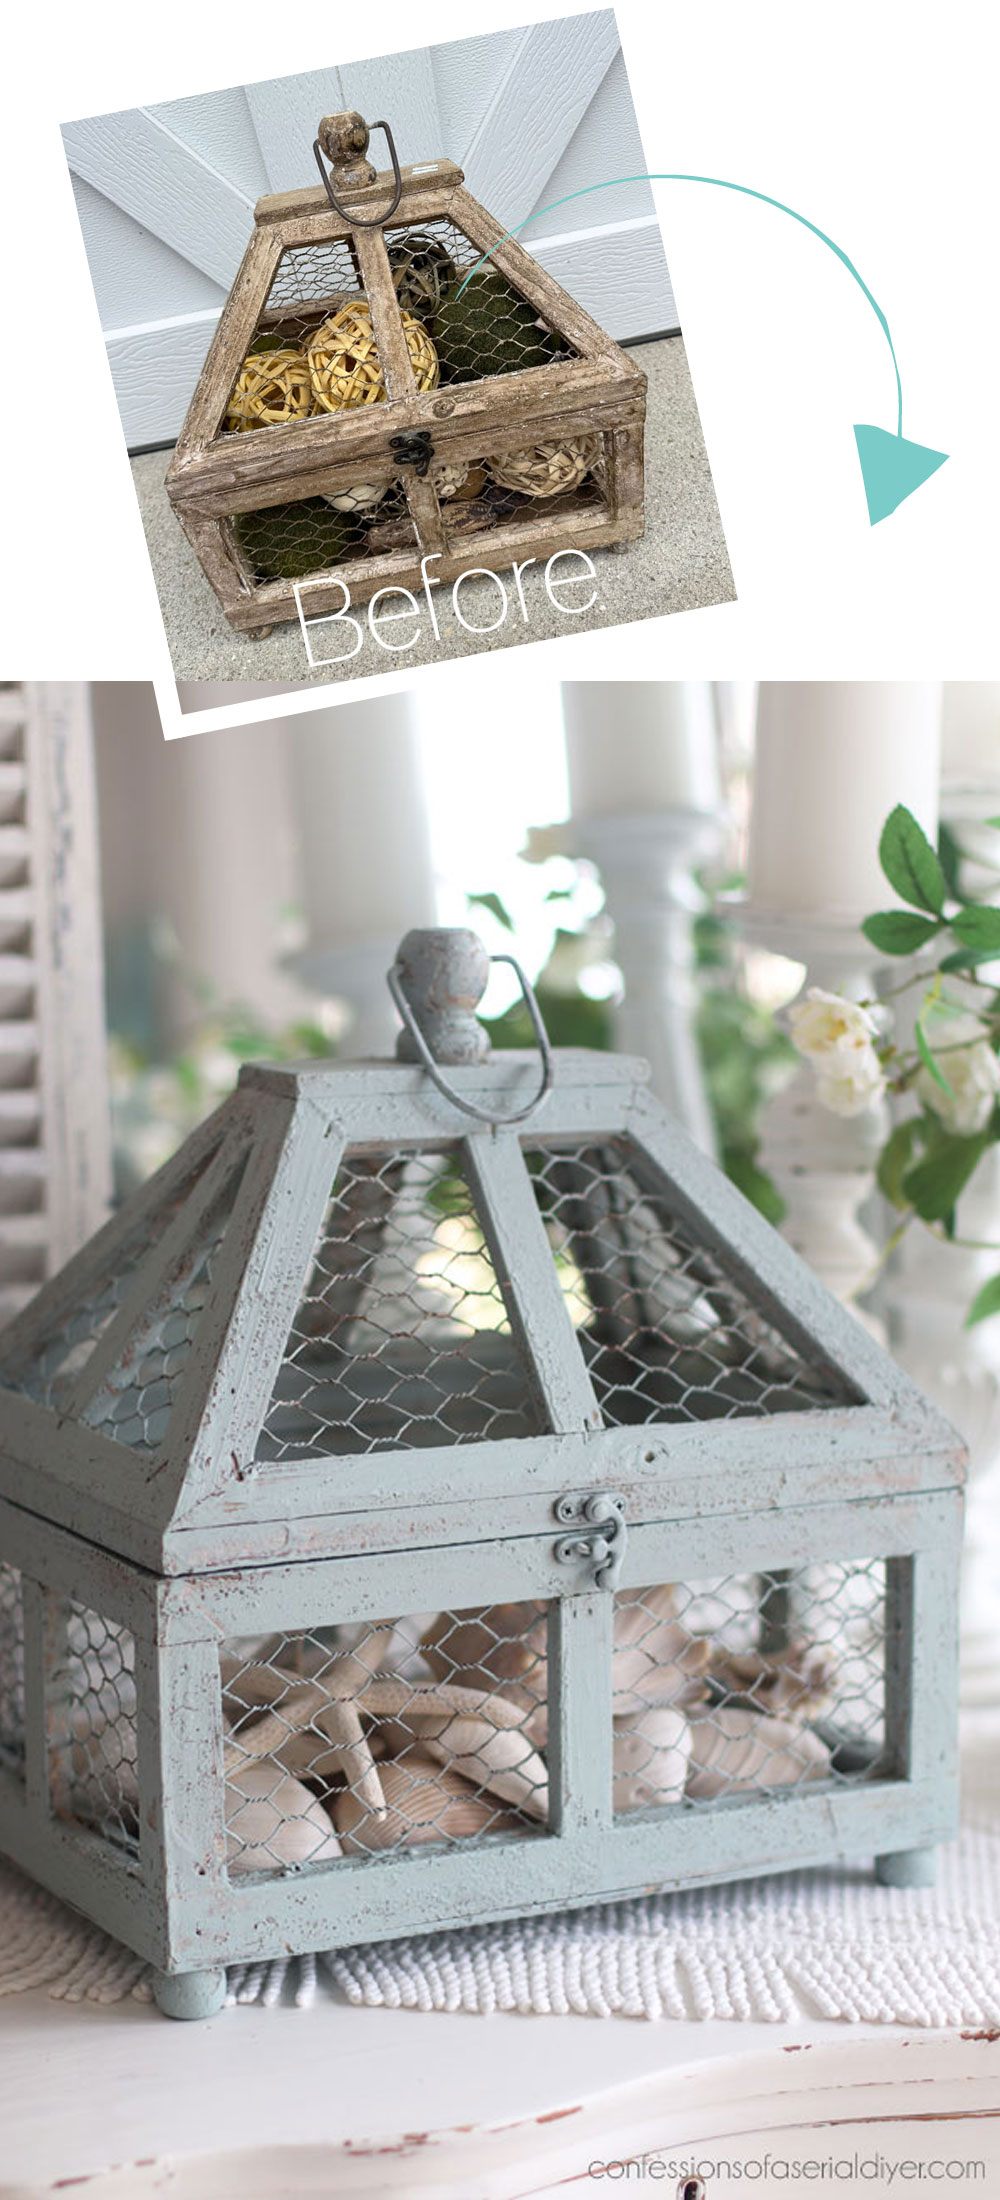
And finally, this table decor holder thingy was $9.99 at the thrift store:
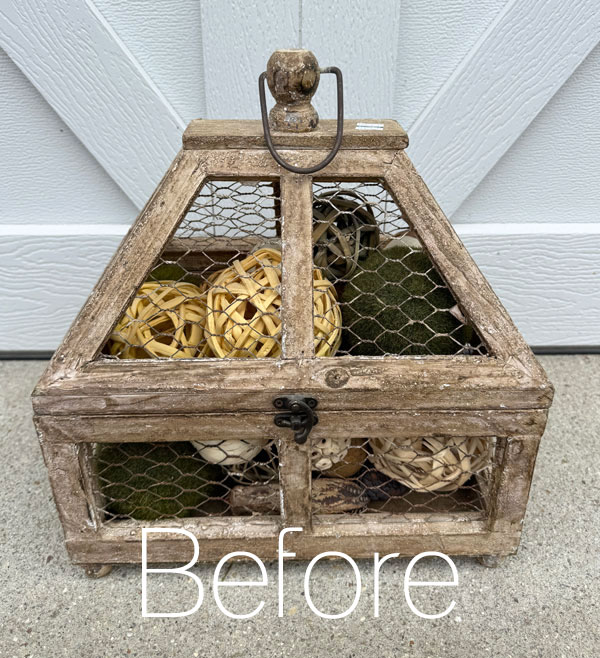
I thought that was a lot for the thrift store, but I just loved it, so it was coming home with me!
The first thing I did was remove all the balls. Next, I gave it a good vacuum to remove any flaking finish.
Paint
For this piece I went back to the Vintage Duck Egg Blue and Fluff mix, giving it just one coat:
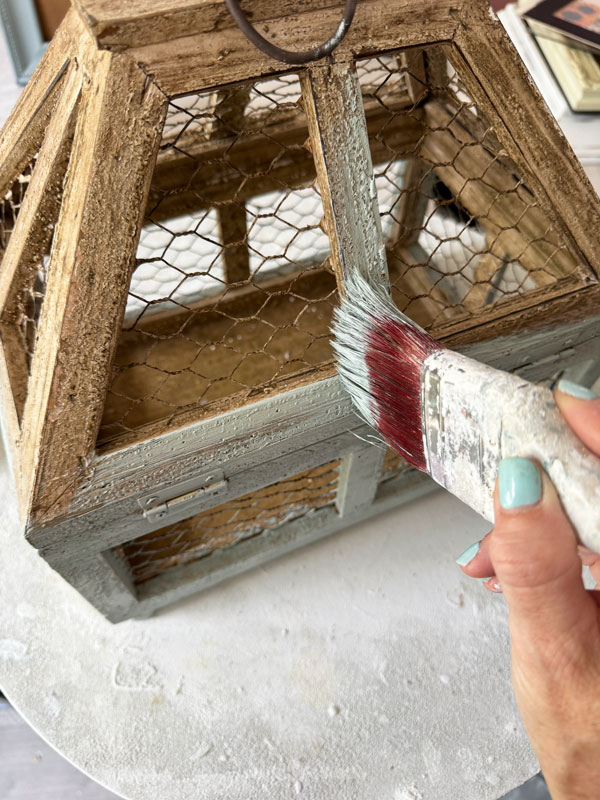
I lighlty hit the chicken wire parts here and there as well.
I didn’t even sand this one. The texture was so rough, and the one coat of paint didn’t get down into all those details, so it already had a distressed look to it that I loved.
Seal
This one also got a coat of Rustoleum Satin Clear Spray to seal and this one was done too! An easy oe, once again!
The After:
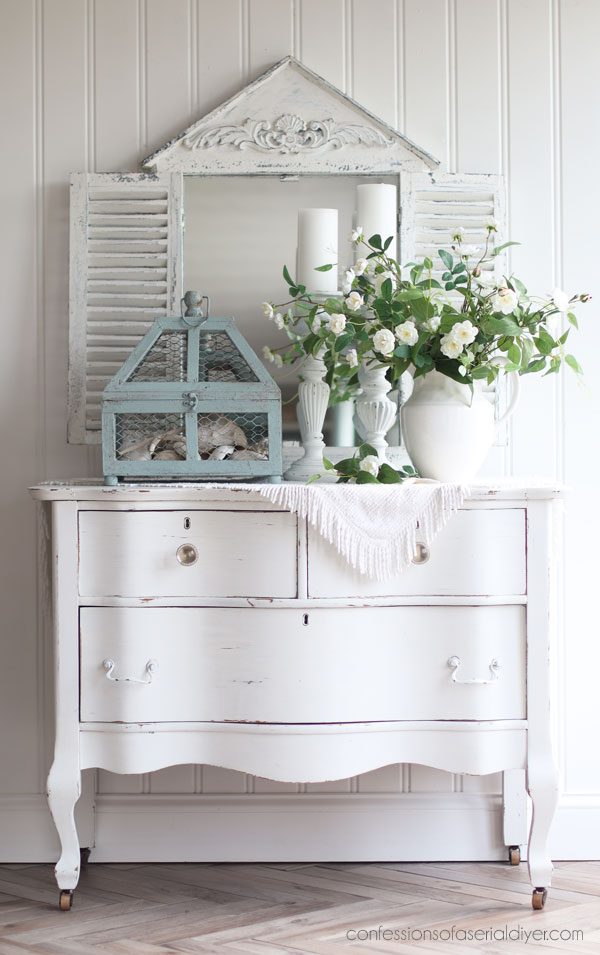
SO much better in blue!
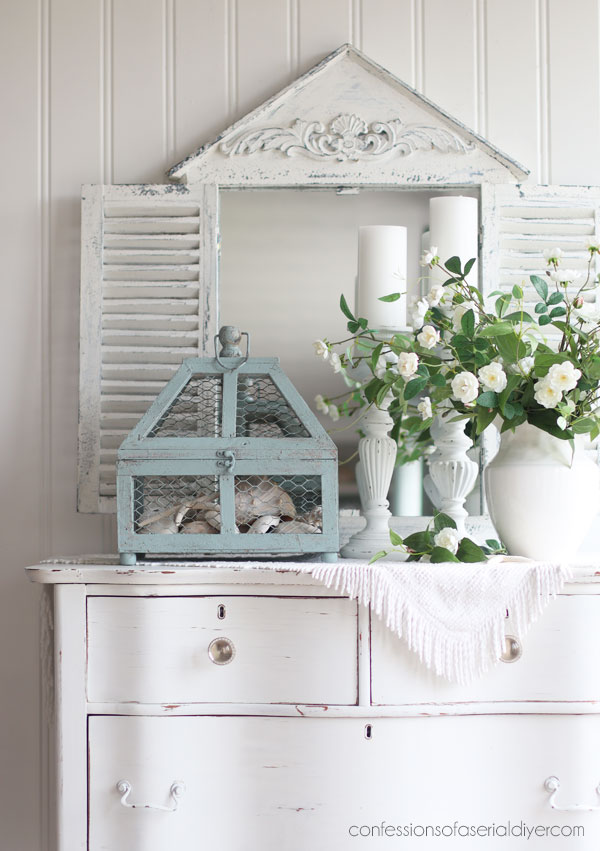
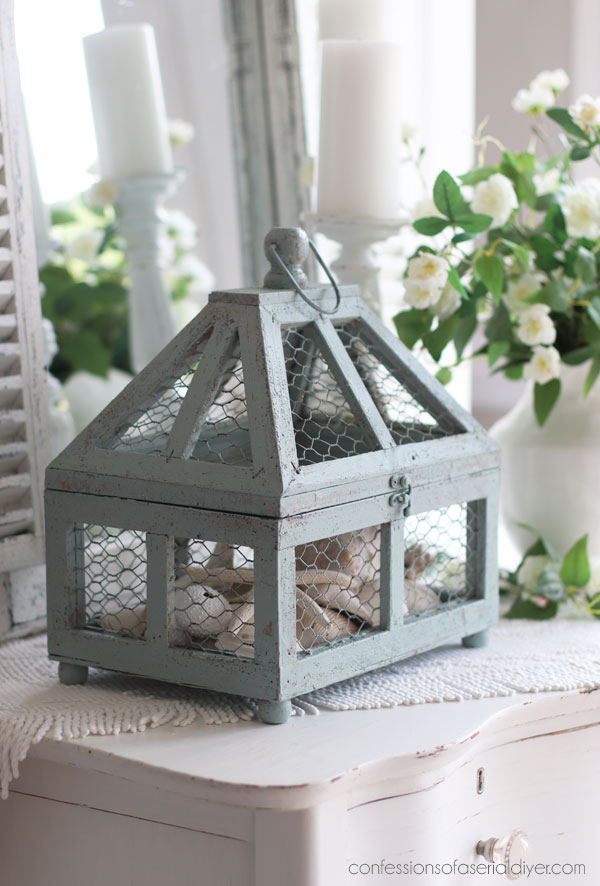
To go with the coastal color, I replaced the balls with shells…
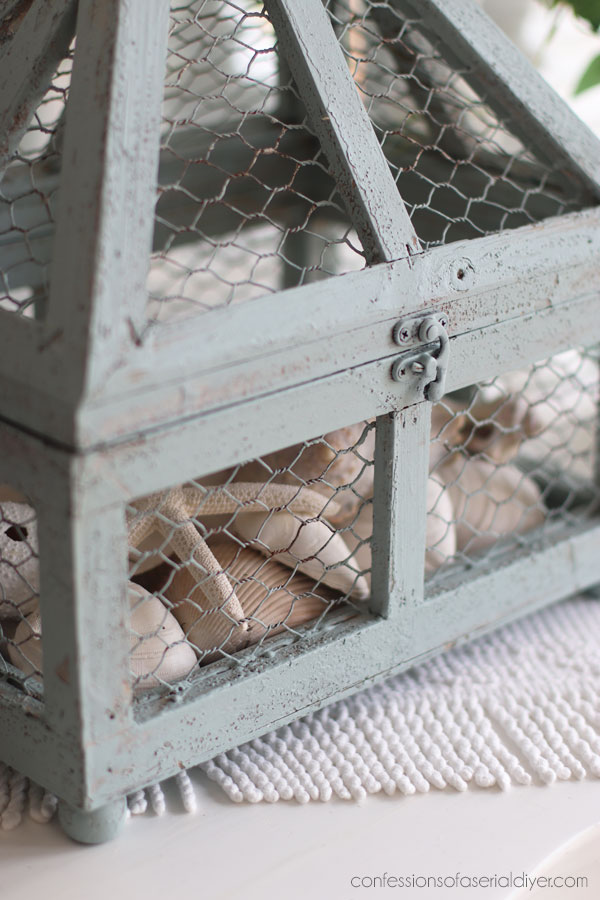
What a great find this one was! I sure wish I had a place for it!
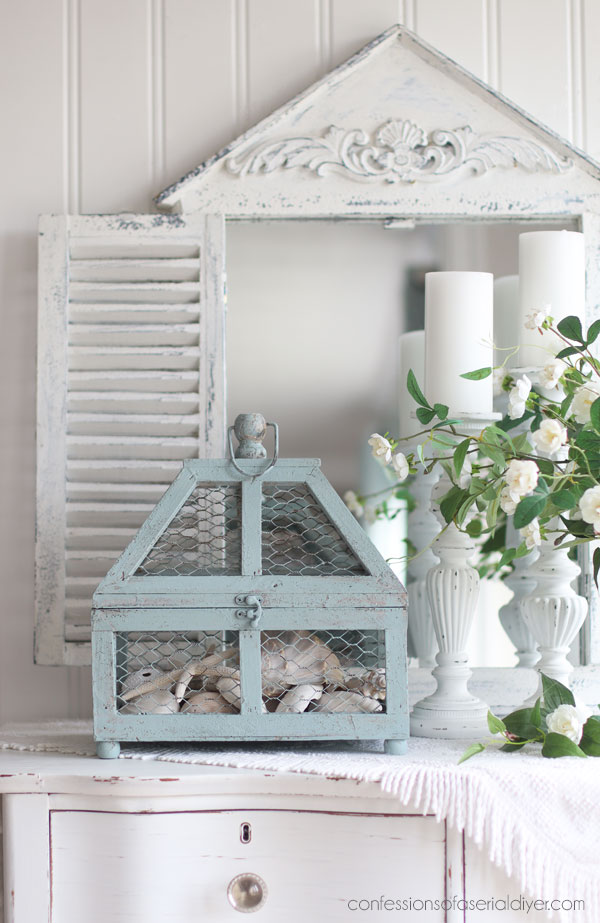
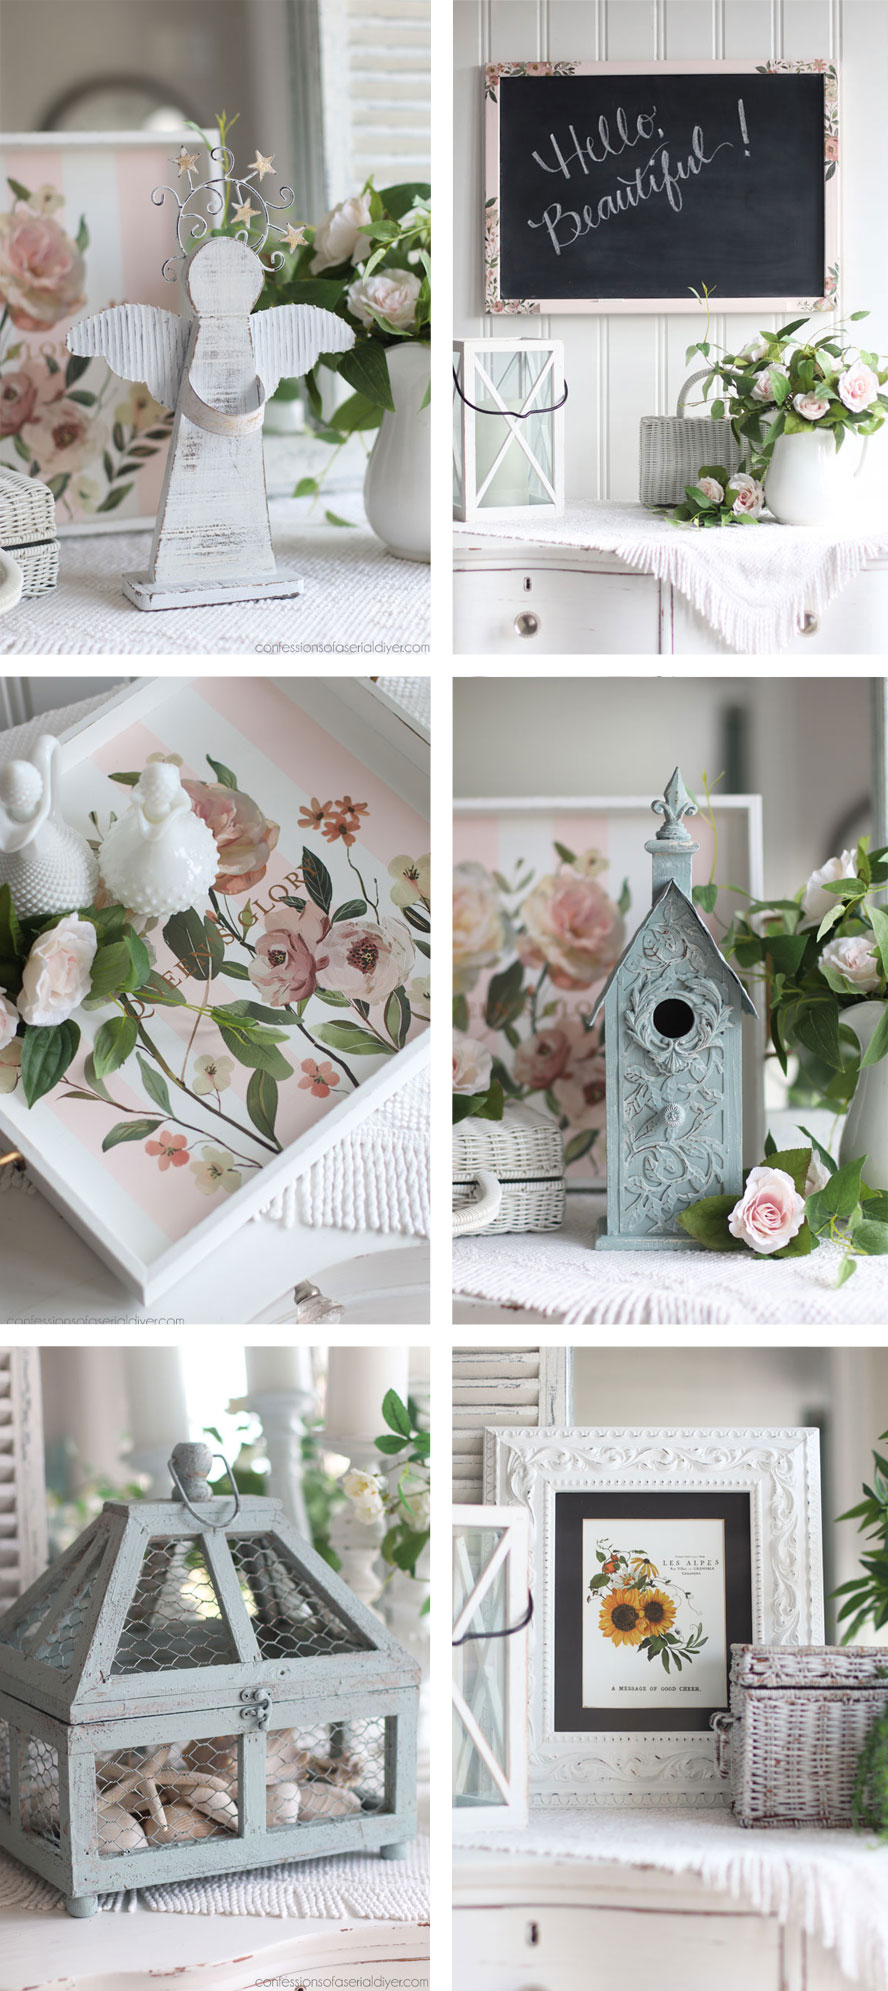
And that’s six more mini makeovers for my booth ready to go!
As always, I love to know your favorites!
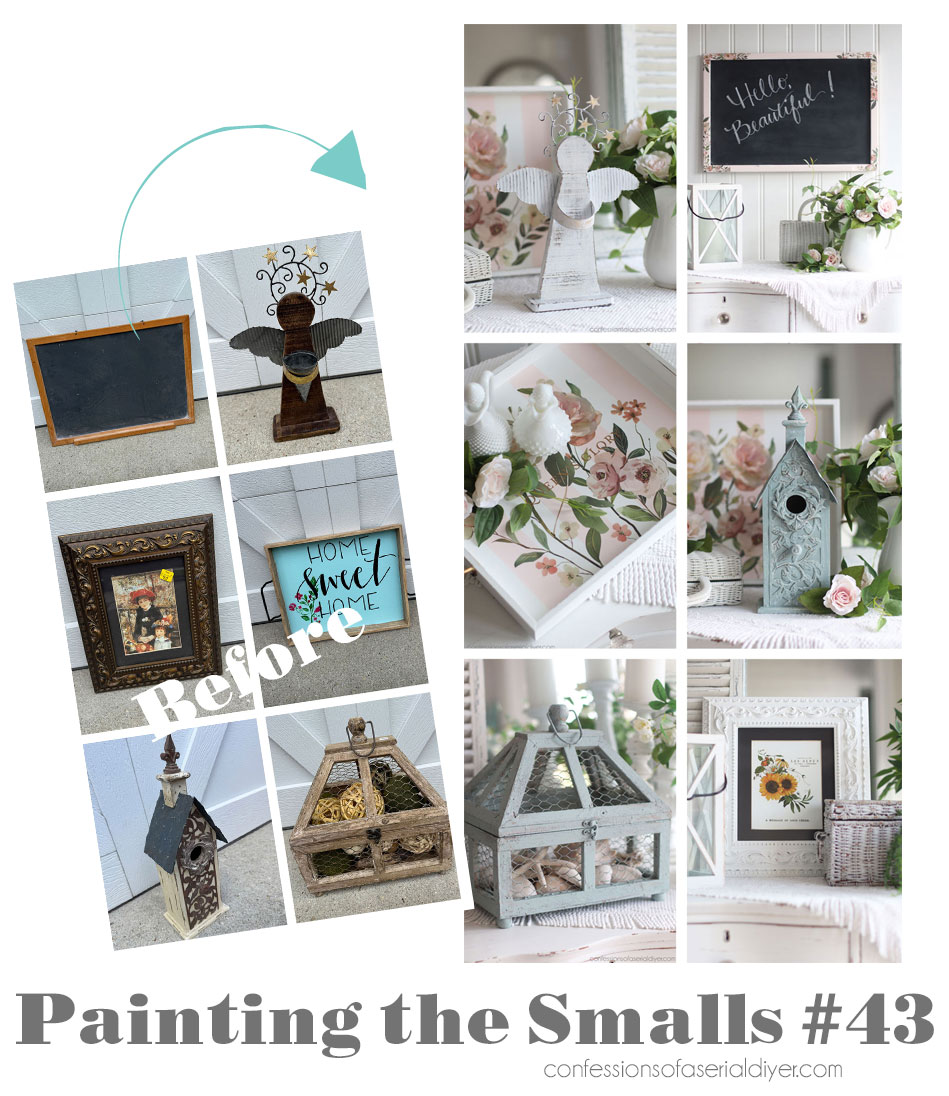
And that’s several more items crossed off the list!
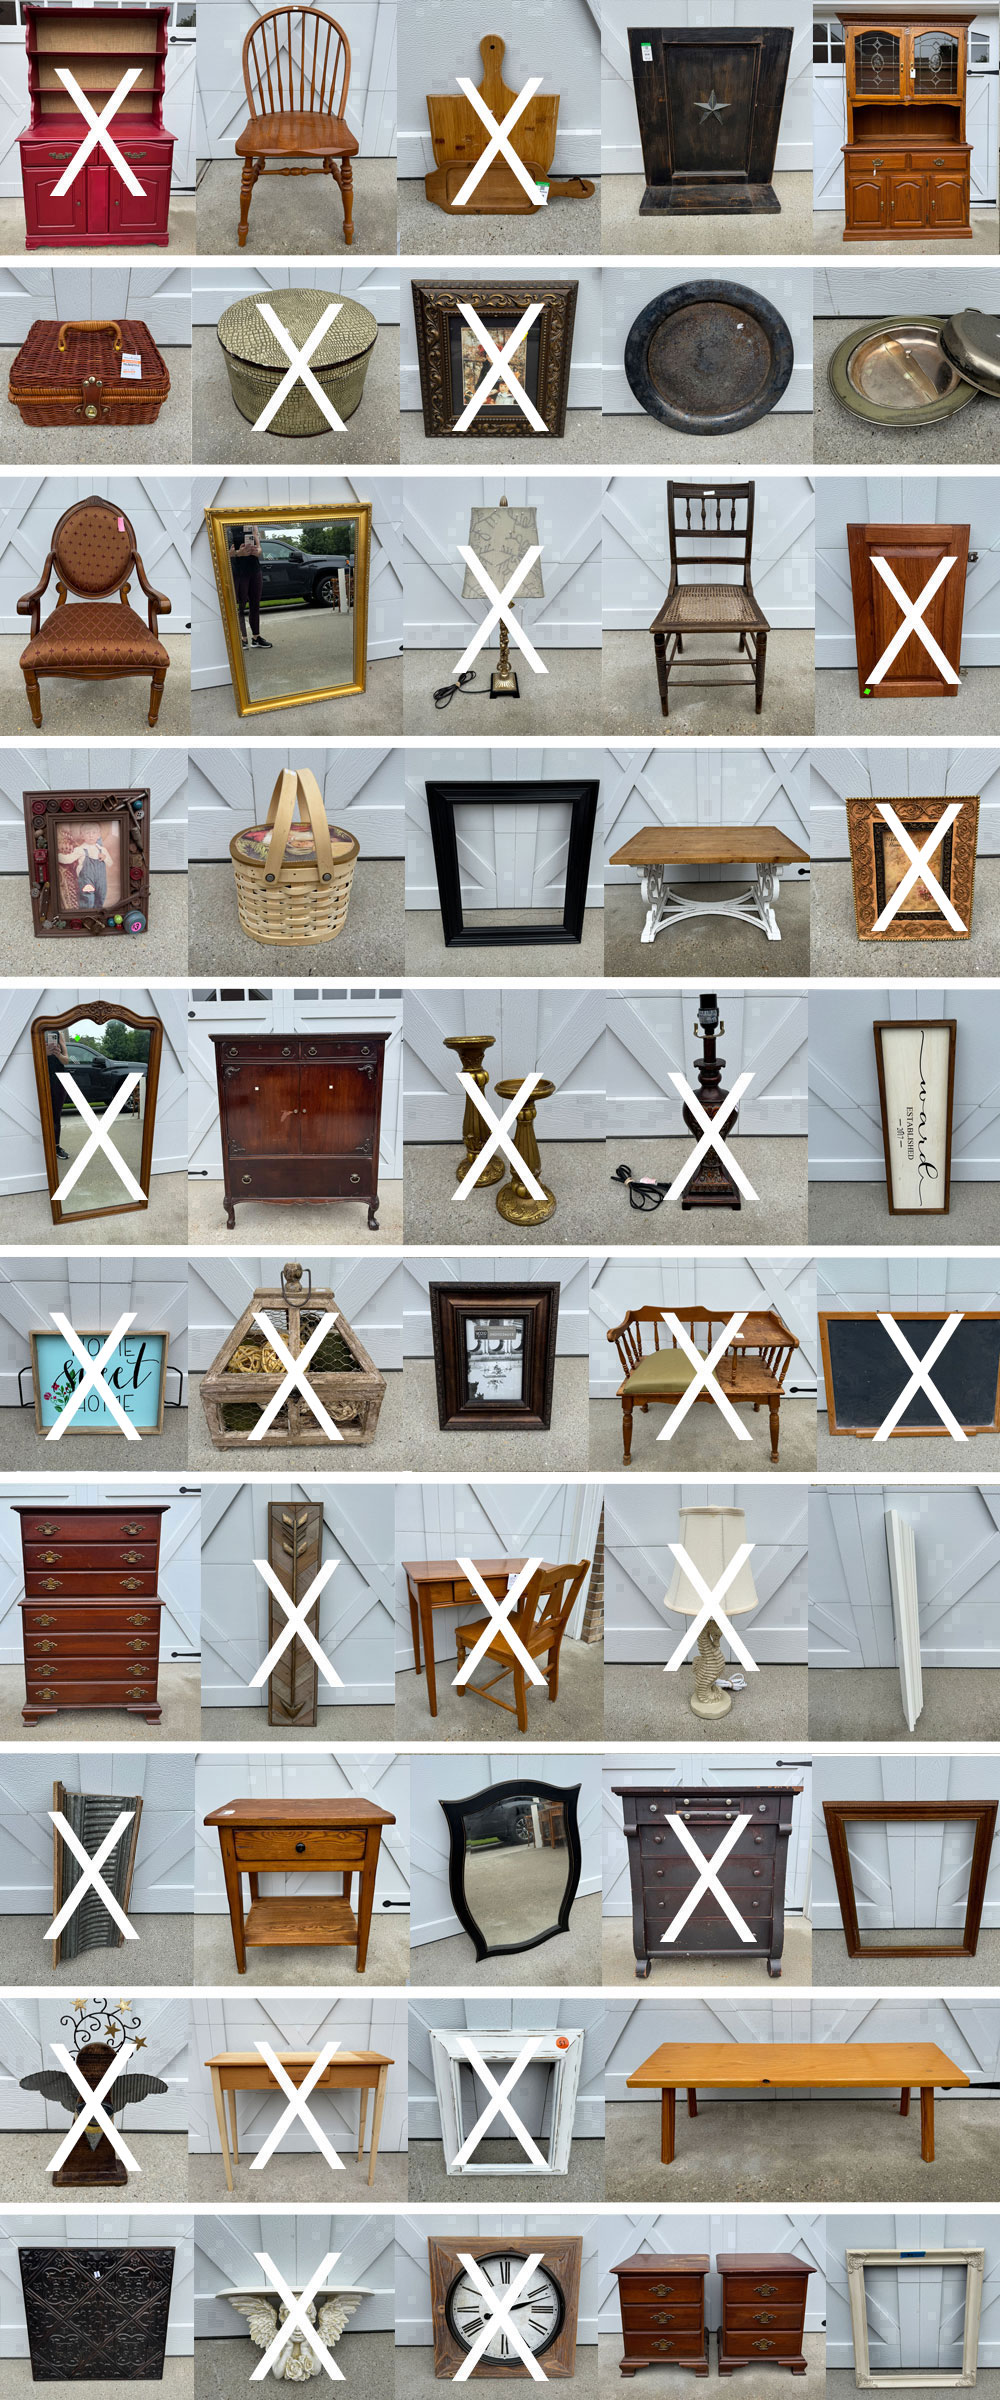
I forgot to take a picture of them together, but I’ll be back on Tuesday with the two baskets in this haul. They’re so cute, I can’t wait to play with them!
Have a great weekend!
XOXO,

Don’t Miss a Thing!
If you like what you see, there are several ways to follow along!
EMAIL * INSTAGRAM * FACEBOOK * PINTEREST

Get FREE SHIPPING on all orders over $50 in my Etsy shop.
(No code needed at checkout!) Orders under $50 enjoy $8 flat rate shipping!
Most orders ship same or next business day!
Visit my shop HERE or click the image below!



Leave a Reply