Welcome back, amazing friends! It’s Trashy Treasures Tuesday, and I’ve got a pretty one for y’all today, a $20 yard sale dresser redo! My friends have their own trashy makeovers to share, so be on the lookout for those at the bottom!

I spied this dresser at a yard sale for $30 this summer:
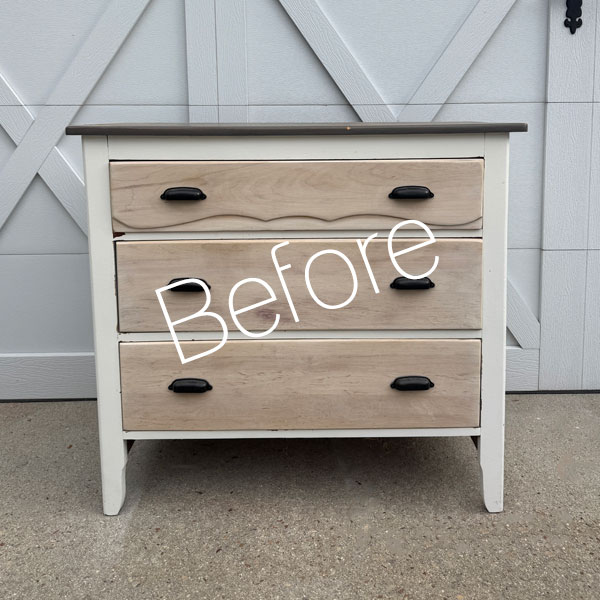
The gentleman selling it said that it had belonged to his daughter. She used it at college and no longer needed it when she was done. They had just been storing it ever since. I could see that paint was chipping in a few places, so I offered $20, and he accepted!
It’s funny how these “trashy” pieces often look to be in great shape in the before photo lol. This one will start to look a bit trashier as we go!
I’ve included a few affiliate links so you can find the products I love.
First of all, the paint was starting to chip in several places like it had been stored in a hot environment:
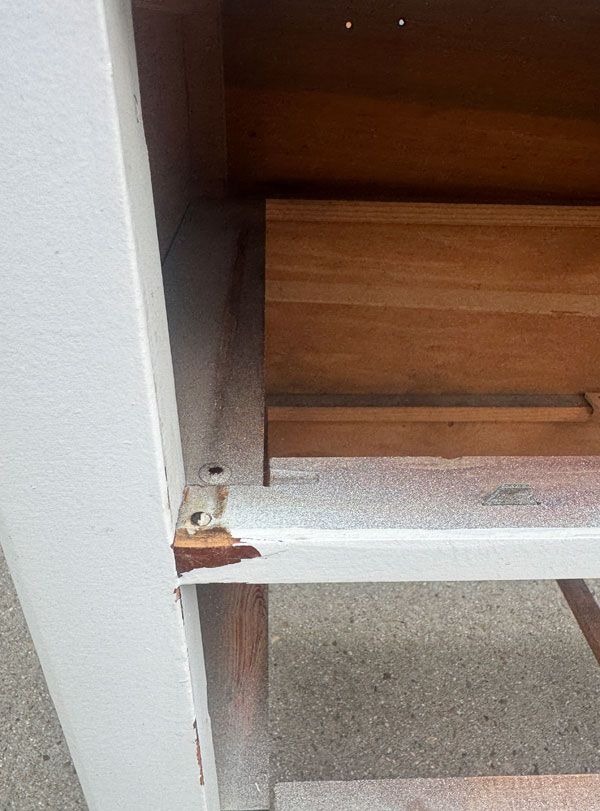
That outer paint paint finish had been rolled on with a roller as you can see by the stippling in the finish.
It also had issues with the top drawer. It wanted to fall right down when it was pulled out:
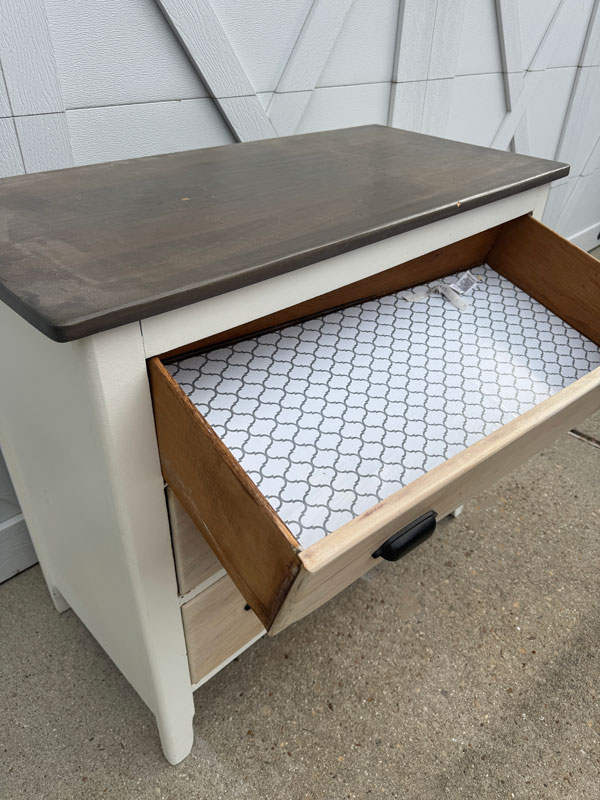
I was unsure how I was going to remedy this situation when I bought it, but I figured I would figure it out!
And surprise! Someone’s Calvin Kleins were stuck at the back:
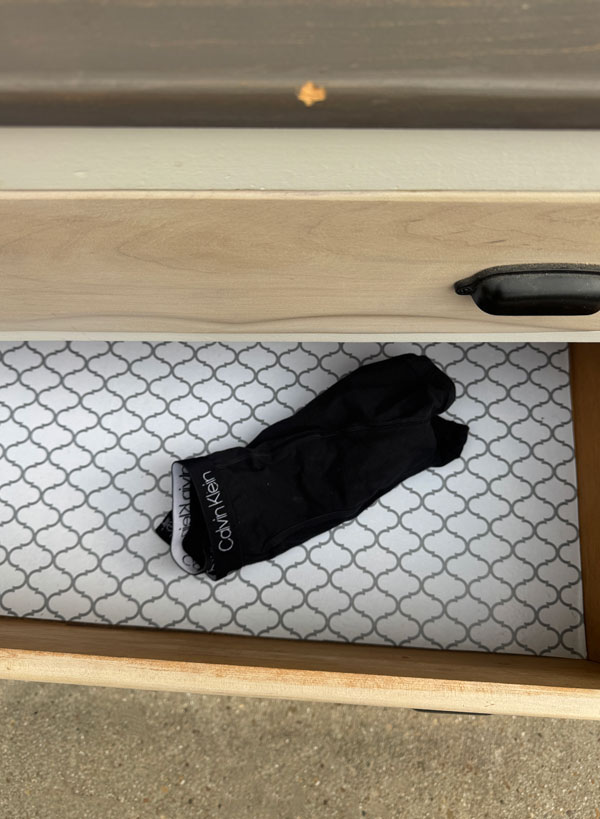
Either the young lady who used this dresser wore men’s underwear, or she was hiding this keepsake. Either way, it’s probably a good thing her dad didn’t find them!
Sand
I went straight to sanding because I had a feeling the white painted parts of this would flake right off, judging by where it had starting chipping away.
My Ryobi orbital sander was a huge help here! The sides ended up holding up pretty well:
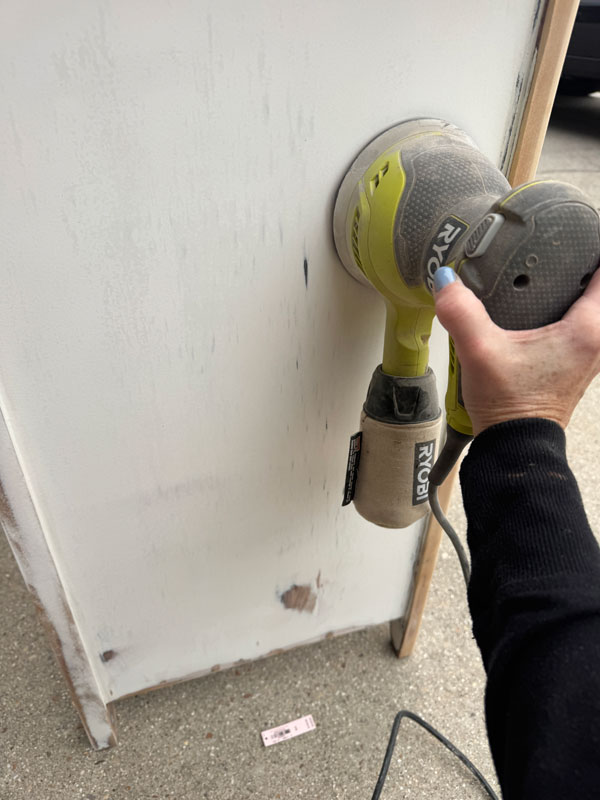
The rest of the painted areas came off quite easily though for the most part, so I removed what came away easily and just smoothed the rest out.
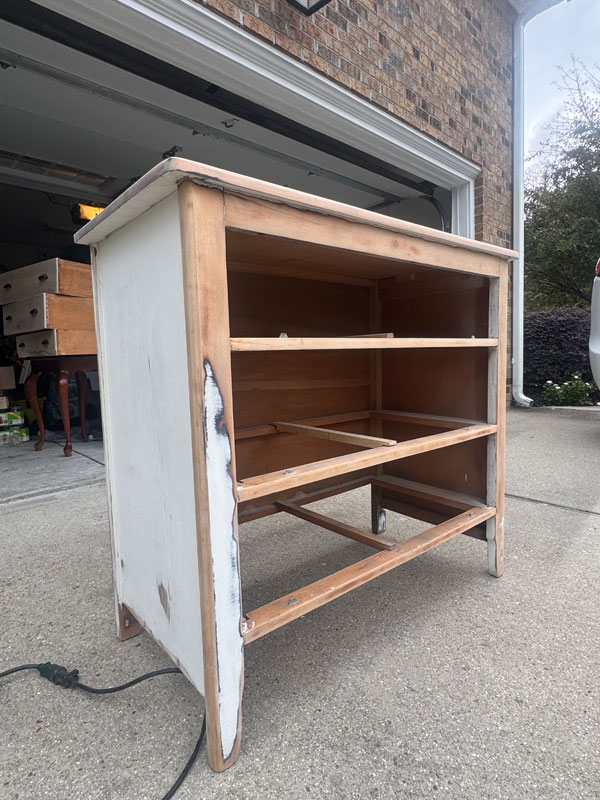
I started with 100 grit sandpaper and finished with 220 grit.
Here’s how it looked when I was done:
DUMB Moments
Next, I removed the cup pulls from the drawers…you would think I would be smarter than these pulls.
Looks like legit flat head screws holding them on, right?
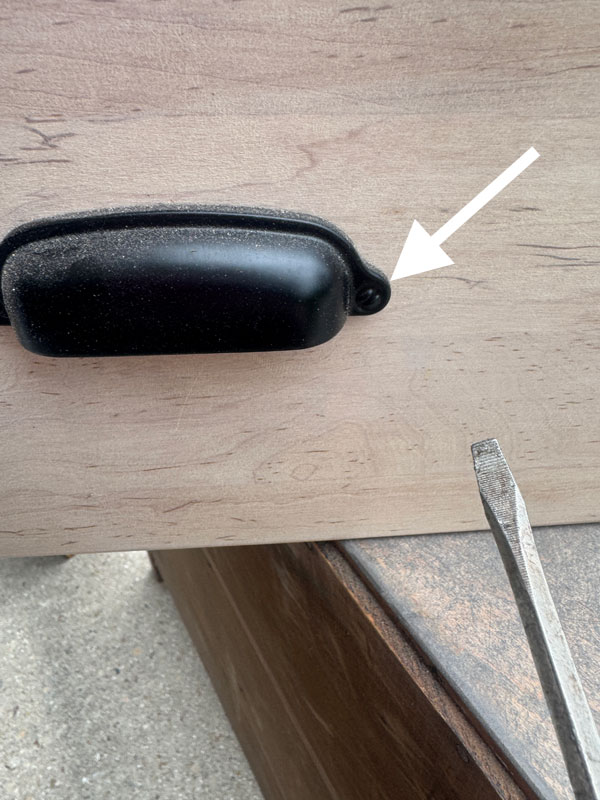
Um nope! They are held in from the back with regular fillips head screws:
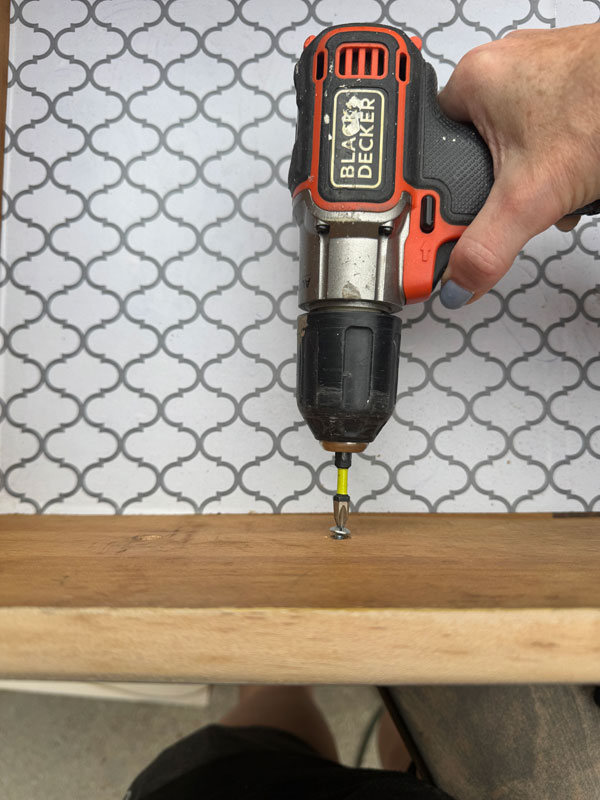
Now, why would they do that? Just screw them in on the front with real screws! I felt dumb for sure lol.
As for the stained drawer fronts, I really did like how the wood was showing through, but after removing the pulls, you could see where the cup pulls had been…
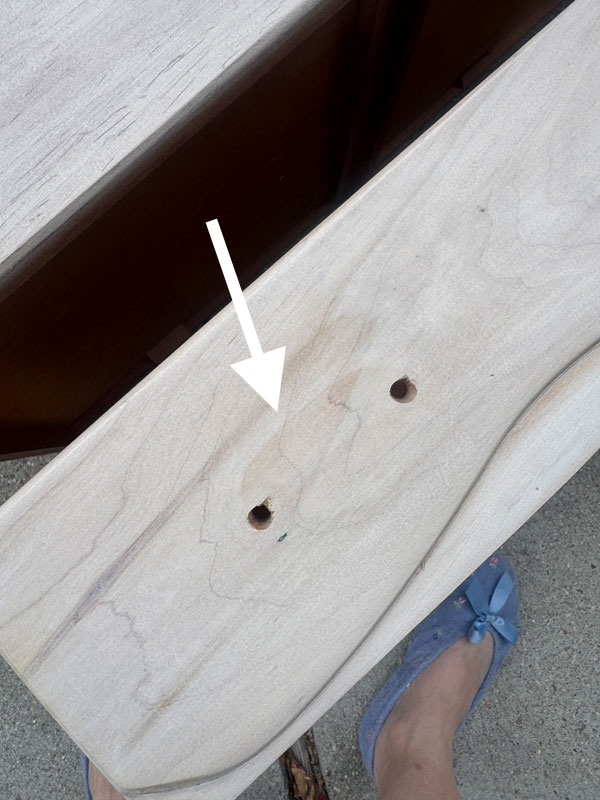
So those got a light sanding as well.
Clean
Now I was finally ready to clean! After vacuuming up all the sanding dust, I used White Lightning paint prep cleaner, mixing one TBSP into a half gallon of warm water:
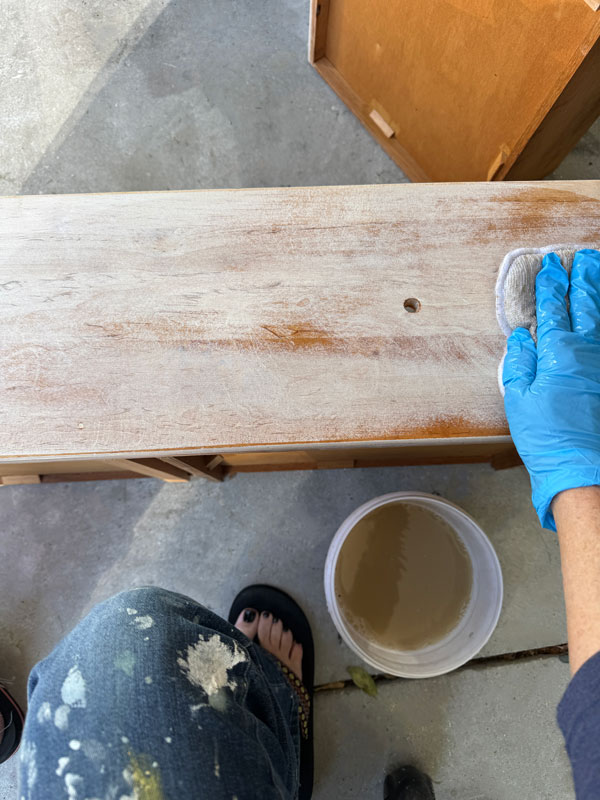
You know I love these applicator pads with the terrycloth…they are excellent for this purpose! Gloves are recommended.
Once I had everything clean, I swapped my water out for clean water and gave everything another wipe down.
Prime for Possible Bleed-through
I was unsure if this would end up being a bleeder, so to save any frustration later, I went ahead and gave it one coat of clear Bonding BOSS.
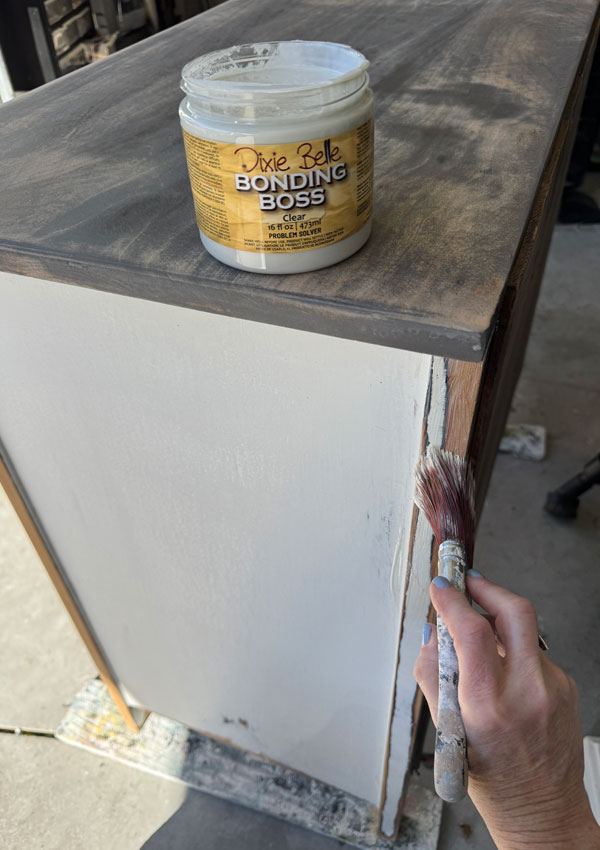
It is recommended to let it sit for 24 hours before painting. However, I dragged it out into the warm sunshine to sit for several hours which sped up the process!
Fixing the Falling Out Drawer Issue
I wanted to fix the drawer issue next, and stared at for several minutes trying to determine what would hold it upright. It finally occurred to me that if I added a piece of wood on the inside top, just above where the side of the drawer went in, it might fix the issue, so that’s what I did:
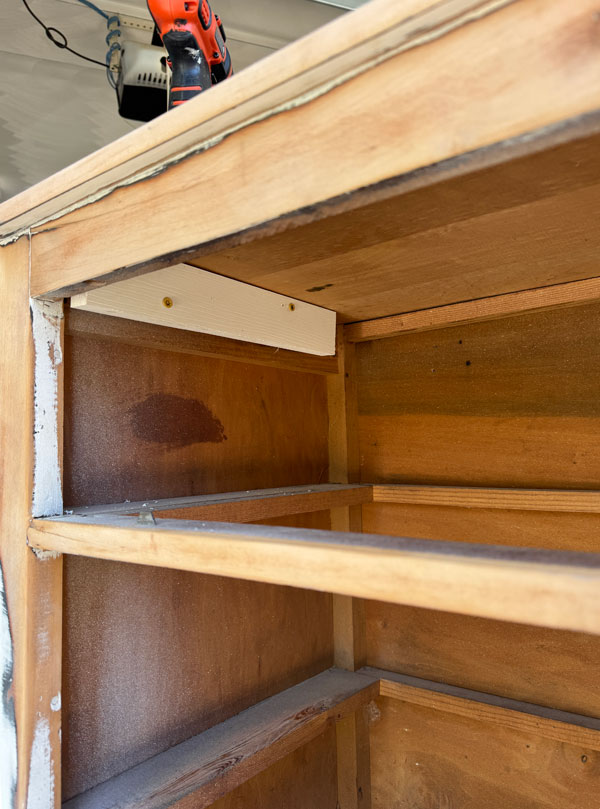
Now when you pull the drawer out, that piece of wood keeps it from tipping downward.
Paint
Finally, time for my favorite part of any makeover…paint! I went with In the Navy from Dixie Belle for this charming piece:
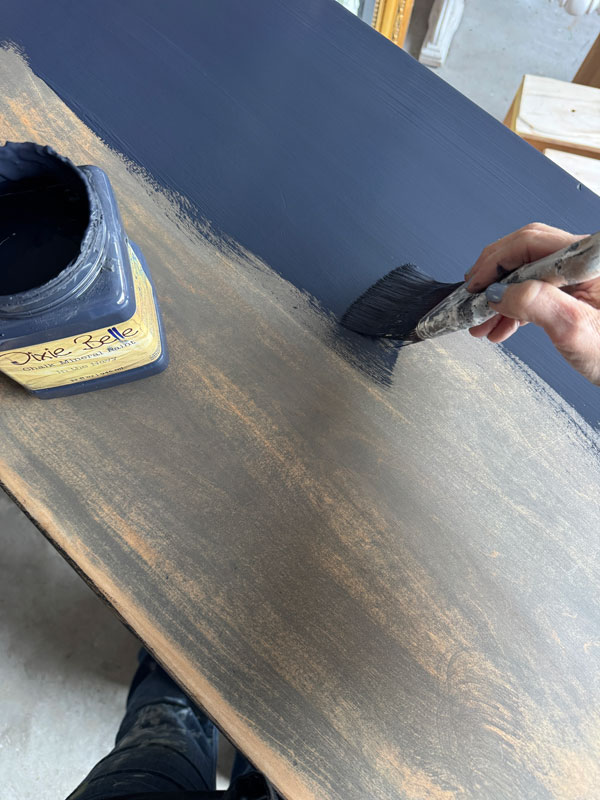
This dresser has such lovely lines that I felt it needed a simple, timeless color.
I gave it two coats for solid coverage.
Sand
Once the paint was dry, I used a fine grit sanding sponge to smooth out the finish. These are great if you don’t want any distressing.
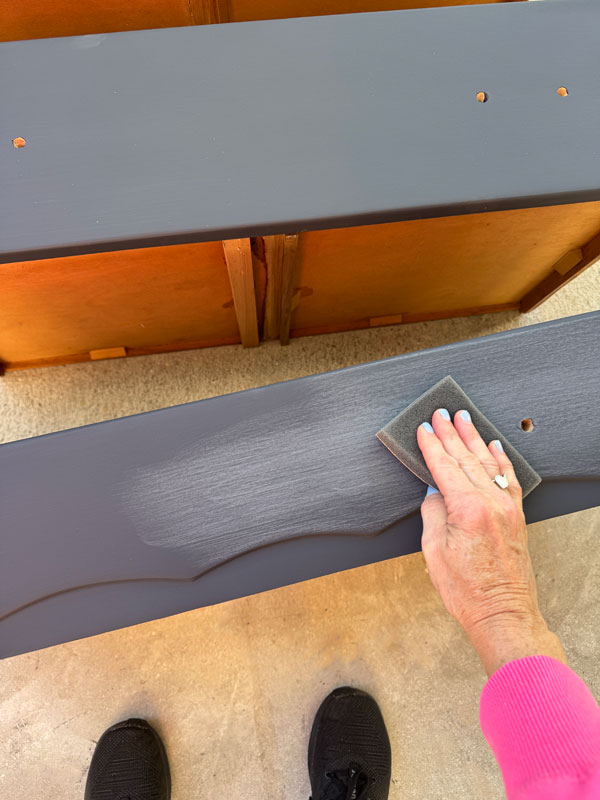
I know how hard it is to take sandpaper to a freshly painted surface, but trust me, it will make your surface buttery smooth!
Seal
After once again cleaning up any sanding dust with my shop vac, the only thing that was left to do was seal and protect this pretty paint finish. I did that using my favorite sealer for most furniture pieces, Clear Coat in the satin finish from Dixie Belle.
I always mention when sealing darker pieces, I like to add just a drop or two of paint to the sealer:
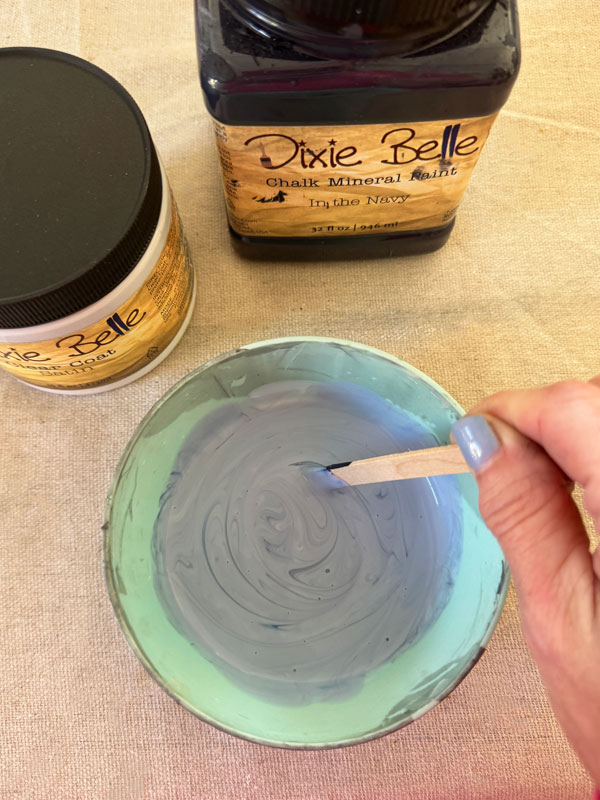
It prevents the “ghosting” effect you get when running your finger across a dark painted piece.
My favorite way to apply it is to use a blue applicator sponge. Cutting it straight on one or both sides makes it glide more easily:
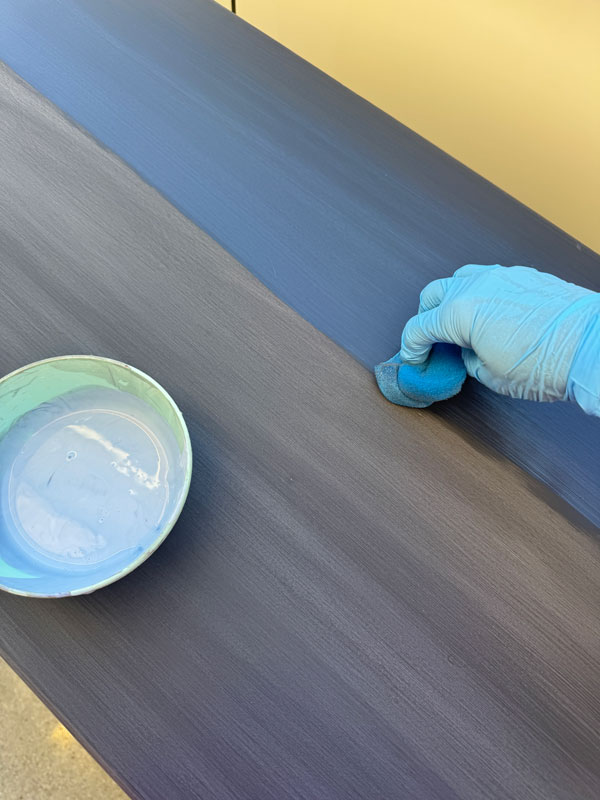
One coat may look streaky. Avoid going over areas multiple times. If you miss a spot, get it on the next coat. The second coat will even everything out.
Let’s jump to the after of this lovely piece!
$20 Yard Sale Dresser Redo Reveal
Here it is now!
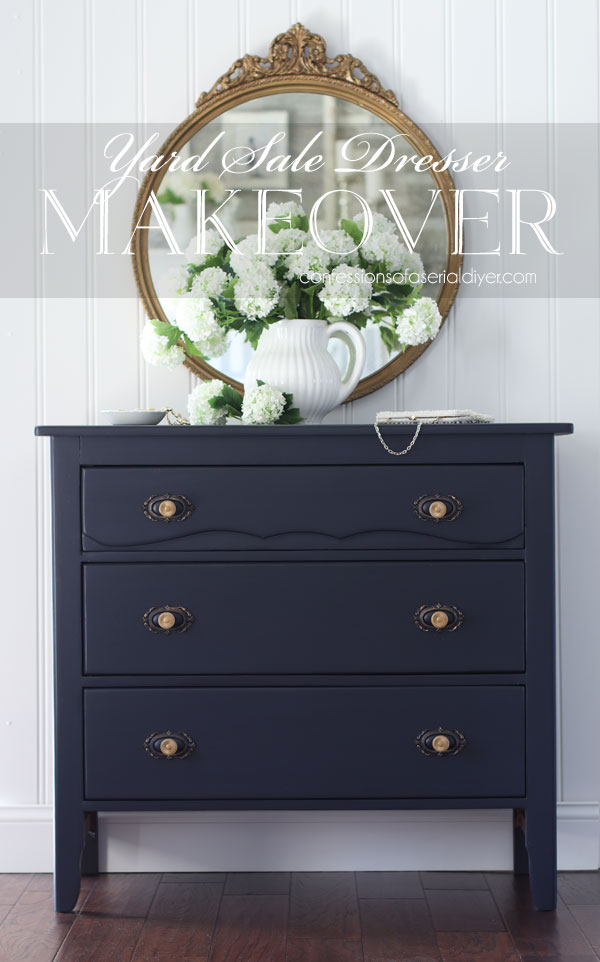
I wasn’t sure I could improve on the first makeover since I really liked it. The style didn’t quite match the vintage lines of this piece though.
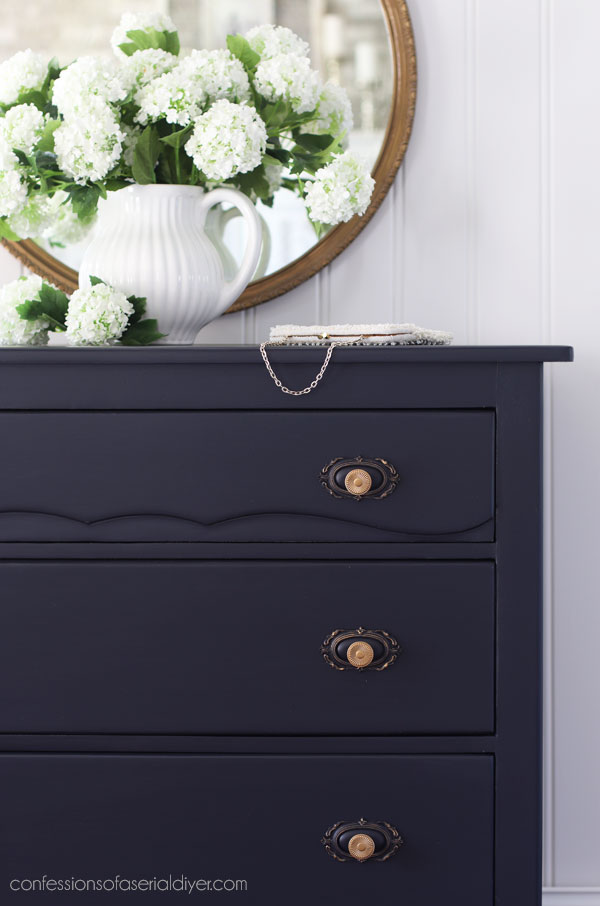
I think a simple, elegant makeover is just what it needed.
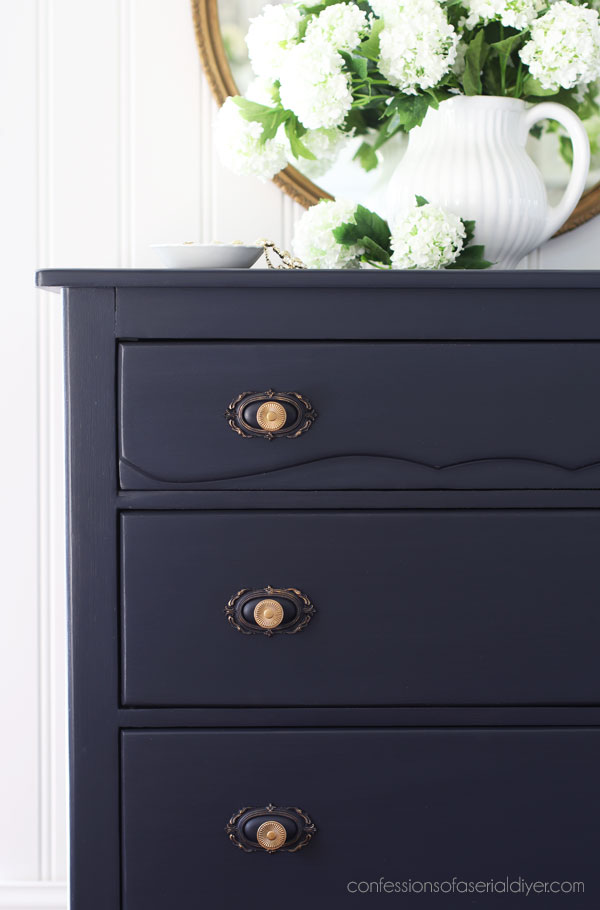
The pulls are my favorite part!
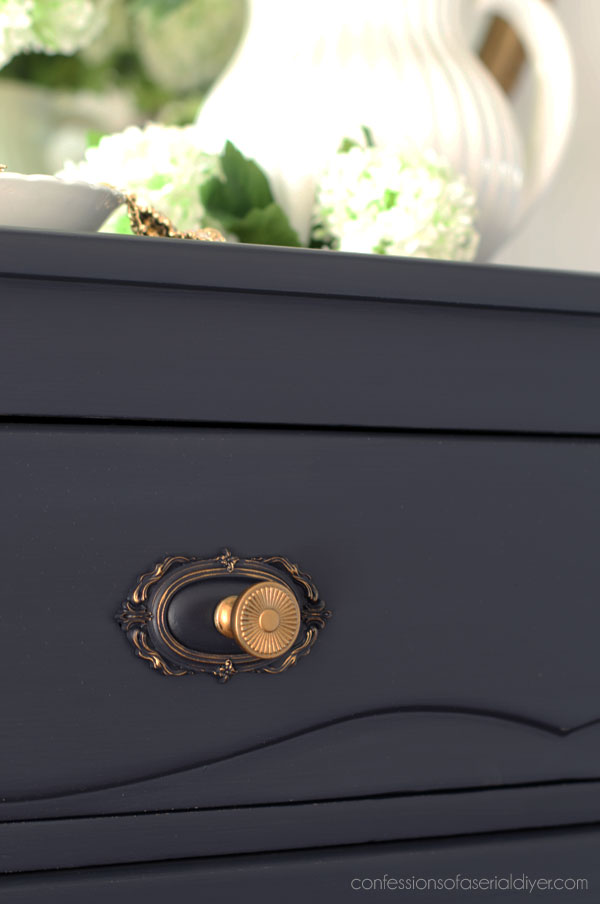
Many of you may recognize this backplate from the Soho Fusion mould from Redesign. Unfortunately, it is no longer available, but I’ve sold a ton of them, so I know many of you have it.
The holes on this dresser were unusually large, and I wasn’t sure how filling them would go, so luckily, these fit right over the existing holes:
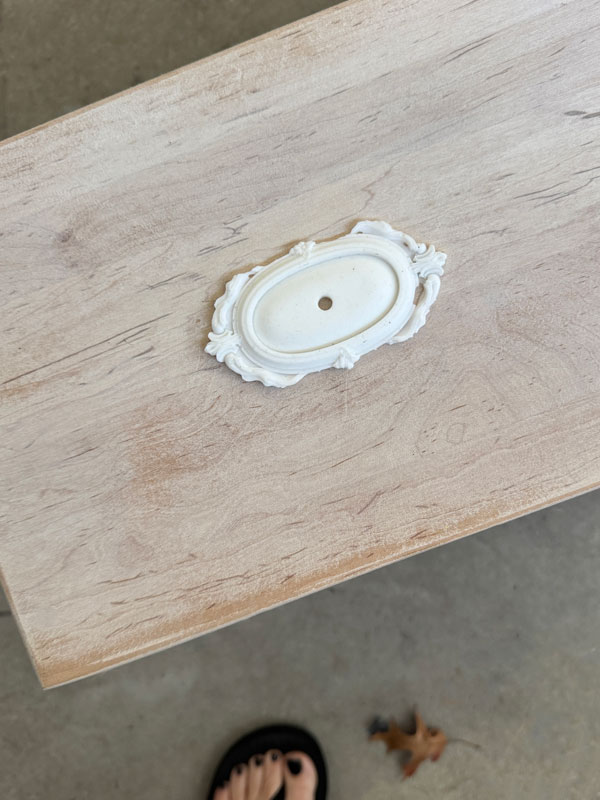
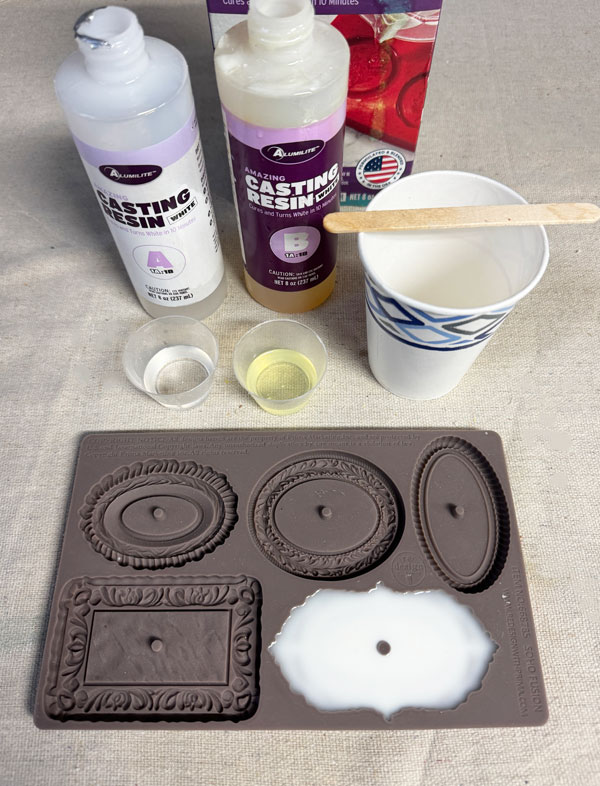
I cast six total using Amazing Casting Resin:
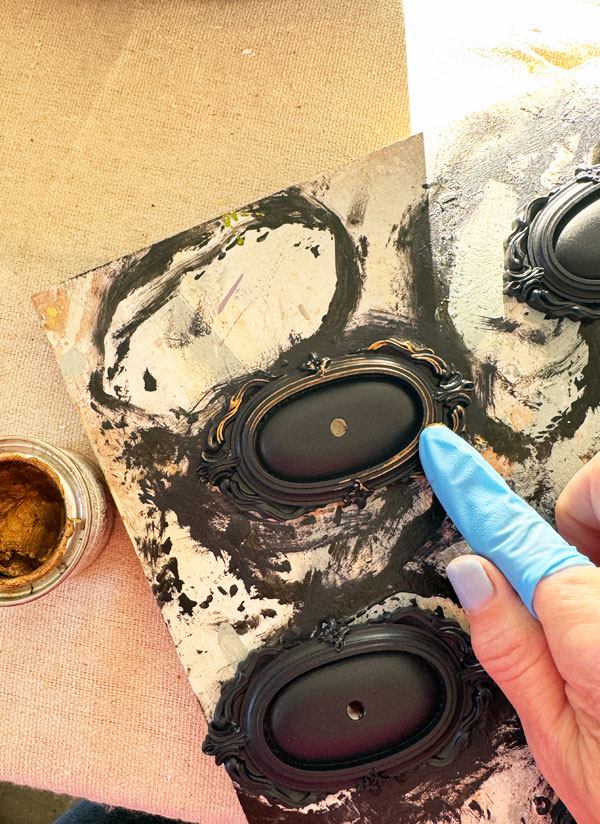
Then I painted them in In the Navy as well, followed by a quick seal with Rustoleum Satin Clear spray. I then highlighted all the details with Antique Gold Gilding Wax:
For the knobs, my husband bought me several knobs for Christmas last year thinking it would be helpful to have a bunch on hand for projects. These ended up being a great size, but not the right color, so I gave them a coat of Antique Gold Gilding Wax as well:
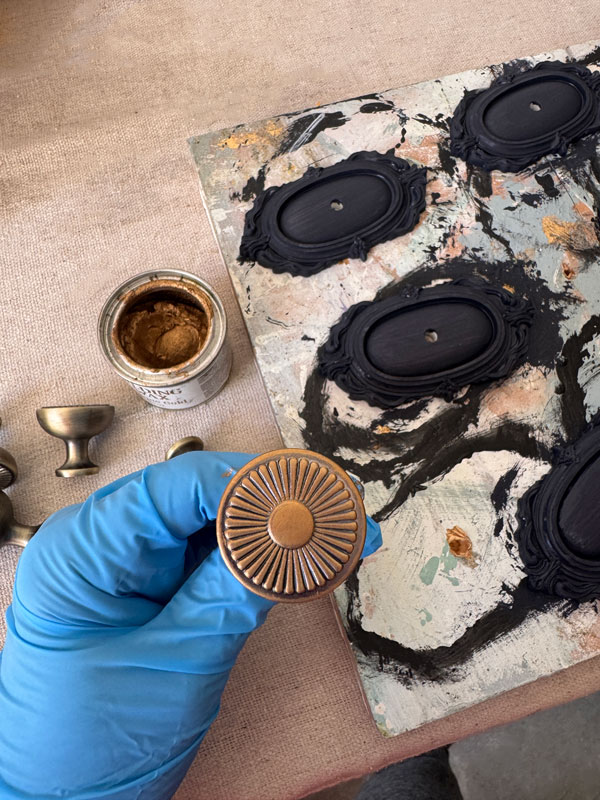
They are so pretty together!
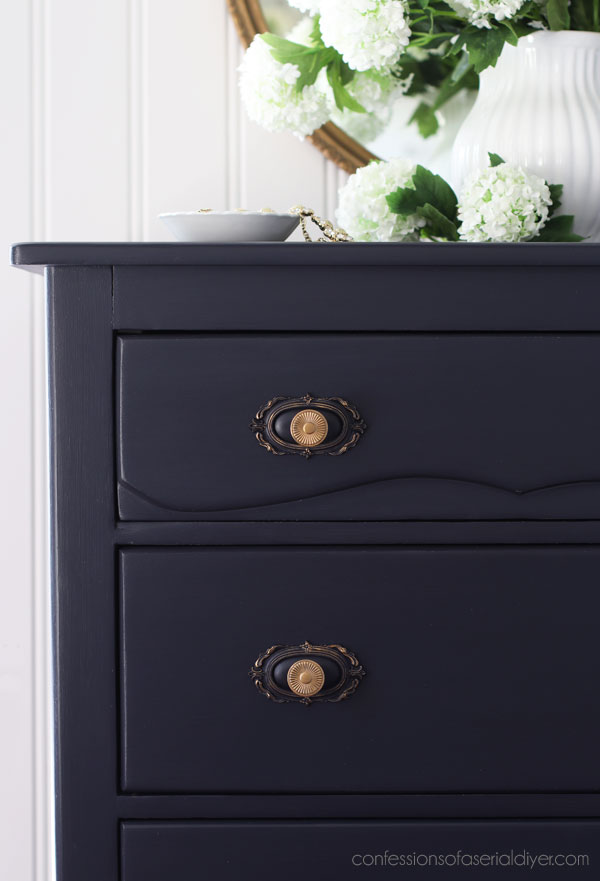
I really hope they bring this mould back!
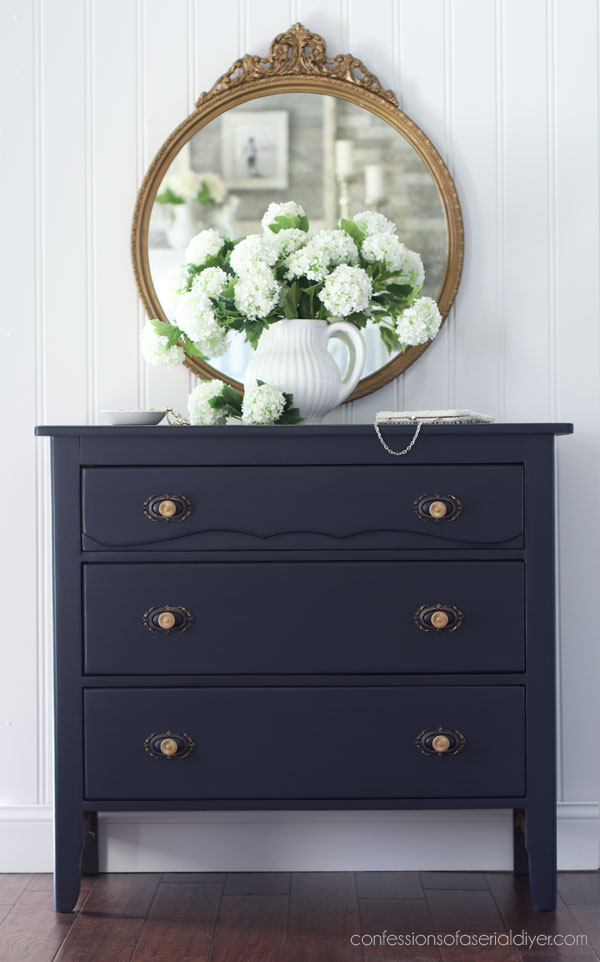
This mirror was a fantastic thrift store find many years ago…
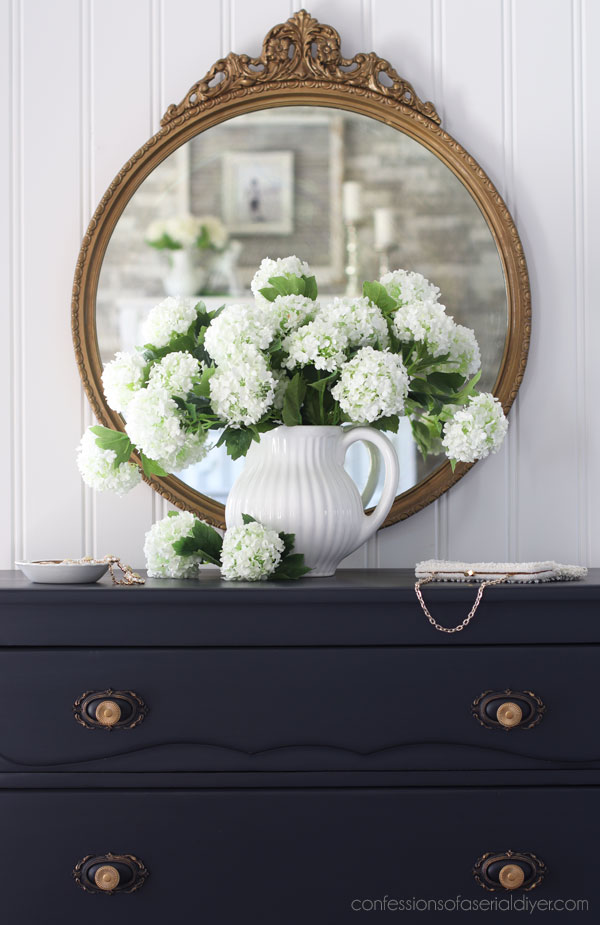
The Drawers
The drawers on this dresser needed some love as well. They had two layers of contact paper inside:
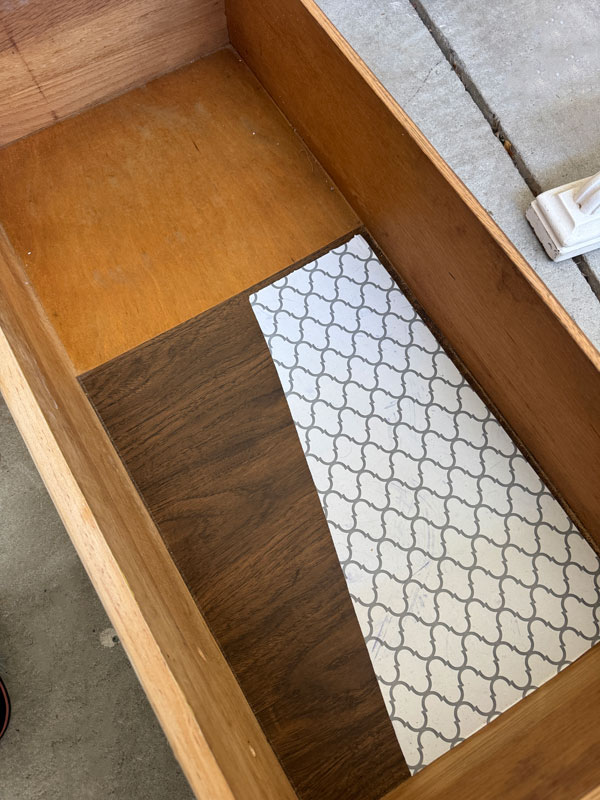
The bottom two drawers were in decent shape after removing it, but this was the condition of the top drawer:
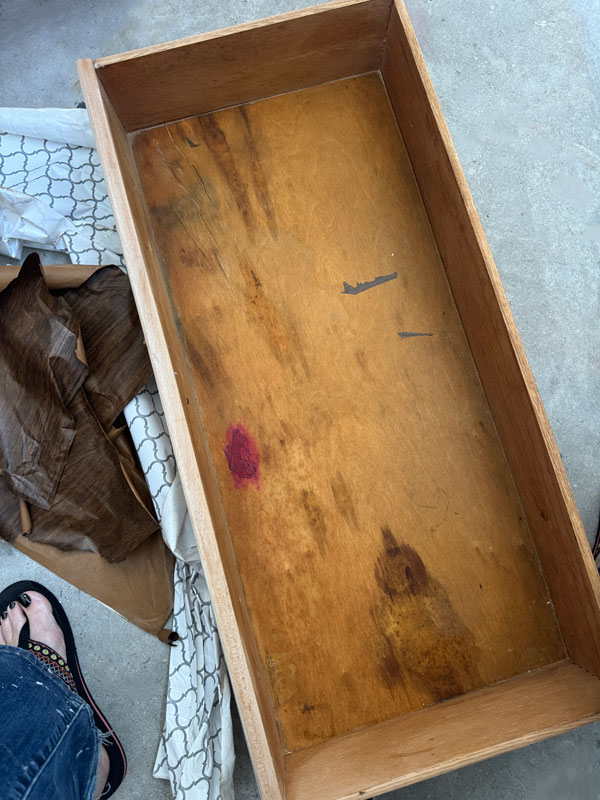
Yikes! Getting trashier!
I decided to add some pretty decoupage paper to that top drawer and Butta the rest.
To do that, I first painted the bottom in a coat of Fluff to give me a nice, bright background for the paper:
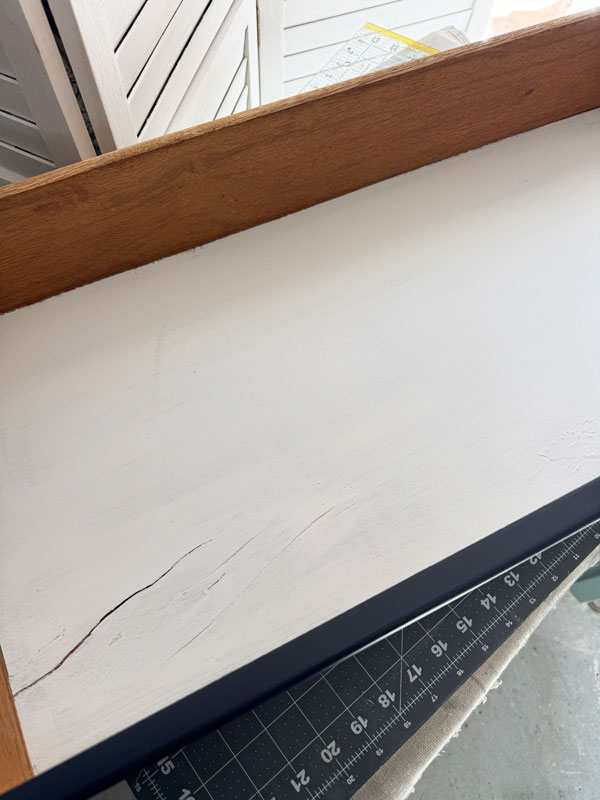
Fluff has excellent coverage for a white, so I was able to get away with only one coat here. (I did secure that peeling/splitting interior with wood glue first.)
Then, I cut this lovely Cerulean Blooms decoupage paper to fit the drawer using my rotary cutter and cutting mat set:
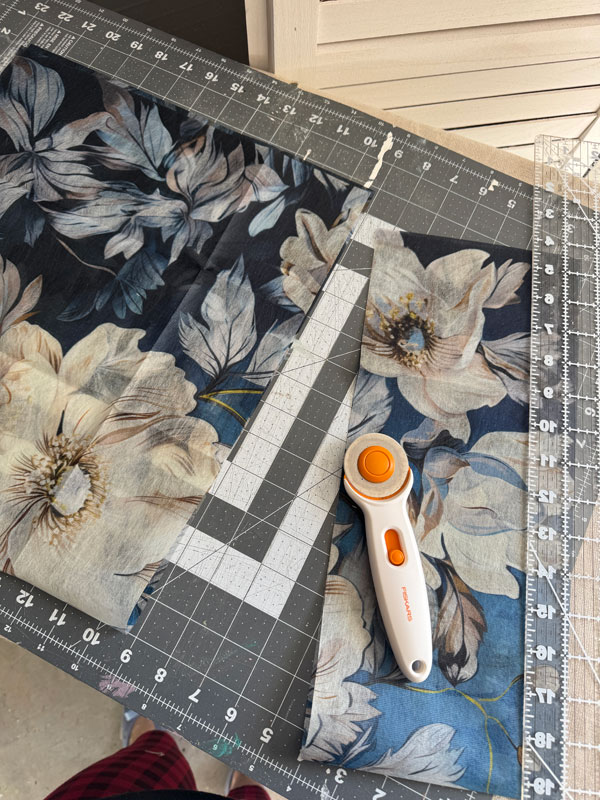
After ironing it on the lowest setting, I applied one coat of Redesign’s Decoupage Gel in the matte finish and laid down my paper, smoothing it out with a balled up piece of saran wrap:
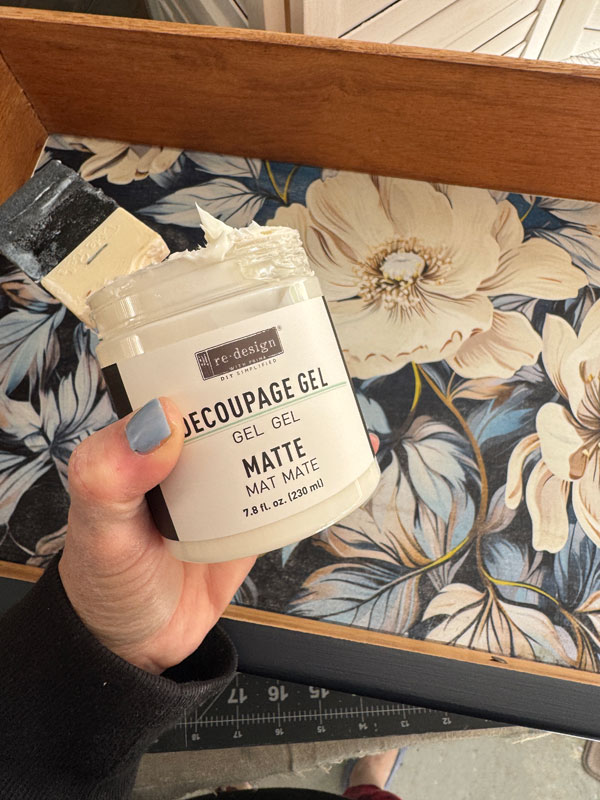
Then, I applied another coat over the top using my 2″ Foam n Dandy Brush:
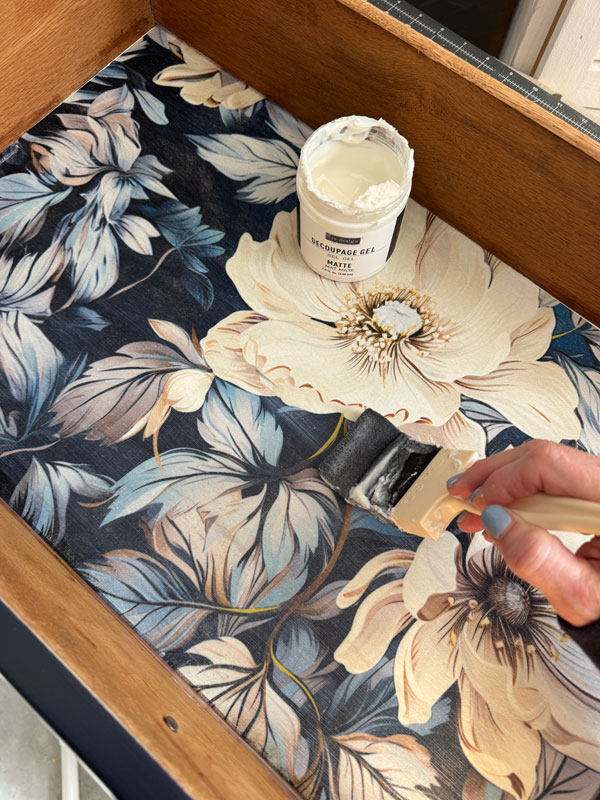
It fits perfectly in the jar. I have used this foam brush over and over again, and it washes up so nicely.
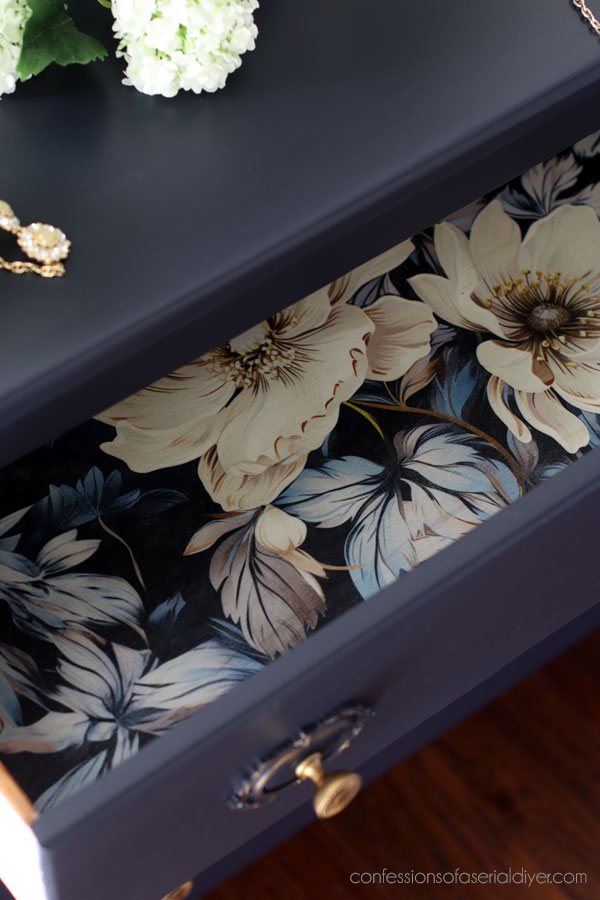
Here’s that drawer after:
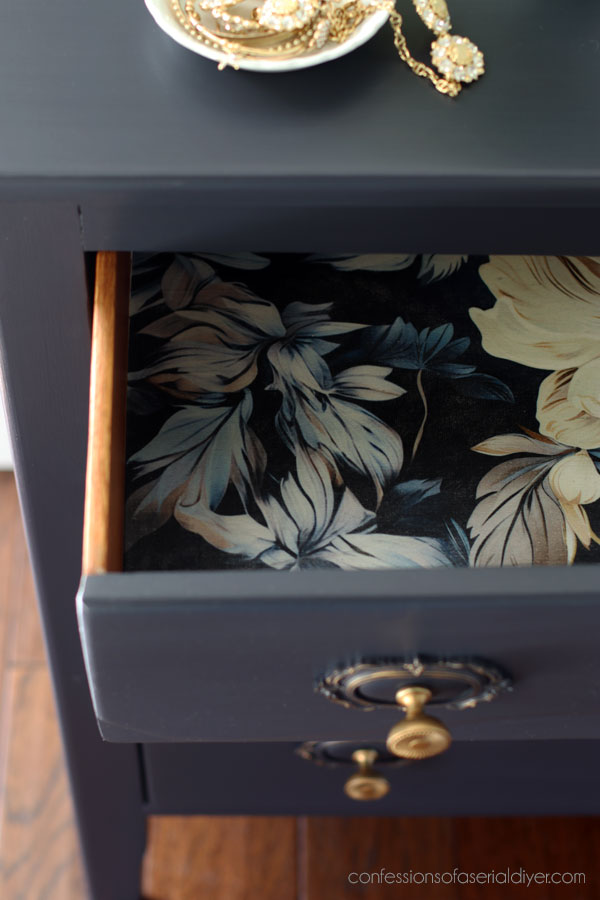
Much better!
Here is what the outsides of the drawers looked like before:
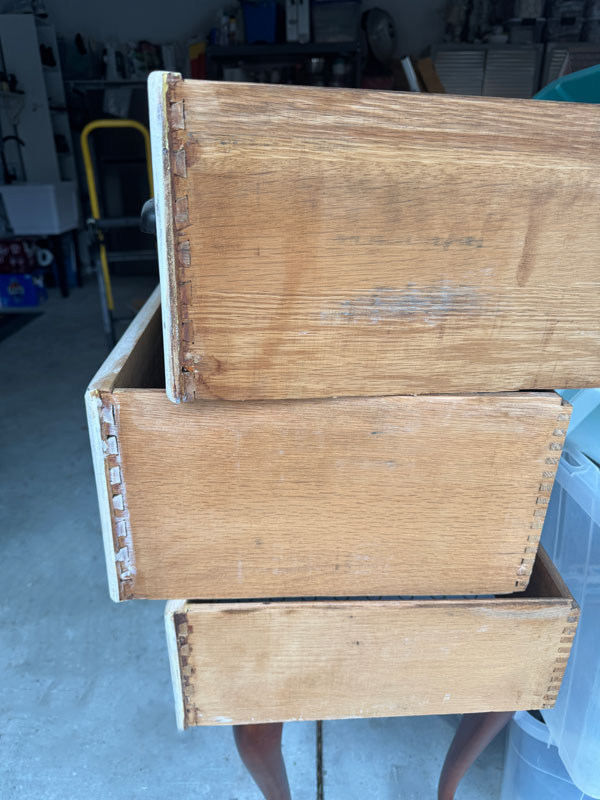
See? It really is a Trashy treasure after all, right?
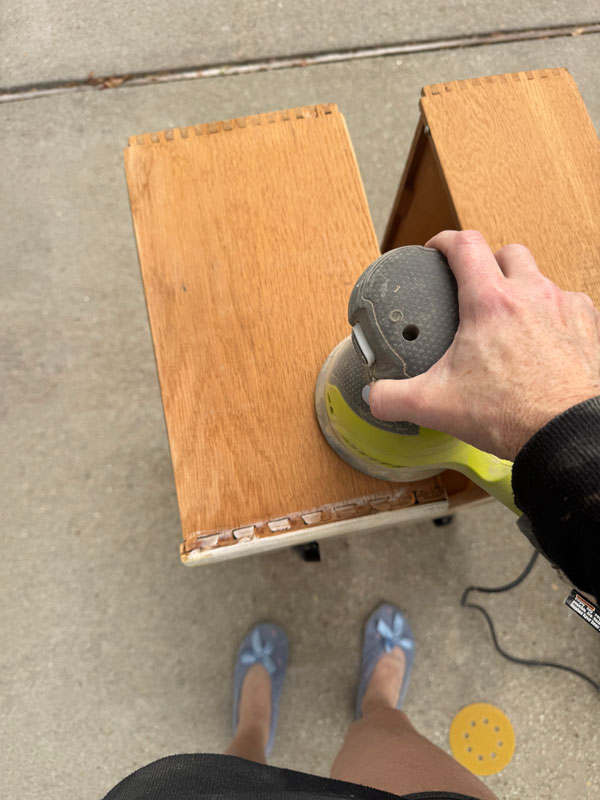
I sanded those down while I was sanding the rest of the dresser…in my slippers!
Then, I hydrated them as well as the rest of the drawers, inside and out, with Big Mama’s Butta in the Ginger Zen scent:
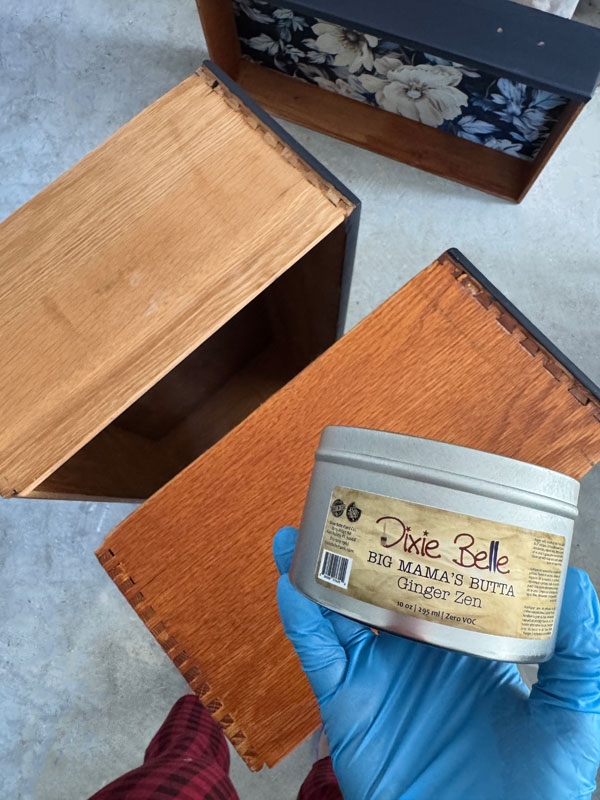
It does not smell like ginger at all, but rather a sultry amber scent. I love it!
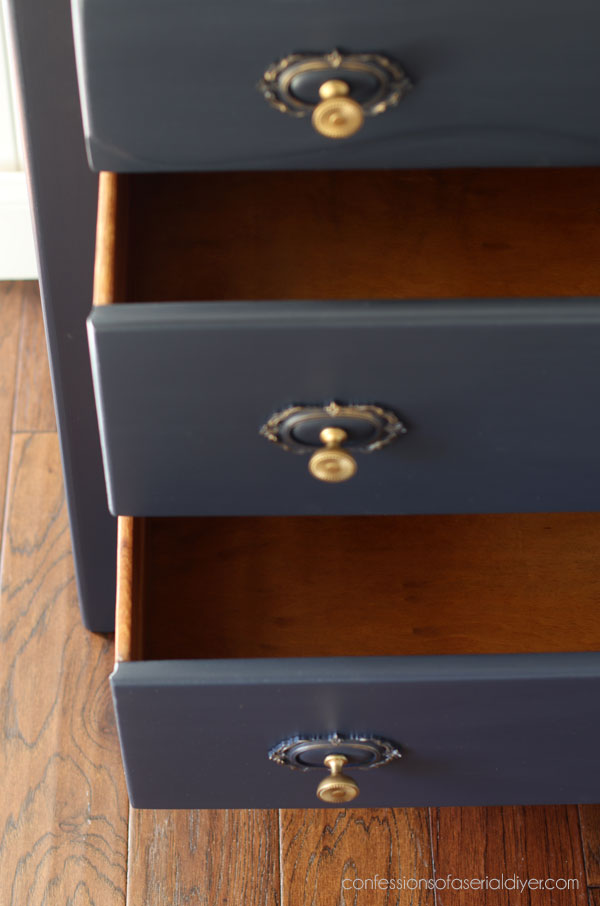
Luckily, that is all the other two drawers needed since they were in great shape.
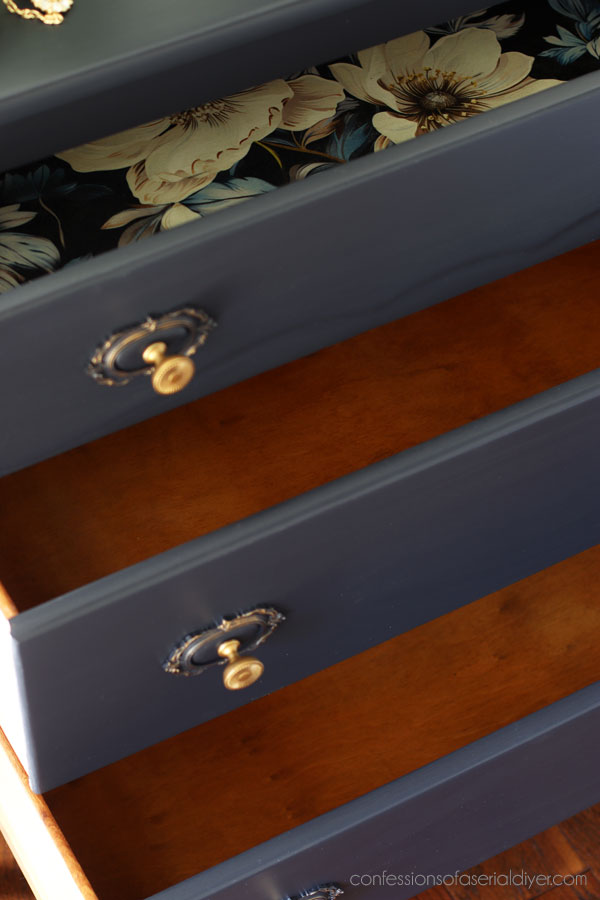
Here’s a look from the side:
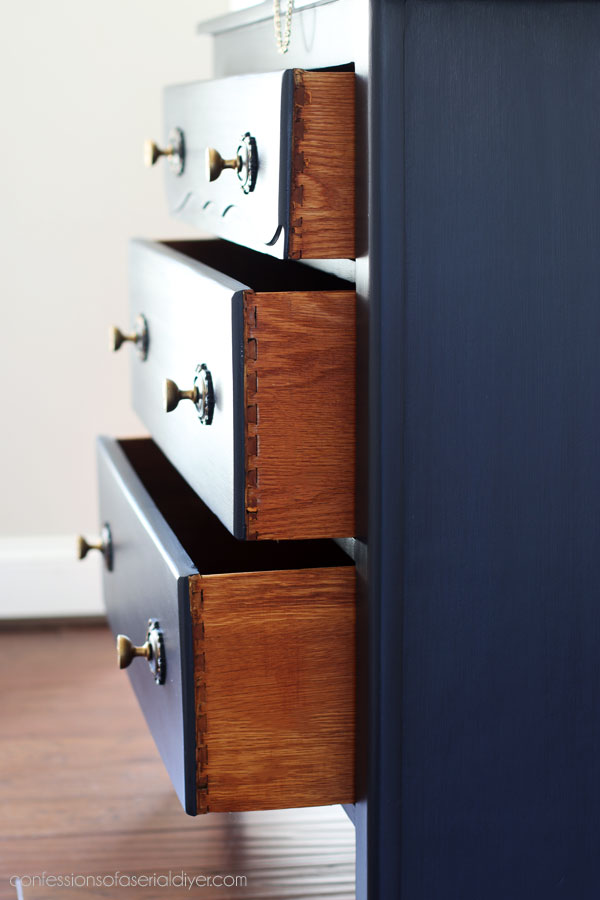
SO much nicer than the before!
And that top drawer? No tipping woohoo!
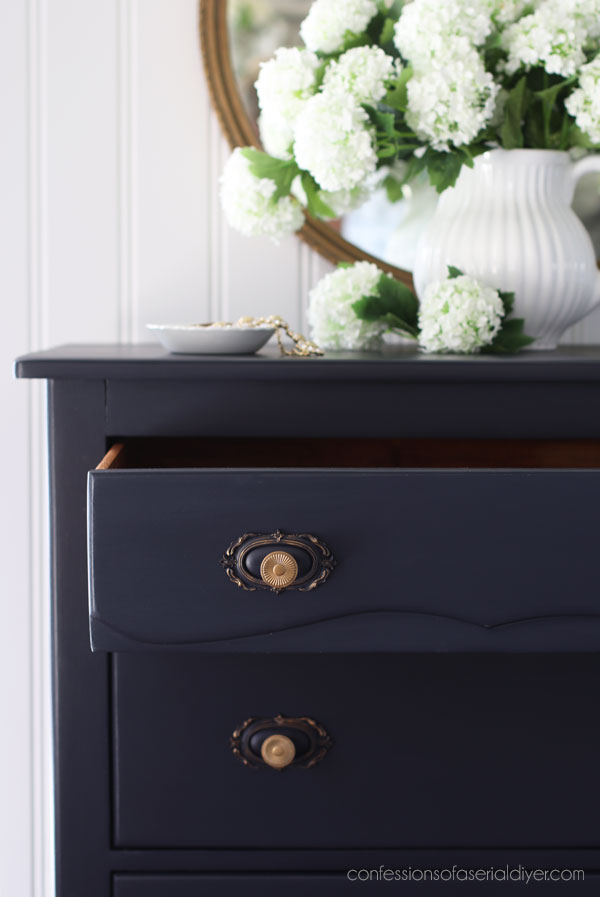
My color inspo was this mirror I redid a couple of weeks ago:
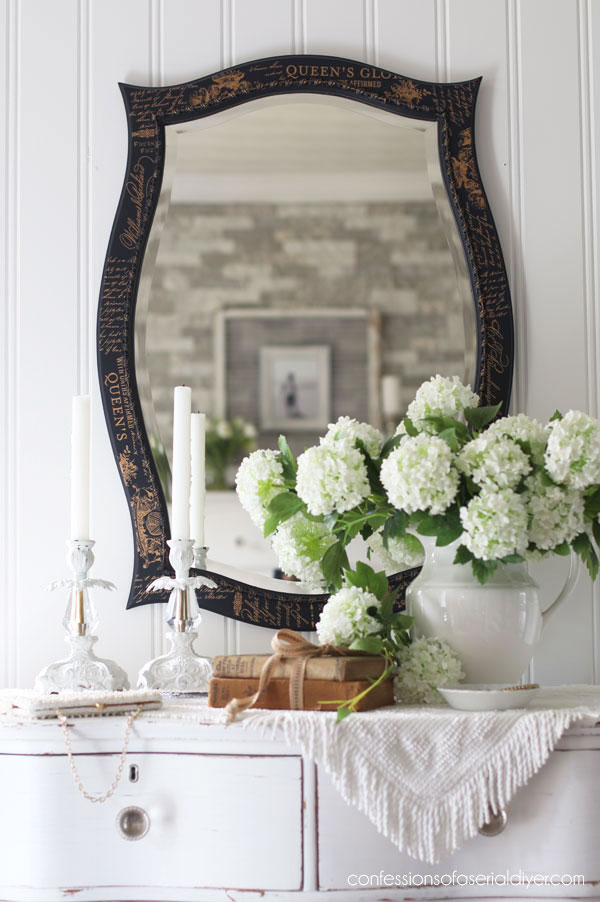
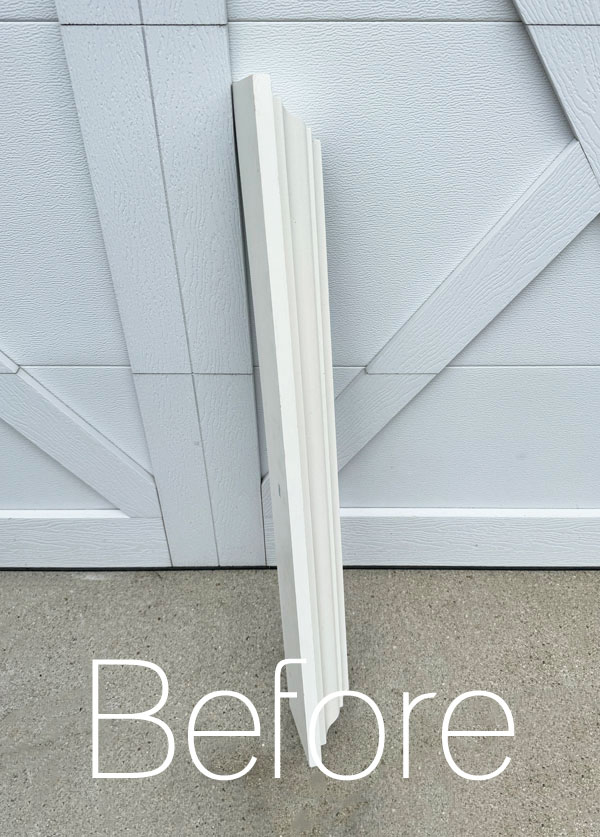
I updated it with paint, transfers, and this moulding I added around the edge of the mirror:
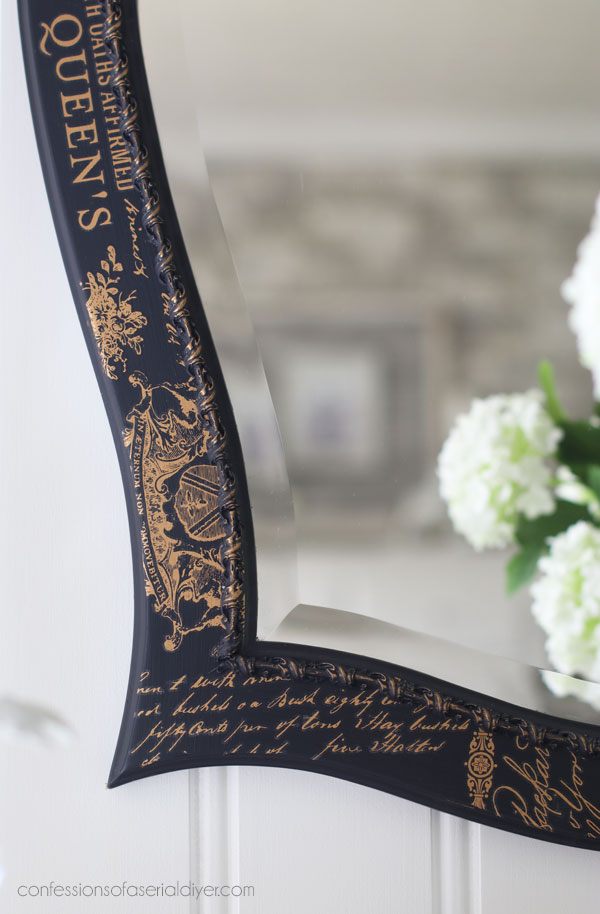
You can see more of this makeover and how it started HERE if you missed it.
I don’t know if the size will work with this dresser, but I’m hoping so! I’m looking forward to pairing them up in my booth!
A simple, elegant makeover for a a simple, elegant beauty of a dresser!
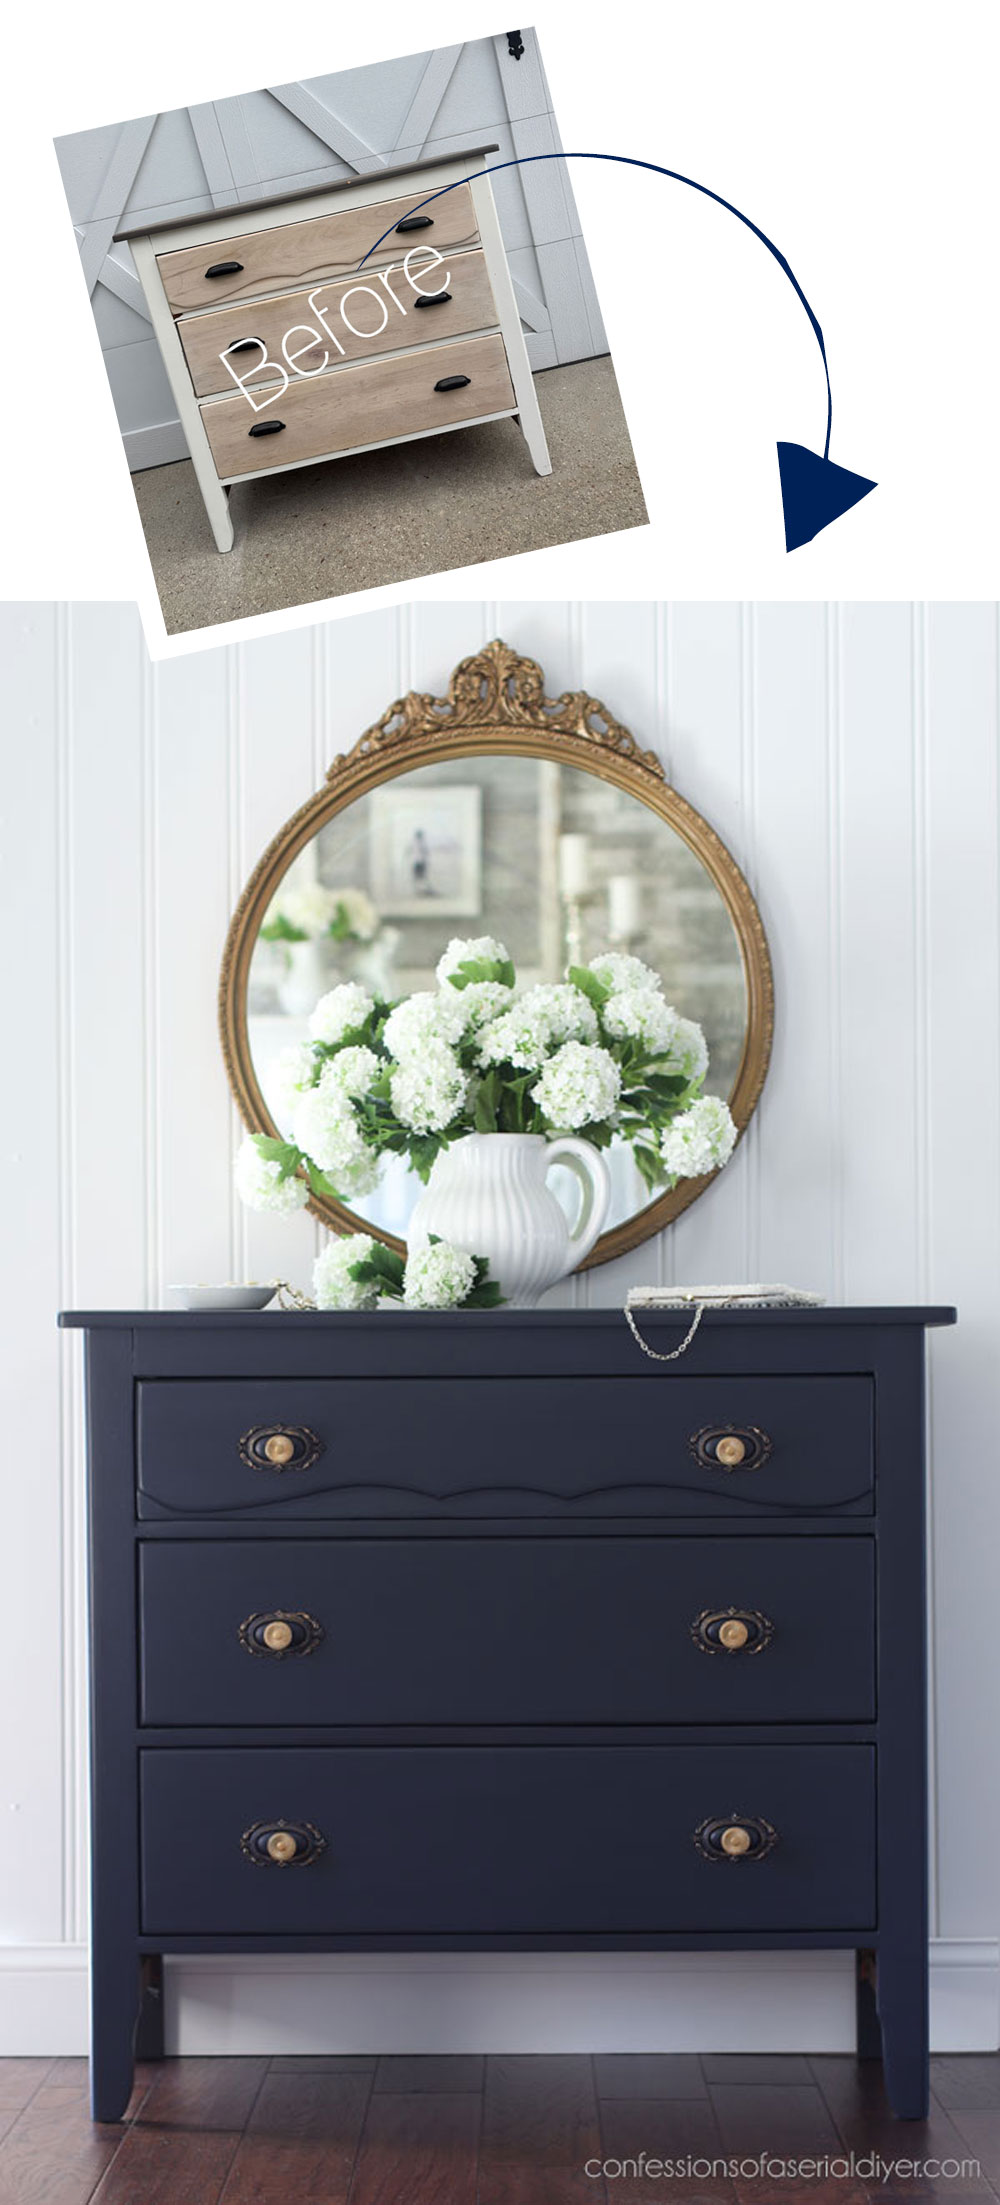
Which version do you like better??
Don’t forget to check out what my Trashy Treasures Friends have for you today!
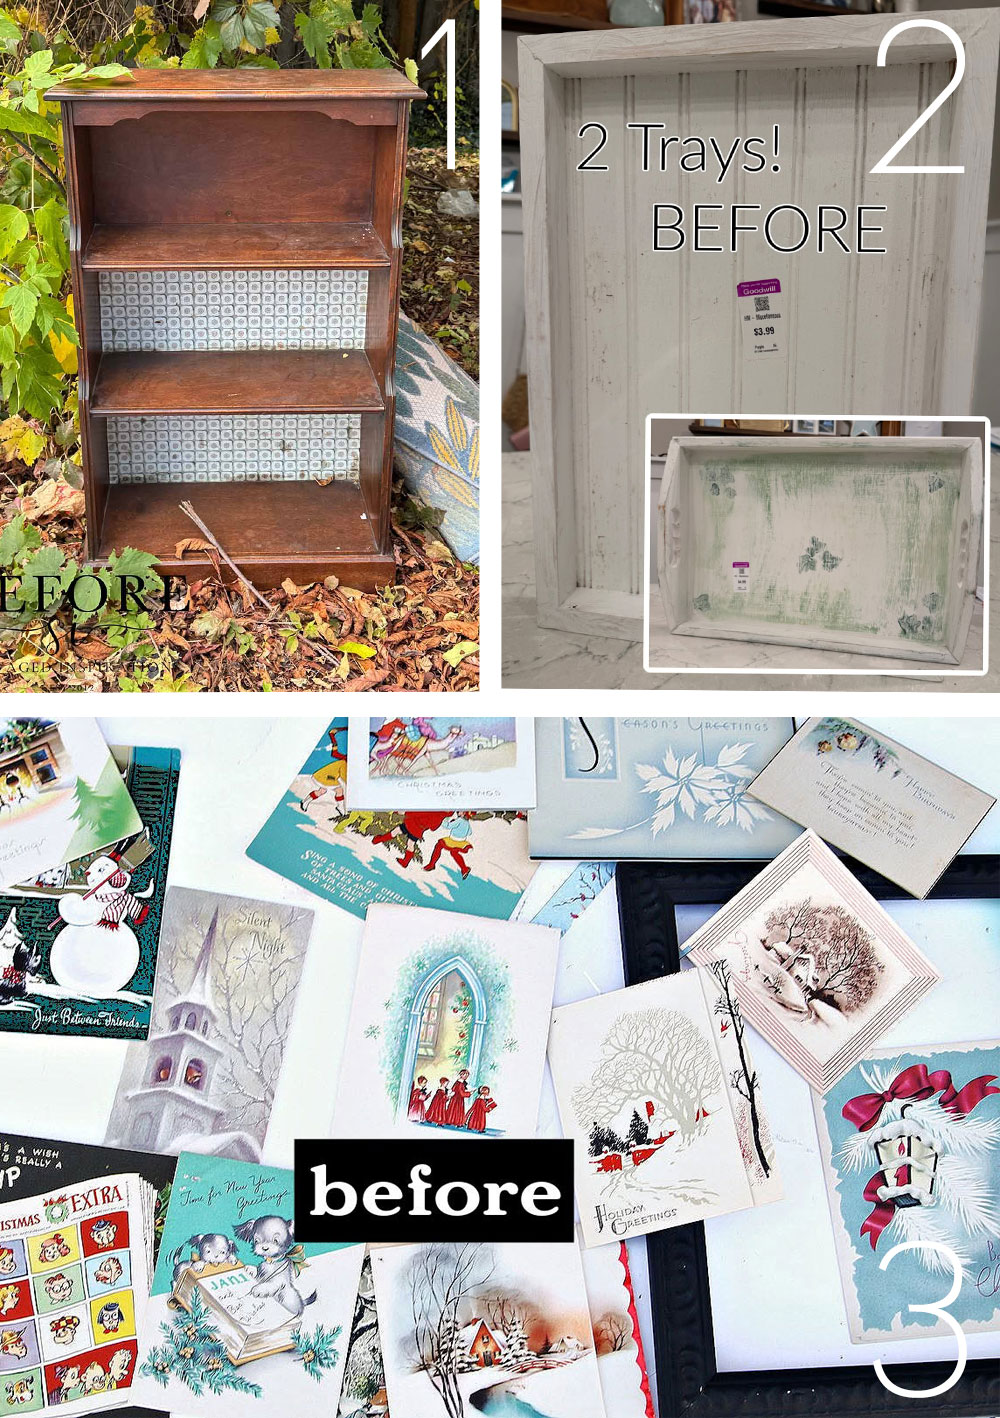
1. Curbside Bookcase from Salvaged Inspirations
2. TWO Tray Makeovers from Artsy Chicks Rule
3. Simple DIY Christmas Idea from Petticoat Junktion
Although I found today’s dresser this summer, it never made it into this haul because there was no room in the photo lol. But I’d like to think I still crossed something off the list!
I’ll be back on Thursday with this stuffy thrift store shelf. One addition made it so much better!
See y’all then!
XOXO,

Don’t Miss a Thing!
If you like what you see, there are several ways to follow along!
EMAIL * INSTAGRAM * FACEBOOK * PINTEREST
Get FREE SHIPPING on all orders over $50 in my Etsy shop.
(No code needed at checkout!) Orders under $50 enjoy $8 flat rate shipping!
Most orders ship same or next business day!
Visit my shop HERE or click the image below!






Leave a Reply