Hello lovelies and welcome back!! Today’s makeover is the perfect candidate to share how to use Slick Stick to paint metal. It’s also Trash-to-Treasure Tuesday which means four of my favorite friends are here with trashy makeovers of their own, so be on the lookout for those at the bottom!
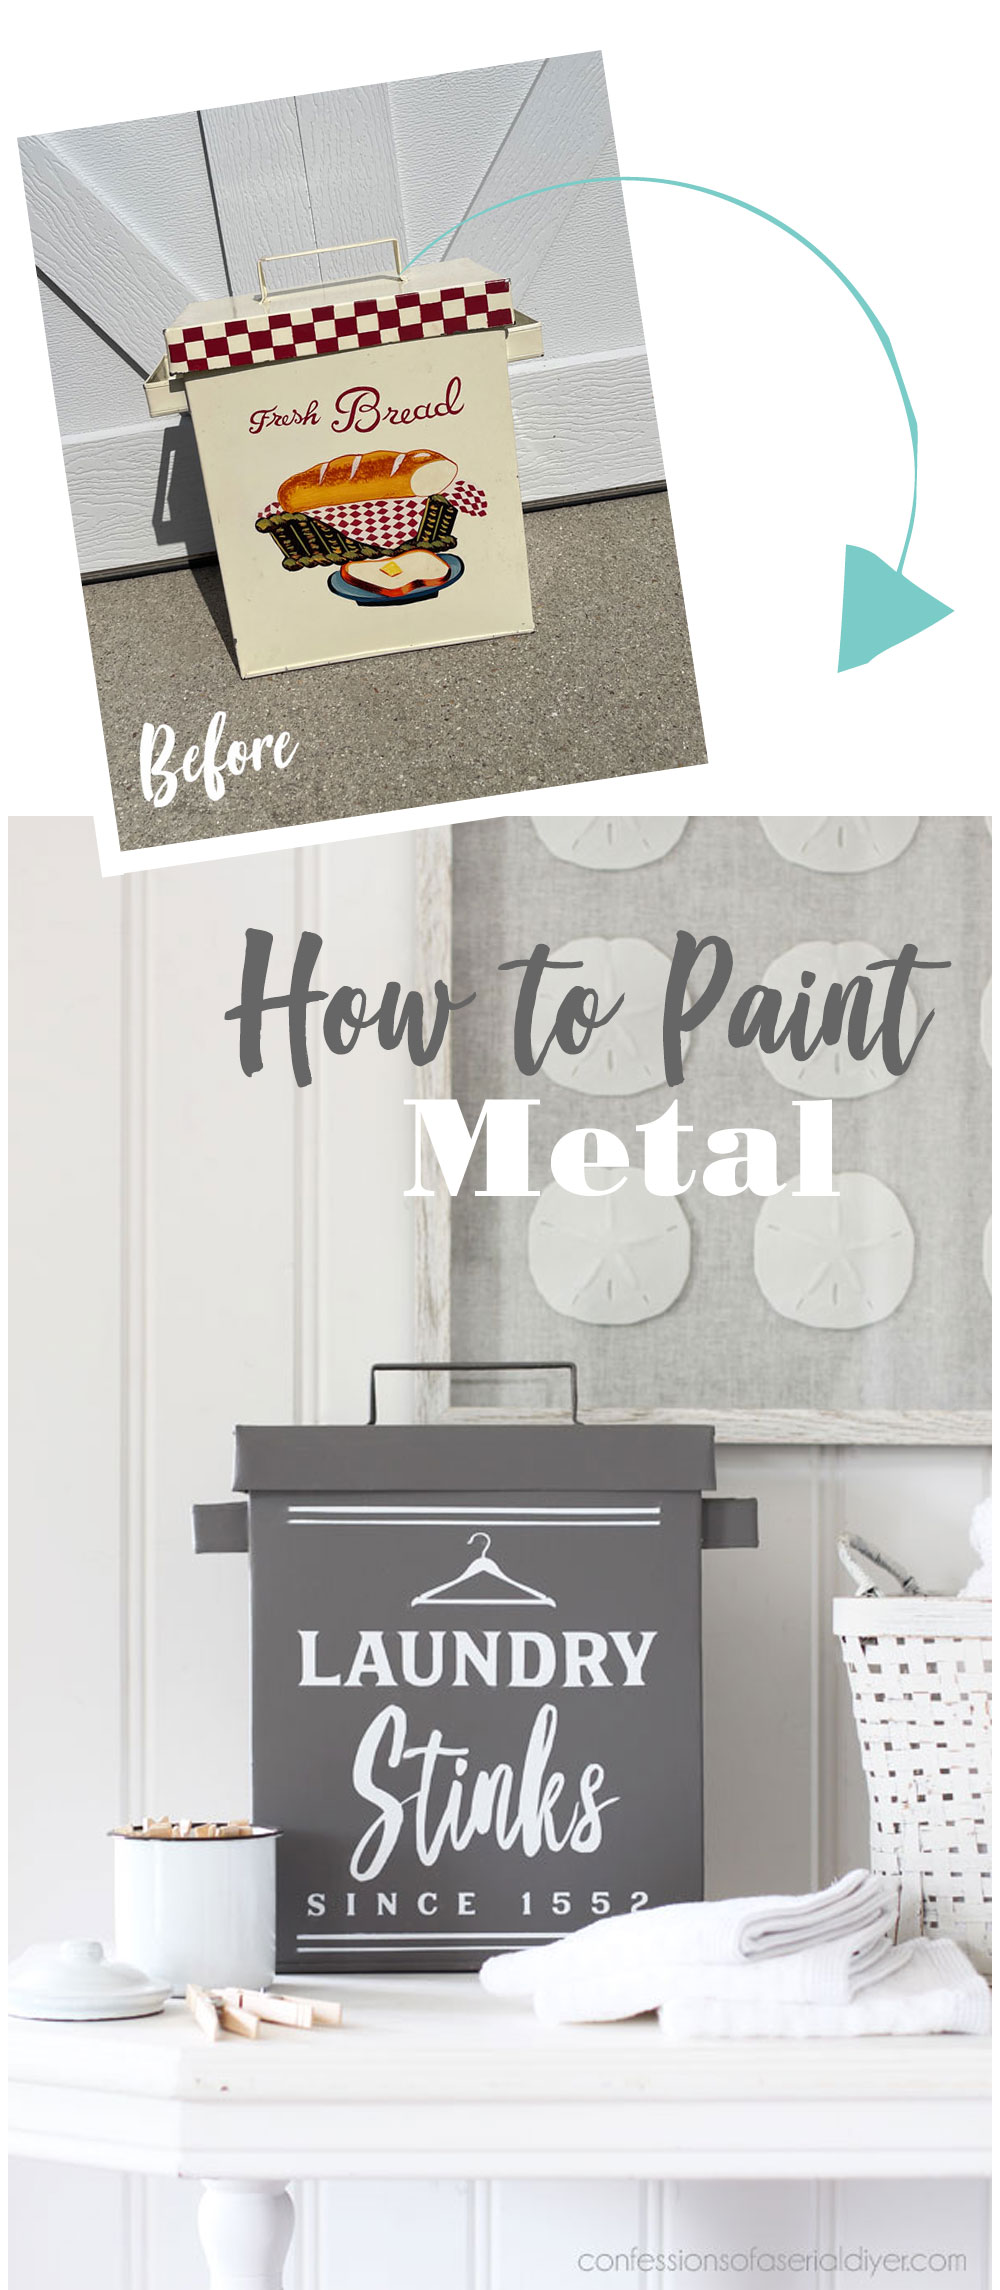
My mom found this metal bread box at a yard sale several years ago for $3:
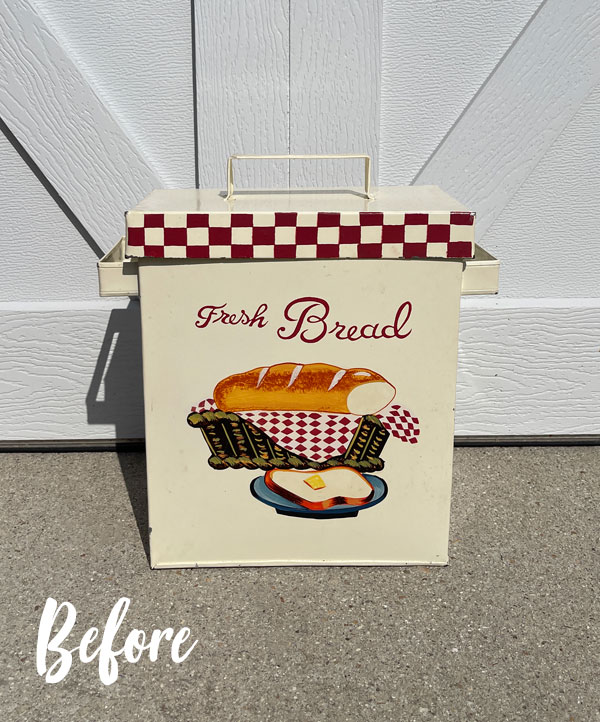
She recently found one that she liked better, so she offered this one to me add to my redo pile.
Yes, please, and thank you!
Instead of keeping it as a bread holder, I had another plan for it!
I’ve included a few affiliate links so you can find the products I love.
When I think of painting metal, I automatically think of spray paint. It seems like the only thing that would be tough enough to tackle the job. However, there is an alternative!
THe PRep
I started by giving this container a good wipe down.
I wanted to take care of painting the inside first, and I knew the interior of this container would be difficult to paint with a brush.
So, I gave the inside a quick couple of coats of Rustoleum in Satin White:

That made it much easier! I could have just kept going with spray paint for the outside, but sometimes, I just don’t want my piece to look spray painted. I wanted to use chalk paint instead.
The solution is Slick Stick!
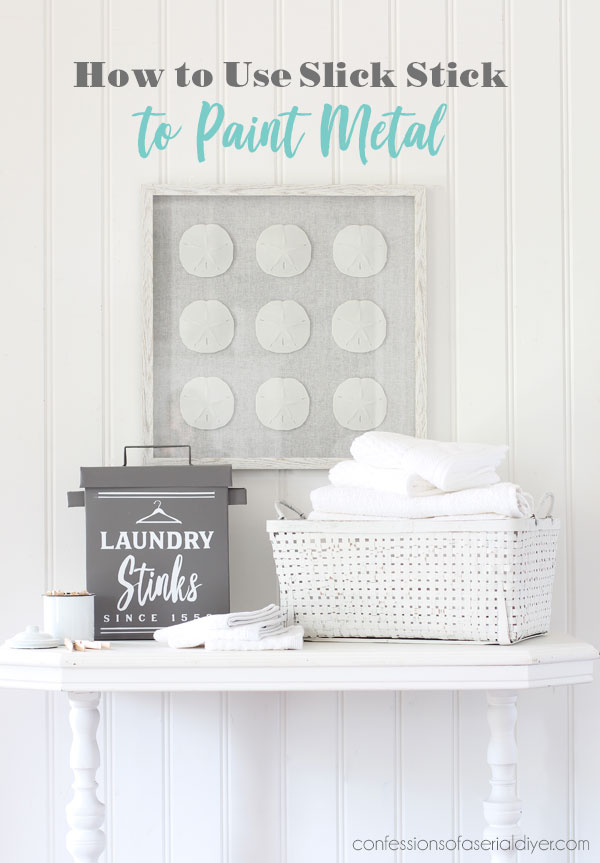
How to Use Slick Stick to paint metal
Slick Stick by Dixie Belle is formulated to help your paint adhere to all those hard-to-paint non-porous surfaces like laminate, glass, plastic, and yep…metal!
When using Slick Stick, you want to paint one coat and then let it dry for two hours:
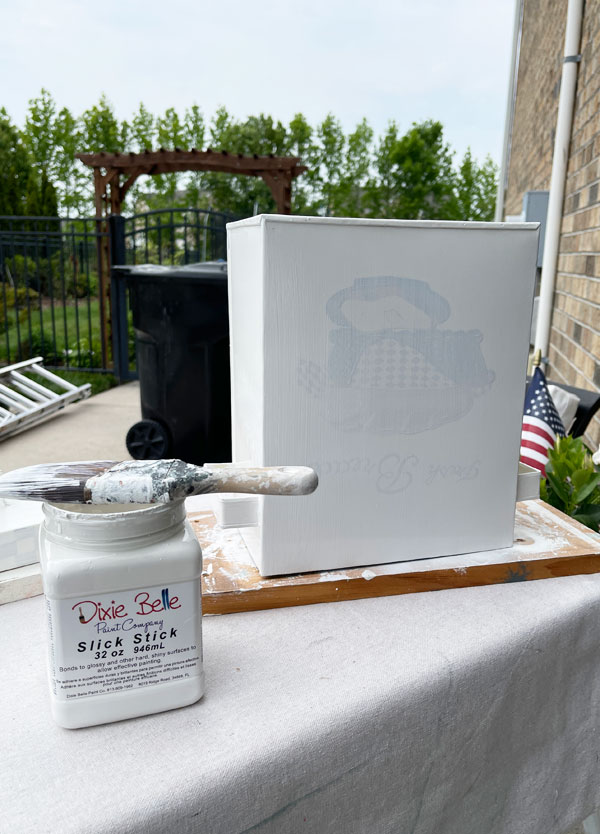
Then, follow up with a second coat and allow it to dry overnight. That’s it! It is now prepped for paint!
**Slick Stick can be used in place of sanding when prepping for Silk Mineral Paint also!**
Paint
The next day, I painted it in this beautiful Hurricane Gray color:

Sorry about the lovely view of our garbage cans in background…oh and Hubby’s booty too! Ha ha.
That photo was just one coat over the white Slick Stick…it has fantastic coverage!
I did give it one more coat though, and then it was time to decide on what I else I wanted to do with it.
Adding words
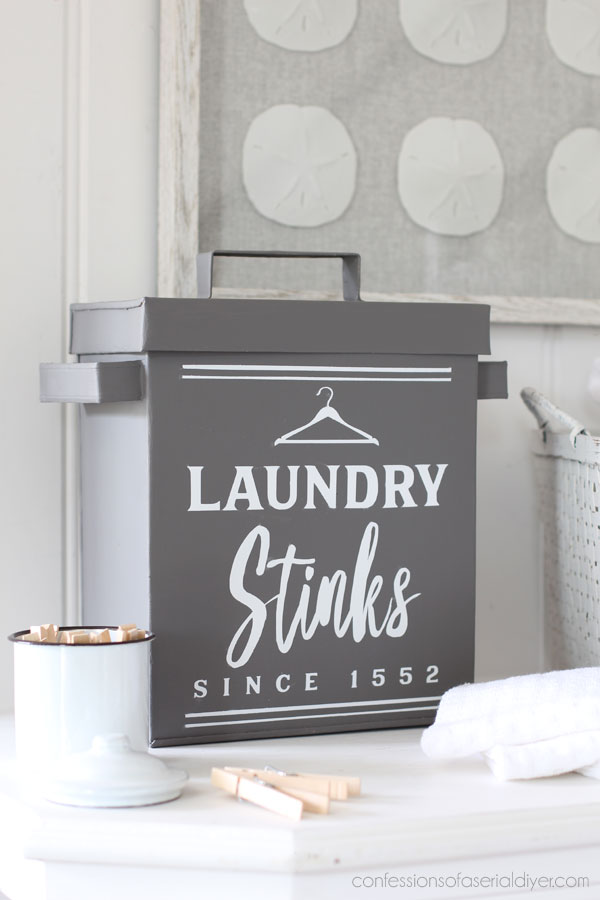
I decided that this bin might function better in a laundry room holding soap powder, tide pods, or even lone socks, so I set out to find something laundry room-ish for the front.
I looked through the Silhouette store which had several options, but none that I was in love with, so I did some googling and found this sign on Amazon:

I liked the look of it but I didn’t love the word “suck”, so I saved the image and then played with it in my photo editor, changing it to “Laundry Stinks”, which is more appropriate anyway!
I uploaded it to my Silhouette Cameo and printed it out on contact paper. (Contact paper is more cost-friendly for we cheapos.)
See how I upload my own designs to print with my Cameo HERE.
Then, I just sprayed two light coats of Flat White Spray Primer to fill in the letters:

I chose spray primer because it’s flat like chalk paint, and I chose it over my regular craft paint for two reasons. First, the entire project was covered, so there was no worry of overspray. And second, I did not plan to sand the surface of this project after, so I needed something that would go on very light and thin.
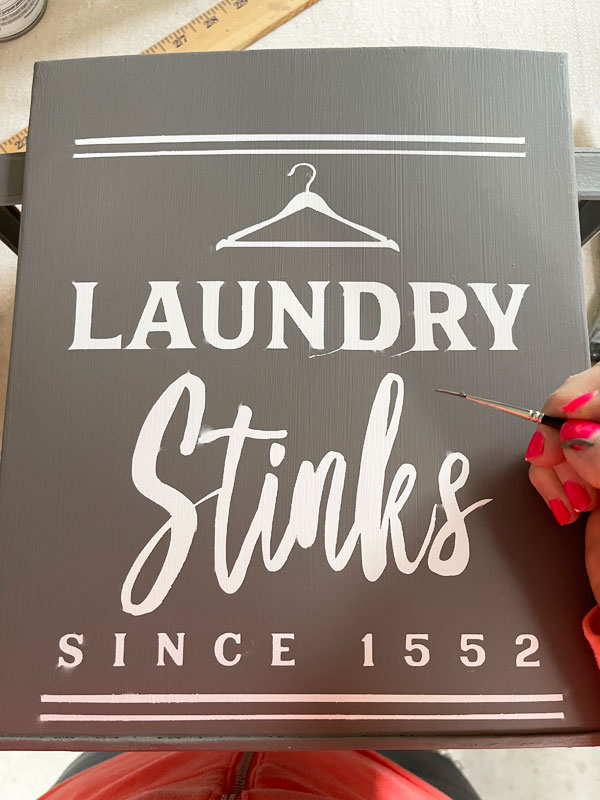
After removing the contact paper, there were a couple of areas that needed touching up where the contact paper had torn.
I did that with a small liner brush:
Because I chose not to sand this piece, I did use a finishing pad over the entire surface to smooth it out without messing up the finish.
Seal with Wax
I chose Best Dang Wax in clear to seal this piece, applying it with my Best Dang Brush:
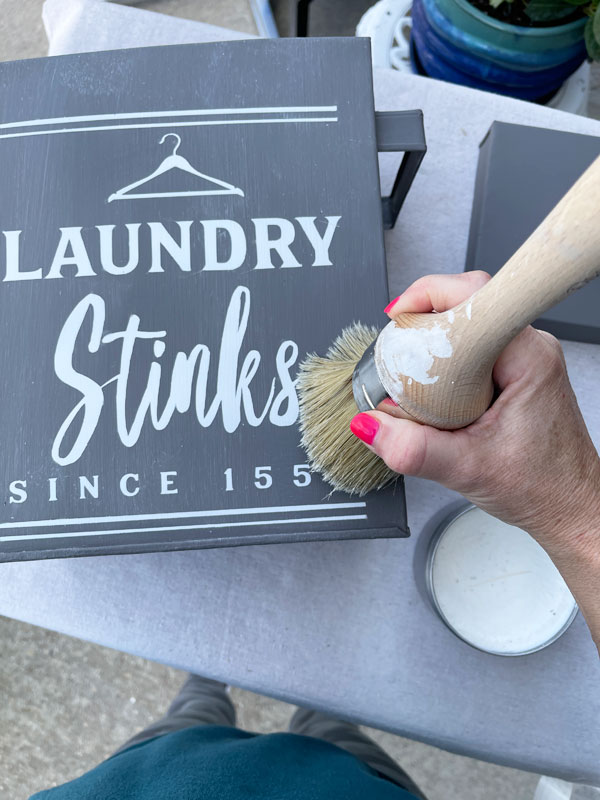
Then, I wiped away any excess and buffed it in with a clean, soft cloth:

And this makeover was complete!
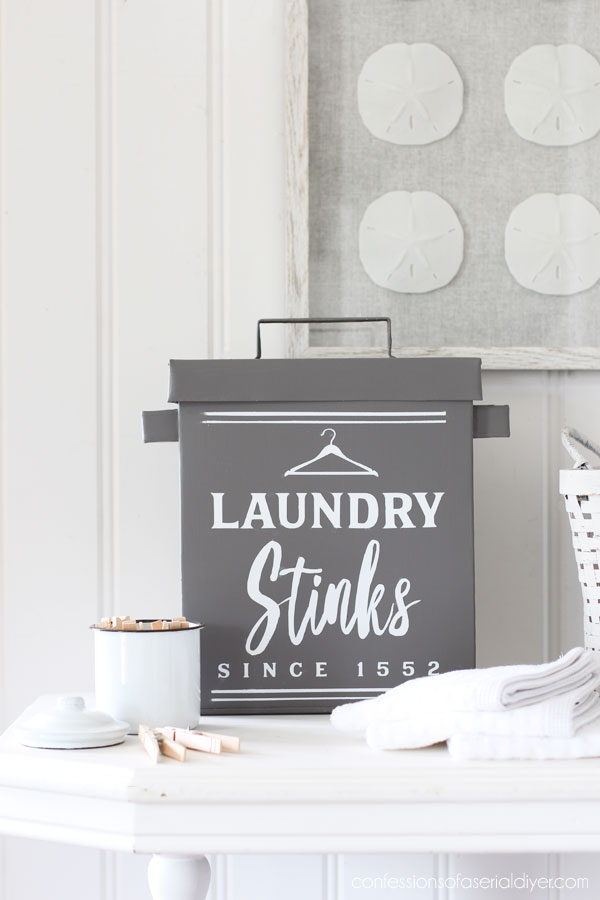
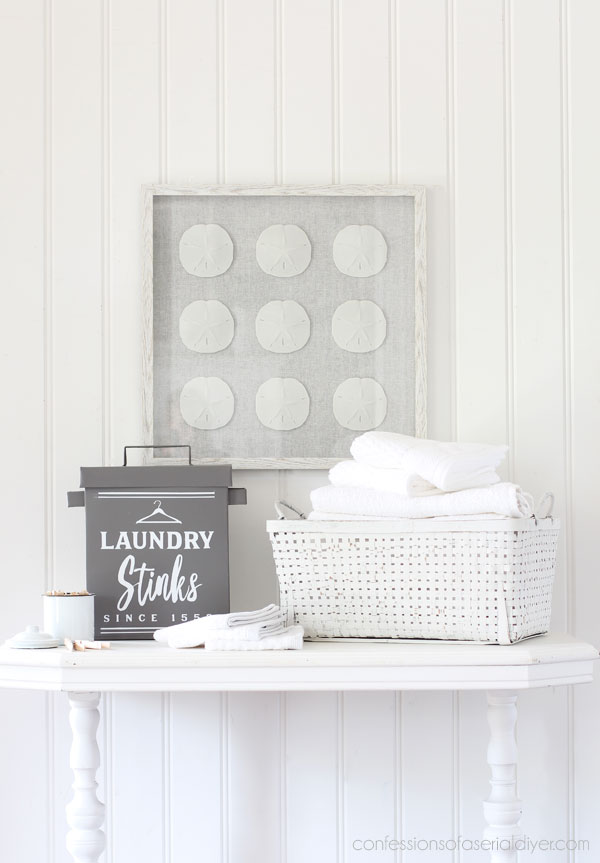
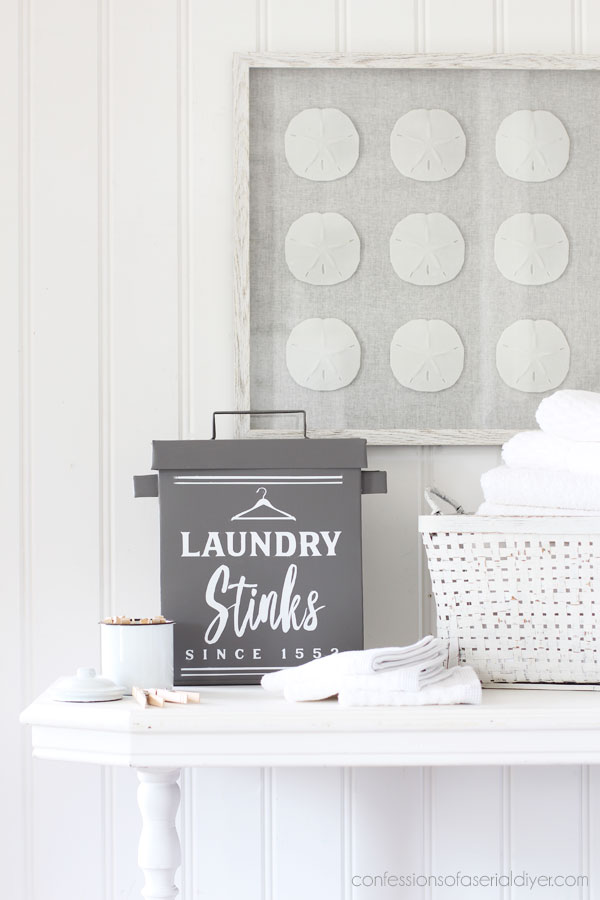
The After
Here is how this cutie looks now!
Cute, right??
Do y’all think my mom will want it back now?
A peek at the inside…
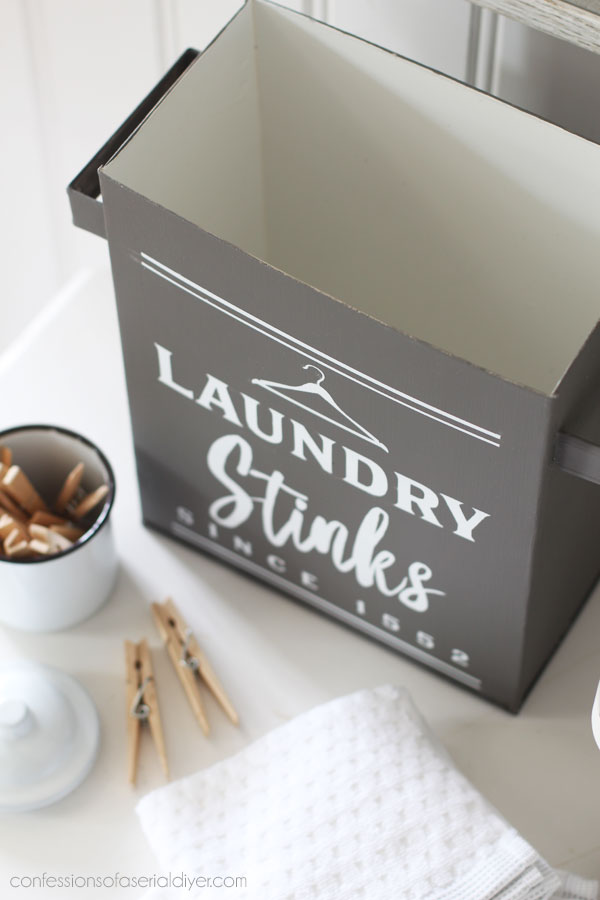
Laundry does stink!
A short and sweet little makeover today…I hope y’all enjoyed it!
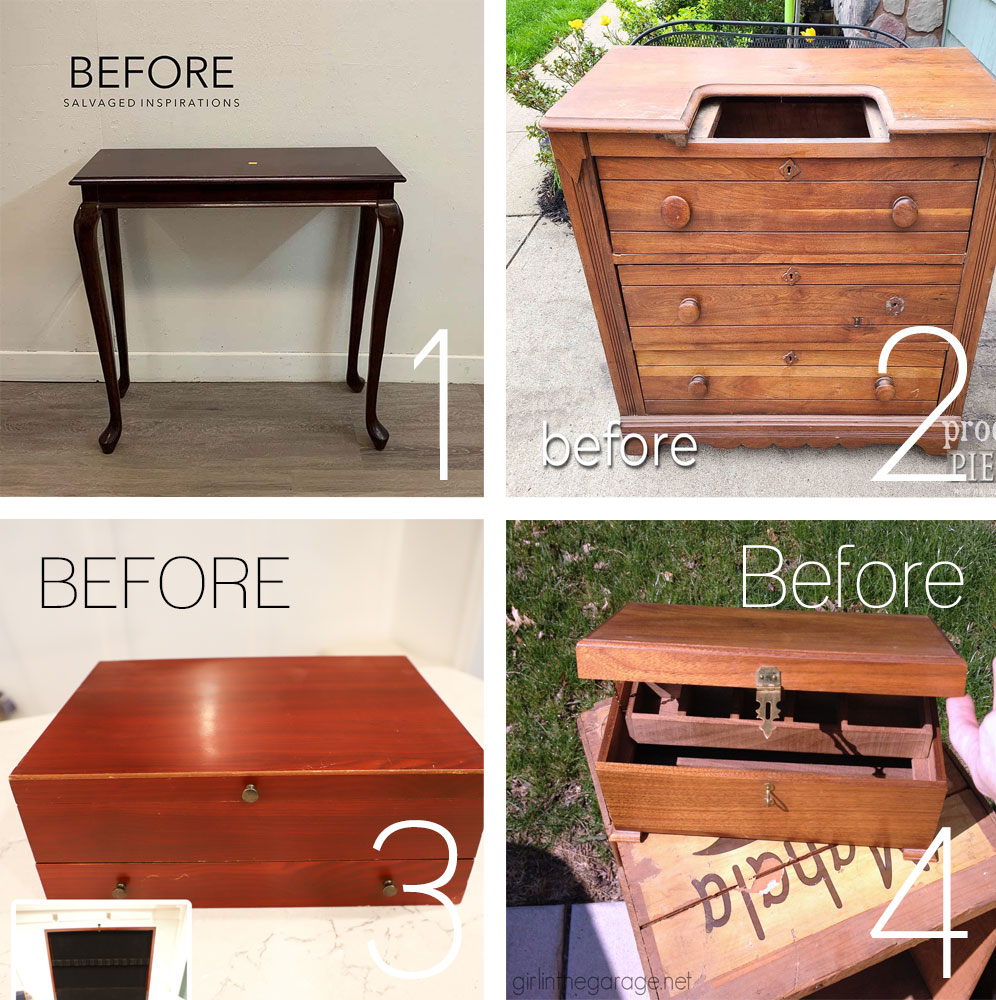
Don’t forget to check out what my friends are sharing today as well:
And yay! I get to cross another Spring Haul Project off my list!
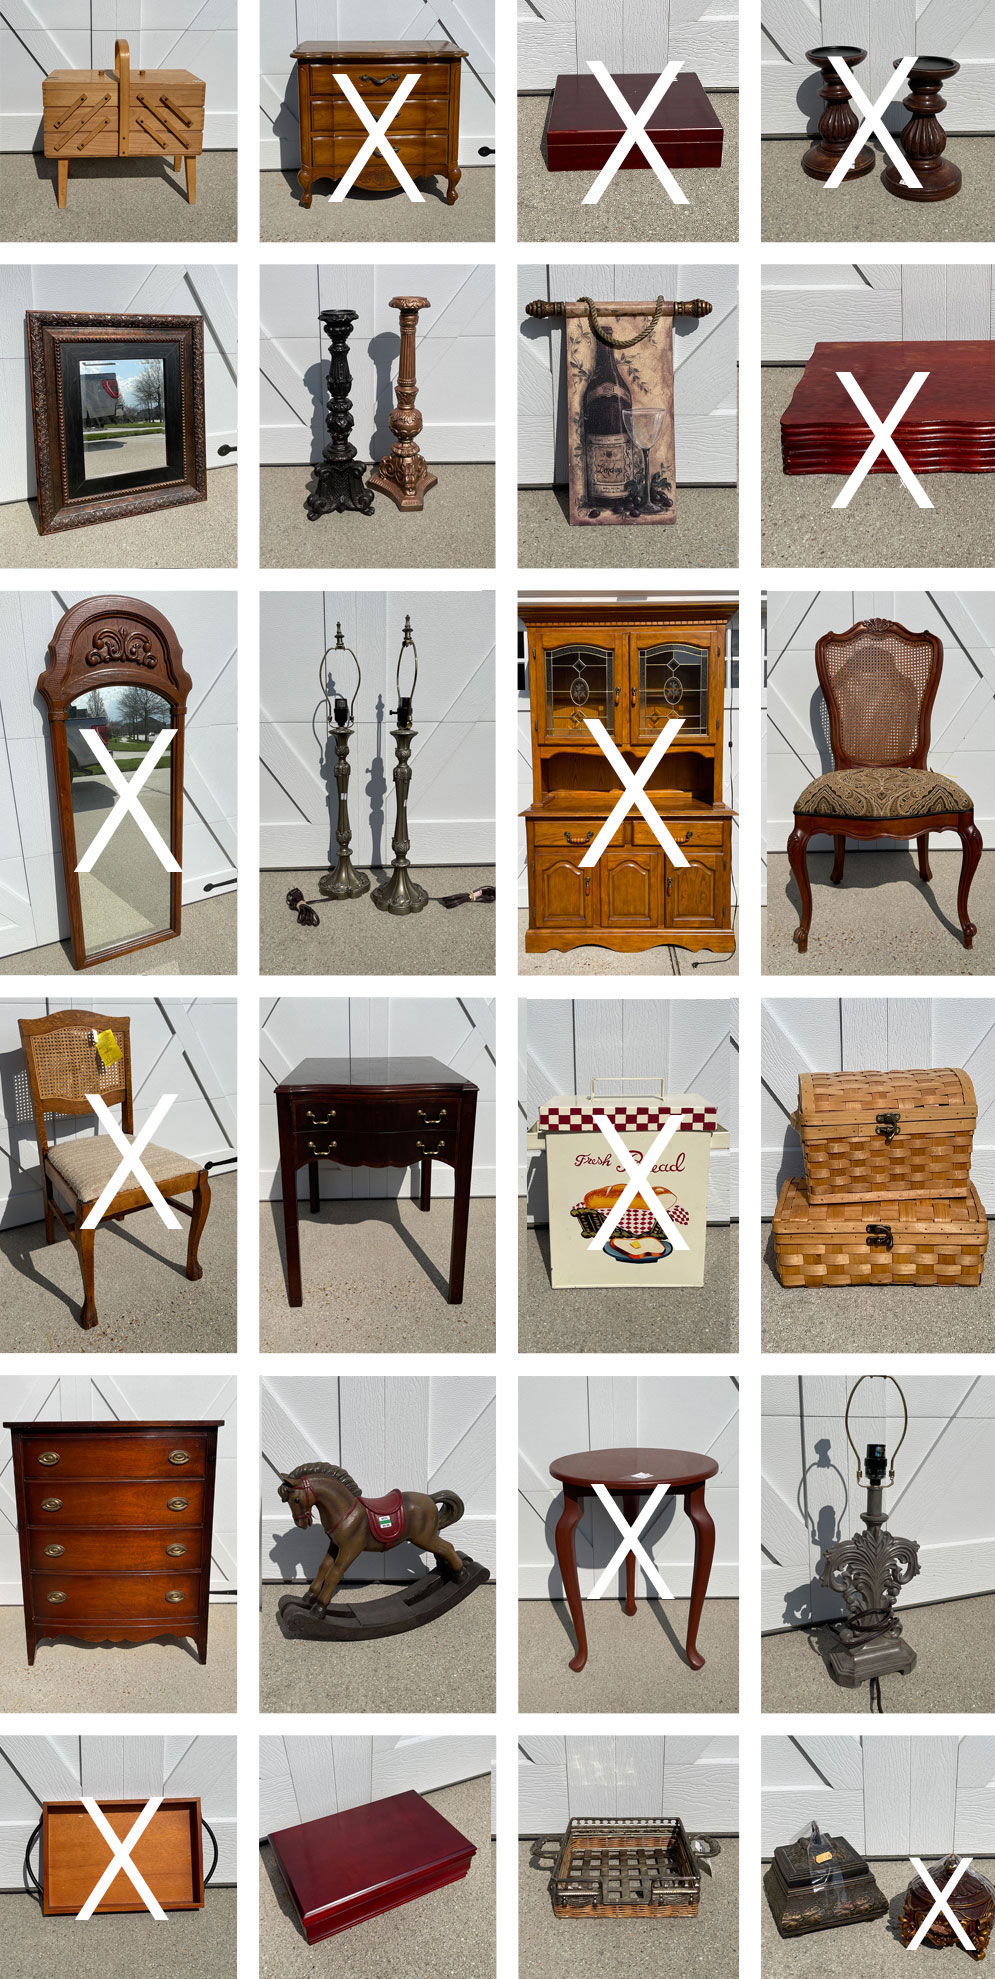
See what I’ve completed so far at the links below:
Ballerina Decoupage Paper Box
Petite Side Table Makeover
French Provincial Night Table
Repurposed Cigar Box
Antique Oak Chair Makeover
Painting the Smalls #16 (candlesticks, small box, tray)
Stenciled Mirror Makeover
Hutch Makeover
I’ll be back on Thursday with our front yard to share how much everything has really grown! It started like this when we moved in five years ago:

See ya then!
UPDATE: See how much it has changed since that photo was taken HERE now!
XOXO,

Don’t Miss a Thing!
If you like what you see, there are several ways to follow along!
EMAIL * INSTAGRAM * FACEBOOK * PINTEREST


 with Decorative Sheet Metal!")


Robin Stephens says
Another triumph! Loved the choice of words as it lightens the “load” when you enter the laundry room! Well done! 😉
Christy says
Thank you, Robin! I think so too ha ha! XOXO
Mary Kaiser says
Oh, I know your mom will want it back!! It turned out so cute, I love that you can paint on metal with slick stick! It turned out so cute, and your right, laundry stinks! LOL!
Christy says
Ha ha I know, right?? And yes it laundry sure does stink lol! Thank you, my friend! XOXO
Larissa ~ Prodigal Pieces says
What a fun and fabulous save, Christy! I love it. 🧺
Christy says
Thank you so much, Larissa! XOXO
Karen Moore says
So cute!
Christy says
Thank you, Karen! XOXO
Christina says
Super cute makeover Christy! I bet your mom would like it in her laundry room. 🙂
Christy says
Thank you, Christina! I’m just waiting for her to claim it lol! XOXO
Deanna says
That is an awesome piece! Totally usable in the laundry room. Yes, your mom will definitely want it back!
Christy says
Thank you, Deanna! I think so lol! XOXO
K says
Adorable box. Can you do a post on what photo editor you use and how to use it? I struggle with computer programs. I do own a Silhouette machine and have used it for many things. Thanks, love your humor and style!
Christy says
Thank you, K! I use Photoshop Elements. It’s a more cost friendly version of Photoshop, however, I am not an authority on it at all lol. I’m self taught, so I’m pretty certain that I don’t use it properly and probably use a lot of work-arounds to get what I want from it, but you can certainly YouTube it and see if it might work for you? There are probably way more competent users on there that can teach you as well lol! There are so many options out there these days Pic Monkey, Canva etc. I know it’s hard to choose! XOXO
Sandi Allen says
What a great idea! Love the transformation.
Christy says
Thanks so much, Sandi! XOXO
Vicki Bauerle says
Really cute!
Christy says
Thank you, Vicki! XOXO
Denise - Salvaged Inspirations says
Laundry stinks is SUPER cute! And yes, I think your Mum is going to want this cutie back. hehe XOXO
Christy says
Thank you, my friend! I think so ha ha! XOXO
Sharon L Austin says
Haha! Love it; great repurpose.
Christy says
Thank you, Sharon! XOXO
Debra Hubbs says
So cute, love it. Great place to store extra boxes of fabric sheets.
Christy says
Ooh yes!! Thanks, Debra! XOXO
Marietta R Walker says
I LOVE IT! I wish my brain could repurpose to the point which yours does. To turn this into a wonderful storage space for the laundry area was simply a brilliant idea.
This one really tickled me because whenever anyone walks past my African Grey parrot, Banjoko, he will tell you exactly what he thinks of laundry: “Laundry Sucks”! Given the chance he will hlp prove his teory buy removing all he folded items from the basket. His favorite, pulling out and un-matching all of the neatly folded pairs of socks!
Christy says
Aww thank you, Marietta!! And ha ha that is SO funny!! Well, he’s not wrong!! Thanks for the laugh! 😀 XOXO
Nancy @ Artsy Chicks Rule says
That is so cute!! Love the new word better too…haha! xo
Christy says
Ha ha thank you, my friend!! XOXO
Jen @ Girl in the Garage says
Super cute and fun, Christy! You can never have enough storage for all the laundry supplies, haha. XO
Christy says
Thanks, Jen! That is for sure! XOXO
Lizzy says
So cute!
Christy says
Thank you, Lizzy! XOXO
Ana Robleda says
Greetings from Madrid 👋
I love what you have done with that metallic box!! I definetely would want to have it back, if I were your mum.
I think I’m going to use your idea for a boring post box I have hanging beside our front door.
Keep on sharing your ideas, please!!!
Ana
Christy says
Hi Ana! Thank you so much! Have fun with your post box! XOXO
Mary Loveland says
Great job, I’ve never seen a bread box like that…tall and thing, pretty cool. Love the gray and white design. Well done.
Christy says
Thank you, Mary! I hadn’t seen one like that before either! XOXO
Val says
Love it! your creativity is endless!
Christy says
Aww thank you so much!! XOXO
Sara says
Great makeover Christy! Have you ever tried the slick stick over metal that’s a little bit rusty? Just wondering if that would compromise the paint finish or if it’s perfectly fine?
Christy says
Thank you so much, Sara! I would sand the rust off as much as possible first, and I think it should be okay! XOXO
Julie O. says
Love it- Christy you are the Queen and I have learned so much. Thank you!
Julie O.
Christy says
Aww you are the sweetest, Julie! Thank you! XOXO