You know how looks can be deceiving? Amazing friends, I have a prime example of that for you today! I’m sharing a hot mess antique gentlemen’s cabinet (chest?) that needed ALL the work!

It’s also Furniture Fixer Upper day, so be sure to check out what my friends are sharing today as well at the links at the bottom!
Let’s hop into it!
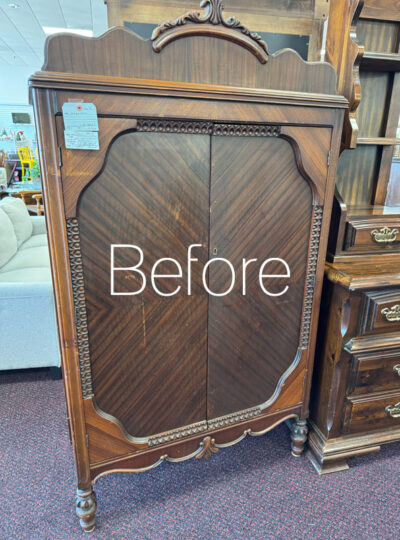
I found this gorgeous piece at the Goodwill for $49.99:
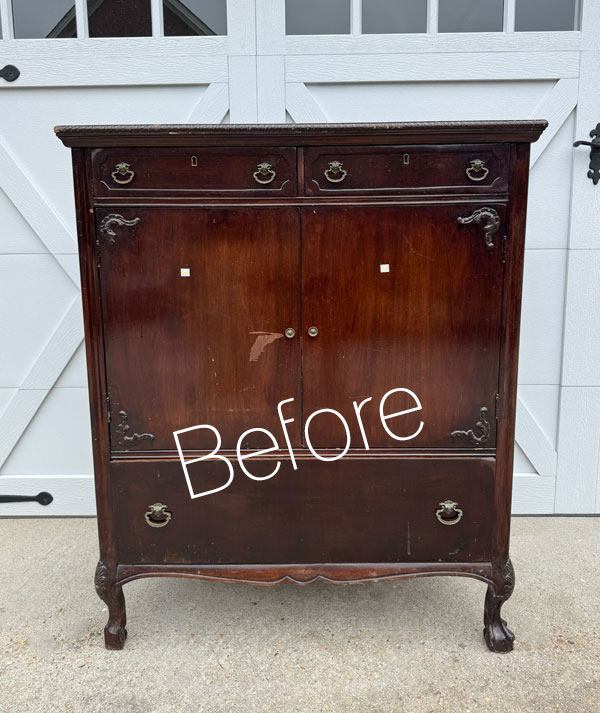
What a steal I thought that was! I shared it on my FB page and overwhelmingly, y’all agreed I should get it. Doesn’t it look SO pretty there? In amazing condition against my garage doors??
Boy, are looks deceiving sometimes!
Here is what I realized when I got it home…
To start, did you notice the feet in the above photo? One side is missing the best parts. It looks like it has a peg leg! Arrrr!
When I opened the doors, two of the four drawers inside were missing, and the top one was pretty damaged on that right side:
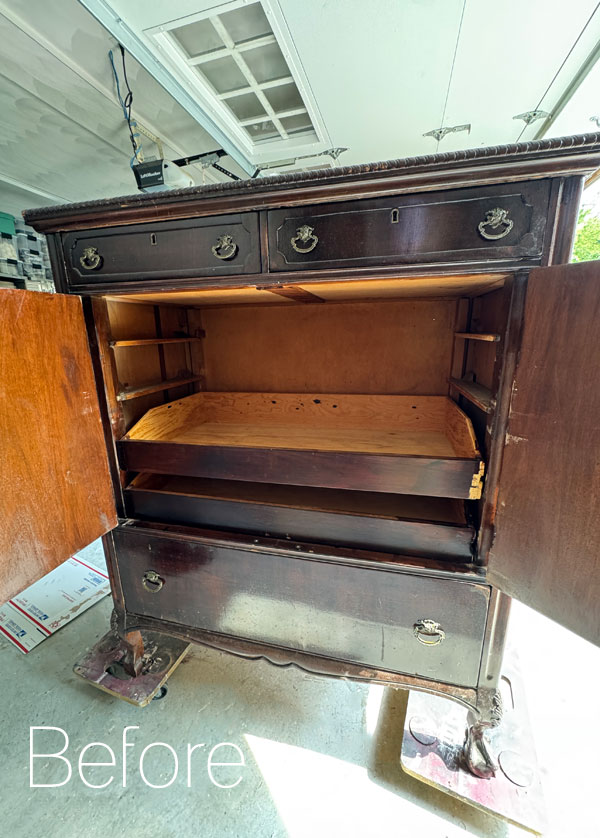
What on earth? How did I not realize that and how could I possibly fix it? That was the biggest unknown. Stay tuned!
The drawers had damage that had already had an attempted repair made at one time:
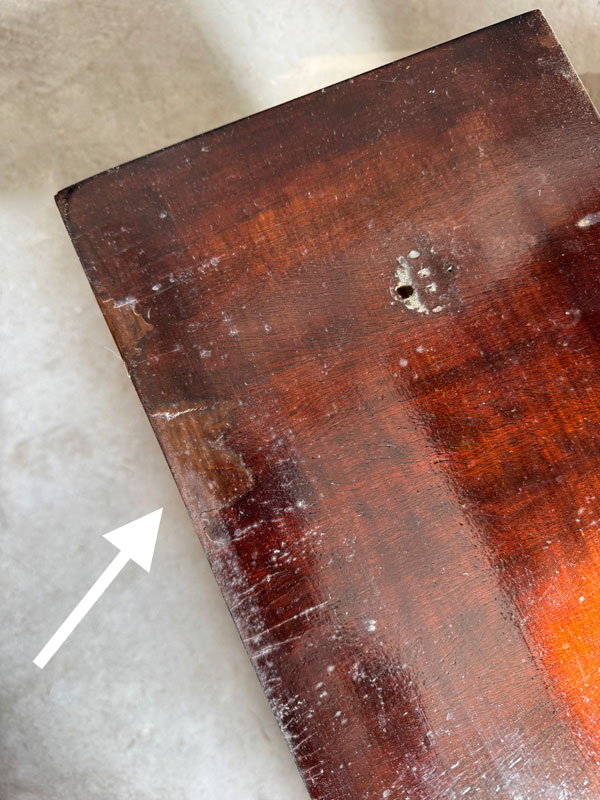
And you’ll see lots more bumps and bruises as we go, not to mention, the drawers were musty. Let’s get this makeover started!
I’ve included a few affiliate links so you can find the products I love.
Clean
This one definitely started with a thorough cleaning! I mixed a half gallon of warm water with one TBSP of White Lightning and got to work!
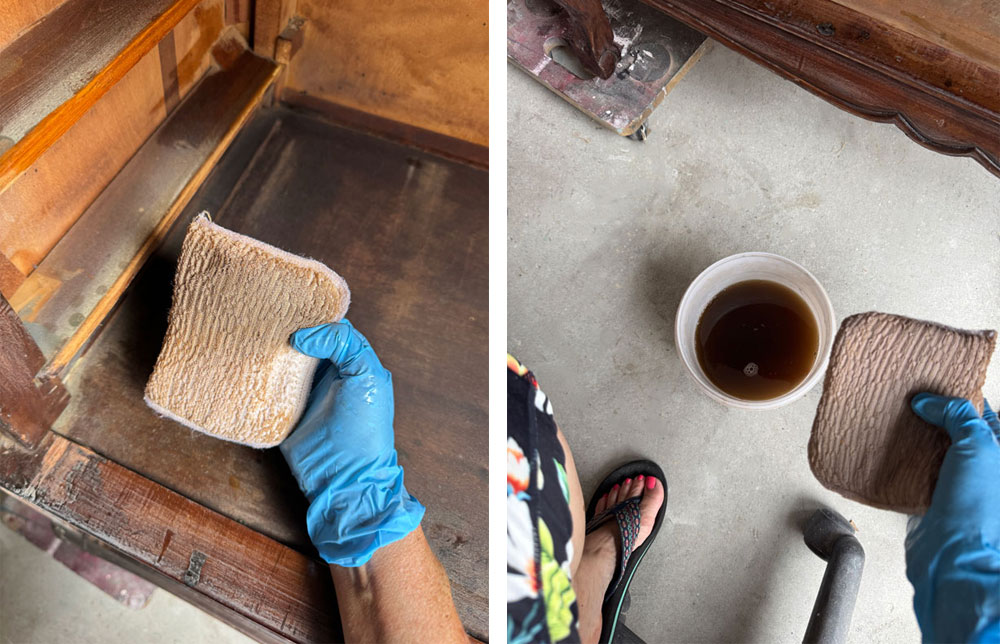
This is a dirty job, but there is some satisfaction in removing all those decades of build up!
As always, I swapped my dirty filthy water for clean water to give it another once over to ensure it was as clean as possible.
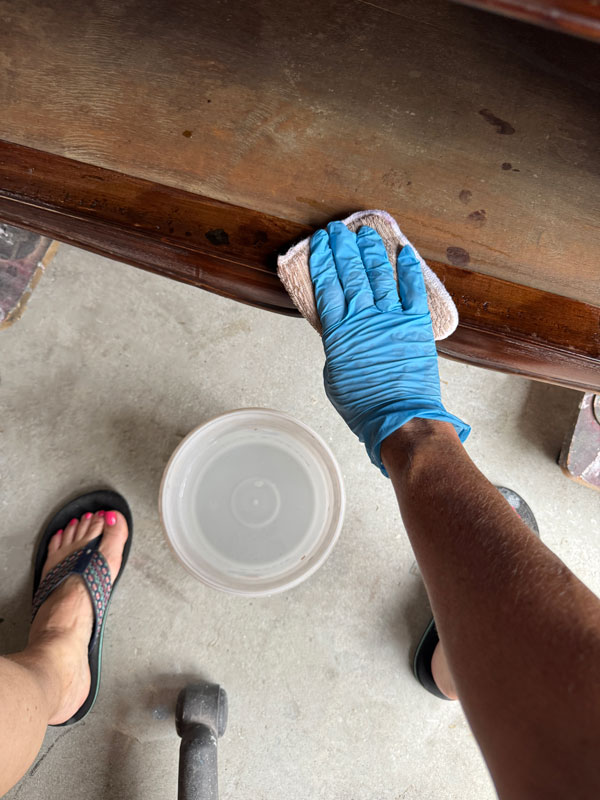
White Lighting is a degreaser and a deglosser and gloves are recommended.
Dixie Mud to the rescue
There were a ton of dings, scratches, etc on this piece that needed filling and I did that using Dixie Mud, followed by a good sanding with 22o grit sandpaper once the mud was dry:
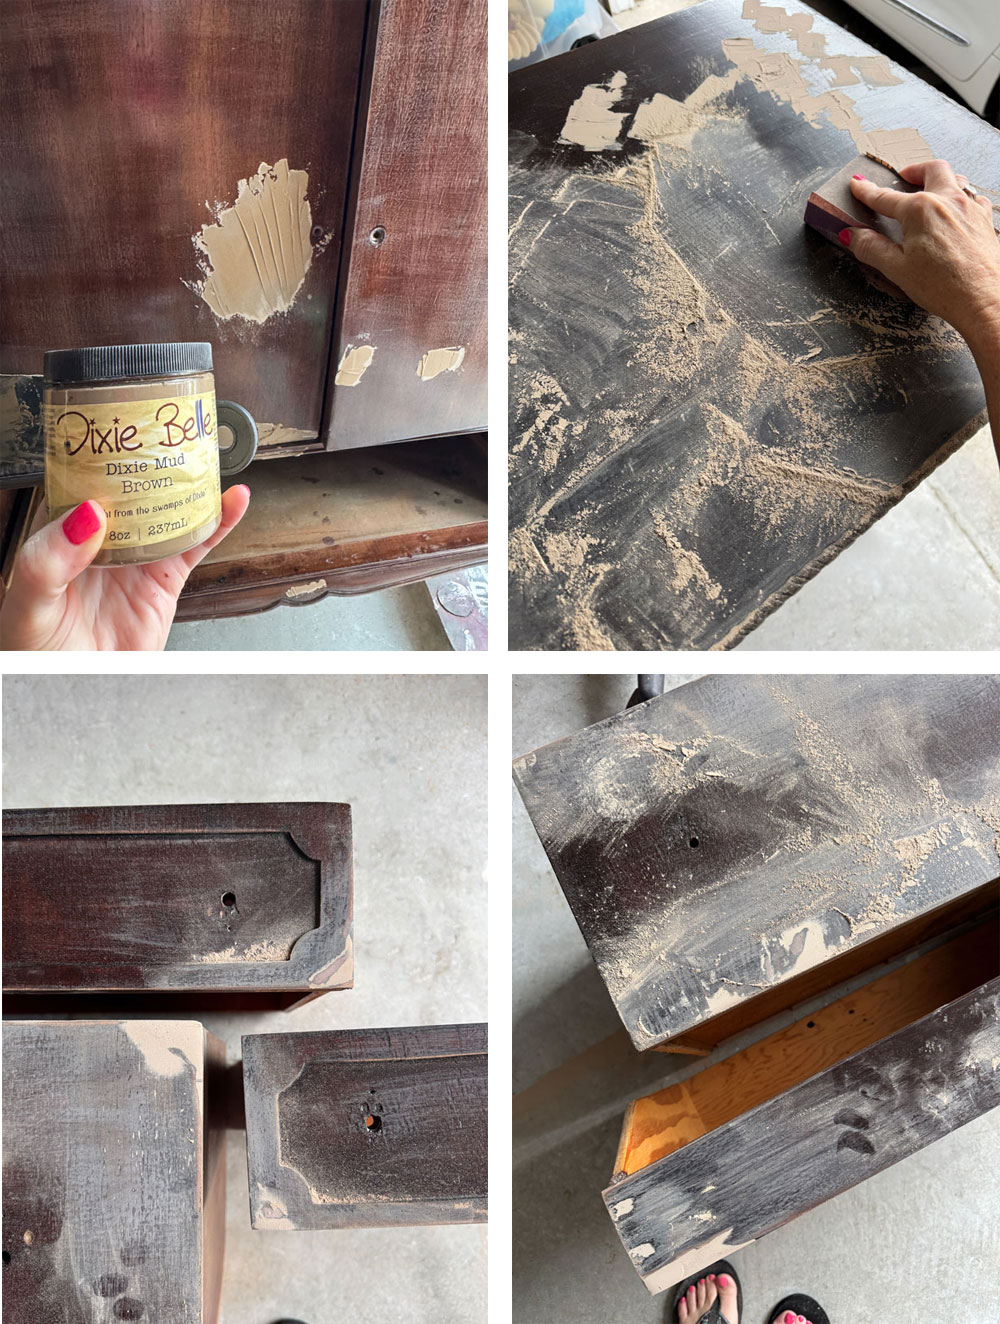
I gave everything a good vacuum with my shop vac and then a wipe down with a clean cloth.
Sand
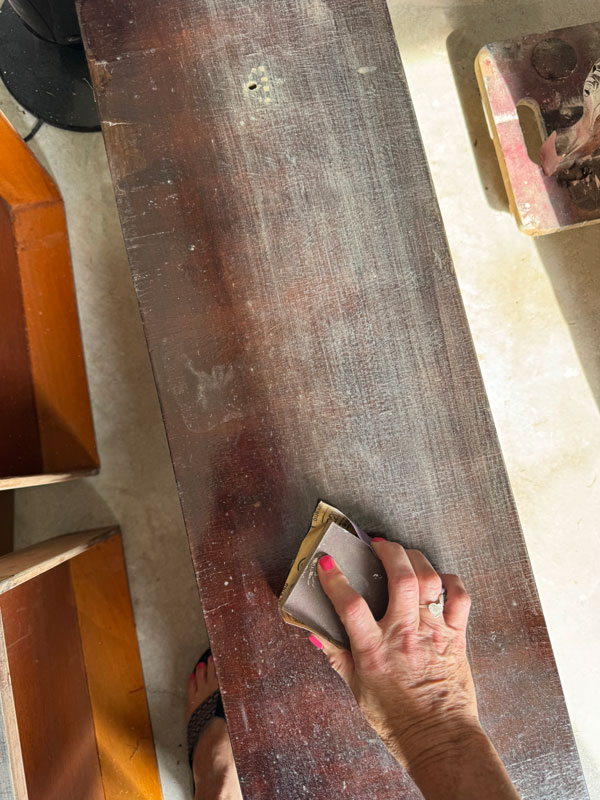
While I was sanding the Mud, I went ahead and gave the entire piece from head to toe a good sanding to smooth out the finish as much as possible…
Prime for Bleedthrough with Bonding BOSS
I always prime these antique pieces just in case! I’ve done enough to know better by now! Everything got one coat of Bonding BOSS in white inside and out:
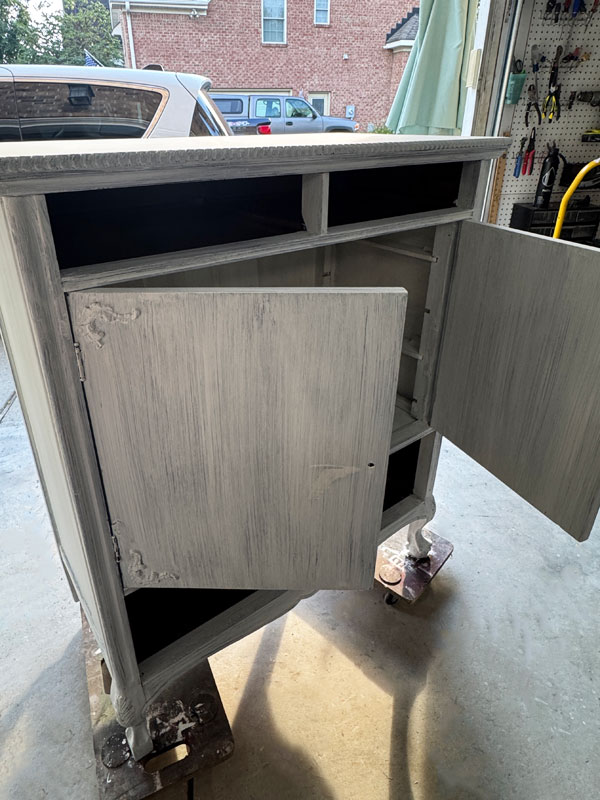
I left that to do it’s thing for 24 hours to ensure proper dry time. (You can speed that up by sitting it in the hot sunshine as I ended up doing with the insides of the drawers.)
Prime for Musty Odor with Bonding BOSS
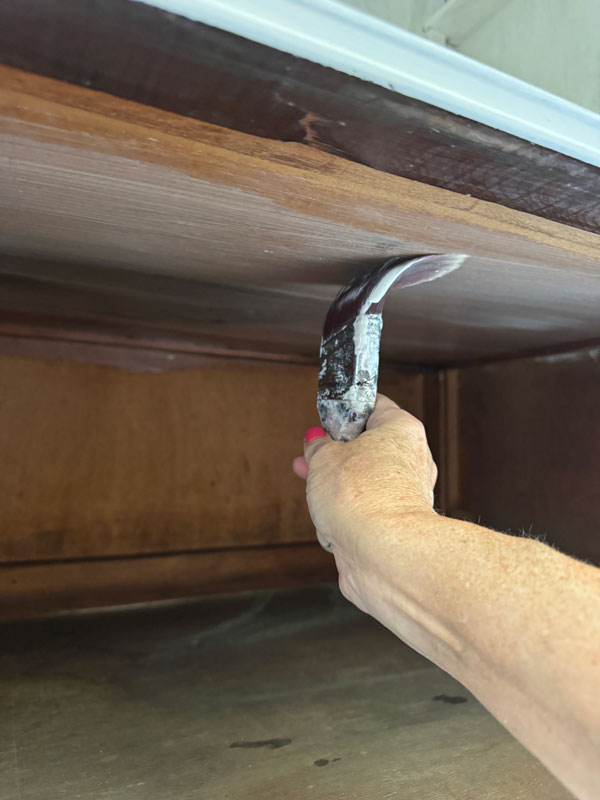
I then moved on to the drawer cavities with Bonding BOSS in the clear formula to tackle that musty odor. One coat will seal in those odors, but you have to coat the entire inside cavity:
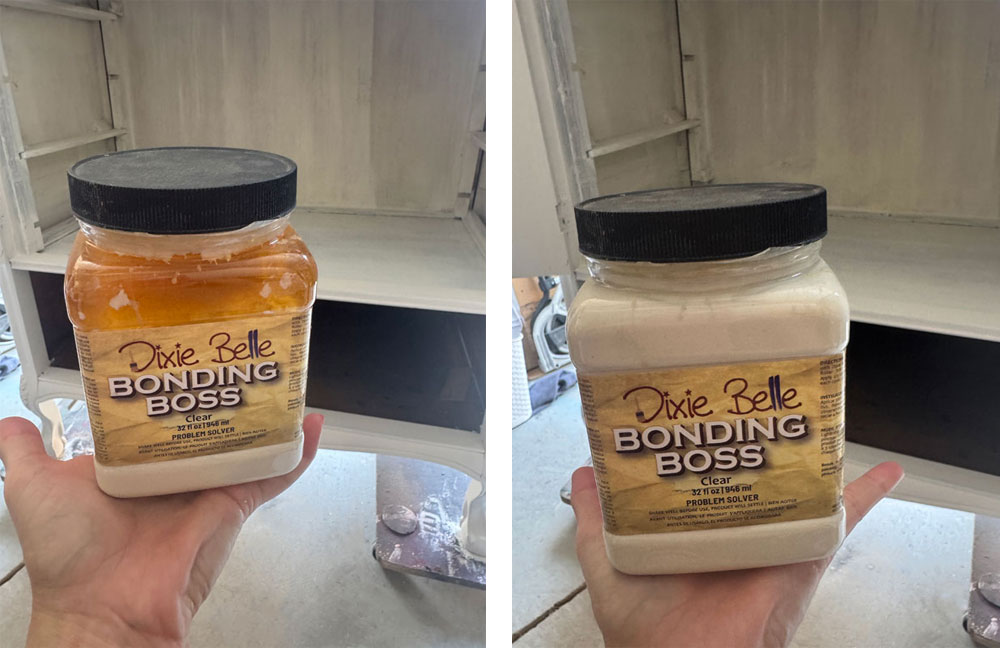
Don’t worry if your clear Bonding BOSS separates, just give it a good shake or stir, and it will be good to go!
Paint
I decided on a simple Fluff white for this piece, applying it with my go to paintbrush:
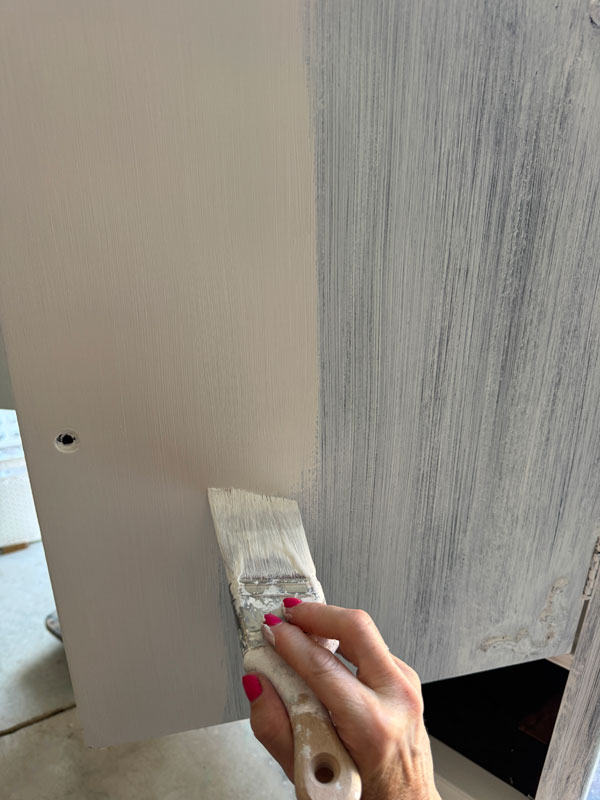
I love Fluff because although it is considered a white, it does have some pigment in it, so it covers completely in just two coats.
(I used it on our bedroom furniture HERE.)
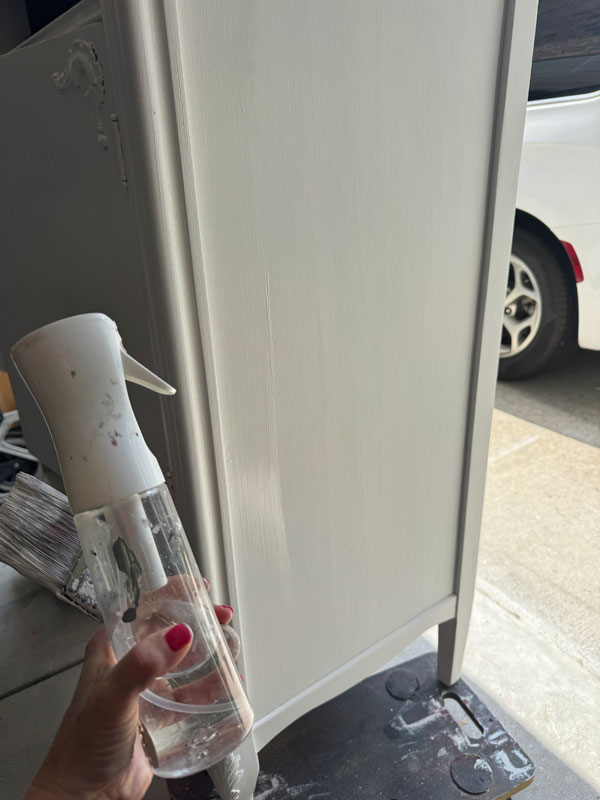
It was pretty hot in my garage this weekend, so my paint wasn’t going on as smoothly on the second coat as I like. If that happens for you, mist your surface with a continuos misting bottle before painting, and it will glide right on:
Sand
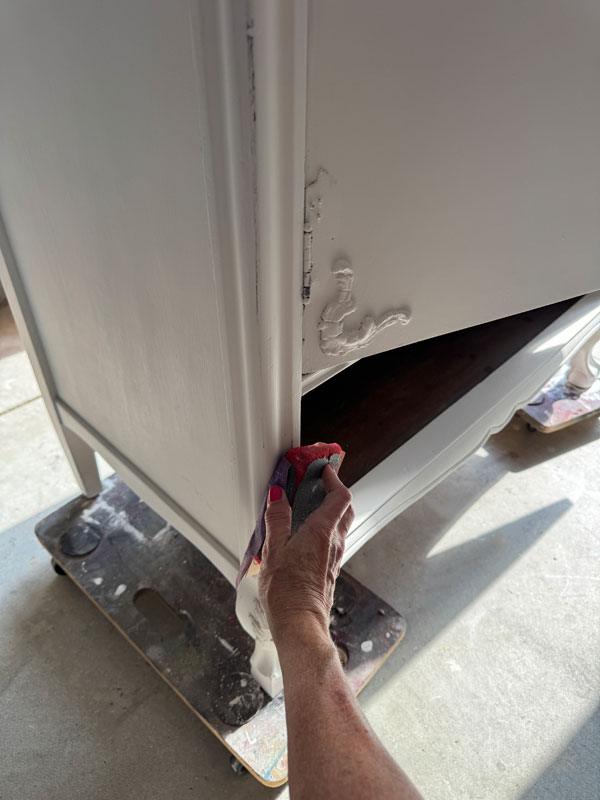
Once my second coat was dry, it was time to sand! Chalk paint has a slight texture, but giving it the lightest sanding will smooth it out beautifully. If I don’t plan on distressing, I will use these fine grit sanding sponges. However, because this piece had so many bumps and bruises, I went for a more distressed look this time to help camouflage, using 220 grit sandpaper wrapped around an old sanding sponge to sand:
Seal
It was then time to seal, and I did that using Dixie Belle’s Clear Coat in the satin finish:
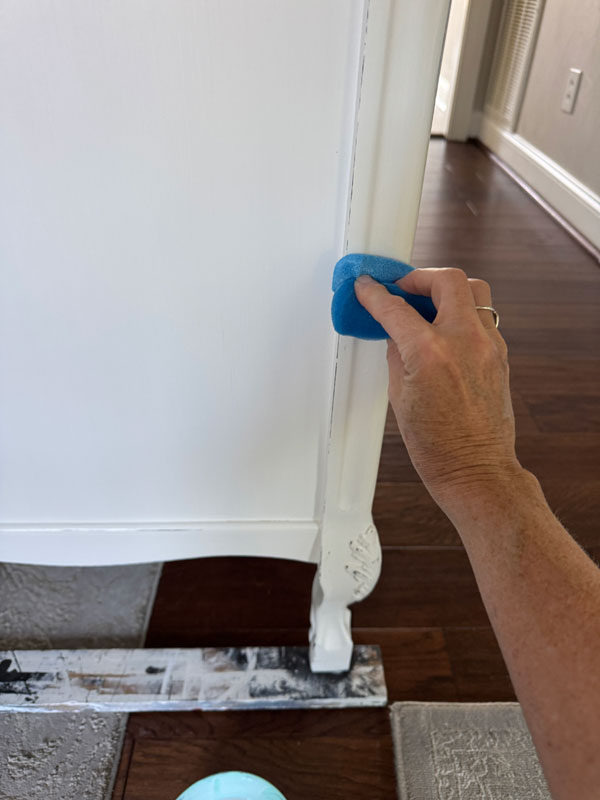
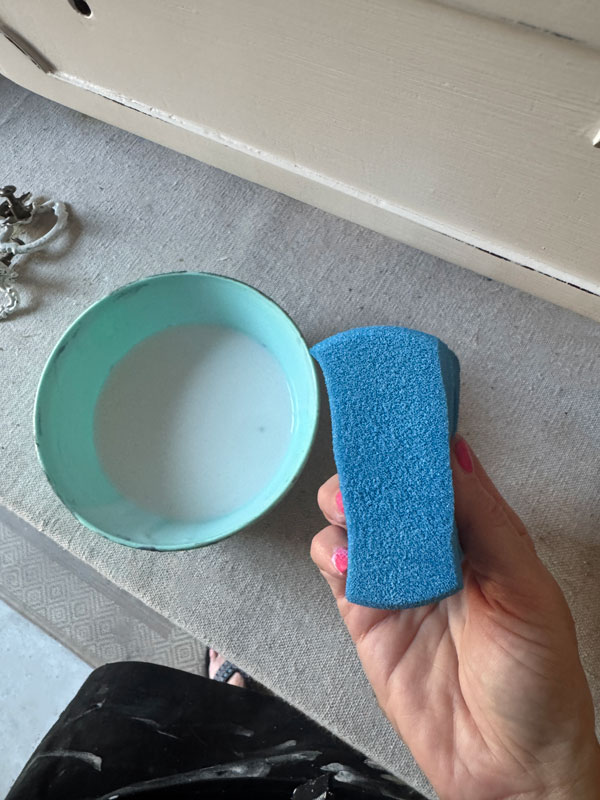
I cut my applicator sponge a bit thinner (and wonkier) this time, but it did great!
Let’s jump to the after!
Hot Mess Antique Gentlemen’s Cabinet Reveal
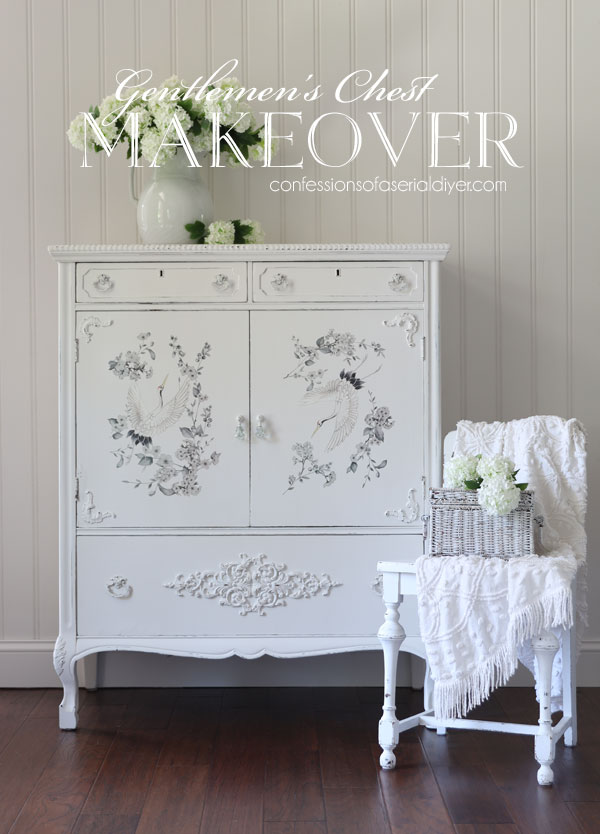
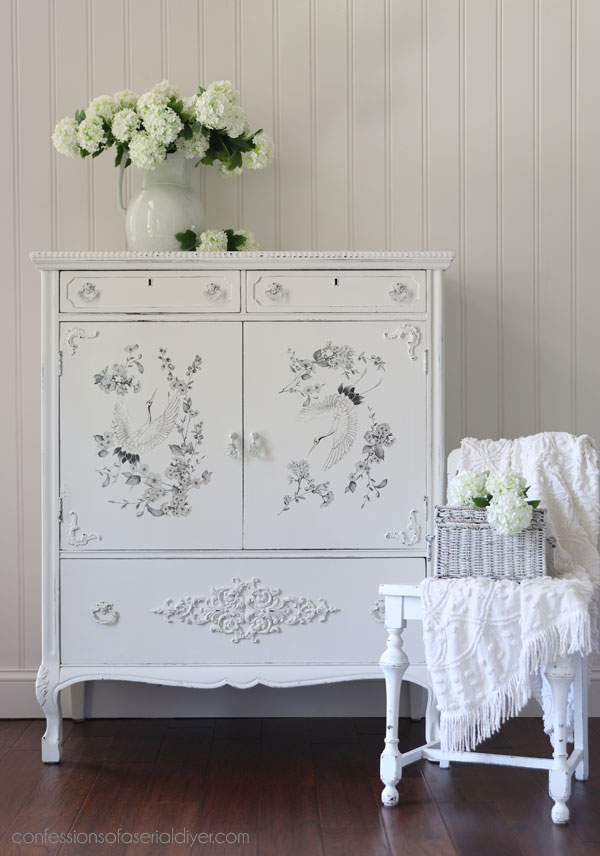
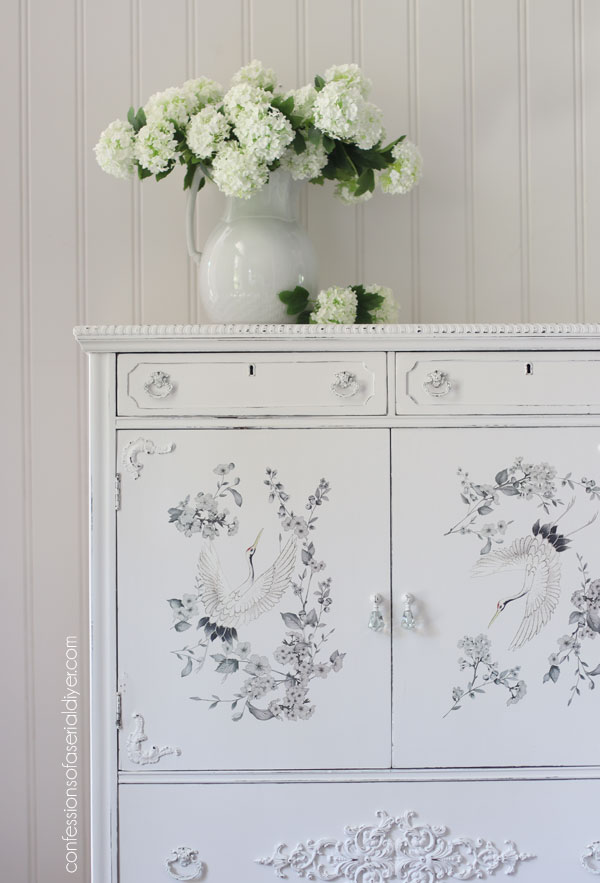
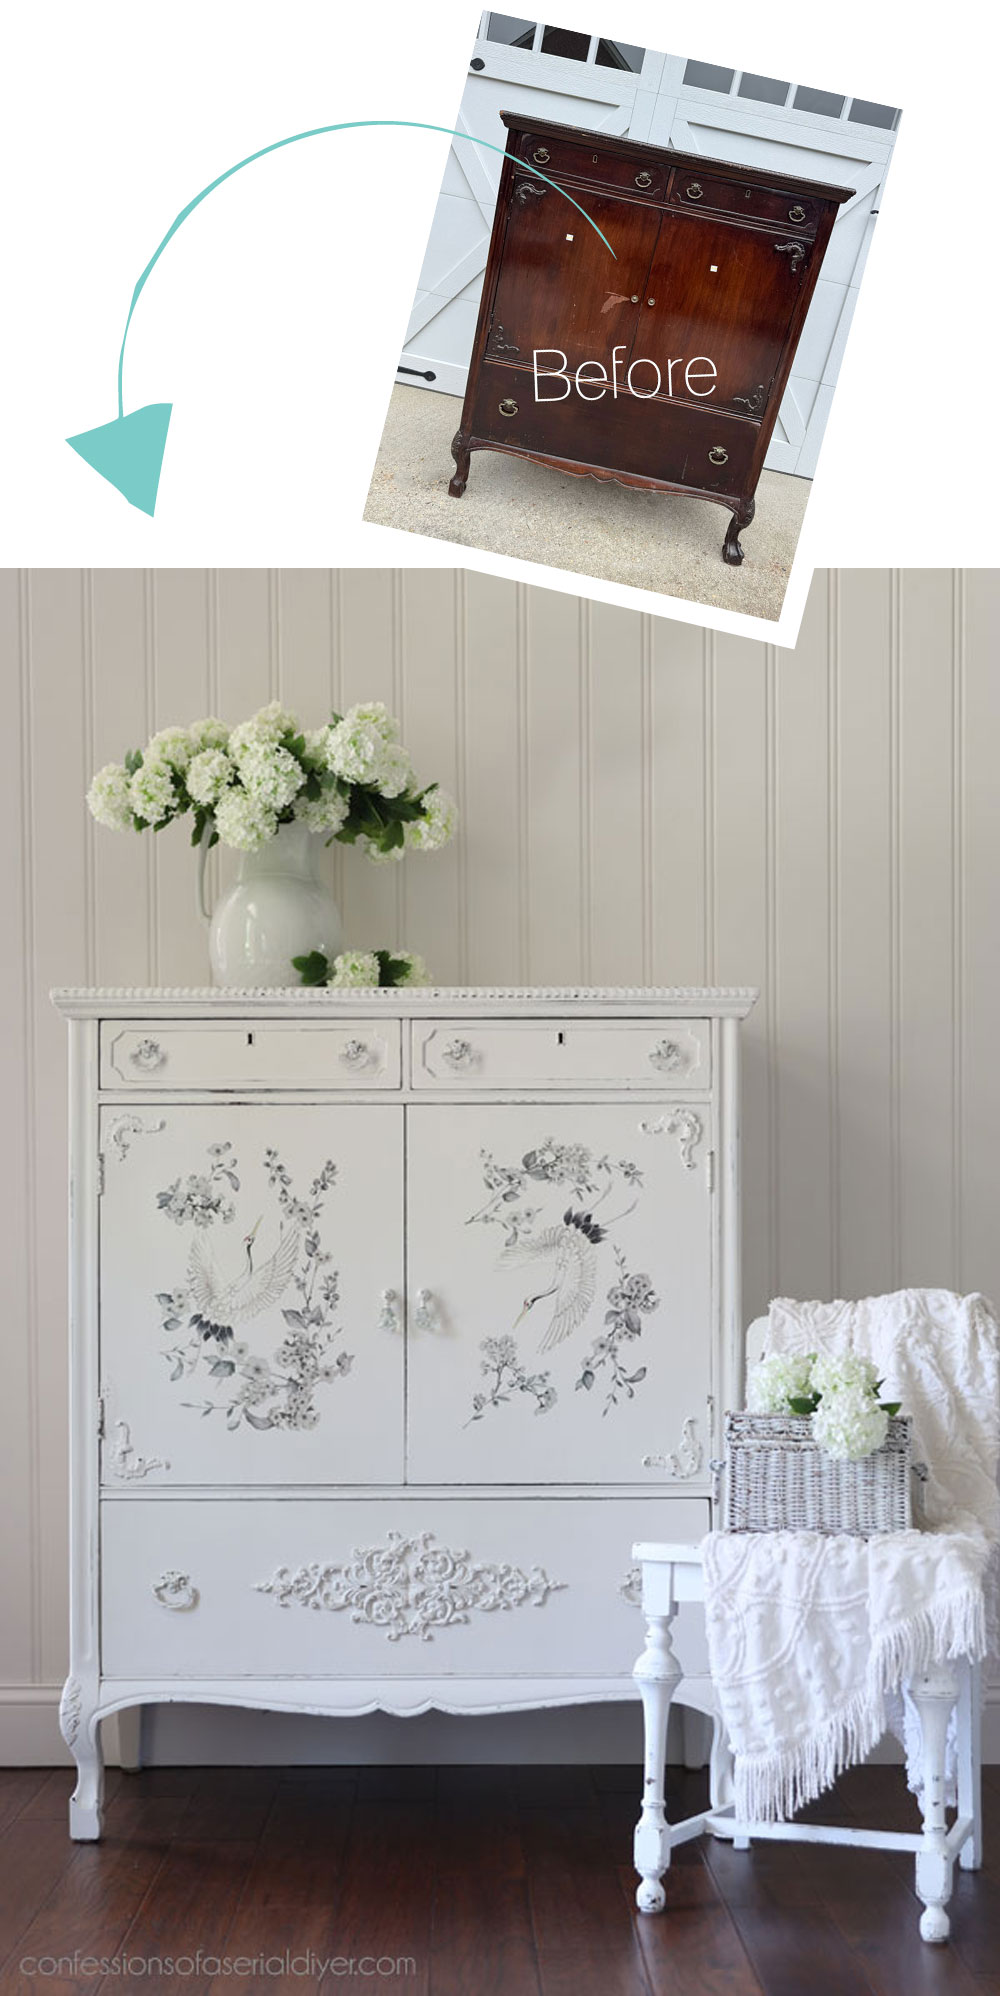
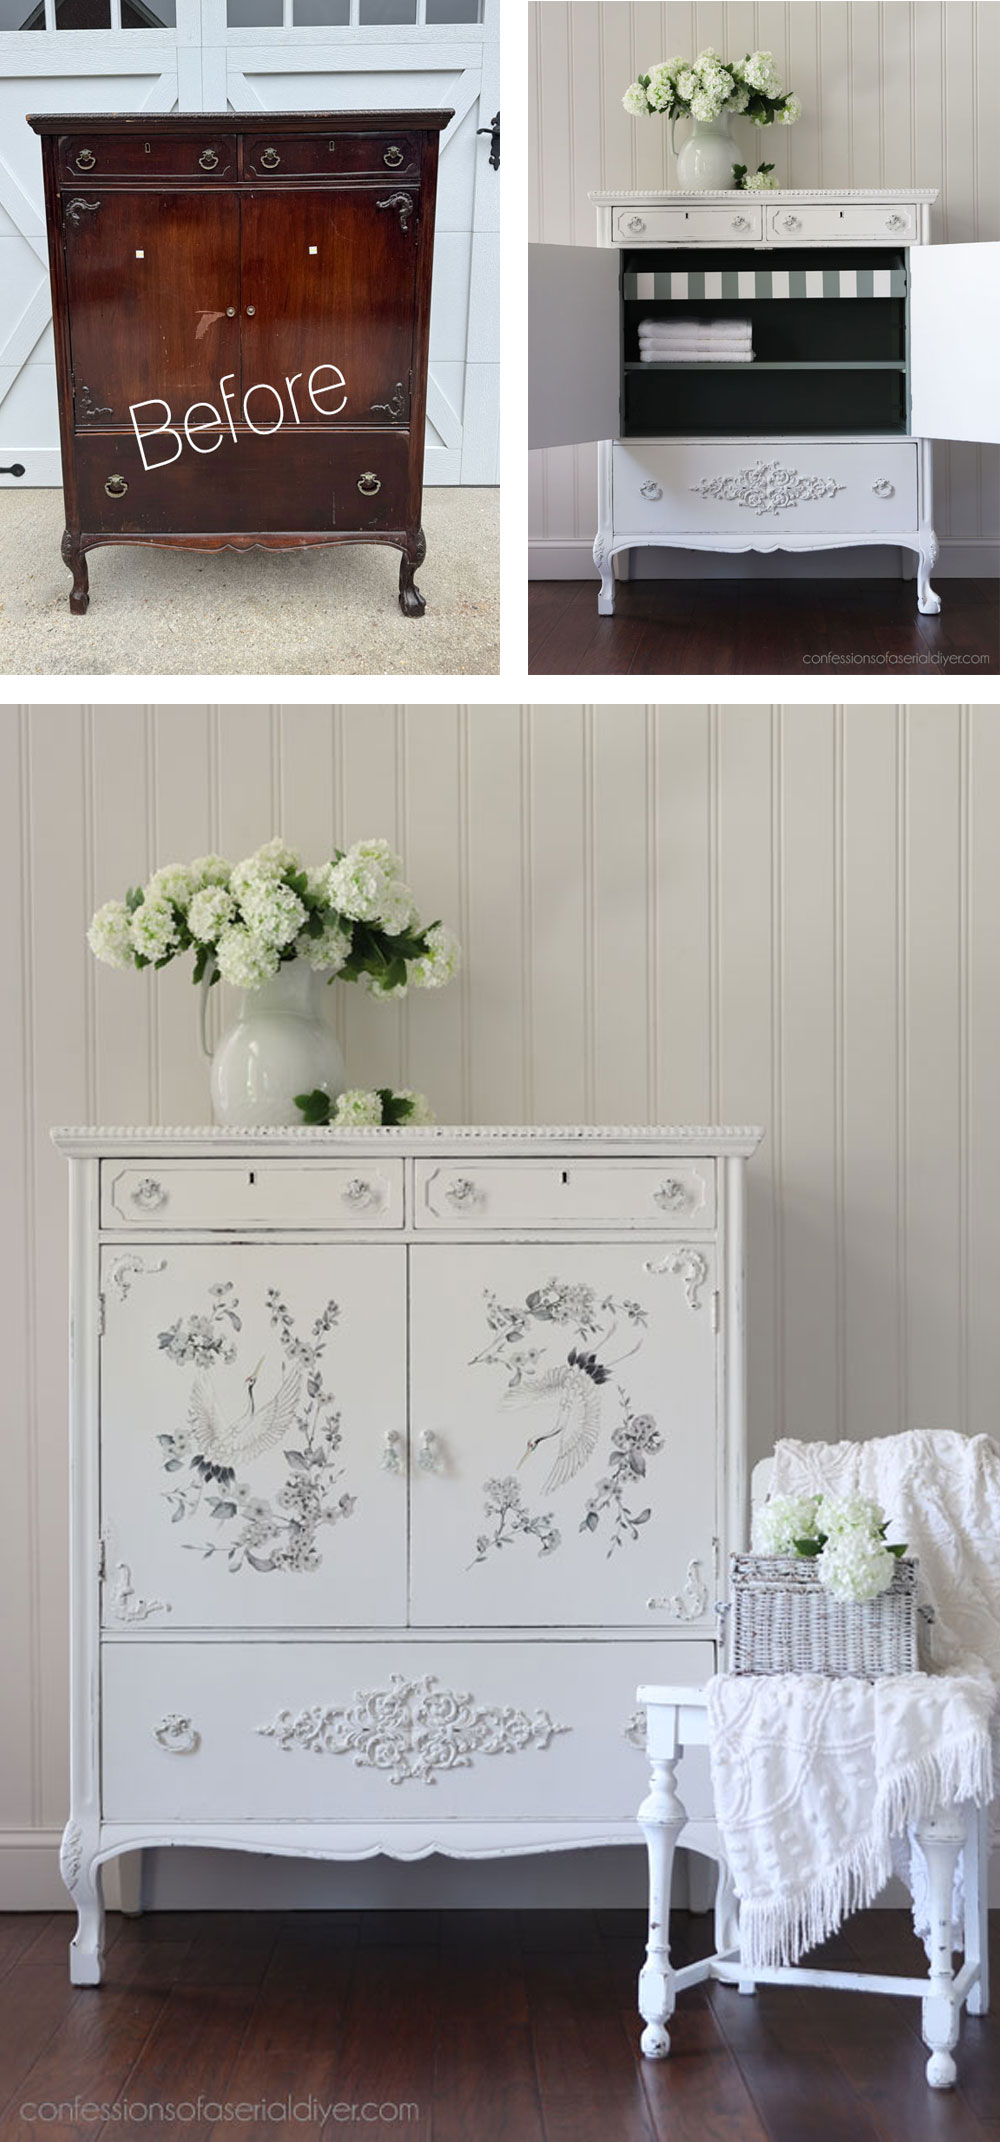
Here is how this peg legged pretty turned out!
YES??
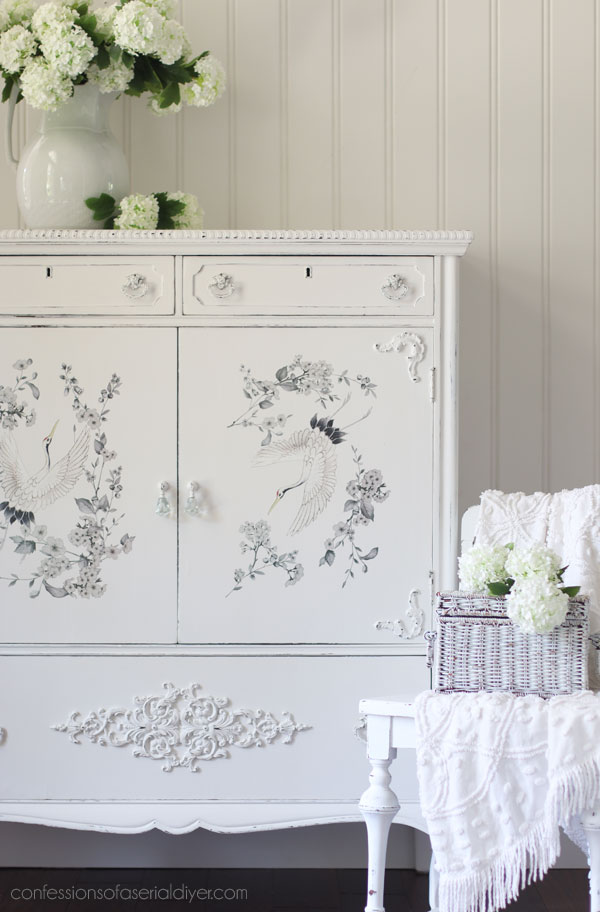
Surprise!! I added transfers to the doors! Do they look familiar?
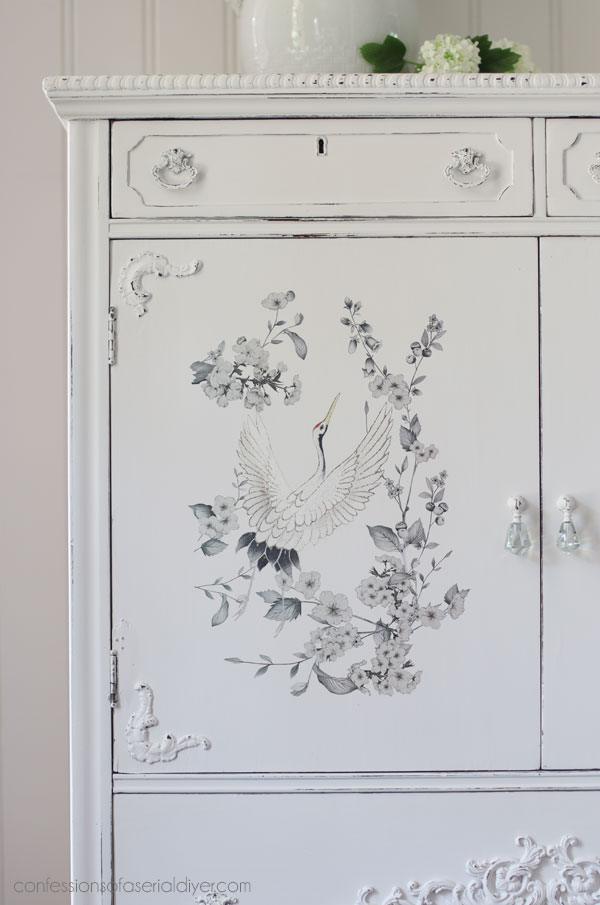
This is a large transfer that came with four sheets. I used two of them on the project. I shared in my last post HERE. But I had these two left over:
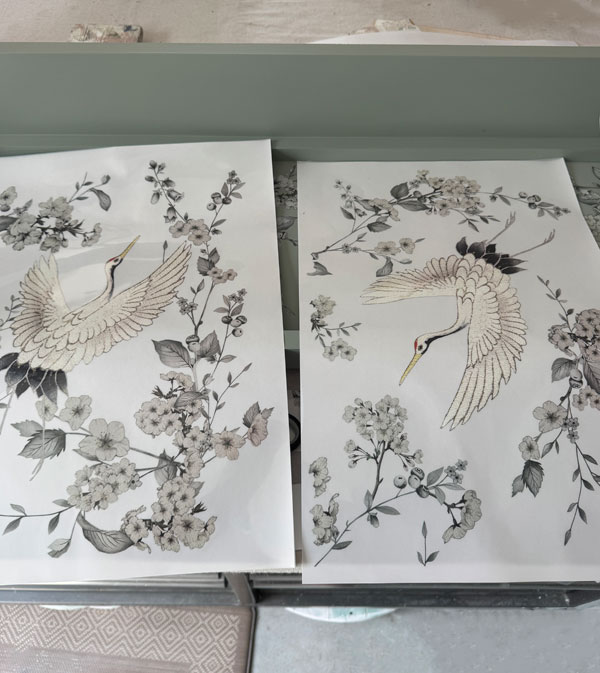
How perfect are they for the doors on this cabinet?
I had an entirely different plan for this piece, but when I realized I had these two pieces left over from the Silver Wings Transfer, I knew my plans were about to change!
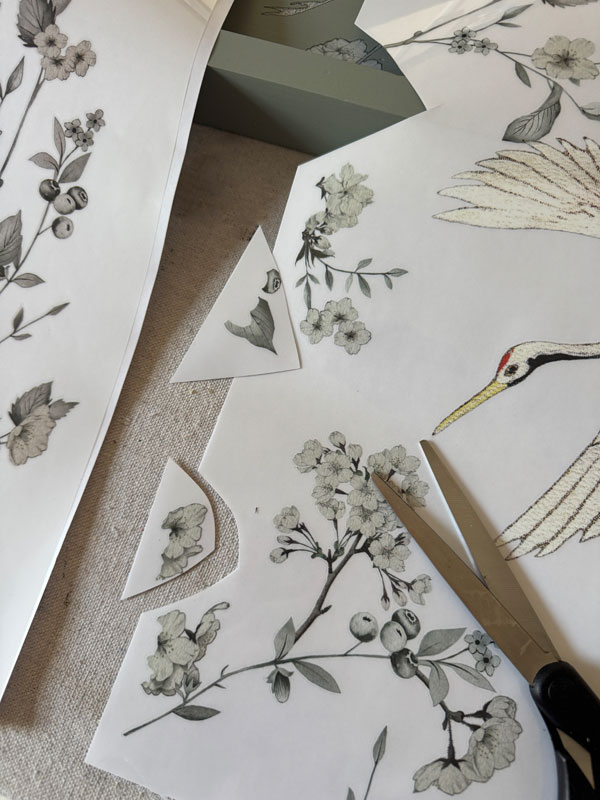
The only thing I had to be mindful of was making sure I removed the pieces that were meant to join up to one of the other pieces:
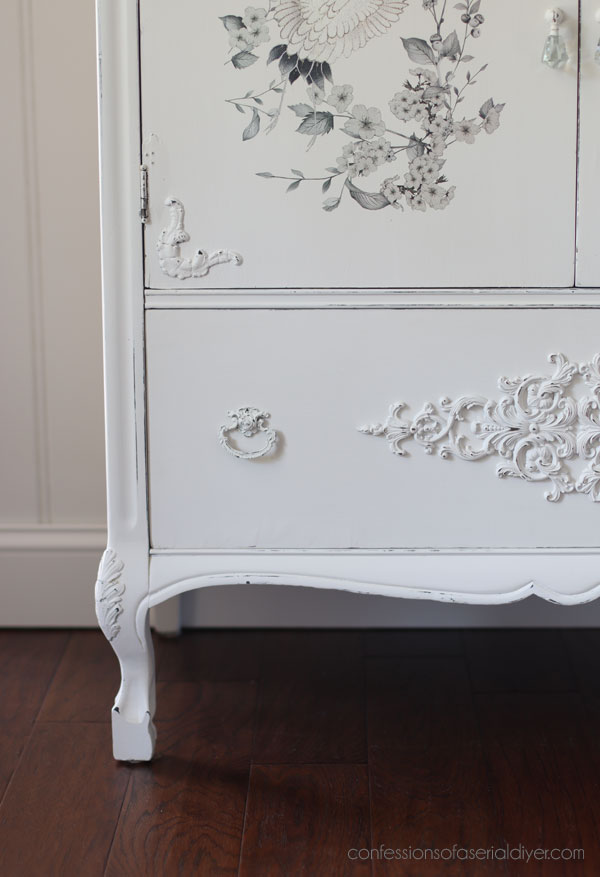
I love how they fit the doors so perfectly…
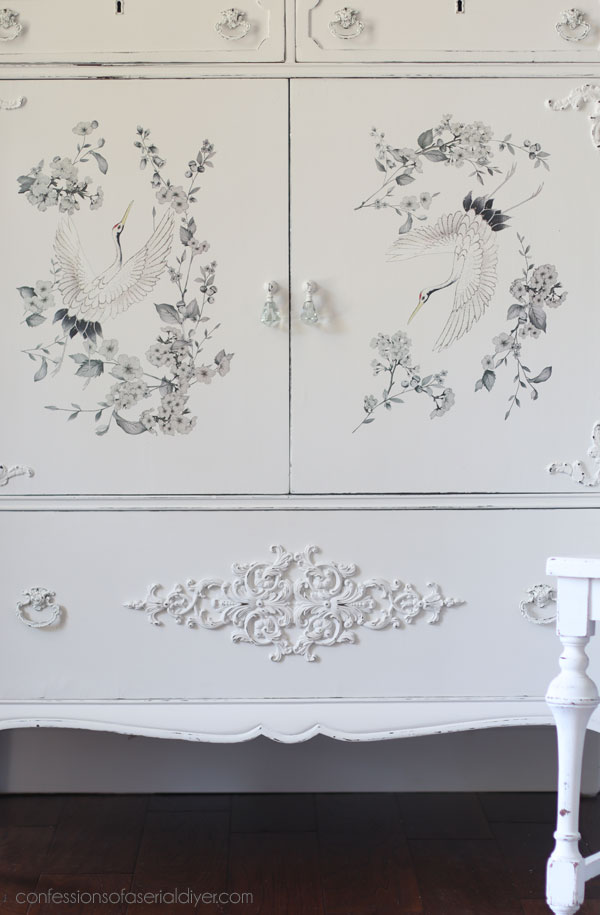
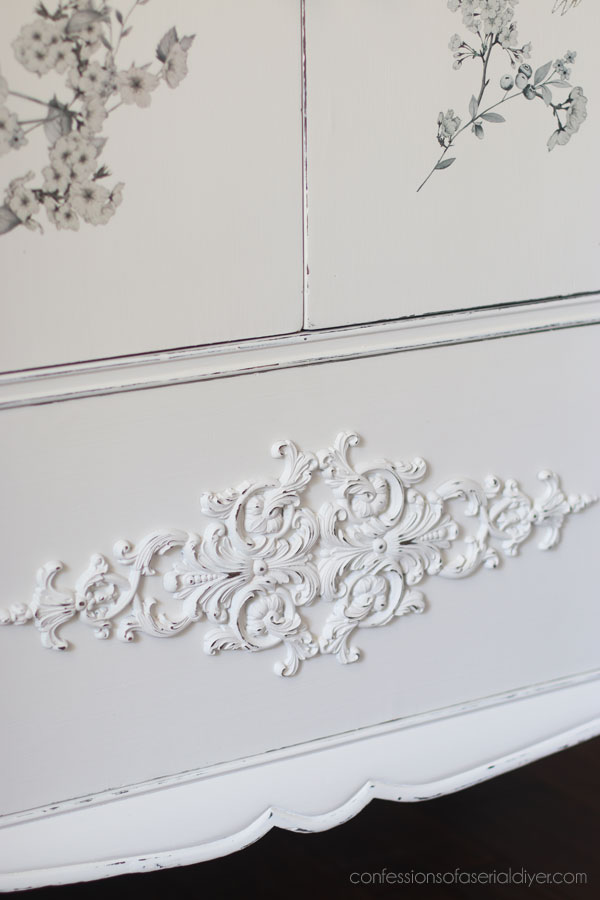
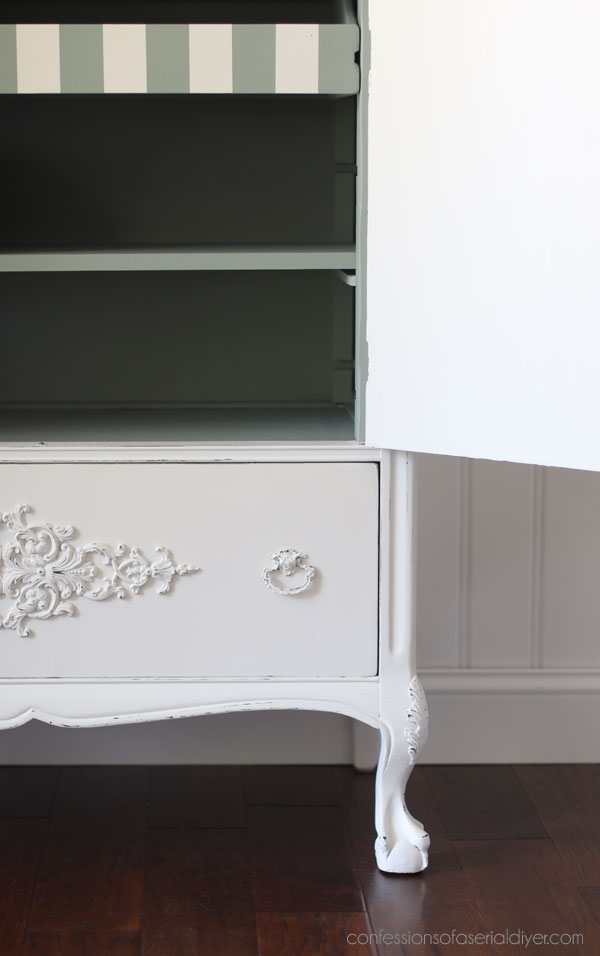
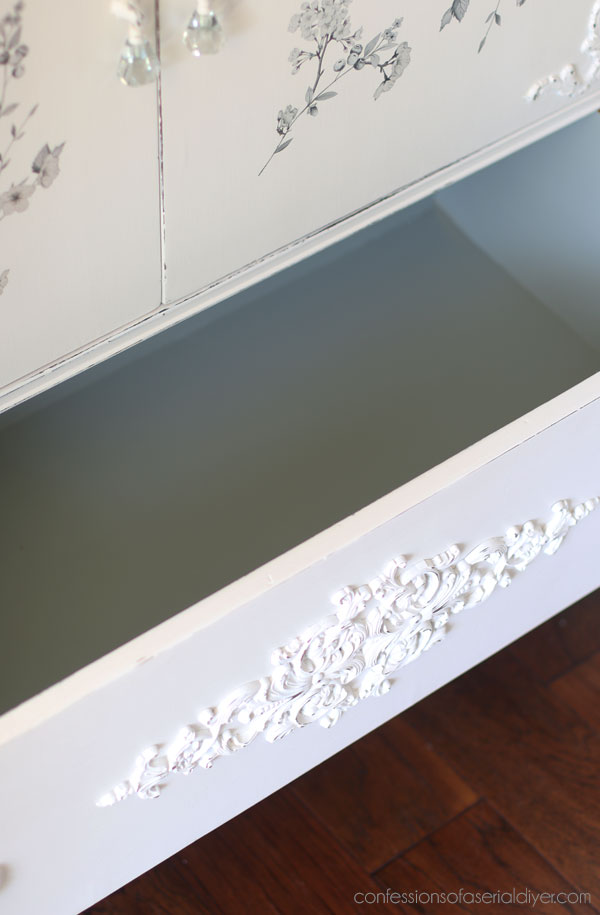
And how about that piece across the bottom drawer?
That is actually a Decor Poly piece. When we first started carrying the Decor Poly, I ordered several of these. When I got them in, I realized they were very large and would be quite pricey to ship, so while I don’t sell them in my Etsy shop, if you are local, you can find them in my booth.
I painted that in Fluff as well using a French Tip Brush to get into all those grooves.
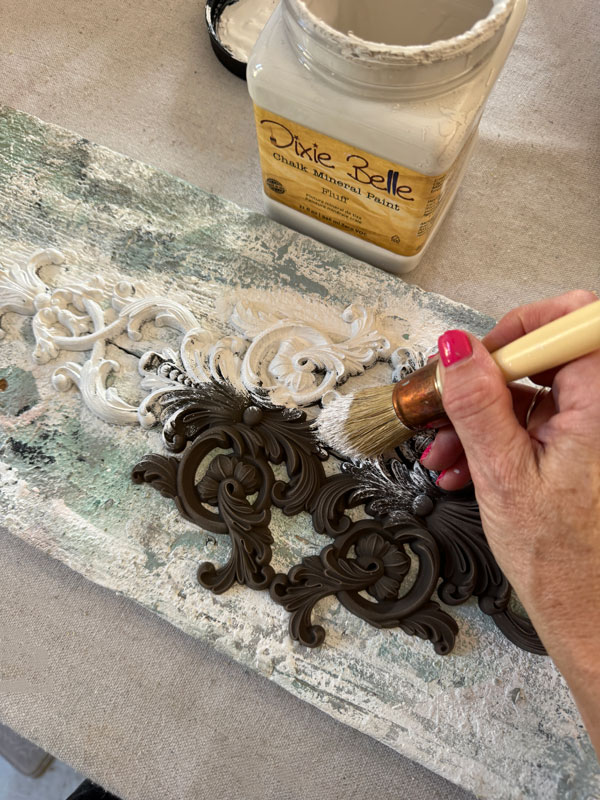
I then used the cheat method to distress it:
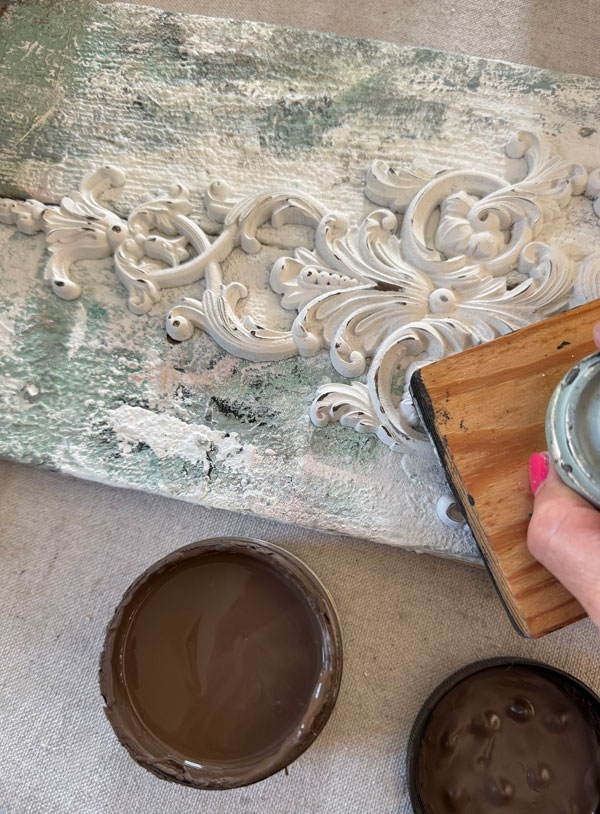
I sealed it with Rustoleum clear satin spray before attaching it to the drawer using Titebond Quick and Thick thick glue.
See all the Decor Poly Pieces I carry in my Etsy shop HERE. They are a fantastic way to add dimension to your pieces.
The inside
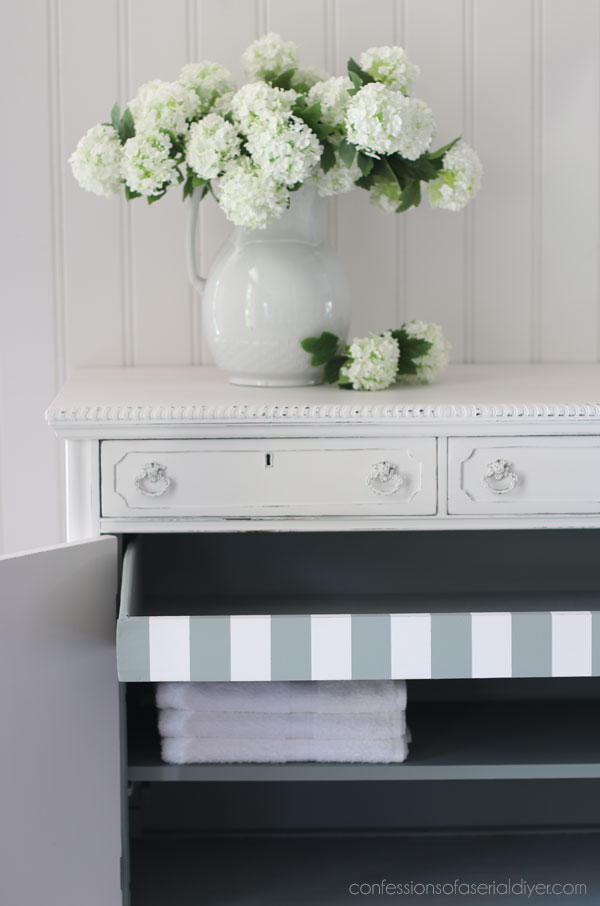
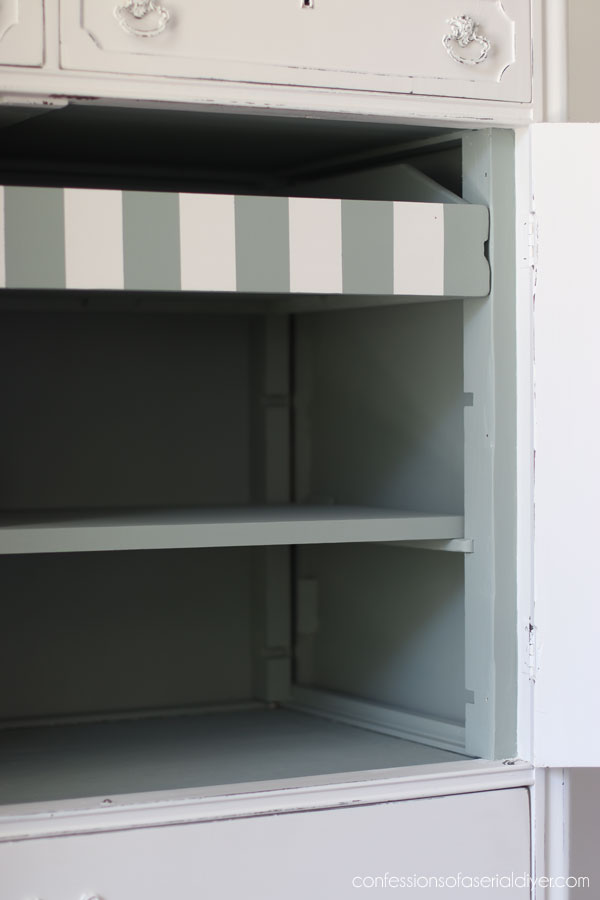
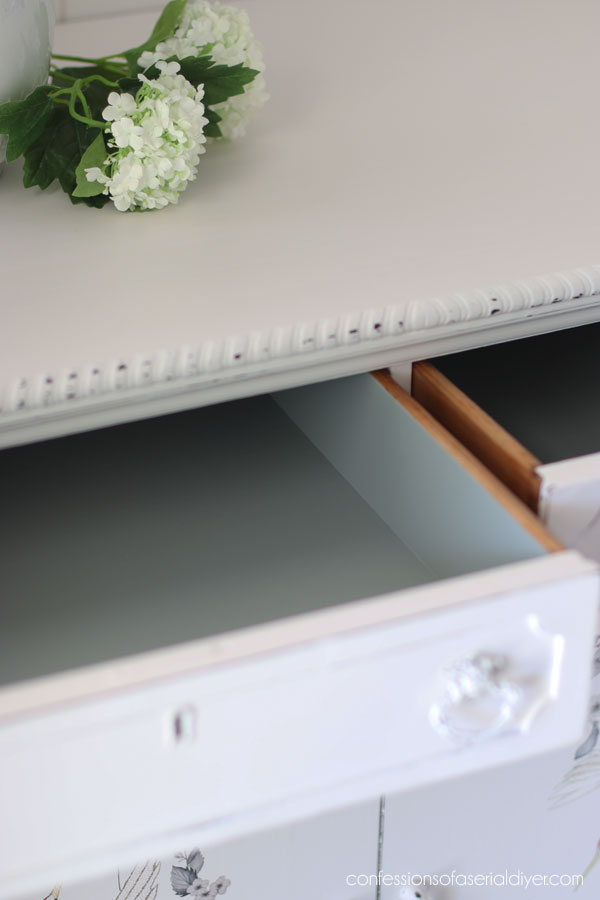
You may be able to guess what color I chose for the inside if you saw my last post. Here is how the interior turned out:
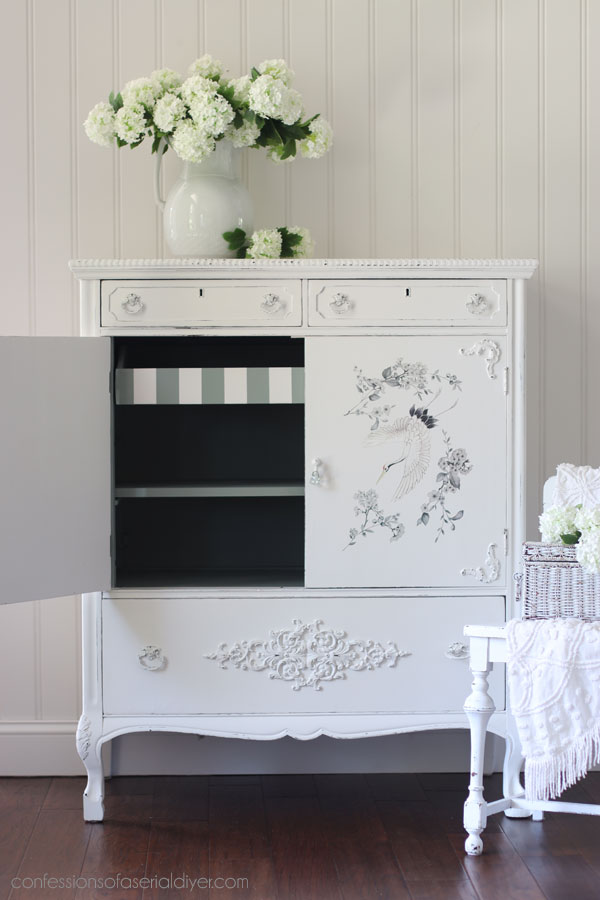
What do you think about my solution for the inside? That was by far my biggest challenge.
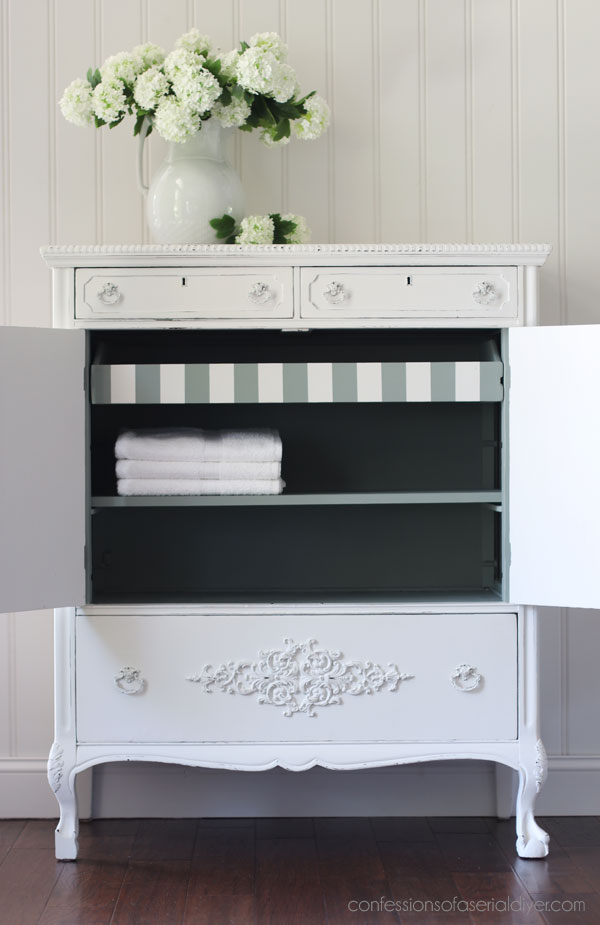
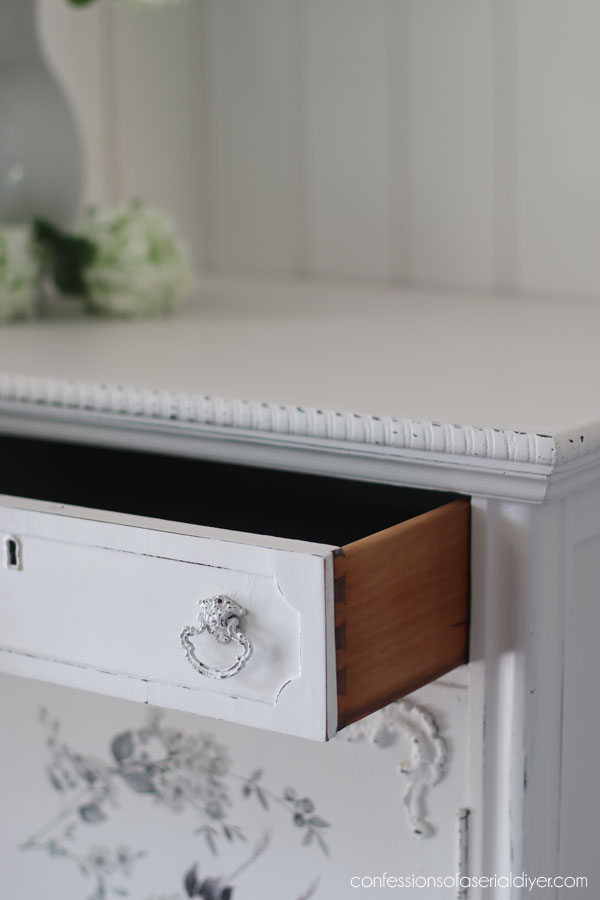
Before you keep scrolling, look at those feet! Ha ha! I had to just embrace the flaws here. My hope was that the ornate piece on the drawer would catch your attention and make the feet less noticeable!
Let’s remember what I was dealing with on the inside:
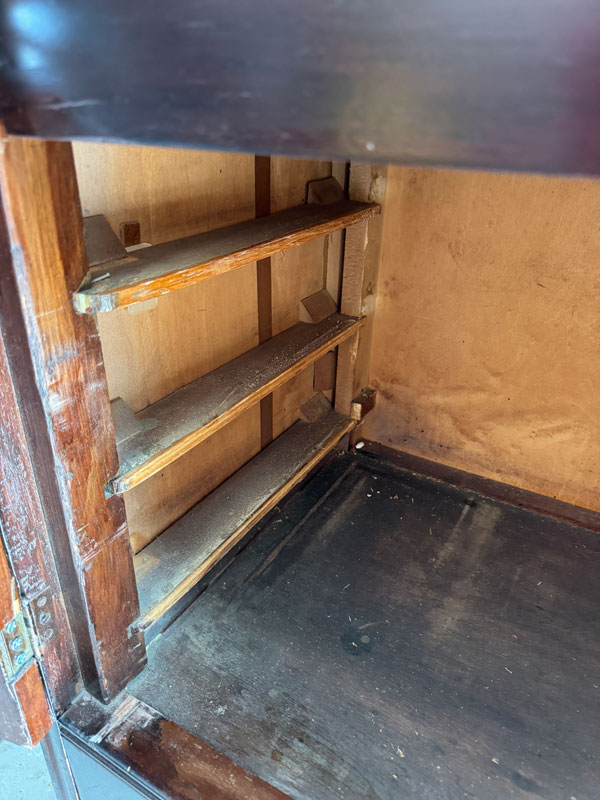
I ended up keeping the one drawer but moving it to the top, and then adding a shelf. That meant I didn’t need the bottom supports there on either side, so I whacked those out.
Then I primed with Bonding BOSS and painted all those nooks and crannies in Oxford Fog from the Silk Mineral Paint line…
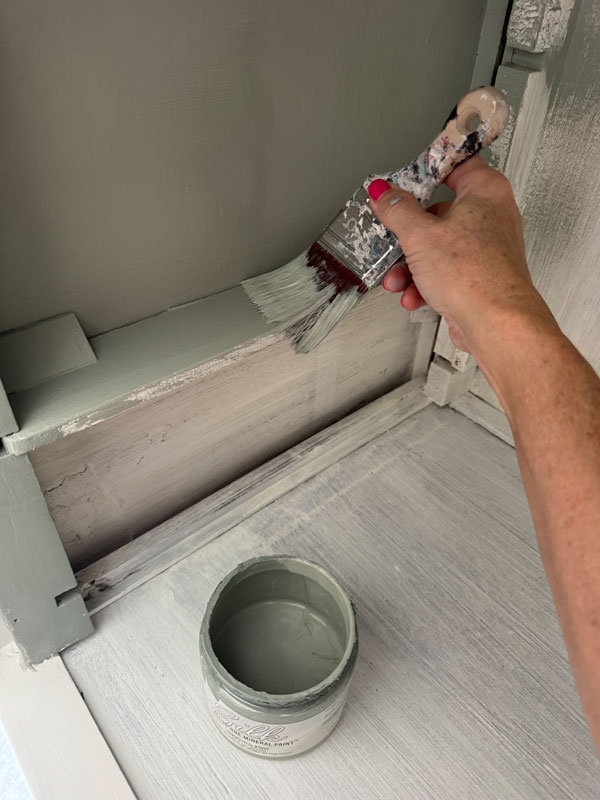
And yep, I did it with a brush. I know spraying it with a sprayer would be so much easier, but I really do get satisfaction in hand painting…even the ugly parts!
Silk has a built in topcoat, so after I applied two coats, I was done.
Well…almost! I still had to paint the drawer which I did and added stripes to:
Plus, I had to make the shelf! That involved a trip to Home Depot (again…just went for my last project!) I bought a 1 x 10 x 6 this time. To make it deep enough, I had to join two pieces together.
See a great tutorial on how to do that in this Antique Armoire makeover HERE.
The drawers
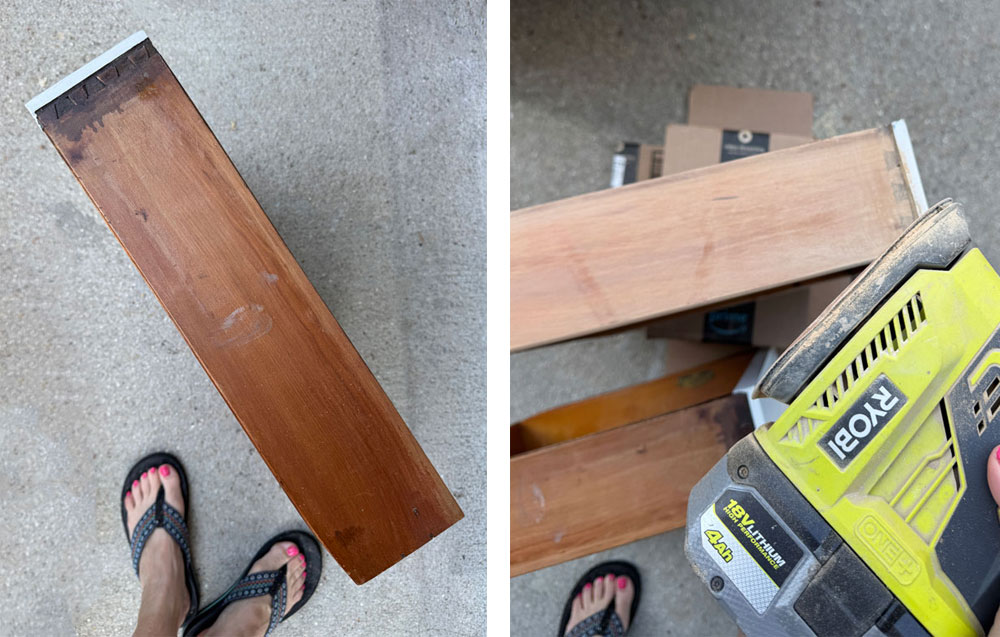
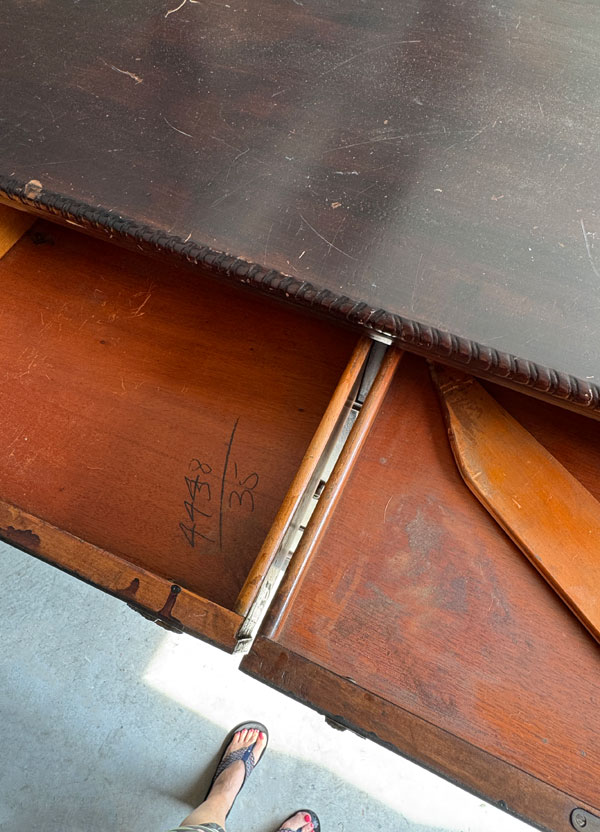
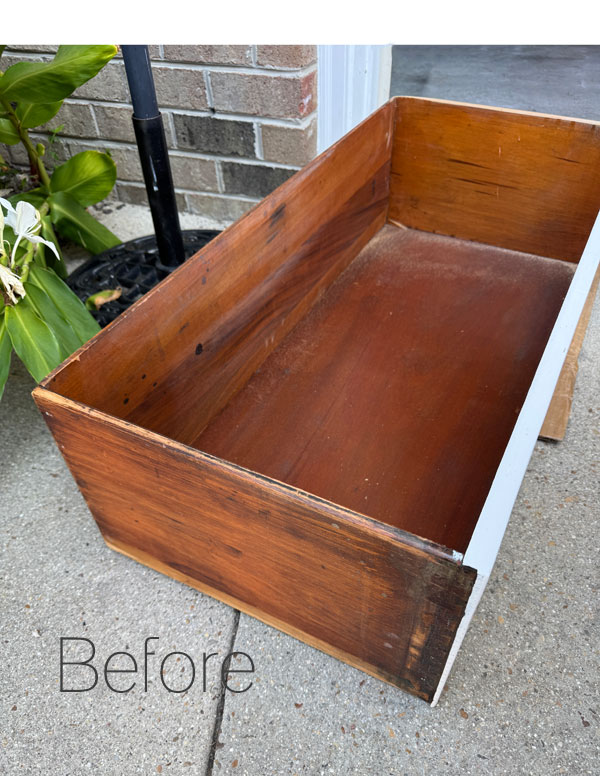
The drawers always look terrible on these older pieces. Here is a peek at the before of one of the sides which I ended up sanding down:
And the insides…
They got primed on the inside in Bonding BOSS:
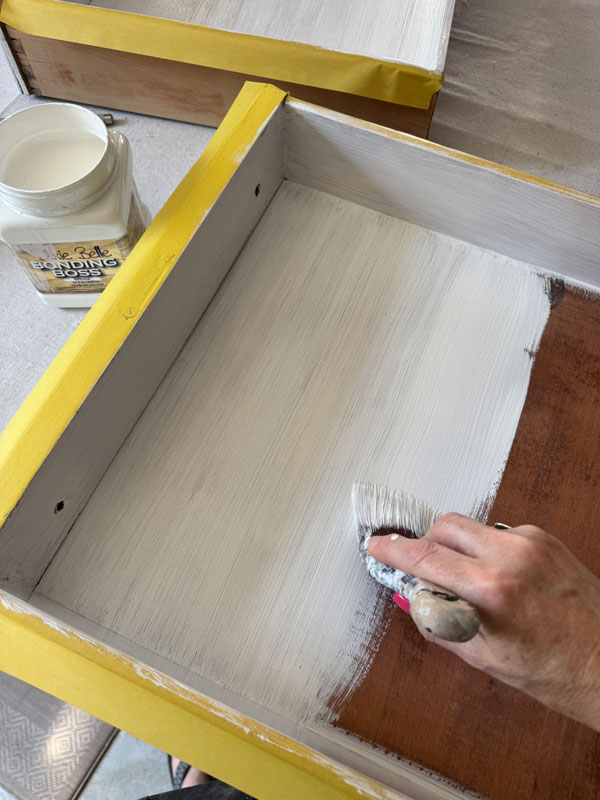
As I mentioned earlier, while it generally takes 24 hours for BB to do its thing, I left these in the hot sun for a few hours and was good to go.
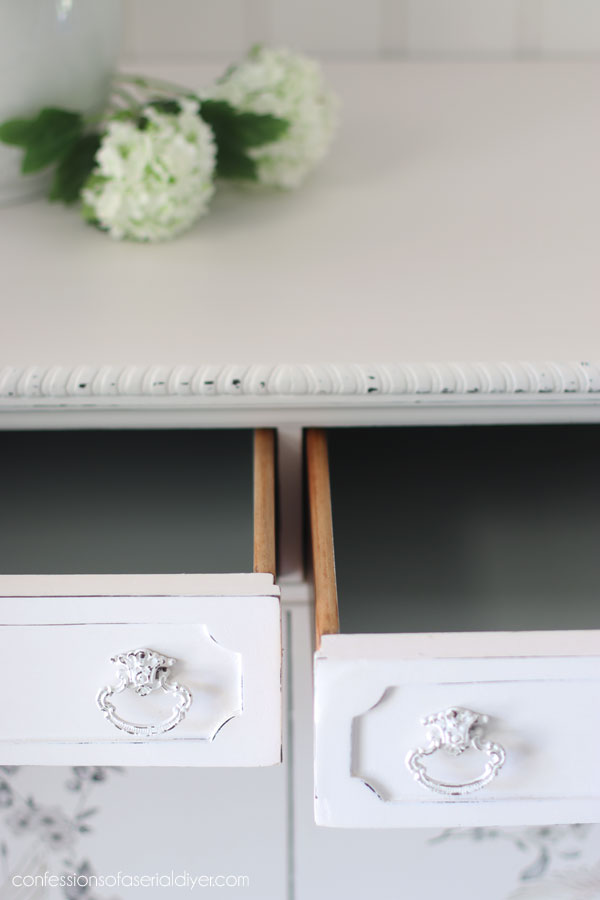
I follwed that with two coats of Oxford Fog:
I like to leave the sides of these older drawers unpainted because they have a tendency to stick. After sanding, I hydrated them using Big Mama’s Butta in the Fresh and Clean scent:
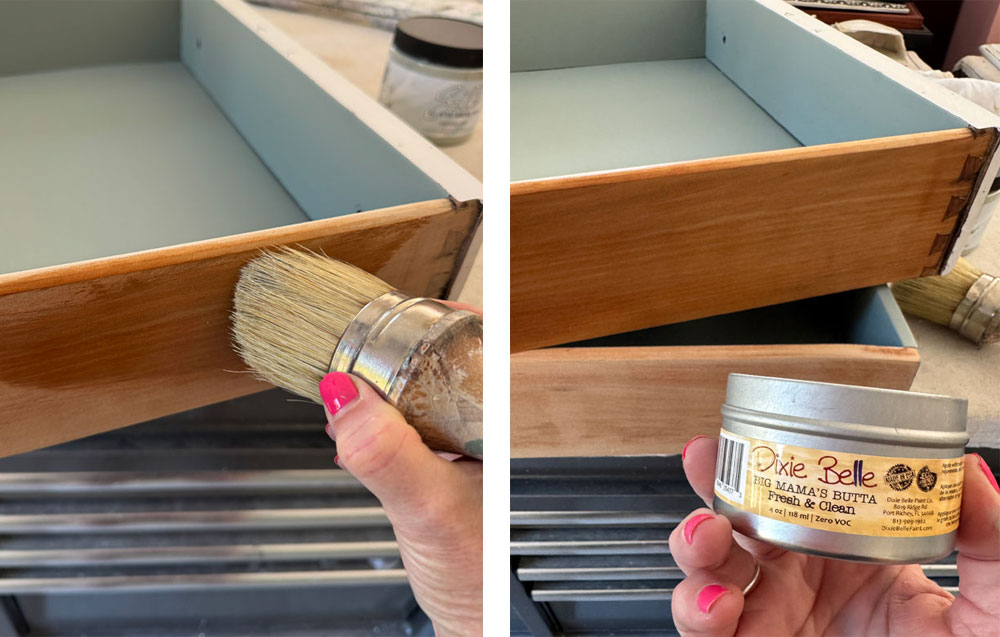
They look new and fresh and CLEAN now!
I taped off the tops to keep the lines nice and crisp:
The large drawer on the bottom wasn’t great either. I can’t imagine putting clothes in there…
I gave that one the same treatment as the smaller two:
The hardware
I kept most of the original hardware. I just loved them!
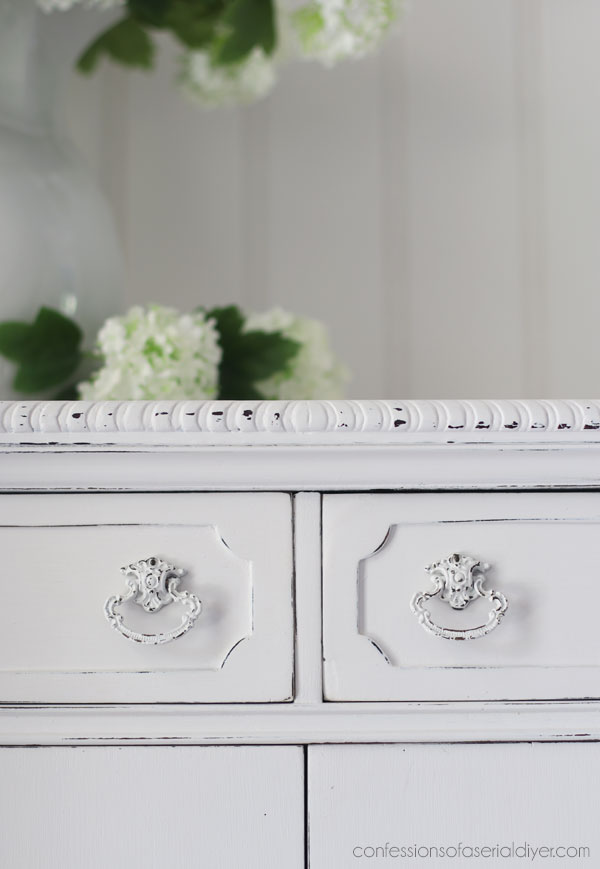
They were painted in Fluff as well and then I used my nail to scratch the paint off to shabby them up. They were sealed in clear Rustoleum satin spray.
I chose to swap out the simple round knobs that were on the doors for these glass drop pulls from Hobby Lobby. They were painted the same way:
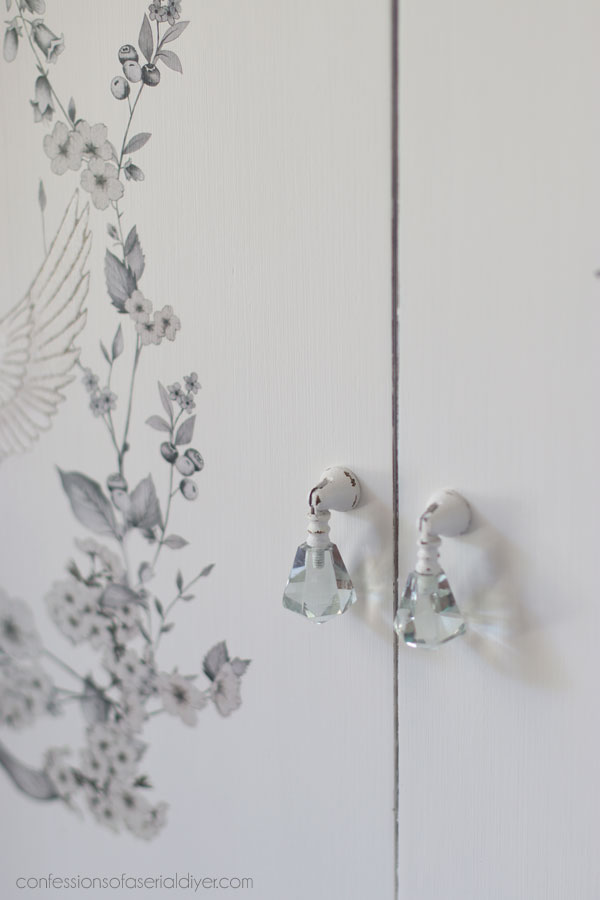
They were a much better fit with the design.
This one needed all the love, but I so enjoyed seeing it come to life with each step!
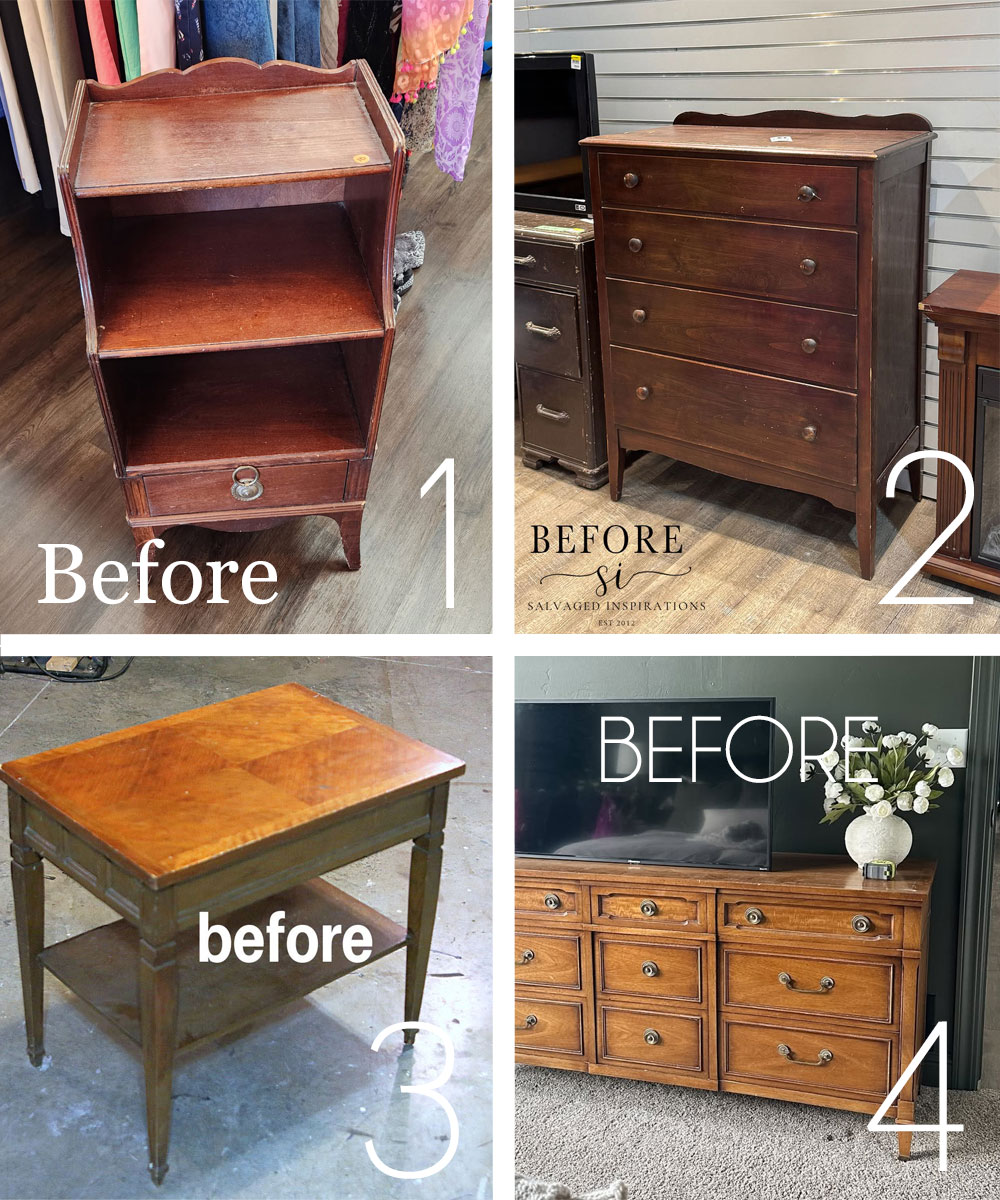
My friends have trashy treasures of their own to share today!

And that’s a wrap on a big one!!
I’ll be back on Tuesday with one of the chairs I have left.
Have an amazing weekend, friends!
XOXO,

Don’t Miss a Thing!
If you like what you see, there are several ways to follow along!
EMAIL * INSTAGRAM * FACEBOOK * PINTEREST

Get FREE SHIPPING on all orders over $50 in my Etsy shop.
(No code needed at checkout!) Orders under $50 enjoy $8 flat rate shipping!
Most orders ship same or next business day!
Visit my shop HERE or click the image below!






Leave a Reply