Hello amazing friends! Today I am sharing a fun holiday craft!
That’s right…I just packed up Halloween and now I am already onto Christmas! That’s because I’m joining along in the Seasonal Simplicity Tour hosted by my friend, Krista from The Happy Housie. There are over 30 holiday craft projects on this tour, so just maybe it will be enough to put you in the holiday spirit too! Besides, if any of these ideas inspire you, you’ll need time to execute them, right?
My project started with this fabulous clock with the very trendy one off-centered-knob-on-the-top look:
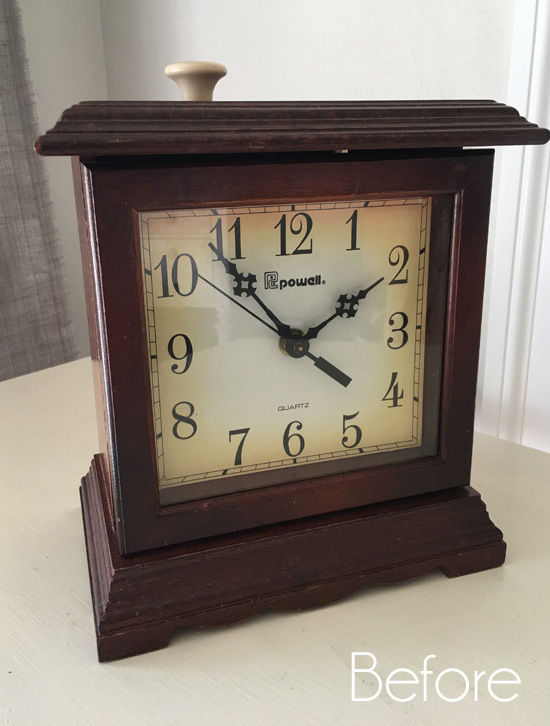
It was $5 at the thrift store and half off of that. Clearance at the thrift store? The best!
Behind the clock was a secret hidden jewelry box. No burglar would ever think to look there!
All the innards came out though and I ended up accidentally doing this to it:

Whoopsie. Nothing a little wood glue and filler couldn’t fix…
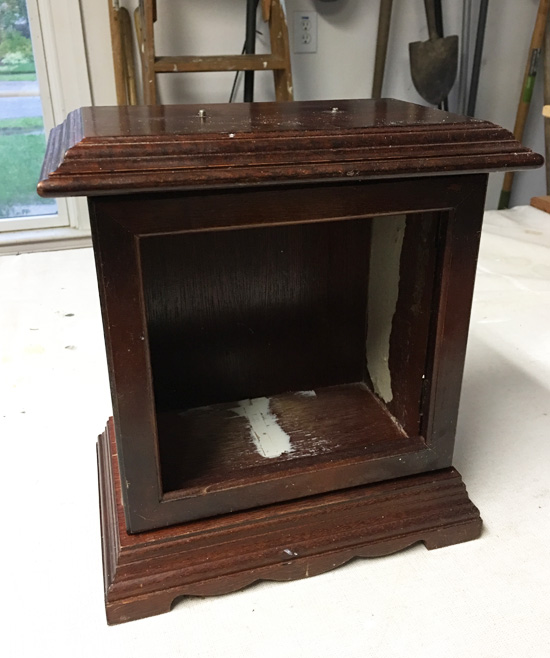
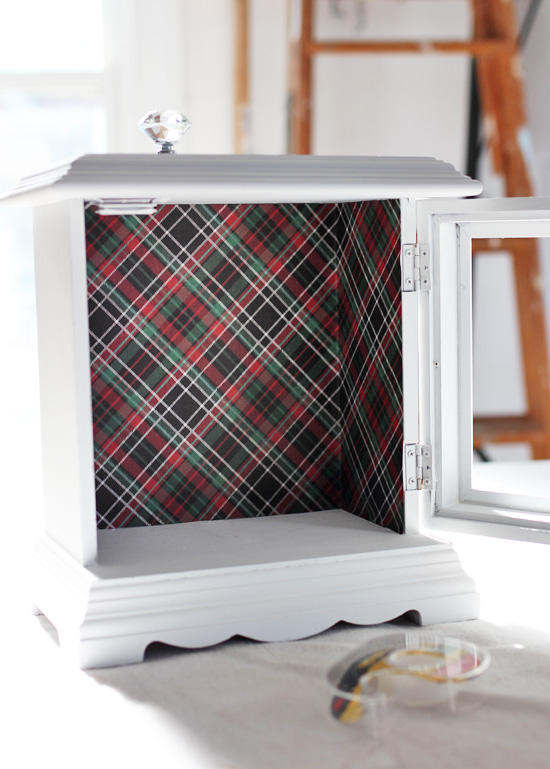
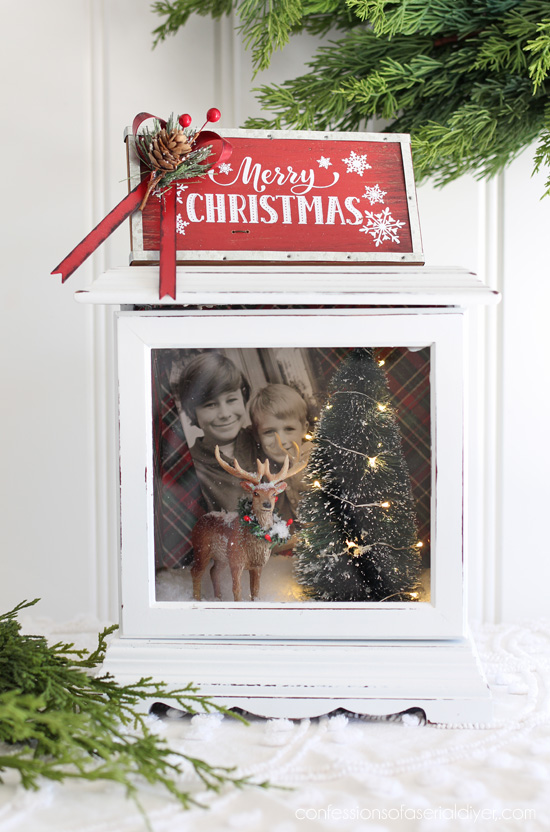
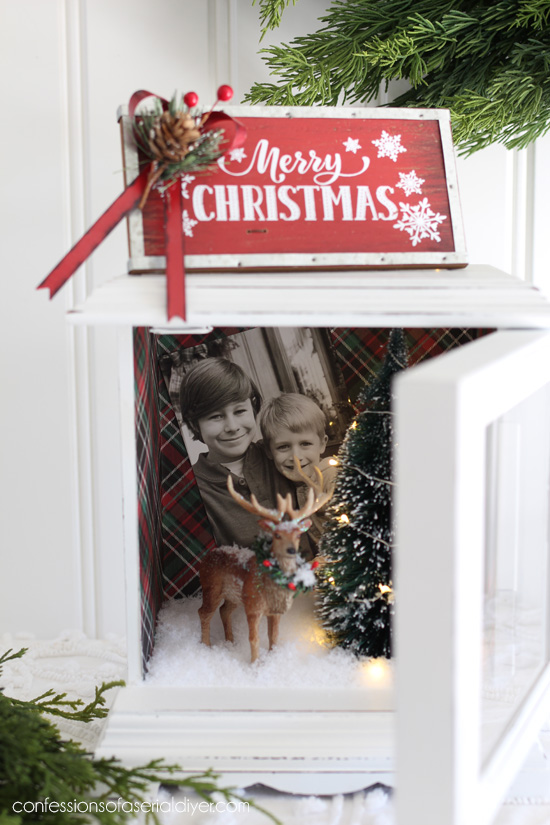
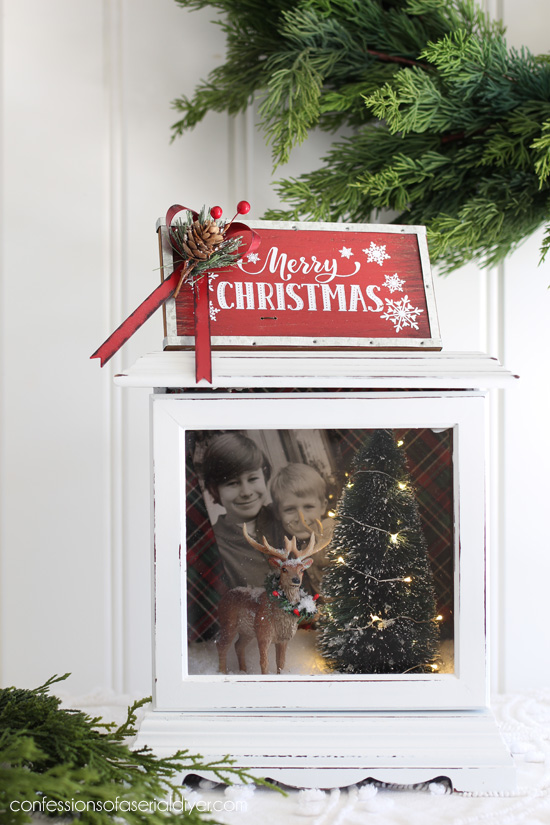
This was now the perfect base for a sweet holiday shadow box!
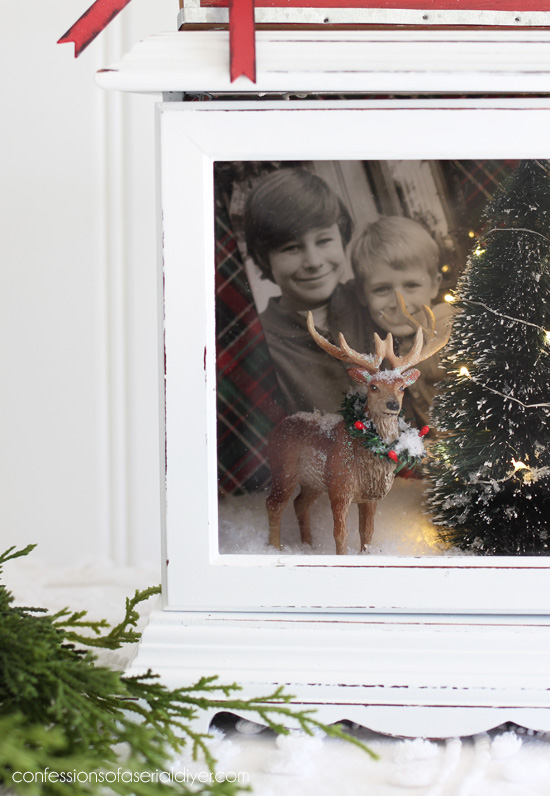
I knew I wanted to put a photo of my boys in there and this is a favorite from a few Christmases ago.
If I had taken the time to climb up in the attic and dig around, I could have found super cute miniatures from my Christmas village to fill the box, but that didn’t sound so fun, so I visited Michaels instead and found a couple of things that would work. I’ve included a few affiliate links so you can find the products I love.
I started by painting the box in two coats of my go-to white paint, Behr’s Bit of Sugar made into DIY chalk paint. (Recipe HERE.) Then I sanded and sealed with Annie Sloan’s Clear Soft Wax.
Here is what I used to pull the rest together:

1. Festive paper to line the inside (This came from Hobby Lobby.)
3. Medium sized Christmas Tree (Michaels)
4. Miniature battery-operated lights (On clearance for 99¢ in the fairy garden section at Michaels.)
5. Drill (That’s my favorite!) and small drill bit
7. Something cute to decorate the inside (Michaels)
8. Buffalo Snow Flurries (From Michaels…the hands-down BEST faux snow there is!)
9. Cute sign for the top (Michaels)
To line the inside, I cut the paper to fit and adhered it with double-sided tape.
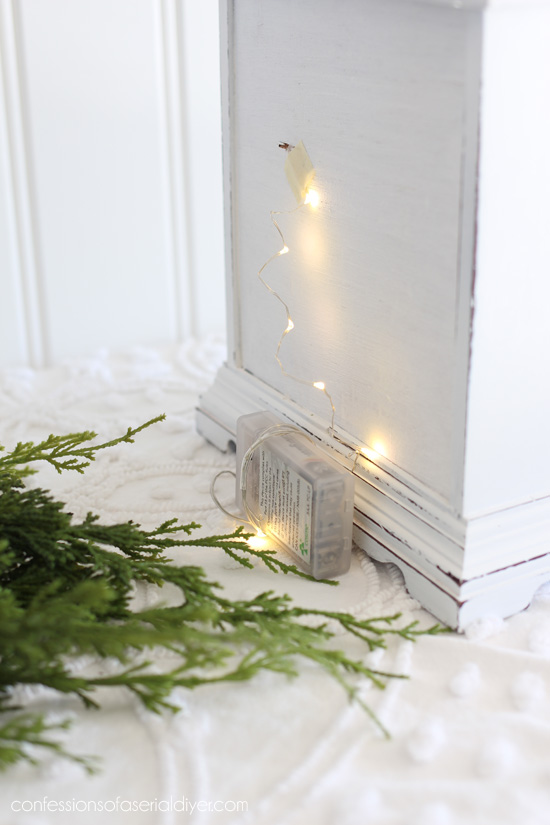
Next I drilled a small hole in the back to feed the lights through:
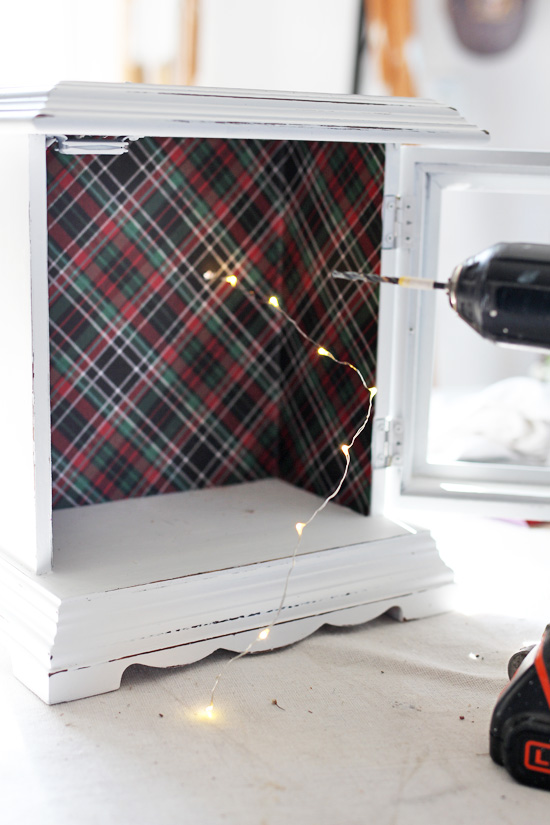
Michels wanted $15 dollars for their miniature battery-operated lights, which was just crazy! Then I got super lucky and came across the fairy garden section and it was all 70% off, including…miniature battery-operated lights! I picked these up for only 99¢, which was actually 90% off! Lucky!
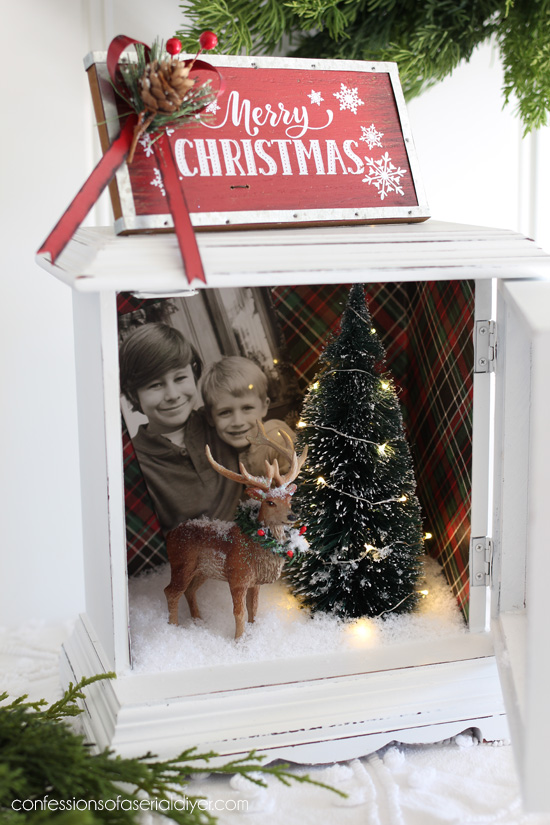
I pulled the lights through and wrapped them around my tree:

I had to remove the white stand that was on the bottom of the tree so it would fit, then I used the Gorilla Glue to secure it in place.
I added my babies’ photo next and secured the deer to the bottom with Gorilla Glue. A little faux snow finishes off the inside…
To secure the sign on top, I drilled two tiny holes in the front and ran floral wire through it so I could attach it to the new knob I added…
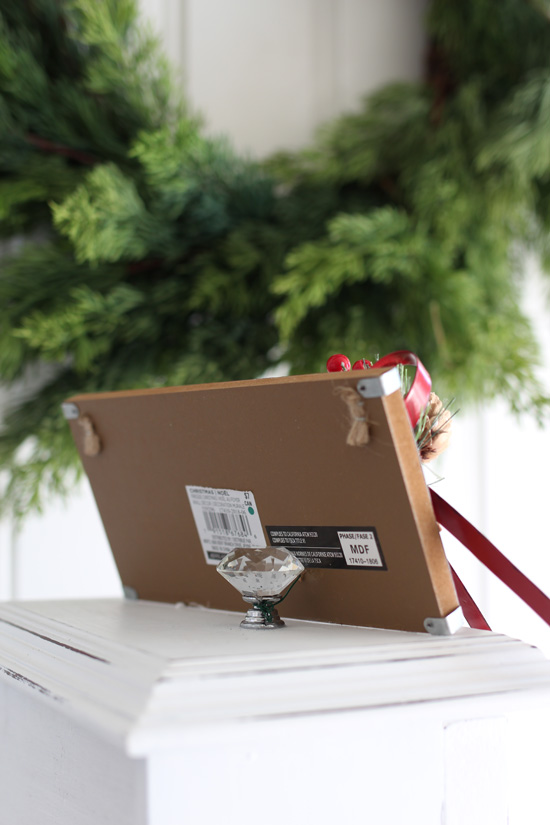
That very trendy one off-centered-knob-on-the-top came in handy after all.
You can barely notice the wire coming through the front:
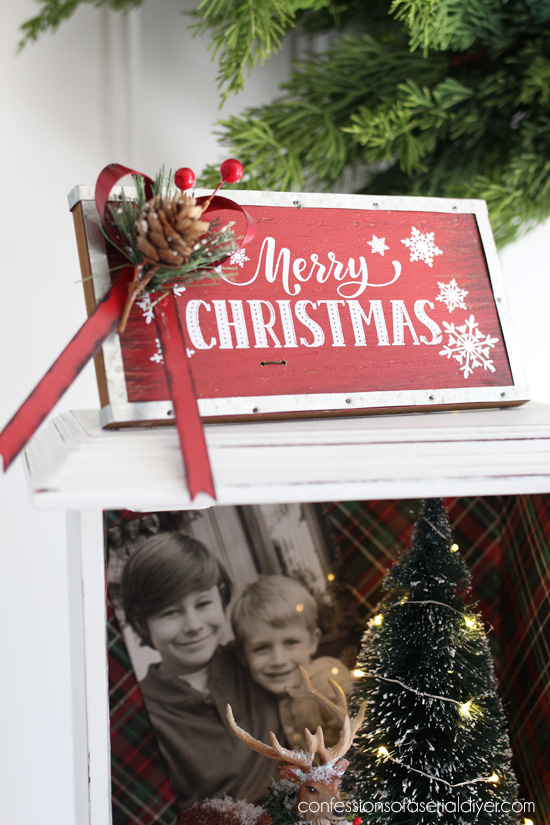
A little embellishment on the corner of the sign and that was that!
And because the lights were fed through the back, I can easily access the battery pack to turn them on and off.
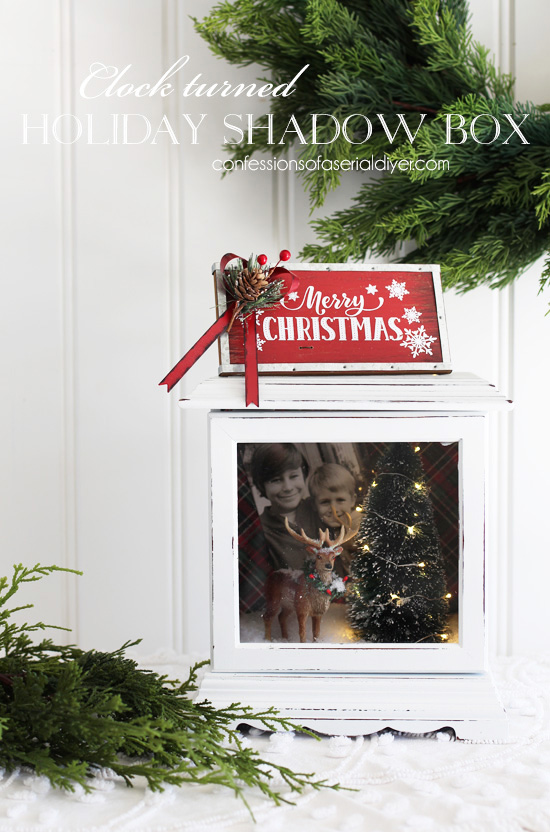
This would make a sweet gift for someone special.
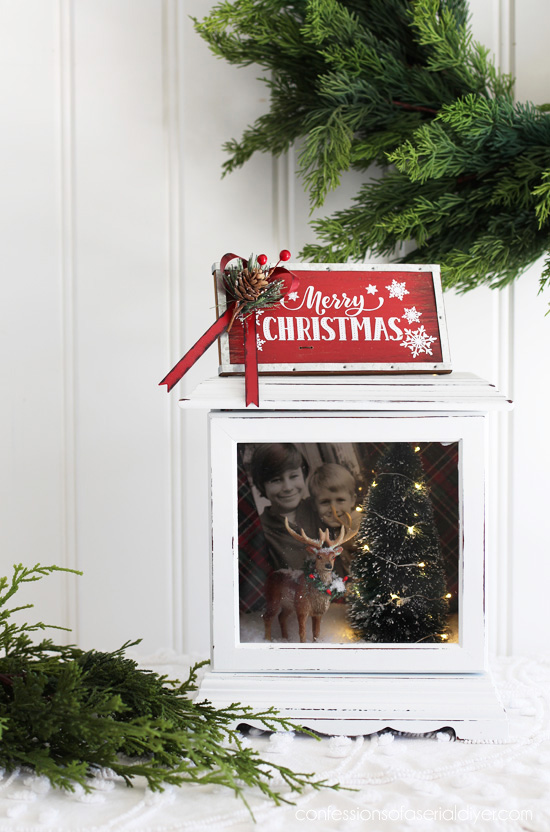
You could fill it with just about anything you can imagine…
The possibilities are endless!

There are over 30 more fun Holiday DIY projects to see today!

Visit these awesome projects and get inspired at the links below!

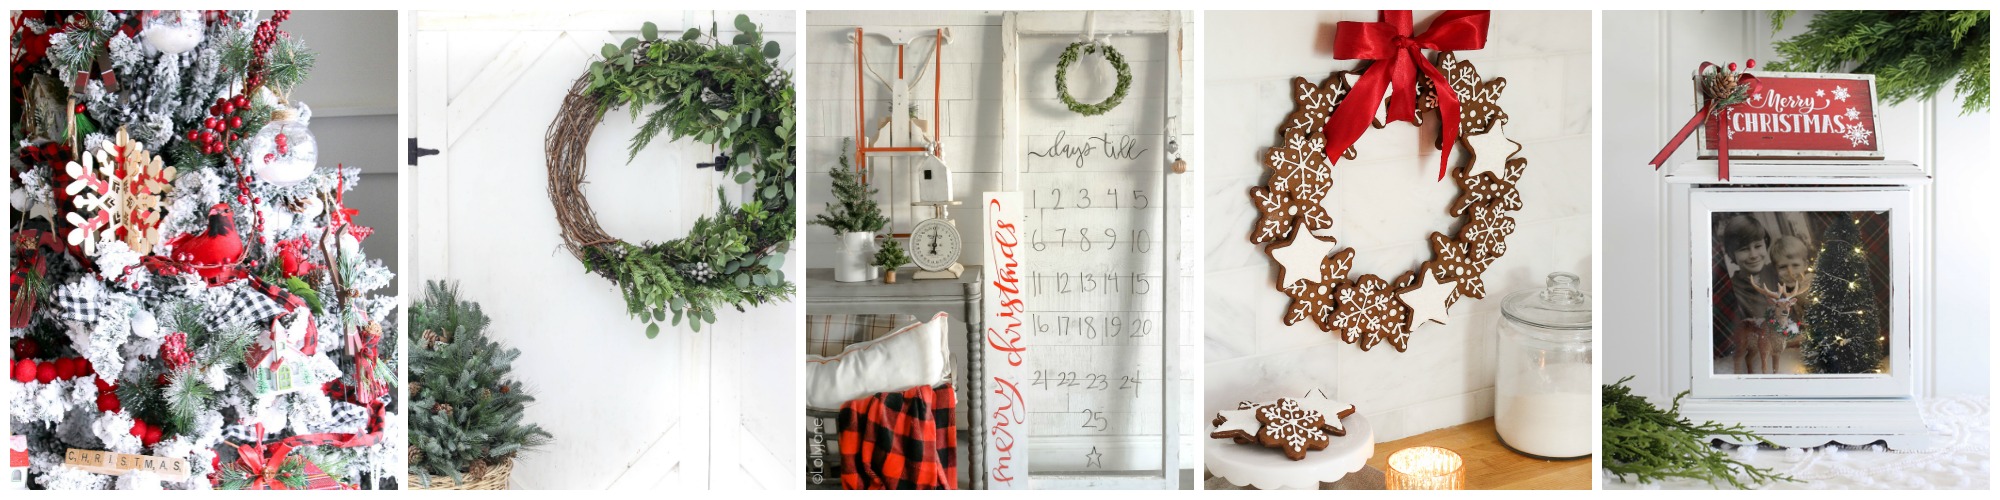
How to Flock a Christmas Tree at The Happy Housie
DIY Asymmetrical Wreath at Rooms FOR Rent
DIY Christmas Countdown at Lolly Jane
Christmas Gingerbread Cookie Wreath at Sincerely Marie, Designs
Clock turned Holiday Shadow Box at Confessions of a Serial DIYer
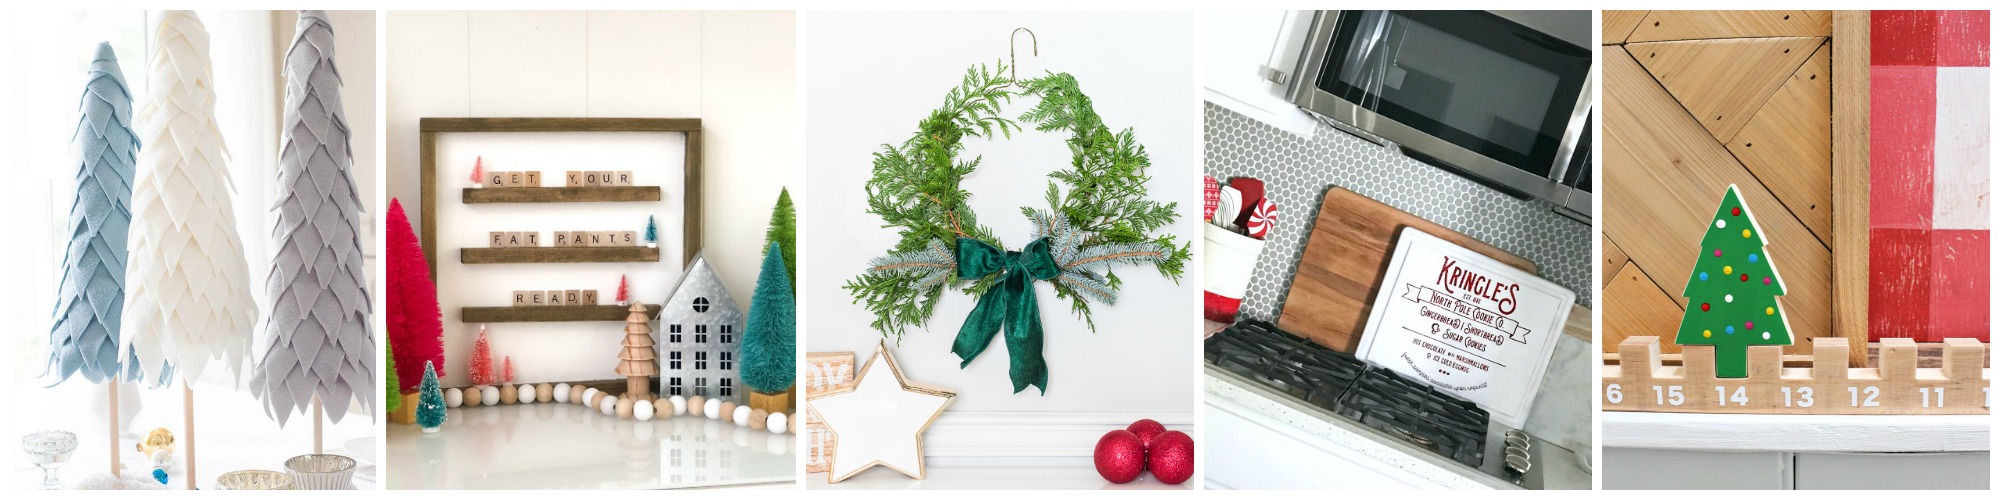
How to Make a Fleece Cone Christmas Tree at Happy Happy Nester
How to Make a Holiday Scrabble Letter Board at Tatertots & Jello
Simple & Natural Wire Hanger Christmas Wreath at Jenna Kate at Home
Kringle’s Cookie Co Christmas Kitchen Sign at Tauni Everett
Easy Advent Countdown Calendar at Jamie Costiglio
French Country Christmas Wreath Printables at Designthusiasm
Copper And Gold Mason Jars DIY at Shabbyfufu
DIY Christmas Crackers at So Much Better With Age
Star Christmas Tree Garland at On Sutton Place
Easy Fringe Napkins for Your Holiday Table at Satori Design for Living
DIY Real Christmas Wreath at Clean and Scentsible
Birch Candle Holders at Finding Silver Pennies
Homemade Dry Holiday Potpourri at TIDBITS
Modern Traditional Christmas Countdown Calendar at Rambling Renovators
Embroidery Hoop Christmas Wreaths at Town and Country Living
Quick & Easy Floating Candles for Your Christmas Centerpiece at Home.Made.Lovely
Glass Filled Ornaments at My Uncommon Slice of Suburbia
Ombré Bottle Brush Tree DIY at Modern Glam
Modern Boho Christmas Wreath at Life is a Party
How To Easily Make A DIY Eucalyptus Wreath at Inspiration for Moms
String Art Christmas Stocking Holders at The Turquoise Home
DIY Holiday Pennant- Two Ways at Lemon Thistle
Vintage Christmas Bell Garland at Willow Street Interiors
DIY Modern Christmas Sign at Love Create Celebrate
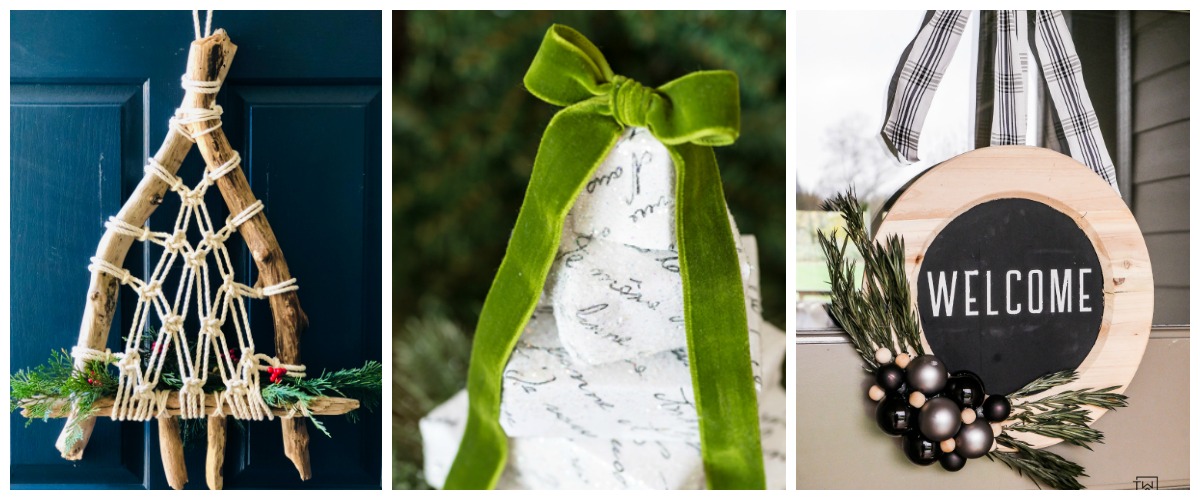
Easy DriftWood Macrame Christmas Wreath at Place of My Taste
Table Top or Mantel Christmas Tree Made Using Boxes at In My Own Style
Natural Wood Plate Charger Wreath at Taryn Whiteaker
If you liked this project, you might like what I did with this old outdoor light too!
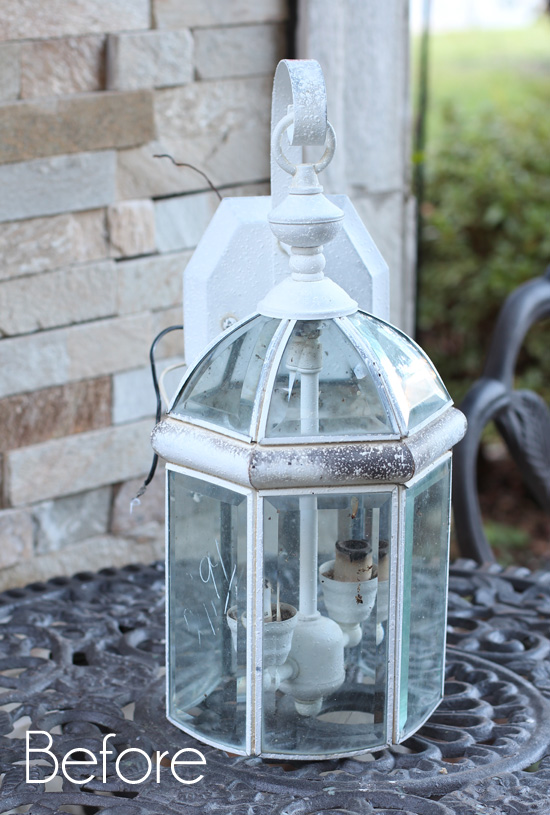
See what it became HERE!
I’ll be back next time sharing how I updated this headboard bench:
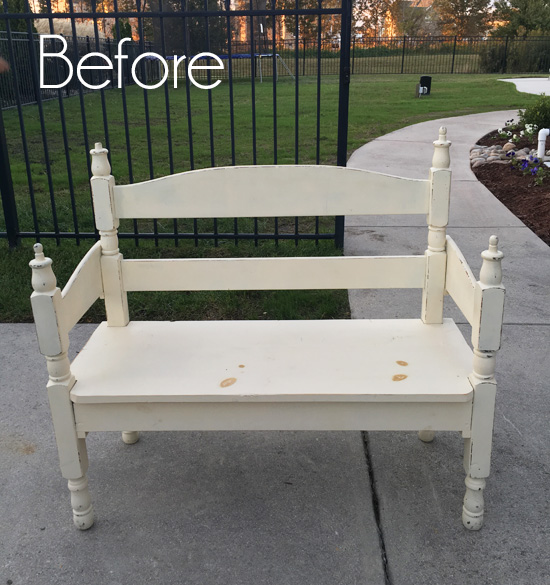
UPDATE: See the sleek new look I gave this bench HERE now! 🙂
XO,
![]()
Don’t Miss a Thing!
If you like what you see, there are several ways to follow along!
Email * Facebook * Pinterest * Twitter * Instagram


Mary Kaiser says
Wowza!!! You are so creative, I LOVE what you did with that old clock! Your boys are so cute in the box, that is the perfect picture for that. I am always so amazed at what you come up with to do to make something that no one wants into something any one would LOVE to have!! So amazing!
Christy says
Thank you so much, my sweet friend! I sure am glad no one else saw the potential in this ha ha! XOXO
Christina in SW FL says
Great, now I have to call in sick to work so I can go to thrift stores to try to find a cute clock like this! 🙂 SOOOO cute! Then come back and go through all the cool links! My job day is doomed I tell you! Thanks Christy! 🙂
Christy says
Ha ha you are so funny, Christina! Thank you! This was such a fun project, and the possibilities of what you could put inside are endless! XOXO
Elizabeth Pusateri says
I love your creativity and the way you think outside the box! Thank you for sharing it all with us on your blog!
Christy says
Wow thank you so much, Elizabeth! It is absolutely my pleasure! XOXO
Sue says
As always you amaze me with your ability to “see” something very different in the very ordinary things you find! This is lovely.
Christy says
Aww thanks so much, Sue! XOXO
Janice Holt says
Now this is one of the cutest things I’ve ever seen. Nobody but you would have thought of this; you are amazing. Thanks for sharing.
Christy says
Aww I am so thrilled that you like it, Janice! Thank you so much! I had a lot of fun putting it together! XOXO
Donna says
Cute idea! Christy, you have more ideas than fifty people! Such a great makeover!
Christy says
Aww you are so sweet, Donna! Thank you! XOXO
gwen says
Christy – this is so dang cute! I love the photo of your boys, the plaid sides, the buck with wreath, the lighted flocked tree – EVERYthing about this is just precious! thanks for the wonderful idea!
Christy says
Thank you SO much, Gwen!! XOXO
sharon austin says
Aw, so cute!! Before you even mentioned using it as a gift, I was thinking that would be a great grandparent gift! LOL
Christy says
Thank you, Sharon! Absolutely! This would make an awesome grandparent gift! XOXO
Candy says
Love this thanks for sharing.
Christy says
So glad you like it, Candy! Thank you! XOXO
Lindsay @ Lemon Thistle says
What a cute idea and great way to repurpose an old item. SO creative you are!!
Christy says
Thank you so much, Lindsay! I had fun putting it together! XO
Kathleen Hicks says
What an inexpensive way to get a shadow box! Such a great idea, shadow boxesin thrift stores are hard to come by.
Christy says
Absolutely! Thanks, Kathleen! XO
Amy says
OMGoodness!! I absolutely love this! My top ten is now heading to 20!!
Christy says
Ha ha thanks, Amy!! I’m so glad you like this one! I always love projects where I can incorporate my babies! XOXO
Jennifer Hadfield says
So clever! I love that you repurposed it! And it turned out so great!
xoxo
Christy says
Thanks so much, Jennifer! XO
Robyn Wright says
OMG!! I LOVE IT!!!
Christy says
Yay!! Thanks, Robyn! XOXO
MaryJean says
I just love this idea! I remember you did something similar about a year ago and I’ve been searching for a clock that post. Either we don’t have anyone with these clocks or no one wants to get rid of theirs! ????
Christy says
Thank you, MaryJean! I don’t see them too often around my area either, so of course I grabbed this one as soon as I saw it! XOXO
Crystal Faulk says
I am loving these ideas for the Christmas shadowbox and Christmas display from a porch light. I thought I was pretty good at looking beyond what an object is to see more potential, but you’re teaching me so much more! :o) I would’ve never looked at a clock to see a shadow box. Awesome! Thanks! :o)
Christy says
Aww yay! Thanks, Crystal!! I had fun with both of them, and the possibilities are endless! XOXO
Jaime Costiglio says
Christy that is such a clever repurpose and so beautiful.
Christy says
Thank you, Jaime! XO
Jennifer Lifford says
What a sweet idea! I love it!
Christy says
Thank you, Jennifer! XO
Jamie says
This is amazing! What a great idea and it’s so, so beautiful!
Hugs, Jamie
Christy says
Aww thanks so much, Jamie! I always love when I can incorporate my boys into a project! XOXO
Ashley says
what a fun and inventive project! I love it!
Christy says
Thank you so much, Ashley! XO
Krista says
Amazing transformation and what a creative idea. Thanks for sharing Christy and being a part of the blog hop.
Christy says
Thank you, Krista! And thank you so much for inviting me to be a part of this fun hop and for all the work you put into putting it together! XOXO
Patty says
Christy, one of the sweetest ideas you’ve had (and there have been a ton of wonderful ideas!). Love the lights on the tree and your boys look so little – such cuties!! I just love this idea – thanks so much for sharing with us! 🙂
Christy says
Thank you so much, Patty! I always love when I can include my sweet boys in a project! XOXO
Amanda says
This is so adorable and creative, Christy! Who would have know it used to be a clock? You’ve got me on the hunt for an old clock now!
Christy says
Thank you, Amanda! I grabbed it up right away when I saw it! XO
Ellen | Ask Away Blog says
WTF I am so mindblown right now! I never would have thought to use the clock that way. You’re so talented and creative@
Christy says
Ha ha thank you, Ellen!! XOXO
Cheryl Acampora says
u r amazing as always! And your son are just so handsome! can’t wait to see what else u come up with
Christy says
Thank you, sweet friend! XOXO
Cecilia from Georgia says
Everyone has already stated what I want to express! Such a darling idea and great gift idea for almost everyone. You are amazing!!
Christy says
Thank you so much, Cecilia!! XOXO
Kristin salazar says
This is so clever and absolutely adorable!
Christy says
Thank you, Kristin! XO
Cecilia from Georgia says
Oh Christy! I think I would have just trashed it when it fell apart! I admire your determination:) So, did you not have to do any prep to keep the bleed away? I am so paranoid about bleeding through that I think I am doing overkill (or kilz) with prepping. I don’t mind on some pieces but it would be so much faster to just jump in and paint. I still have flashbacks from the table I painted and 2 days later started seeing the ugly brownish color from bleedthrough. Your videos are so fun to watch!
Christy says
Oh ha ha…I really did make a mess of it! This did not require any prep. Usually newer pieces don’t. It’s those older cherry and mahogany pieces that can give you a run for your money with that dreaded bleed-through. Thank you! XO
Shauna says
No way! Such a smart and creative way to repurpose an old clock. Love the addition of the lights!
Christy says
Thank you so much, Shauna! I really had fun with this one! XOXO
Danielle says
You have such a great vision. I would never have come up with this and it is sooooo adorable. Such a cute idea!
Christy says
Thanks so much, Danielle! It’s always fun to incorporate my babies into a project! XO