Hello friends! I have another simple painted project for you today. Don’t you just love a good before and after? How about we do a good after and before? …As in this awfully cute chest:

Here it is before:
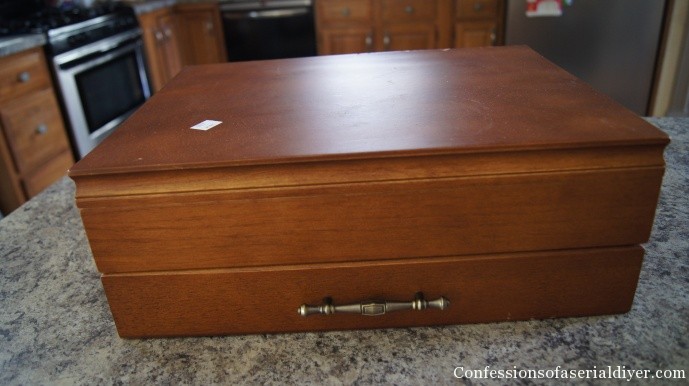
Many of you may know what kind of chest this is…
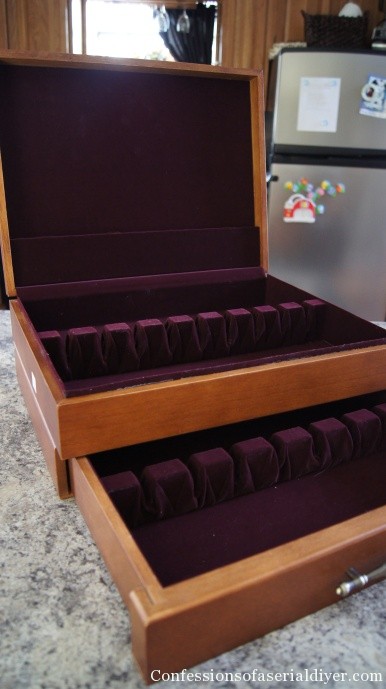
Were you right? It’s a flatware chest!! I know you all want to go dump out your granny’s silver so you can have one of your very own!
Although I do generally love a touch of purple velvet now and then, I had to say good-bye. While demo-ing the velvet, I nearly broke the lid completely off ran into a little trouble and had to do some minor surgery. Here it is in recovery.
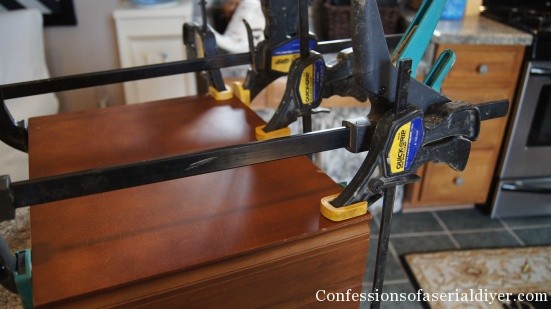
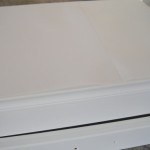
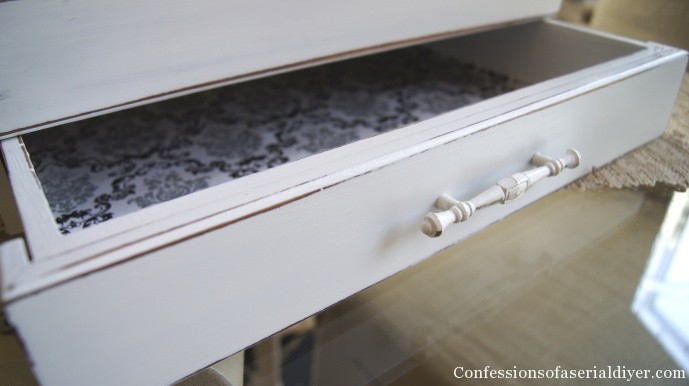
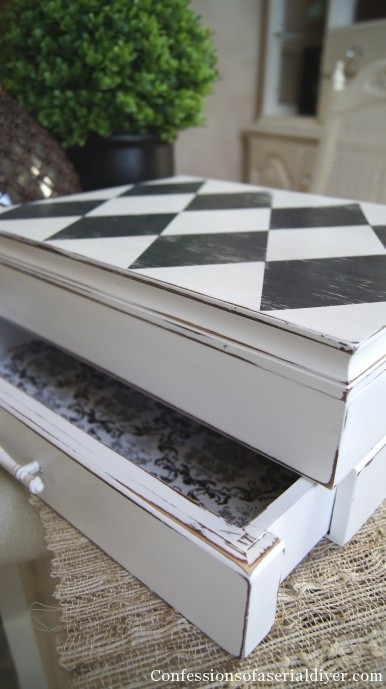
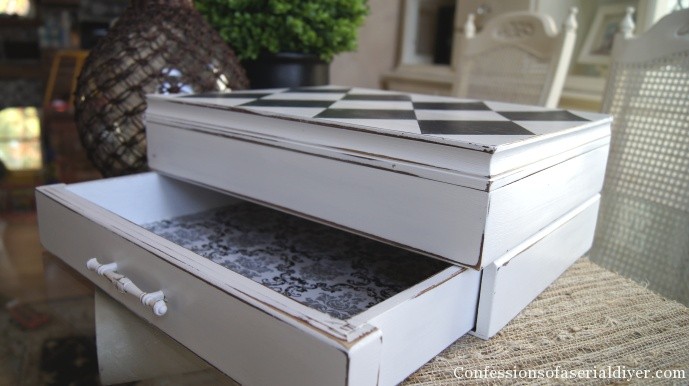
I gave it a couple of coats of AS chalk paint in Pure White as a base:
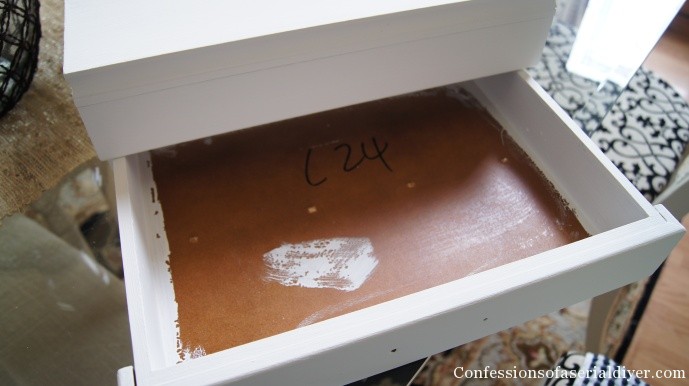
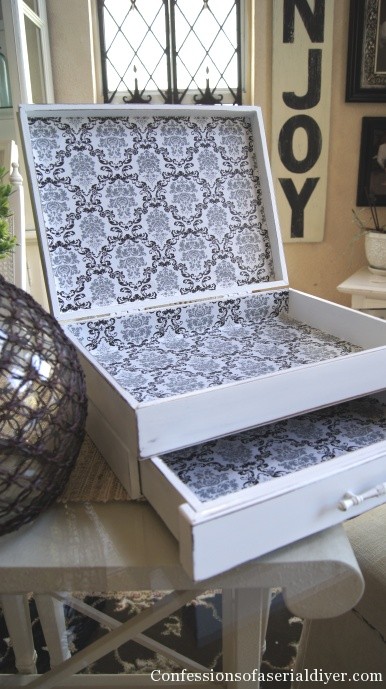
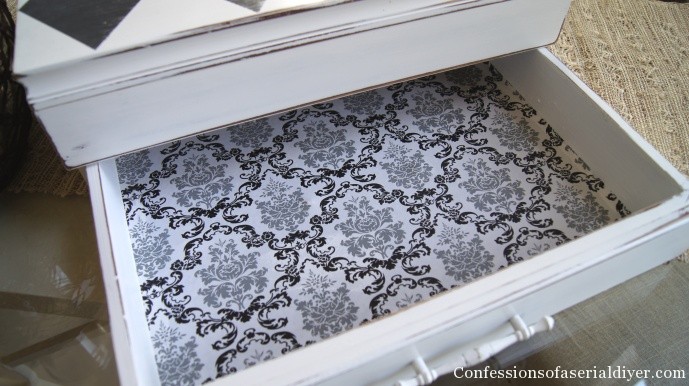
Then for contrast, I lined the drawer and the insides as you saw above.
Ahh, much prettier! This is contact paper I found at TJ Maxx on the clearance a while back.
A couple of months ago, I painted a little table I found for $5 at an estate sale, in a checkered pattern. I spent a good bit of time measuring to get the dimensions of the squares just right.
I found an easier way to measure out the pattern for my harlequins, so I thought I would share!
How to get the perfect harlequin pattern: (Click on each picture to enlarge.)
-
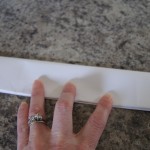
- You’ll need a piece of paper the size of your surface to start.
-
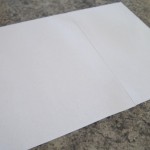
- I used computer paper joined together with tape.
-
- Fold in half width-wise three times (this will depend on your project)
-
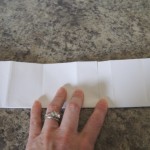
- Fold in half lengthwise two times.
-
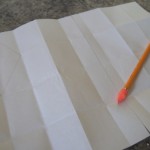
- When you open the paper, you’ll see a grid. I penciled in a harlequin to give you a visual.
-
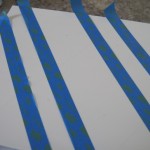
- Using a straight edge, mark out your lines in pencil.
-

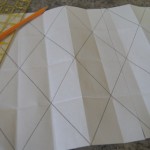
- Flip the paper over onto your project and trace the pencil lines.
-

- Here you can faintly see the outline of my pattern.
-
- Start by marking off in one direction.
-
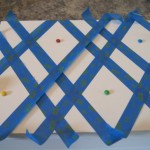
- Then the other direction. The m&ms show what will be painted.
-
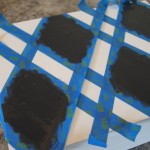
- I painted mine with ASCP in Graphite.
-
- Pull the tape off immediately.
-

- Stop your 10 year old from stealing the m&ms!!
-
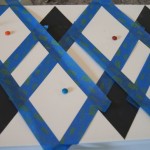
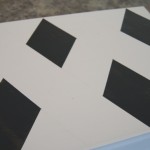
- Now tape off the remaining harlequins.
-
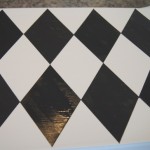
- Paint and remove tape immediately. I gave it two quick coats one right after the other.
Pretty simple, right?
To paint the hardware, I anchored it to a piece of cardboard:
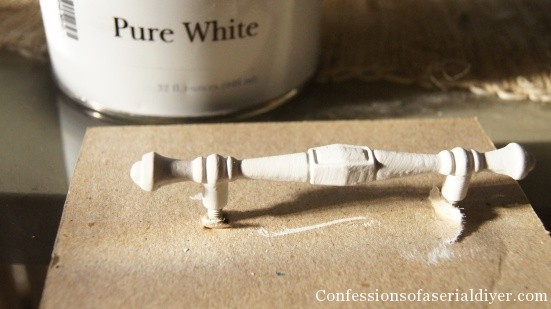
Everything got a little sanding and a coat of clear wax:
I love this little piece. I found it at a thrift store for $6.99, but when I got to the register I realized all white tags were 1/2 off. I only paid $3.49! Score!
I could use it for so many things. I’m thinking bedroom. Jewelry. Makeup. We’ll see.
Thanks for taking the time out of your busy day to check it out!
XO,
![]()
P.S. No children were harmed in the making of this post 🙂
If you like what you see, there are several ways to follow along! ![]()


Vickie says
Great project Christy. I’m wondering about the edges that you sanded. Did you do an undercoat of black to get that contrast? I love how it looks.
Christy K. James says
Thanks, Vickie! I didn’t do a different color underneath, that’s just how it came out after sanding. It looks dark in contrast to the white, I guess 🙂
Camila says
Wow I love this! so easy and looks so nice! Thanks for your lovely comment on my blog and here you have a new follower, super cute blog!
Hugs
Cami @ TitiCrafty blogspot
Ps: I’m starting a link party tomorrow, it would be great to have you there!
Christy K. James says
Thanks for stopping by, Cami. I’ll look out for your link party:)
Stephanie says
So pretty and such a great tutorial. Love it!
Stephanie @ thestyledsoul.com
Christy K. James says
Thanks, Stephanie!
Rose :: Fine Craft Guild says
Love this makeover! It’s exquisite! May I invite you to come link it up at http://www.finecraftguild.com/party-63/ ?! Would love to see it there!
Christy K. James says
Thanks, Rose 🙂
Cheryl~ZanyMayd says
Oh My Goodness, I love the creative transformation ~ I thought about dumping my
Mom’s old silver to use her chest, but I think my kids would be upset….. my mission
this week may be to find something similar ~ Thanks for sharing,
Cheryl
zany-mayd.blogspot.com
Christy K. James says
I’m so glad you’re inspired, Cheryl! It can really be used for just about anything now 🙂
Andi says
It looks awesome! I love the harlequin pattern and the contact paper…brings the whole project together. Looks great!!
-andi
Christy K. James says
Thanks, Andi 🙂
Mandy Hank says
Christy, you always amaze me with your painting skills- awesome!! 🙂
Christy K. James says
Awe thanks, my friend:)
Cindy Eikenberg says
Hi Christy – I saw this at Make the Scene Monday and had to stop over. I just love this – I am a huge fan of black and white. You did a wonderful job! Thanks for sharing and have a wonderful week! Am pinning! 🙂
Christy K. James says
Thanks so much, Cindy! Glad you stopped by 🙂
Sette Design says
You did a great job and the inside looks so pretty. Found you from met monday. Cheers
Christy K. James says
Thanks for stopping by 🙂
Nancy @ Artsy Chicks Rule says
What an adorable little makeover. I love the insides with the paper. And what a great tip on doing the design on top!!
Thanks for sharing 🙂
Nancy
Christy K. James says
I’m so glad you like it 🙂
Michele says
I’ve GOT to make me one of these! I’ve never done harlequin, but it is so fun and you make it feel like my style. Thank you for the inspiration, I have just the box to try this on!!
Christy K. James says
Awesome, Michele! I’m so glad you feel inspired 🙂
Patricia Krank says
This is so adorable. Thank you for sharing the harlequin design tutorial. I did one on a picnic table without having any idea what I was doing and it wasn’t so much fun! Blessings to you, Patti
Christy K. James says
Glad to share, Patricia! Thank you:)
Kara says
I cannot wait to find one of these flatware chests now!
Christy K. James says
Keep your eyes open, I’ve seen several of them out there:)
Jenna says
Very cool!
Christy K. James says
🙂
Jennifer says
Hi Christy! I wanted to share with you that I tried your harlequin technique and posted it on my blog here, with a link back to your page. I think next time I do it, I will draw my lines with chalk instead of pencil. I’ve done other projects using chalk and it transfers and cleans up so much easier. But I couldn’t have done it so simply without your instructions, so a huge THANK YOU for sharing!
Sincerely, Jennifer from Sophisticated Junk Pile
Christy K. James says
What a cute side table!! I was transferring my pattern to a white box and did not have colored chalk, so pencil worked best for me, but I’m glad you were able to make it work! Thanks for the link back 🙂
Julie Evans says
Love these silverware boxes with their new makeovers. How much do you sell them for? And where is your booth?
Christy K. James says
Thanks, Julie! I sell these for $55-$60. My booth is in Virginia Beach, VA at the Virginia Beach Antique Mall. 🙂