Welcome back, sweet friends! Today, I’m sharing how to easily update a plain box with paint and transfers! I rarely meet a plain box at the thrift store that doesn’t end up in my cart. They are just so much fun to reimagine!
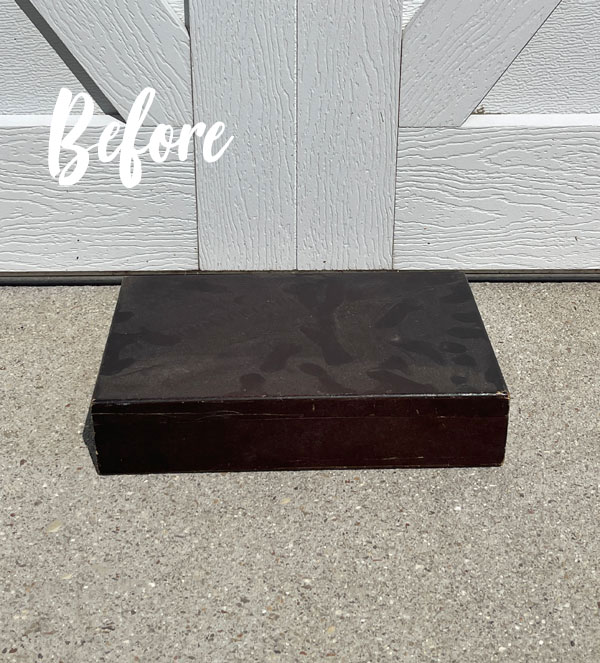
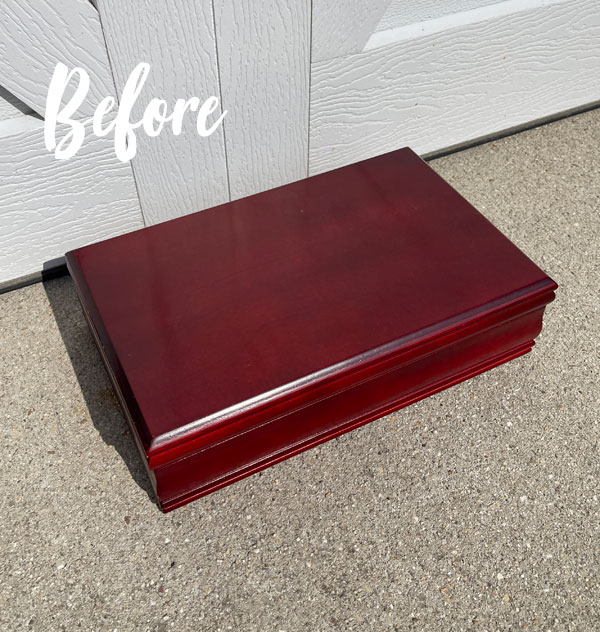
Here is today’s box, a $3 thrift store find:
I’ve included a few affiliate links so you can find the products I love.
Clean
This one became pretty dusty sitting in our garage, so I started with a good cleaning using my go-to paint prep cleaner, White Lightning:
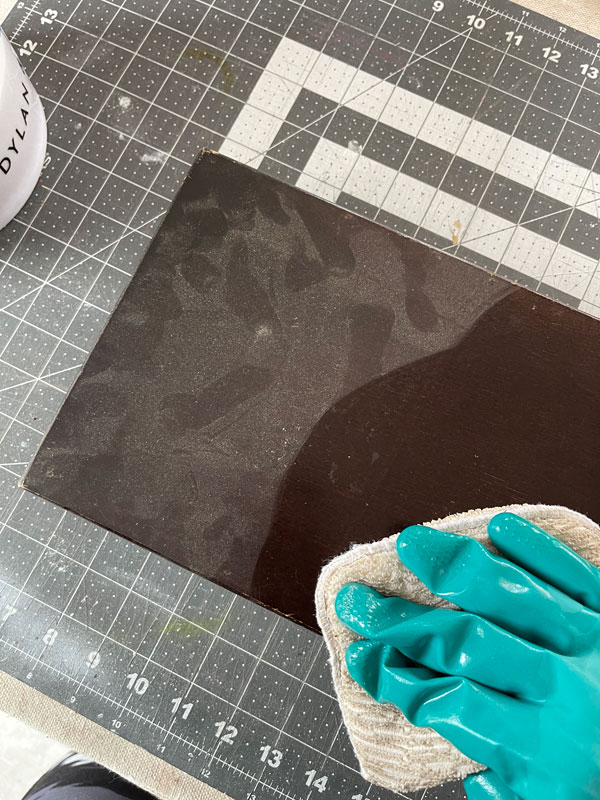
It comes in a powder form, and I just mix one TBSP into a half gallon of warm water. I like to use these terry cloth applicator pads to clean my pieces with it.
Once my surface is clean, I wipe everything down once more with clean water. Gloves are recommended.
Paint
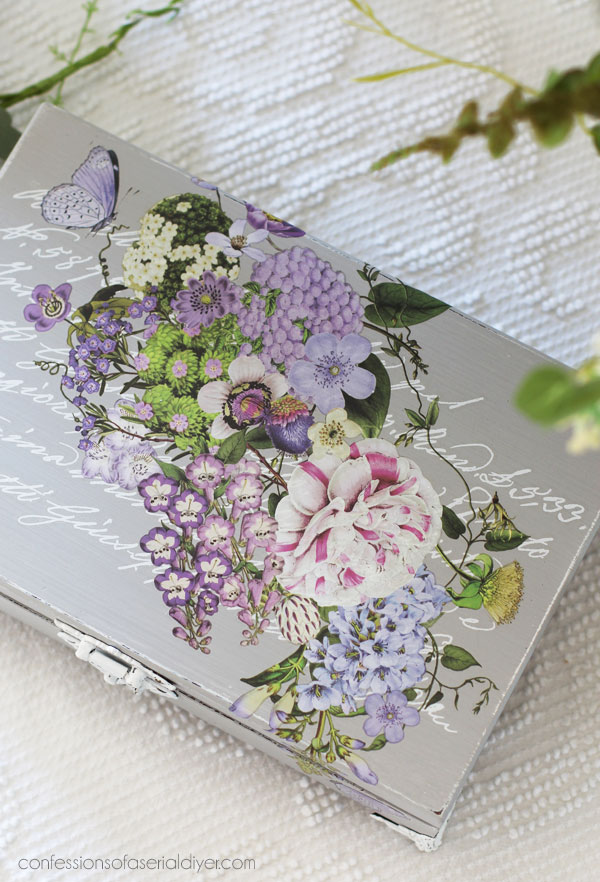
I wanted to distress this one a bit, and I imagined white showing through my final color, so I started with a coat of Cotton first:
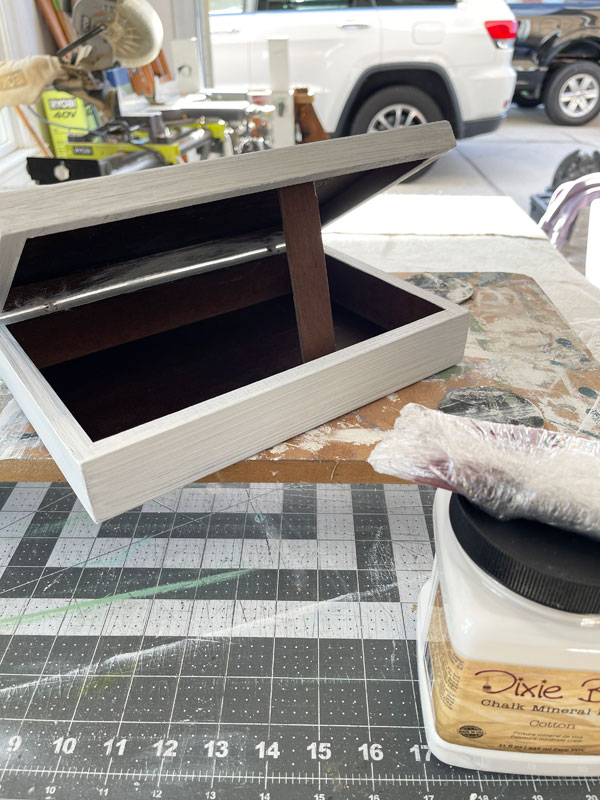
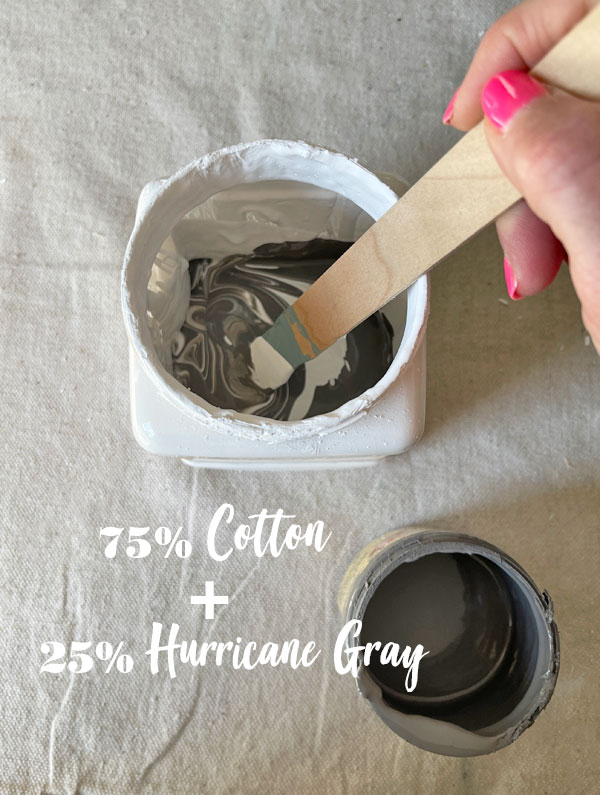
Then, I followed up with a lovely gray that I often mix up that is one part Hurricane Gray and three parts Cotton white…
I applied one coat of that over the white:
Only applying one coat over the white will give me more of the distressed look I want once I sand.
Sand
I sanded all over with 220 grit sandpaper to smooth and distress. If you plan to add a transfer to your project, you’ll want your surface nice and smooth also.
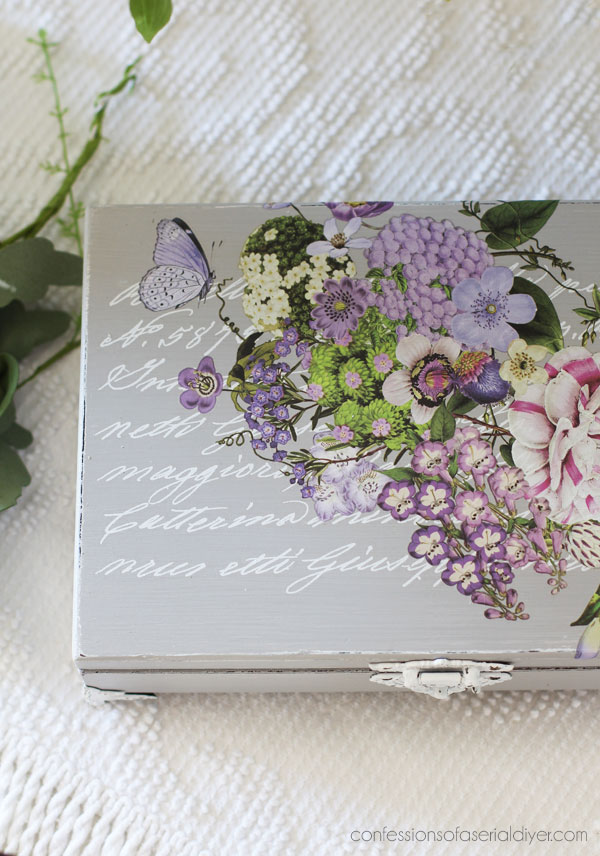
Transfer
For this project I decided to layer TWO transfers, starting with this white script transfer called Secret Letter II:
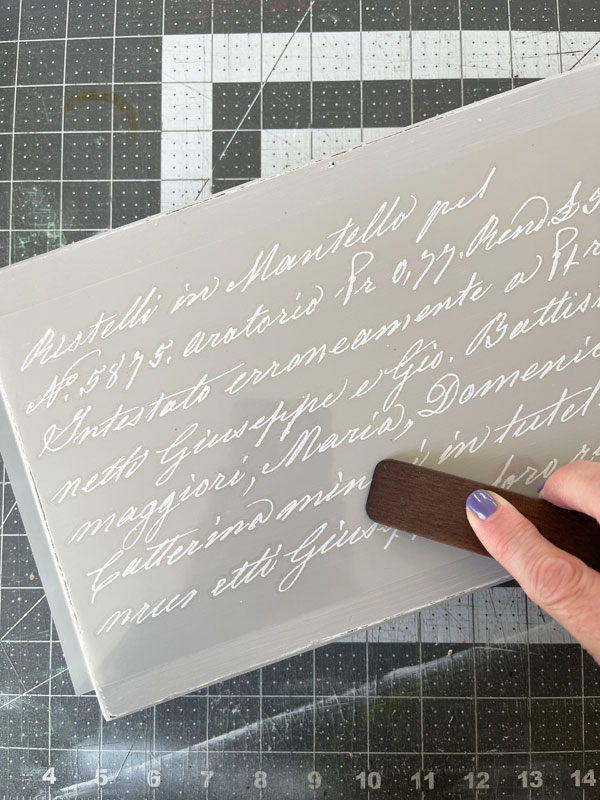
(It sure is a secret…I have no idea what it says!)
This is a smaller transfer that has three sheets of varying sizes of script font. It also comes in black HERE.
You can see what else I used this one on HERE.
Transfer #2
To layer over the top of this one, I chose this gorgeous Wild Amorous transfer that I have had my eye on ever since we got it in!
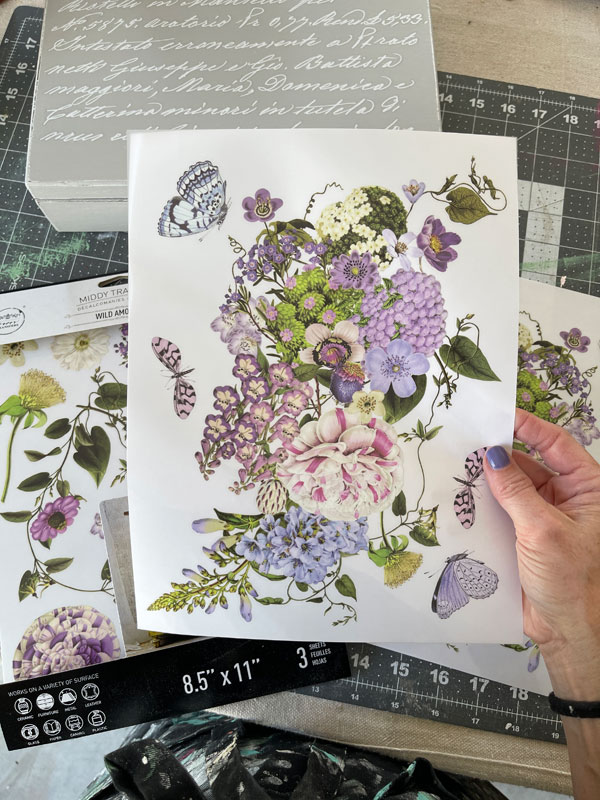
Isn’t it pretty?? There are two 8X10 sheets like this one and one of individual blooms that coordinate.
I decided to place it on an angle right over the script…
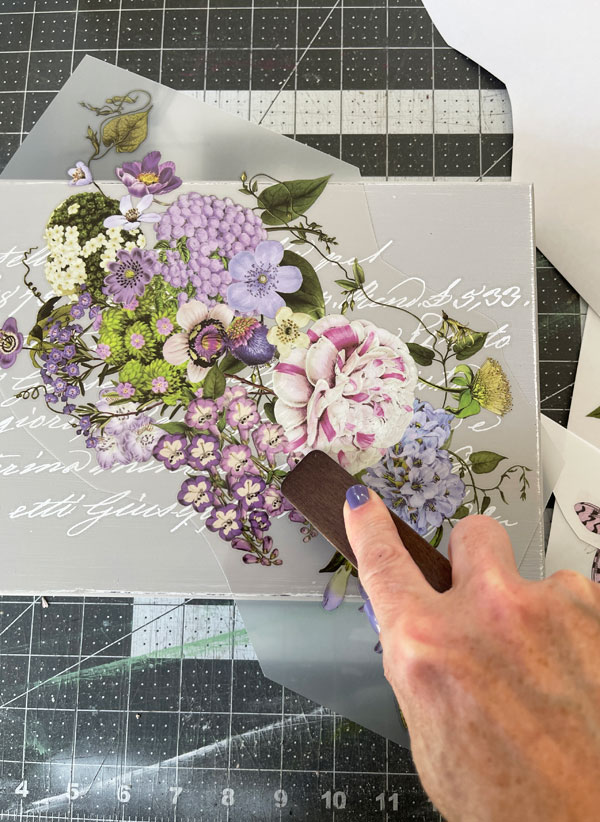
(I swear I didn’t pick a transfer to match my nails! They are purple for Halloween. 😀 )
Seal
Once I had the transfer applied, I sealed inside and out with Clear Coat in Satin.
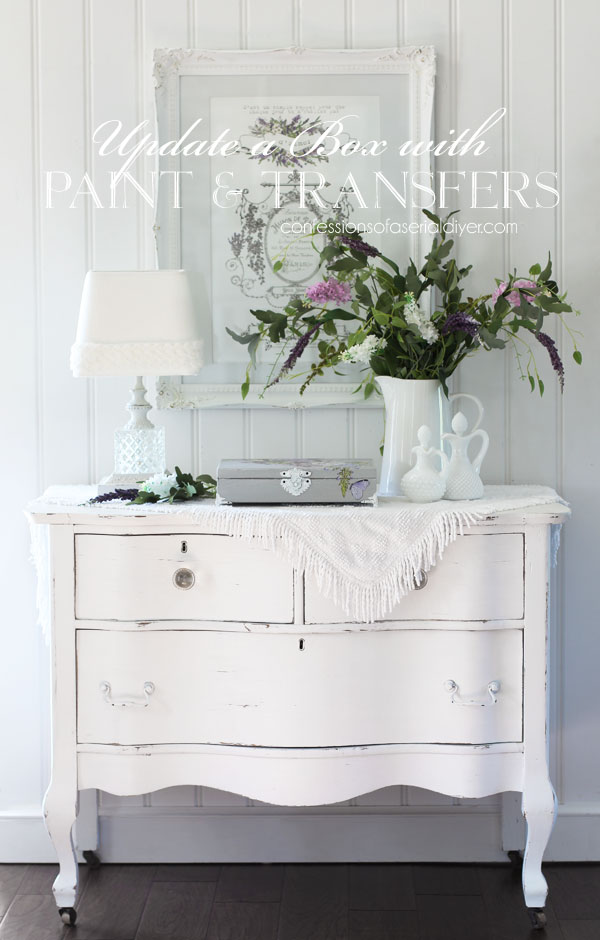
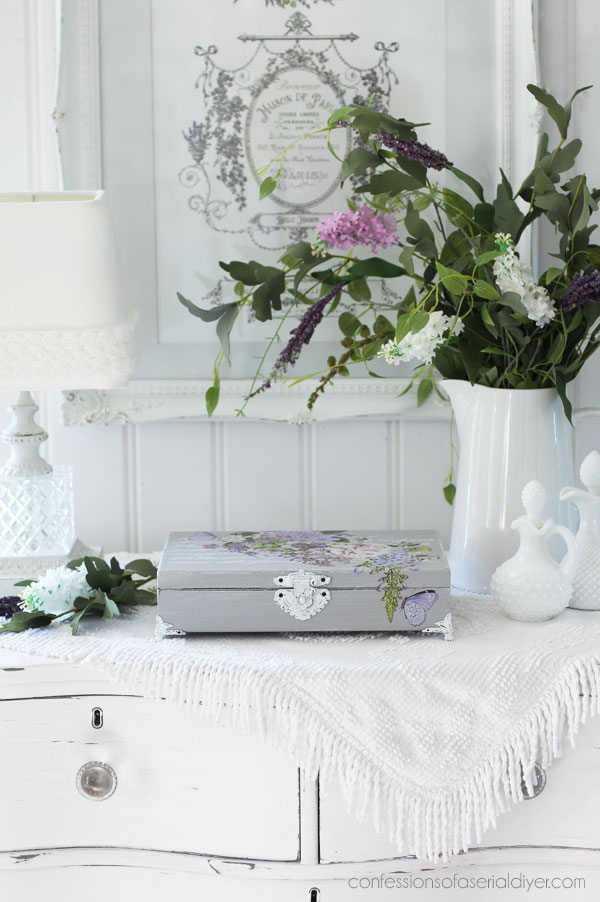
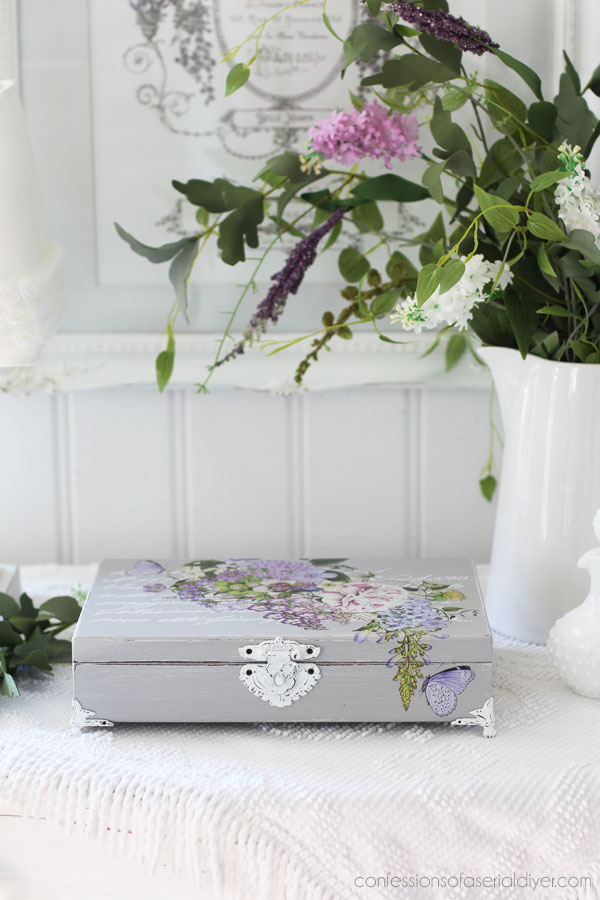
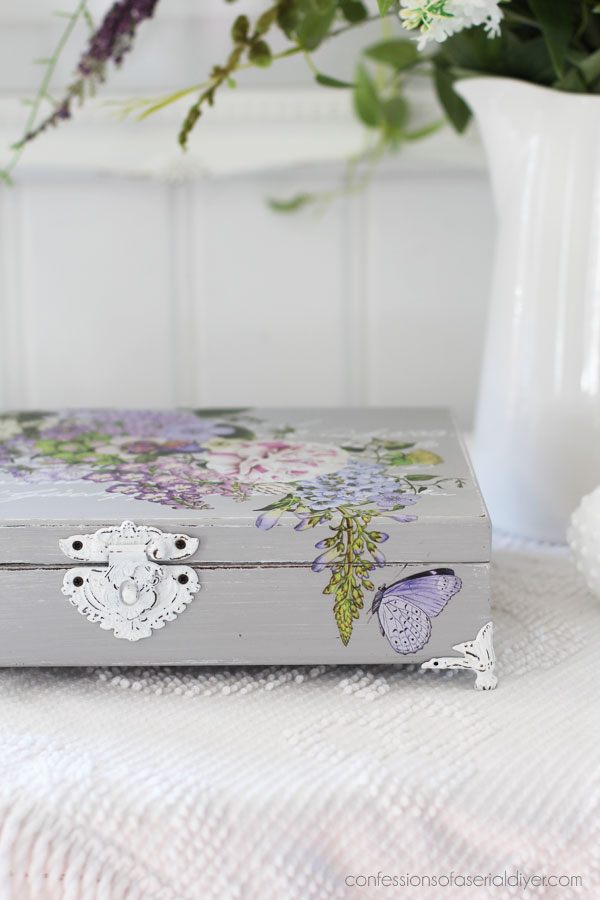
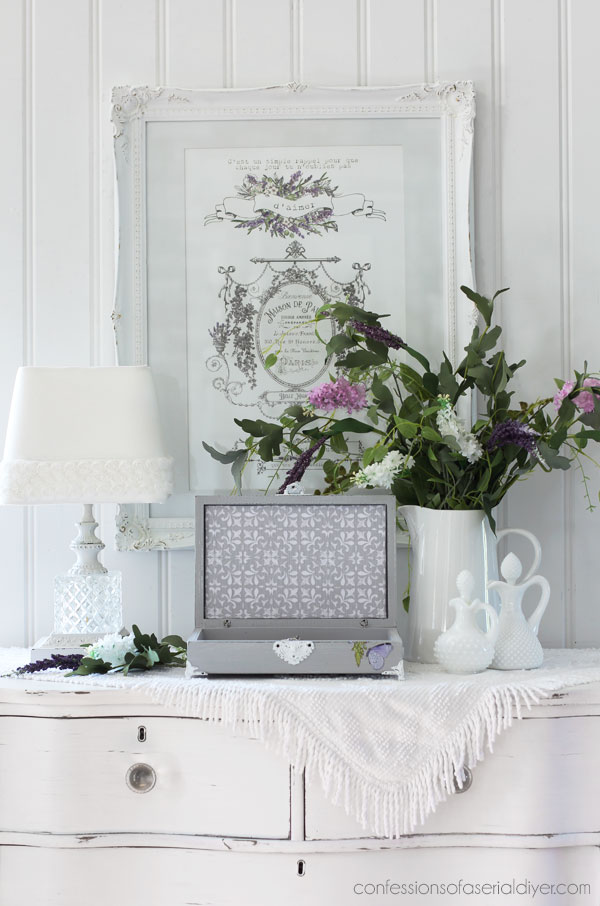
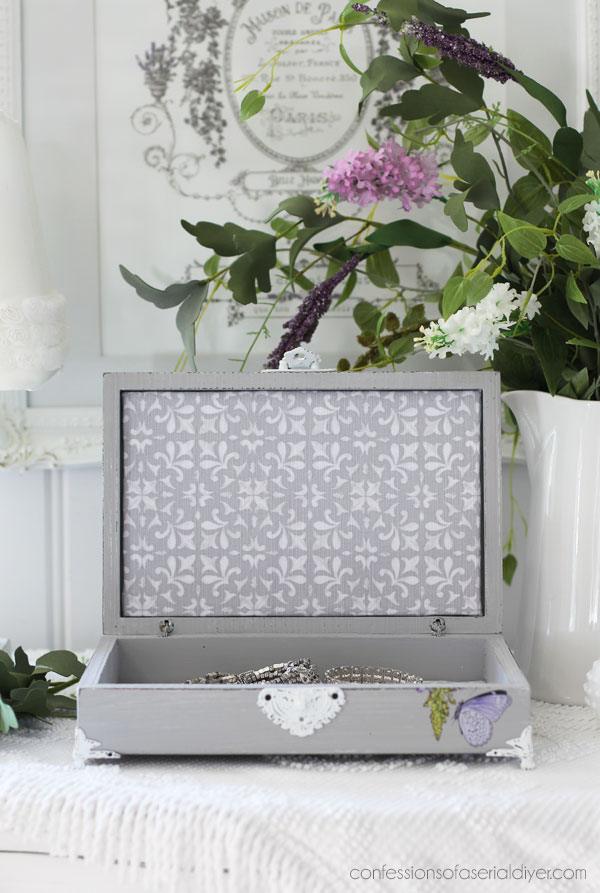
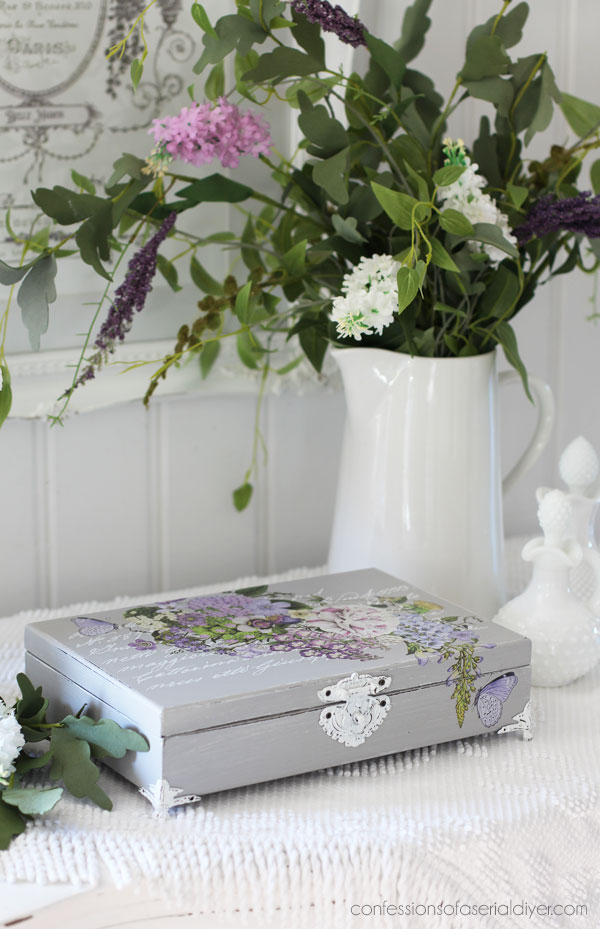
The After
Here is how this $3 thrift store throw away looks now!
Can you see the other additions to this box makeover?
Y’all know I like to save something for the reveal!
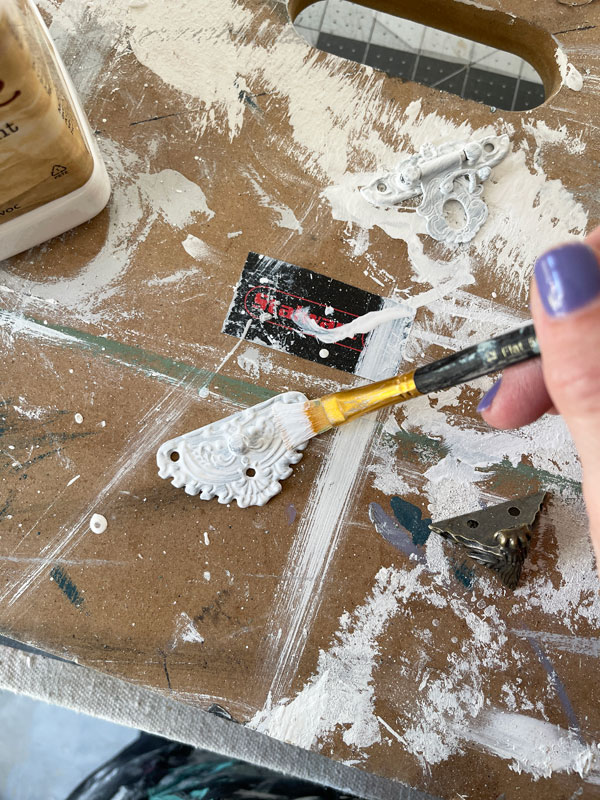
Finishing Details
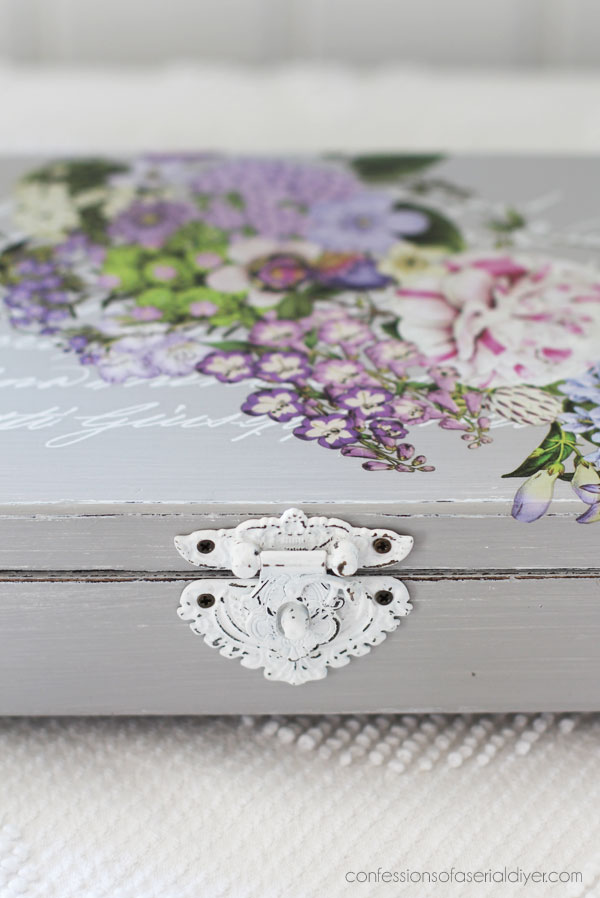
I had this latch left over from a two pack that I found at Hobby Lobby.
It got a couple of coats of Cotton…
I also pulled out these sweet feet I found on Amazon HERE.
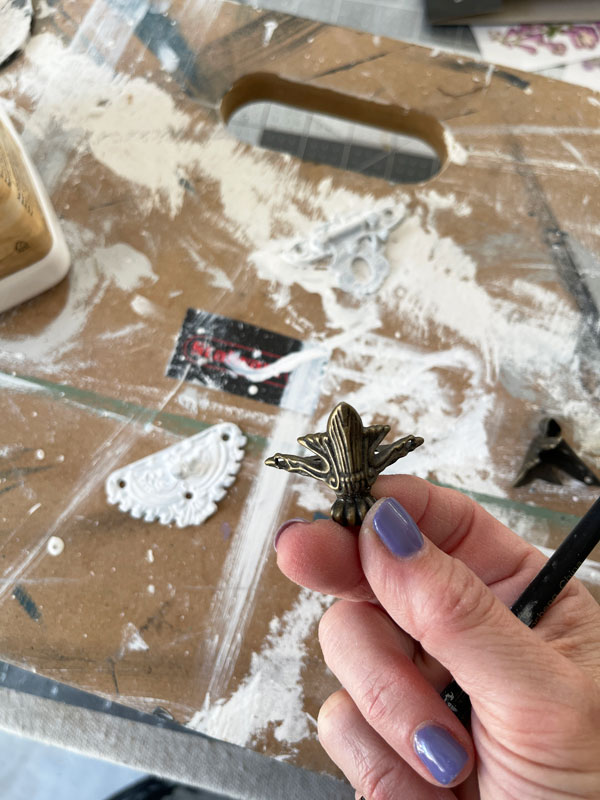
The latch started out the same color. These got painted as well.

Once the paint was dry, I scratched them a bit here and there with my nail to distress them.
I then gave them a quick spray of Rustoleum Clear Matte Spray to get some protection on them before attaching them to the box with E6000 glue:
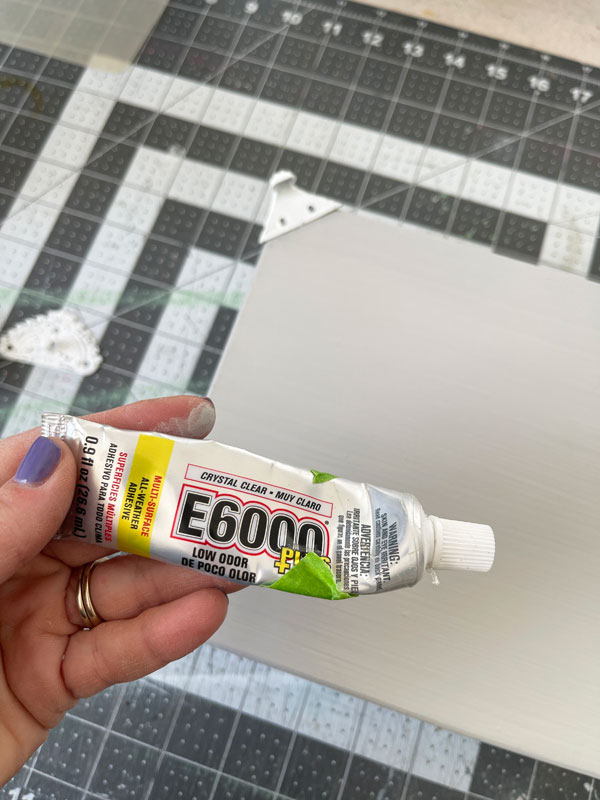
This is a new no-stink formula!
I used tiny screws to secure everything further…
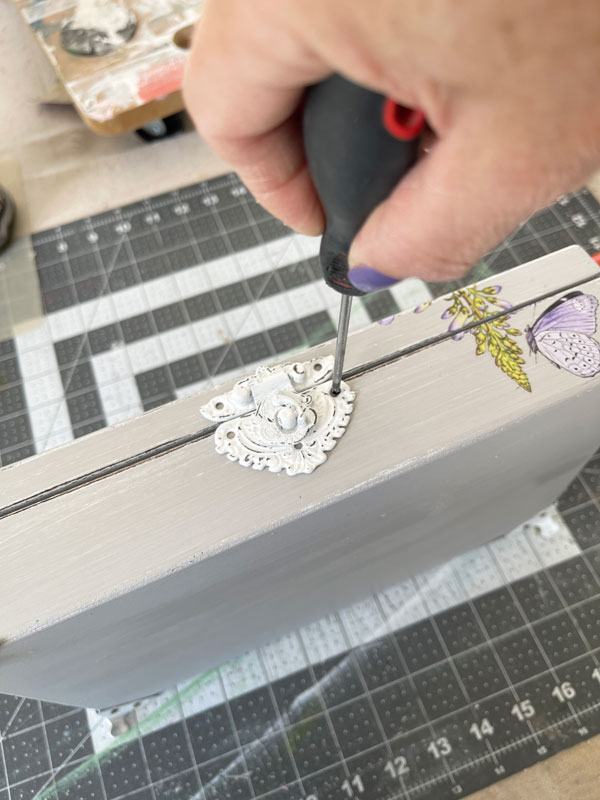
These added details are what really make this piece special…
After seeing these photos, I realized I forgot to paint those tiny screws white to blend in with the latch. I need to do that!
The tiny feet are so dainty but add so much:
And how pretty are these transfers layered over one another?
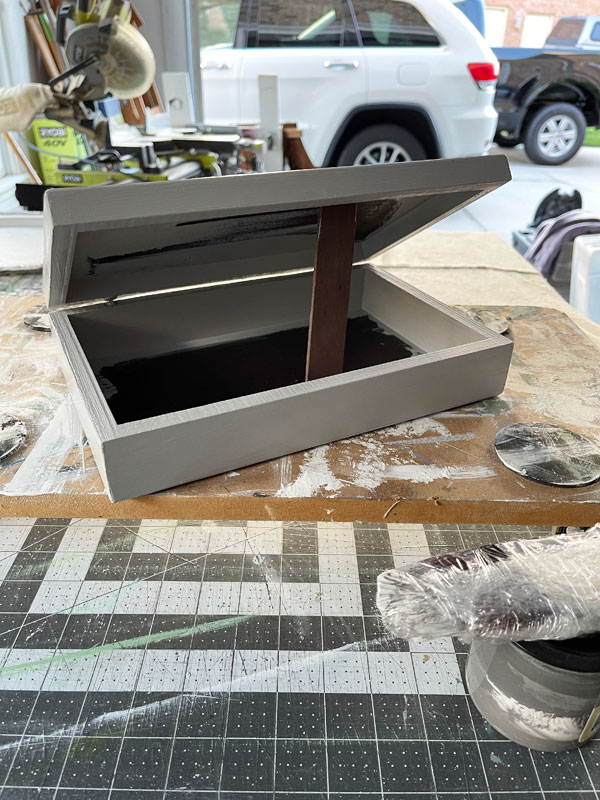
The inside
One of the things that I loved about this box when I found it is that it didn’t have much of a lining inside that would need to be removed…
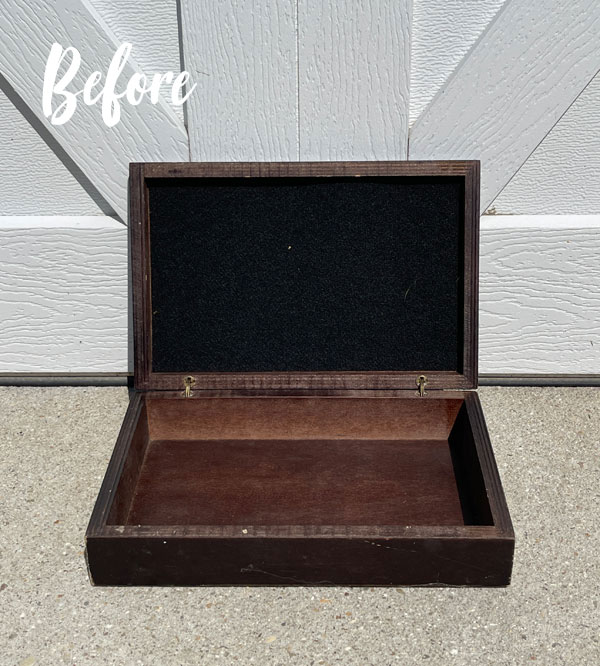
Only the top had a piece of felt, but it was easily pulled away.
I painted the sides of the interior to match the outside, only leaving the bottoms unpainted…
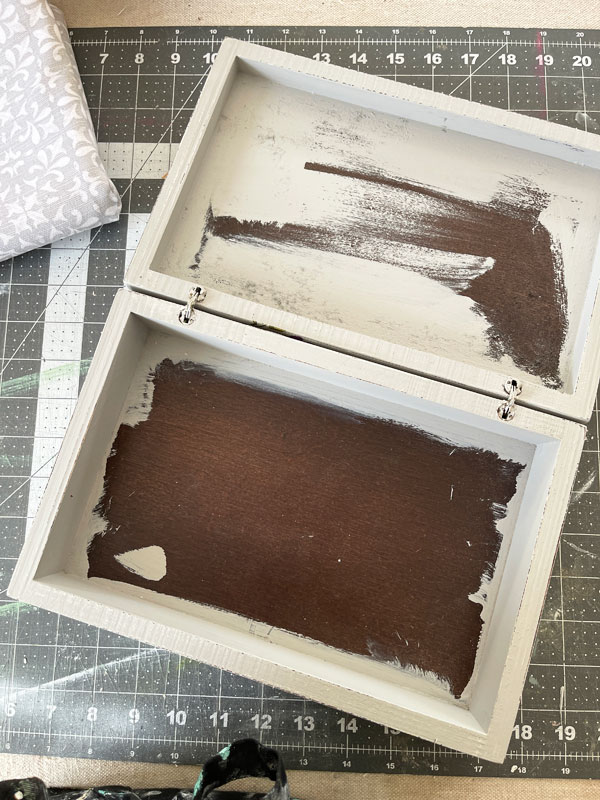
All I needed to line was the bottom!
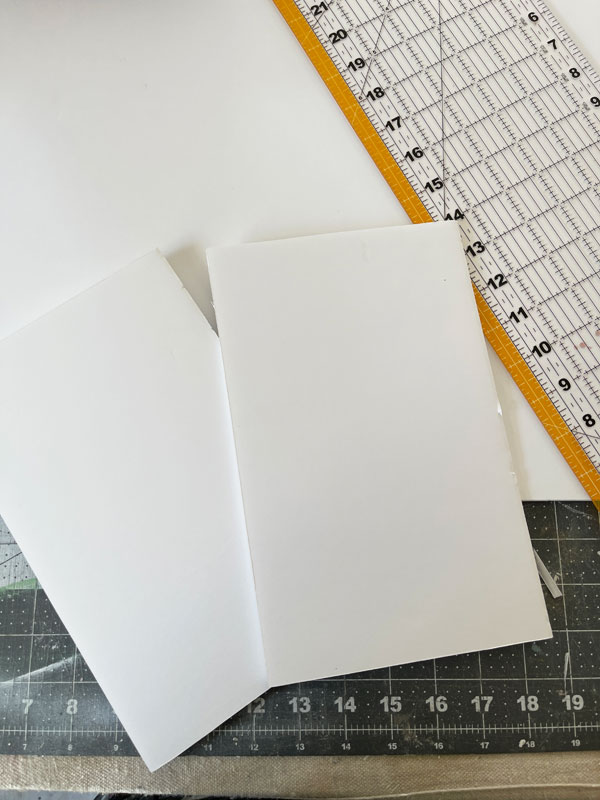
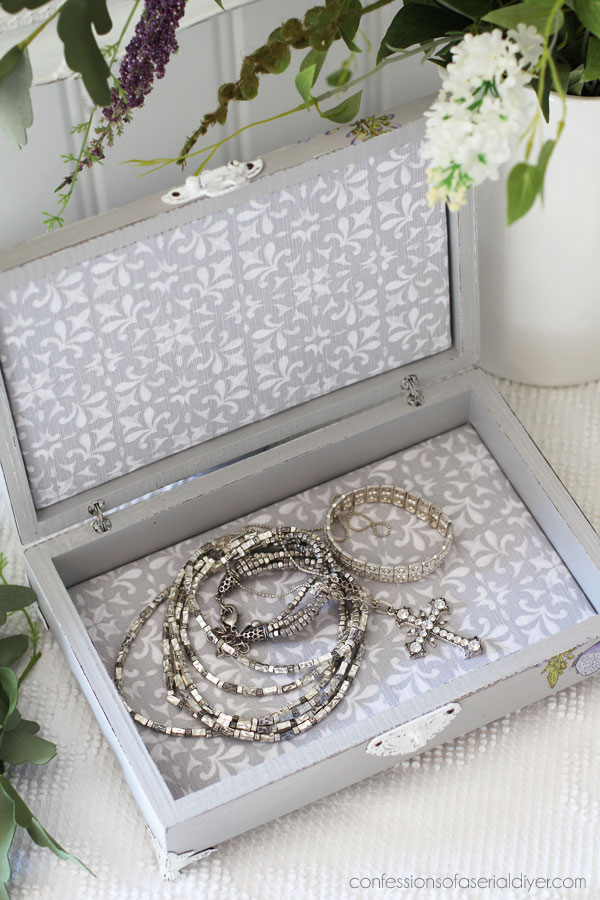
That was as easy as cutting a piece of foam core 1/4″ smaller to fit the bottom…
Then, I just cut two pieces of fabric, one for each, and covered the foam core, securing it with hot glue:
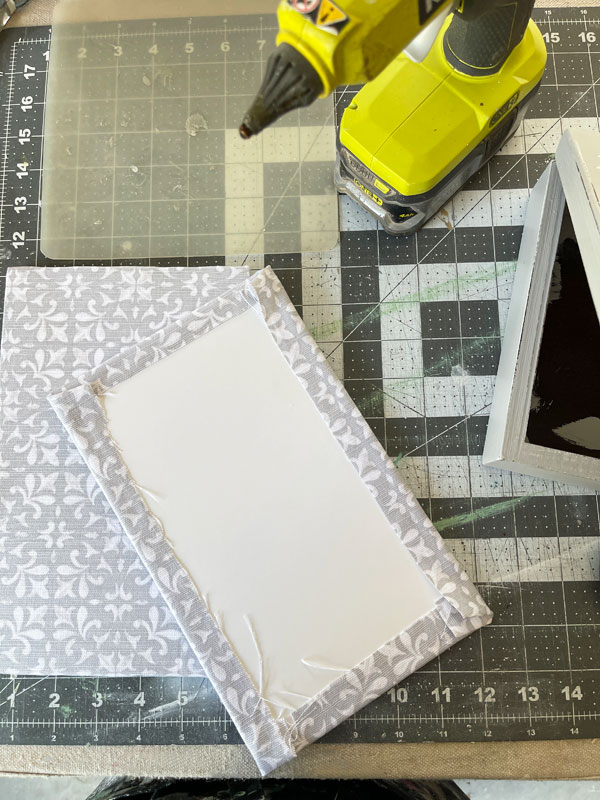
They were then hot glued to the bottoms of both the top and bottom.
Super easy!
 If you drilled a hole in the back for a charger, this box could hide your charging phone or watch. You could store your earbuds in there too!
Of course, it’s great for your jewels as well…

These simple boxes are so fun to play with!
And that’s another piece done from my current haul!
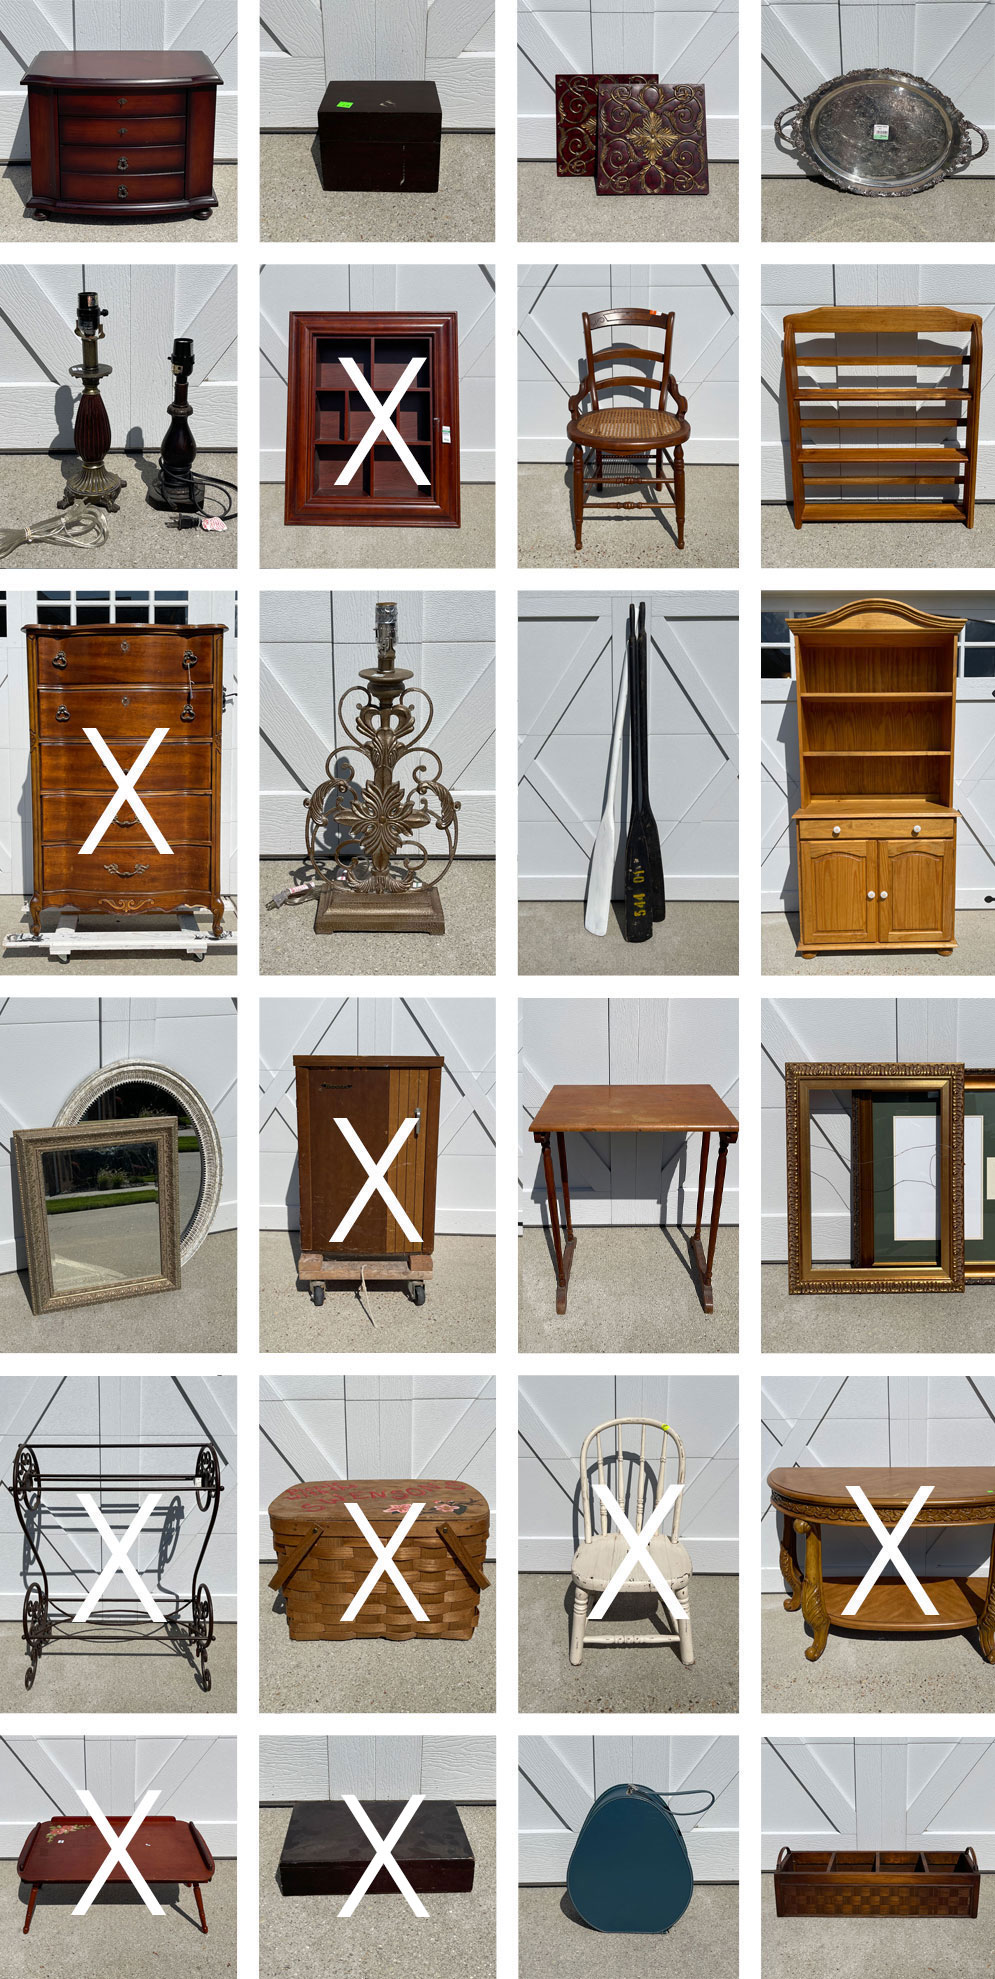
See any you may have missed so far below!
Vintage Tray/Easel Makeover
Framed Cubby Shelf Makeover
Update a Picnic Basket with Decoupage
Painted Metal Quilt Rack
Vintage Brother Sewing Machine Cabinet Makeover
Child’s Chair Makeover
Painted Console Table
French Provincial Dresser Makeover
If you liked today’s box makeover, you’ll like this one too!
See what I did with this one HERE!
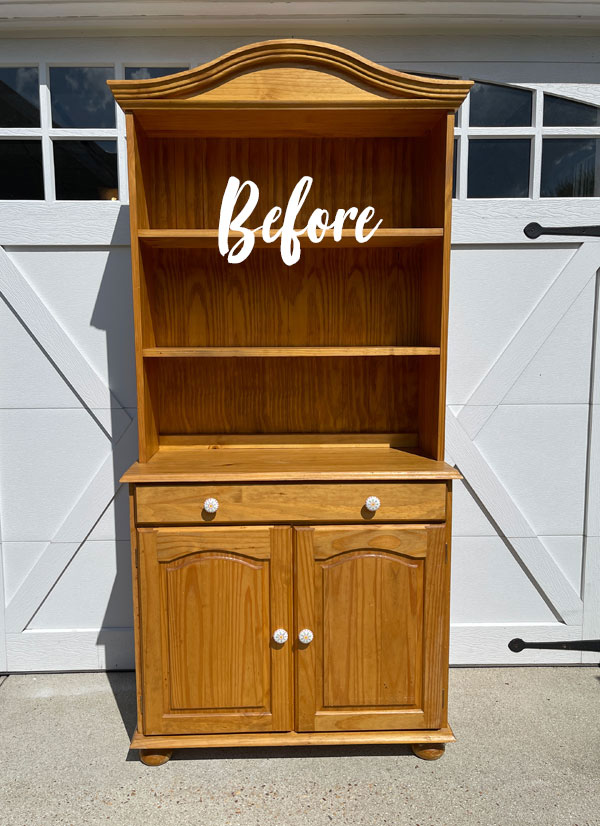
I’ll be back with my Furniture Fixer Upper Girls on Thursday sharing what I did with this hutch:
I hope to see you then!!
UPDATE: Yay!! It’s done and ready to check out HERE now!
XOXO,

Don’t Miss a Thing!
If you like what you see, there are several ways to follow along!
EMAIL * INSTAGRAM * FACEBOOK * PINTEREST


Lizzy says
So pretty!
Christy says
Thank you, Lizzy! XOXO
Christine says
So pretty, Christy! These boxes must sell pretty fast and a good return on your cost?
Christy says
Thank you, Christine! These boxes never last long for sure, and because I only used a third of that transfer, I will get two more projects from it. The latch was $3 for a pack of two and the feet were inexpensive as well, so I definitely recoup my money. Plus, it’s a great way to try out products and colors on a smaller scale. XOXO
Janice Holt says
You know I love all your little boxes. This one is just as pretty as the others. Another pretty one.
Christy says
Thank you so much, Janice! They are so much fun to create! XOXO
Nana Diana says
That turned out great-a true ‘trash-to-treasure’ project. Love the way the two transfers work together. It’s perfect-xo Diana
Christy says
Thank you so much, Diana! You wouldn’t recognize it now for sure lol. Have a great day! XOXO
Cheryl Atkinson says
Hi Christy! So pretty! What department in Hobby Lobby did you find that latch? I love the fabric too. I love everything!
Christy says
Thank you, Cheryl! I found the latch hanging over by the wood items, I believe… near the small boxes and such. I think the fabric is from Walmart. 🙂 XOXO
Niki says
Another sweet box Christy!! They always turn out great. I never thought about using one as a charging station-great idea! The soft grey paint and white script with the pretty flowers has a lot of visual interest that isn’t over stimulating. It’s just nice.
Christy says
Thank you, Niki! I’m so glad the two transfers worked well together! XOXO
Sue says
This little box turn out so elegant with your choice of paint color and transfers. I love the pop of lavender/purple in the flowers!
Christy says
Thank you, Sue! I was so looking forward to using this pretty transfer! XOXO
Marcie Lovett says
I was sure it was a flatware box from the first photo, glad you got a break from ripping out the guts on this one, Christy ???? Thanks for the reminder that you can layer transfers, these two are beautiful together. Arrivederci, boring old box!
Christy says
Oh yes, me too! Ha ha I didn’t miss removing the guts on this one at all. Thank you, Marcie!! XOXO
Denise Zdziennicki says
Gorgeous! Boxes ARE so fun and I love the idea of layering transfers! ????
Christy says
Thank you, my friend! Yes…the possibilities are limitless! Have an amazing rest of your week and I’ll ‘see’ you tomorrow! 🙂 XOXO
Larissa ~ Prodigal Pieces says
I love boxes like this! And you did a beautiful job giving it a new look and style.
Christy says
Thank you so much, my friend! I love them too…they are so fun to reimagine! XOXO
Michele M. says
Oh, Christy – isn’t she beautiful now!!??? Can’t even believe it is the same box! You did a great job on that piece.
Hey – while you are thrifting and see another box (hopefully) consider making up one with a Christmas theme (with a poinsettia transfer maybe) for a Christmas card holder box. I bet that would be beautiful and nice to stash all those cards!
Christy says
Thank you, Michele! I did a flatware box for Christmas a year ago, perfect for Christmas cards! You can see that here if you missed it: https://www.confessionsofaserialdiyer.com/upcycle-an-old-flatware-box-for-christmas/ Have a great week! XOXO
Catherine Cave says
LOVE the boxes!! Great for someone starting out like me!
Christy says
Thank you, Catherine! They are a fantastic small project for sure! XOXO
Sharon L Austin says
I love everything about this!!
Christy says
Thank you so much, Sharon! XOXO
Mary Kasier says
Awe, it is so sweet now! I didn’t get a chance to look at your post, I had to go to work early this morning! It is stunning now!
Christy says
Thank you, Mary! I missed you yesterday morning lol. Glad you got the chance to stop by! XOXO
Shawn says
I love boxes like these. I found some very pretty vellum paper, could it be used and if so what kind of glue would you recommend. I can’t find any info on using vellum paper on wood boxes. Thank you.
Christy says
Thank you, Shawn! I haven’t used vellum paper to craft with wood items, so I can’t advise you there, unfortunately. I would seek out a decoupage paper made specifically for that purpose. Good luck! XOXO