Hello, awesome Friends! I’m back today with a fun little project for ya. A while back, my talented friend Wendi of H2O Bungalow pulled a group of us gals together who have little fear when it comes to power tools, in hopes of inspiring our readers who might want to give a few tools a try to go for it. Each month we share simple DIY projects that involve power tools, but that anyone can tackle!
I look back at some of my earlier projects where I show my hubs cutting things for me and chuckle. I don’t need him anymore! (Well, I DO but not for that! 🙂 ) It just takes a little practice to gain confidence!
Today’s theme is storage/organization. Can’t we all use a little more of that in our lives? Can I get an AMEN?!
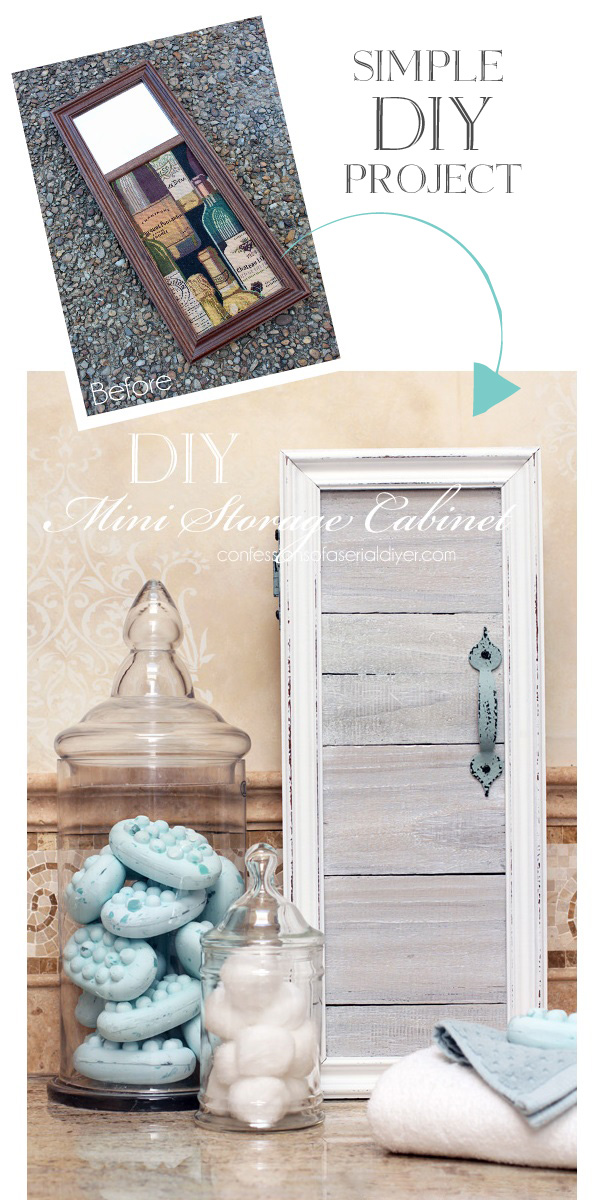
Believe it or not, I started with this:

I decided I wanted to build a small cabinet, so I started by finding something in my to-do pyramid that could be used as a door and this was it!
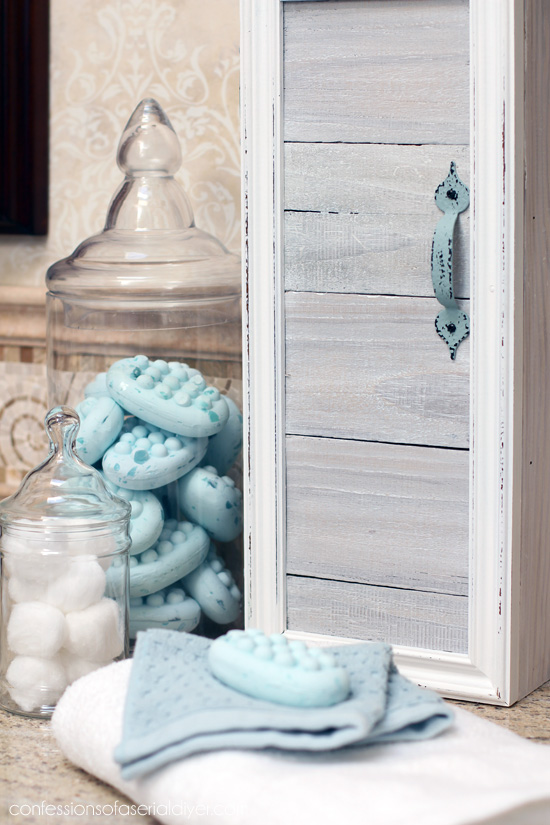
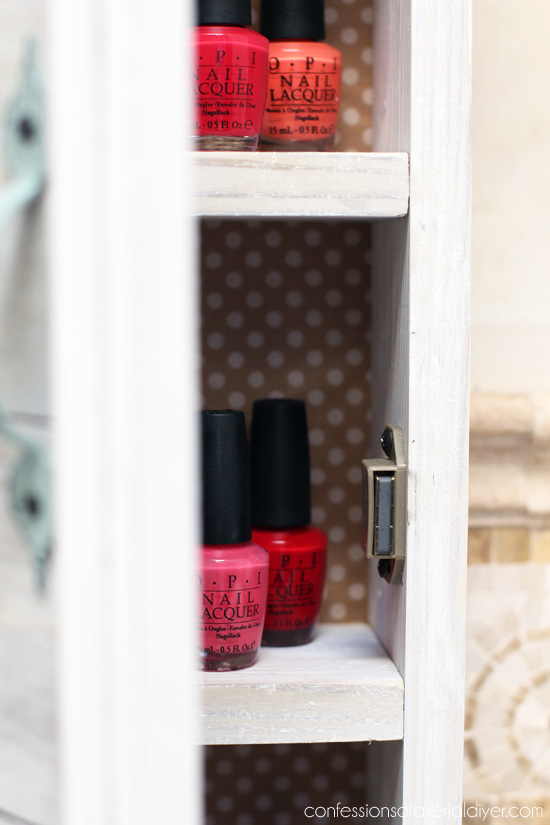
Here is my sweet new cabinet: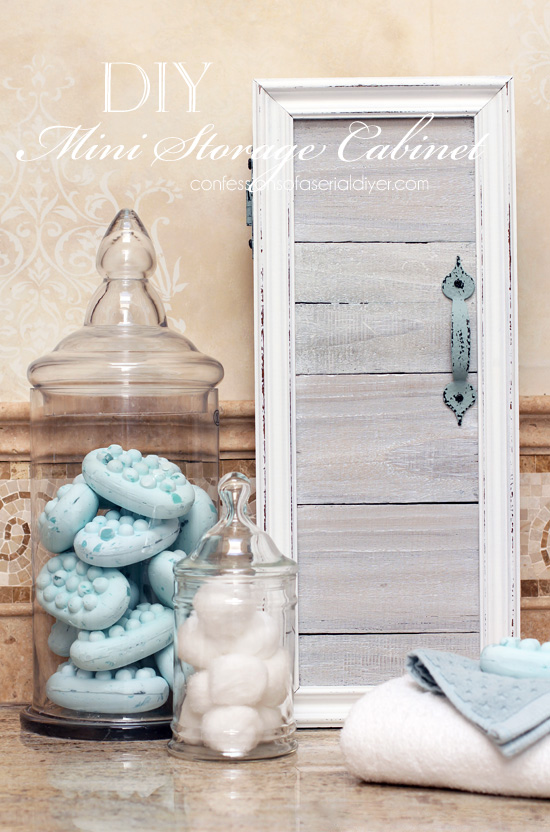
Isn’t it so cute?
I spent THREE WHOLE DAYS completely cleaning and organizing my garage last week. That’s three days I’ll never get back, but man am I organized now! I purged a whole pile of junk, including this wood thingy that was left from the previous owner and stashed deep in a corner:
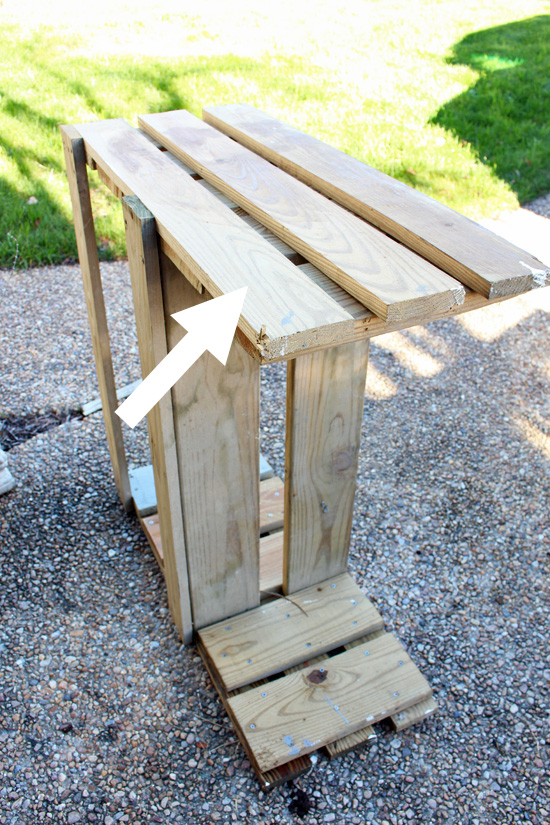
That arrow is pointing to the source of the wood for this cabinet. I gave my hubby a chance to get rid of it, but after five days of it sitting in our driveway, I told him he lost his chance and dragged it back in and dismantled it. I can make a few things out of it now!
I used the wood from that thingy for the cabinet and shelves…
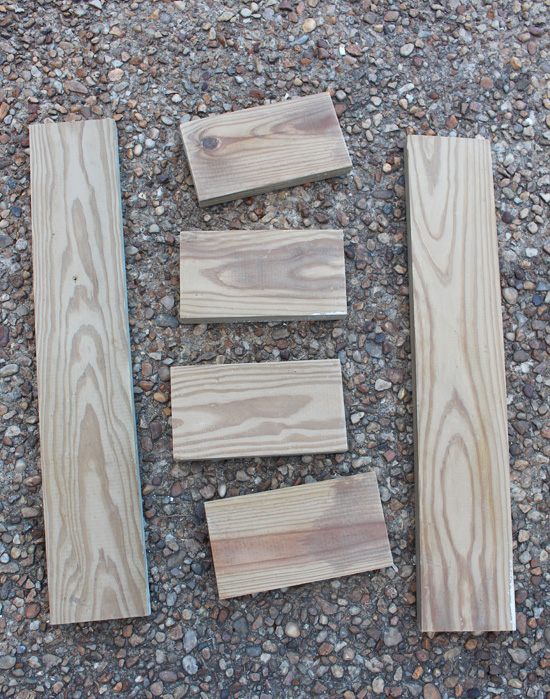
One of my favorite tools is my miter saw. It makes it so easy to make small cuts like these…
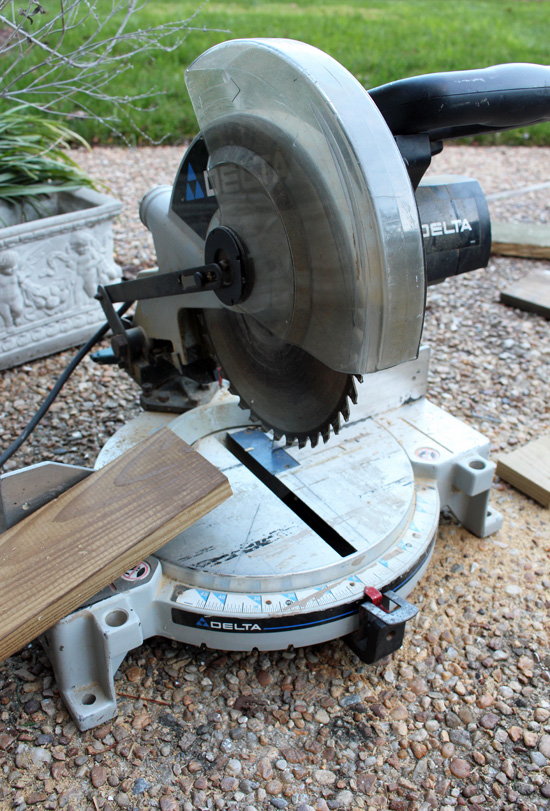
I filled in the door frame with reclaimed wood (aka old fence picket) that I also cut with my miter saw…

The frame was painted with pure white DIY chalk paint, then sanded and waxed with Annie Sloan’s clear wax. The rest was white-washed with flat white latex using this method. (That link leads to a cute tray I made similarly…you should check it out 🙂 .) I did not seal any of those pieces.
To build the frame of the cabinet, I simply made a rectangle the size of the frame I used for the door. I used wood glue and clamps to assemble it, then added the two shelves. I secured it all together further with my nail gun. Finishing nails and a hammer would do the job as well.
To attach the fence picket pieces to the frame, I used my staple gun since they were flush with one another.
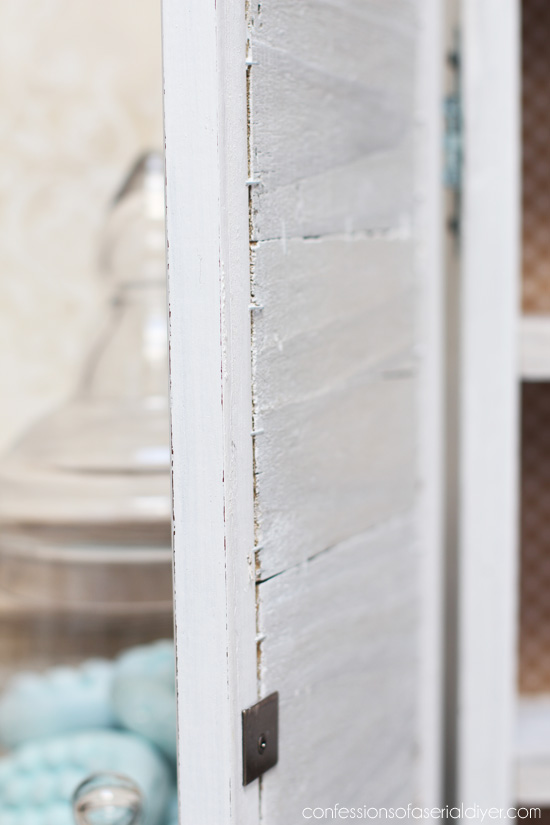
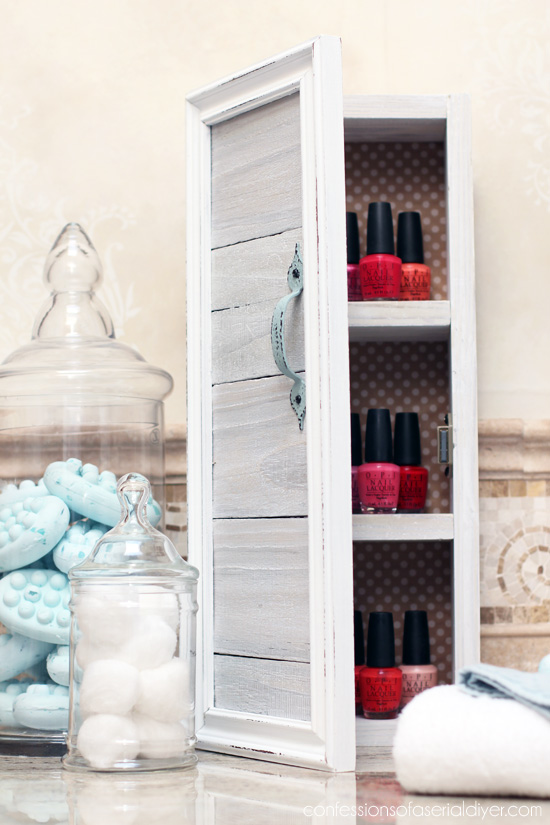
You can also see I used a magnetic closure I picked up for 97¢ to hold the door closed.
For the back, I cut and covered an old picture that came out of another frame. It was thick like frame matting but a bit more stiff and perfect for the backing. I used spray adhesive to cover both sides with pretty brown wrapping paper, then staple gunned it to the back as well.
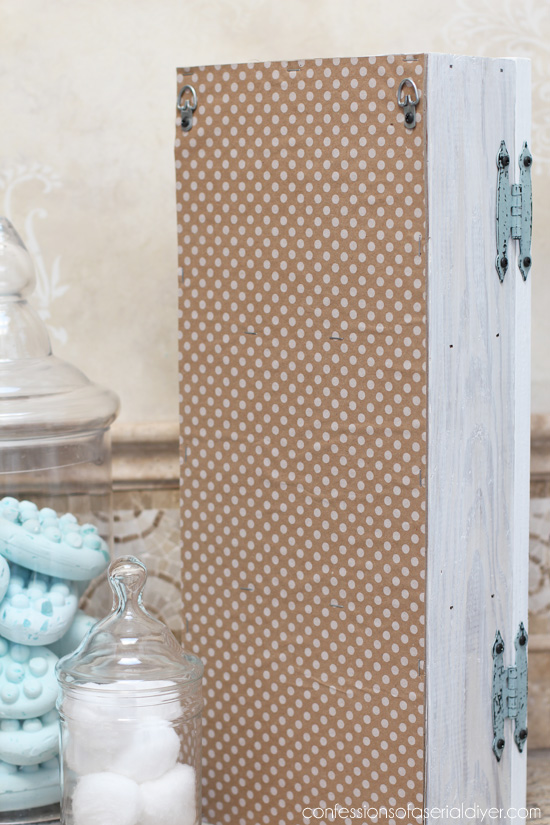
I also added a couple of D-rings for hanging.
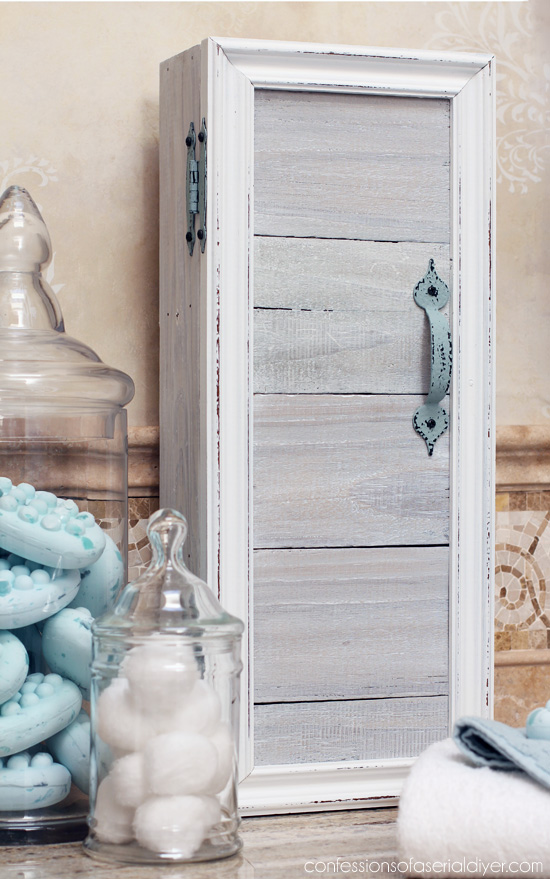
But my favorite has to be the hardware!
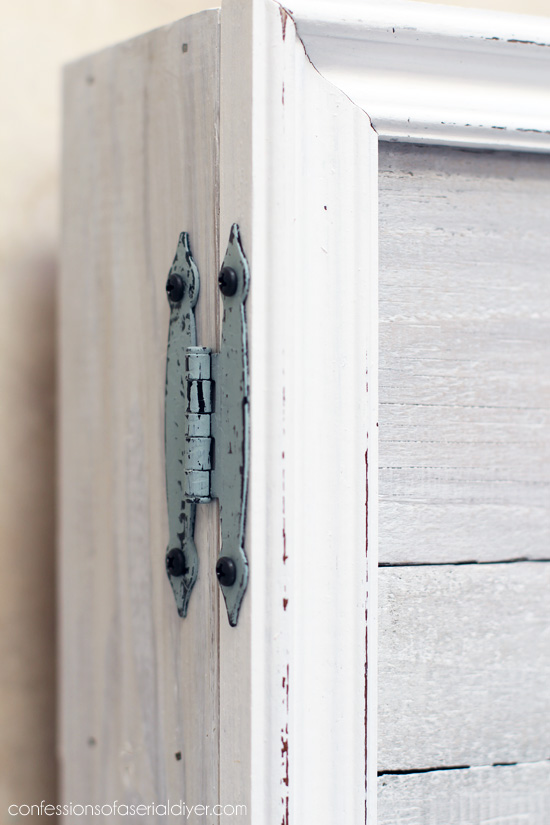
These were black hinges I already had, but didn’t love. I decided to paint them instead…
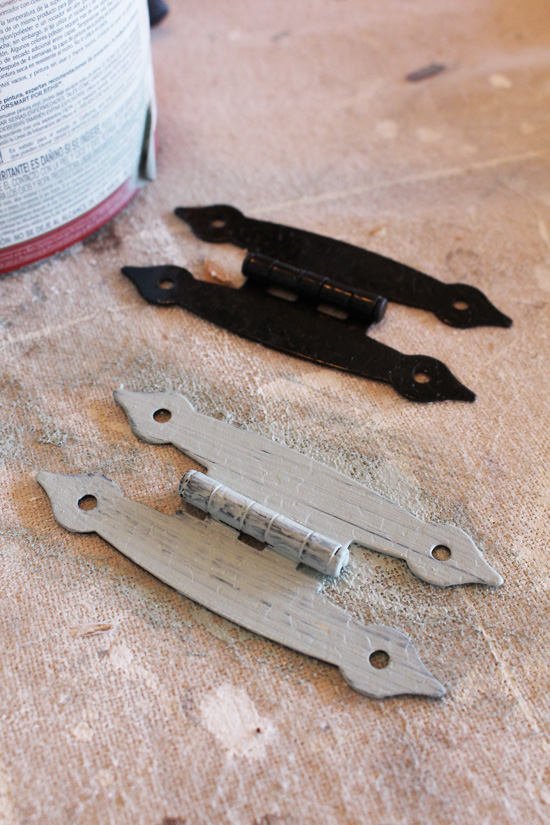
This is Behr’s Gray Morning. I did the handle the same way.
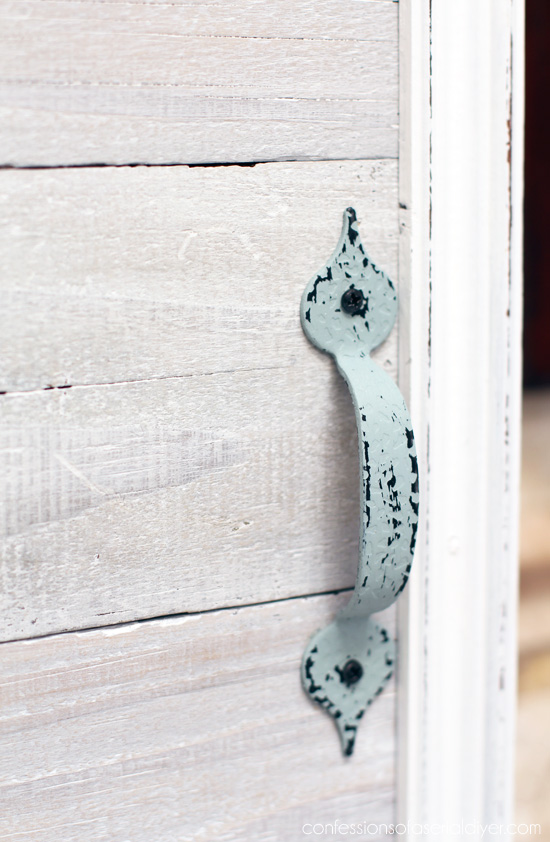
So much better and they really add a little pop to this cabinet.

I have mine holding nail polishes…
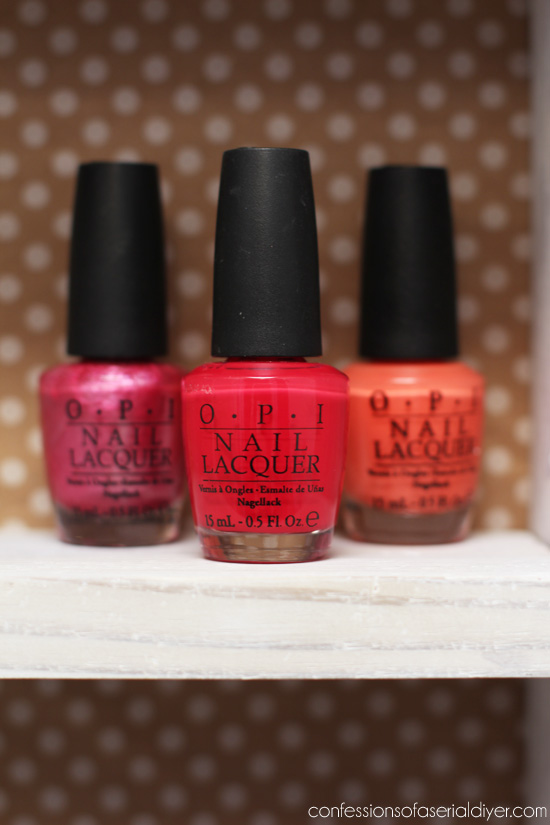
but this would be great for makeup as well, or in a kitchen for spices?
I built this cabinet similarly to hold my spices before I redid my kitchen. (That one hangs on the end of a cabinet…great use of unused space!)
It took me a while to come up with an idea for this theme, but I love how this little cabinet came together. This is one of those projects that came together as I was going. Sometimes you just need to start even if you don’t know how it’s going to end!
Be sure to check out my fearless friends’ projects for more DIY storage inspiration!

If you missed yesterday’s post, I shared what I did with this suitcase I found on the curb:
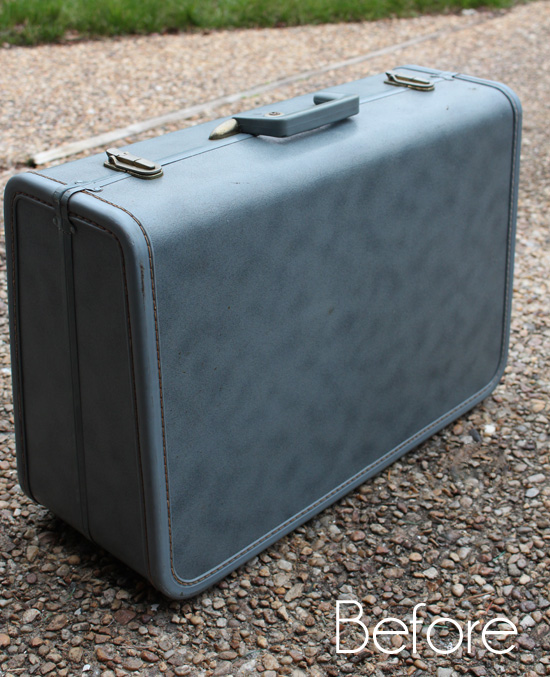
It was fun turning actual trash into something pretty and functional!
I’ll be back next time with a round-up of over 25 of my most recent furniture transformations…
UPDATE: See over 30 of my own furniture transformations HERE now. 🙂
XO,
![]()
Don’t Miss a Thing!
If you like what you see, there are several ways to follow along!
Email * Facebook * Pinterest * Hometalk * Twitter * Instagram


Cher @ Designs by Studio C says
I really love this little cabinet – especially the distressed hardware and the dot back! so great for so many things!
Christy K. James says
Thanks, Cher! I think the hardware is my favorite. 🙂
Lindsay Eidahl says
So cute!!!!
Christy K. James says
Thanks, Lindsay! 🙂
Wendi @ H2OBungalow says
This is too darn cute my friend! You always have a way of making your projects adorable, even tha backsides! Smart use of the staple gun too!
Christy K. James says
Thanks, Wendi! SO glad I was able to come up with an idea for this month! XO
Anele @ Success Along the Weigh says
That is ADORABLE! Love it!
Christy K. James says
Thanks, Anele! XO
gail says
how darn cute is that reclaimed wood cabinet Christy! I love that you used an old frame as the door. I just picked up two really large frames yesterday-too big for a cabinet, but I bet I have a frame that is perfect for this project in my stash.
super job!
pinning!
gail
Christy K. James says
Thanks, Gail! I’m sure you have all the parts for this already! I just picked up another kind of flat frame today that is just a bit bigger to make another one! 🙂
Louise says
You don’t need a Y chromosome to use power tools! Thanks for the inspiration and a great upcycled project! Love that you dragged the wood back from the curb, made me lol!
Christy K. James says
That’s right, Louise!! We can do it too, and I’m so glad now that my hubby was a slacker getting rid of that thing! 🙂
Maggie M says
wow Christy, great idea/project. All of the bloggers did cool projects but yours is the best! I wish I had your carpentry skills. Keep ’em coming:)
Christy K. James says
Aww thanks, Maggie!! My carpentry skills have evolved over time for sure! XOXO
Marie, The Interior Frugalista says
What a pretty little cabinet Christy! I love the rustic boards on the front and how you added pretty paint color on the hardware so it pops. I also like your idea of using it to store nail polish (could definitely use one of these).
Christy K. James says
Thanks, Marie! I think the hardware is my favorite and I really did not like them at all before! XO
Paula@SweetPea says
Your cabinet is perfect for storing your nail polish. I love how you created it using things that you already owned (except for the magnetic closure). The colors that you used are so nice, too! And I love the update you gave the pull and hinges. We had that exact style in my kitchen growing up.
Christy K. James says
Thanks, Paula!! I love when I can make something for next to nothing. 🙂
Amy says
Your cabinet is so cute! Great idea with the frame turned door. I really need to spend 3 whole days (or weeks) organizing my garage!
Christy K. James says
Thanks, Amy! My garage was a NO-GO zone before…you could barely walk through it with a narrow path I had created. I can twirl in there now. 🙂
Jeanie @ create&babble says
What an adorable little cabinet! Great use of that frame!
Christy K. James says
Thank you so much, Jeannie! That frame was quite sad before and I wasn’t sure I’d ever use it. XO
Maryann @ Domestically Speaking says
I love that hardware too!
Christy K. James says
Thanks, Maryann! XO
Megan says
This is so beautiful and creative! I love that you created something so pretty from things you already had! I might totally have to do something like this for my spices! Such a great idea!!
Christy K. James says
Thanks, Megan! Almost free IS awesome, and this would be perfect for spices! XO
ananda says
oh christy how did i almost miss this?!? it’s the prettiest little cabinet ever!!! i want it so. bad. xo
Christy K. James says
Ha ha thanks, Ananda! I almost missed a couple too, including your genius book shelf. I guess because they show up in random order when we travel from blog to blog! XO
Becky says
So cute! The details really make this! Come warmer weather, I’ll try a copy-cat. : )
Christy K. James says
Thanks, Becky! Copy away! XO
Amy @ StowandTellU says
Love this right down to the polka dot backing!! Pinned
Christy K. James says
Thanks so much, Amy! XO
Tania says
Well now, this is SO cute! Love the wood on the front of the door!
Tania
Christy K. James says
Thanks, Tania! XO