If you’ve seen my Spooky Outdoor Halloween Tour, you know I like a little spooky in my Halloween. When I saw that our next theme in our Get Your DIY on Fall Party Challenge was pumpkins, I knew I wanted to do something a little spooky too.
My inspiration came from these awesome spell books that Phyllis from Around the House recently shared in a post of amazingly creative HalloweenVignettes around her house. It’s a fun tour if you have a minute.
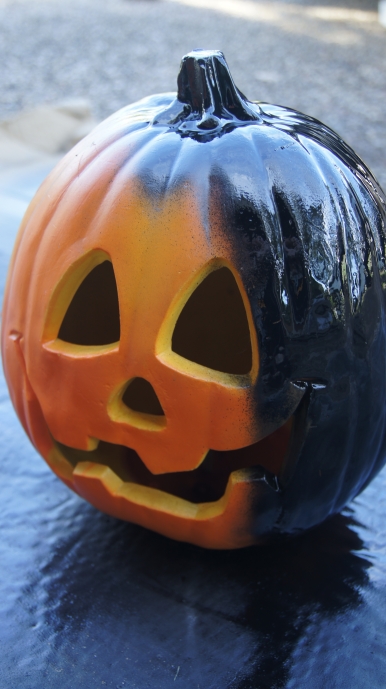
Here is what I started with:
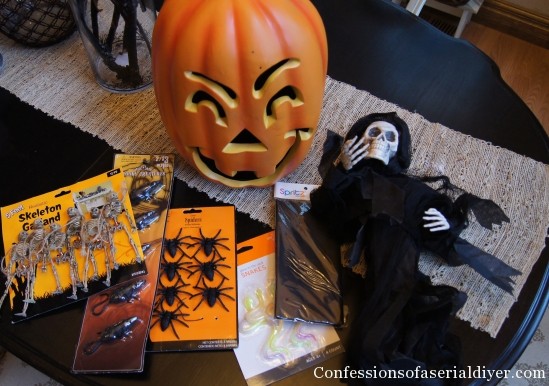
I’ve had this pumpkin forever, but I’ve never really liked his facial expression. Happy? Angry? Kind of creepy in a psychotic sort of way, so he was the perfect candidate for this project.
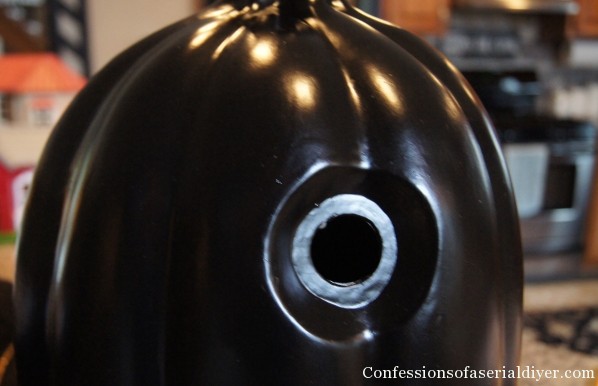
I started by spray painting him black. There was a hole in the back where the light went through.
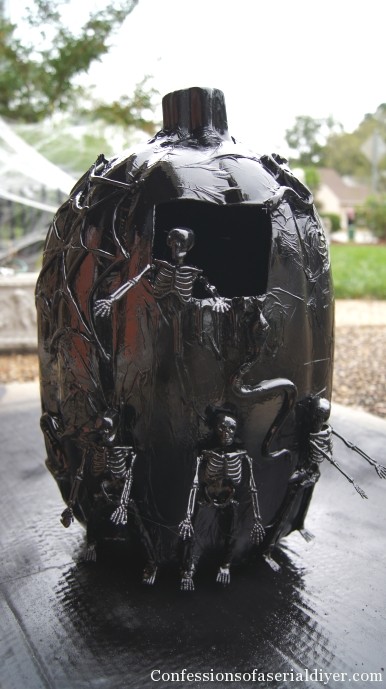
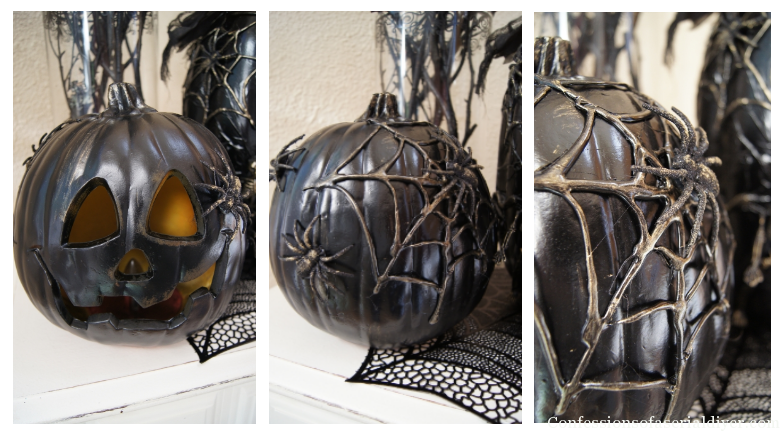
So I decided to cut a rectangle to make a window. Then I added hot glue drips along the bottom edge for some spooky detail and added a couple of snakes and some skeletons I cut from a skeleton garland.
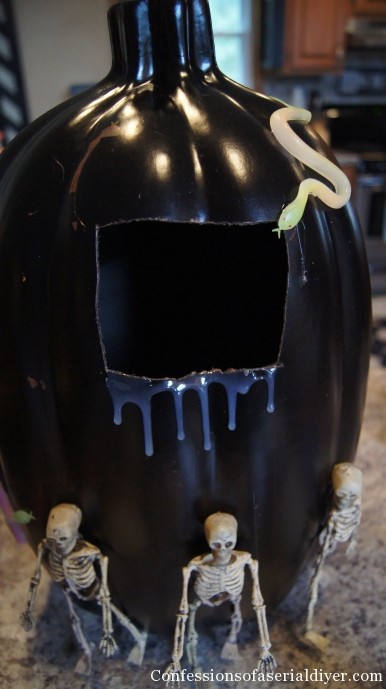
This is the part in the project where I say, “This looks like crap…I hope this turns out!” as I’m trying to figure out plan B in my head. But, I always keep going and things usually work out.
I hot glued pieces of black card stock to cover the eyes, nose, and mouth from the inside. That way you won’t see them when looking into the window.
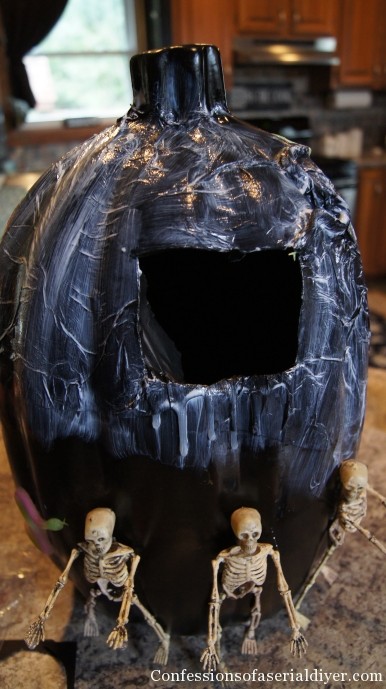
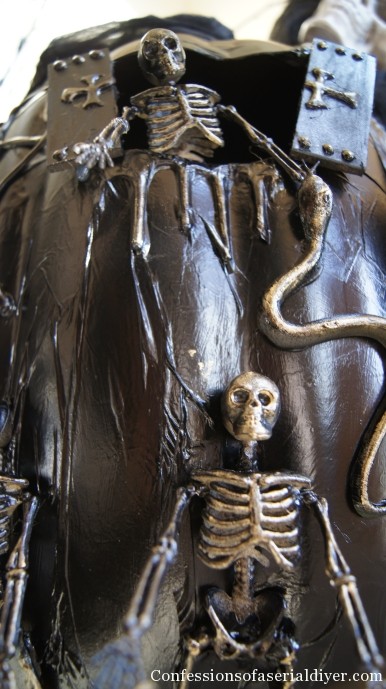
I then covered the pumpkin with mod podge and then tissue paper, followed by another coat of mod podge. I worked in small sections at time, placing the tissue paper right over my snakes and skeletons and mod podging in place. I ended up only covering the skeleton’s legs because I wanted the fine detail of their faces to show.
To add a spider web, I made one with hot glue on my mat that’s made just for hot glue, waited for it to dry, and then hot glued it to my pumpkin after I was finished with the mod podge. You could do it before or after. (As you can see my glue gun and I have been together a long time:)

Then I gave my pumpkin another coat of paint.
You might be smarter than I was and realize that you don’t really need to paint it at all until this point…me not so smart.
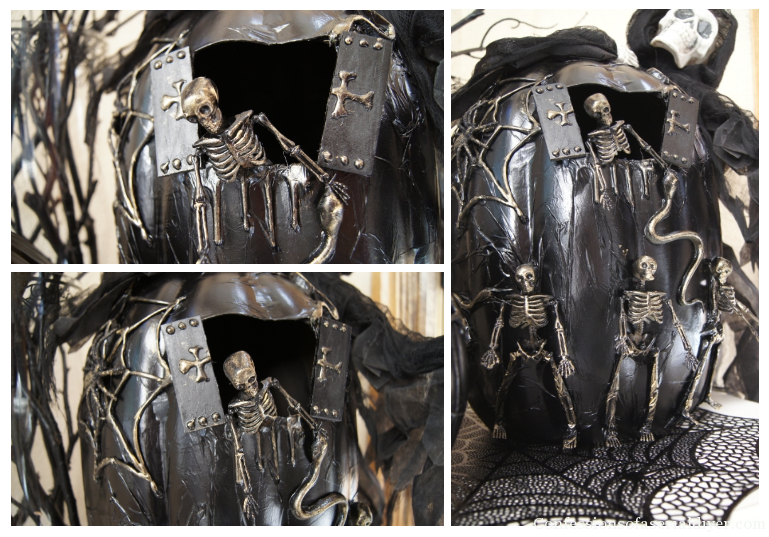
My windows wouldn’t be complete without shutters which I made out of paint sticks. I added details with hot glue before painting them black as well.
To complete my spellbound pumpkin, I dry-rubbed gold acrylic paint on the raised pieces to add dimension. I also added a bit of gold to the spiders before attaching them with hot glue, as well as the details on the shutters. They too, were hot glued in place.
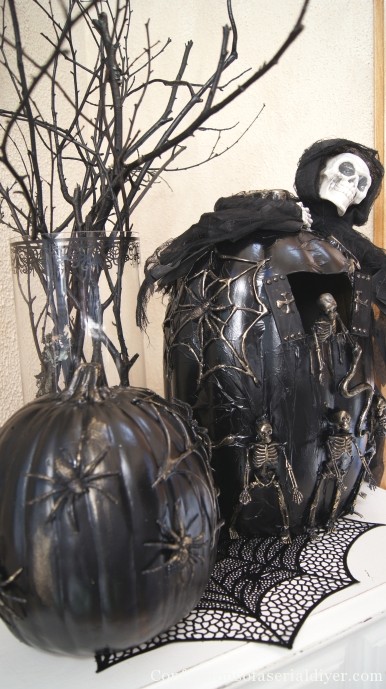
The big skeleton on top was a $6 Target find and the perfect finishing touch.
And there you have it…A Spellbound Pumpkin!
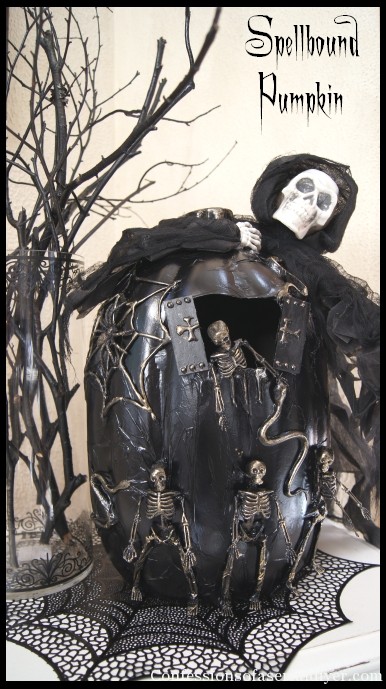
Pretty wicked. I love how it turned out, especially since I had some serious doubts midway through!
I also redid a small smiley pumpkin that really didn’t fit in with my spooky Halloween. Here he is just as I was spraying him:
This one just got a coat of paint, a web, and some spiders. The transformation is pretty cool for little effort. I found the spiders on the clearance after Halloween last year.

Here are the pumpkins my co-hosts created:
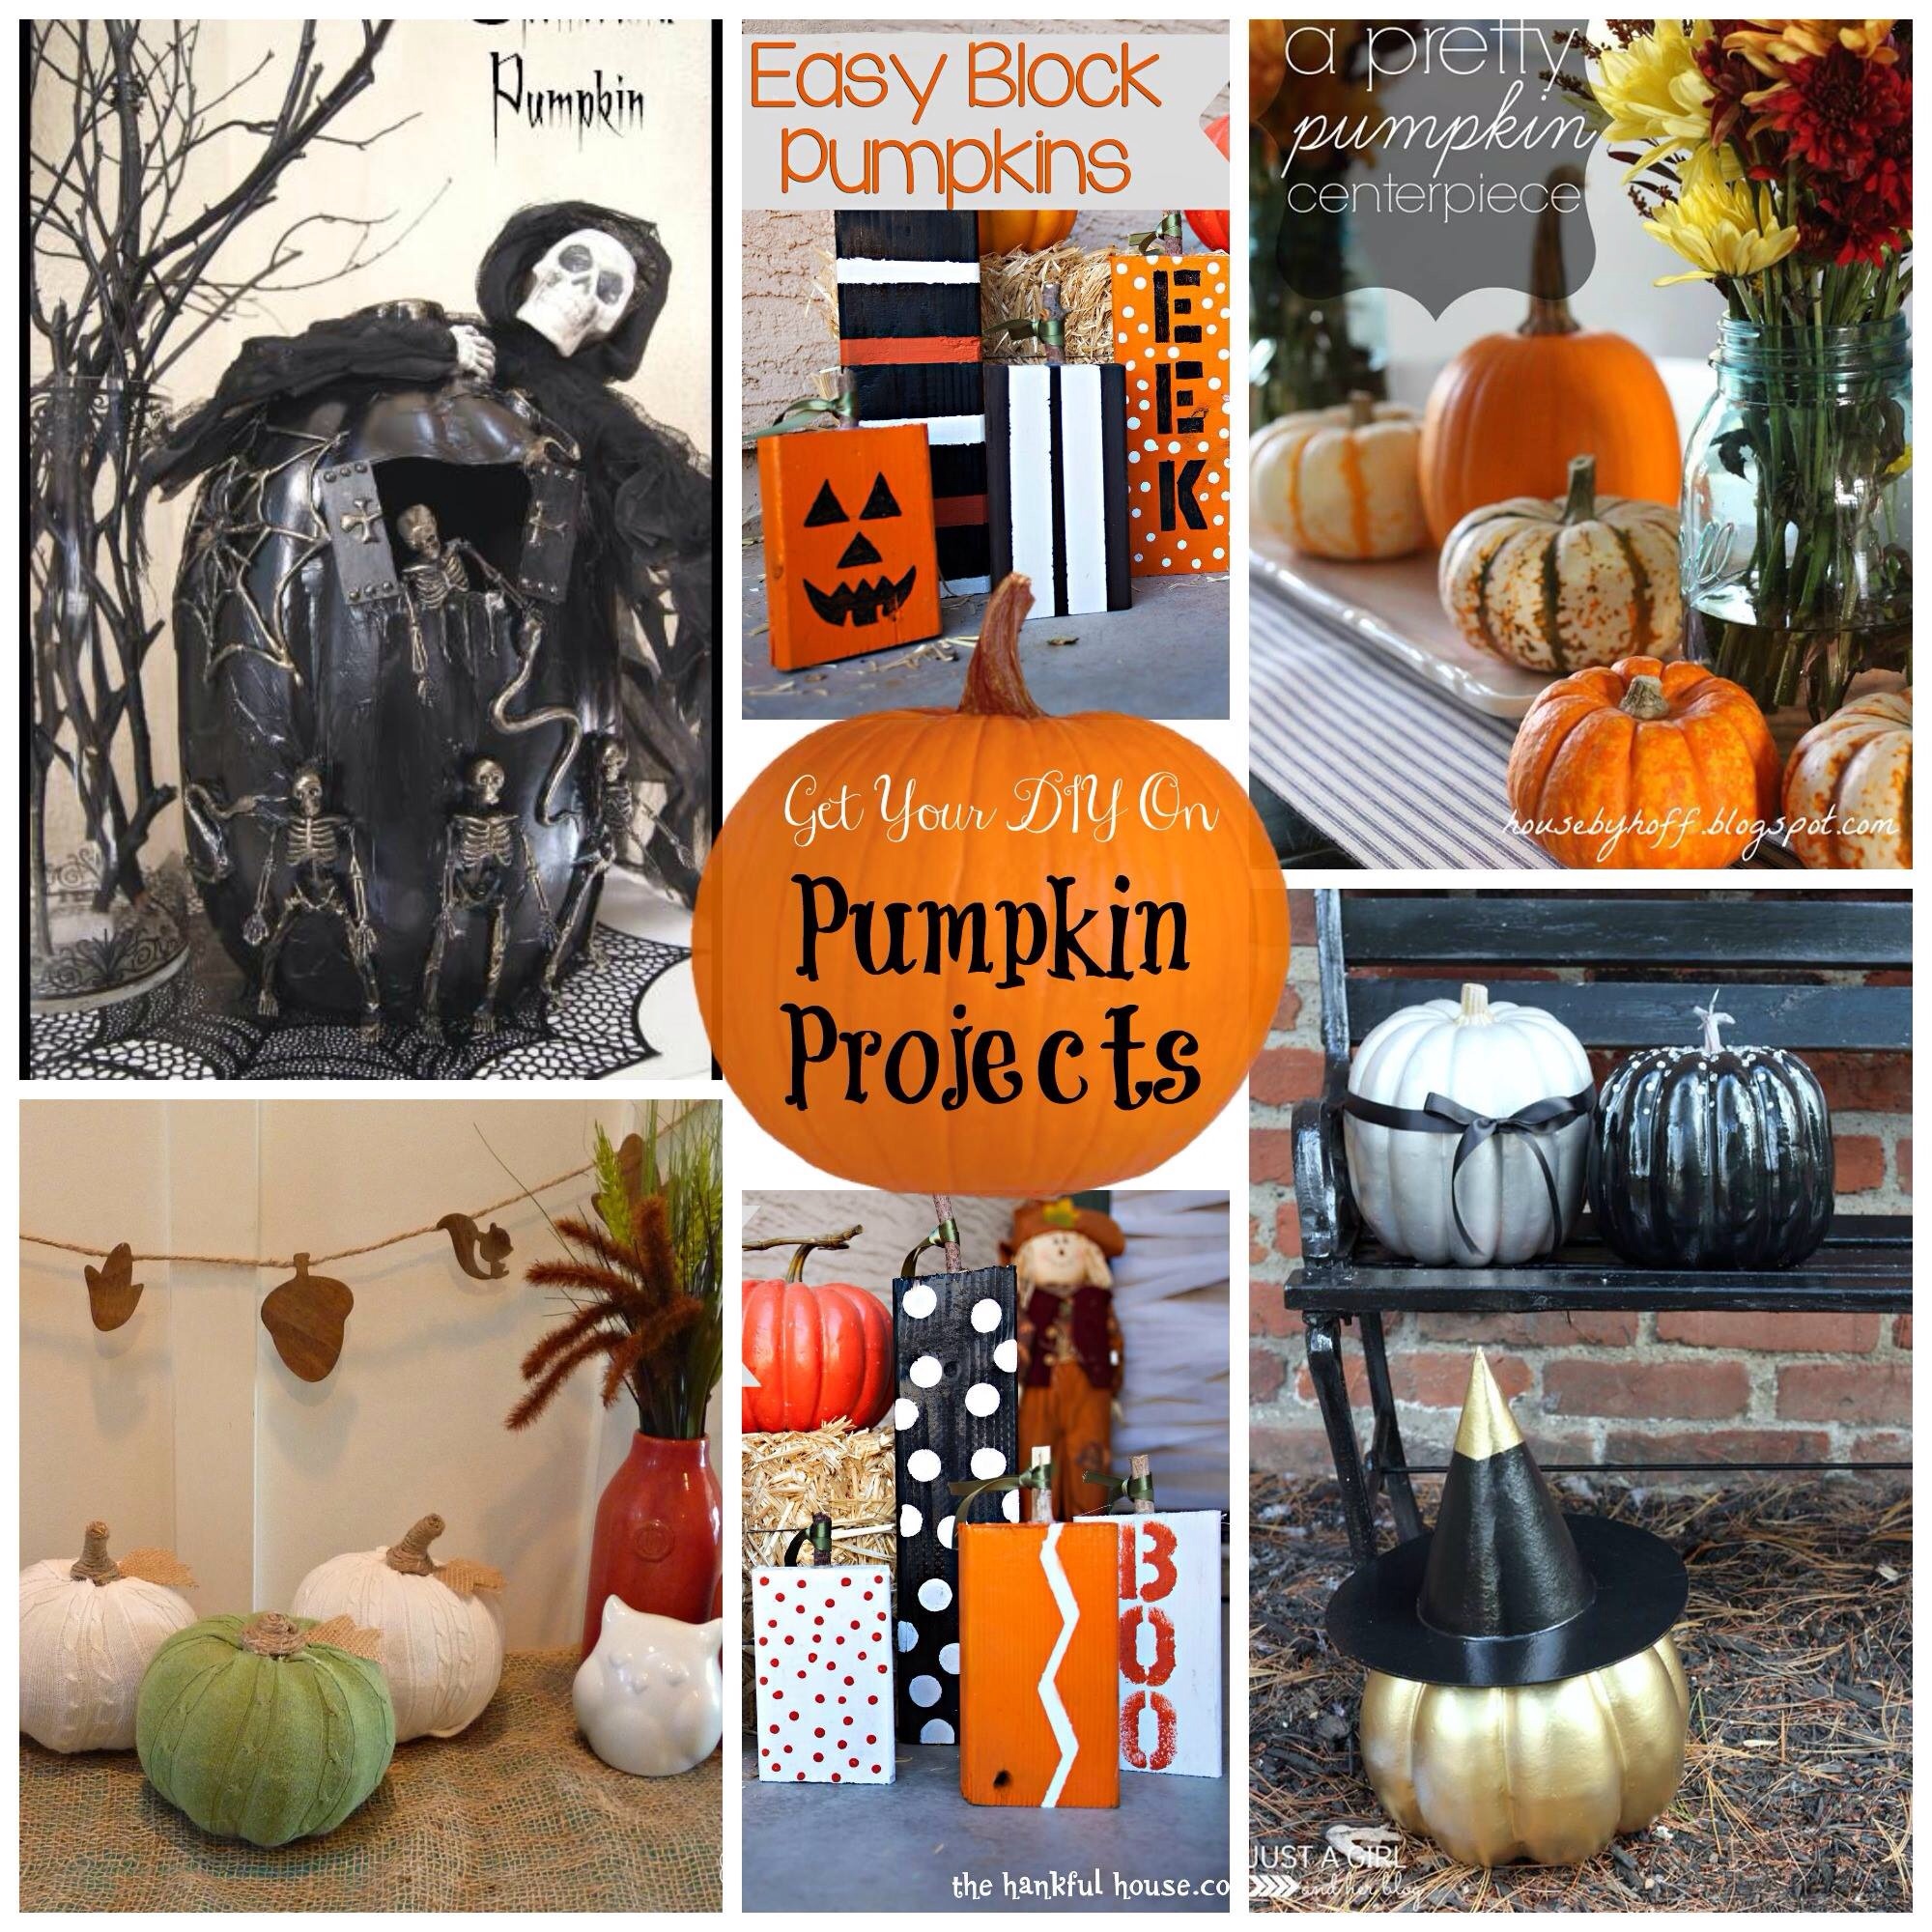
Easy Sweater Pumpkins The Happy Housie
A Pretty Pumpkin Centerpiece House by Hoff
Three Pretty Pumpkins Just a Girl and Her Blog
Easy Block Pumpkins The Hankful House
Isn’t it awesome how we all went in different directions with our pumpkin projects? Well I may have slightly stepped off the deep end, but I only get to break out once a year, so why not?
Here are a couple of “normal” projects I’ve shared recently:
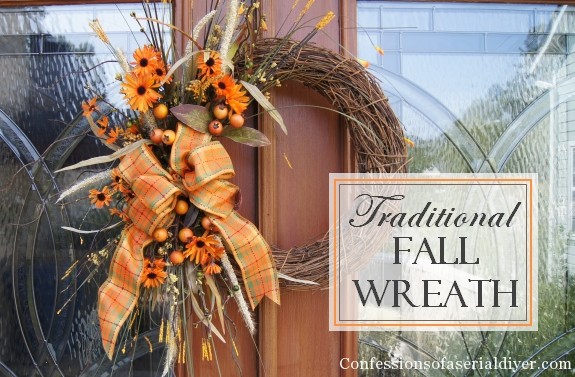
Traditional Fall Wreath Tutorial
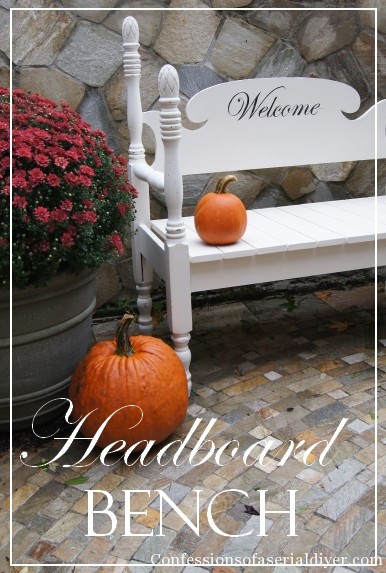
How to Build a Headboard Bench
XO,
![]()
Don’t miss a thing!
If you like what you see, there are several ways to follow along!
Email * Facebook * Pinterest * Hometalk * Twitter * Instagram * Bloglovin

Cindy Eikenberg says
Christy, what a fabulously creepy pumpkin! I love it! I might have to see if I can take your inspiration and do something similar before next week! 🙂 Thanks for sharing and pinning! Have a happy Thursday!
Christy K. James says
Thanks, Cindy! I had a lot of fun making these. I do so many painted projects, that it’s fun to get crafty for a change. Have a great day! 🙂
Trisha says
Looks Great Christy! It’s amazing what a little hot glue and paint will do!
Christy K. James says
I agree, Trisha! The best parts of this makeover were free! Thanks so much for stopping by! 🙂
Cindy @ Diy beautify says
Way, way cool!! Glad you stuck with it to the bitter end! Amazing result 🙂
Cindy
Christy K. James says
Thanks, Cindy! I seriously had my doubts lol! 🙂
Nancy @ Artsy Chicks Rule says
Those are all so great!! You are so creative Christy! The spider webs are awesome…I have a super spider phobia so I don’t know if I could do the spiders!! lol
Nancy
Christy K. James says
Lol, you are funny. My son won’t go near spiders either, even the big fake ones in our Halloween display! Thanks for stopping by sweet friend! XO
Jenna says
I love your pumpkin project! They turned out awesome. Love the paint blooper….I’m glad I’m not the only one who occasionally makes more work for myself, too.
Christy K. James says
OMGosh, I double my workload all the time, but I guess that’s what happens when you’re trying to be creative. I’m so glad you like my pumpkins and thanks for taking a minute to let me know! 🙂
Sandra says
What a bunch of wonderfully talented people out there in blogland. I’m amazed at all the wonderful ideas and beautiful decorations. I don’t even like Halloween, but your black pumpkin transformation is amazing. I have really enjoyed seeing all the great ideas in this series.
Sandra
Christy K. James says
Wow, thanks, Sandra! I know Halloween isn’t for everyone, so I’m so glad you all are being such good sports and letting me share! 🙂 XO
Carla S. says
This is FANTASTIC !!! You did great ! Such imagination. You take the prize.;-)
Christy K. James says
Aww thanks so much, Carla! We put fake candles in it and it glows orange at night…need to take a picture! Thanks so much for the sweet words:)
Leena Lanteigne says
This is fabulous! I love how it turned out – how creative! Halloween is so much fun and I get a kick out of all the decorations and creepy crawlies! Great job! Happy Haunting! Hugs, Leena
Christy K. James says
Thanks, Leena! We have a lot of fun with Halloween! 🙂
Mandy Hank says
Christy I love that you added the gold. Really brought out the details. You are awesome at this spooky stuff!
Christy K. James says
Aww thanks, Mandy! Spooky time is over. I’ll be back to normal now 🙂
Krista @ the happy housie says
This is fabulously spooky Christy, wow! I totally know those projects where half way you think…hmmm…not so sure about this. Had one of those today. Unfortunately it really didn’t work out and is now in the garbage. Oh well! Glad your turned out so amazingly in the end!
Christy K. James says
Thanks, Krista…my garage is currently home to several DIY disasters lol! Have a great weekend! XO
JoAnn @ SweetPepperRose says
This is really neat, you can come up with some great ideas!
Christy K. James says
Aww thanks, JoAnn! You are so good to me! Hope you have a fantastic weekend! XO
Dining Delight says
Your pumpkin(s) turned out fantastic! I have to admit, as I was scrolling through your tutorial, I had my doubts too but the finished project is awesome! I love how you put the skeletons in just the right places and then the one on top that makes the pumpkin seem like part of the “body” is the icing on the cake! And then, to see the spider one you created besides, very cool! Your display of both pumpkins beside the vase of branches and the spider placemat adds to the “drama”!
DD
Christy K. James says
I’m glad you kept the faith…it turned out ok in the end ha ha! I really felt that way too. I’m glad you like the finished product! Thanks so much for taking the time to leave a sweet comment 🙂
Andi says
Me, not so smart. Bahahaha! I love your spooky stuff. I definitely lean more towards the “dark” decor. 🙂
-andi
Christy K. James says
Me too mwah ha ha ha…I love the spooky! 🙂
Marty@A Stroll Thru Life says
Oh wow, how creative and creepy is this. Thanks tons for linking to Inspire Me. Hugs, Marty
Robin All Things Heart and Home says
eeekkkkk! great spooky pumpkin my friend xooox