
Hey awesome Friends, and welcome to day #10 of my March Madness, 31 Thrifty Makeovers in 31 Days Series! Today my Décor Enthusiast girls and I are sharing our Spring wreaths. It’s actually feeling like Spring this week here and I am loving it.
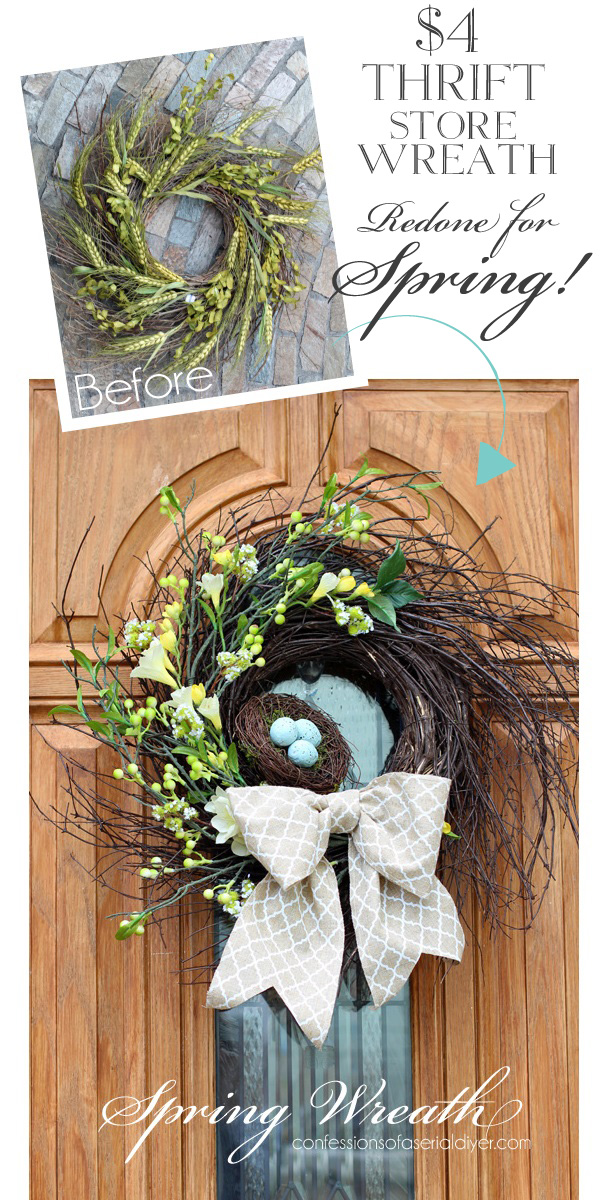
Of course since I am in the middle of my makeover series, I had to create my wreath from something in need of a makeover. I set out to comb all my favorite haunts to find something and got lucky on my first stop! I found this pretty wreath for just over $4:
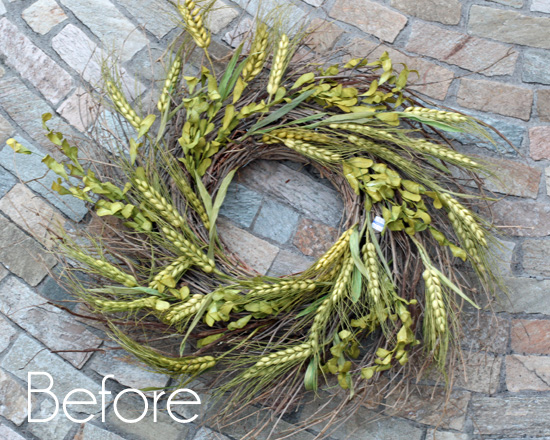
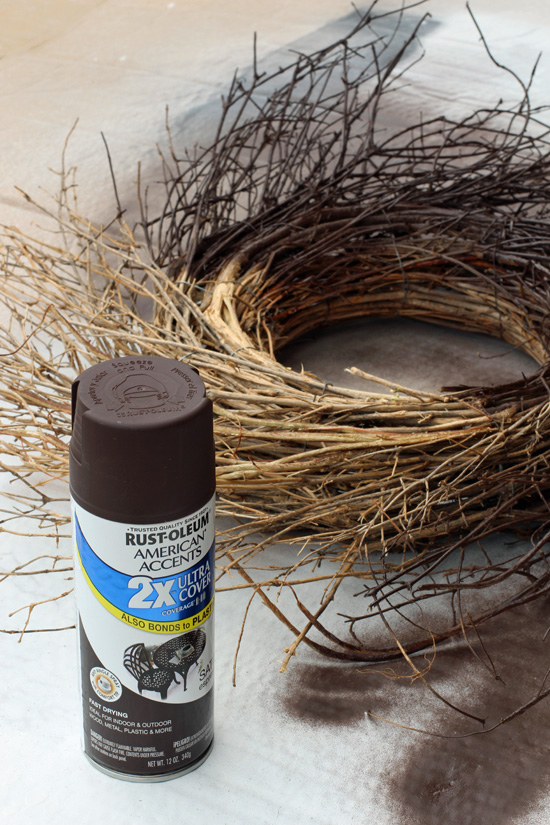
I kinda loved it as is, but the green leafy bits were crumpled and shriveled. I removed all the green pieces and spray painted the wreath with Rustoleum spray paint in Espresso so it would resemble something not dead…
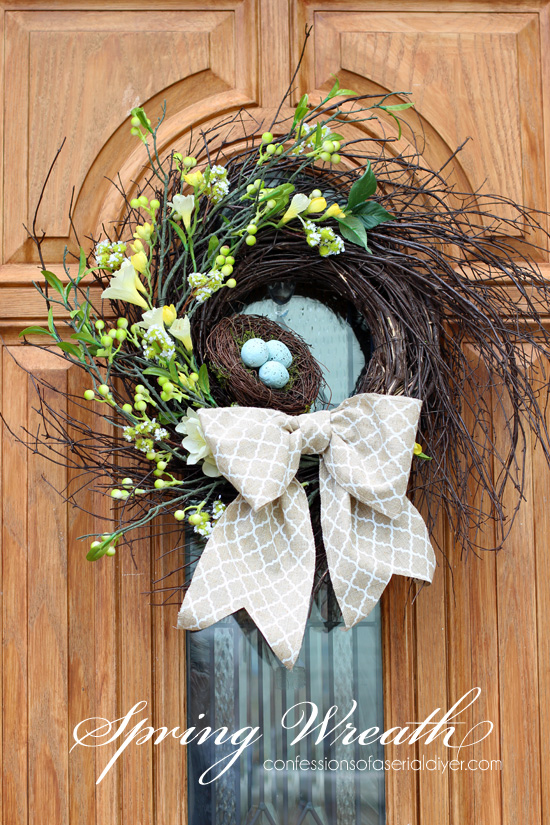
Then I gathered a few supplies I already had and a couple I purchased to make this bird nest Spring wreath:

Here’s what I used to create this simple wreath:

1. Wreath
2. Floral wire and cutters 3. Two of these green sprays found at Michaels
4. This yellow spray was in my stash 5. This little green mossy pick came from Michaels
6. Quatrefoil ribbon from Michaels 7. Bird nest from my stash
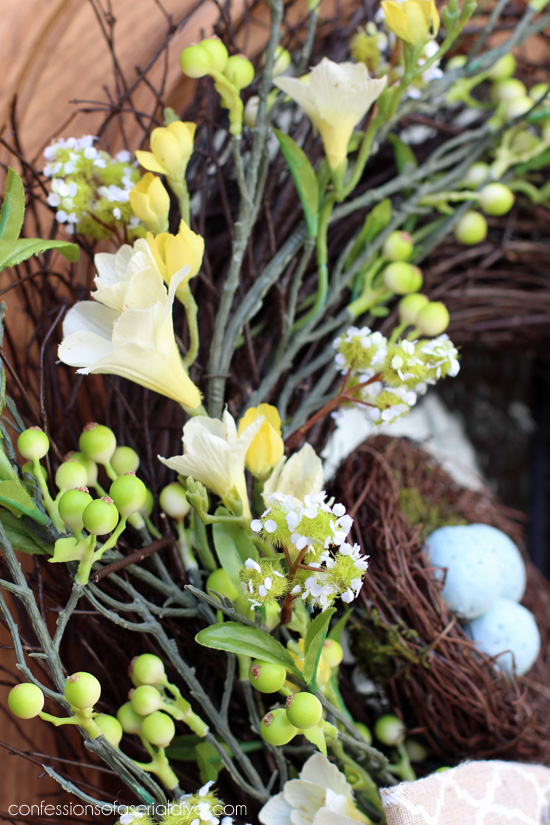
I started by adding the green sprays to the wreath along one side and securing them with wire:

Then I cut the yellow spray apart…

And tucked it in with the green…
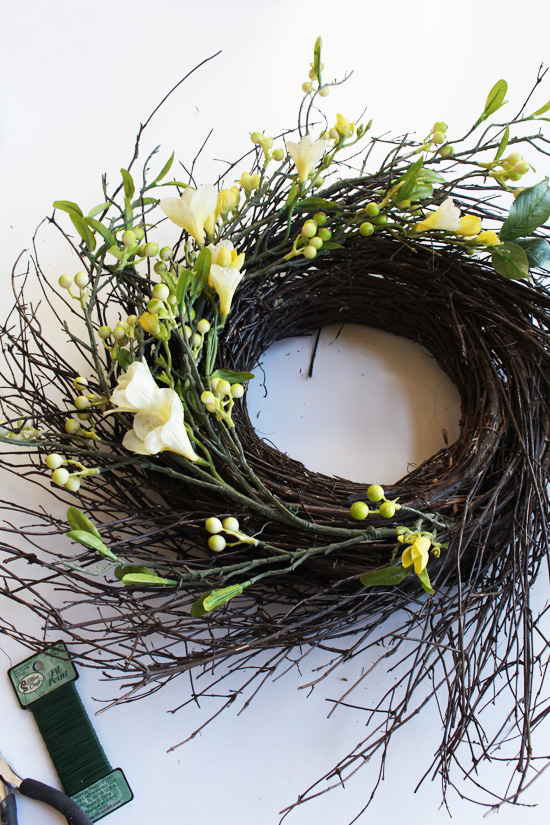
I did the same with the mossy pick and added it in as well.
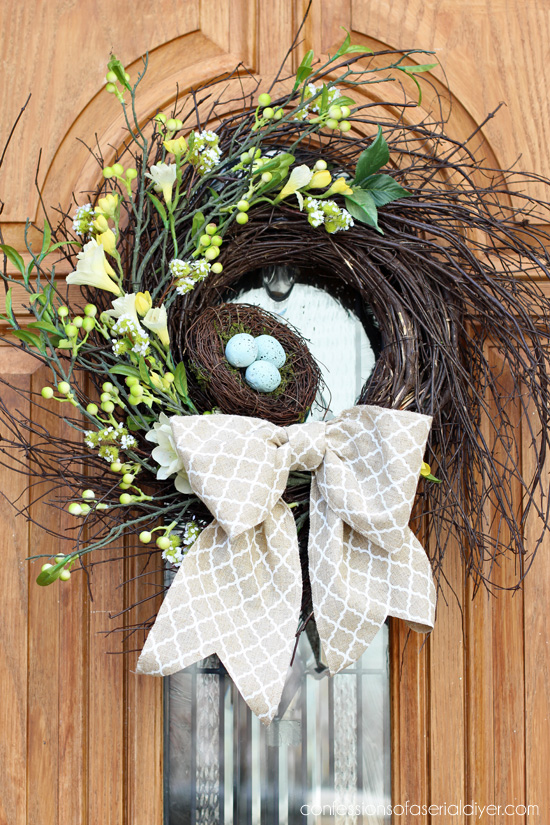
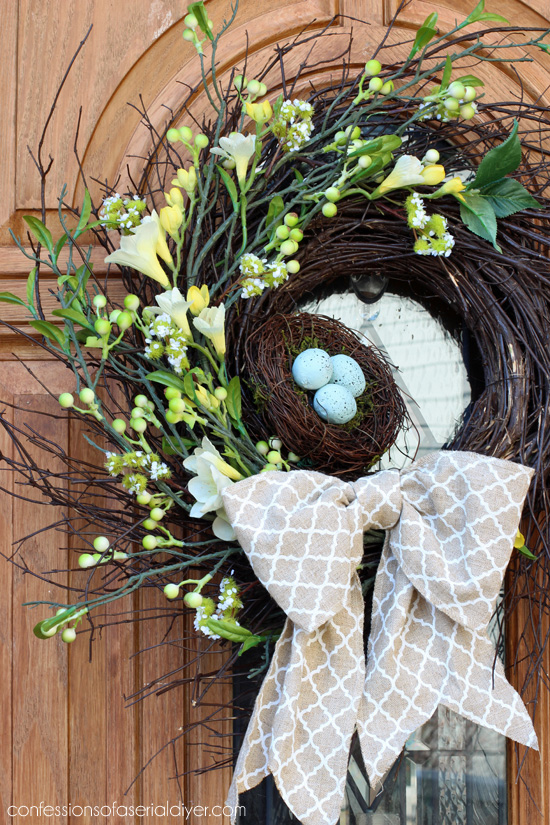
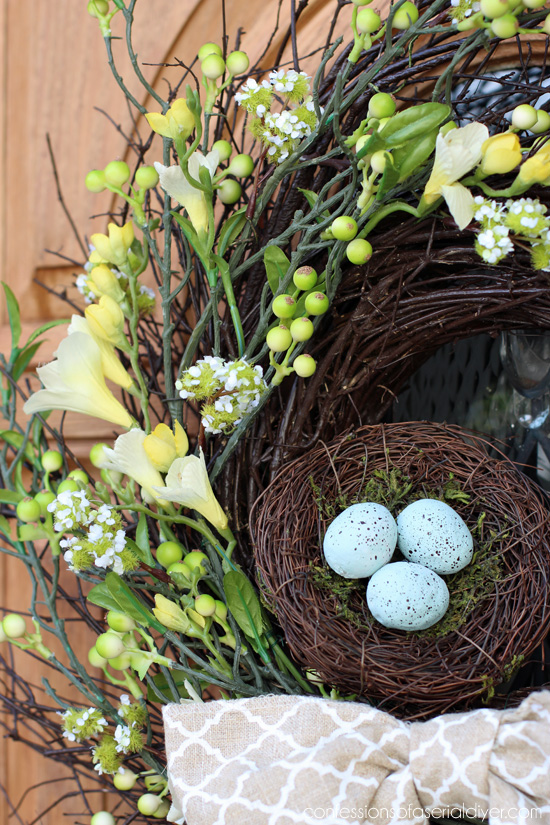
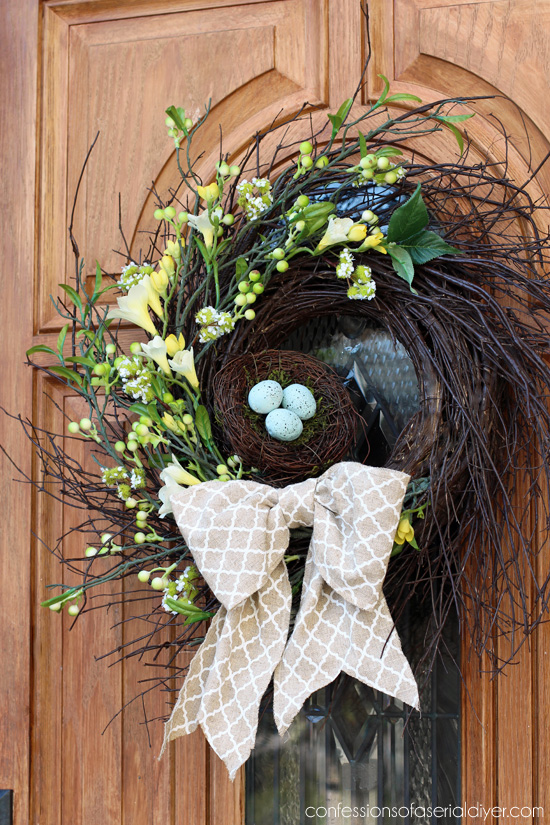
Then I just added a bow, nest and some eggs…
Simple! Here is how I make my bows…psst…I cheat!

1. Find pretty ribbon. This was purchased at Michaels and has no wire in it but is pretty stiff. This cheat version is for wide ribbon.
2. Cut the ribbon in the lengths shown: 27″,15″, and 30″.
3. Lay the longest piece flat, fold the 27″ piece to make the bow portion (overlapping the ends in the center), fold the 15″ in three to make the center of the bow. Line them up as shown.
4. Flip all three pieces over together.
5. Tie the center piece and trim off any excess.
6. Clip the ends as desired.
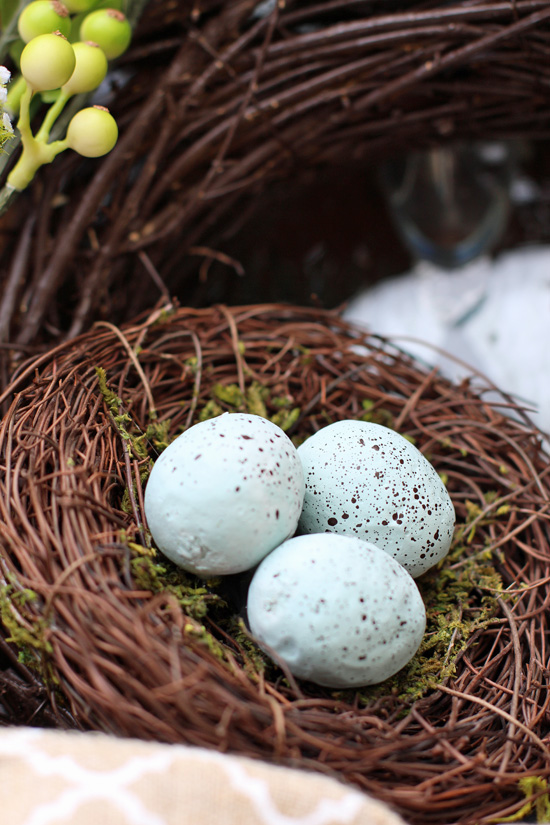
The eggs were originally pink, but I spray painted them Robin’s Egg blue from Rustoleum and speckled them with the Espresso by barely depressing the spray nozzle so that it spit the paint out.
Honestly I think they are more the shape of walnuts lol.
For Summer I may just remove the nest and add more flowers all the way around. 🙂
I’m not the only one sharing some Spring inspiration today, my talented Décor Enthusiast girls created Spring Wreaths as well! Visit them at the links below the image!
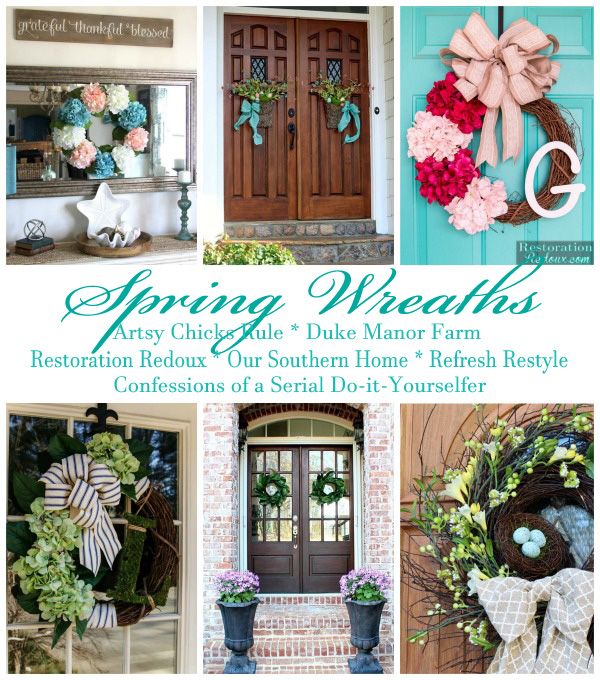
Artsy Chicks Rule Duke Manor Farm Restoration Redoux
Our Southern Home Refresh Restyle Confessions of a Serial Do-it-Yourselfer
Got a Spring wreath you want to share? You can!!
Take pics of your Spring wreaths and share them with us on our Decorating Enthusiasts DIY Forum on Facebook! We created this forum not only so you could participate in our fun decorating challenges, but also so that you have a judge-free zone to share your projects any time, ask questions, and hang out with other creatives just like you!
But wait! There’s more! Let’s play on Instagram too! (Updated Hashtag alert!)
Here’s how to play:
1. Add your own photo on Instagram starting today (3/10) through Saturday
2. Tag it with the #DecorEnthusiastStyle hashtag
3. Follow all six of your hostesses here:
@confessionsofaserialdiyer @artsychicksrule @oursouthernhome @restorationredoux @refreshrestyle @dukemanorfarm
We will choose one winner that will be featured on all six IG feeds this Sunday!!
I love looking through all the beautiful photos you guys share.
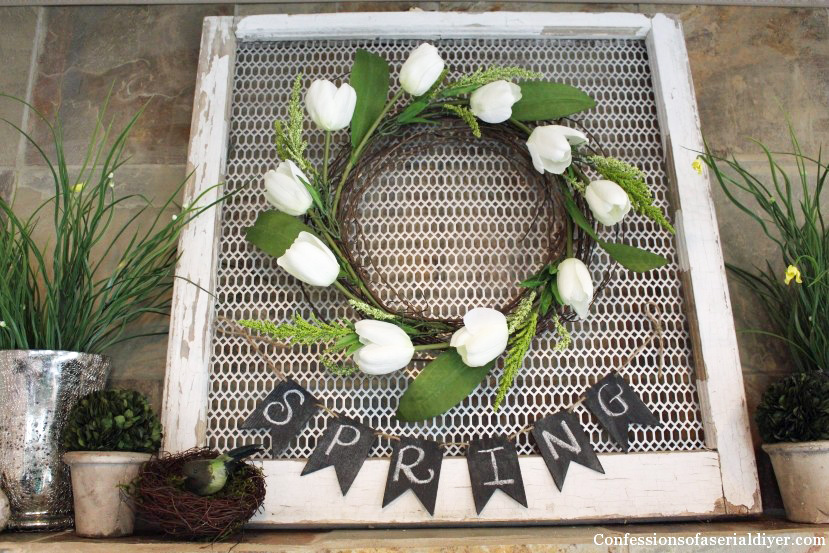
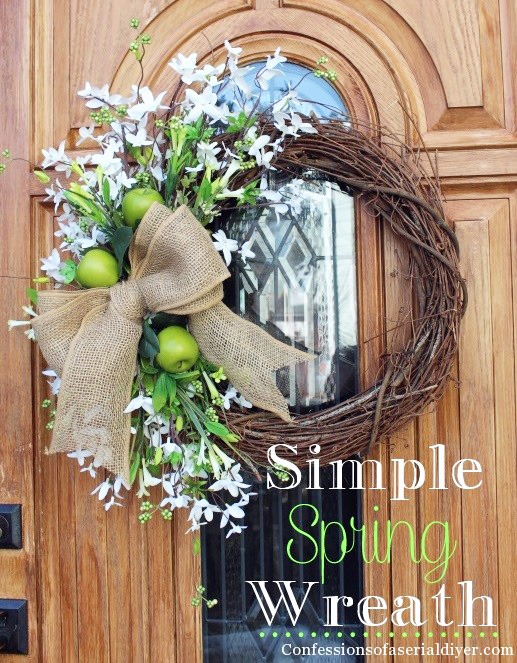
Here are a couple more Spring wreaths from previous years:
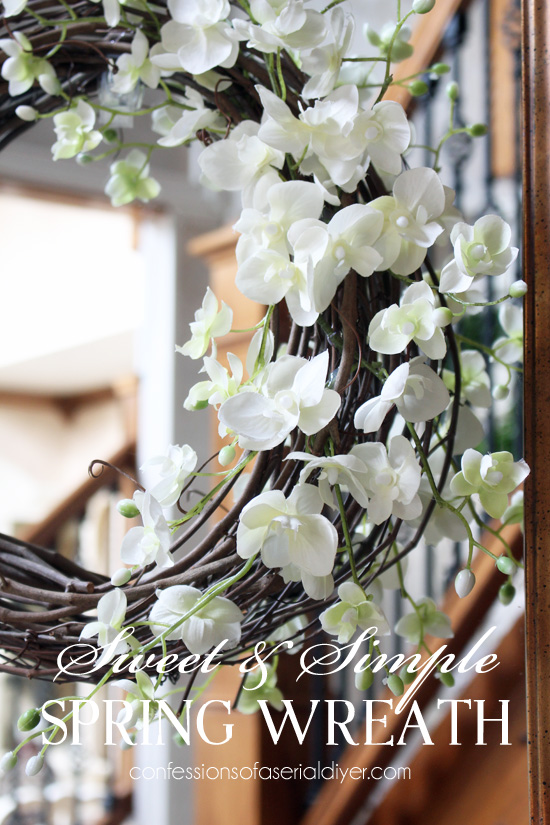
Sweet and Simple Spring Wreath
If you missed my first nine March Madness Makeovers, you can catch up here:
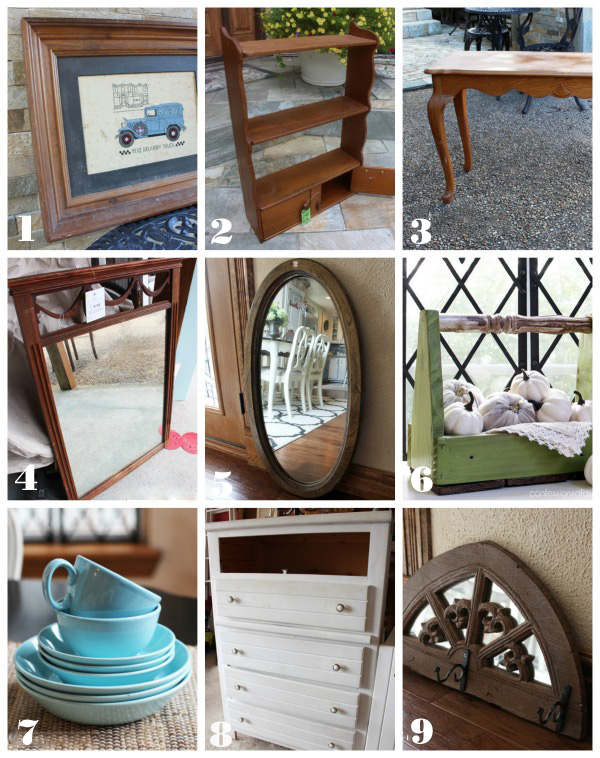
1. DIY Tray from an Old Picture 2. Mini Shelf Makeover 3. Patterned Sofa Table
4. Antique Mirror Repurposed 5. Oval Rosette Mirror 6. DIY Wooden Tote Redo
7. DIY Jewelry Storage 8. $5 Yard Sale Dresser Redo 9.The Perfect Necklace Holder
As always, I’m so glad you stopped by!
I’ll be back again tomorrow sharing this shutter cabinet I nabbed just as it was being put out at Goodwill:
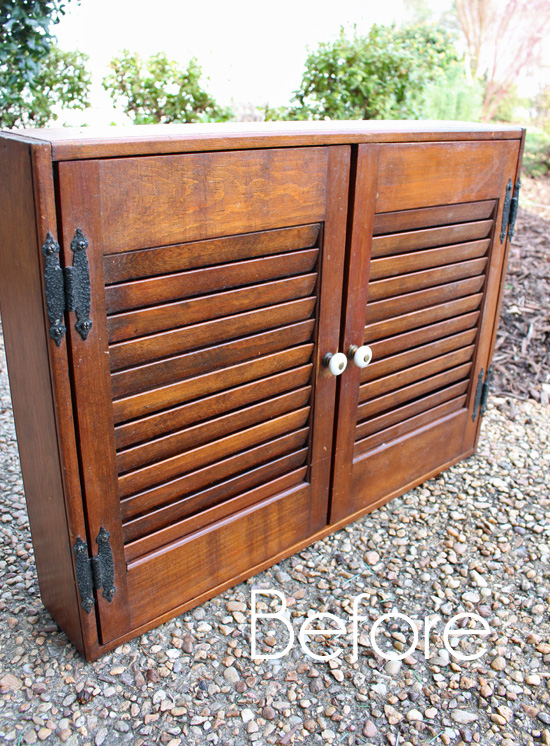
UPDATE: Would you like to see it now? You can HERE!
XO,
![]()
Don’t Miss a Thing!
If you like what you see, there are several ways to follow along!
Email * Facebook * Pinterest * Hometalk * Twitter * Instagram

I love to share at these great parties:
The Happy Housie Design Dining and Diapers Liz Marie Blog Funky Junk Interiors Savvy Southern Style Tatertots and Jello DIY Show Off Between Naps on the Porch Just a Girl and Her Blog Sand and Sisal Interior Frugalista


Joanne Taggart says
Beautiful! Love the eggs and thanks for the directions for making the bow. I’m bow-making illiterate. Goodness, I think I can do that type of bow!
Christy K. James says
Thanks, Joanne! Yes that bow was super easy! XO
Sue says
Love it Christy!!! And thanks for the advice on thrifting!! I will have to try it.xoxo
Btw I am having hardwood installed next month. Went with a hickory very similar to yours. When we decided to do it, I went back and looked at your post. Thanks for the help!!
Christy K. James says
Thanks, Sue! I’ve had my floors for almost a year now and I still love them! What a difference they will make in your space…exciting! XO
Sandra@lookingforpotential says
Thats a great idea to spray paint an old wreath, looks so pretty Christy!
Christy K. James says
Thanks, Sandra! It just looked too dead befor for Spring ha ha!
Christy @ Our Southern Home says
This is beautiful! I’ve never thought of spraying the base of a wreath to freshen it up! LOVE that ribbon!!!
Christy K. James says
Thanks, Christy! It looked too dead for a Spring wreath before lol. 🙂
Nancy @ Artsy Chicks Rule says
That is so sweet Christy!! Nothing says Spring like a basket with eggs!! LOVE!!! xo
Christy K. James says
Thanks, Nancy!! So ready for Spring!! XOXO
Anne says
Love that Wreath, I’m not only “bow illiterate” but also “wreath making illiterate” .
Thanks for the directions!
Christy K. James says
Ha ha! I can fake a bow pretty well. 😉
Marie, The Interior Frugalista says
You always make the bestest wreaths my friend. You’re the queen of adorable embellishments for them. Pinning to share xo
Christy K. James says
Aww you are so sweet, Marie! Thank you!! 🙂
Debbie @ Refresh Restyle says
Great makeover! Love it, the bow, the nest…all of it! You’ve got talent!
Christy K. James says
Aww thanks, Debbie! Can’t wait to make one of your magnolia wreaths, girl!! 😀
Treva says
I was anxious to see what you were going to do with the wreath and as usual, you nailed it! It is very Spring and welcoming.
Now you talked too fast about making the bow. I could not read the length of the strips and am not clear on other pictures. Is this bow cheat in a past post? I would like to know how to make one.
Thanks again for a sweet post.
Christy K. James says
Thank you, Treva! I went back and added the sizes needed to the instructions and added a bit more detail. It will probably make more sense when you have your ribbon on front of you. Good luck! 🙂
Becky says
So cute! Hmmm… the kids found a birds nest that blew out of a tree a while ago. I need to get some spring on my front door! : )
Christy K. James says
Thanks, Becky! The rest of my outdoor space is just sad, that’s why I only showed the door lol. A real birds nest would be so sweet in a wreath! XO
Paula@SweetPea says
Beautiful wreath, Christy! You were smart to think to spray paint your thrift shop wreath to get the color you wanted. I love the addition of the nest with eggs and the pretty bow. I’ve yet to make a spring wreath but need to now that it’s almost here.
Christy K. James says
Thanks, Paula! My door is the only part I showed because the rest of my outdoor space is just so dead and sad lol. Can’t wait till the warm weather is here to stay so I can buy my flowers! I know you’ll come up with a gorgeous spring wreath! 🙂
andi says
So, I see you’re still the queen of making wreaths! And I’m still coveting your wreath-making skillz. 🙂
-andi
Christy K. James says
Hi Andi!! Thank you! I’ve missed you around here, my friend!!!!!!!