Hello, sweet friends! After Thursday’s big makeover, I’m back today with a more simple one! I’m sharing a fun way to update a thrifted box for the holidays using decoupage paper!
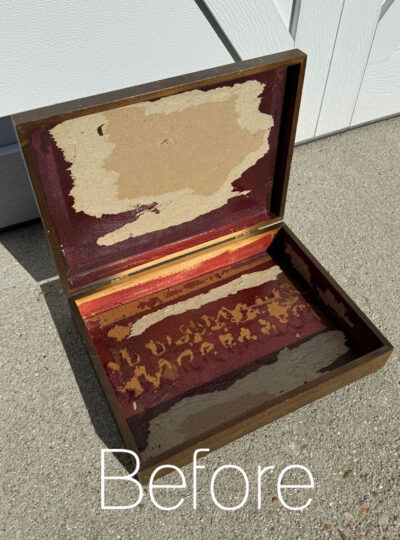
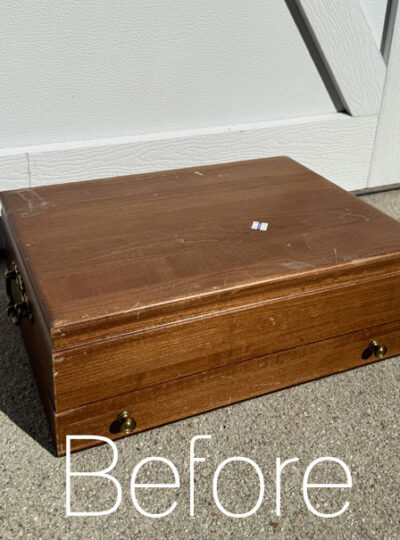
Here is how this box started out:

I paid more for it than it was really worth at $4.99, but it appeared on first inspection to be better put together than it really was.
No worries, though, this little case was perfect for a holiday makeover!
I’ve included few affiliate links so you can find the products I love.
Clean
It got a good wipe down with White Lightning first, mixing one TBSP into a half gallon of warm water. Then, I wiped it down once again with clean water, and I was ready to get this makeover started.
Prime with Bonding BOSS
I began by giving it a coat of Fluff Chalk Mineral Paint. However, the colors of the train seemed to bleed through the paint in a weird green hue.
So, before going any further, I decided to go ahead and give it one coat of Bonding BOSS in white…

You can see the weird color coming through that layer also. That’s okay! Just be sure to let it dry for at least 24 hours before painting, and it should block any more bleed.
Paint
Then, I gave it two coats of Fluff Chalk Mineral Paint, and I had no more issues.
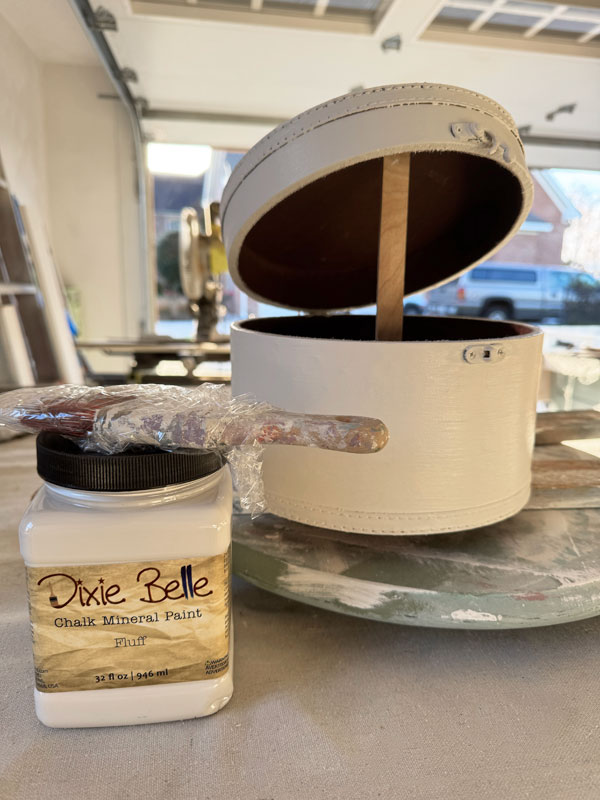
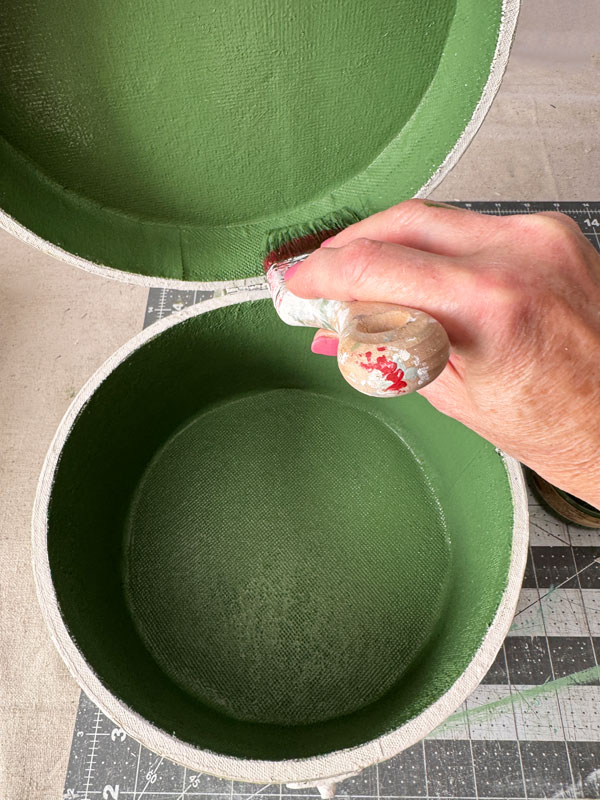
Next, I decided to paint the stitched trim in English Ivy using a small brush:
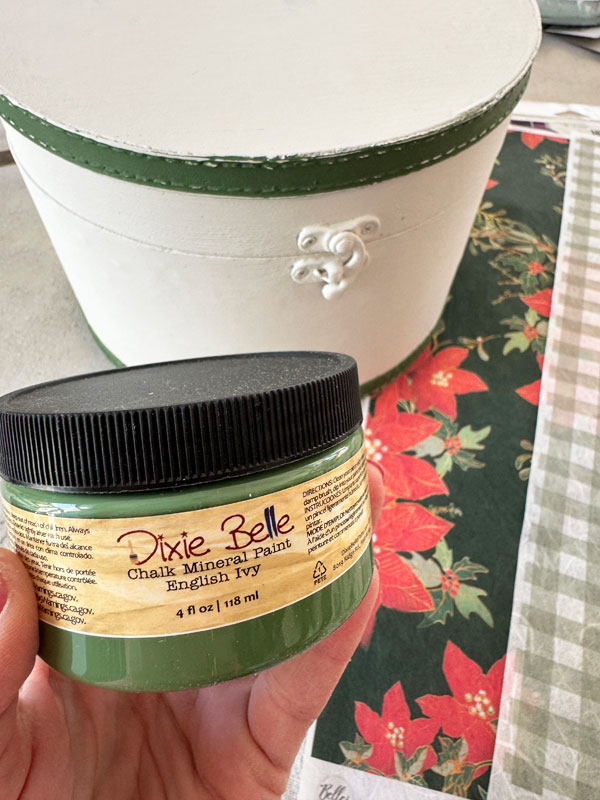
That took two coats for solid coverage over the white.
Sand
I sanded this box all over to smooth as well as on the green parts to distress just a little.
Adding Decoupage Paper
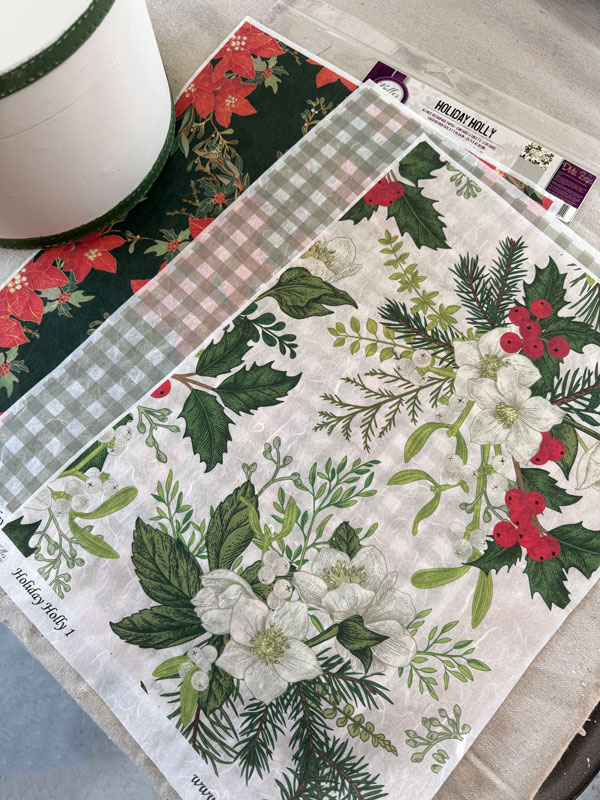
I chose the English Ivy to pull out the greens in this festive set of holiday papers called Holiday Holly from Dixie Belle’s Belles and Whistles line:
Applying Decoupage Paper
Before I started applying the paper, I cut it to fit using my rotary cutter and cutting mat set:
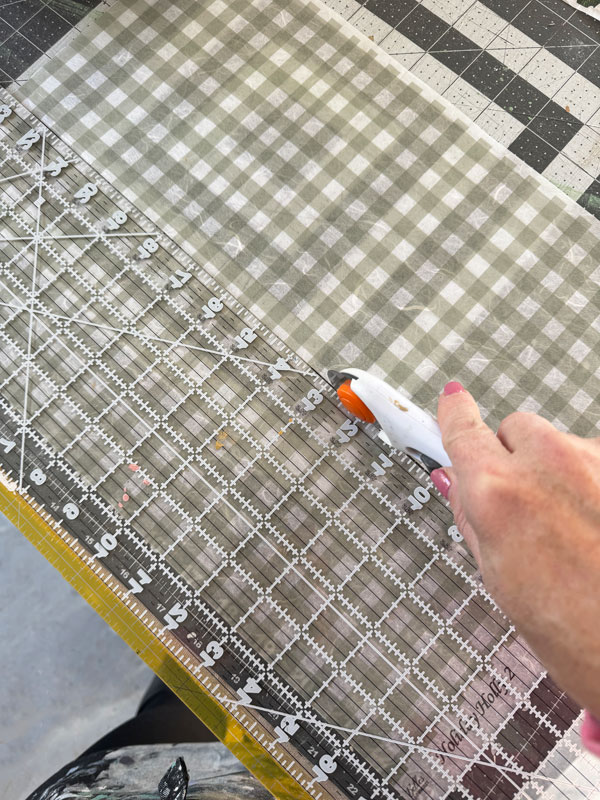
This is the best way I’ve found to get perfectly straight cuts every time both for paper and for fabric. It also happens to be more than 50% off on Amazon as of this writing. Find it HERE.
Then, I used a razor blade to cut around the latch on the front and dry fit it first to be sure it was good to go:
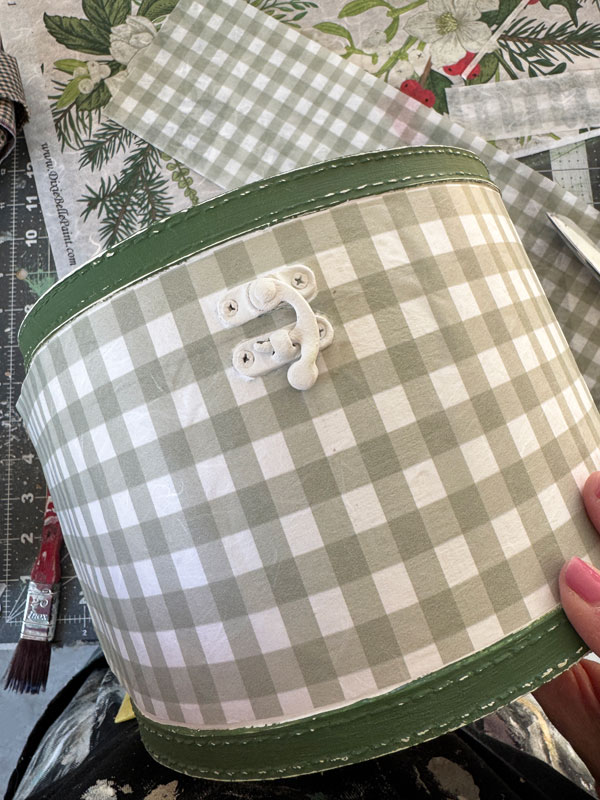
(Why it never occurred to me to remove the latch at the time, I’ll never know lol.)
To apply these more paper-like papers, I use Dixie Belle’s Clear Coat in the satin finish. I applied that using a small brush:
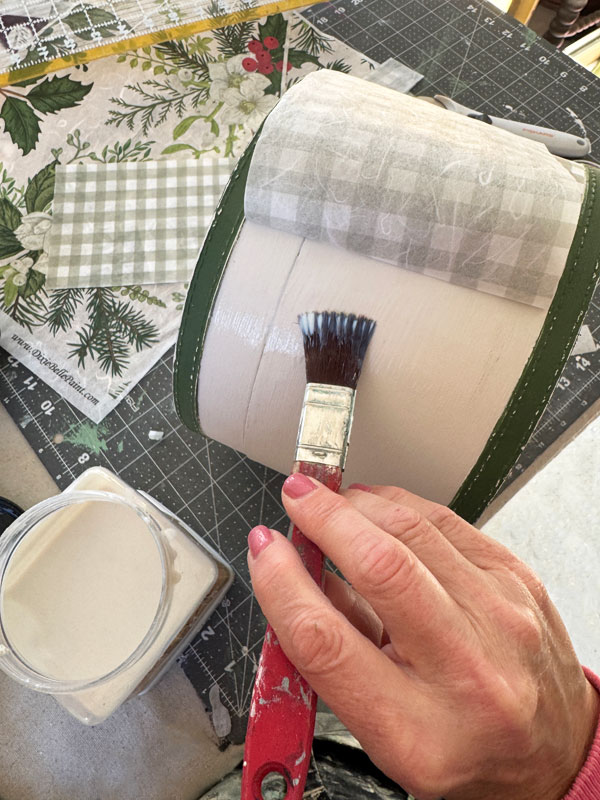
I used my hand to smooth out any bubbles. The paper was not long enough to go all the way around, but I was able to match up the pattern. One piece of decoupage paper (each piece is 11.7 x 16.54 inches) was enough to cover all the way around when joined together.
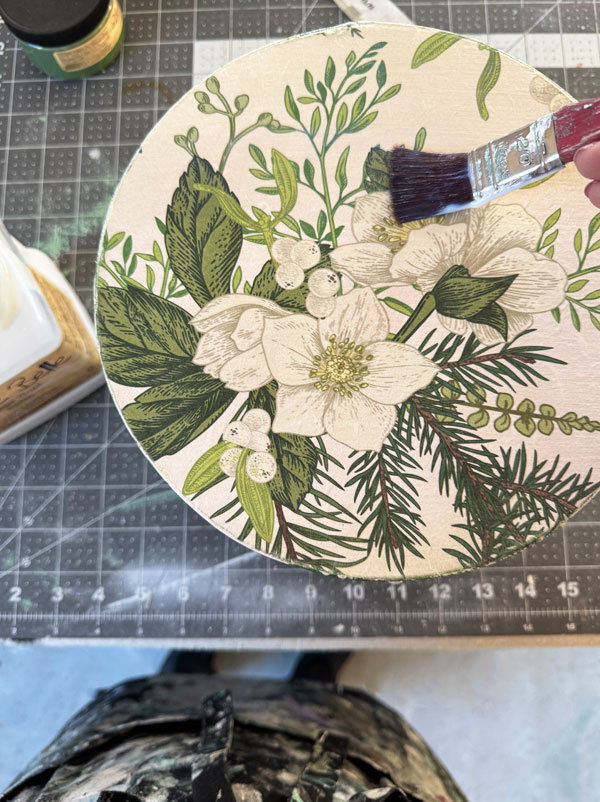
For the top, I used part of one of the other papers in this same set, arranging it how I wanted…
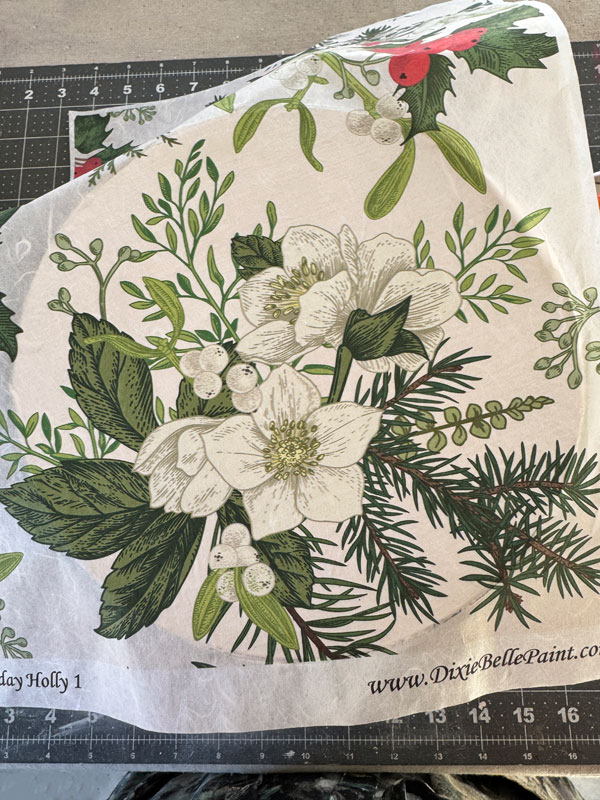
To cut around the edge, I used 220 grit sandpaper to lightly sand all the way around the edge until the paper pulled apart easily.
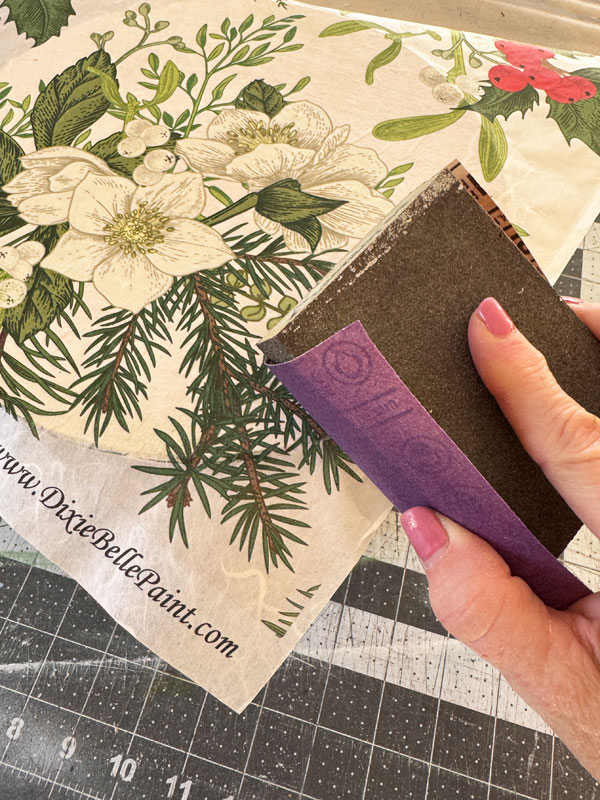
Once I had the paper applied where I wanted it, I sealed everything with another coat of the Clear Coat in the satin finish.
Thrifted Holiday Box After
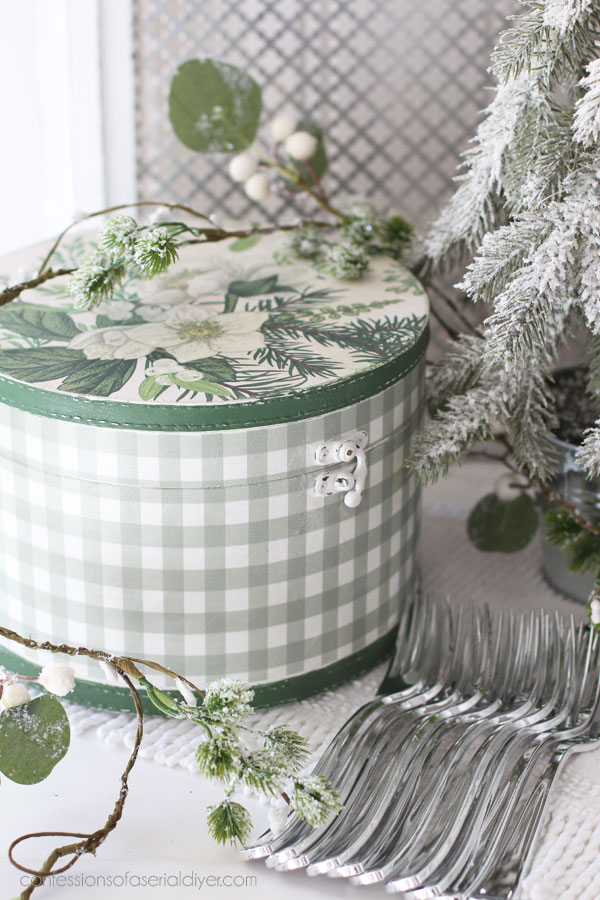
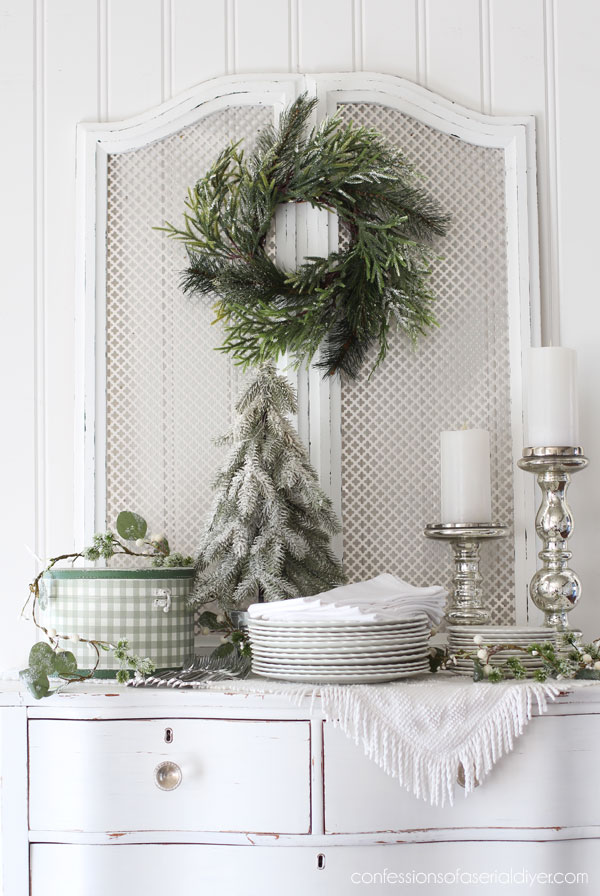
Here is how this box looks now!
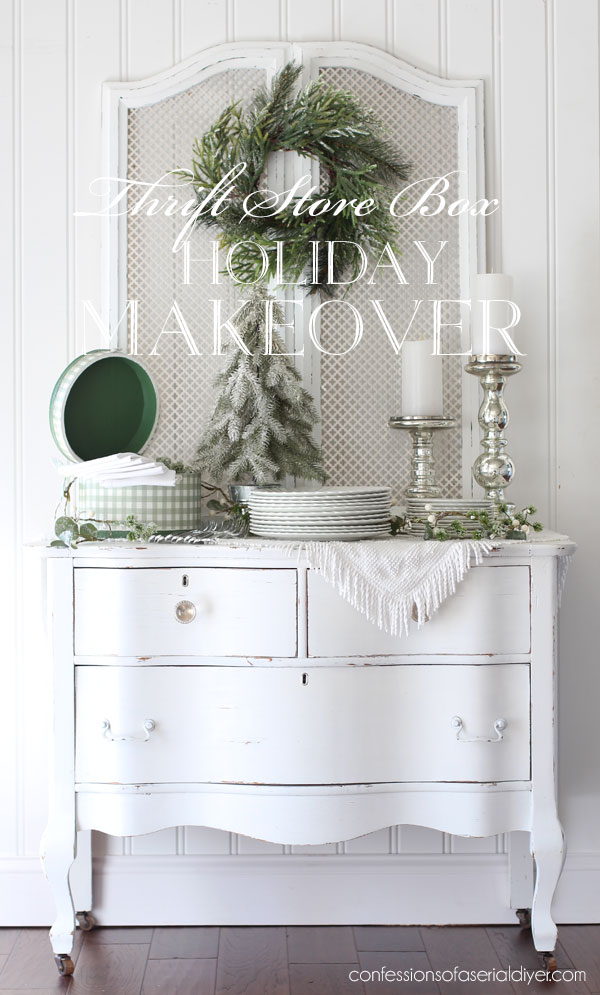
I guess when I think of the holidays, I always think of food because I staged this holiday makeover on a buffet, just like my last holiday makeover lol.
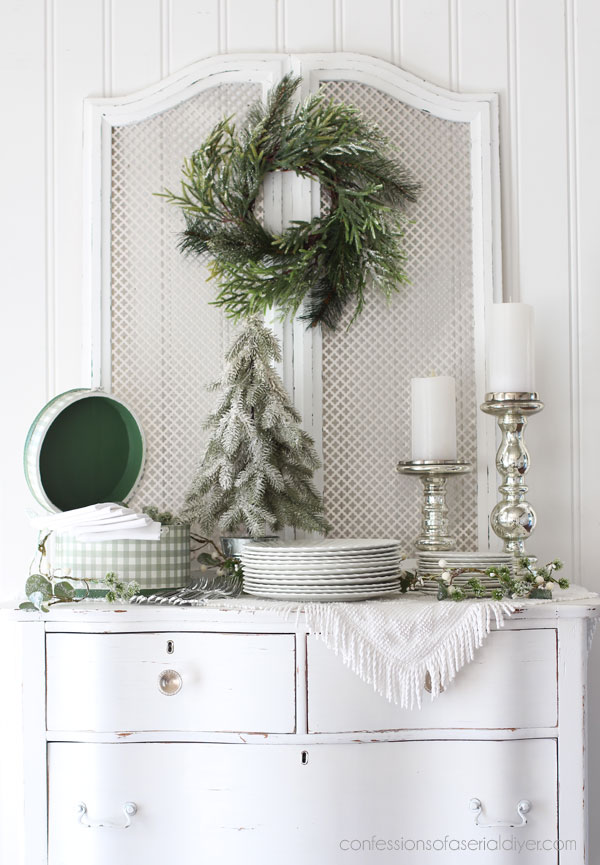
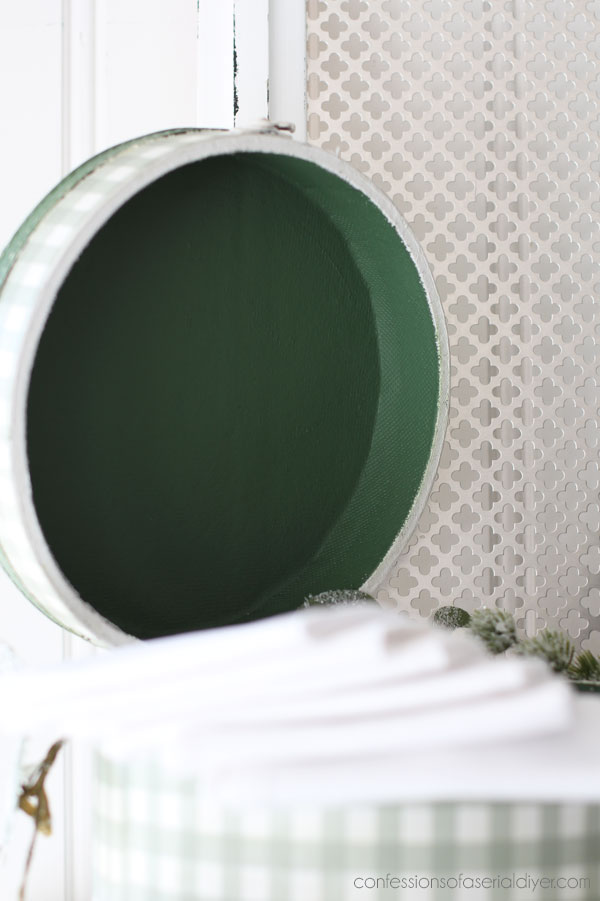
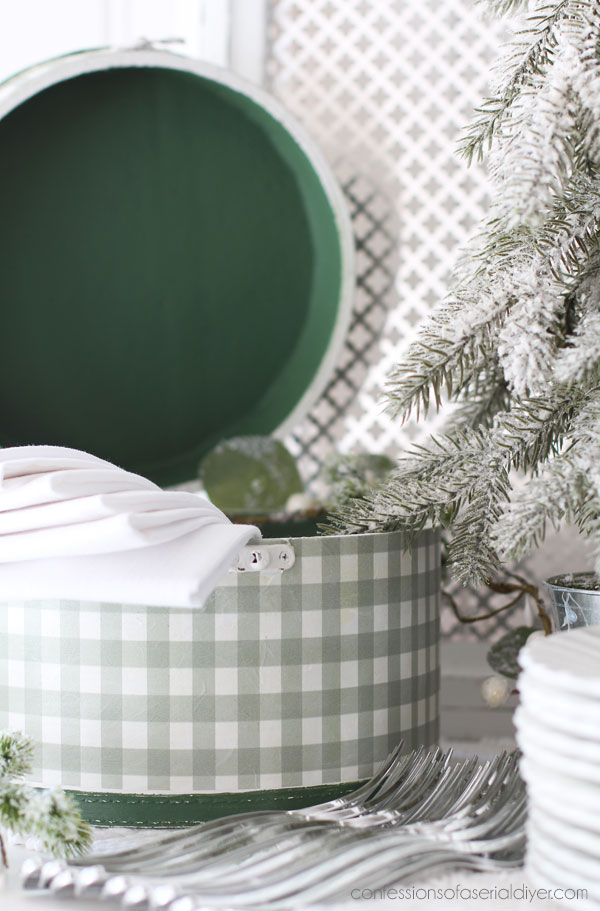
I probably wouldn’t really use this box to hold napkins on a buffet, but my original plan was to put the tree in it. It covered too much of the box though…
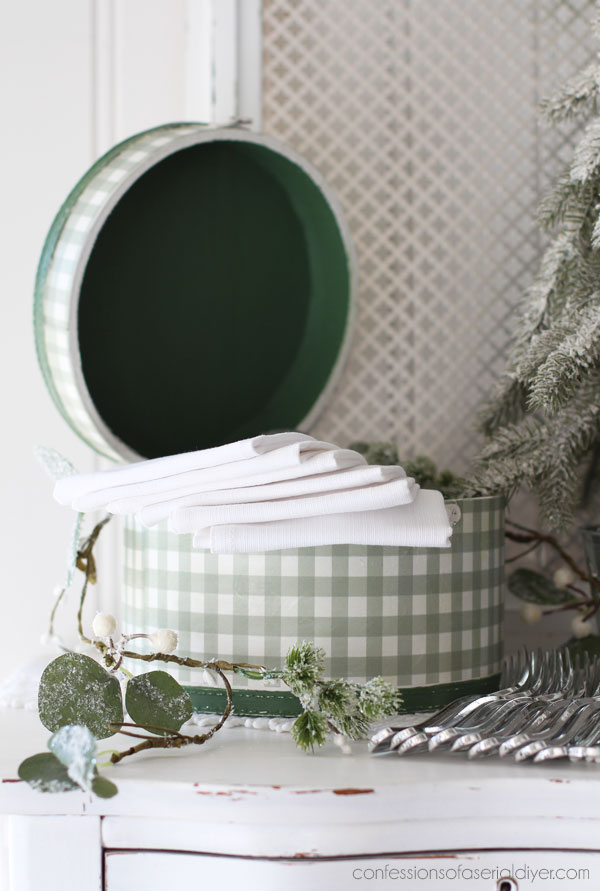
As you can see, I just painted the inside in the same English Ivy as the trim detail.
It had a thin fabric liner that I just painted right over.
And how about the top?
My favorite part!
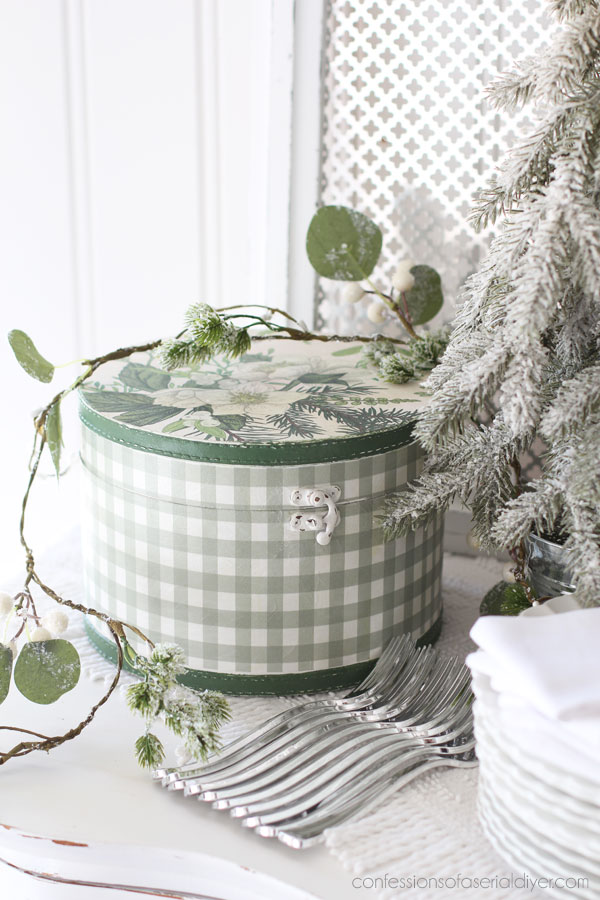
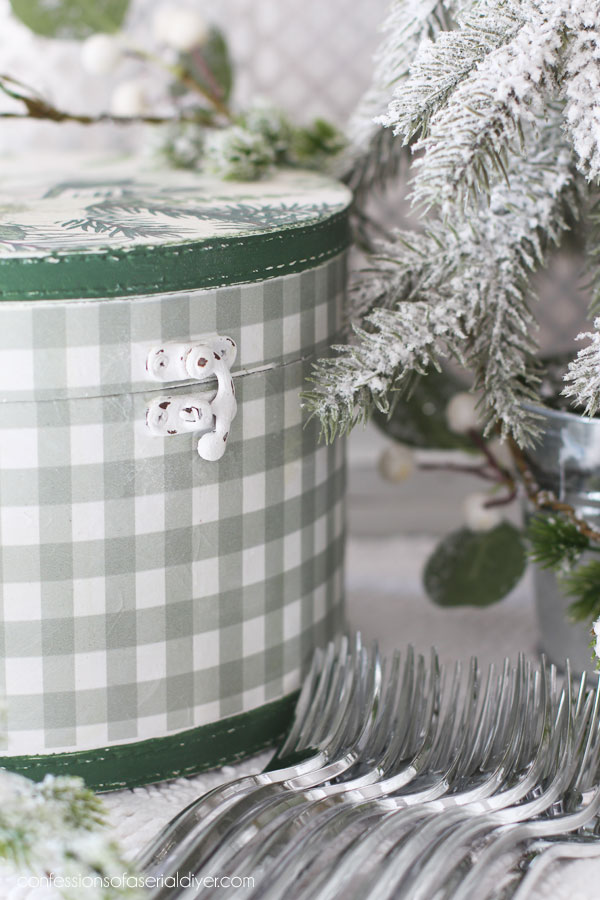
The latch got distressed a bit too…
And that is how I turned a thrifted box into a pretty holiday box!
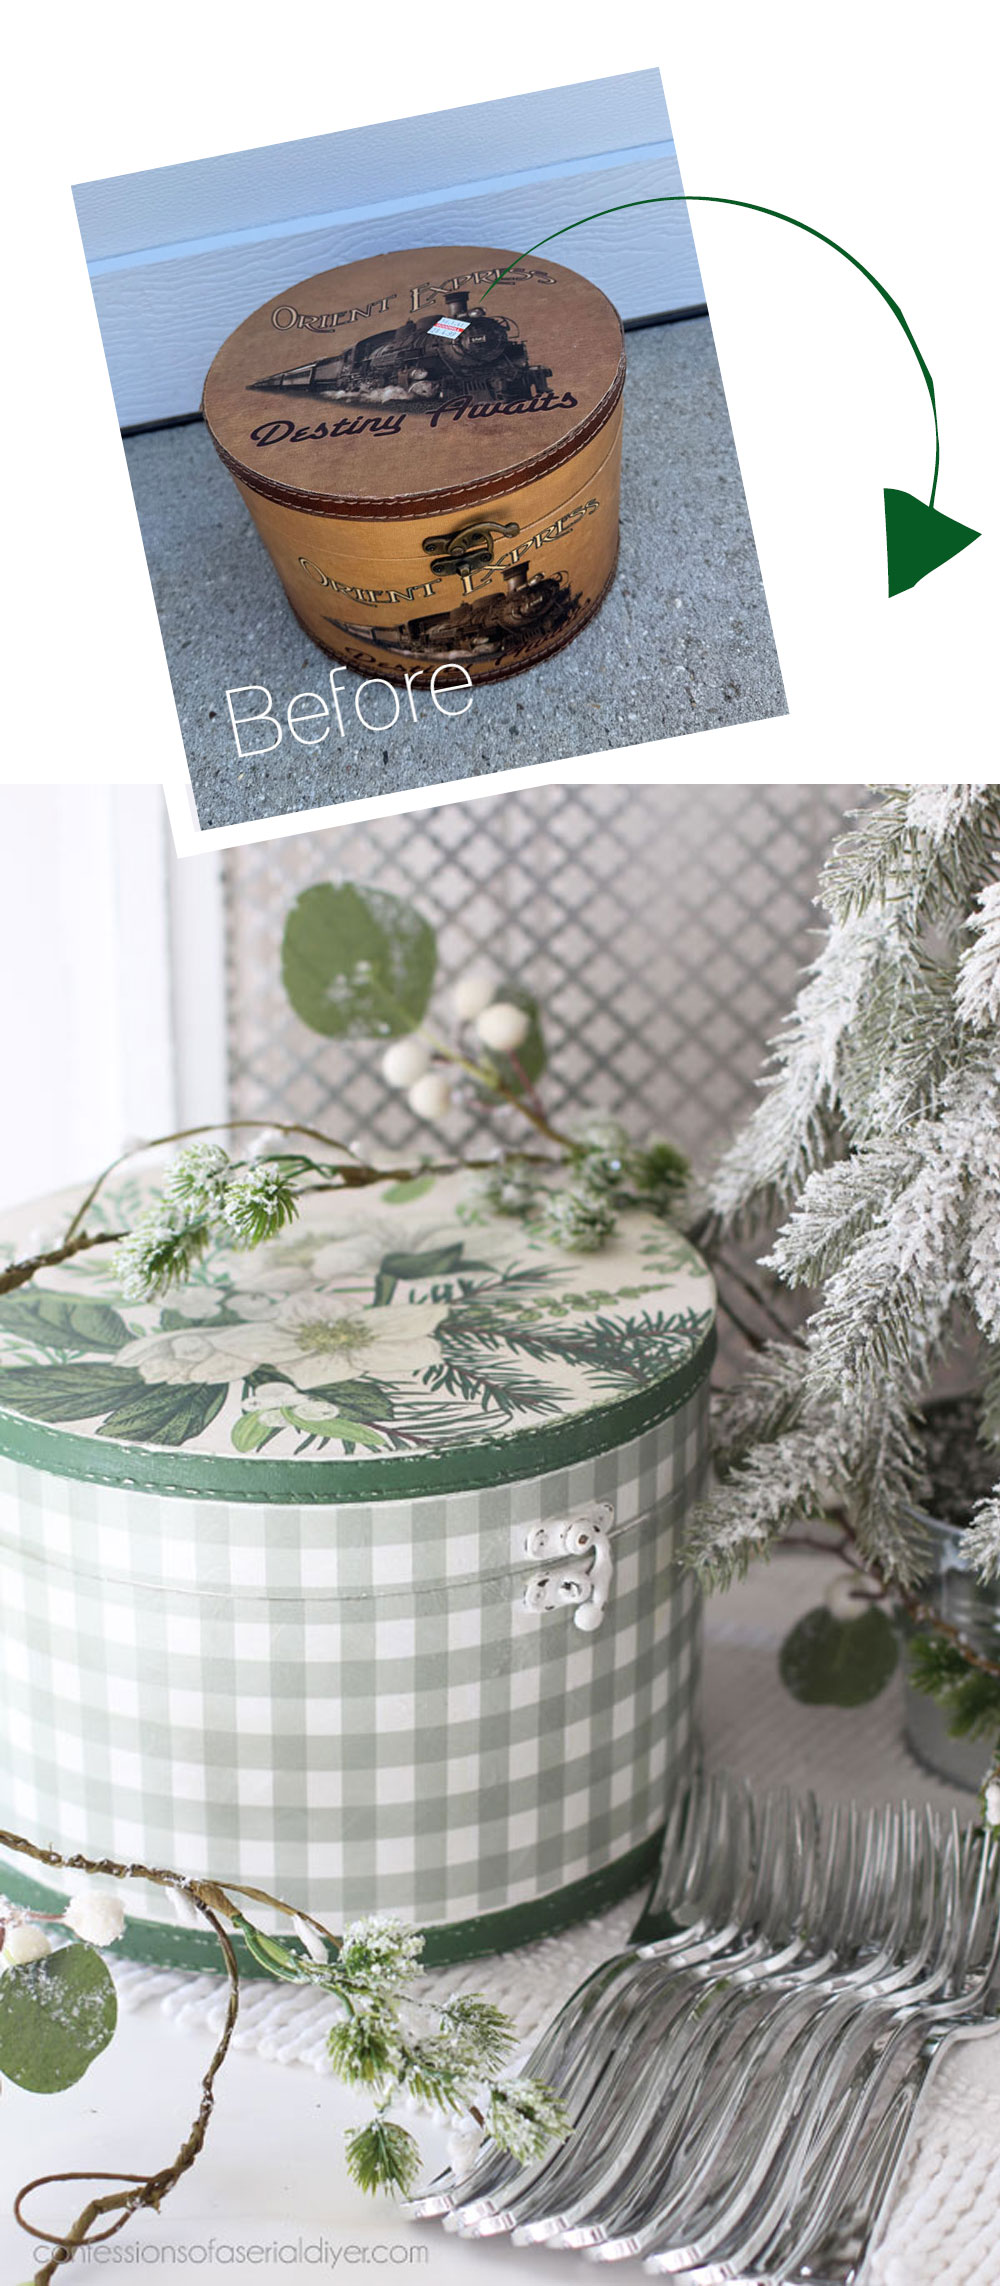
Much better!
The hardest part was deciding which holiday goodies to use to make it over. Once I decided, it was super easy!
I would probably use it to give a gift in, and I may just do that!
One more to knock off the list!

See what I’ve completed so far below:
Black Painted Antique China Cabinet
Turn Old Frames into New Holiday Decor
How to Upholster a Louis XVI Armchair
How to Repurpose a Table Top
Dated Bar Stool Makeover
Update a Yard Sale Tote for the Holidays
Painting the Smalls #31 (the dollar edition)
IKEA Bookcase Makeover
Before I go, the adorable bunny decoupage paper I used in this recent post is back in stock as of this writing.
I’ll be back next time with a fun super thrifty round up!

UPDATE: See these fantastic thrifty makeovers HERE now!
XOXO,

Don’t Miss a Thing!
If you like what you see, there are several ways to follow along!
EMAIL * INSTAGRAM * FACEBOOK * PINTEREST


Get FREE SHIPPING on all orders over $50. No code needed at checkout! Orders under $50 always enjoy $8 flat rate shipping! Most orders ship same or next business day!





Mary Kaiser says
Oh I LOVE how that turned out! I love the colors so much! It is amazing how that transformed, I would never guess what it looked like before paint! It would look sweet with a little christmas tree in it! I love that English Ivy color of paint, I might have to get some of that color on the sale!
Christy says
Thank you, Mary! I don’t miss the train at all lol. And, it could be used all year since it really doesn’t scream Christmas. That English Ivy is the perfect holiday green! XOXO
Janice Holt says
I love this box. The paper is so pretty and the top goes with the sides so well. Another great make-over. Have a wonderful Thanksgiving.
Christy says
Thank you, Janice! This was a fun one to play with for sure! Enjoy your Thanksgiving as well!! XOXO
Janice Redden says
TaDa!! Christy, the check and holly papers are perfect for this box. As a gift box or storage box for holiday items, so many uses……
Happy Thanksgiving to you and your family!
Christy says
Thank you, Janice! So many uses for a small box like this for sure! Happy Thanksgiving!! XOXO
Jen says
Super cute! Love the paper on the lid. I’m glad to see that I’m not the only one who does things like you did with the latch (working around it instead of taking it off)????
Christy says
Thank you, Jen! Ha ha yes…what a duh moment lol! XOXO
Kathy W says
Christy, the round box turned out so good!! I am not usually drawn to green paint colors but after seeing this makeover, I am sold!! So pretty and I love the coordinating paper. Thank you for spoiling us followers by blessing us with your makeovers two days in a row because of Thanksgiving!! Have a wonderful family Thanksgiving!!
Kathy W
oxox
Christy says
Yay thank you, Kathy! I have been really into greens lately, and I have never been a green loving person lol. And you are SO welcome!! It is because of YOU that I get to do this for a living, so thank you!! Happy Thanksgiving! XOXO
Julie A. Henry says
BEAUTIFUL!!! HAVE A WONDERFUL THANKSGIVING STAY SAFE! XXXOOO….JULIE
Christy says
Thank you so much, Julie!! Happy Thanksgiving!! XOXO
Charleen says
Absolutely charming. I am always delighted by you imagination and the results. Have a very happy Thanksgiving. God Bless you and your family.
Christy says
I’m so glad you like it, Charleen, and thank you so much! I hope you have wonderfully blessed Thanksgiving as well! XOXO
Cecilia says
You did it again! I thought at first you had put a green velvet ribbon around the edge but it’s paint! Brilliant! And painting the lining makes for an easy update for the inside too. I don’t know how you decided what to feature…it could have easily been with red accents too. Love this!
❤️Cecilia
Christy says
Aww thank you, Cecilia! I figured I’d go green this time since my last holiday redo was red ha ha! It is so fun to play with all things, and yes…I did have some tiny checked green and white fabric, but I felt that would have been too much pattern, and so the green paint worked perfectly! So much easier too for sure! XOXO
Laura J. says
What a pretty green, it’s such a fresh color! Christy, I love your makeovers AS MUCH as I love your staging – so beautiful!!! Happy Thanksgiving!
Christy says
Aww thank you so much, Laura! I really appreciate that! I always enjoy the staging part ha ha! Happy Thanksgiving! XOXO
Jackie C says
This is one of the best Christmas makeovers! Glad it’s not all red, green and Santa Claus ????
I adore the papers together with the paint color. Have I mentioned green is my favorite color ????
Great simple makeover!
Christy says
Aww yay!! Thank you so much, Jackie! This could probably work after the holidays too. And I am really loving the greens these days!! XOXO
p says
Awww. It looks so sweet now. I love the print, and the pretty green trim.
Your smalls are always inspiring !
Christy says
Thank you, P! I appreciate that so much! XOXO
Marcie Lovett says
You always hold back some detail, Christy, then – surprise! – show it off at the end. I didn’t even think about painting the inside to match, but it does pull everything together. The colors aren’t too seasonal, it could be displayed year round and I think it would get snapped up from the shop. If not, you can bring it back home to give a gift in.
Christy says
Thank you so much, my friend! I do like a little surprise reveal at the end ha ha! And yes, this could totally be used all year! XOXO
Rhonda Smith says
Stunning! Love this! Planning on keeping my eye open for a box like that!
Christy says
Thank you so much, Rhonda! There are so many possibilities with these little boxes! XOXO
Carroll Xavier says
Love this, fabulous transformation! And timely…my sister gave me a similar box and I had no idea what to do with it. This is a great idea, and I can use it to store more fragile Christmas ornaments. You always have the best ideas 🙂
Christy says
Thank you, Carroll! Perfect! And I love it for storing your more precious ornaments! XOXO
Caye says
That turned out just lovely! What a relief to not see the typical red/green decorations (I love red/green, just not ALL the time). It’s refreshing and good for all winter. Good job!
Christy says
Thank you so much, Caye! Yes I do love this more simple green for the holidays. Of course, I do decorate with bold red in our very neutral home, but the simple green so soothing! XOXO
Michele M. says
Oh, I just love that now!!!!! You have such a talent, Christy! I just finished decorating for Christmas this afternoon – did it all in greens. Love green and so happy you did that box in green. Love love love it.
Christy says
Thank you so much, my friend! I do usually decorate with more reds, but I am loving the greens and I bet your home is stunning!! XOXO
Ivana C says
Love the box – well everything you do!
I’m probably not doing it right, but I can’t seem to get in your store, (I’m electronically challenged). Any help would be appreciated ????
Christy says
Aww thank you so much, Ivana! You can get there by clicking this link: https://theserialdiyer.etsy.com If it asks you to use the app, just close that out. You don’t have to have the app to shop! Let me know if you have any more trouble. Everything in my shop pretty much will be 20% off Friday through Monday. XOXO
Kelly Stader says
Wow! This is my favorite makeover that you’ve done. I love the crispness of the greens and whites together with just the right amount of distress. As soon as I saw the completed piece I started looking through my house trying to visualize a spot for it! And I don’t have many greens in my little place but starting to rethink that now. One of these days I’m going to make it from Indiana to your booth but it’s going to be a road trip so I have room for everything I will be bringing back. ????
Christy says
Aww I am so glad you like this one, Kelly, thank you!! Although I decorate with bold reds in my very neutral home, I do love the greens and whites…so soothing! That would be awesome if you got to visit!! XOXO
Debra Hubbs says
Just seeing this now and had to comment. So pretty! Love the colors and how the top and sides go so nicely together.
Christy says
Thank you, Debra! This little box was fun to play with…so many possibilities! XOXO
Julie A. Henry says
MORNING, HOPE YOU HAD A WONDERFUL THANKSGIVING. QUICK QUESTION I HAVE 3 GALVANIZED HOUSES I’D LIKE TO PAINT FOR CHRISTMAS DECORATING, WHAT IF ANY PREPING WOULD I NEED TO DO? THANK YOU FOR YOUR TIME….HAVE A GREAT WEEKEND! JULIE
Christy says
Good morning, Julie!! Give them a good cleaning with a damp cloth to remove any dust. (White Lightning is not recommended for metal.) Then prep with Bonding Boss. One coat and let it sit for 24 hours. then paint like normal. 🙂 XOXO
Joanne H says
The box turned out really pretty. I like the checked with the Christmasy evergreen top.
Christy says
Thank you, Joanne! It will hold a gift for someone special this year! XOXO
Robin says
So cute. Appropriate for those of us who don’t celebrate Christmas!
Christy says
Thank you! Absolutely…it could be great just for winter! XOXO