Welcome to a brand new week, beautiful friends! I am showing one of my favorite ways to easily update thrifted artwork today! I had originally intended to share this round of six smalls:
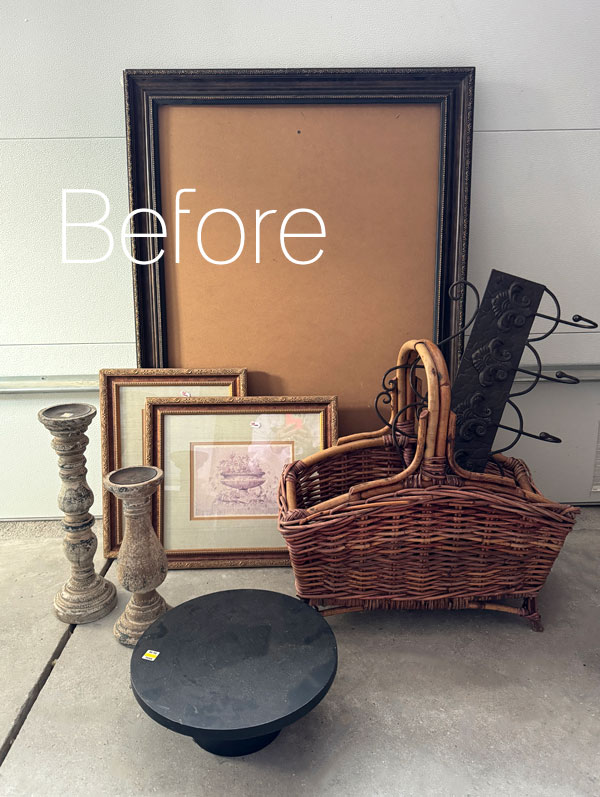
Today’s set of clearance thrift store art pieces was part of this round, however, the weather was so gloomy and overcast that I really struggled to get decent photos with these pictures yesterday, and it ended up taking me way longer than expected. My window for decent lighting is quite small as it is, so there was no way I was going to get the other five pieces photographed in time to share.
These were probably my favorite of the bunch though, so I will share these today, and I’ll be back with the rest of this Painting the Smalls round on Thursday!
I’ve included a few affiliate links so you can find the products I love.
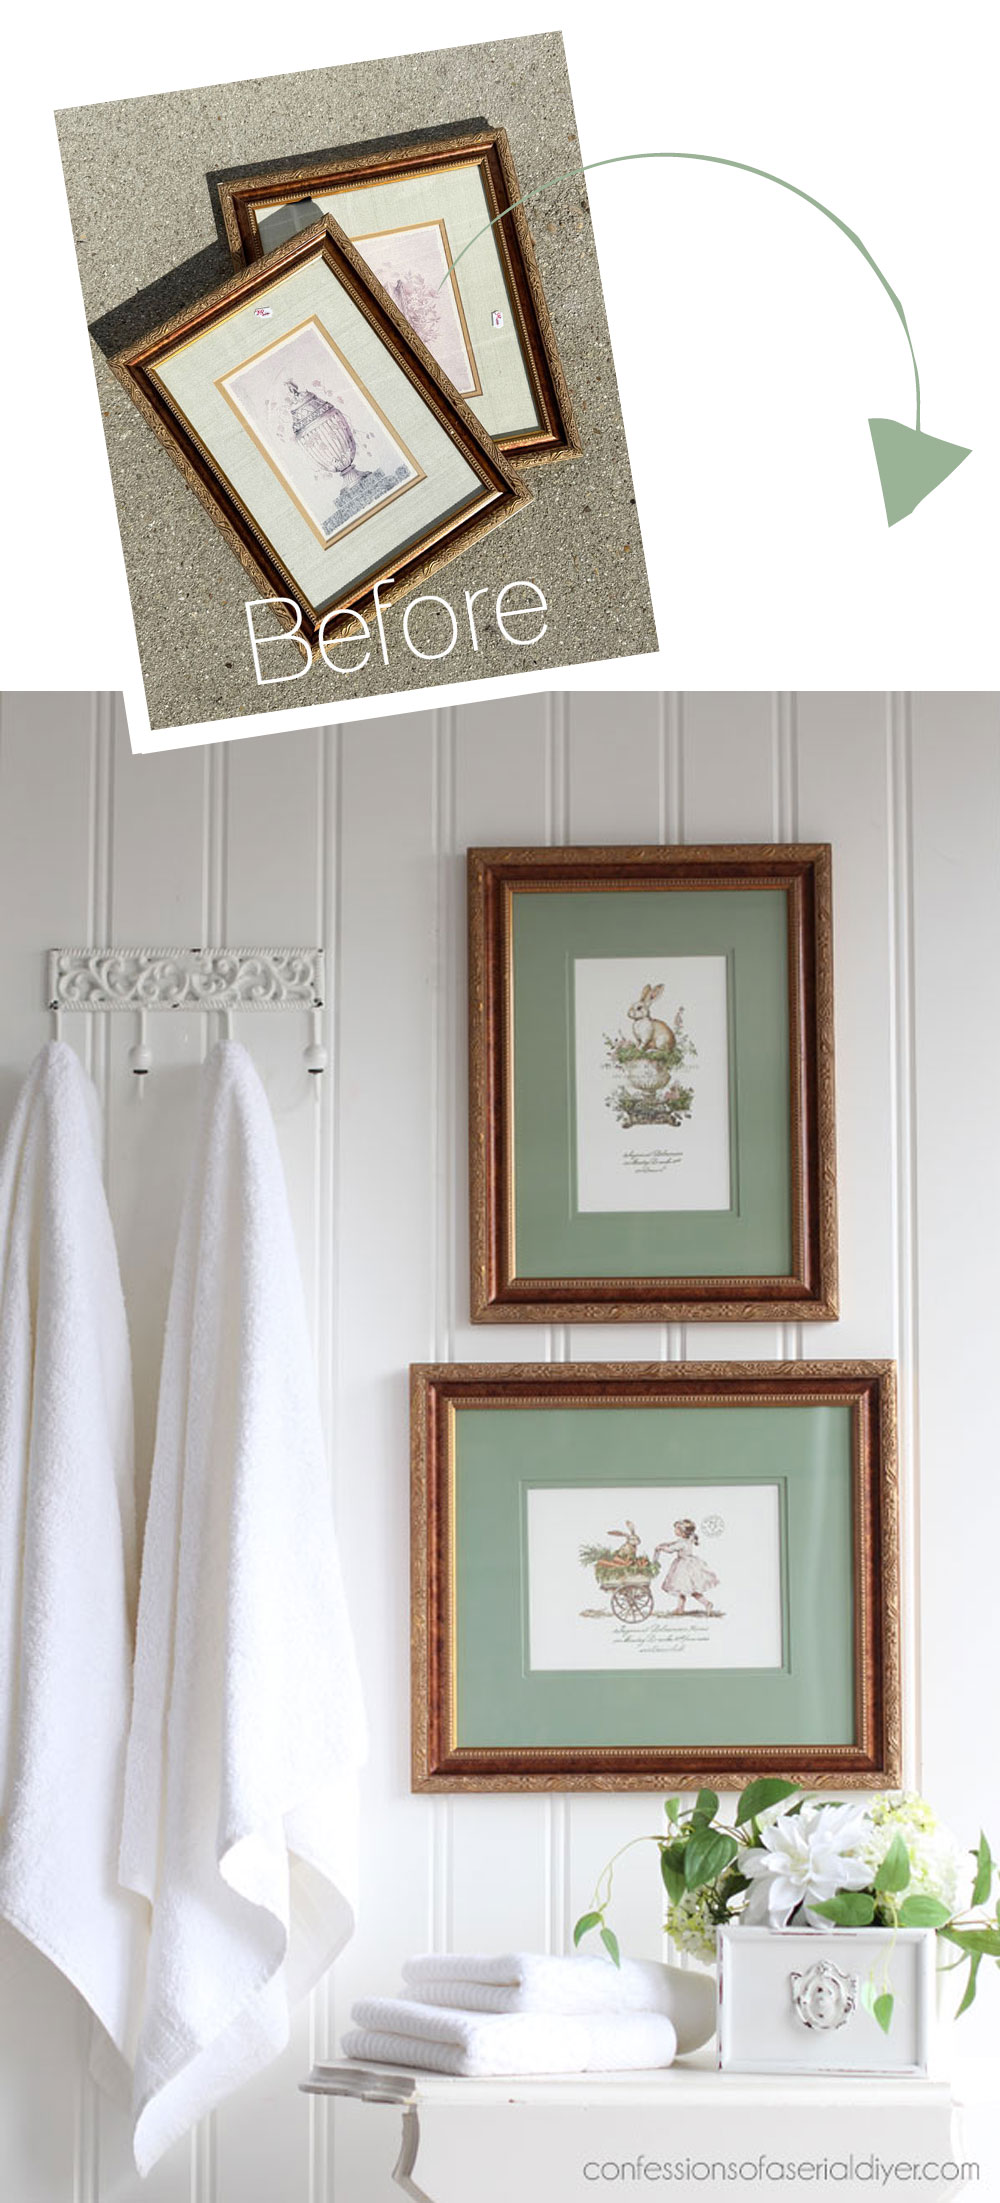
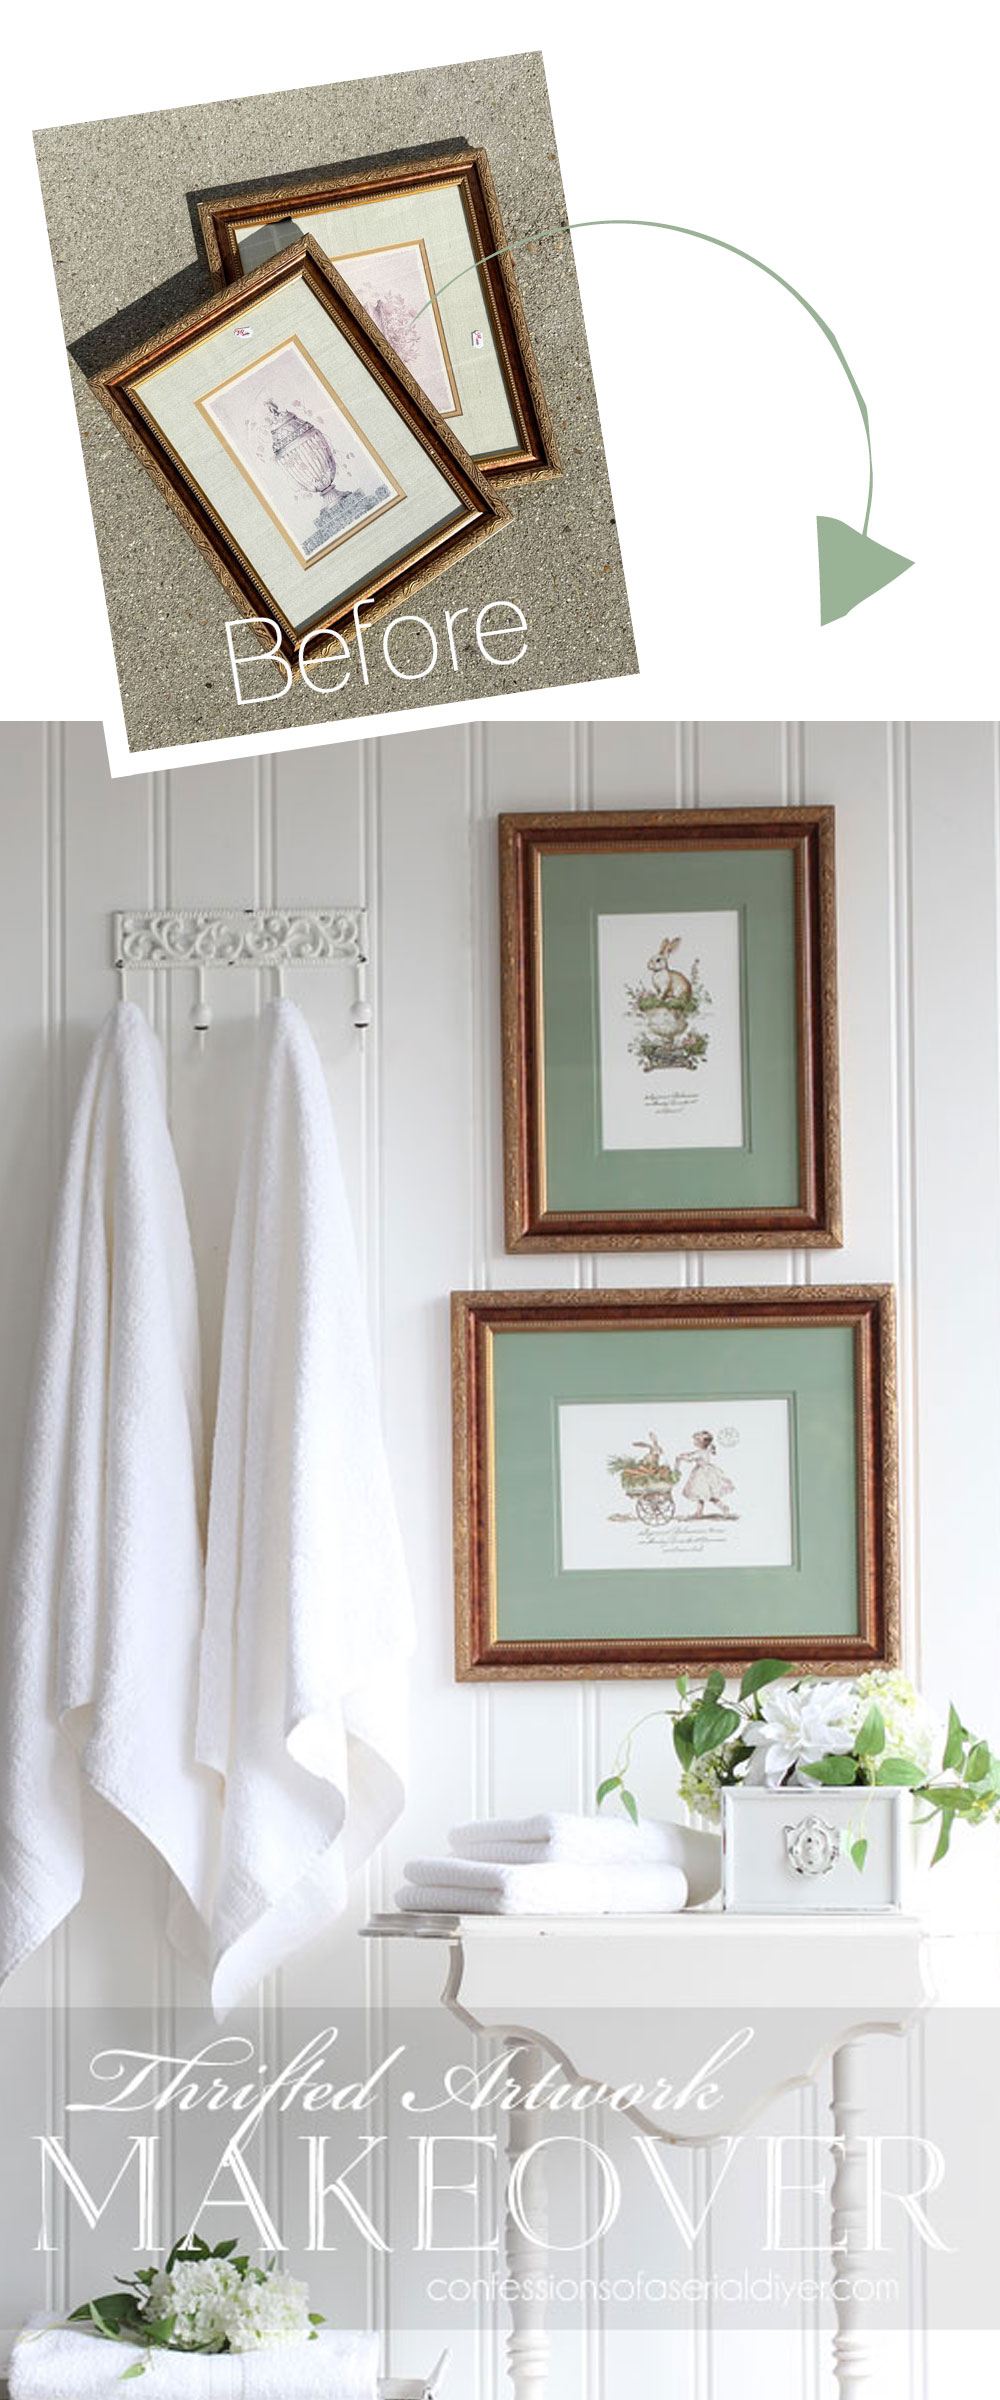
Here is how this thrifted artwork started:
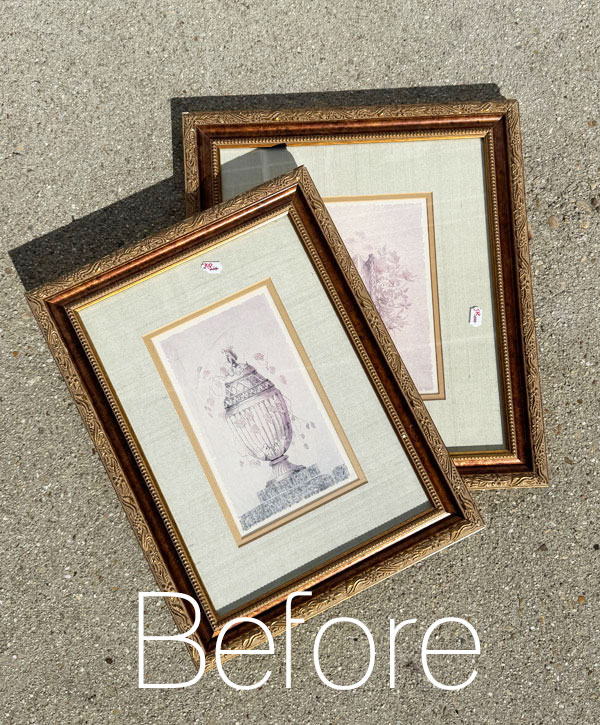
They were on clearance at the thrift store marked down to $3.98 each.
The art in them appeared quite faded as was the matting once I removed it from the frames:
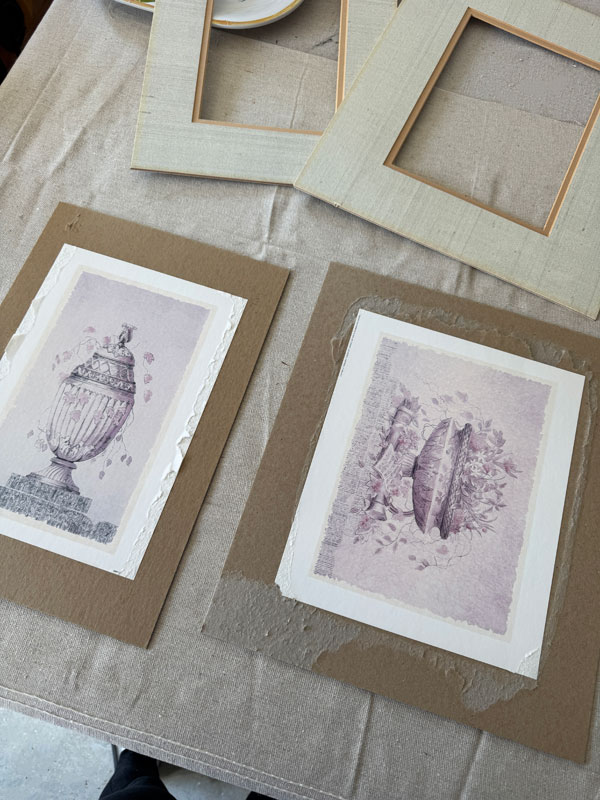
Paint
I decided to paint right over the artwork with Dixie Belle’s Cotton, painting in a vertical pattern first using my Mini Angle Brush:
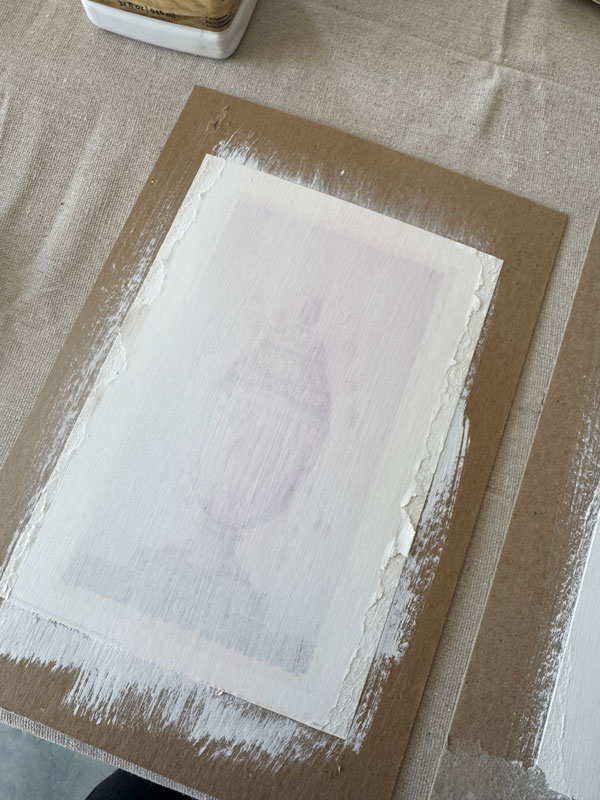
Then, I painted a second coat once that was dry, going in the opposite direction:
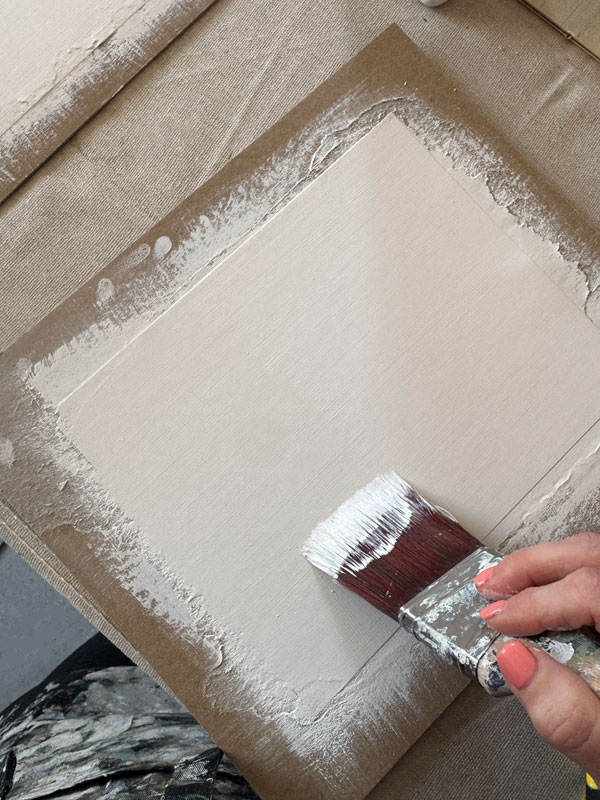
(I actually ended up doing four coats to get complete coverage, alternating directions.)
The result is a linen-like look which is perfect as a background for our new artwork.
Update Thrifted Artwork with Transfers
I knew I wanted to create a couple more Easter items for my booth using the pieces I had left from this super sweet Garden Whimsy transfer:
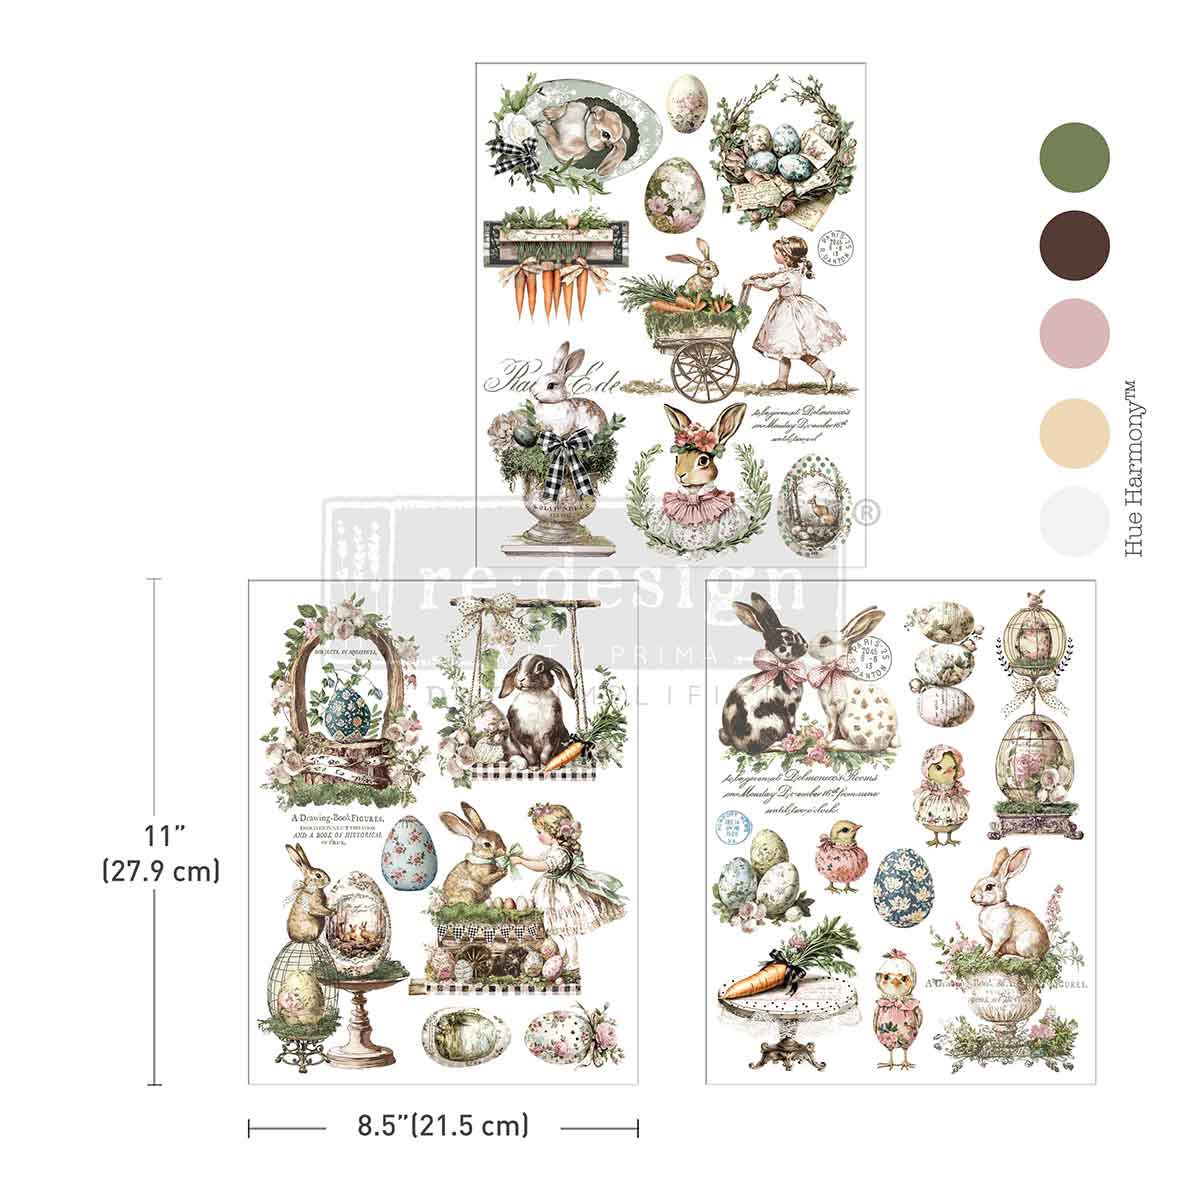
You can see what I already used it on in my last Painting the Smalls post HERE.
See all the new goodies I have to offer from this new release HERE!
It took playing with the leftover pieces quite a bit to get a design that would fit the tall space on this one:
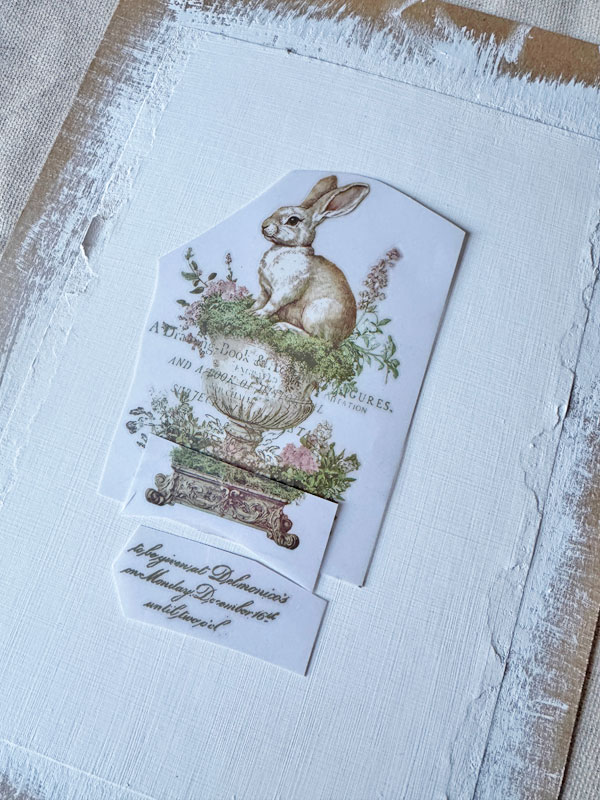
And you can see the “linen” background here better too!
I applied the transfers using the included burnishing stick.
See more on how to apply transfers HERE.
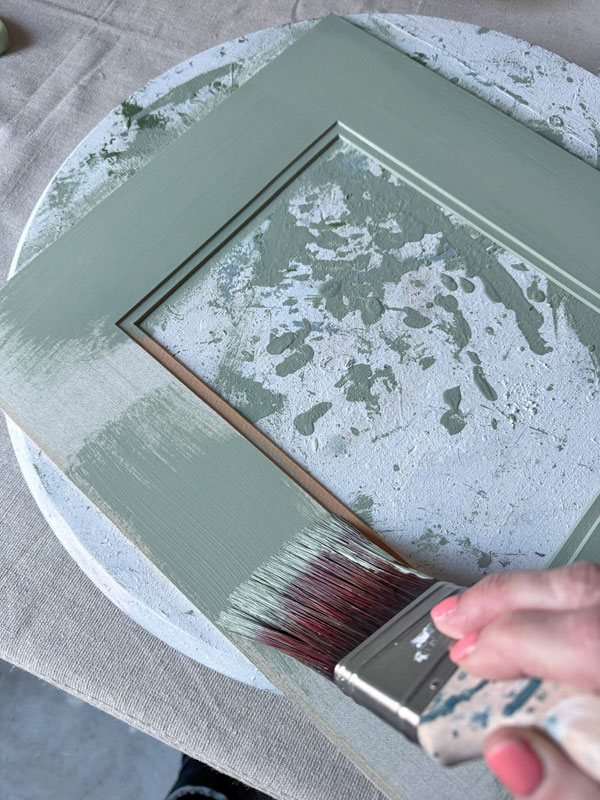
I also chose to paint the existing mats using this leftover Weeping Willow and Cotton (mixed about 50/50) that I used on two other pieces from my last Painting the Smalls Post:
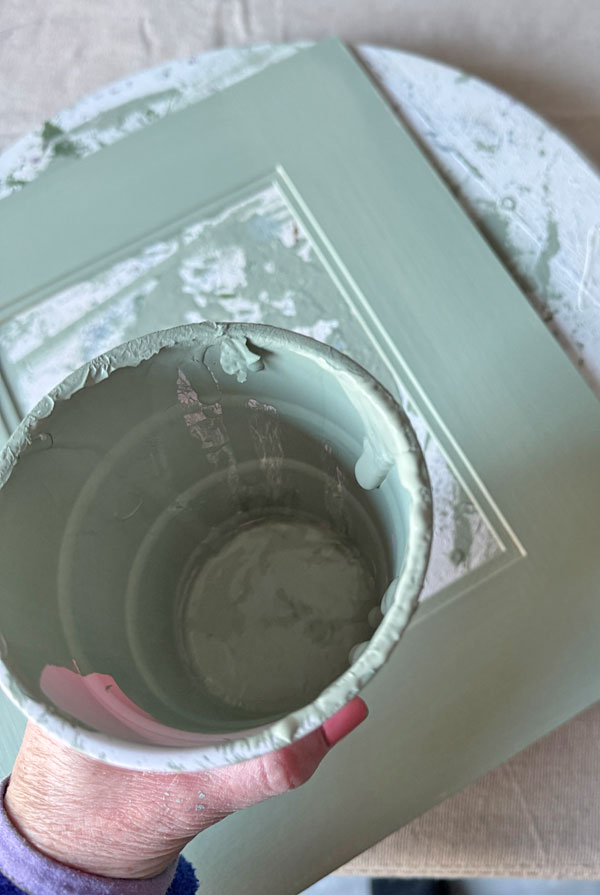
I think I can safetly toss this now lol!
I used my Mini Angle Brush to get a super smooth finish here too:
Reassemble the new art
Once I had both art pieces arranged how I wanted and the mats were good and dry, it was time to reassemble my new artwork!
After cleaning the glass well, I added everything back, securing it with my Logan Point Driver:
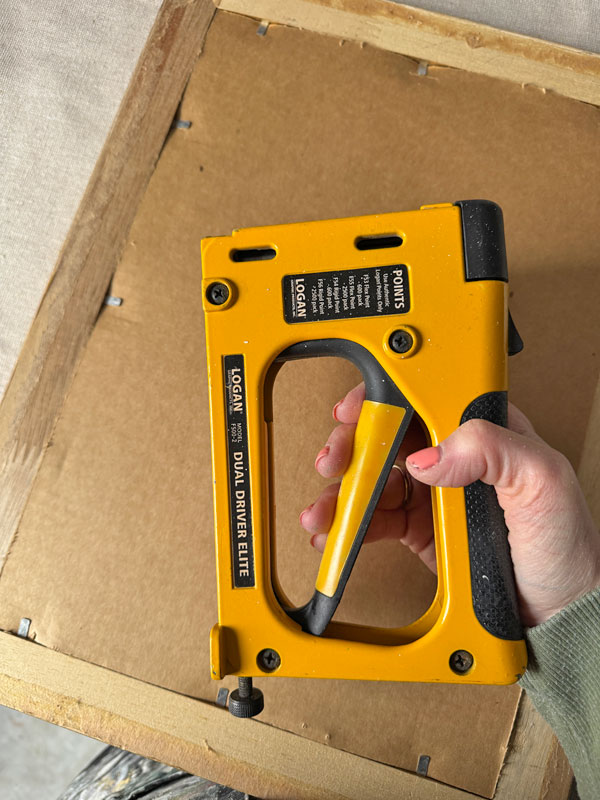
This is a fantastic tool for securing artwork and mirrors back into their frames.
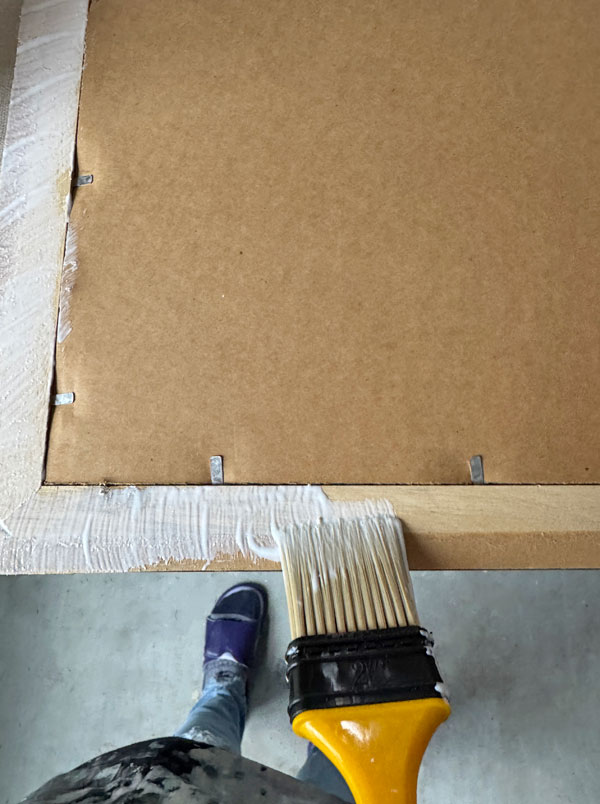
I like to make the backs pretty as well as these will be heading to my booth, so I applied a layer of Matte Mod Podge all the way around the edge using a synthetic chip brush:
Then, I added brown paper to the back and trimmed it with a razor knife:
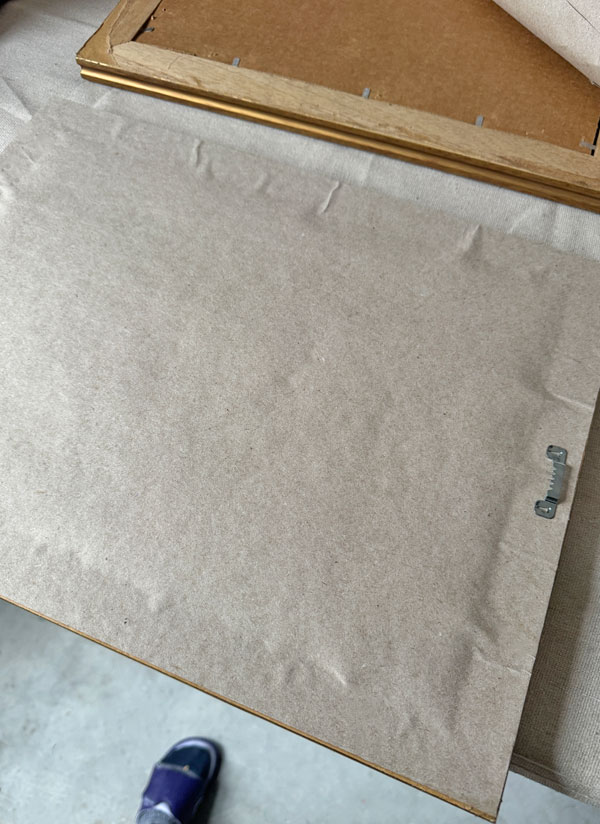
One of my lovely followers taught me to use a hair dryer on the back to remove many of the wrinkles made by the Mod Podge and it works wonderfully!
Easily Update Thrifted Artwork, the Reveal!
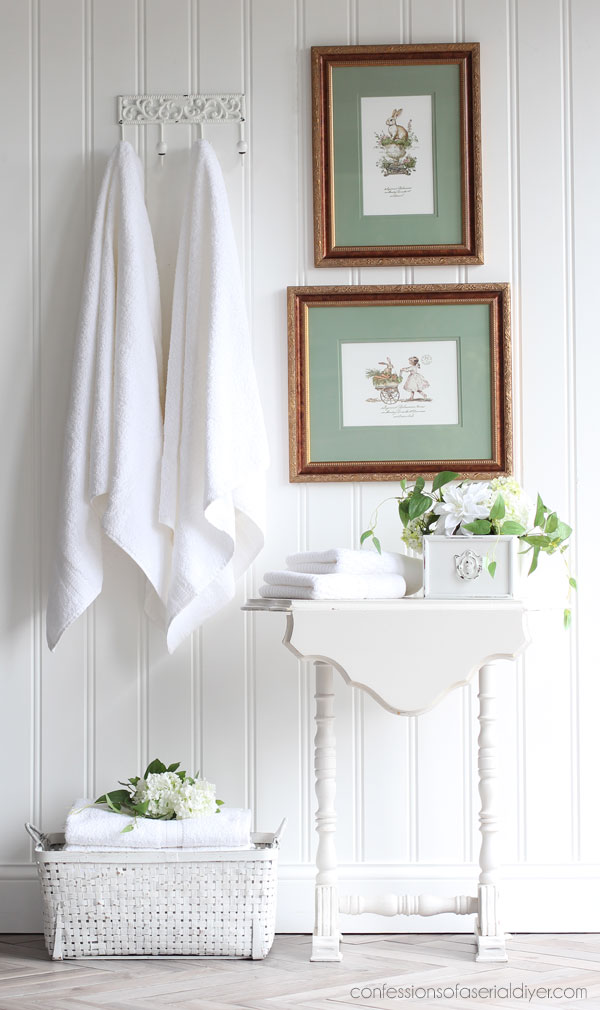
These pieces look so cute now!
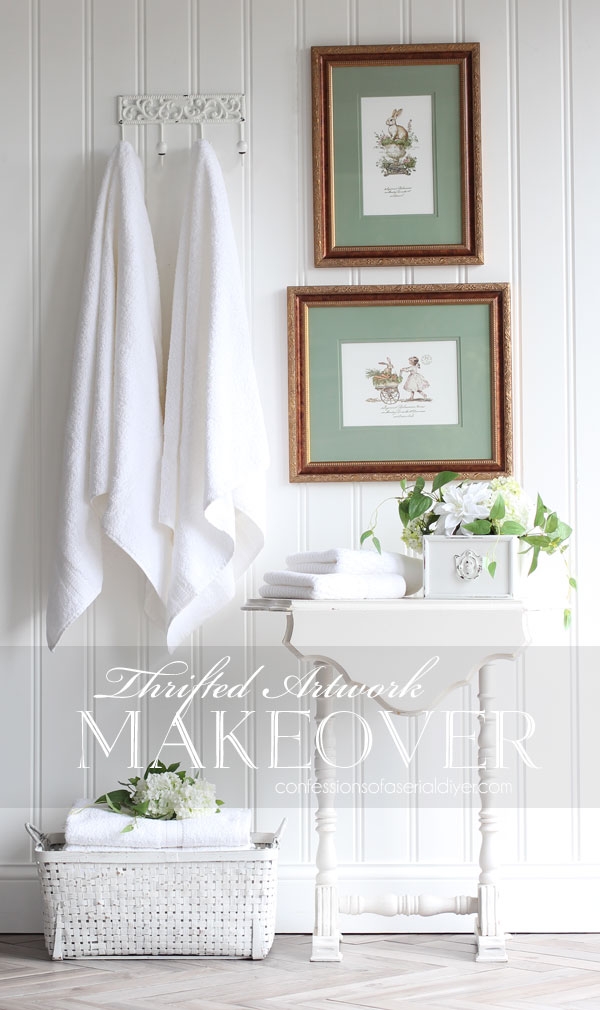
Thankfully, I was able to lighten my photos in editing quite a bit, but you can still see it was pretty gloomy!
But how sweet are these pictures now??
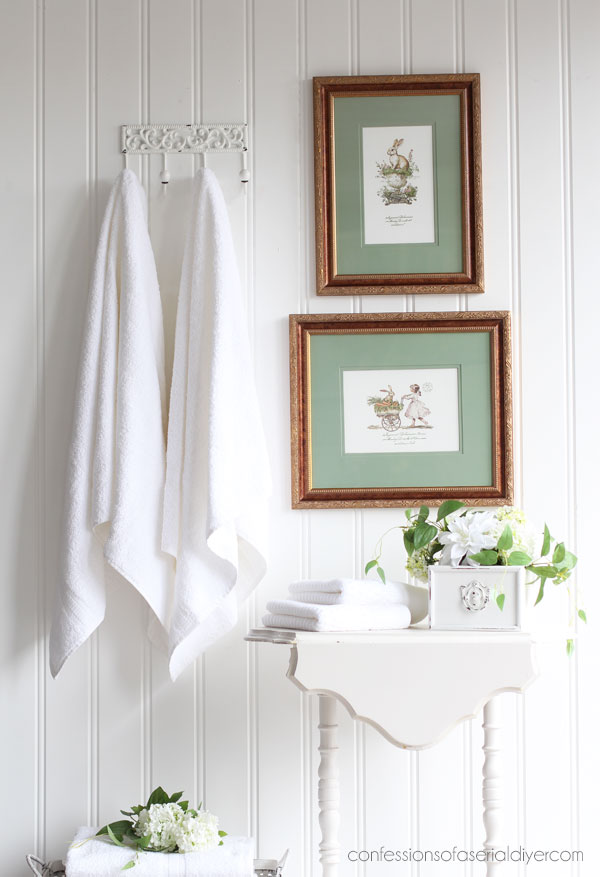
Let’s get in a little closer…
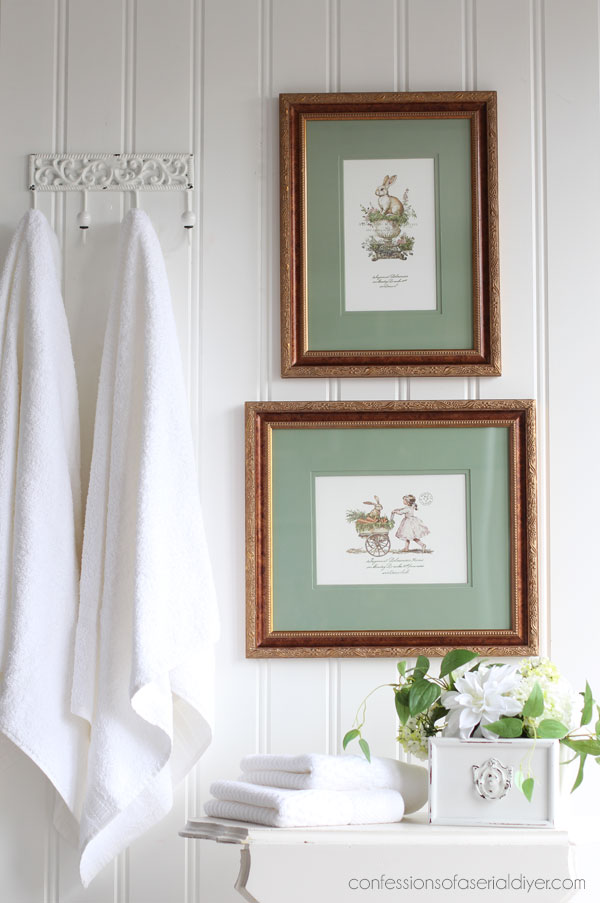
The taller one was a bit more of a challenge filling that space with what I had to choose from, but I think I did okay:
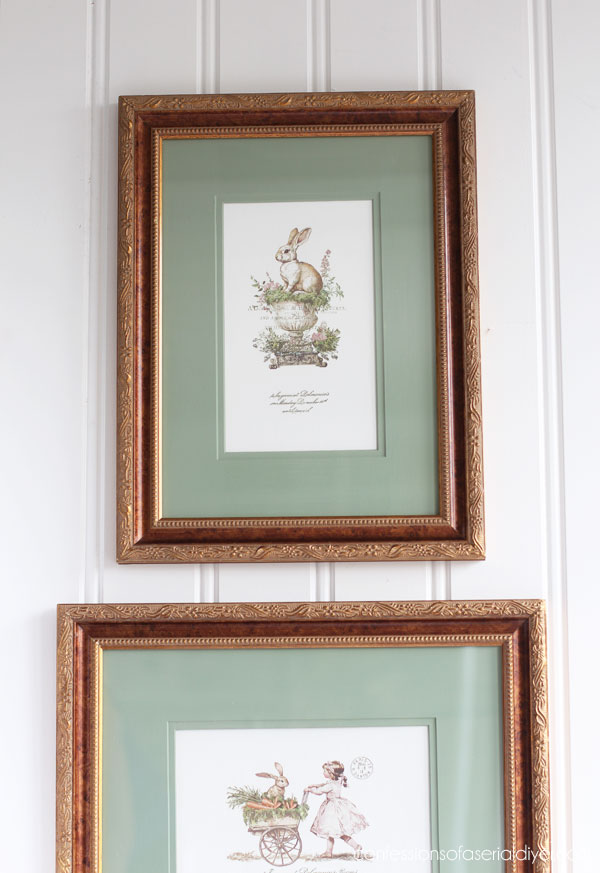
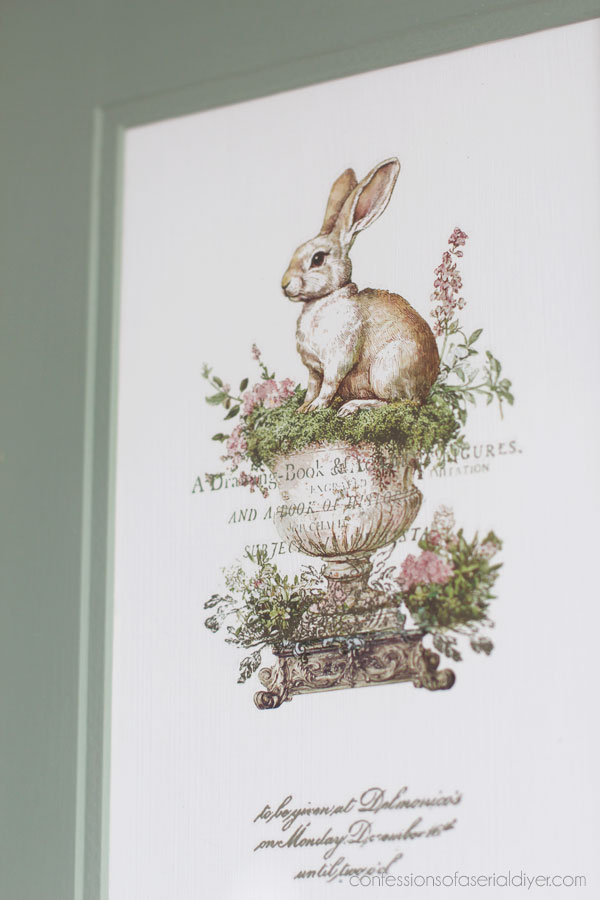
The other one was a bit easier:
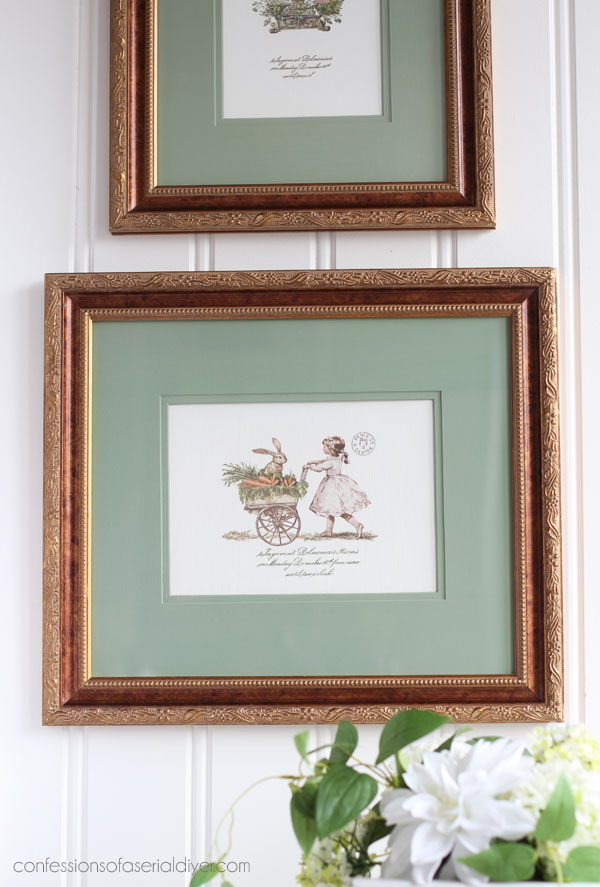
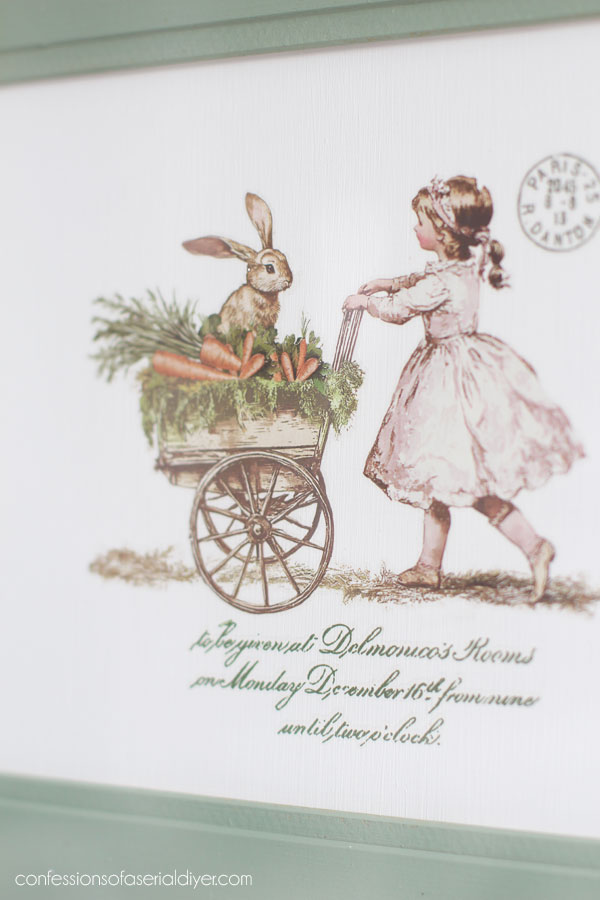
How sweet is this little lady pushing her bunny?
The newly painted mats work so much better than the faded originals…
And who remembers this little floral box I made out of an old drawer many years ago?
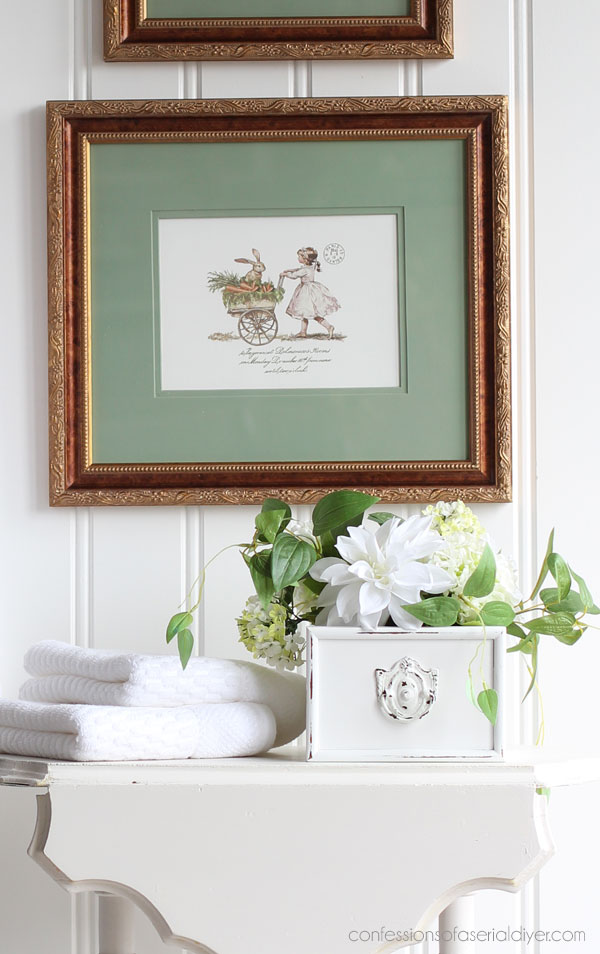
In 2019, I cut down two drawers to create two spring arrangements HERE if you missed them!
As you can see I chose not to paint the frames. I liked the antique gold finish, however, they both had quite a few nicks, including on the corners:
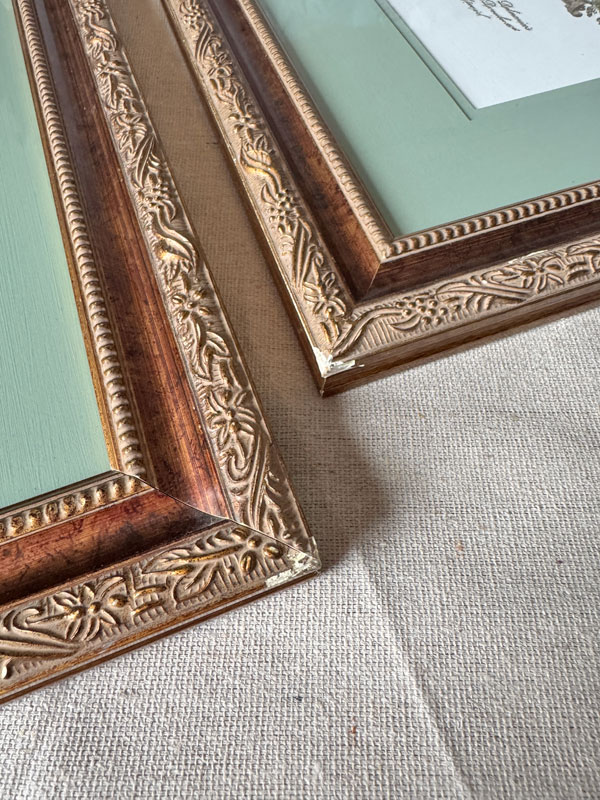
To remedy that, I applied Antique Gold Gidling wax:
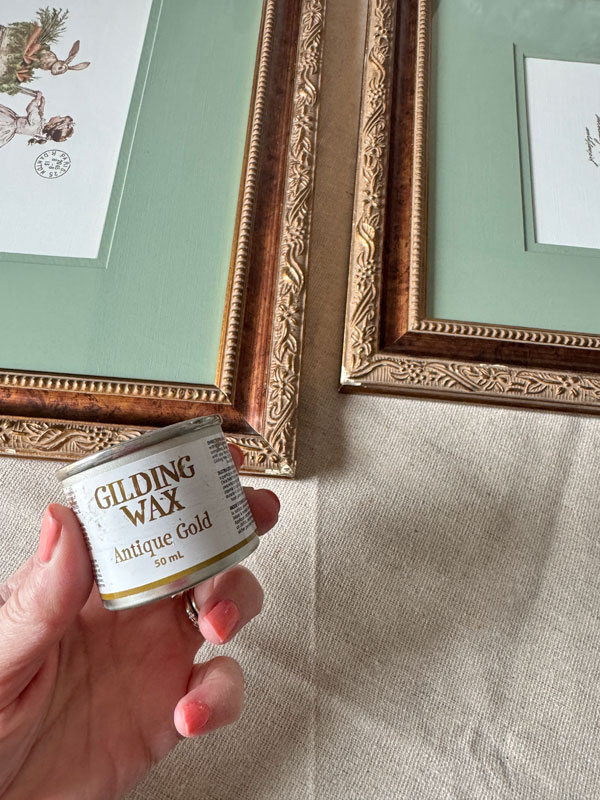
I just rubbed it on any areas where the finish was missing:
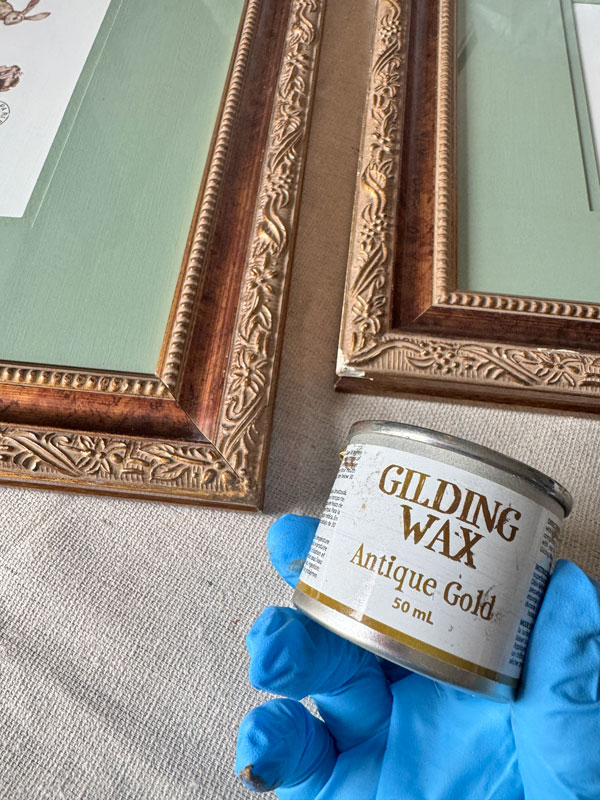
And that was it!
You can’t even tell there was ever any damage:
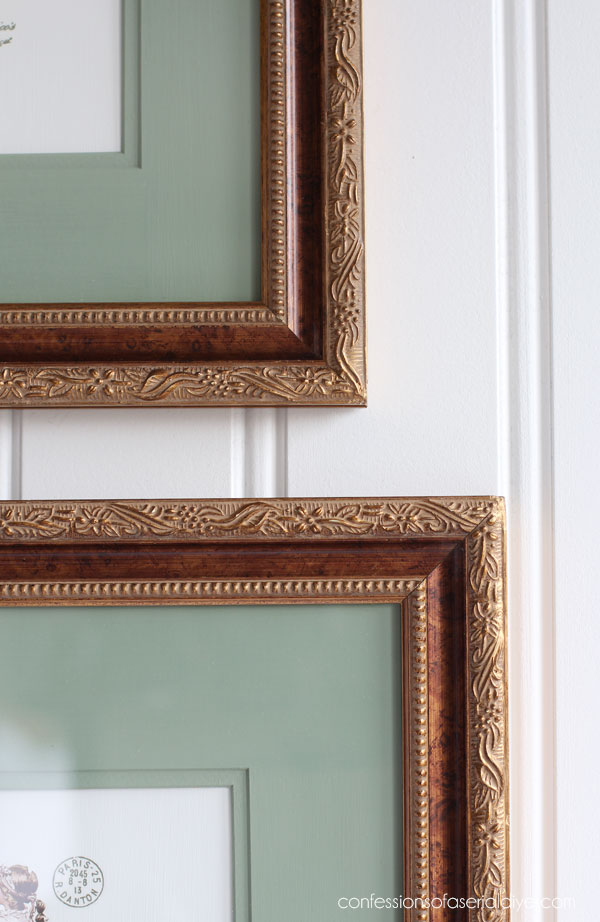
Those are the two corners that were damaged in the photos above.
What do you think? Should I have painted the frames?
It’s supposed to be nice and sunny today, so I will get everything else photographed and I’ll meet y’all back here on Thursday with the rest of this round of smalls:
UPDATE: See how the rest of this group turned out HERE now!
Until then!
XOXO,

Don’t Miss a Thing!
If you like what you see, there are several ways to follow along!
EMAIL * INSTAGRAM * FACEBOOK * PINTEREST

Get FREE SHIPPING on all orders over $50 in my Etsy shop. (No code needed at checkout!) Orders under $50 enjoy $8 flat rate shipping!
Most orders ship same or next business day! Visit my shop below!







Jeanne says
They’re adorable. Glad you didn’t paint the frames.
Christy says
Thank you, Jeanne! Me too! XOXO
Irene Sokol says
I think they are beautiful the way you finished them. Painting would not have added anything to the overall scheme of things.
Christy says
Thanks so much, Irene! I’m glad I left them then! XOXO
Josee says
Outstanding!
Christy says
Thank you, Josee! XOXO
Mary says
What a beautiful repurpose,Christy! The frames really echo the colors in the artwork, the red especially, and make artwork pop 💕 Your intuition got it right once again!
Christy says
Thanks so much, Mary! I’m so glad you like them! XOXO
Cecilia says
How cute! Great way to reuse old art! You did a wonderful job filling the areas. And no, leaving the frames gold really sets off the mats and sweet bunnies and little girl.
❤️Cecilia
Christy says
Thank you, my friend! It’s awesome how well the gilding wax hid those imperfections, and I’m happy I chose not to paint the frames too! XOXO
Jackie C says
SUPER cute. I think you picked the absolute perfect color to paint the mats. The frames are great as is. I learned new things from you often and always get great ideas from you. The painting in two different directions was new for me. Thank you 🩷
Christy says
Thank you, Jackie! I’m thrilled that I could share something new…that little trick works great! XOXO
Cyndi says
I love these. So cute! And the frames are pretty and they’re perfect with these transfers.
Christy says
Thanks so much, Cyndi! XOXO
Geri Davis says
Beautiful just beautiful!!
Christy says
Thank you, Geri! XOXO
Laura J. says
The frames are so pretty and the transfers are so sweet. You made the right call not painting the gold frames!
Christy says
Thank you, Laura! I’m so glad I chose not to paint the frames! XOXO
Denise - Salvaged Inspirations says
Super sweet! 🐇
Christy says
Thank you, my friend! XOXO
Annette Keane says
Glad you didn’t paint the frames – it looks so nice the way you did it! 😉
Christy says
Thank you so much, Annette! I’m glad now that I kept them gold! XOXO
p says
Very cute. I love your painted linen look. It looks so ‘real’.
Dreary days can be can be so…. dreary 🙁
You pics look good tho ! Looking forward to More smalls !!
Christy says
Thank you, my friend! Thankfully, I was able to lighten up my photos quite a bit in editing, but I was able to take nice, sunny photos today of the rest of this group, and it’s such a big difference! See ya Thursday! XOXO
Michele M. says
Oh, they are just so adorable!!!!!
Christy says
Thank you, my friend! XOXO
Liz Shivel says
Hi Christy, these look lovely! I didn’t realize you could paint over the artwork so successfully. I wouldn’t have thought of that!
The frames look great!
Christy says
Thank you, Liz! Yes, that works great! XOXO
Mary Kaiser says
Oh they turned out so cute! Thank you for fixing the link so I could see them, LOL!! I think they turned out beautiful just as you did them! They will sell fast in your booth!
Christy says
Thank you, Mary! Sorry about the link…it just proves that I’m no AI ha ha! XOXO
Caye says
I think that painting the frames would have made it look less vintage. It’s all just charming!
Christy says
Thank you, Caye! I’m glad now that I didn’t painted them! XOXO
Karen says
With more snow in the forecast, this project was the perfect “spring is coming” pick me up! Love the weeping willow/cotton color comb, too.
Christy says
Oh no…not more snow! Yes, spring is definitely coming lol, so hang in there! Thank you, Karen! XOXO
Lorri says
The bunny print turned out lovely …no need to worry. The gold frames make the prints pop. By using the Gold guilding it made the frames look fresh. When painting the matting do you ever get where it sticks to the glass? That has happened to me..maybe not letting the paint cure enough.. a few days should be enough though?
Christy says
Thank you, Lorri! I am glad now that I kept the frames gold. I have had the mat stick to the glass when using spray paint but not with the chalk paint, and I did let these sit for a day or two before adding the mats back to the glass, and I bet if you wait a few days after using spray paint, they would be ok. XOXO
Kathy from JAX says
These are darling and just in time for Easter. I wouldn’t even think to paint the background of the canvas but it’s canvas, of course you can paint on it! Love the frames just the way they are. I’m a little behind with my responses but I’m trying really hard to keep my New Year’s resolutions. UUgghh! Can’t wait for the next project.
Christy says
Thank you, Kathy! Yes, the mats paint up nicely! And please don’t stress about commenting, I am just so happy that you take a minute to stop by…getting your thoughts is a bonus! XOXO