Hello, amazing friends! Not only do I have a Painting the Smalls episode for y’all today, I’m also unveiling all the BRAND NEW goodies from Redesign for their first release of the year! I will link to them in a SEPARATE POST at the bottom, so be on the lookout for that. There are so many cute things! I had to post a bit later today because I used a couple of them in today’s post and forgot I couldn’t share them until the official release time of 8am PT/11:00 EST, so here we are!
If you’re new to my blog, welcome…I am so happy to have you here! There are often makeovers that are too simple to share in a post by themselves, so I like to group several simple makeovers together to make it a worthwhile visit for you!
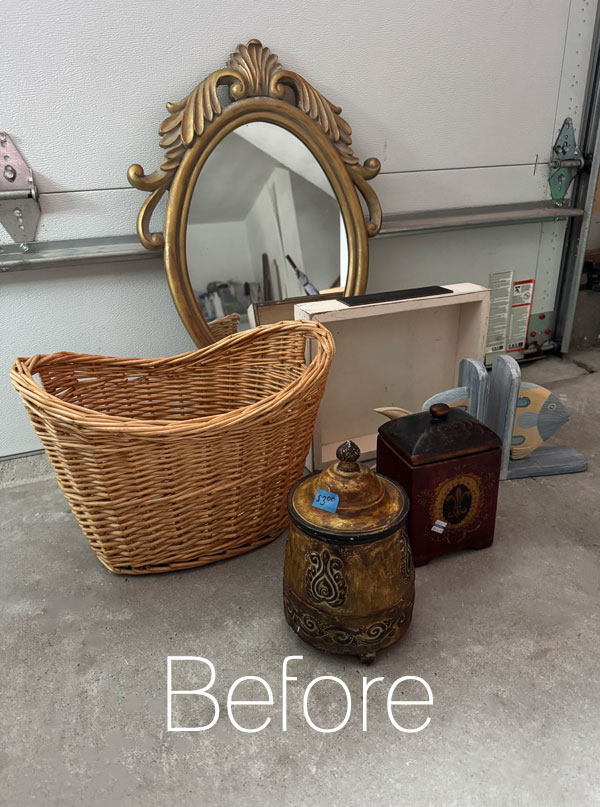
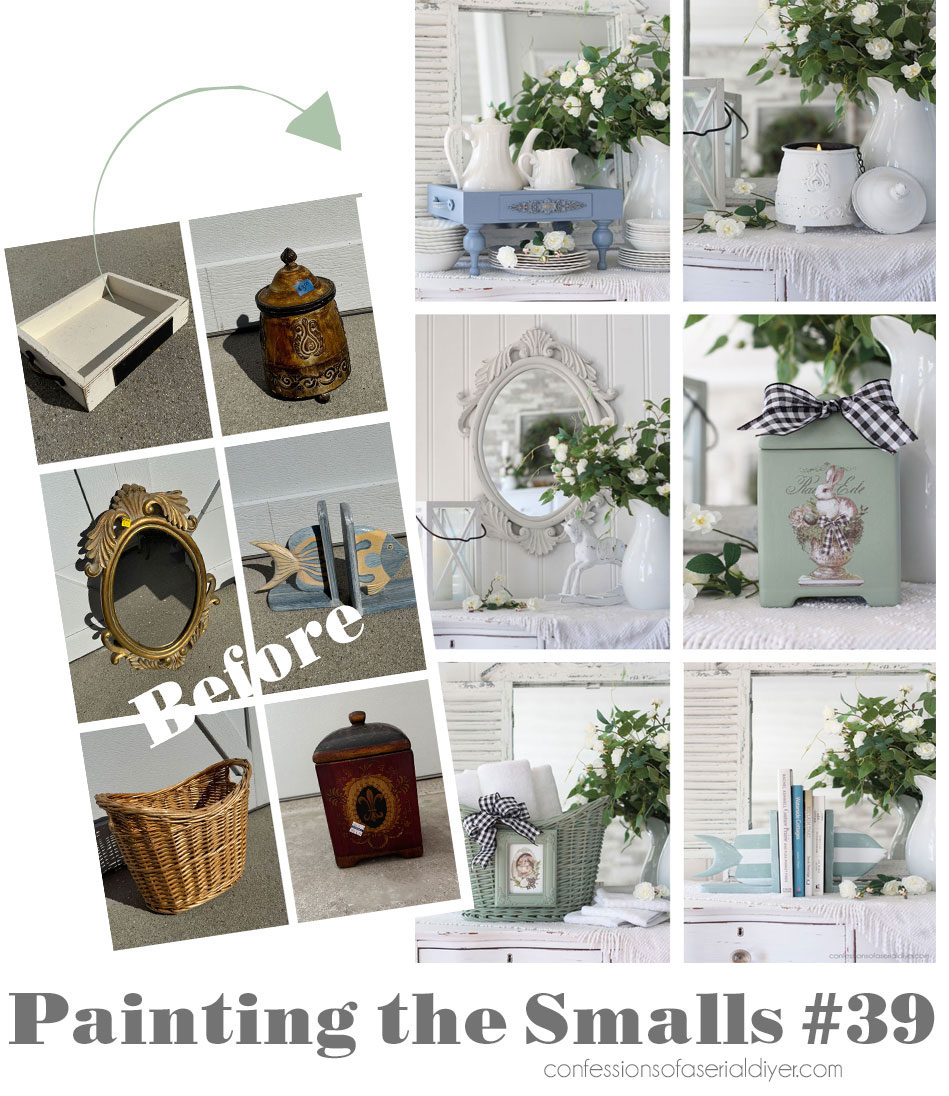
Here is the bunch of smalls I’m sharing today:
Let’s jump right in!
I’ve included a few affiliate links so you can find the products I love.
Mini Makeover #1
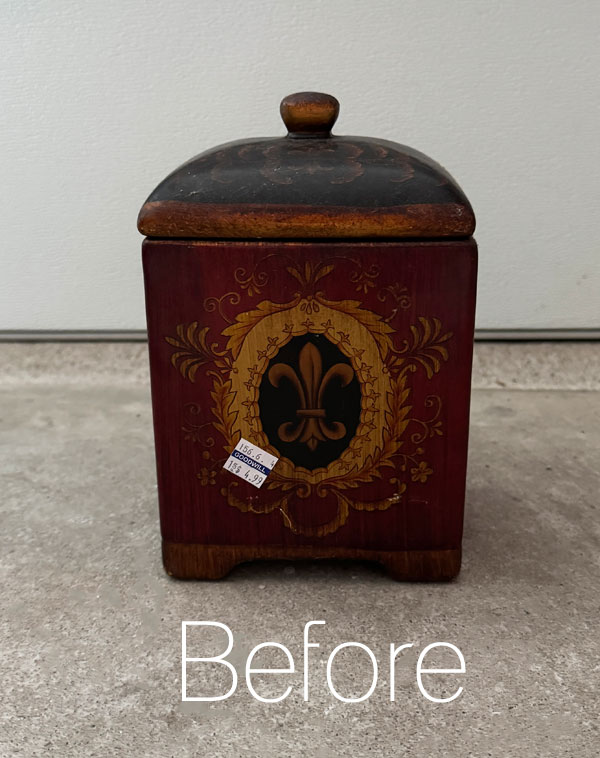
Up first is this metal canister thingy that I picked up at a yard sale for $3:
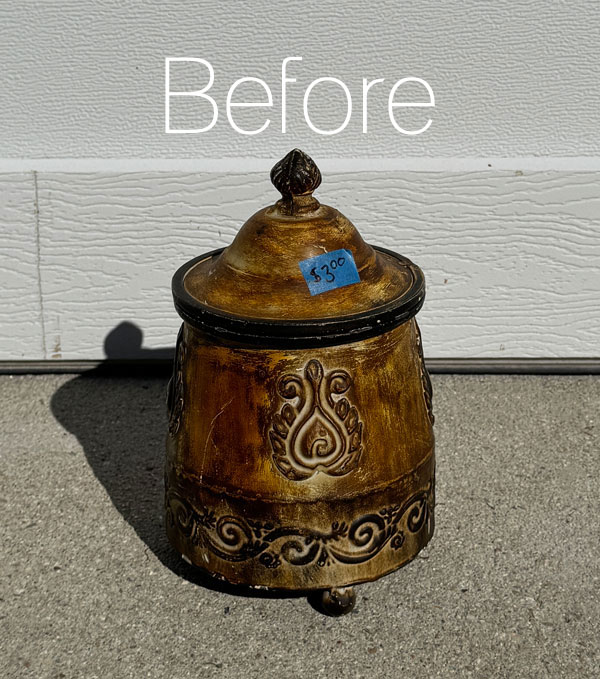
The lid was attached with a chain that was not removable. This thing was an ugly duckling for sure, but it had pretty details on it.
Clean
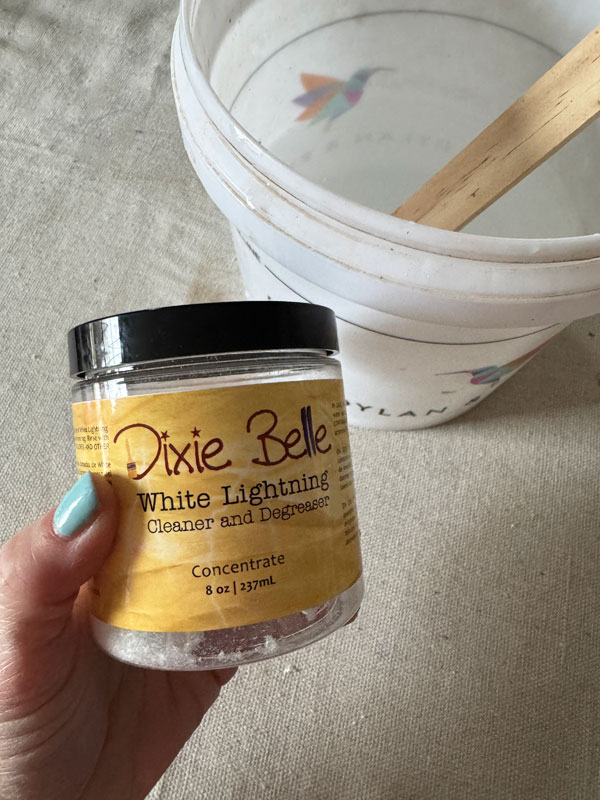
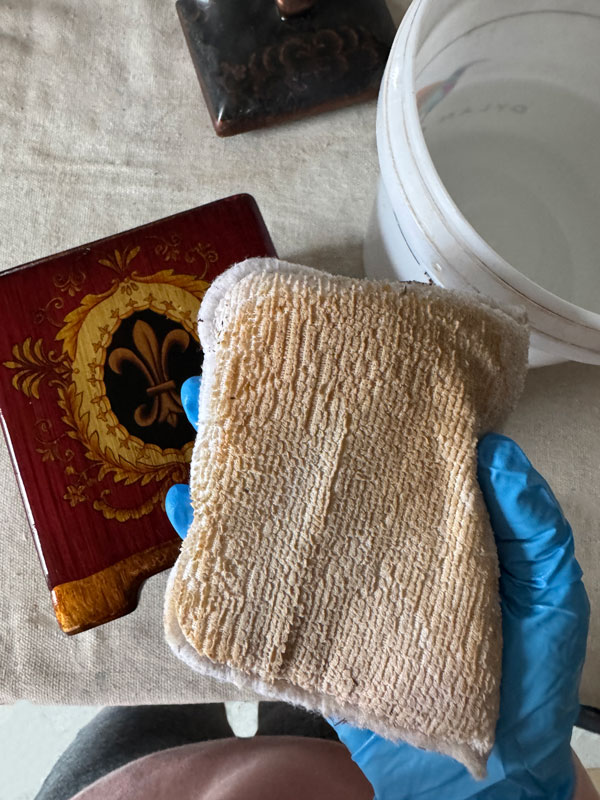
All of these makeovers with the exception of the basket started with White Lightning, mixing one TBSP into a half gallon of warm water:
This one discolored my terrycloth sponge right away as I was cleaning it…
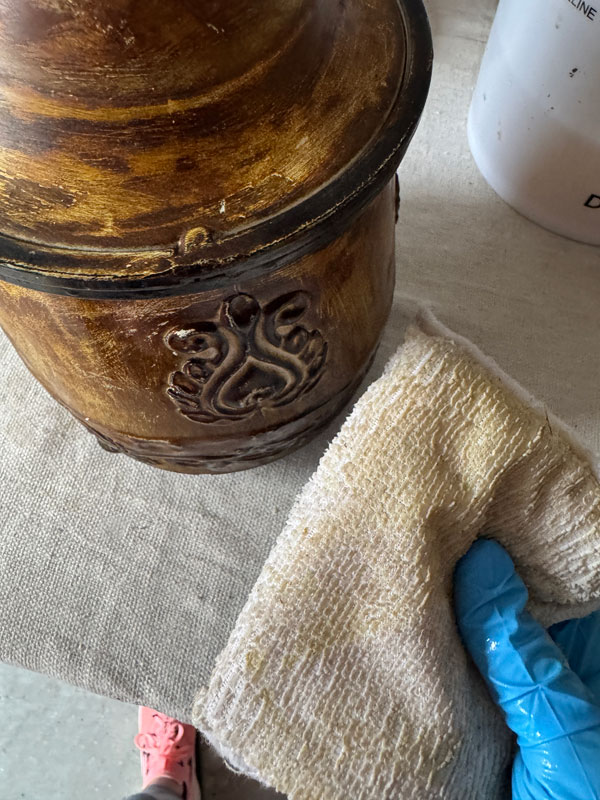
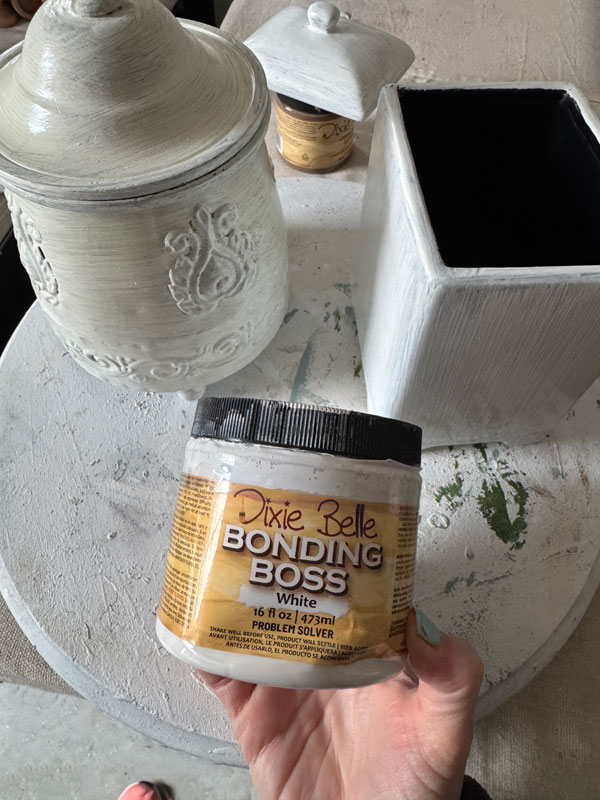
So I knew it would need Bonding BOSS! Bonding BOSS is both a stain/odor-blocking primer and an adhesion primer in one.
Prime
I applied Bonding BOSS to both this (since it was bleeding AND metal) and to the other container as that was pulling color also and made of clay:
I let those dry for 24 hours so the Bonding BOSS could do its thing.
Paint
I gave it two coats of Cotton by Dixie Belle:
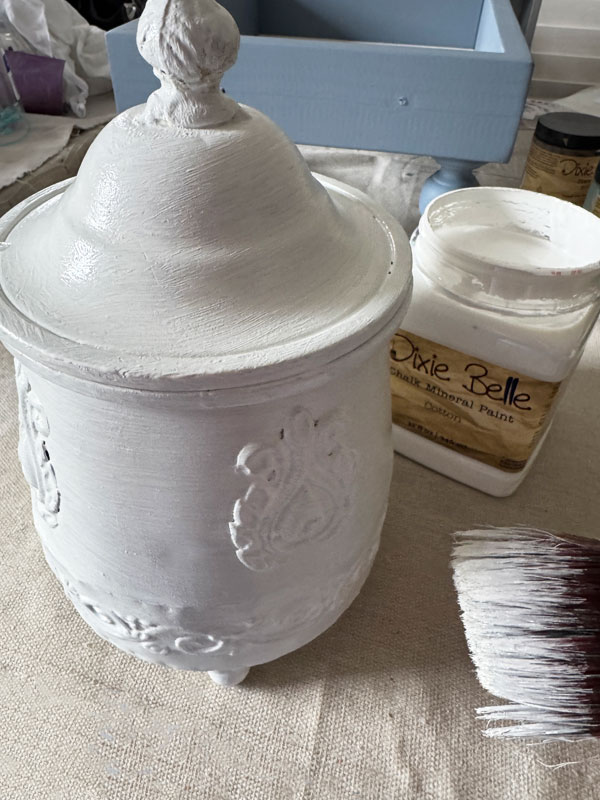
Better already!
Sand & Seal
Next, I sanded all the details to distress and highlight them a bit. To seal, I used Best Dang Wax in Clear, applying it with my Best Dang Brush:
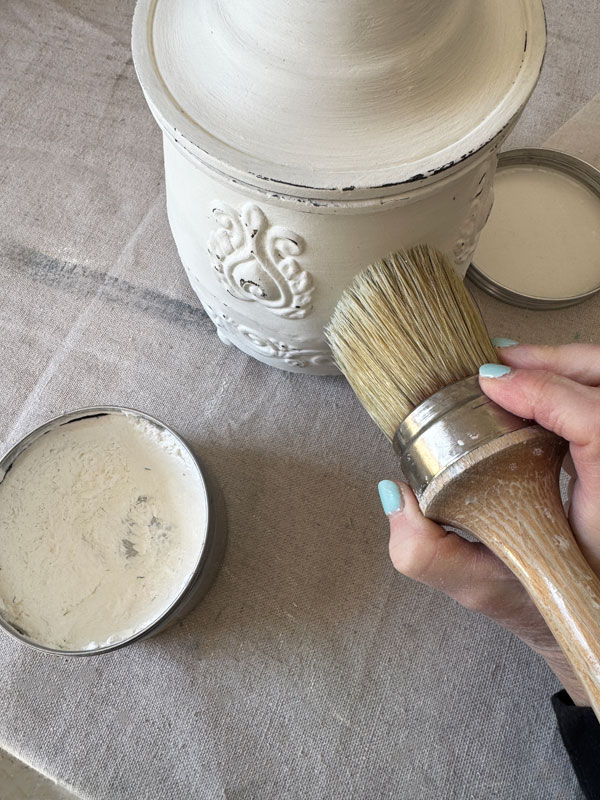
I then buffed away any excess using a clean, soft cloth. (Sometimes metal pieces can pull out pink tones when sealing with a liquid sealer, and even though I used Bonding BOSS, I didn’t take any chances.)
The After
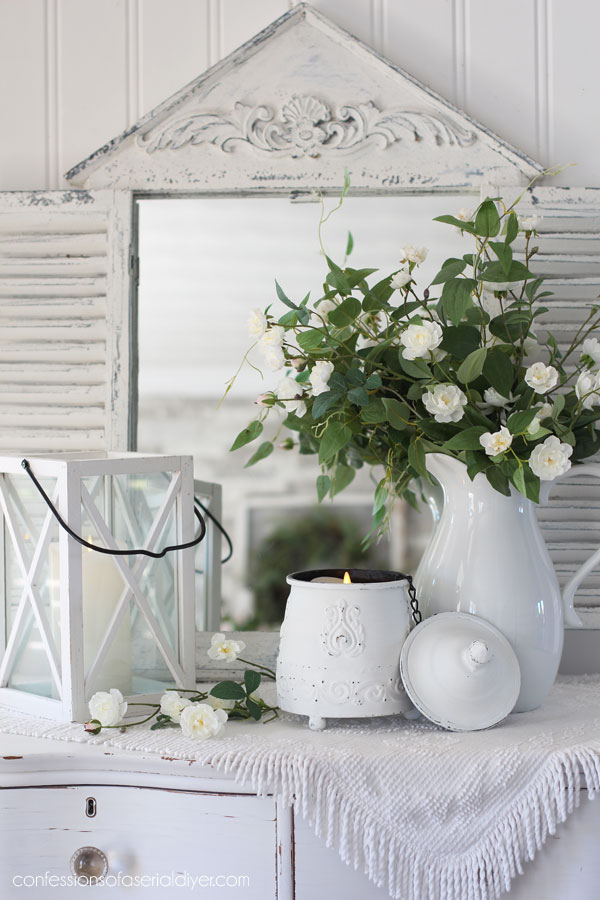
Here is the final look:
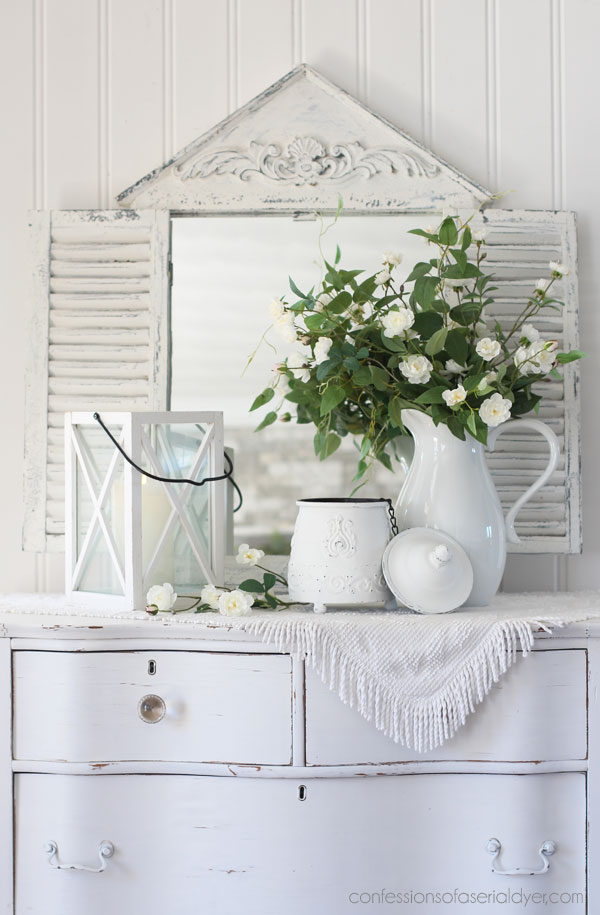
I didn’t know at first what it could be used for, but then I found a great use for it…
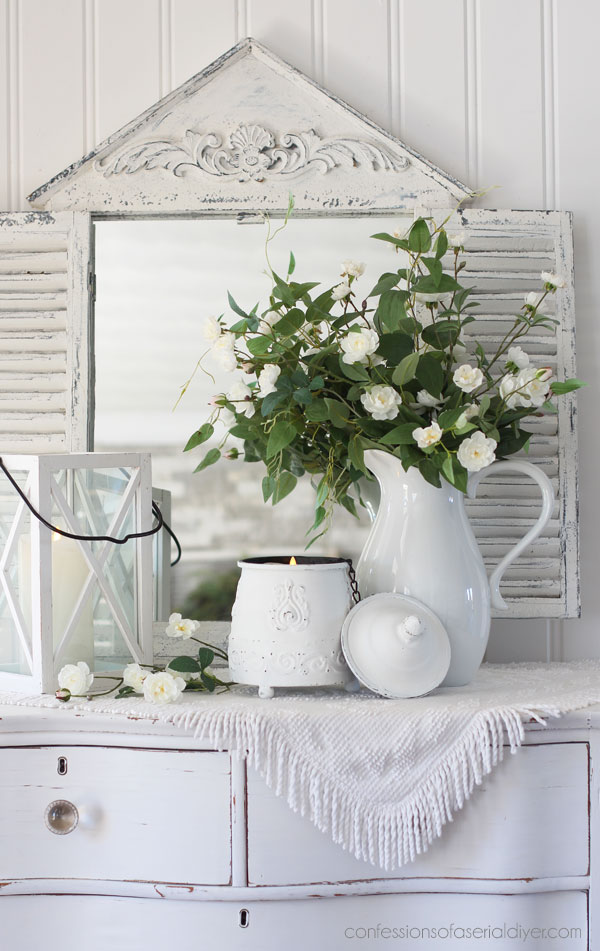
I popped a candle in there! Perfect!

Maybe this is what it was supposed to be used for all along?
All I know is, it sure was ugly before lol!

Mini Makeover #2
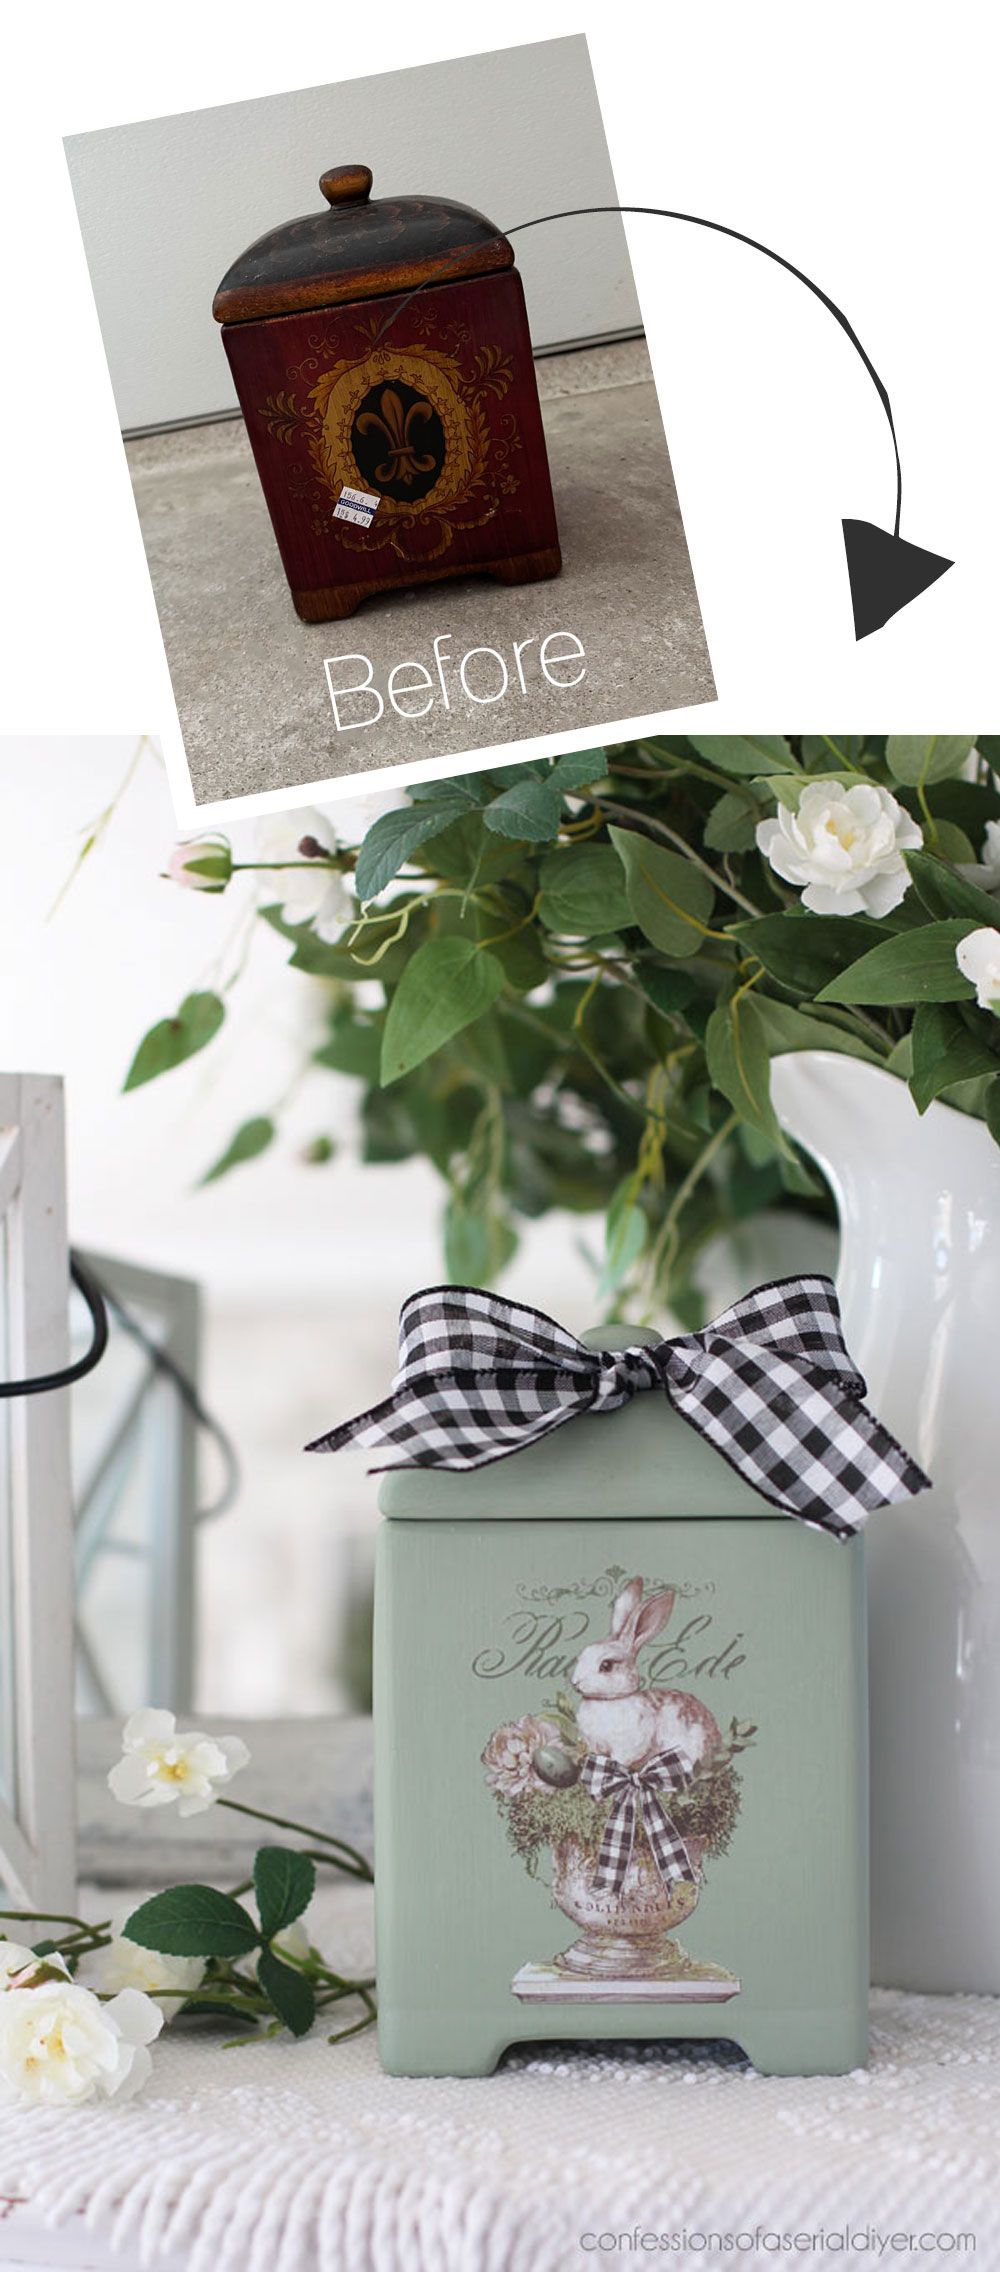
Next up is this other container that I found at the thrift store for $4.99:
It was the perfect size for one of Redesign’s brand new bunny transfers!
Here’s what was coming off of this one when I cleaned it:
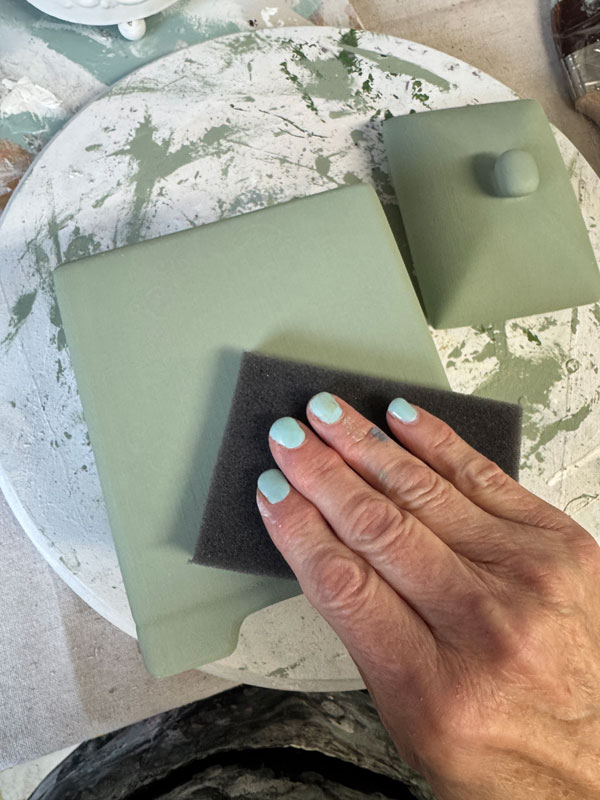
It was worse than the first one! After letting the Bonding BOSS do it’s thing for 24 hours, I decided on green for this one mixing Weeping Willow with about half Cotton to get a lighter shade.
Then, I lightly sanded all over to smooth using a fine grit sanding sponge:
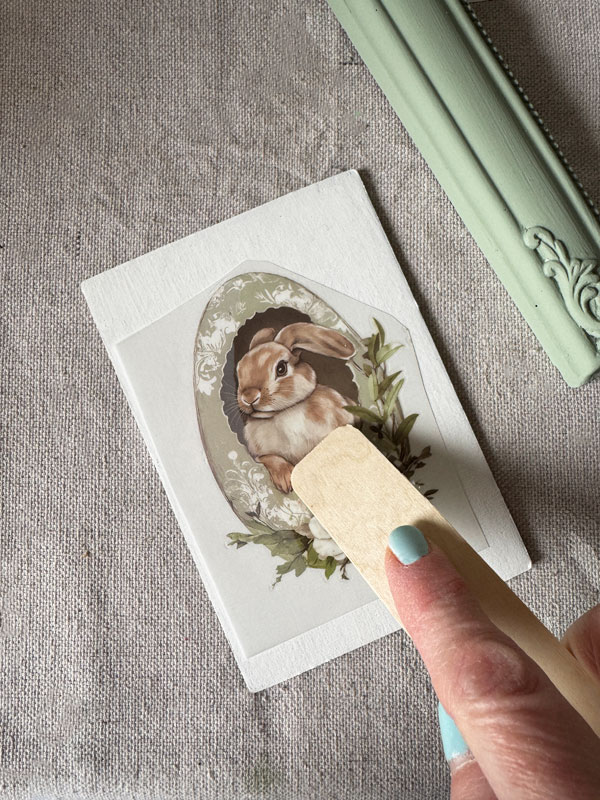
This is the brand new Garden Whimsy Middy transfer:
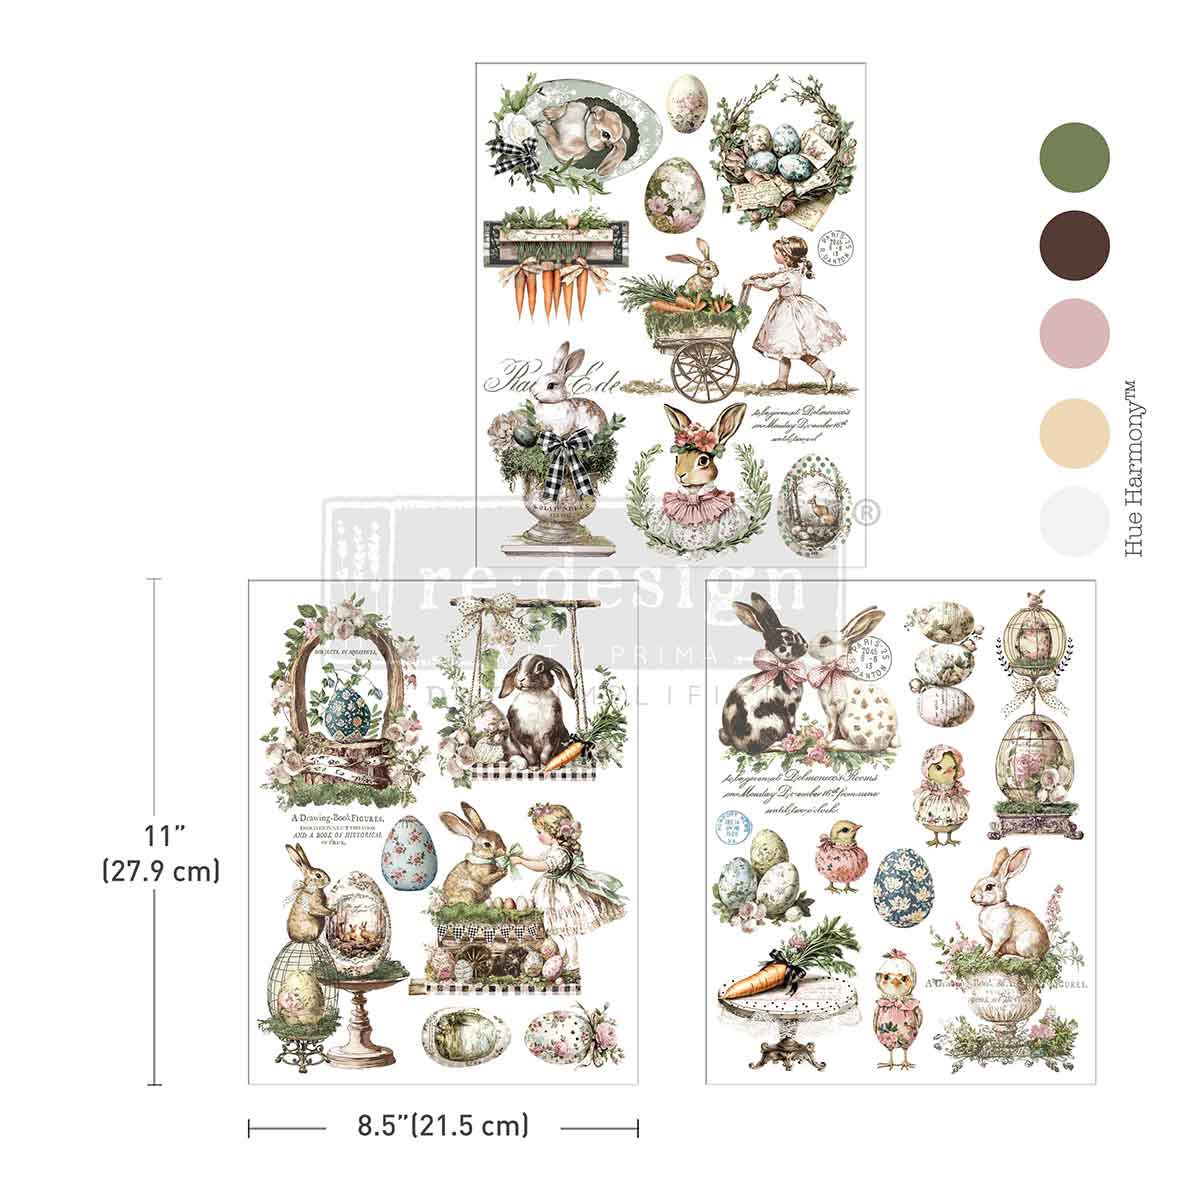
How adorable!
I really wanted to use this image on this box…
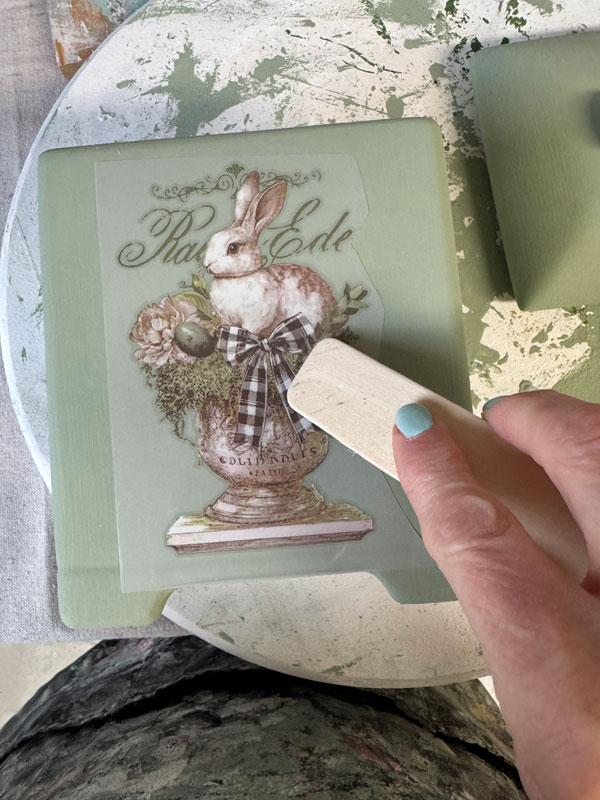
I originally planned to add a frame from the Finley Frame Mould, and put one of these images inside, but I couldn’t get an image and a frame to work size wise, so this had to do!
Seal
I sealed with Clear Coat in Satin this time and this mini makeover was complete!
The After
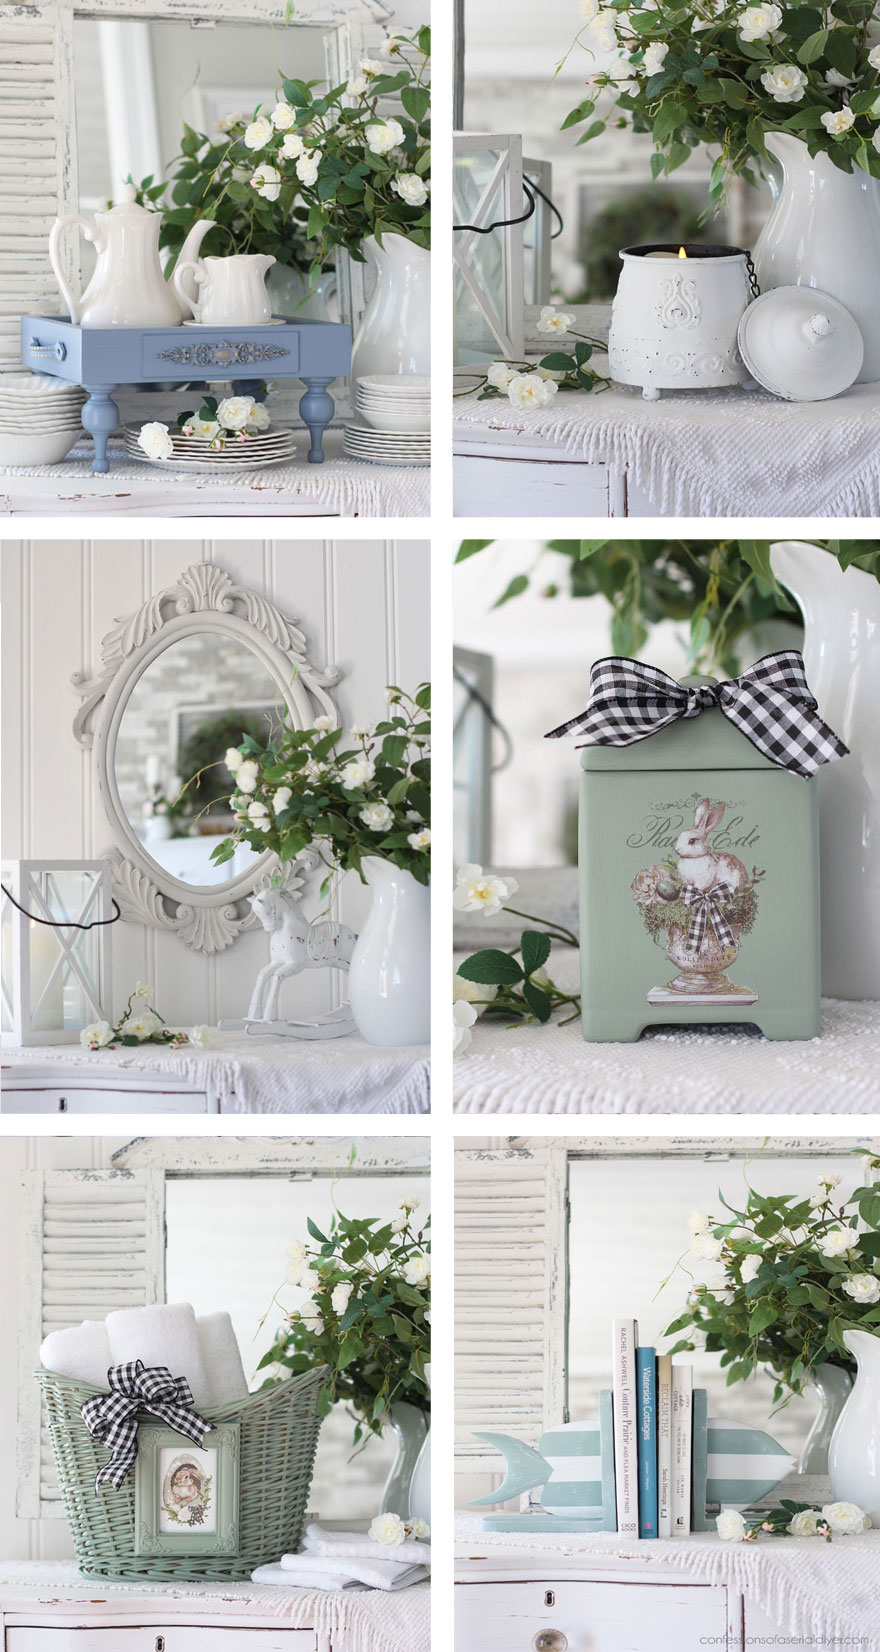
Here is how this one looks now:
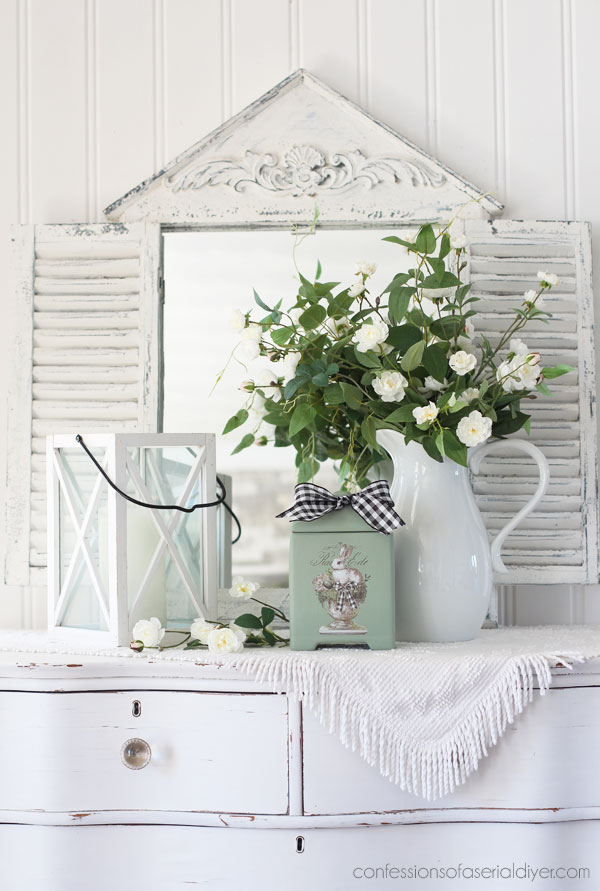
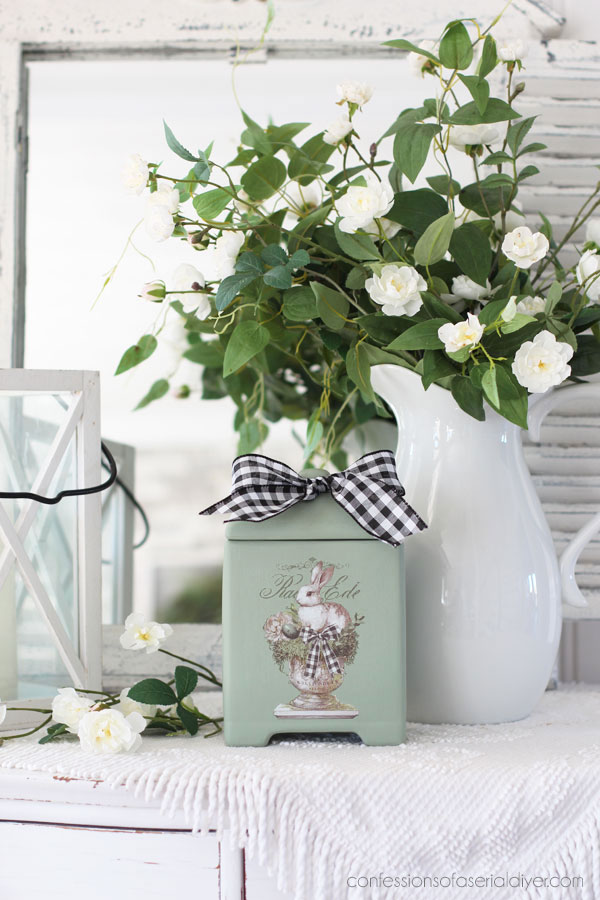
The bow picks up the black and white gingham in the transfer. I just tied it around the knob on top…
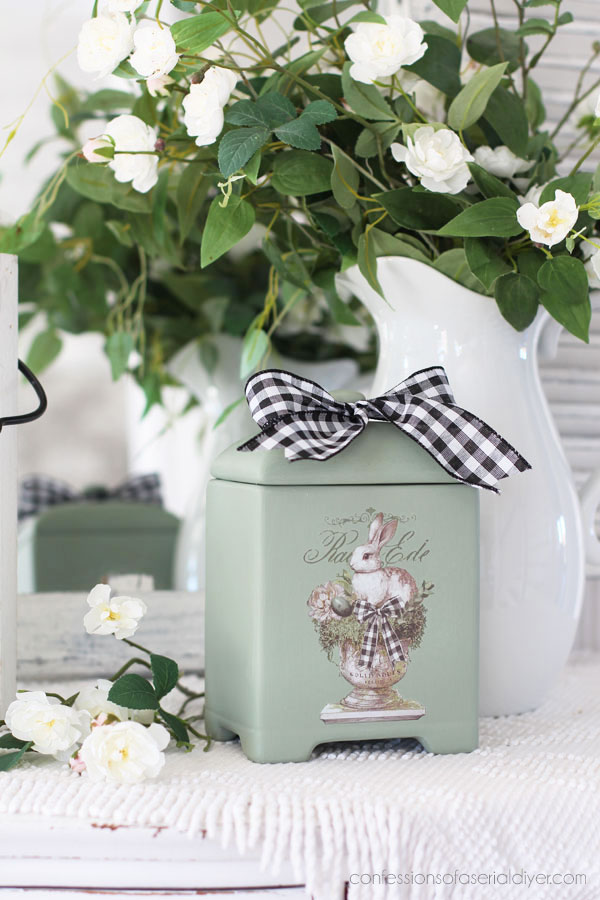
Super simple, but so much cuter now!
Mini Makeover #3
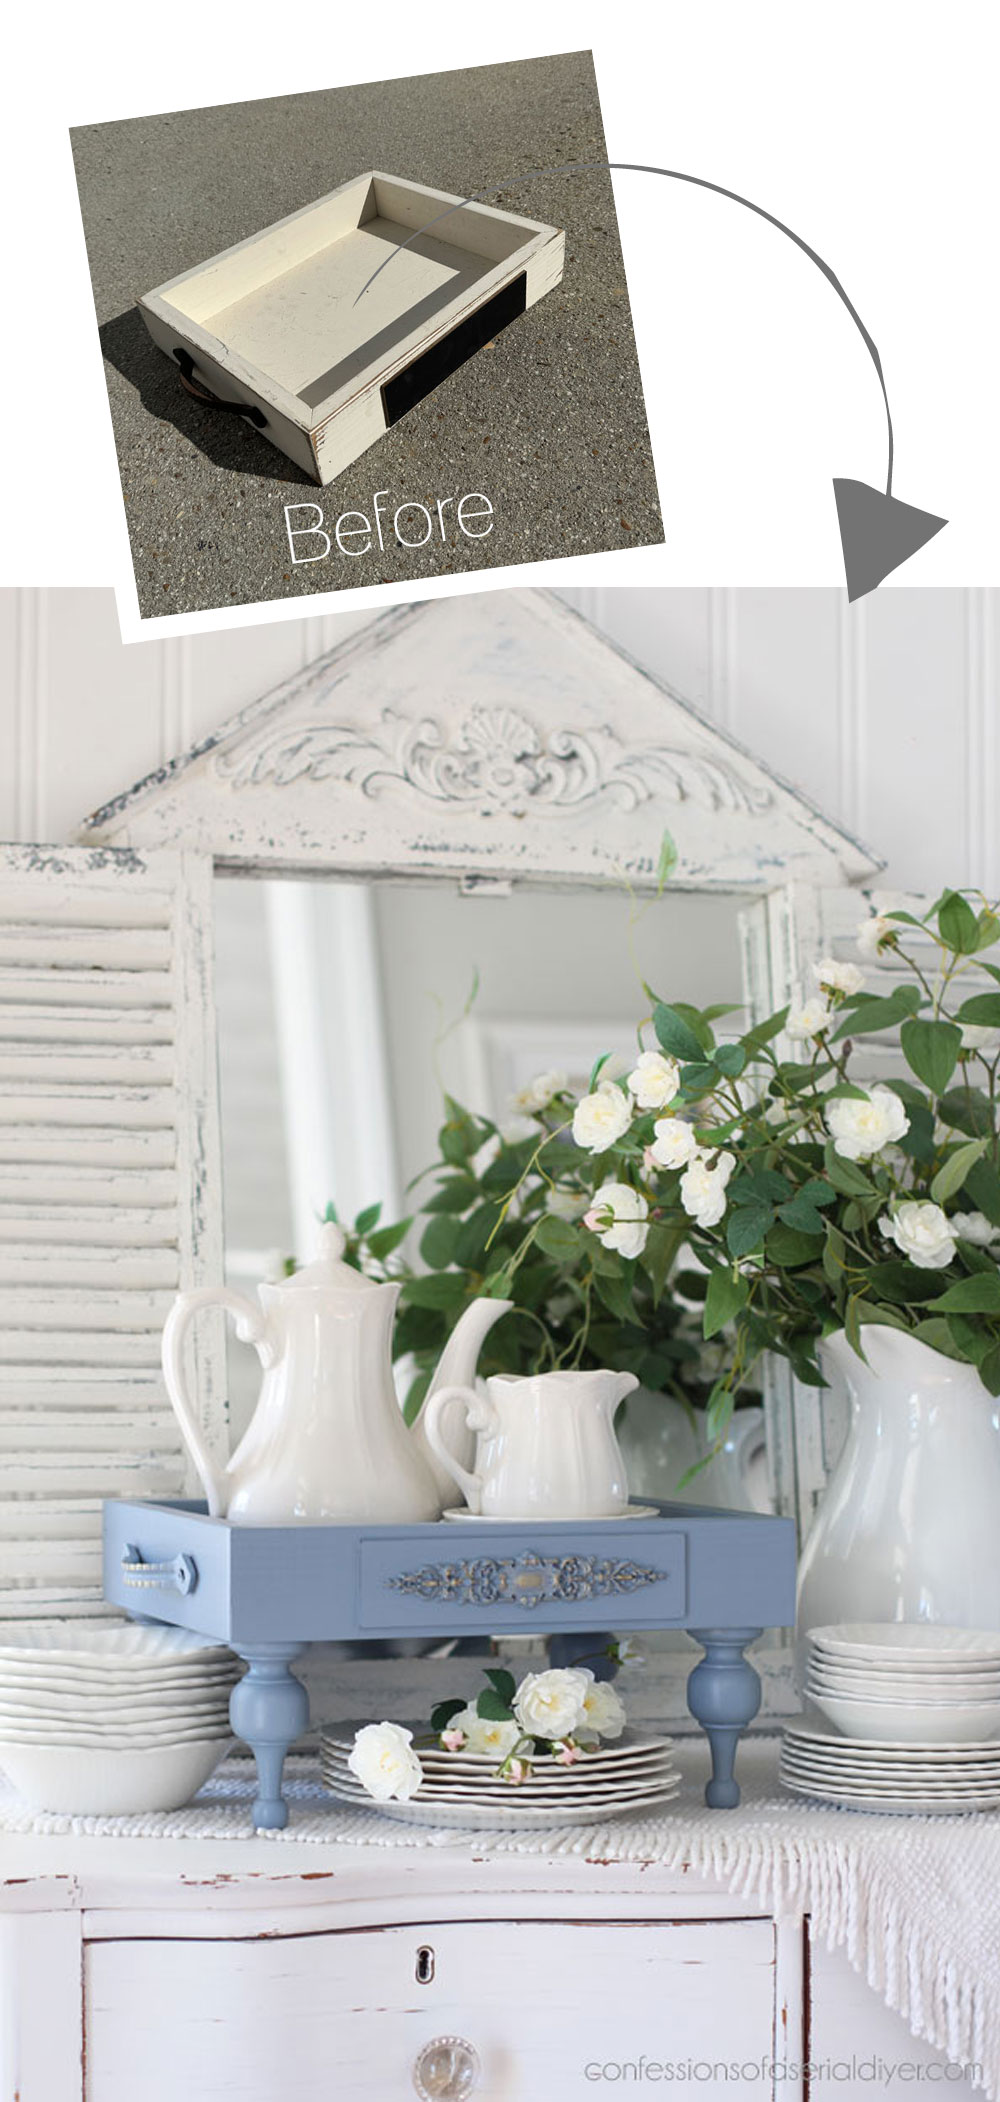
Next up is this ho hum tray I picked up at the thrift store on clearance for $2.98:
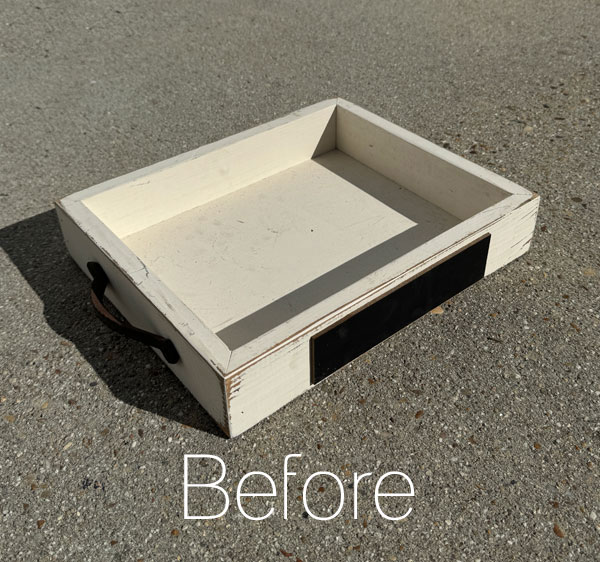
Once I cleaned this one, I pulled out this container of finials my dad passed along to me years ago:
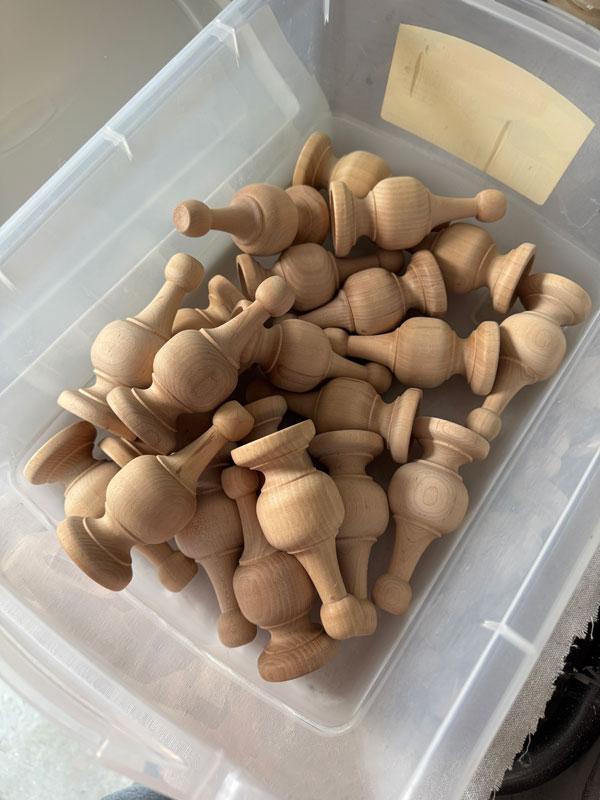
He used to use them on the lamps he made and had a bunch left over when he and my mom stopped doing craft markets.
I used wood glue to attach them like feet. (You’ll see that in a minute.)
I knew I wanted to use this pretty new Meadow Melodies Decoupage Paper somewhere on this tray:
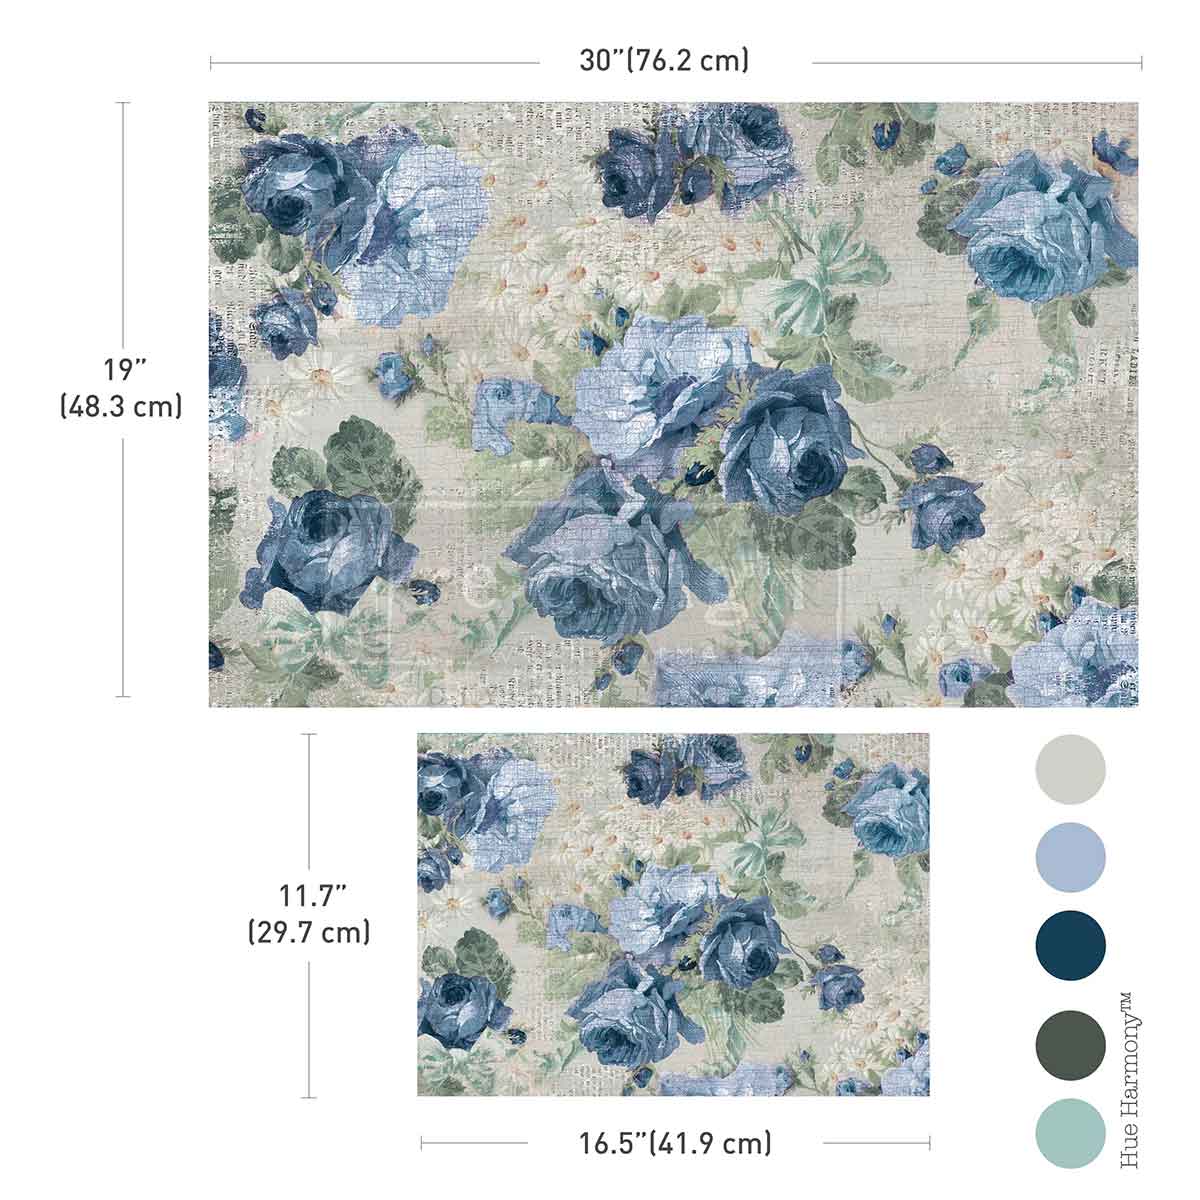
It comes with a large piece and a bonus smaller scale piece to match.
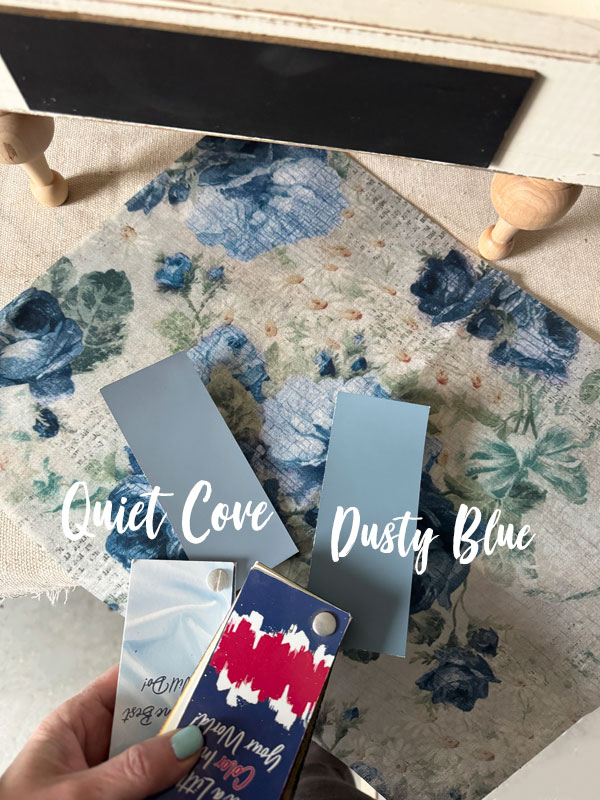
Paint
I pulled out my Silk fan Deck and my Chalk Mineral Paint Fan Deck to help me choose a color and Quiet Cove in the Silk won out:
(See the feet I added to the bottom?)
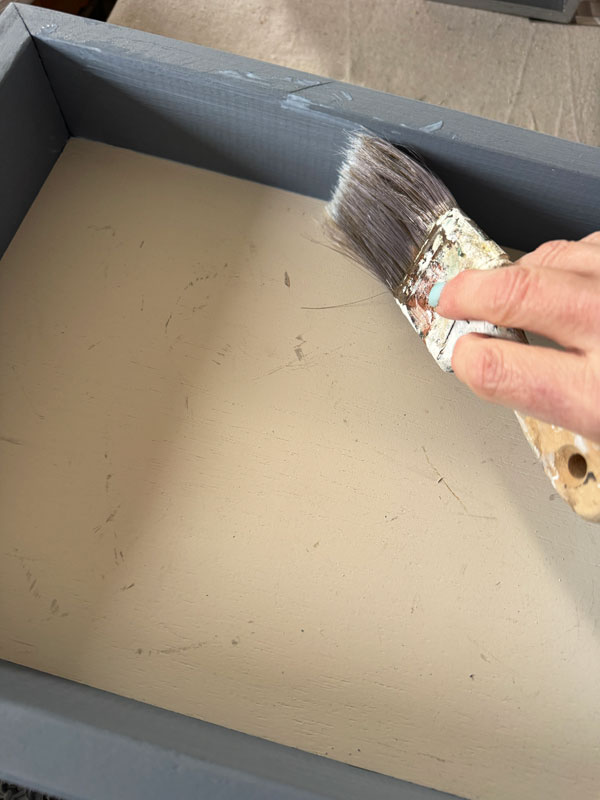
Luckily, this tray had a very flat sheen to it, so once the wood glue on the legs was dry, I went straight to painting!
Seal
Silk Mineral Paint goes on super smooth, so there is no need to sand to smooth afterwards. And although Silk does not require a topcoat, I gave it a coat of Clear Coat in the satin finish, just to give it some soft sheen.
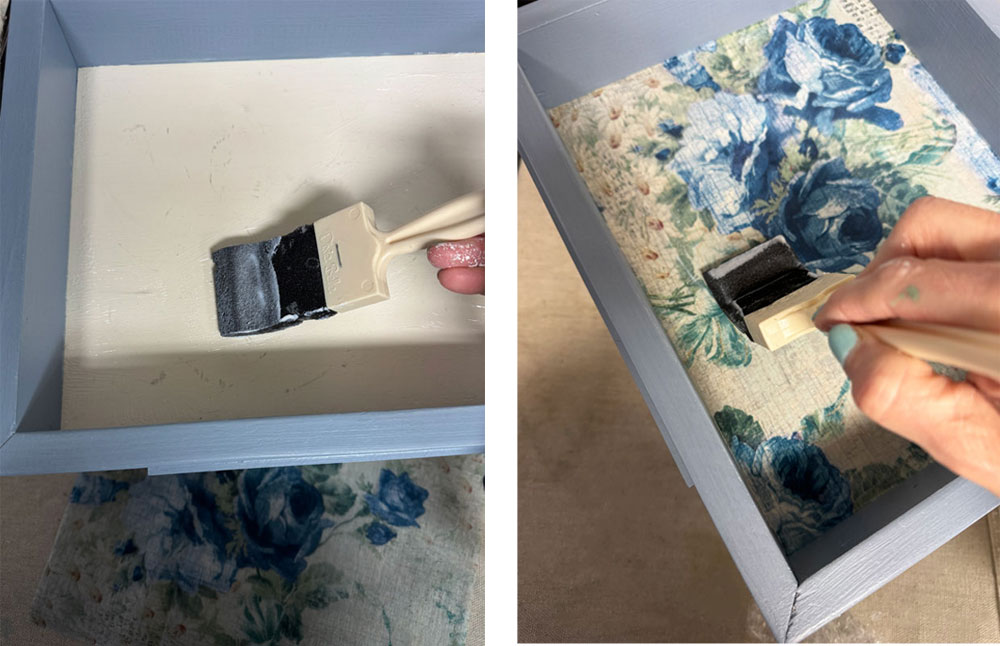
I did that with a brush this time to get those inside corners well:
I left the bottom unpainted because decoupage paper was next!
I first applied Matte Decoupage Gel with a 2″ Foam n Dandy brush, laid down the paper, and then applied another coat over the top:
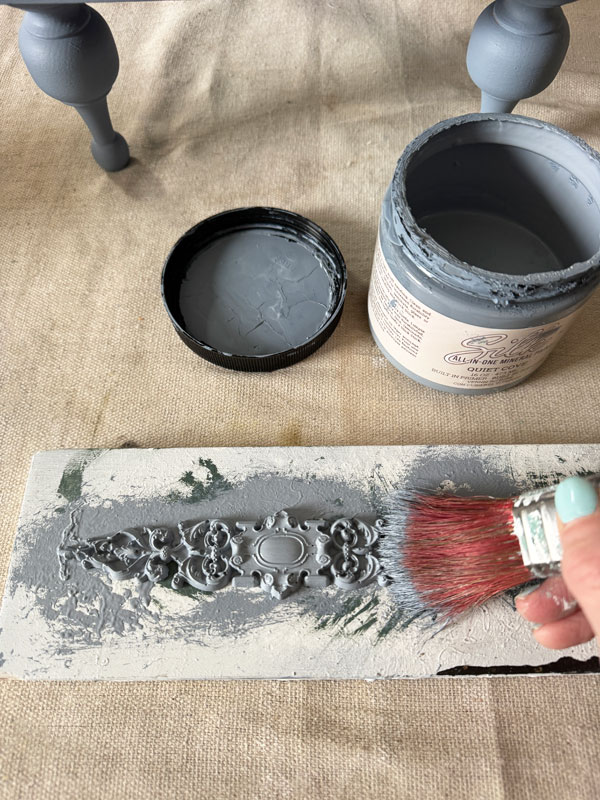
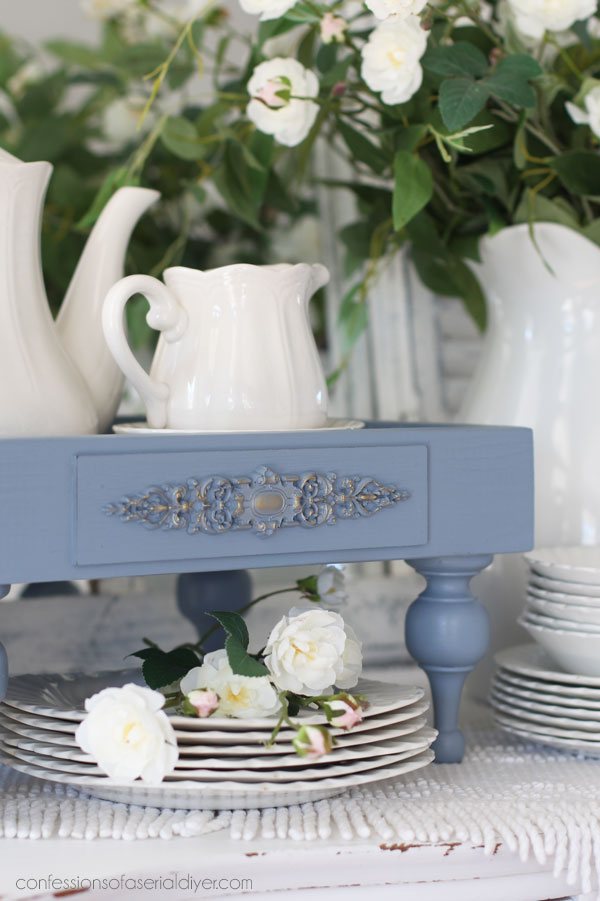
I wasn’t able to remove the chalkboard piece that was across the front, so I cast a decorative piece to add there using the Josephing Mould and Amazing Casting Resin…
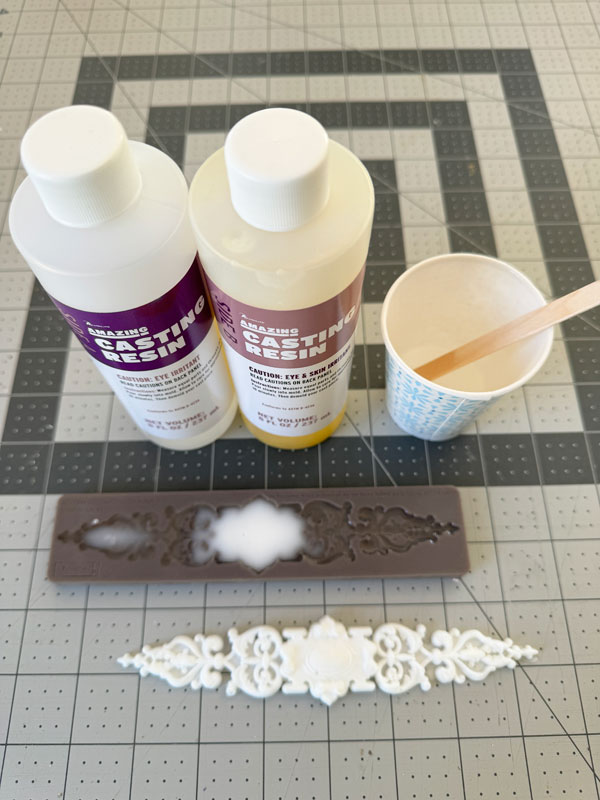
That was then painted it the same color:
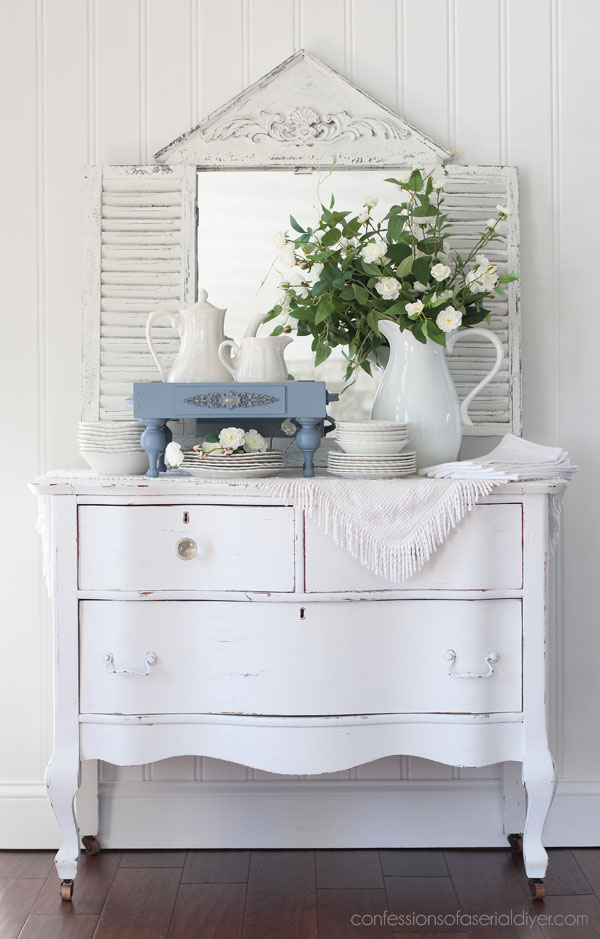
The After
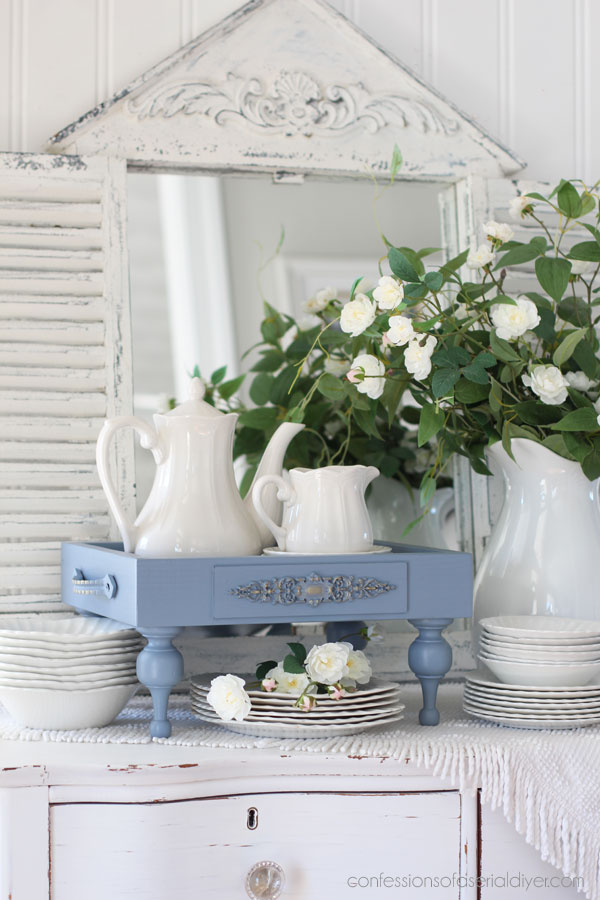
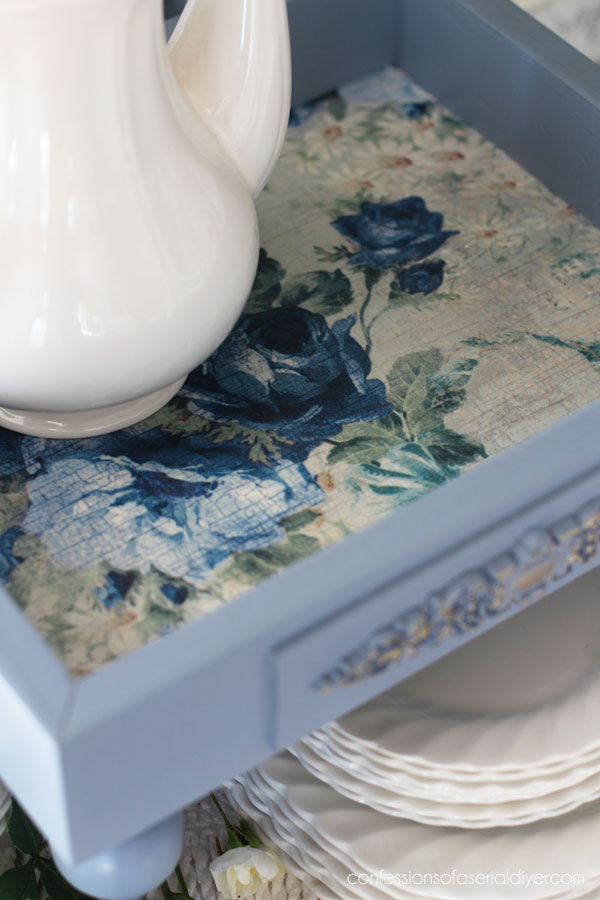
Here is how this one looks now:
Better, no?
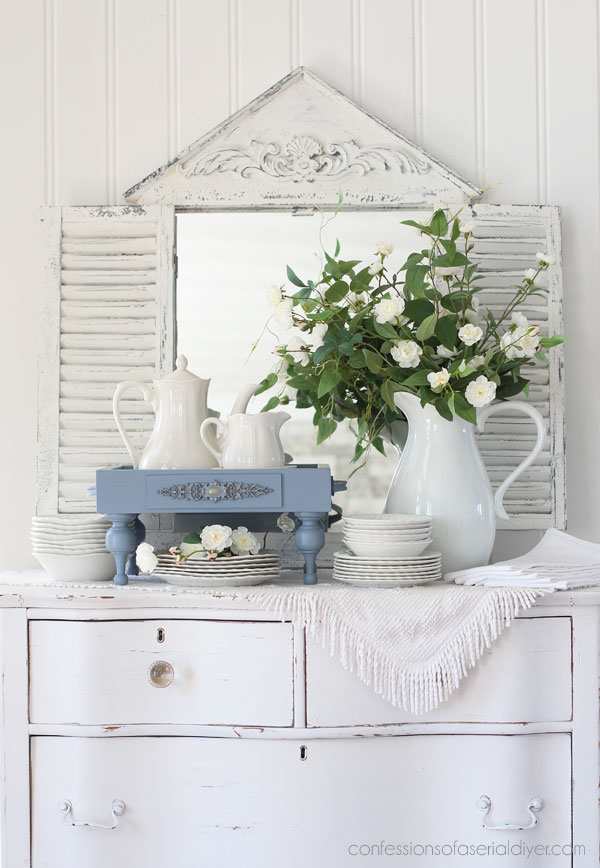
The addition of the legs gave it a little fancy.
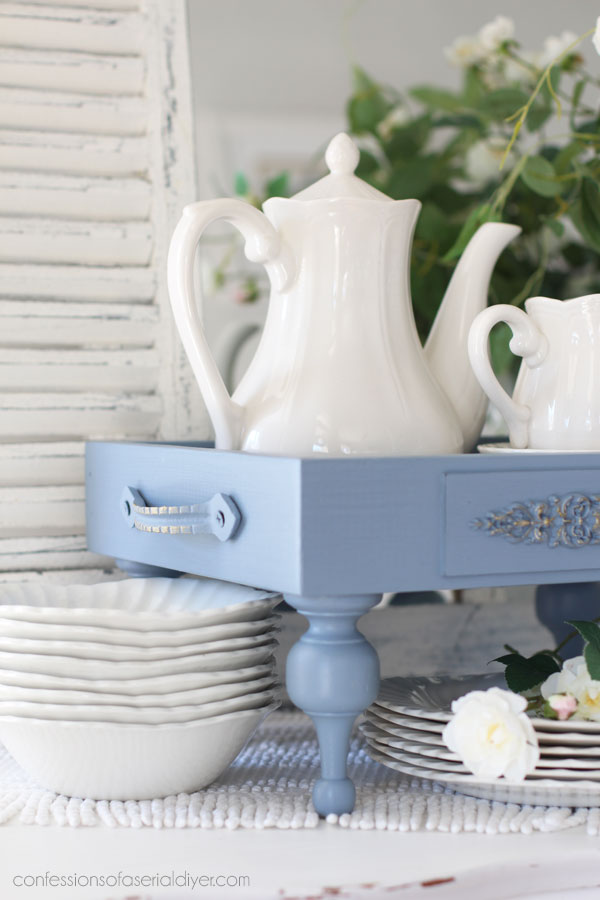
The mould I added to the front and to the handles on the sides got a little dusting of Gold Gilding Wax.
This would make a great riser on a buffet or it could hold perfume bottles on a dresser. So many ways to use it!
And here’s the pretty paper on the bottom…
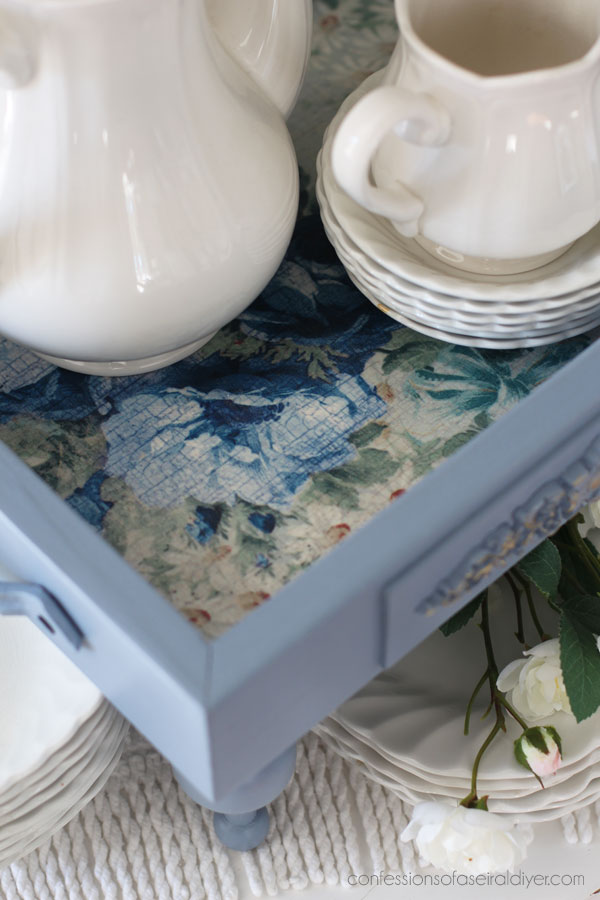
I LOVE this paper!
I don’t think this little tray knew it could be so fancy!
Mini Makeover #4
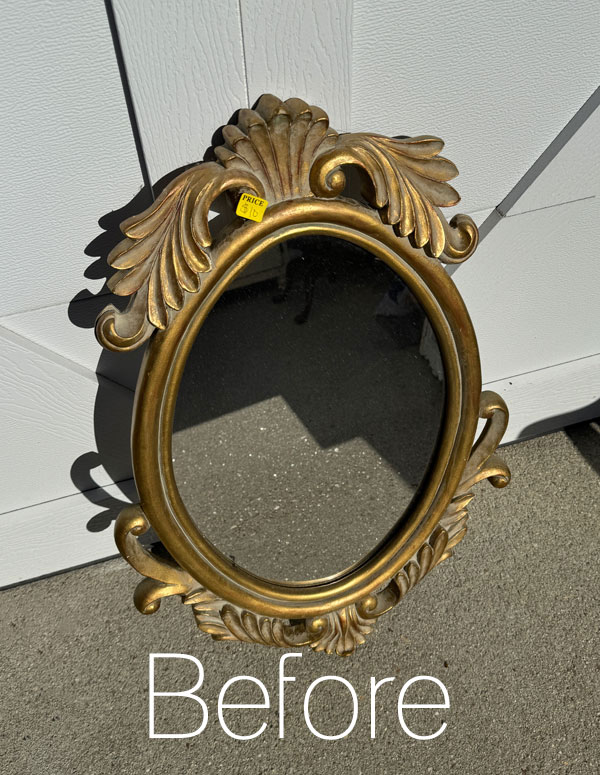
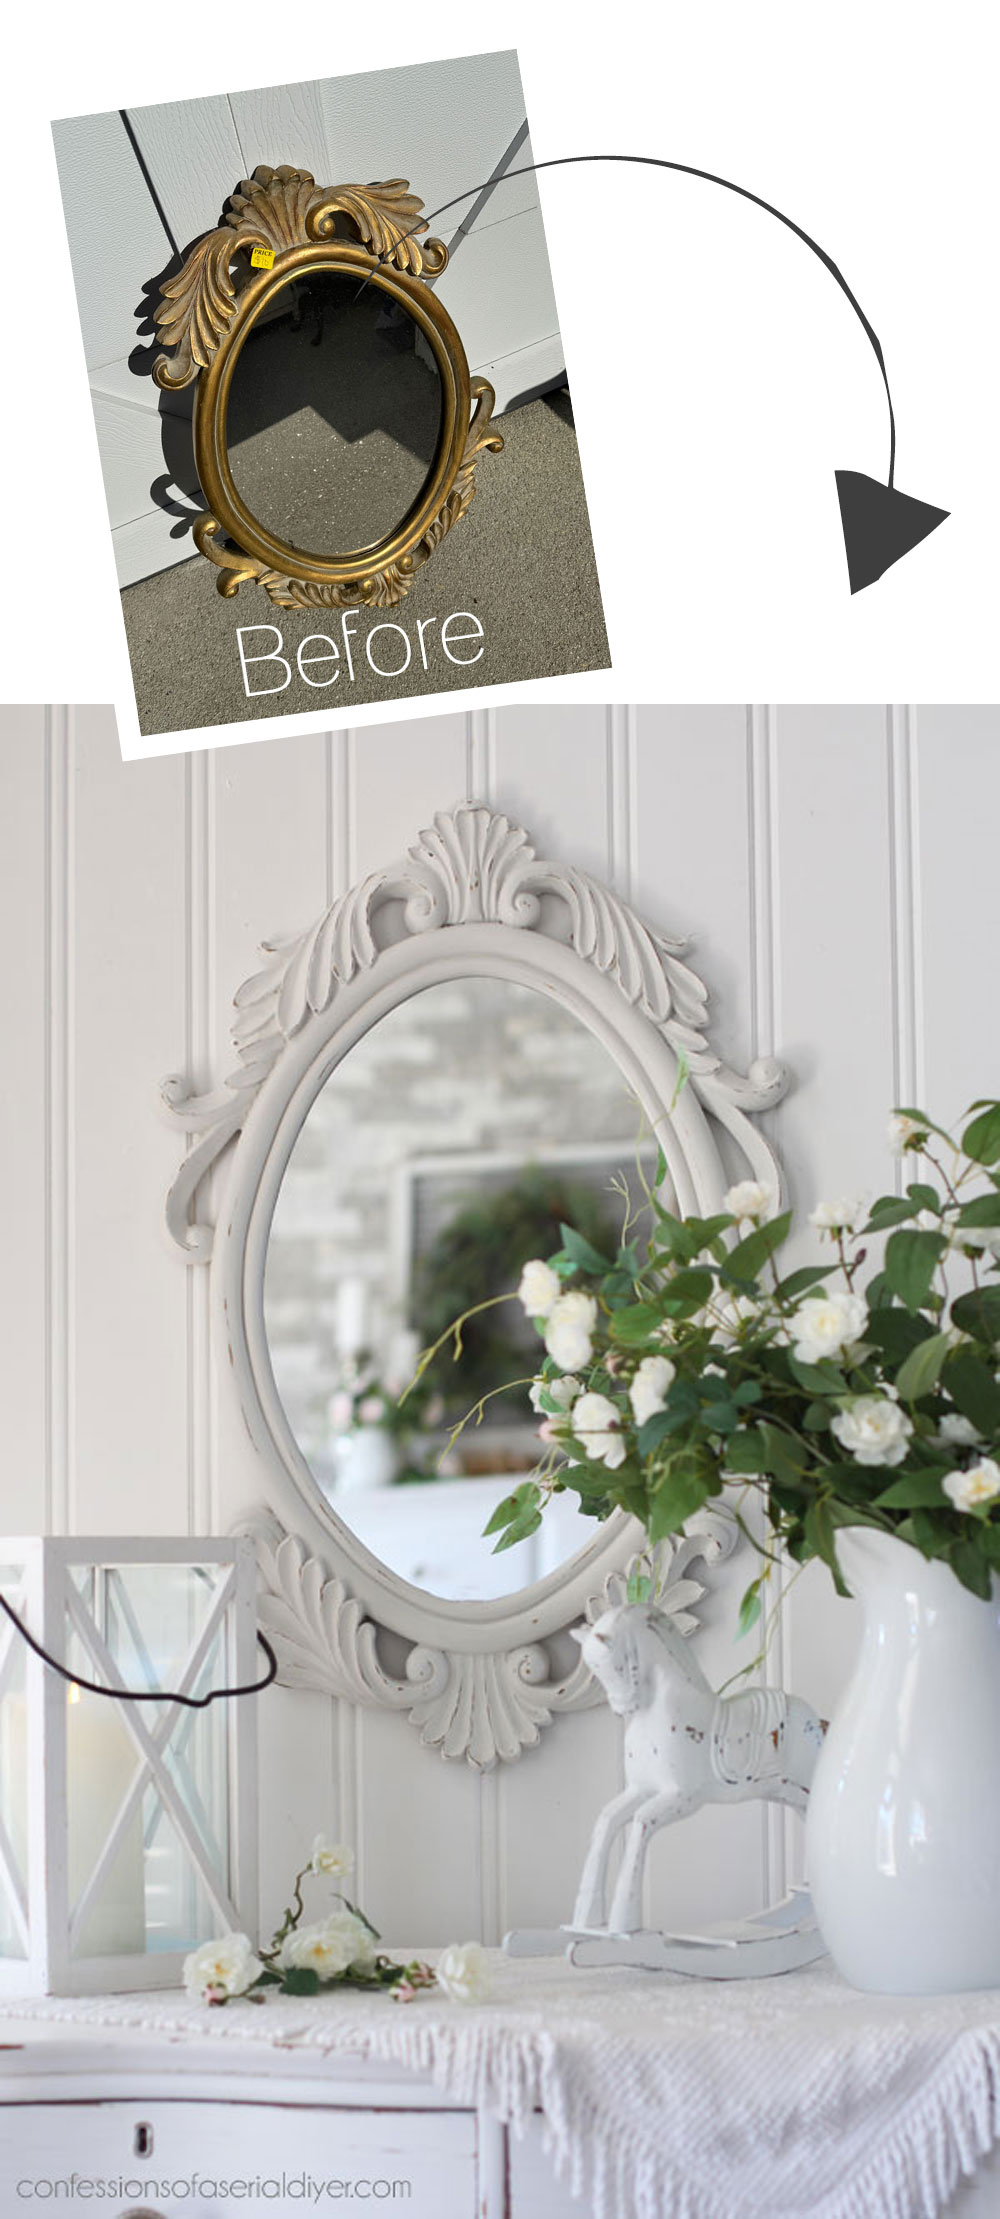
At number four is this mirror I picked up at a yard sale for $10:
I honesty had planned to just put this one in my booth as is, but this trashed $10 dressing table I redid in November really needed a cute little mirror like this!
So, after cleaning, I set out to paint it to match!
Paint
I like to remove mirrors from their frames to paint them, but this one was glued in there good.
It got two coats of Fluff by Dixie Belle, since that is what I used on that table, followed by a good sanding to bring out those details:
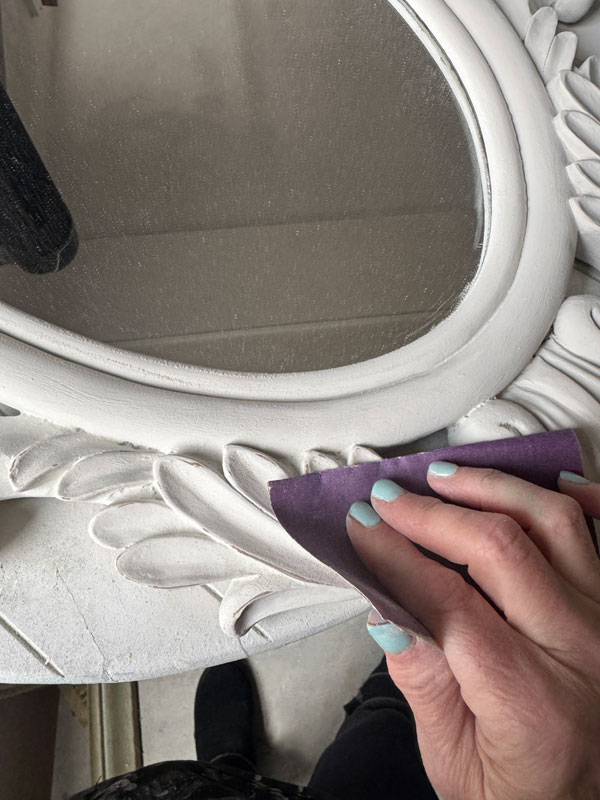
I sealed with Clear Coat in the satin finish, and this makeover was complete!
The After
Super simple!
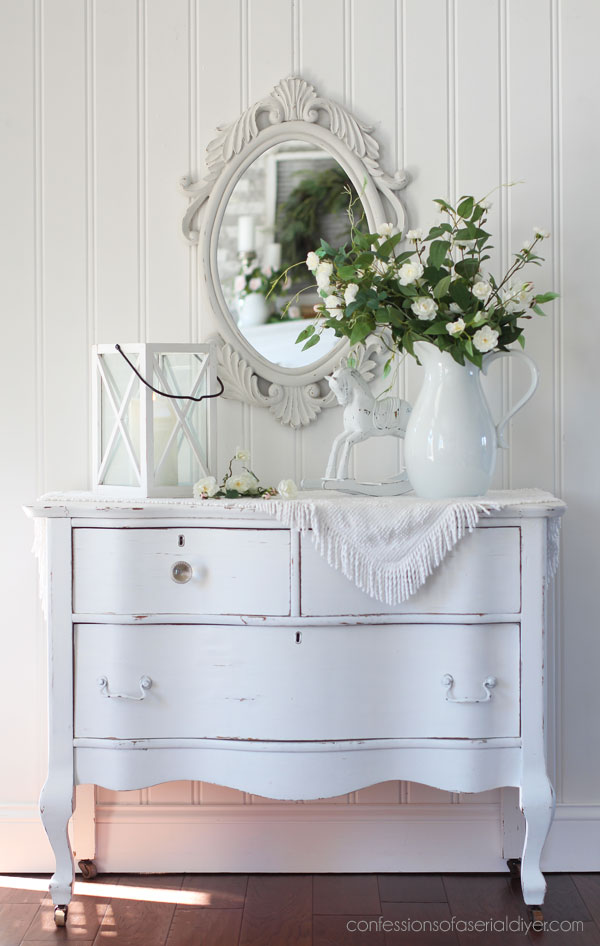
Fluff is a more vintage white, but still reads as white. The great thing about it is it covers wonderfully in just two coats!
You can see our bedroom set painted in Fluff HERE.
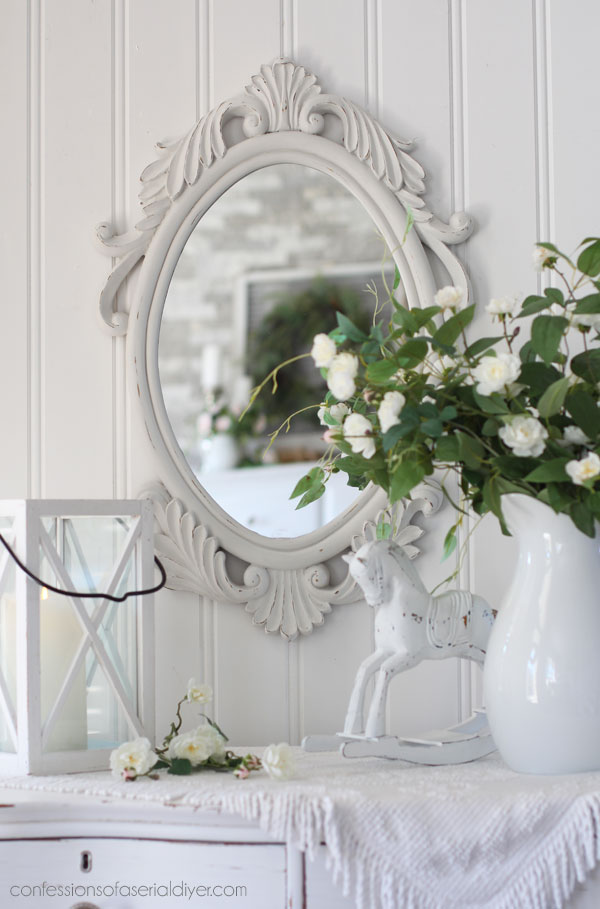
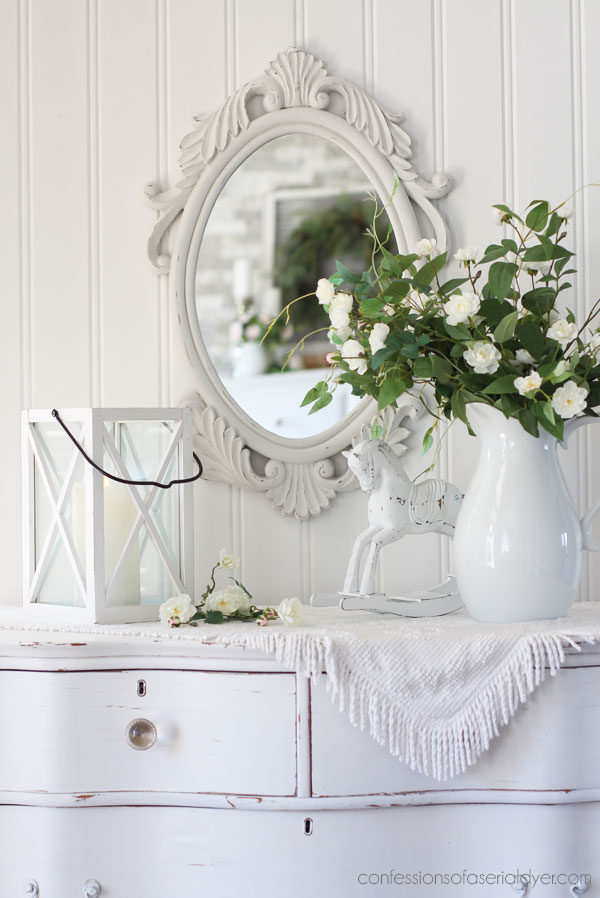
And a closer look at the details…that is just the original gold coming through…
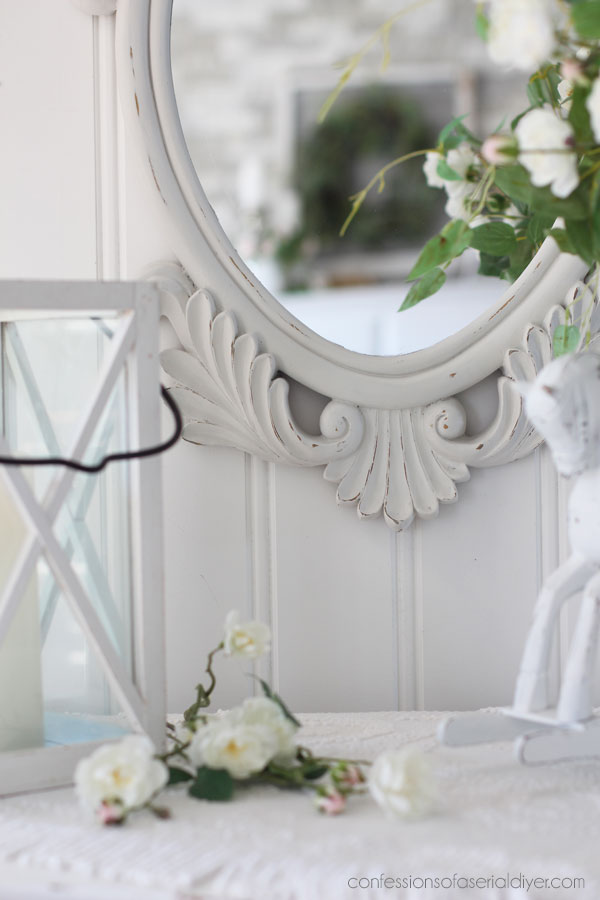
I might even prefer this one in the gold, but now I have a cute mirror to pair with that dressing table in my booth!
Mini Makeover #5
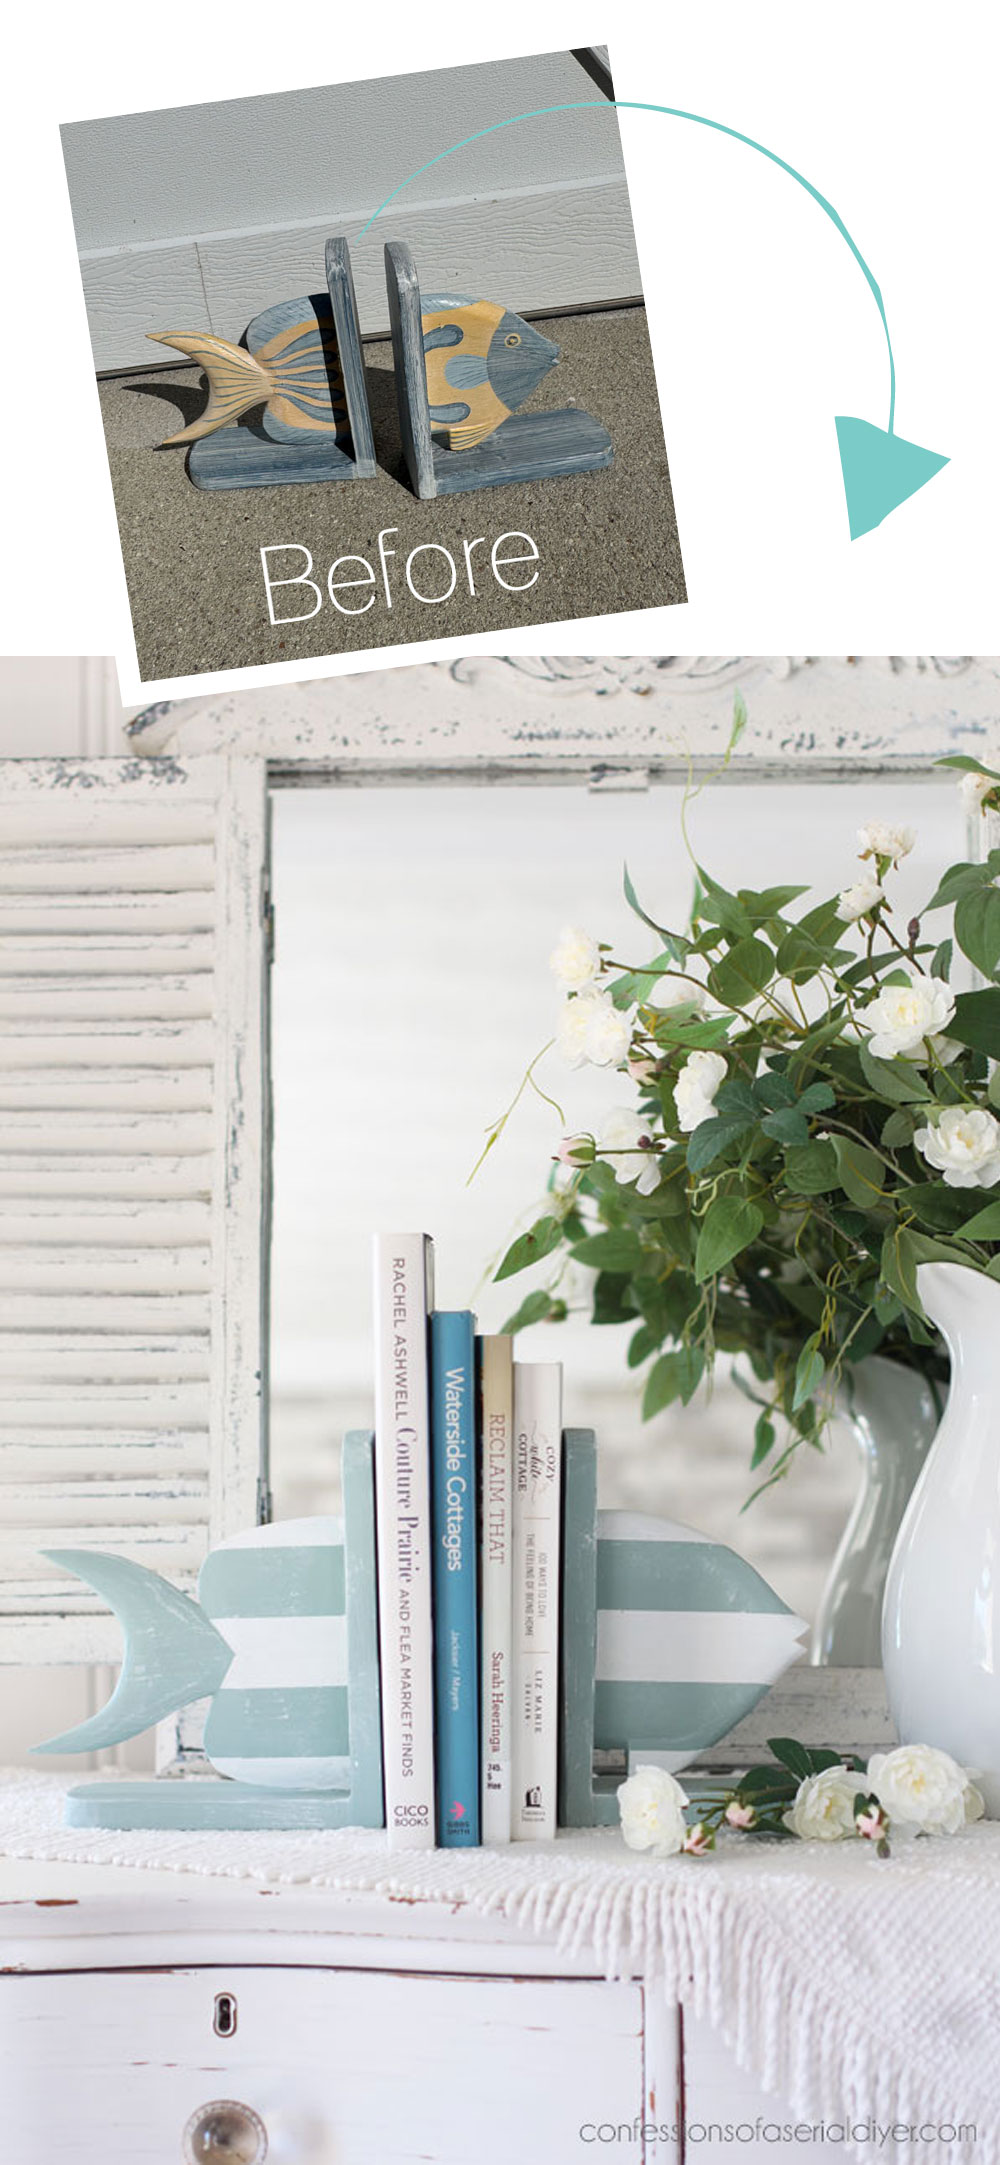
Up next is this set of fish bookends I found at the thrift store for just $3.99:
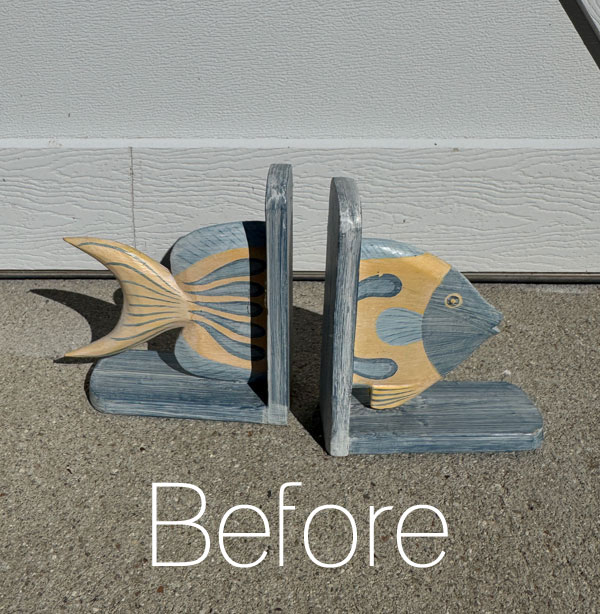
This kind of thing does really well in my booth, being in a coastal town.
Paint
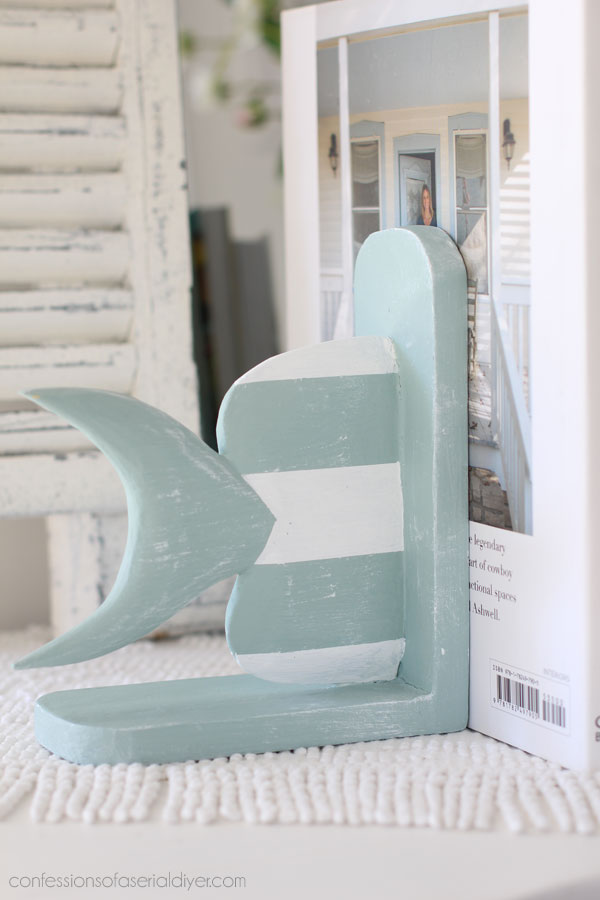
After cleaning, I decided to try a new paint mix, combining equal parts of Vintage Duck Egg Blue, Sea Glass, and Cotton to get the perfect beachy blue!
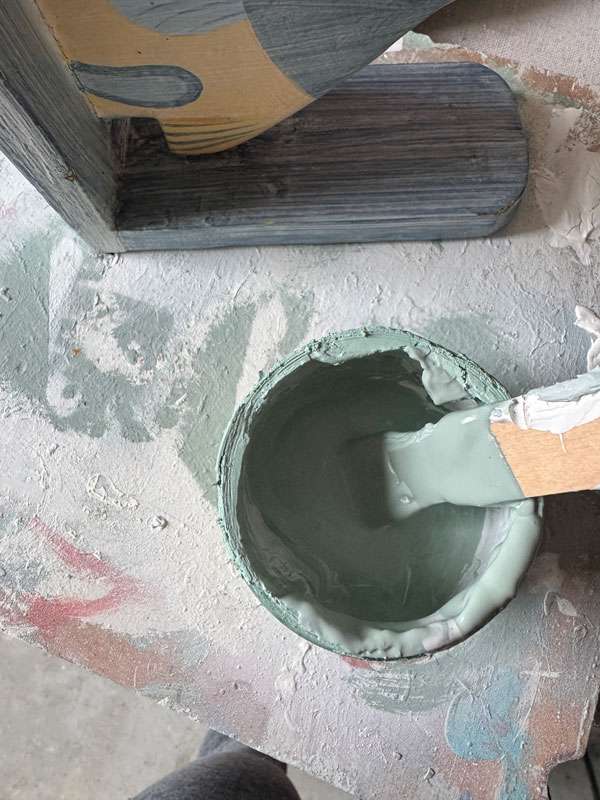
After giving the fish two coats, I decided to add a simple stripe using FrogTape. I did two coats of Cotton and removed the tape right away:

Then, I lightly sanded to smooth and did a very faint dry-brushing with the white all over.
Seal
To seal, I used Best Dang Wax in Clear once again, applying it with my Best Dang Brush and wiping it back with a clean, soft cloth.
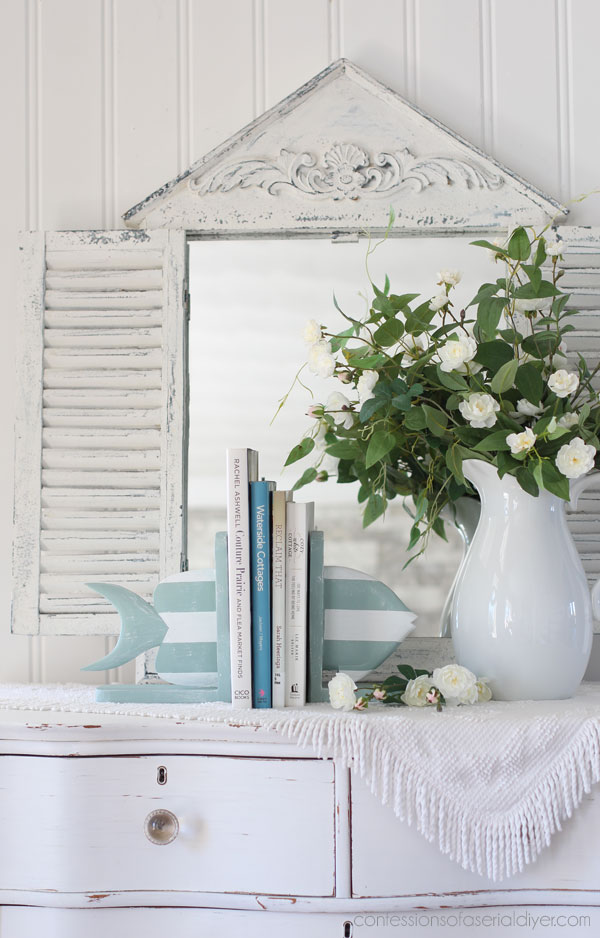
The After
Here’s this one after…
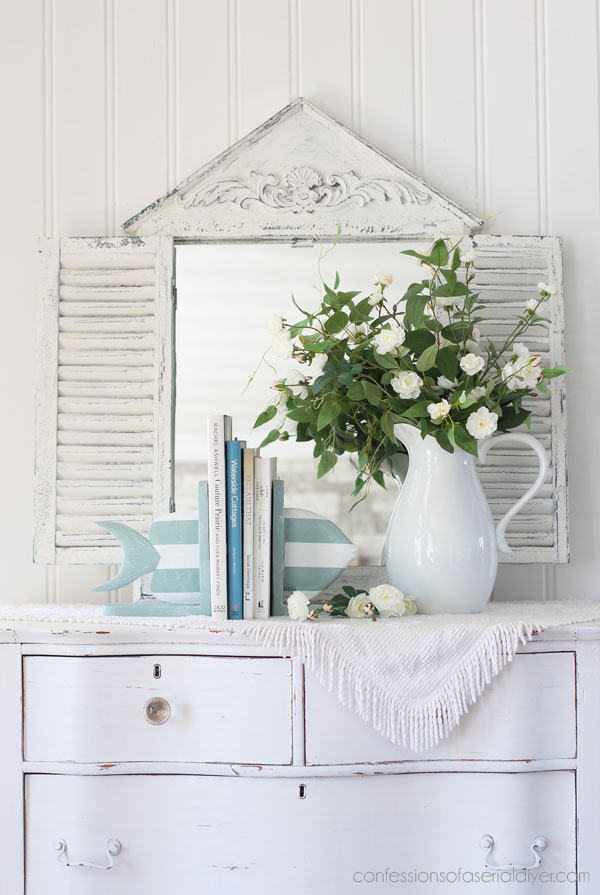
Again, very simple, but not so mass produced looking now!
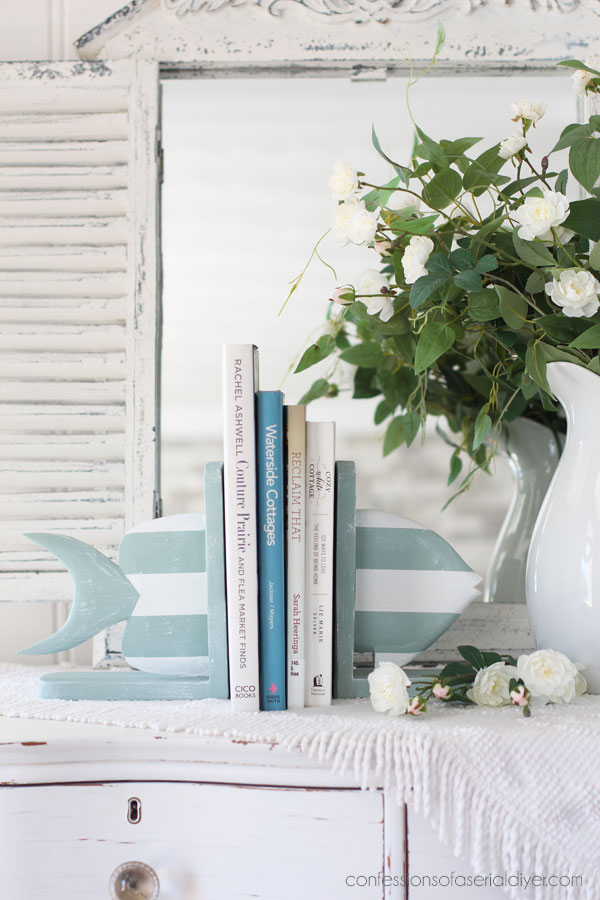
Here you can see the dry brushing a little better that gives it a more relaxed coastal feel:
Mini Makeover #6
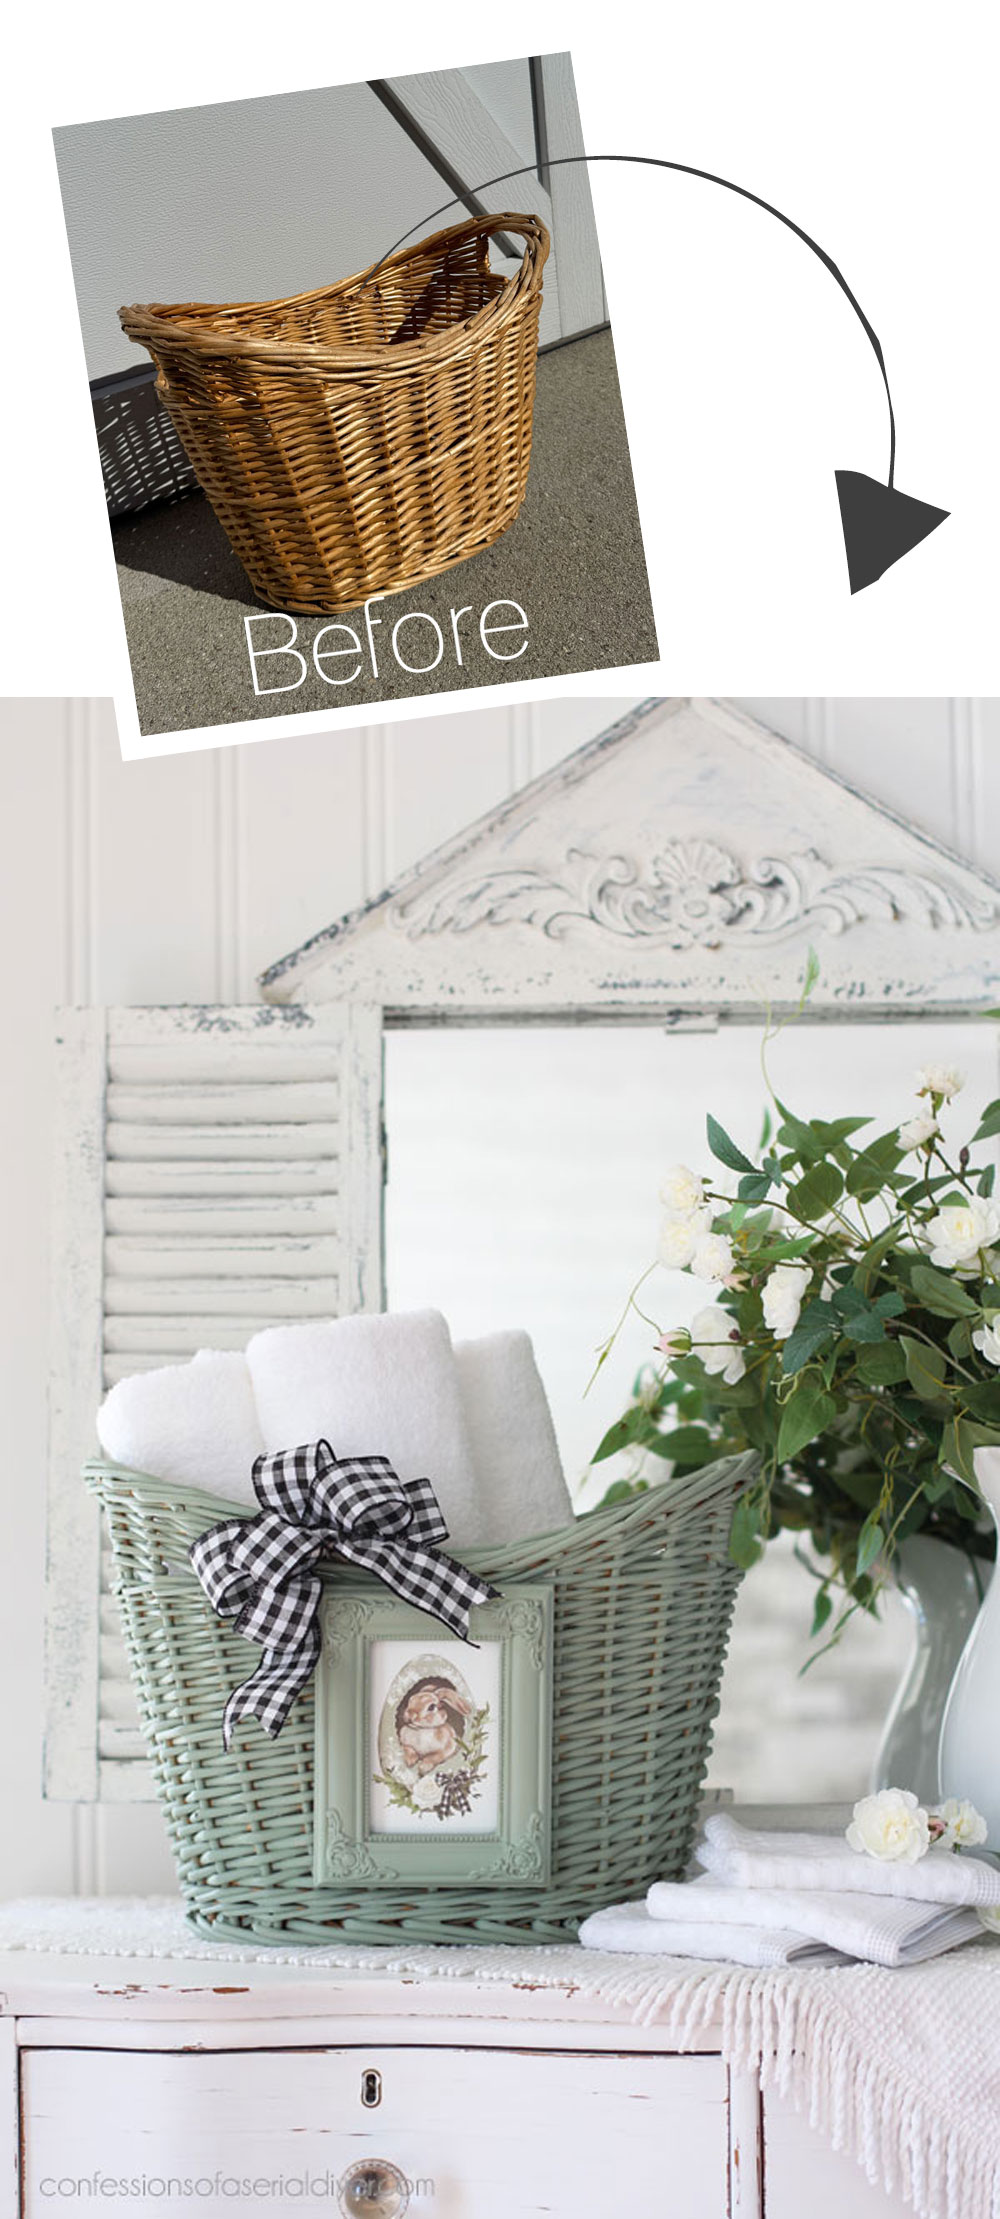
And finally, at number six is this basket I scored for half off of $3.99:
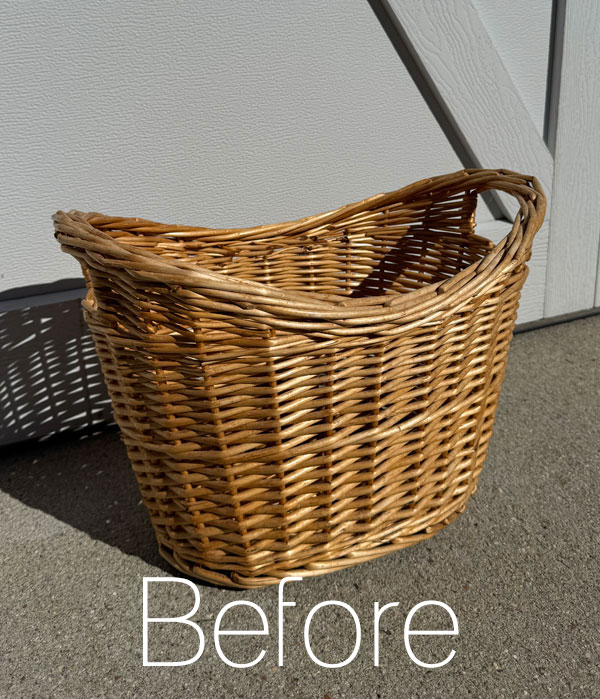
I really only picked it up because it was so cheap!
To embellish it, I decided that I would steal the frame on the front of this small box:
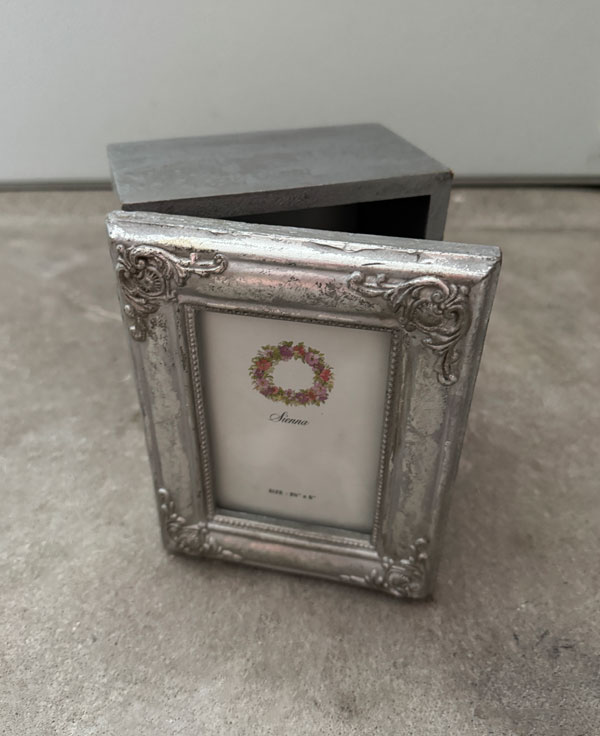
That was $2.99.
Paint
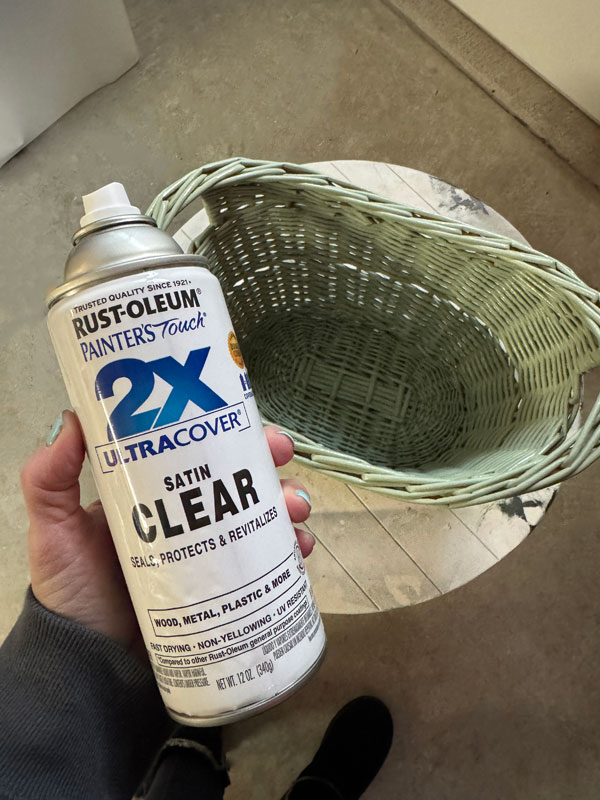
I painted both pieces in the same Weeping Willow / Cotton combination I used earlier and painted the basket with the help of my Best Dang Brush.
The large, flat head easily gets into all that weave:

(This is a natural bristle brush, so be sure to rinse out the paint as soon as you’re done to keep it nice.)
Seal
I sealed the basket the easy way using Clear Satin Rustoleum Spray:
I sealed the small frame with Clear Coat in Satin.
Adding some whimsy
I then painted the cardboard piece that was in the frame in Cotton. Next, I chose another sweet image from the Garden Whimsy transfer to frame:
After adding the new bunny art to the frame (with the glass), I secured it to a piece of black and white gingham ribbon with two screws:
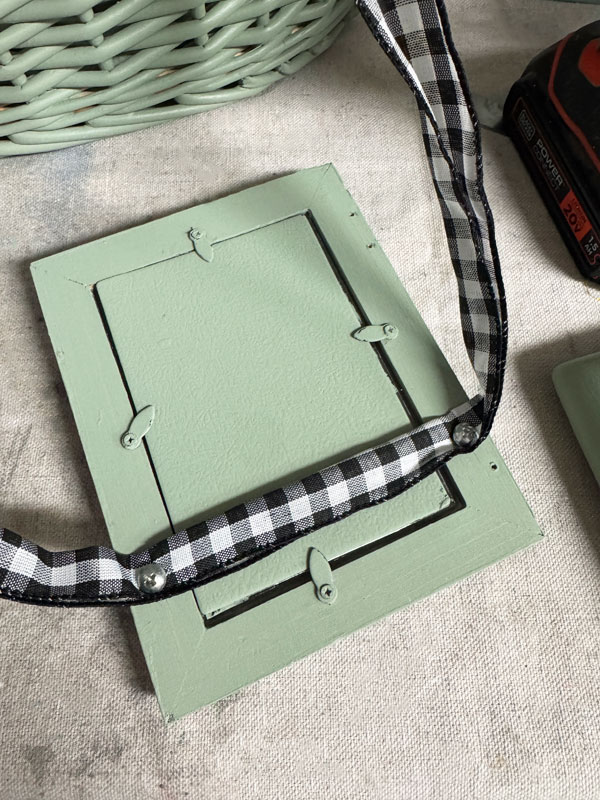
I was sure to drill two tiny pilot holes first, so the screws wouldn’t crack the frame. Then, I just tied it to the basket through the weave.
The After
And here’s how this boring basket became super sweet!
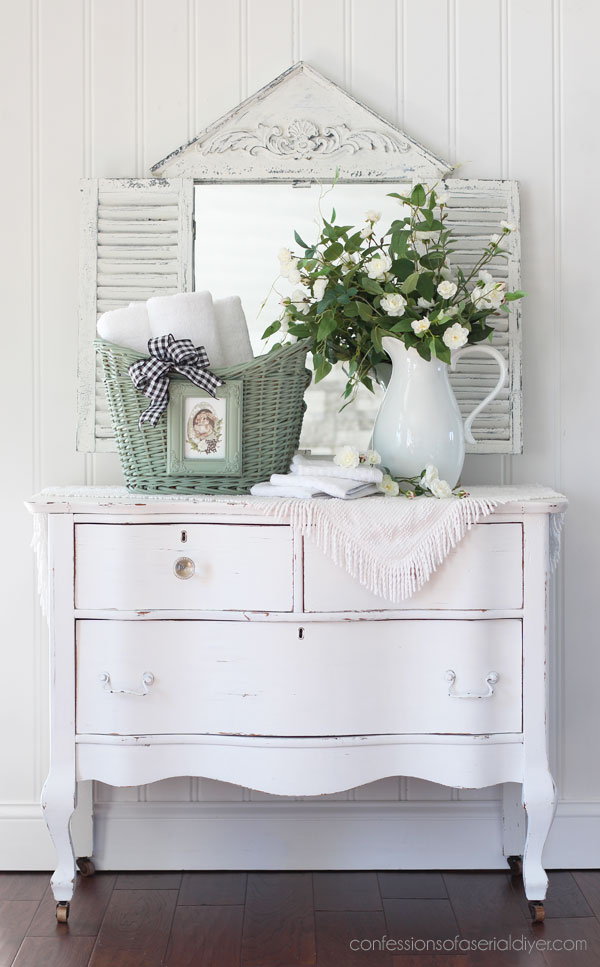
I’m sure nobody would use it for towels lol, but I thought someone might buy it to use as an Easter basket!
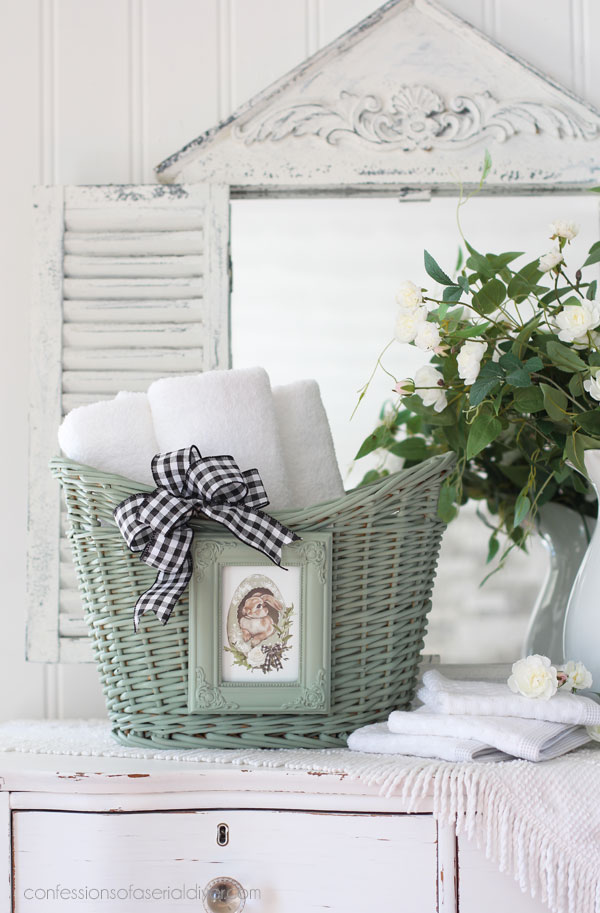
How cute is that bunny??
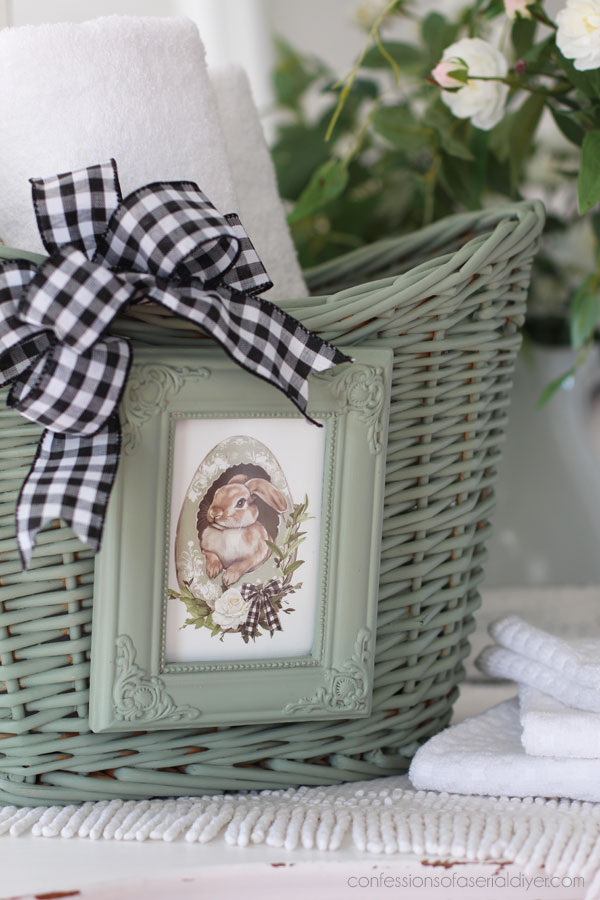
This image is the reason I lightened the Weeping Willow color to begin with.
This boring basket is so much more fun now!
And that’s SIX more mini makeovers complete!!
Although some of these weren’t so mini!
**And now for Redesign’s BRAND NEW release!!**

**I wanted to keep the release in a post of its own, so you can go see everything available HERE right now!!**
I get to cross another SIX off this list!
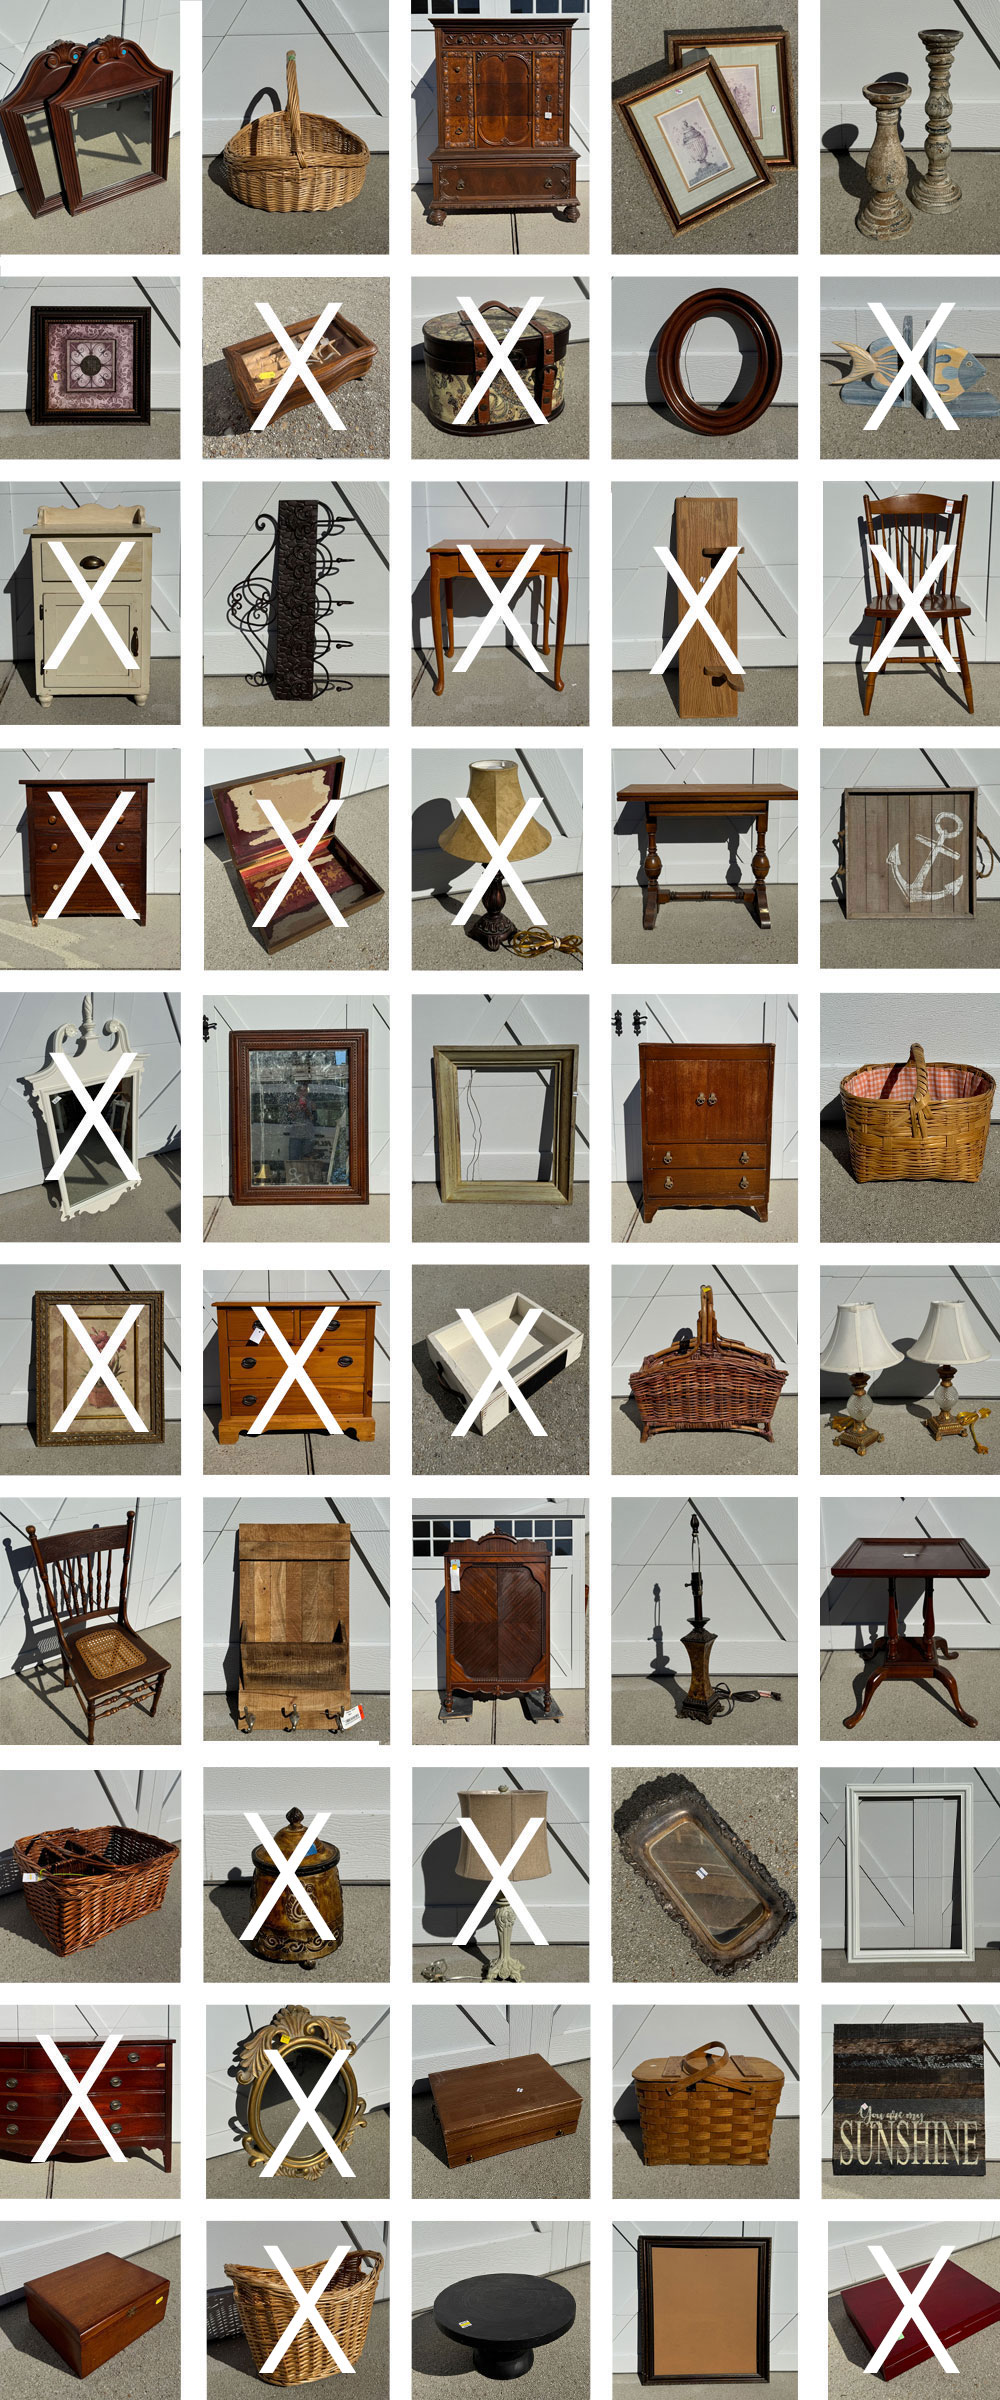
See anything you might have missed below:
Make an Old Flatware Box Beautiful!
Painted Pine Dresser
Update Lamps with Paint
Give a dated Shelf Vintage Charm
Update a Jewelry Box with Paint and Decoupage Paper
$10 Night Table Makeover
Update a Mirror with Moulds
Update a Flatware Box for the Holidays!
Yellow Painted Chair
Trashed $10 Thrift Store Table Makeover
Round Wooden Storage Case
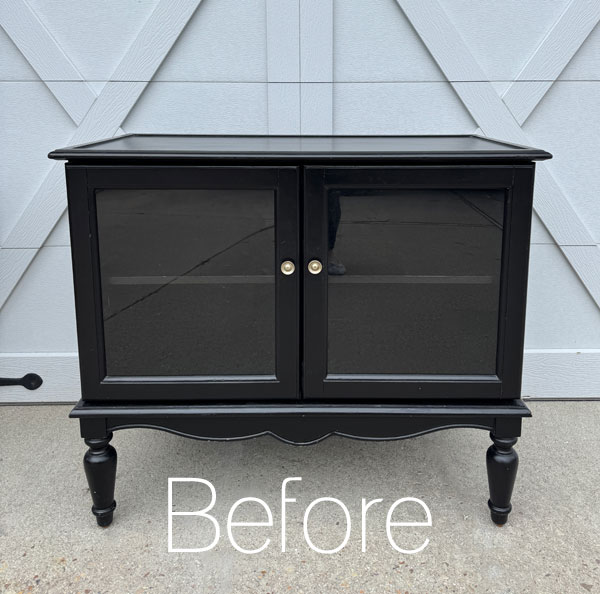
Washstand Cabinet Makeover
I’ll be back on Tuesday cheating on my haul with this piece I just found:
Have a wonderful weekend!
UPDATE: You won’t recognize this one now! See it HERE!
XOXO,

Don’t Miss a Thing!
If you like what you see, there are several ways to follow along!
EMAIL * INSTAGRAM * FACEBOOK * PINTEREST

Get FREE SHIPPING on all orders over $50 in my Etsy shop. (No code needed at checkout!) Orders under $50 enjoy $8 flat rate shipping!
Most orders ship same or next business day! Visit my shop below!


Jackie C says
gosh these ALL turned out so pretty!
You did good! ❤️
Christy says
Thank you, my friend! XOXO
Nana Diana says
Great makeovers on the smalls. I really love the basket with photo frame. Nice job all the way around. xo Diana
Christy says
Thank you, Diana! I love knocking several out at one time! That basket was such a deal! XOXO
Cyndi says
Oh, goodness! I love it all. Those fish…and the bunnies!… Great job on the whole bunch!
Christy says
Thanks so much, my friend! I love having new things to play with! Enjoy your weekend! XOXO
Janice Redden says
Christy, definitely worth the wait! All of them are so cute; my favorite is the canister with the bunny…adorable. Haha…i must have a “companion” piece to the first one…chain attached lid and ugly; it has one coat of Boss waiting for the next….snow, ice and 24° be darned I’m going out to my studio and get ‘er done…
Stay warm!
Christy says
Thank you, Janice! Ha ha…why would they make such ugly pieces?? Well someone bought them I guess during their Tuscan decor phase lol. You stay warm out there, my friend!!
Denise Vallo says
Love the basket with the bunny frame…..so cute, and a great idea!!!
Christy says
Thank you, Denise! Paint alone did wonders for that basket, but I love the bunny too! XOXO
Josee says
I have said it many times but I mean it every time, brilliant! God bless
Christy says
Aww thank you, my friend! I appreciate it every time! XOXO
Caye says
I LOVE those bookends, Christy!! Those stripes are just right (see, I CAN like stripes at times), and you did take off that manufactured look. Great job.
That bunny basket is just too precious! The fact that the picture can be removed easily is a great feature too.
I really like all the smalls. They are so much fun. How is the shop coming along these days? I think that after the holidays things slow down. But your Easter surprises will get things “hoppin'”.
Have a great weekend!
Christy says
Thank you, Caye! Stripes do go so nicely with a coastal theme. And yes, the picture can easily be removed from the basket for sure. Paint alone did wonders for it. I’m so glad you enjoy the smalls because I do too! It may sound odd, but the winter months like January-March are some of my busiest! The antique mall is a great place to visit on a cold day when you’re looking for something to do indoors. My booth really is looking quite thin lol! Enjoy your weekend too, my friend! XOXO
p says
Another batch of winning smalls.
My winner is the tray. I love the finial feet. I first thought maybe too large, but loving it as a buffet server piece. Love that the plates fit under it.
The decoupage blue paper is so pretty.
I also love that ugly metal jar w lid. Soo cute painted white. A perfect candle holder indeed !!
The mirror is a great add for the dressing table/dresser. It looks so much better painted and with a touch of the gold peeping thru.
The bunny basket is cute – love the green.
The fish is now a sweet coastal accent. Love the stripes.
Well done. 🙂
Christy says
Thanks so much, P! This was a fun bunch to work with, especially having some new things to play with! I think the tray was my favorite too! XOXO
p says
p.s. hmmmm
I did wonder why you chose not to add more of the pretty blue decopouge paper over the magnet strip on the tray….
Christy says
That never even occurred to me but would have looked great! XOXO
Michele M. says
Oh what a fabulous job of your many smalls, Christy! That first bunny container – love love love it! And LOVE the color Willow. ♥ The new Redesign spring stuff is amazing.
Christy says
Thank you, Michele! This round was so fun having new goodies to play with!! XOXO
Mary Kaiser says
Oh they all are amzing now! I love how every thing turned out! I love the candle in the one you weren’t sure what it is suppose to be, so clever. Love the new transfers you used, I have to go to your other post and check it out! Great makeovers as usual!
Christy says
Thank you so much, Mary! This was a great group of smalls to work with for sure! Have a lovely weekend! XOXO
Carla Erickson says
Christy, all of the smalls turned out great! My 2 favorites are the one with the bunny transfers! Thanks!
Christy says
Thank you, Carla! They might my favorites too! XOXO
Cecilia says
Oh those bunnies are too cute! I love the basket with its cute bunny and the fish look perfectly coastal now. I think the canister thingy with the lid was a candle holder. Don’t know what else?!? Great job on all of them. Now I’m off to see the new designs. Have a great weekend!
❤️Cecilia
Christy says
Aren’t they? The bunnies are hard to resist! I really loved how the book ends turned out too, and I think you’re right about that canister thingy! Thanks, Cecilia, and enjoy your weekend too, my friend! XOXO
Lizzy says
I love it when you paint the smalls. You are SO creative!
Christy says
Aww thank you, my friend! They are really fun for me too and give me several items to pop in my booth at once! XOXO
Kathy from JAX says
All of these turned out so cute. I love them all. It’s hard to choose a favorite. Love the bow touch that matches the transfer and the colors are fabulous. These won’t last in your booth, especially with Easter just around the corner. Stay warm and I’ll look forward to checking in on Tuesday.
Christy says
Thank you, Kathy! These were a fun bunch to redo! Have a great weekend, and you stay warm too…I hear it’s been cold down there! XOXO
Alexa says
Everything you do is so darn cute, pretty, gorgeous, and so very professional! I look forward to your blog every week and some day if I ever make it across the US to your shop, I’ll stop in and browse! Keep up the beautiful work!
Christy says
Aww I appreciate that so much, Alexa, thank you! That would be awesome if you got a chance to visit! XOXO