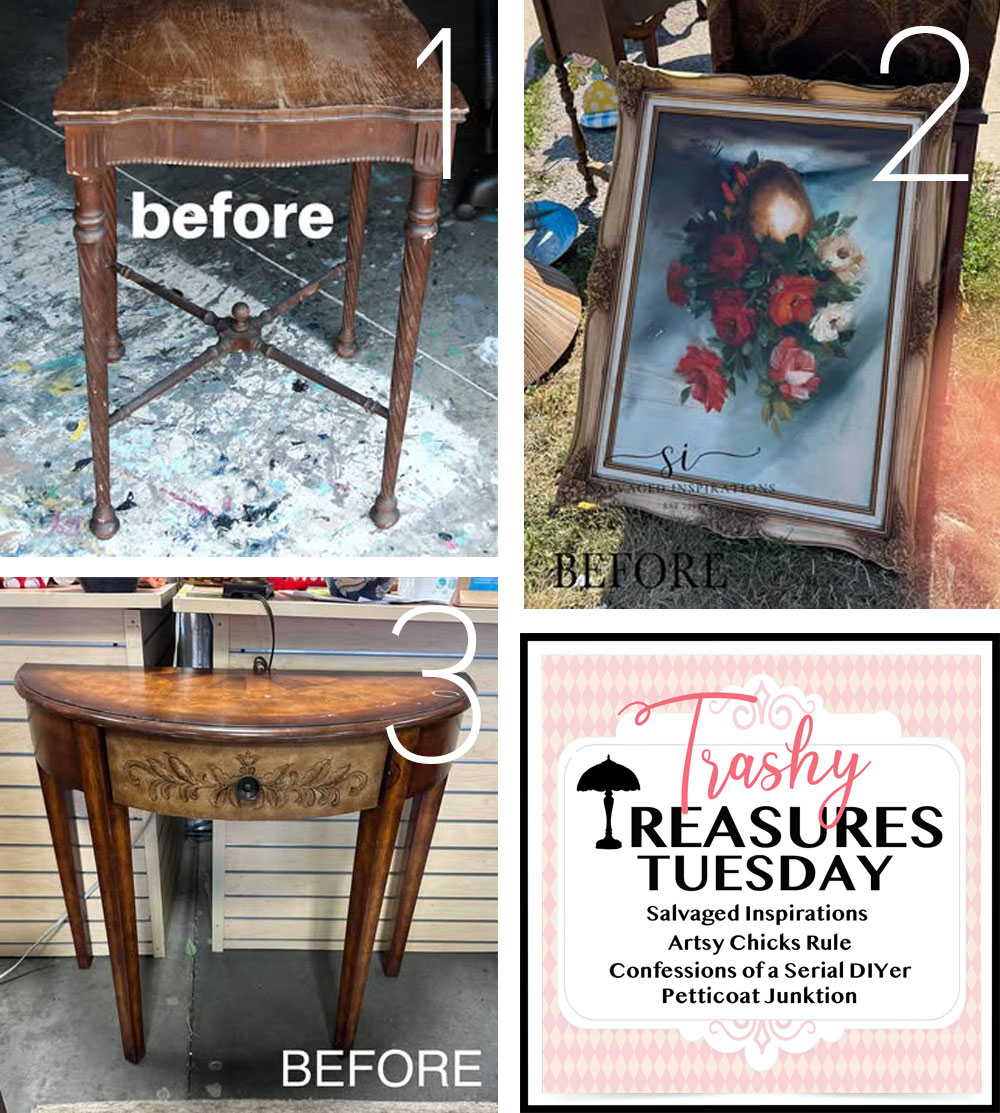
Welcome, my beautiful friends, to the very first Trashy Treasures Tuesday of the new year! If you’re new here, welcome! My friends and I get together the second Tuesday of each month to share trashy makeovers. Look for their makeovers at the bottom. For my contribution this month, I’m sharing how to give a dated shelf some vintage charm!
Let’s get to it!
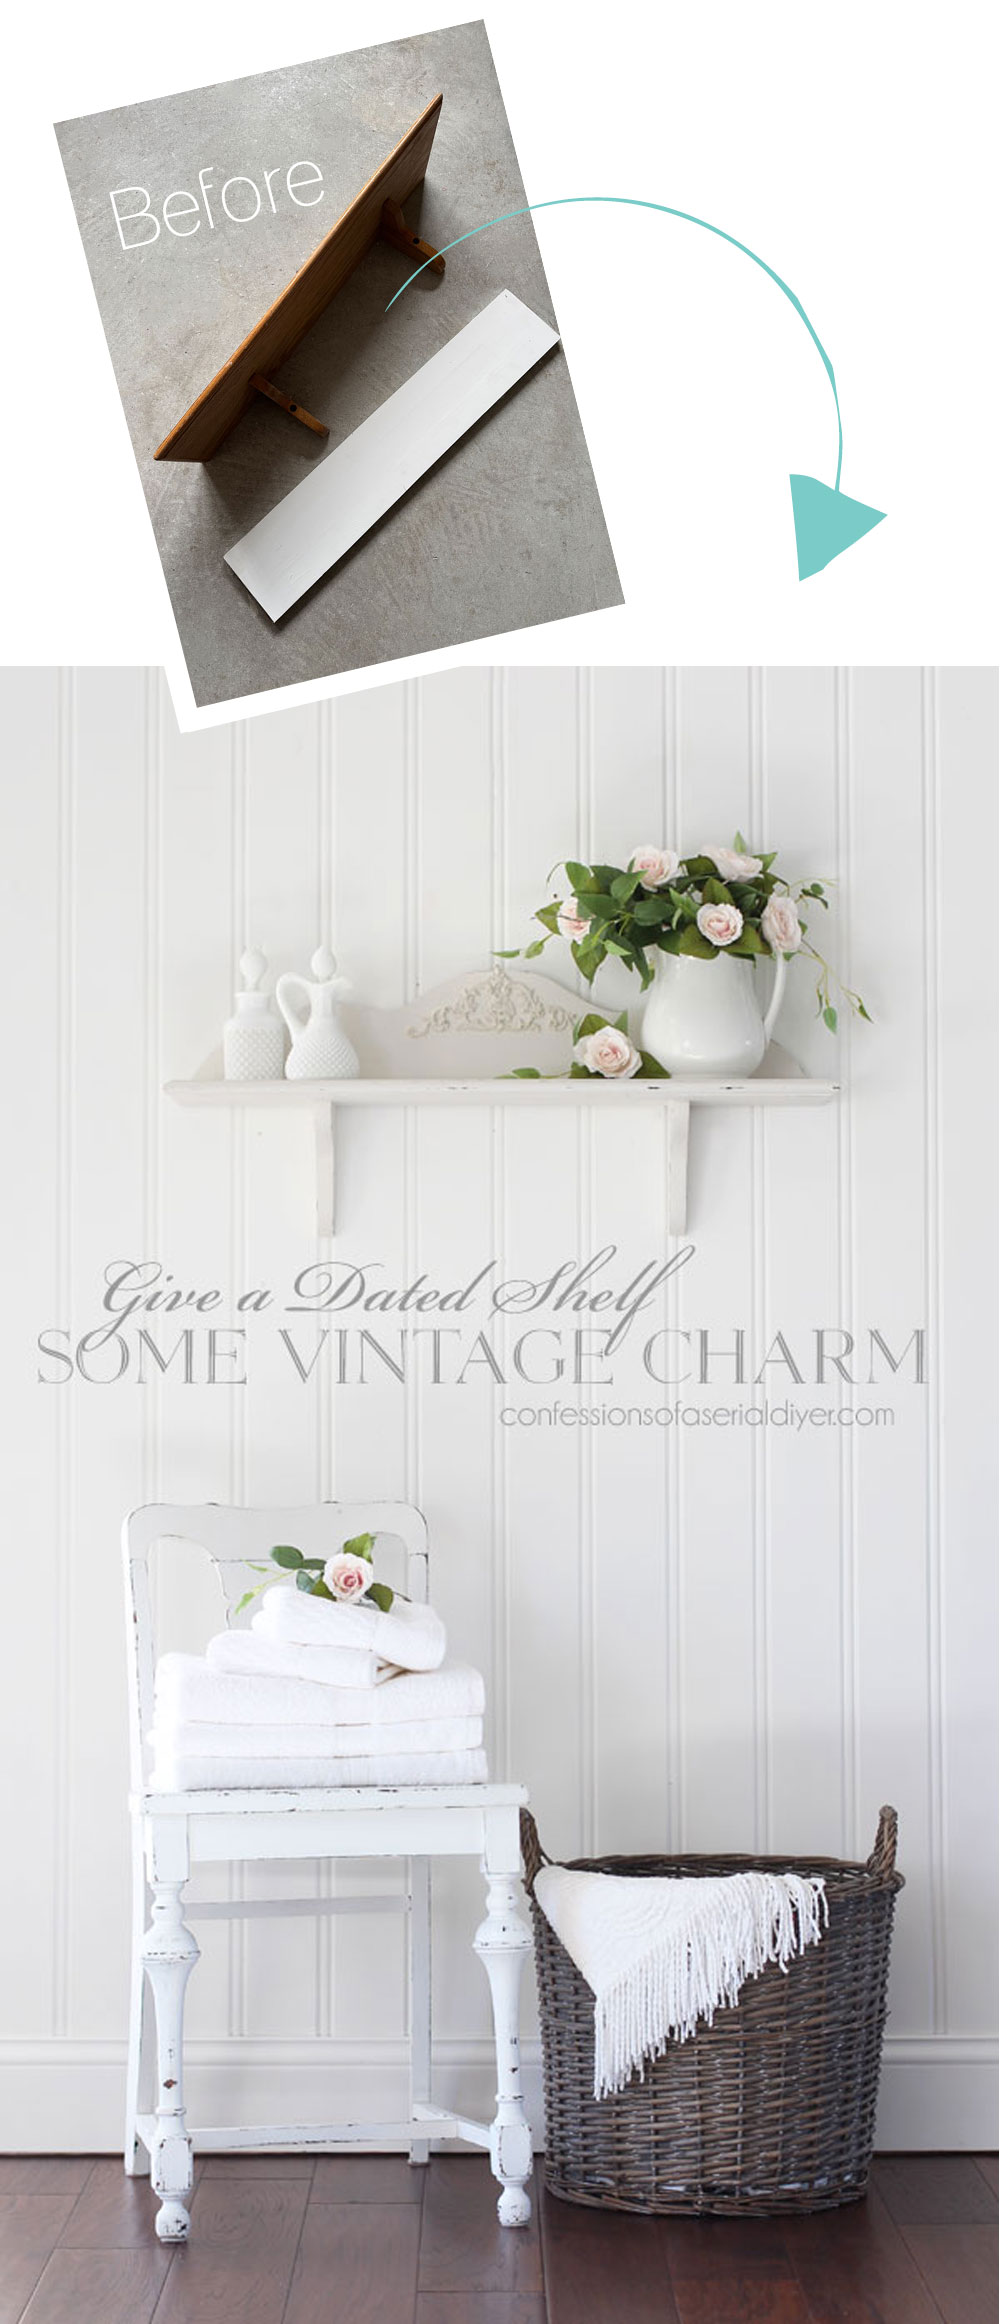
My shelf started out like this:
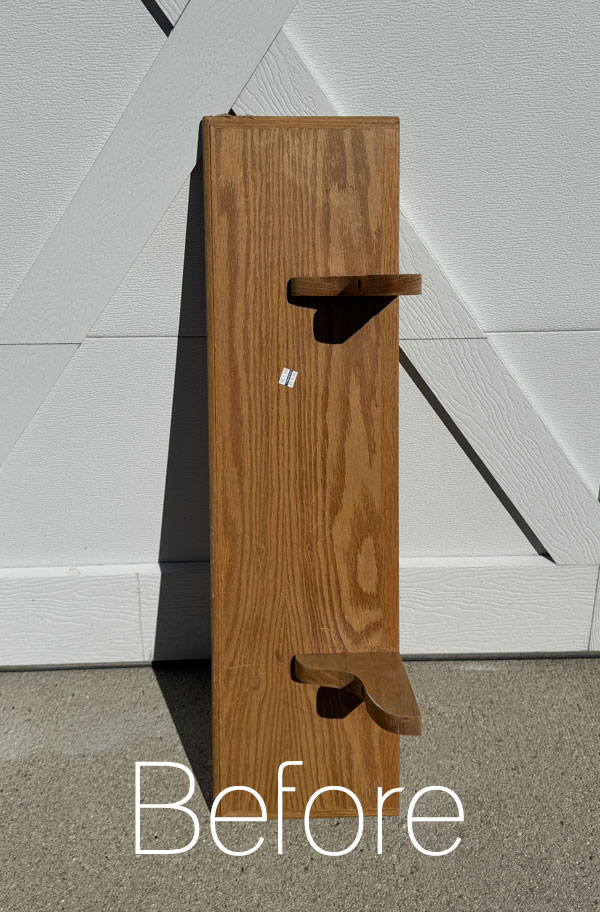
Nothing fancy, but for $4.99, I grabbed it since it is increasingly more difficult to find actual wood shelves, and they usually sell well for me.
You can’t tell in that photo, but the top is flat, as you would expect.
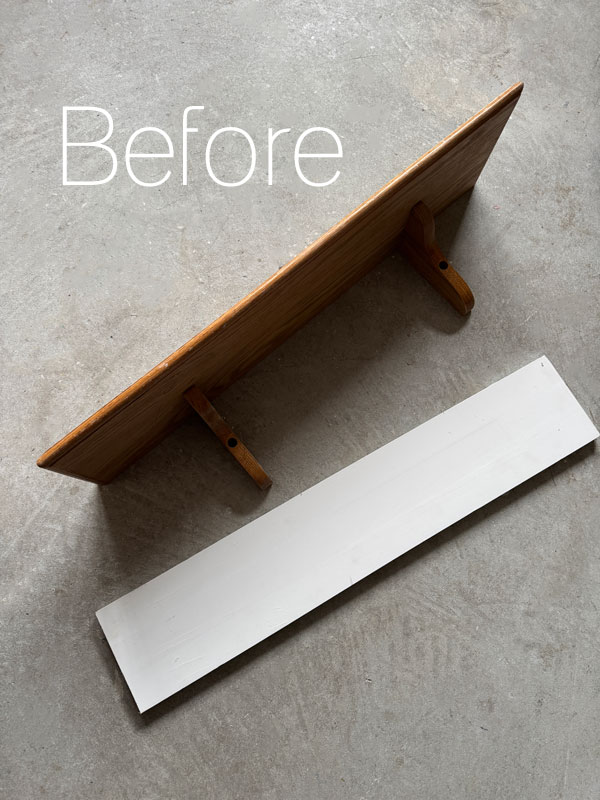
I decided to see if I could add some vintage charm to this shelf by using this piece of wood I had in my stash:
I’ve included a few affiliate links so you can find the products I love.
Fill in Deep Holes on Shelf Supports
The first step was to fill in the deep holes on the shelf supports. This is where the shelf was screwed into the wall and then the holes would have had a plug that really dated it. Instead, I chose to add sawtooth hangers on the back for hanging, so I was able to fill these deep holes.
The best way to fill a deep, round hole like this is to use a dowel. I just added some wood glue and inserted a piece of dowel. Then, I used my Ryobi Jig Saw to cut it flush:
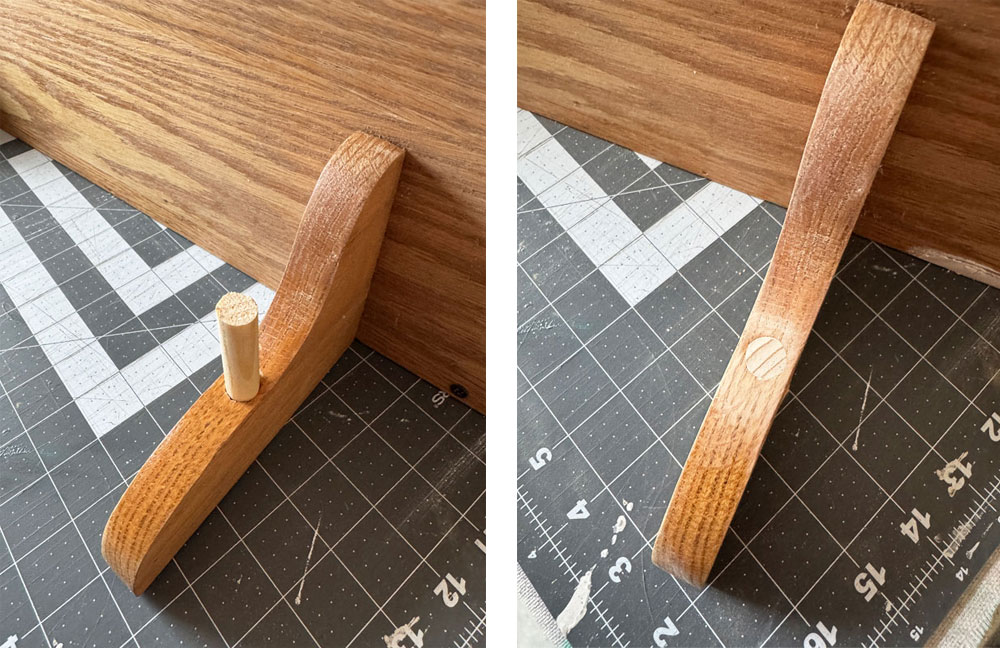
Then I sanded it smooth. You could use a small hand saw also.
Clean
I started by cleaning the shelf with with White Lightning, mixing one TBSP into a half gallon of warm water:

Once it was clean, I rinsed with clean water to remove any remaining residue.
Adding that Vintage Charm
To add that charm, I wanted to create a decorative piece to add to the top at the back. I’ve seen this called a backsplash on dressers, although it’s hard not to picture a kitchen backsplash lol.
To do that, I cut a piece of cardboard in the design I wanted for my new “backsplash” and traced that onto the piece of wood:
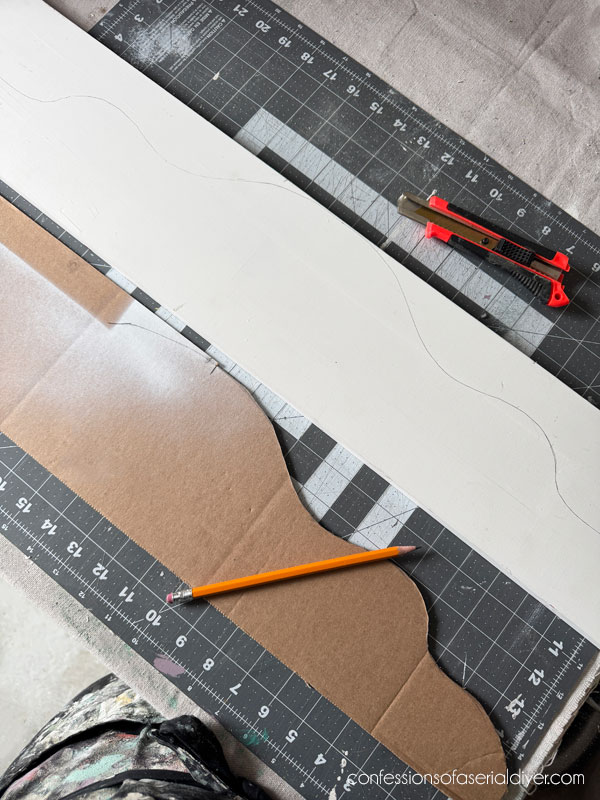
(I only drew and cut half of the cardboard piece and then just flipped it over and traced it onto the other side so they would be symmetrical.)
Then, I cut that piece with my Ryobi Jig Saw:
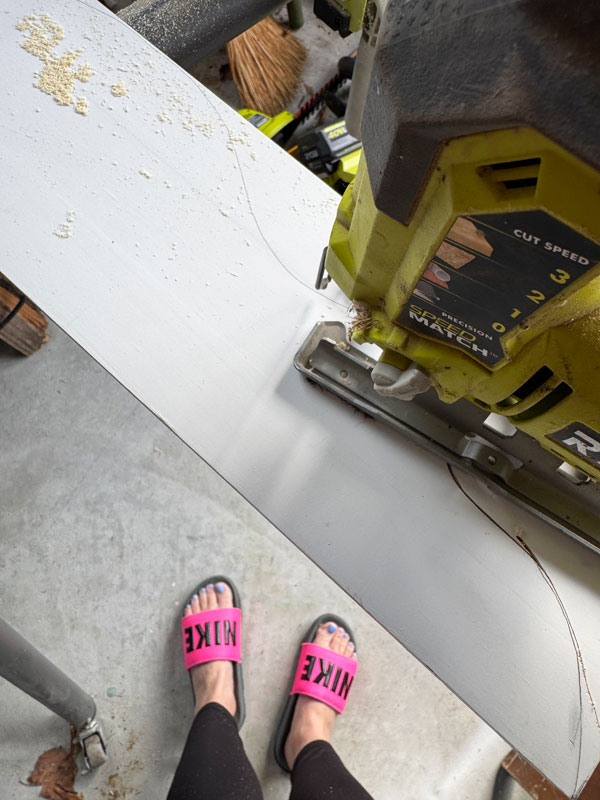
I swapped the original blade for a scroll saw blade to get those tight curved cuts more easily.
Sand
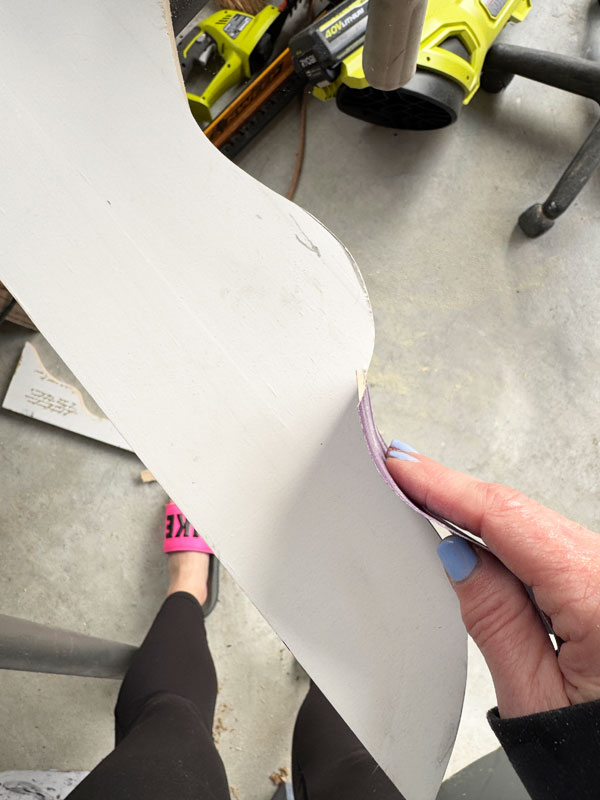
The edges needed a good sanding to smooth them out, and I did that with 220 grit sandpaper:
Attach
To attach the new piece to the top of the shelf, I used wood glue and screws, drilled in from the bottom of the shelf. However, the new top piece wiggled way too much, so I ended up adding these brackets and removing the screws:
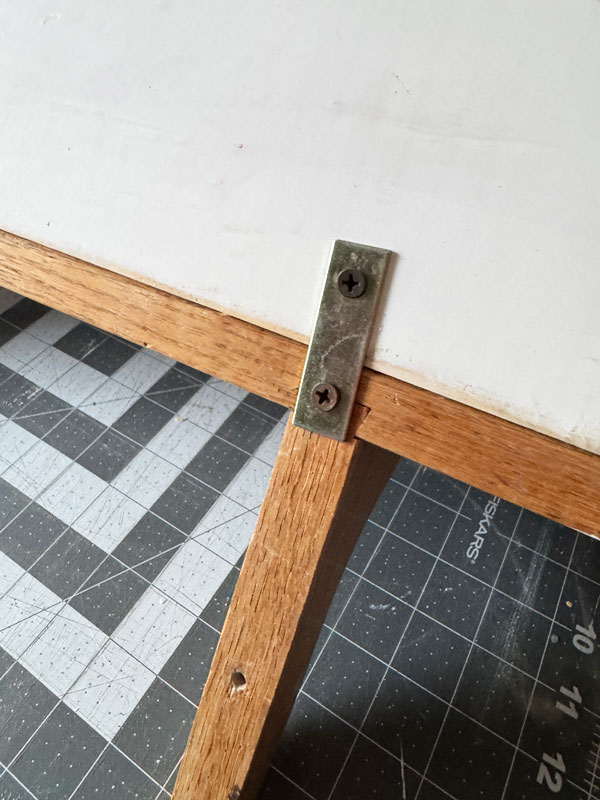
That made it super sturdy!
Now I was ready to paint, but not so fast!
Prime with Bonding BOSS
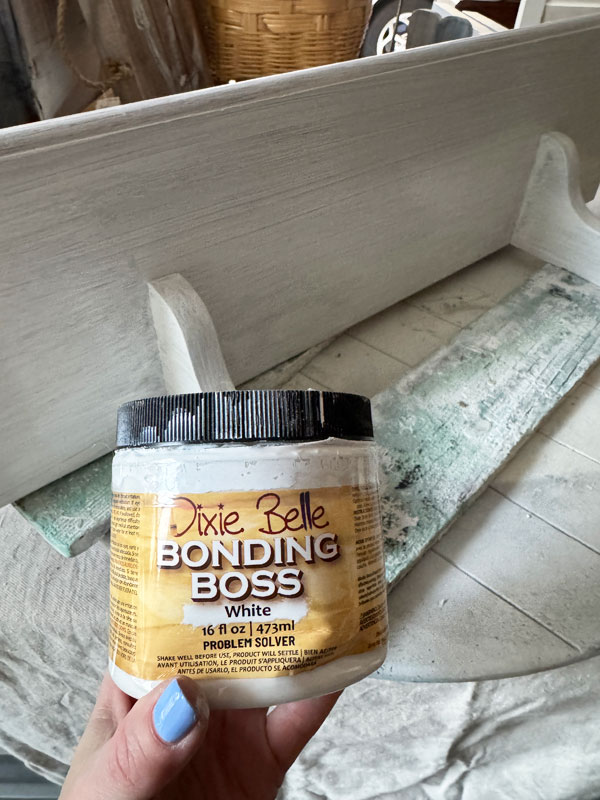
I was fearful that this oak may cause some bleed. I don’t know if it’s the oak itself, or that fact that something can get can get trapped in the deep grain that bleeds through, but sometimes it can be an issue. To avoid that, I gave it just one coat of White Bonding BOSS (both a stain blocking and adhesion primer in one) and let it dry for 24 hours:
Paint
Finally, the best part, paint!
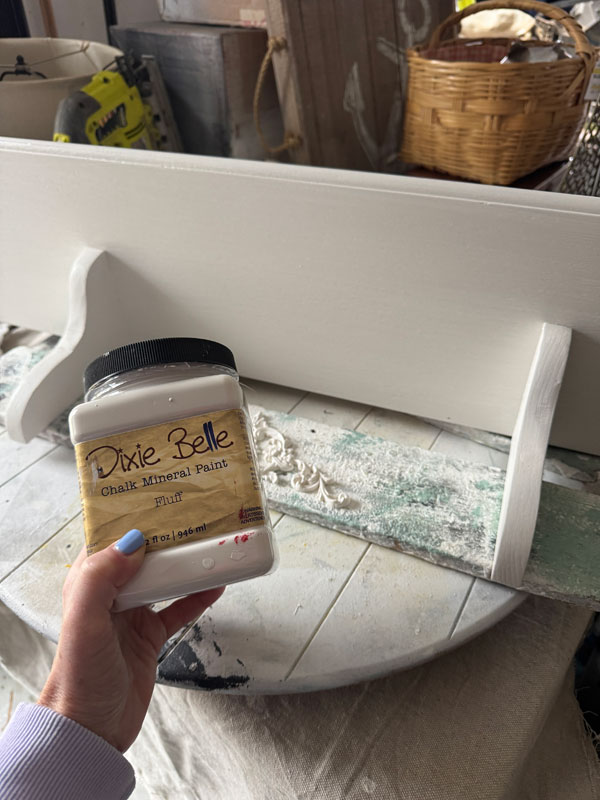
I gave it two coats of Fluff from Dixie Belle:
Faux Distressing
That sounds better than fake distressing lol, but that is essentially what it is. I love a shabby look and wanted to give this shelf a bit of distressing.
Because the top was white and the bottom wood, I wanted the distressing to look uniform. To do that I used a layering block to dab paint in the color Coffee Bean along the edges:
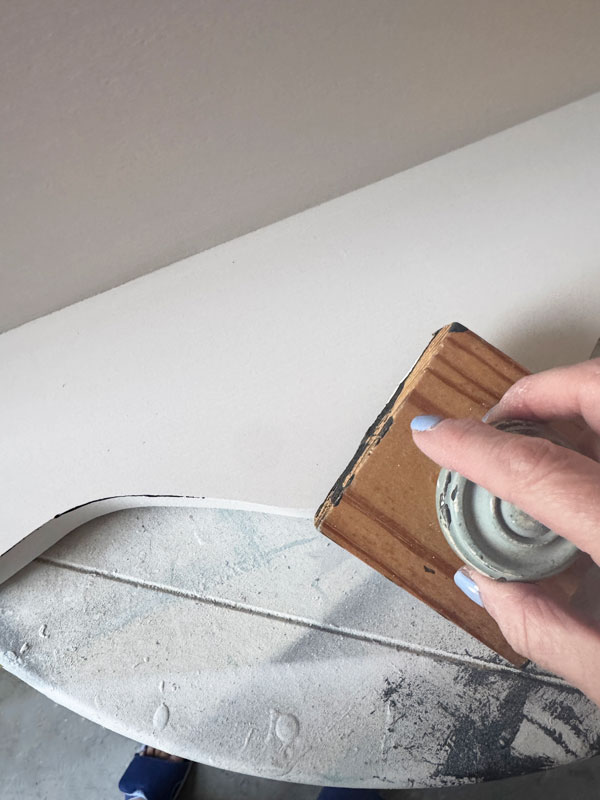
(Mine is just a square of wood with a wooden knob glued to it.)
You can see a lovely video of me in BRACES demonstrating that a few years back below:
How to Cheat a Distressed Finish
If you have any trouble viewing, you can see it on YouTube HERE.
Seal
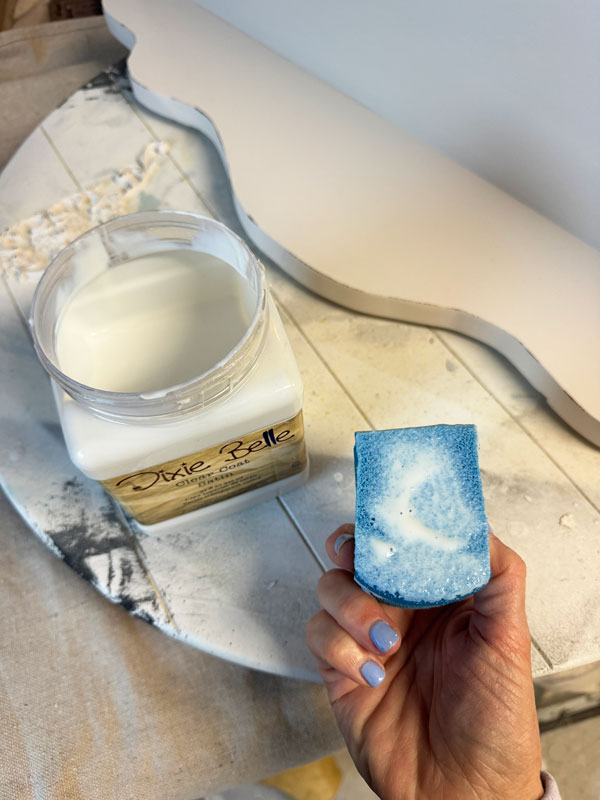
To seal, I used Clear Coat in the satin finish using the blue sponge applicator to apply it.
How to Give a Dated Shelf some Vintage Charm, the reveal!
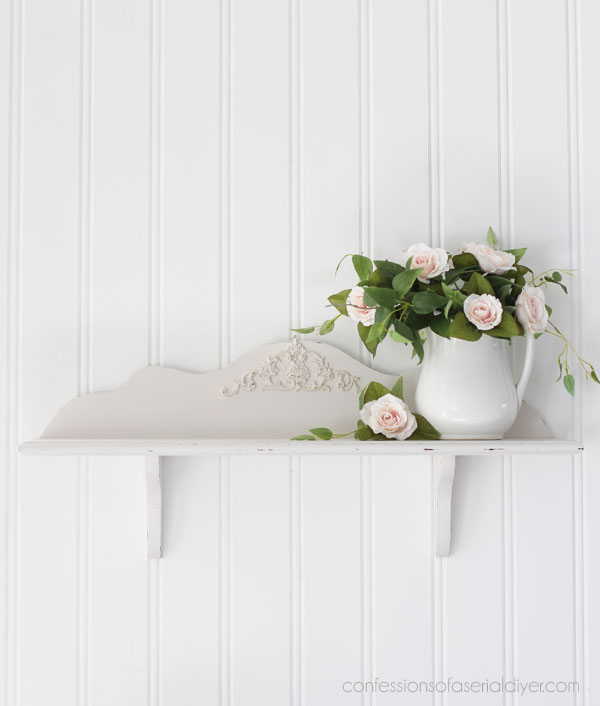
Here is how this dated shelf looks now!
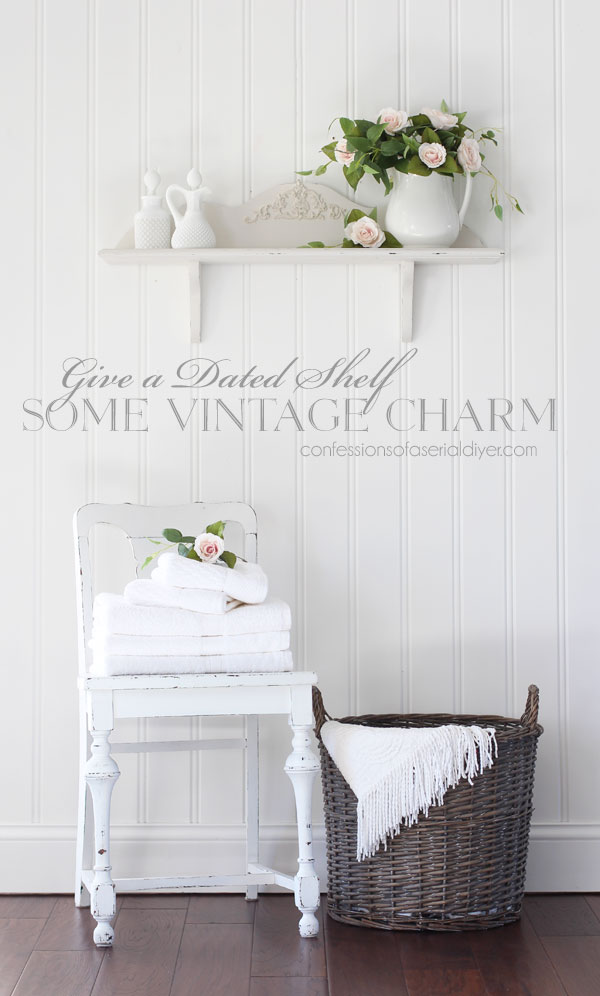
Cute, right?
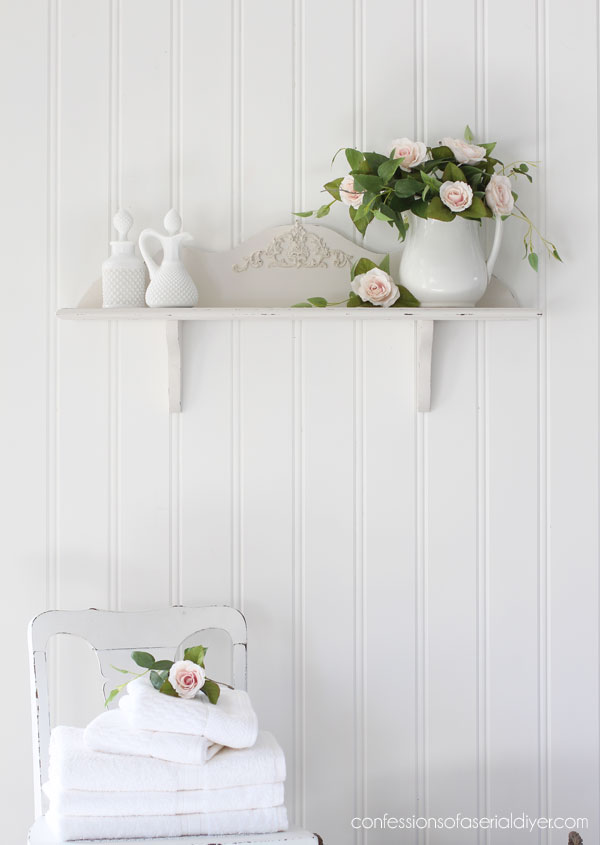
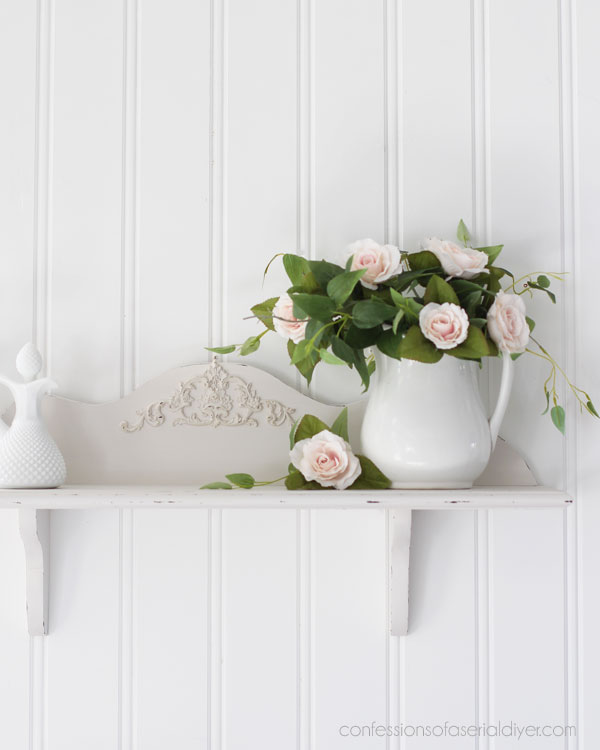
What really makes it charming though, is the decorative piece I added to it:
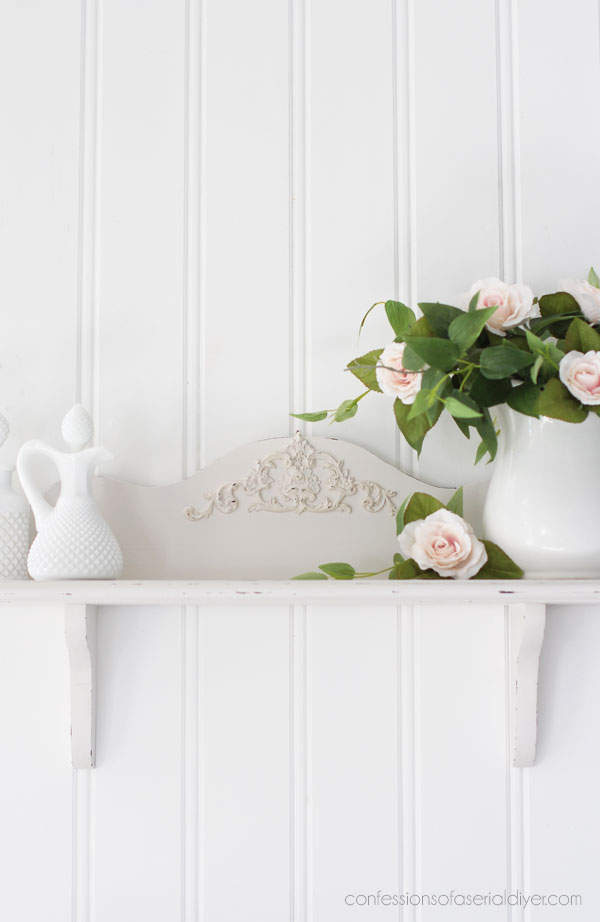
I made that using Amazing Casting Resin and the Regal Flourish Decor Mould:
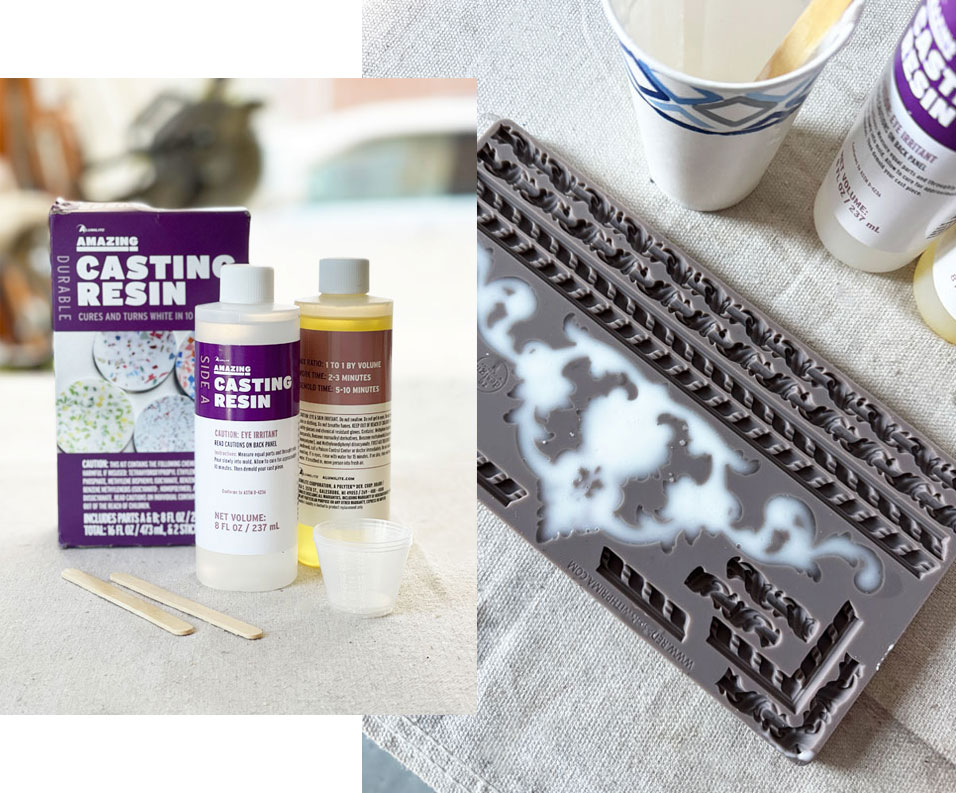
See another project I completed recently using this mould HERE.
Redesign with Prima’s moulds are often limited run, so this may no longer be available if you are viewing this long after the posting date.
I used the layering block to faux distress that also.
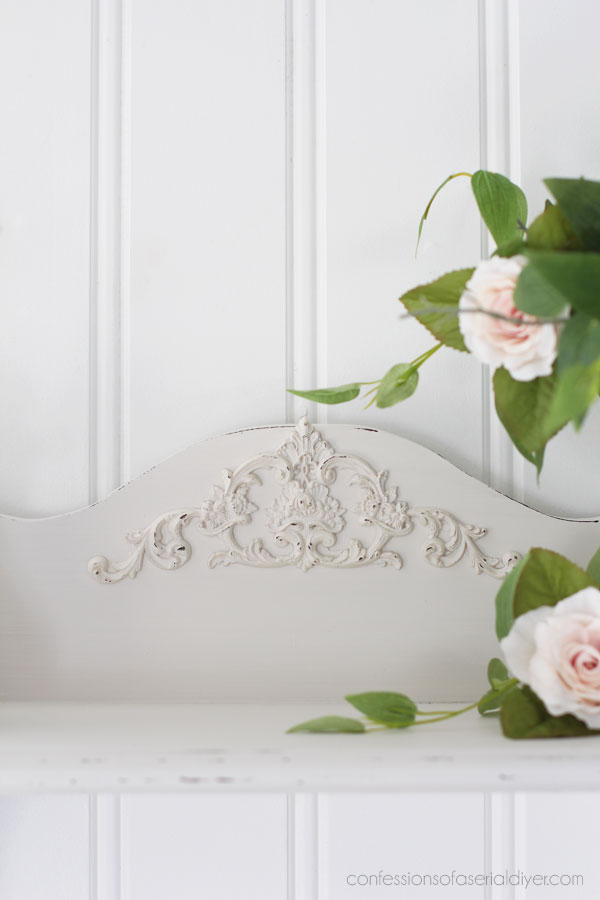
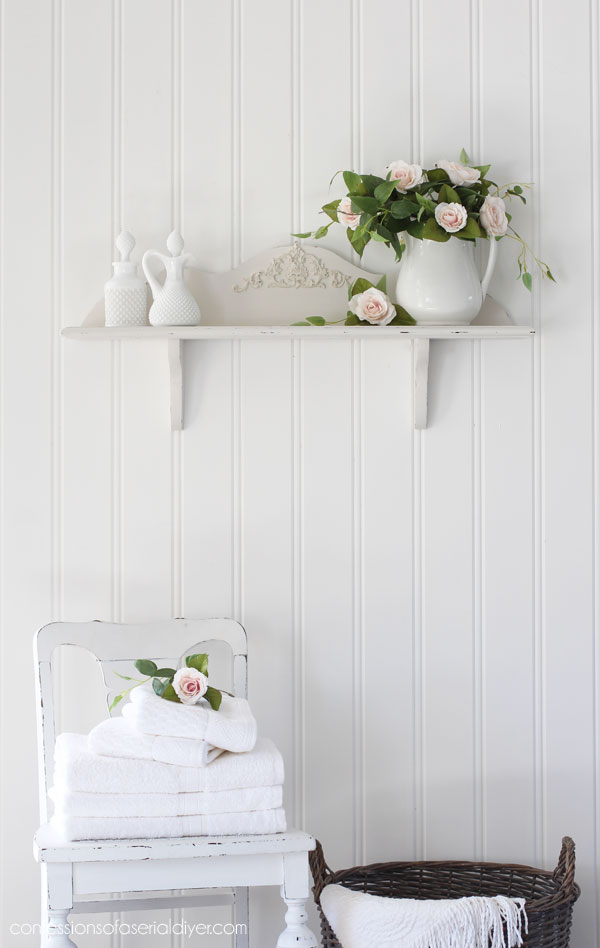
Here you can see the faux distressing up close…
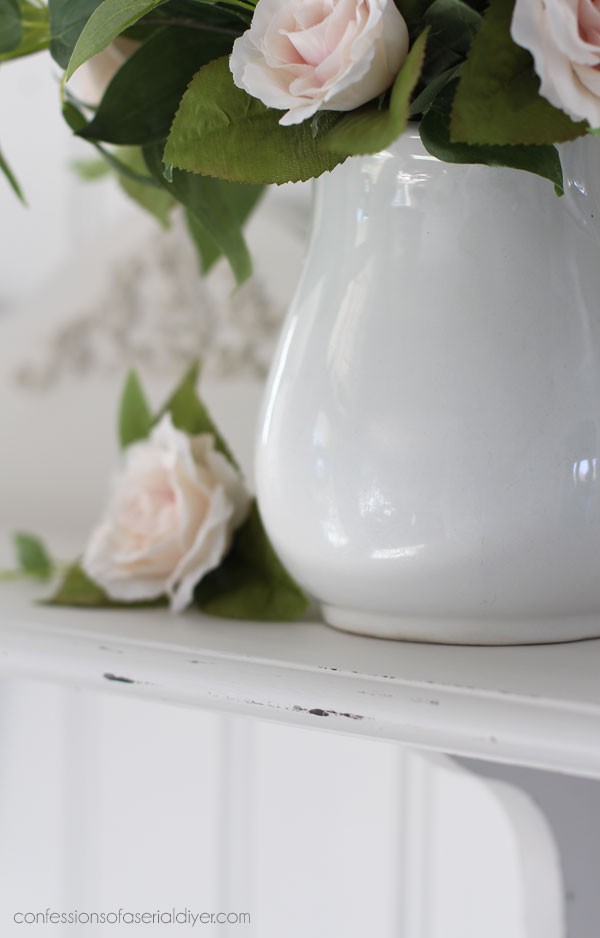
And if you like more of a clean look, that’s totally okay too! Someone asked me recently what I see trending in the future. I honestly don’t follow trends. I just do what I personally love in the hopes that you will love it too!
Here’s a better look at the curves on the back:
I enjoyed giving this simple shelf a more vintage vibe!
I hope you enjoyed it as well!
Don’t forget to check out what my friends have for you today!
It’s nice to finally be back to crossing items off my list!
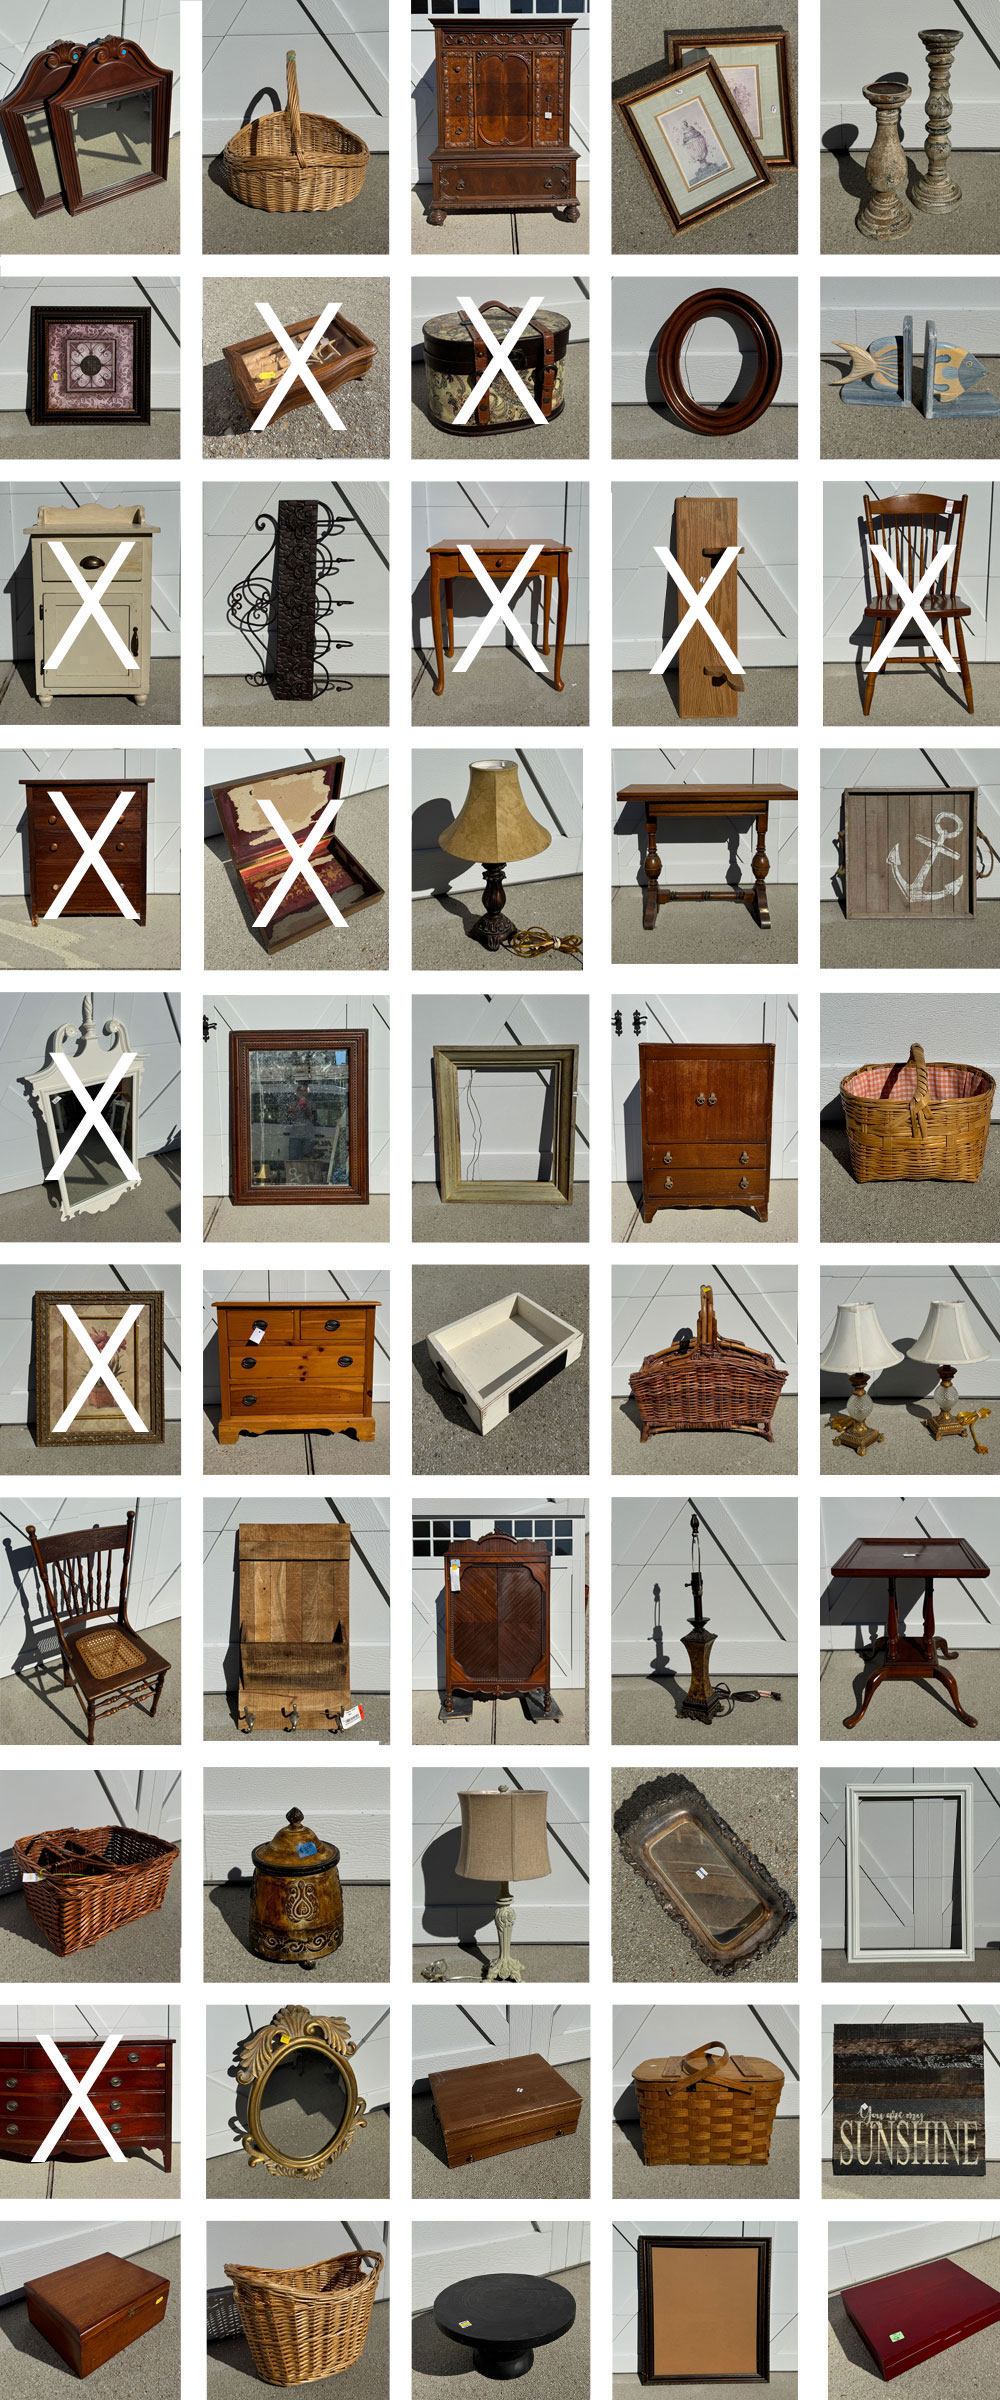
I’ll be back on Thursday with these two lamps from my current haul:
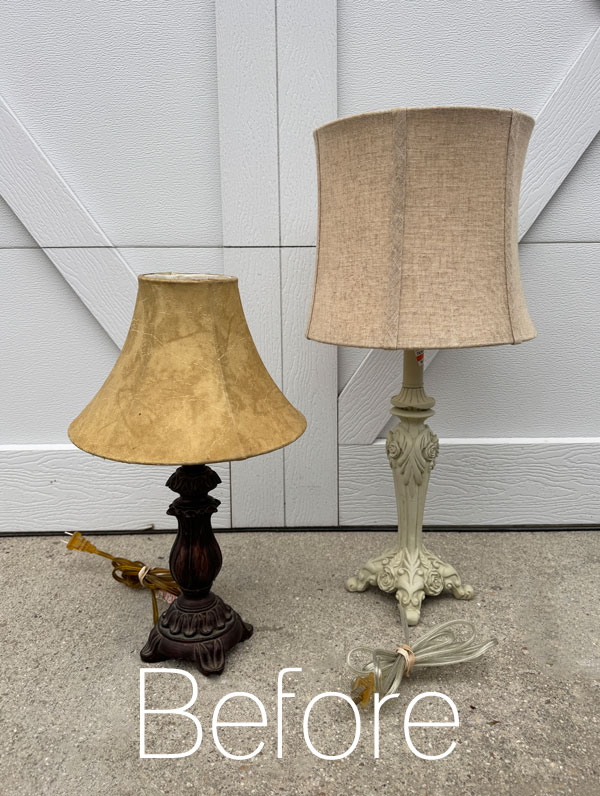
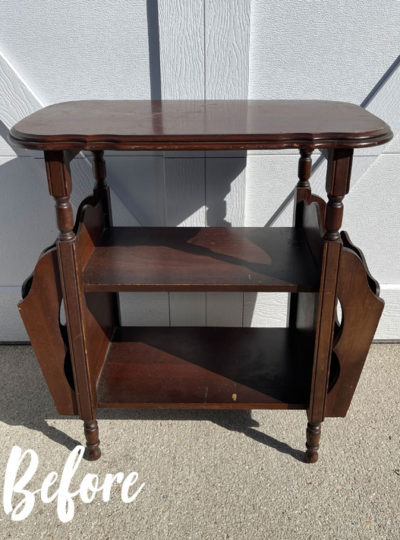
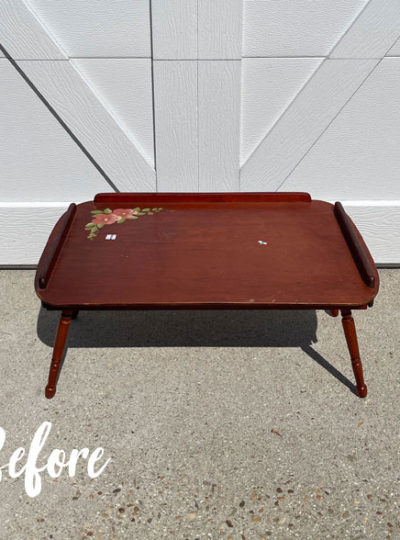
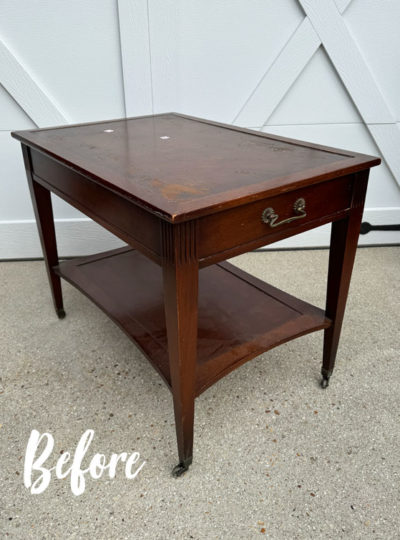
Then, I’ll be back on Tuesday with a furniture piece that I’ve started prepping already!
UPDATE: See these two thrift store lamps HERE now!
See ya then!
XOXO,

Don’t Miss a Thing!
If you like what you see, there are several ways to follow along!
EMAIL * INSTAGRAM * FACEBOOK * PINTEREST

Get FREE SHIPPING on all orders over $50 in my Etsy shop. (No code needed at checkout!) Orders under $50 enjoy $8 flat rate shipping!
Most orders ship same or next business day! Visit my shop below!





Mary Kaiser says
Oh my gosh it is so lovely! I love the vintage look it has now! The is perfect for that! They look like they have always been together! I don’t follow trends when decorating my home, I decorate it with all things that I love and it works for me! That gut instinct you do your make overs is what makes all your pieces turn out beautiful, keep doing what your doing because I love every thing!
Christy says
I’m so glad you like it, Mary, thank you! And yes, if you decorate with all things you love, I feel like it will all cohesively flow together! That works for me too. And thank you…you know I appreciate that so much! XOXO
Janice Redden says
Happy New Year, Christy! The shelf turned out so cute – love the added flourish! I’m envious tgat you are in sandals!!!
Christy says
Happy new year, my friend, and thank you! Yes, we had a few days of unseasonably warm temps, but it is back to frigid lol! XOXO
Cecilia says
The backsplash (I learned something new!) really added so much charm to the plain shelf. But the finishing touch is definitely the decorative piece. Love it!
😍 Cecilia
P.S.
I’m glad you do what you like instead of trying to follow trends! Why be like everyone else?
Christy says
Thank you so much, Cecilia! I learned something new too, and I agree that decorative piece was the star. And yes, it’s so much more fun when you do what you love! XOXO
Kathy from JAX says
How cute is this? I’m with you. I like the vintage shabby chic look. Just a few tweaks and this looks great Christy. I made a New Year’s resolution to respond more. I always check out what you’re posting, I just don’t always have the time to reply but…I’m really going to try harder this year. Happy New Year!
Christy says
Hi Kathy! Thank you, I’m so glad you took a moment to say hello! I love interacting with y’all in the comments, but I do understand that we get busy! And I’m with you…I still love a shabby chic look too! XOXO
Denise - Salvaged Inspirations says
Hi my friend! I love this, and the resin moulding really elevates the vintage vibe – beautiful as always! Pinned XOXO
Christy says
Thank you, my friend! I love that this group forces me to think ha ha! XOXO
Cyndi says
The “backsplash” and decorative mould really dress this shelf up. So pretty!
Christy says
Thanks so much, Cyndi! I’m so glad it worked out! XOXO
Jackie C says
I first learned of the block for distressing from you. I thought it was genius. I’ve used it a few times and I’ve also used a brown sharpie once on a medium sized resin rooster 🤭
Love the shelf and especially the decorative piece. As everyone else has mentioned it set it off. Glad to see you back and I hope you enjoyed your holidays! You definitely deserve a break.
Christy says
Oh awesome! A sharpie?? That is pretty genius…might have to steal that lol! Thank you, my friend! It feels great to be back at it after a very enjoyable break! XOXO
Michele M. says
It’s a beauty now!
Christy says
Thank you, Michele! Hope your year is off to a great start! XOXO
Marcie Lovett says
Hold on there a minute, I thought, there’s no way she’s going to leave it without a stripe or a decorative piece! And I was right 😂 Charming, indeed. I’d never guess it started out as that boring, dated shelf. I don’t predict trends but I do predict that this won’t be hanging in the booth very long.
Christy says
Ha ha you know me well, my friend! Thank you! And I hope your prediction is correct! XOXO
p says
So cute now. Love the soft curved backsplash.
I also agree that adding the deco piece makes it special. The light distress is charming.
Glad you can still find real wood stuff. Seems thrifting can be a challenge.
I look forward to another new year of your creativity 🙂
Christy says
Thank you, P! It is getting more difficult to find quality items at thrift stores, but I guess that makes it more of a challenge and possibly stops me from buying so much lol! First makeover down, many more to come! XOXO
Nancy @ Artsy Chicks Rule says
I love the backsplash you added! 😉 It’s the perfect addition to that boring shelf! Beautiful now! xoxo
Christy says
Thank you, my friend! Much better! XOXO
Sherri says
You did such beautiful work, Christy, and the shelf turned out gorgeous! I always enjoy how you reimagine something plain and give it a whole new, vibrant life!
Christy says
Thank you so much, Sherri! I really appreciate that. It is fun for me too! XOXO
Kathy Owen says
Christy, I don’t think there is anything you can’t do! Love the new shelf, Kathy
Christy says
Aww you are so sweet, Kathy, thank you, my friend! XOXO