Hello, dear friends! I’m back with a quickie redo today! I’m sharing a $5 yard sale mirror set makeover.
Let’s get started!
This set of two mirrors was a steal for only $5 each at a yard sale last summer:
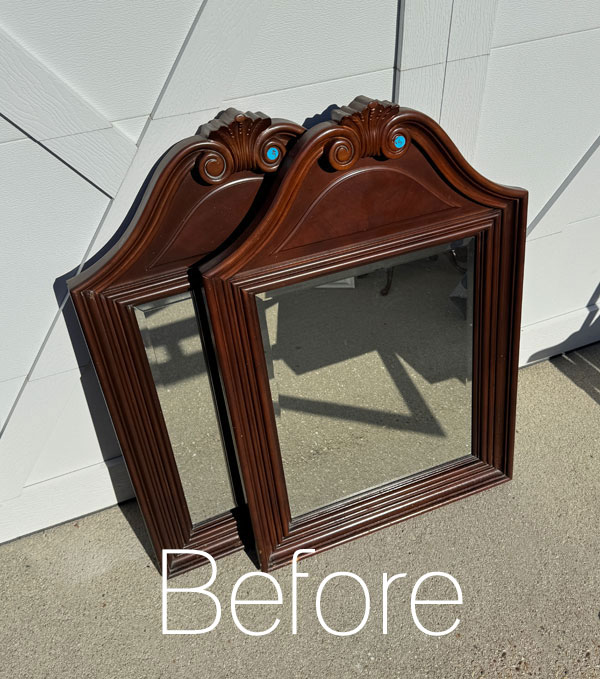
They are a bit on the short side compared to most mirrors I come across. I was thinking that they may have come with a long dresser? I know long dressers with two mirrors was popular in the 70’s, but these seem much more recent than that.
Either way, I grabbed them up right away!
Here’s closer look at the unbelievable price:
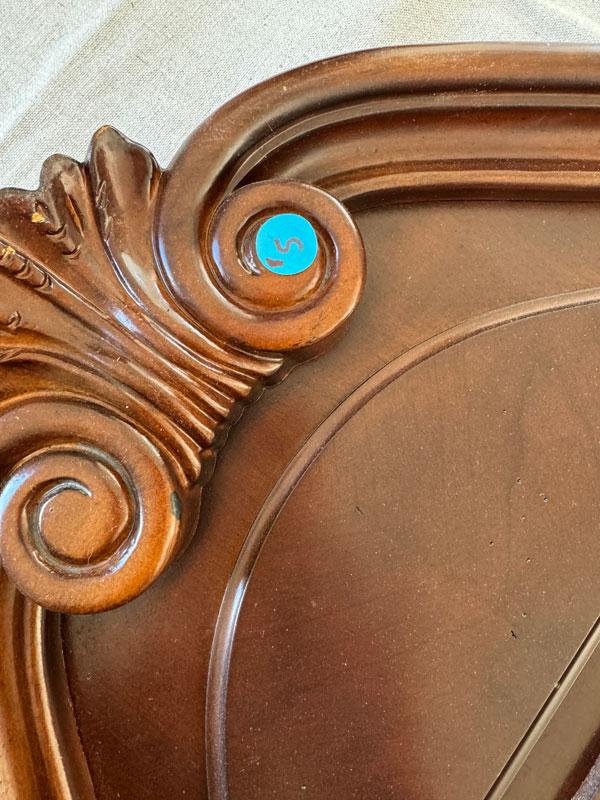
Yes, please!!
Remove the Mirrors
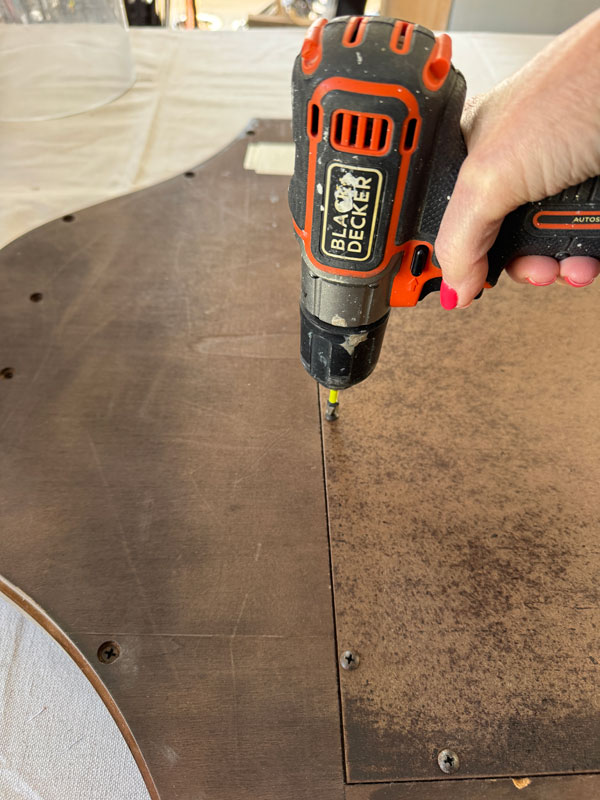
The first thing I do when painting mirrors is remove the actual mirror from the frame. These were quite heavy and this just makes it much easier to work on the frame.
This one was held in place with screws, which is much better than how they are usually held in place:
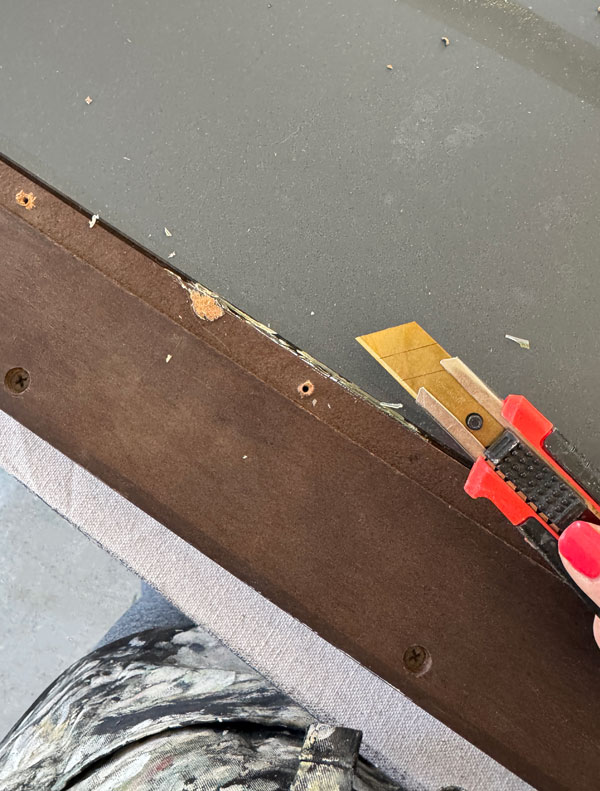
Once I had the backing off, you can see that the mirror was being further secured with glue. Luckily, it was only a small portion like this on either side:
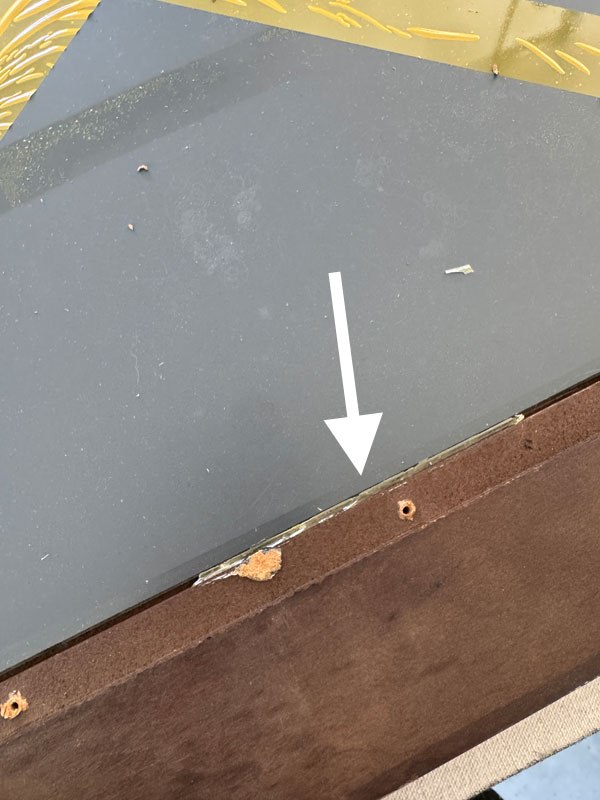
Sometimes, if an entire mirror is held in place this way, I won’t remove the mirror. Instead, I’ll just tape it off for painting, however, this little bit was easy to remove by scoring it with a razor blade…
I then removed the mirrors and set them aside for safekeeping.
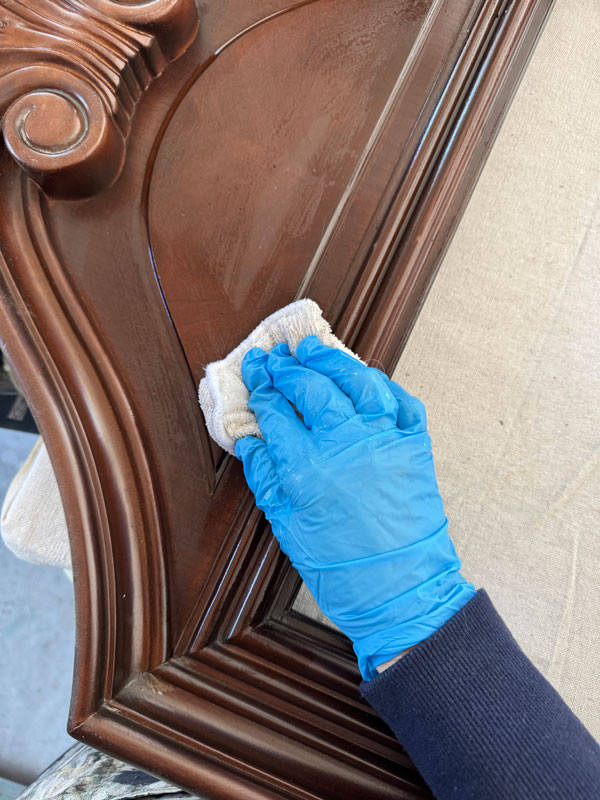
Clean
Next, I gave the frames a good cleaning with White lightning. It comes in both a pre-mixed spray and a concentrated form which is what I like to use since I prefer to mix a fresh batch for each project. I added one TBSP to a half gallon of warm water, gave it a good stir, and got to work …
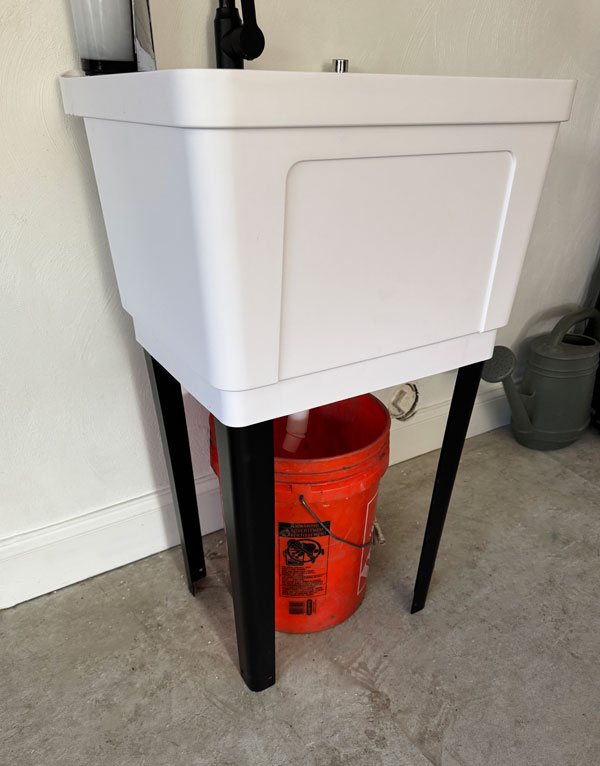
Oh and did I mention that I got to use my BRAND NEW garage sink for the first time??
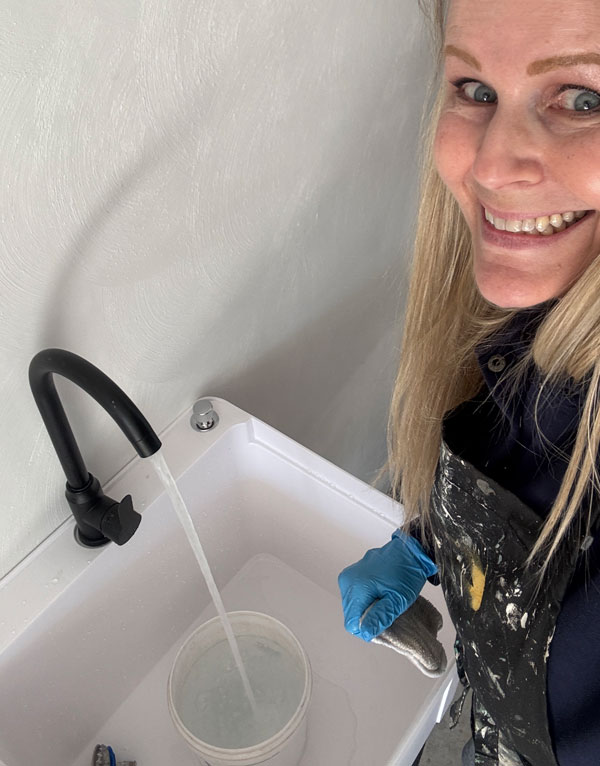
(See what all the excitement is about if you missed my big garage and workspace purge HERE.)
Still waiting on proper drainage though 🤣
Paint
I had no idea where I wanted to go with this set of mirrors, so I started where I often do when I’m unsure…with a coat of paint!
This is Dixie Belle’s Cotton:
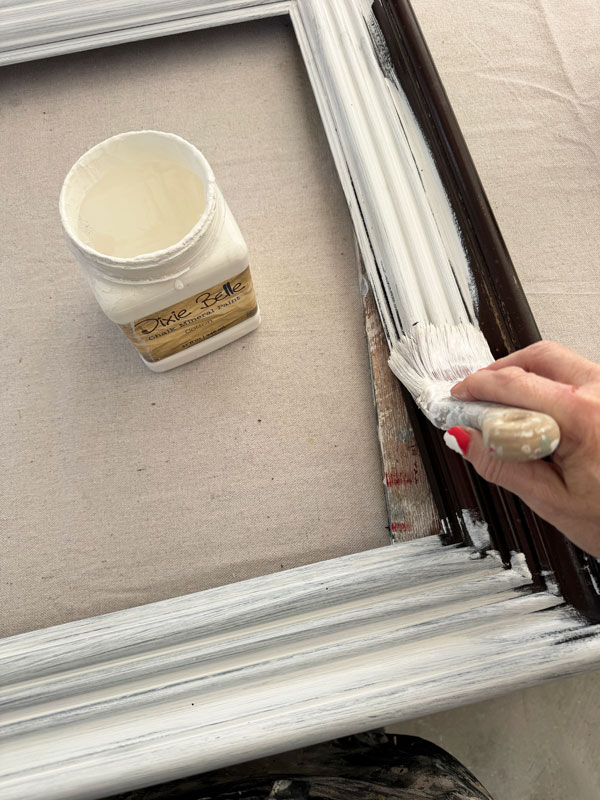
Often times starting with a coat of neutral paint will lead to more ideas of where to go next, but with the pretty detail at the top of this one, I really liked the simple white finish.
It took three coats in all for solid coverage.
I was sure to flip it over and paint this groove all the way around also since that would be reflected in the mirror:
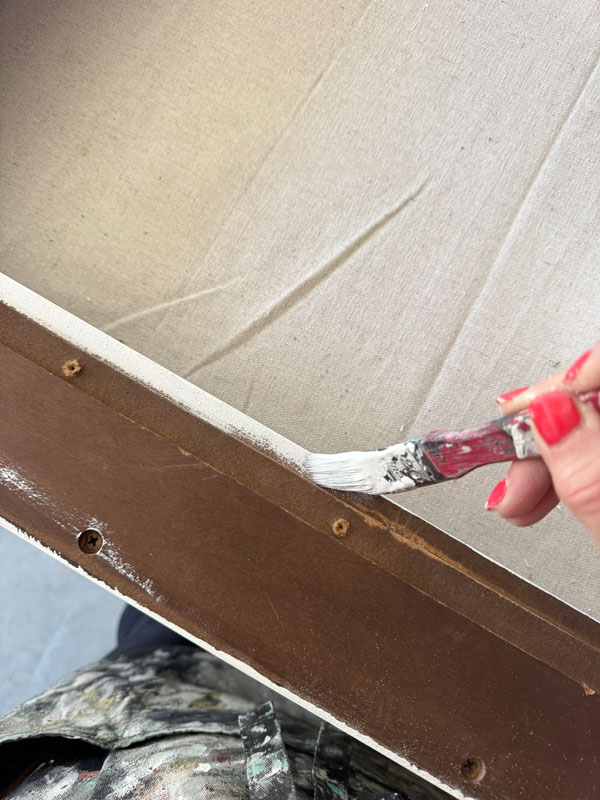
Another good reason to remove the mirror from the frame.
Sand
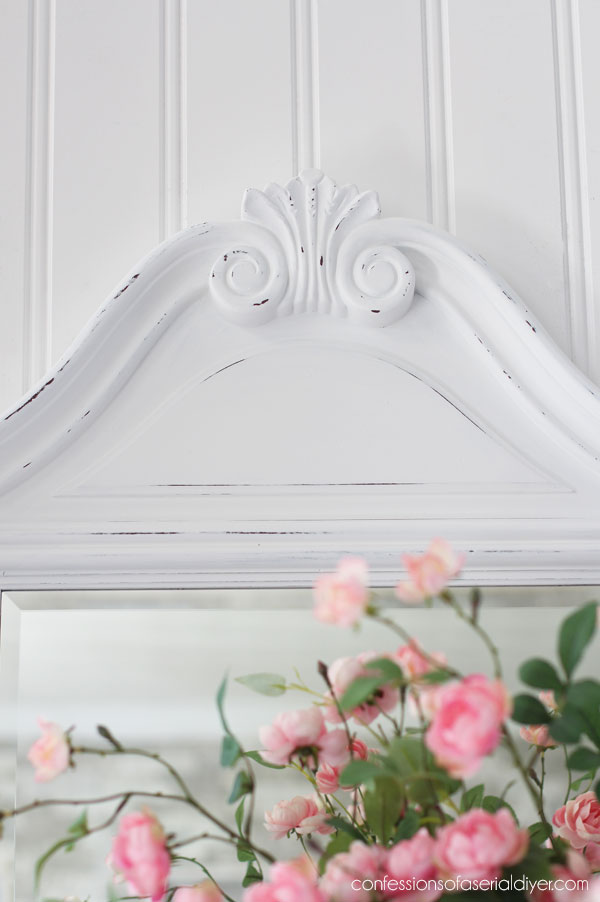
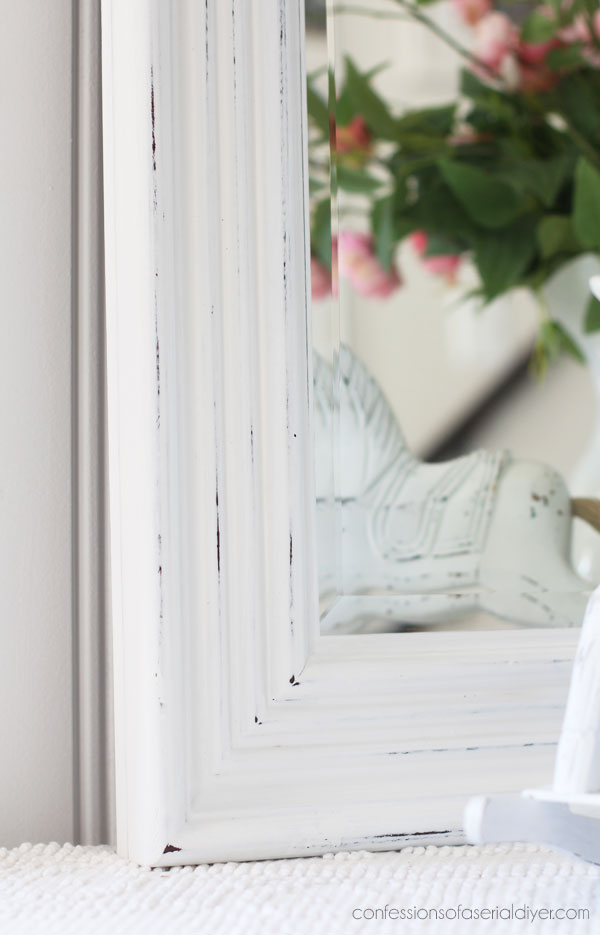
Once the paint was good and dry, I sanded all over to smooth and distress to enhance the details…
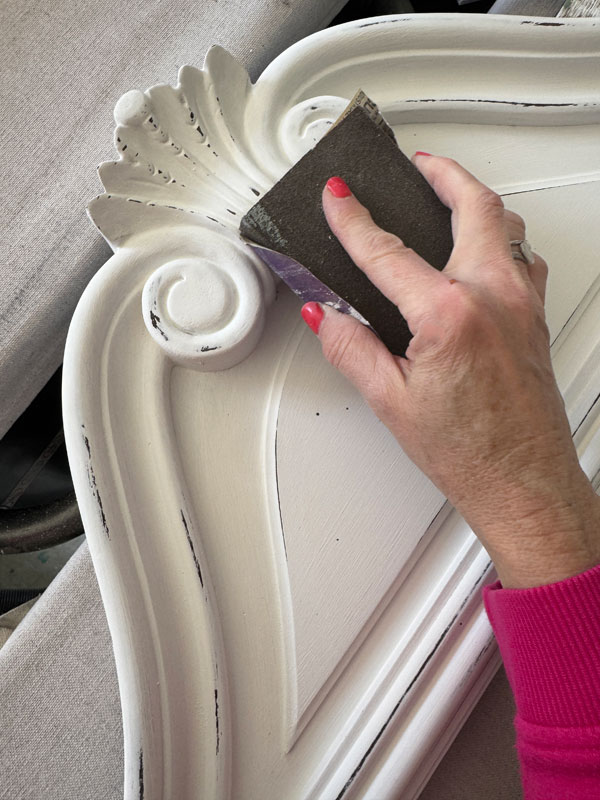
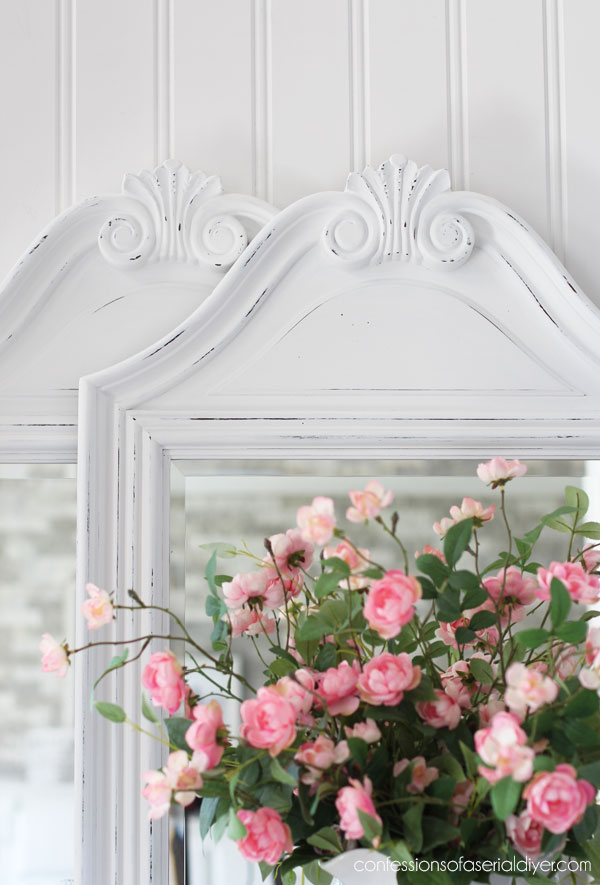
How pretty is that detail on top?
At this point, I struggled a bit with whether to add something to that solid raised area in the center.
- Do I add stripes that I love so much?
- How about adding some of this transfer (that is sadly no longer available)
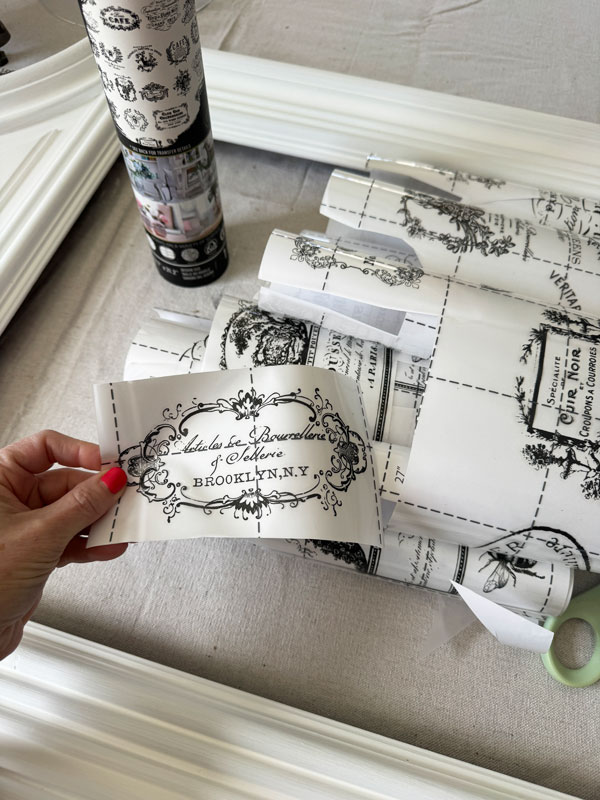
Maybe this piece?
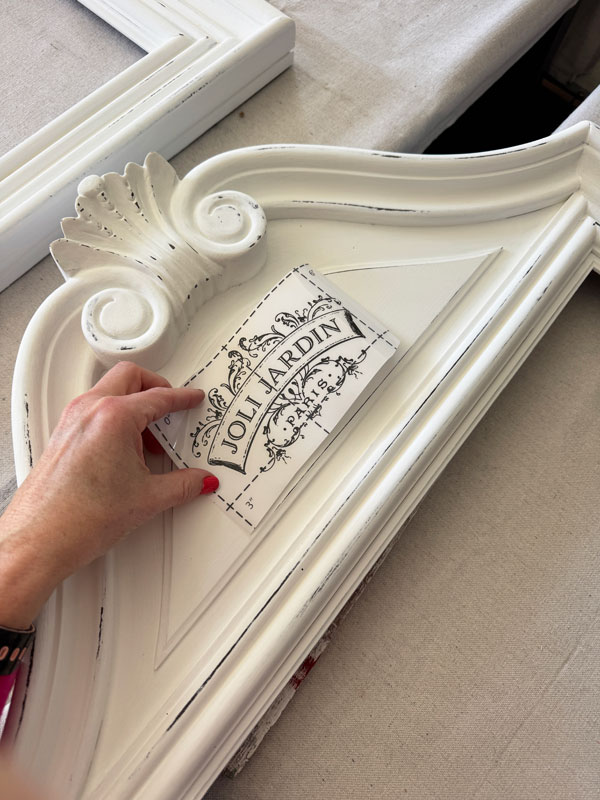
- Do I add a decorative resin piece? I tried that too and it fought with the detail at the top.
In the end, I decided to leave it as is.
Seal
I sealed it the easy way, using Rustoleum clear satin spray:
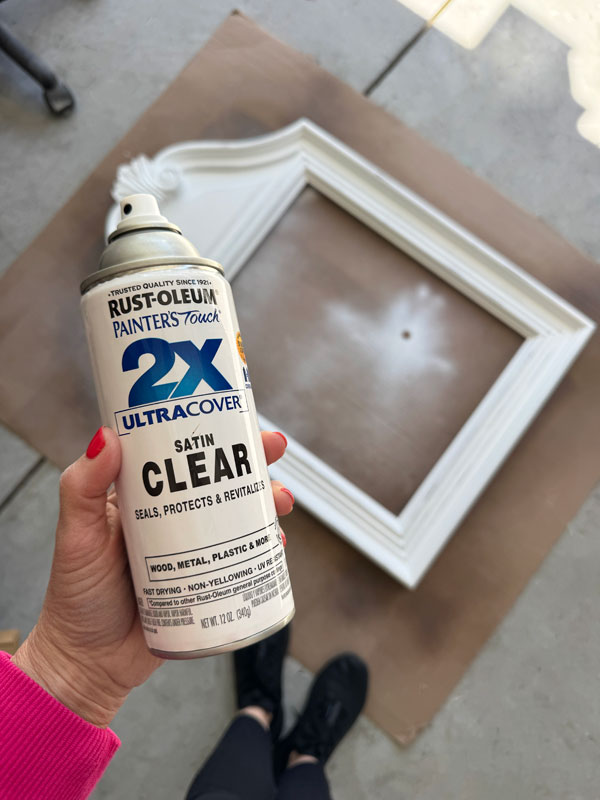
While I wouldn’t seal furniture this way, it’s fine for smaller sized surfaces like frames, lamps, etc.
All that was left to do was reassemble the mirrors, and this makeover was complete!
$5 Yard Sale Mirror Set Makeover Reveal
Here is how they, or at least one of them, turned out:
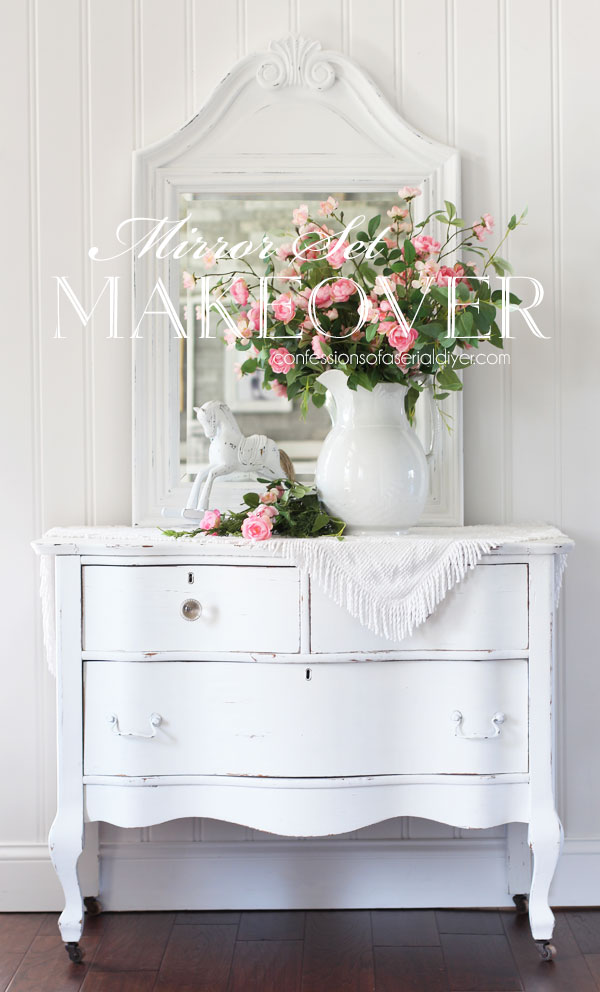
Sweet and simple!
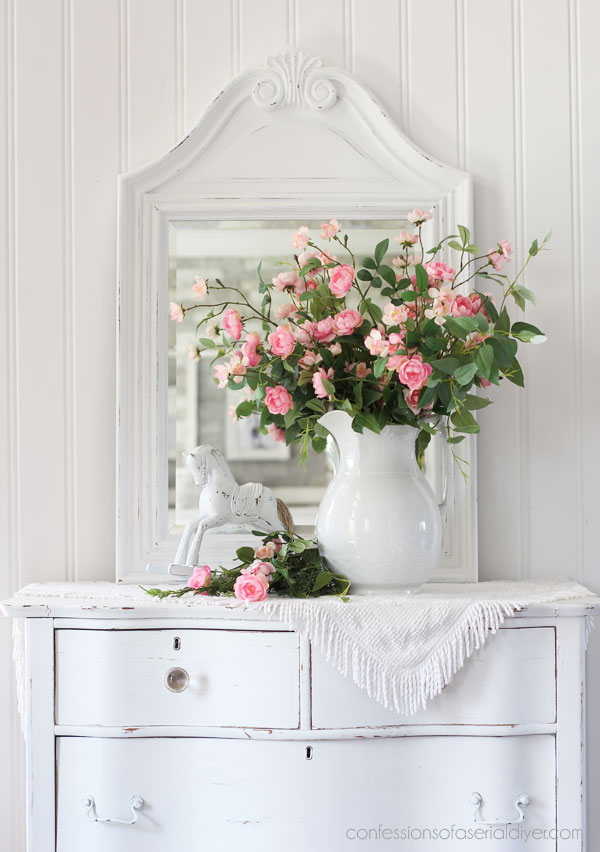
What do you think?
Should I add something to that open space?
If I leave it blank, it will be easier to blend with existing decor, and these mirrors already have such pretty detail!
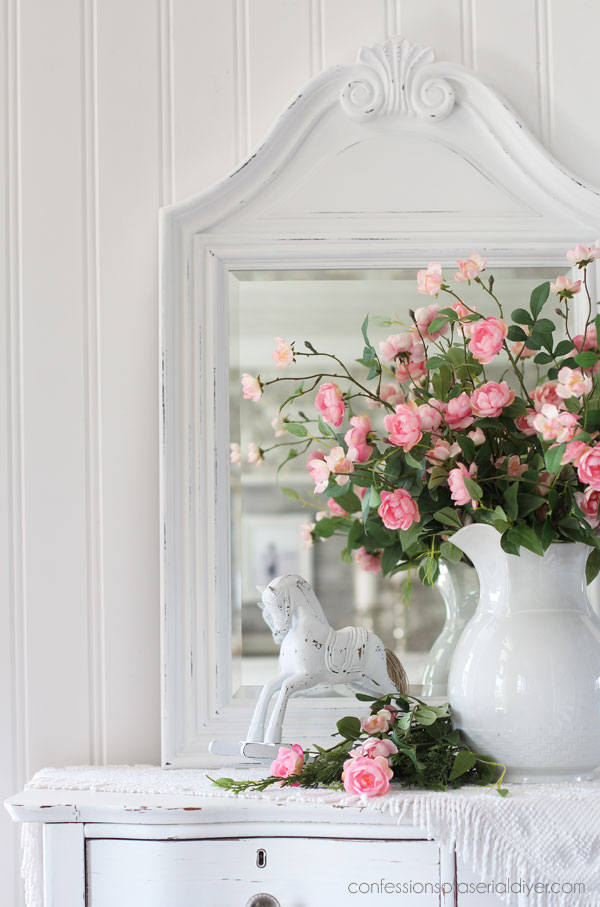
I love how chunky the frame is and you can’t beat a beveled mirror!
And here they both are, done to match:
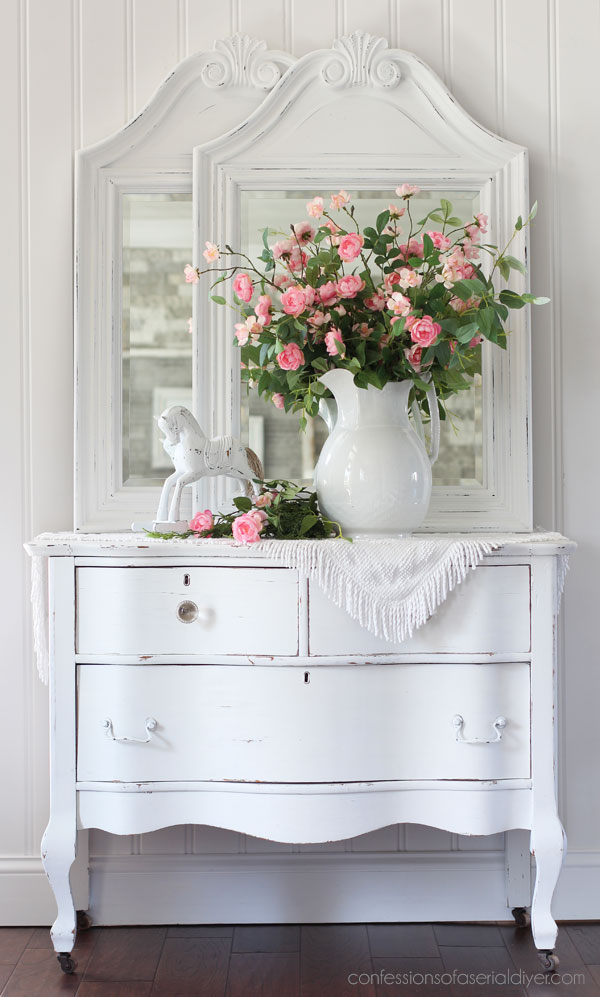
Perhaps they could be used like I have on either side of our bed:
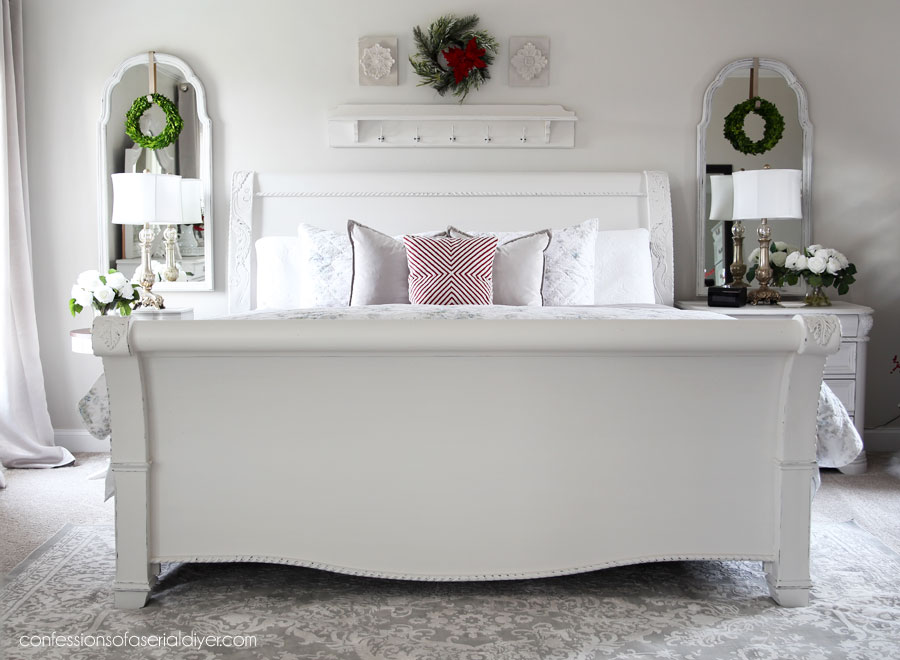
See more of our main bedroom and painted bedroom set makeover HERE.
Those mirrors for sure came from a 60’s or 70’s dresser!

And one more look at the pretty detail on top:

And that’s one more block I get to cross off the list!!
While Thursday’s vintage gentleman’s chest was a pretty special makeover, sometimes I enjoy the simple ones too!
I’ll be back on Thursday sharing the dolls I used to make and sell about 25 years ago! Not the actual dolls, but very bad flash photography of them lol. It will truly be a step back in time!
UPDATE! No need to wait…jump in my time machine and follow me back to the late 90’s, early 2000’s HERE!
See ya then!
XOXO,

Don’t Miss a Thing!
If you like what you see, there are several ways to follow along!
EMAIL * INSTAGRAM * FACEBOOK * PINTEREST

Get FREE SHIPPING on all orders over $50 in my Etsy shop. (No code needed at checkout!) Orders under $50 enjoy $8 flat rate shipping!
Most orders ship same or next business day! Visit my shop below!


Mary Kaiser says
Wow they are bigger than they looked in the 1st picture by your garage door. I can never tell how big something is until you show your after pictures. I LOVE how they turned out, simply beautiful! How fun to see your old pictures of your dolls, I can’t wait until Thursday! I love flash backs!
Christy says
Right? They are quite large! Thank you, my friend…see ya Thursday!! XOXO
Cecilia says
As much as I like stained wood, in this case, those mirrors look so much better painted! Somehow, they don’t look so top heavy. They definitely don’t need extra embellishments – the distressing is just enough to make their own pretty detail shine! And goodness, they are bigger than they looked next to the garage! Great job on these. (Can’t wait to see those dolls, lol)
❤️Cecilia
Christy says
Thank you, Cecilia! Great description of the before…they were very top heavy before. I appreciate your input! See ya Thursday! XOXO
Linda says
You called it right on ‘less is more’ this time around. Versatile for any buyer. Agree the bevel really pops so prettily. 💕
Christy says
Thank you, Linda! I’m glad I stopped there then…appreciate your thoughts! XOXO
Jackie C says
oh yeah, good choice to leave the space blank. I love the idea of putting these in a bedroom the way you have yours. There’s so much you could do with these as far as decorating that top spot seasonally, if you chose to. And as always, I want these too 😂😂
Have a great weekend xoxo
Christy says
Thank you, Jackie! Yes, they would be great above a pair of night tables…you could even add a wreath to dress them up like I did with mine and as you said, to decorate seasonally. Ha ha! XOXO
Cyndi says
I agree…leave the tops as they are. A buyer could always add something if they chose to, and I love the simplicity of these. It lets the details of the frames and the GORgeous beveled glass stand out more. Perfect!
Christy says
Thank you for weighing in, Cyndi! I will leave them as they are. And yes, it’s so nice that they are beveled! XOXO
Trisha G says
They are pretty, but I must admit, I miss the little details that make them yours. I think the transfer would be the perfect neutral, little embellishment.
Christy says
Right? I feel like I always add just a little something that makes a project mine. I dropped them off at my booth today as is, but if they sit too long, I might go back and add something! Thank you, Trisha! XOXO
Michele M. says
I think they look perfect just as they are, Christy. What a score!!!
Christy says
Thank you, my friend! I dropped them off at my booth as is, so we’ll see! XOXO
Lizzy says
So pretty!
Christy says
Thank you, Lizzy!! XOXO