Hello, dear friends! It’s time once again for Trashy Treasures Tuesday! I have actual trash as part of my makeover today where I’m sharing how to turn a cabinet door into a shelf! My talented friends also have trashy makeovers of their own to share, so be on the lookout for those at the bottom.
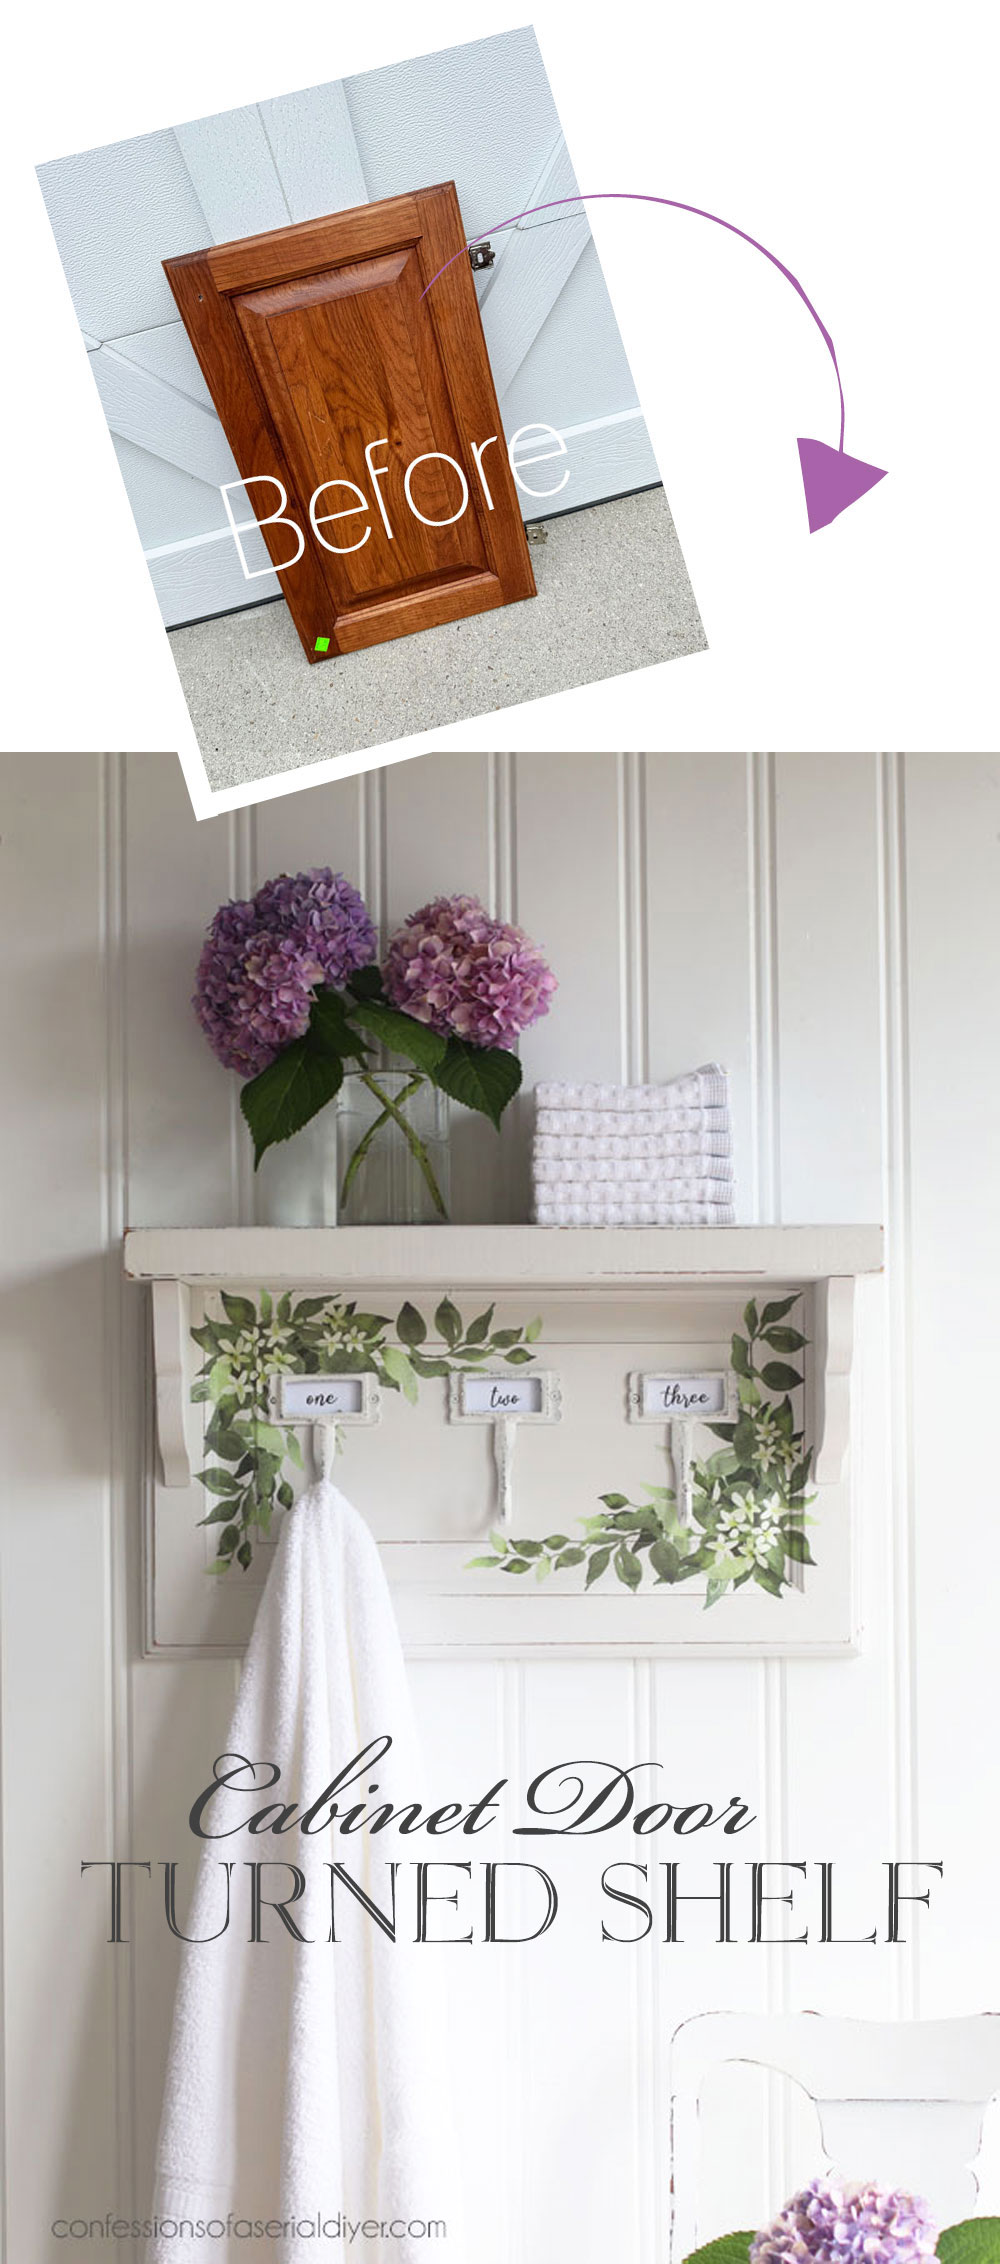
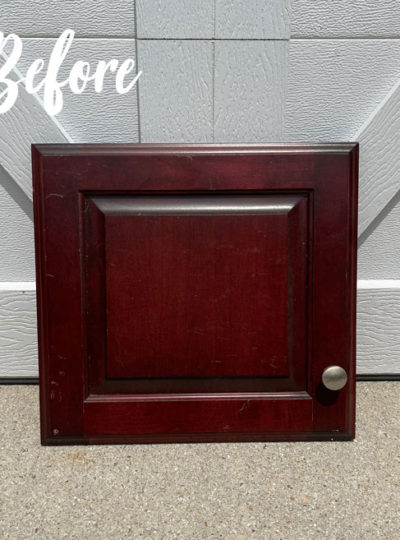
Today’s project started out as this cabinet door I picked up at the Restore for $1.99:
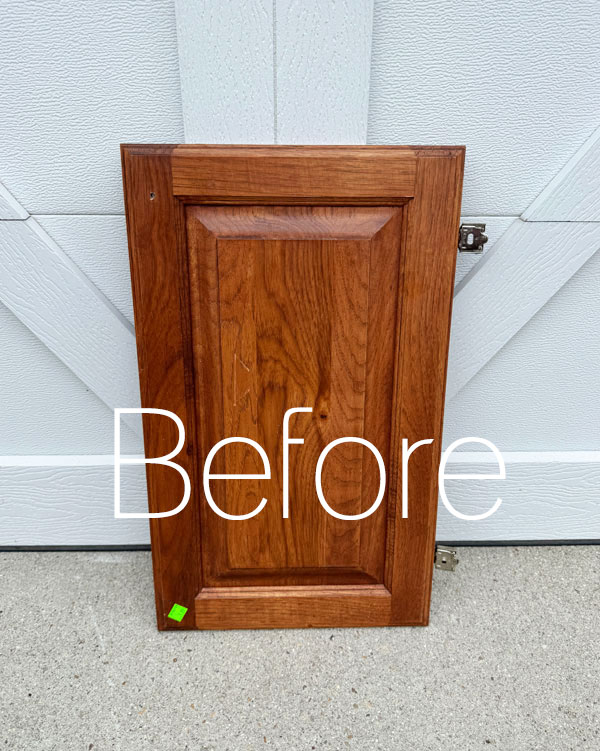
I have repurposed many cabinet doors in the past like HERE, HERE, and HERE, but this one might be my favorite!
I’ve included a few affiliate links so you can find the products I love.
The trash
To make my shelf, I also enlisted the help of this piece:
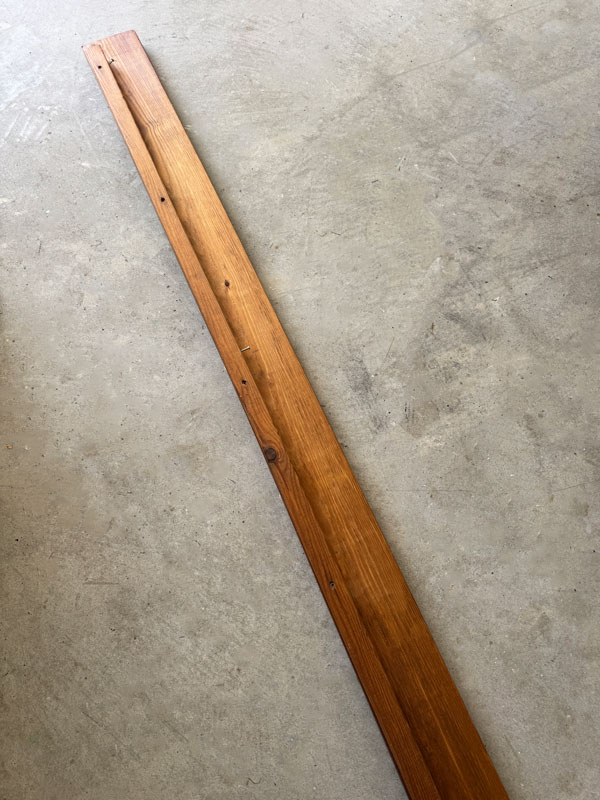
This is the trash I was referring to….a bedrail that I found on the curb in my neighborhood.
It had been sitting on the curb for several days along with the bed it went to with no takers, so on the morning of trash day, I grabbed this piece. It was the only piece that wasn’t attached to the rest.
My hubby pried the two pieces apart for me since they were glued and screwed together.
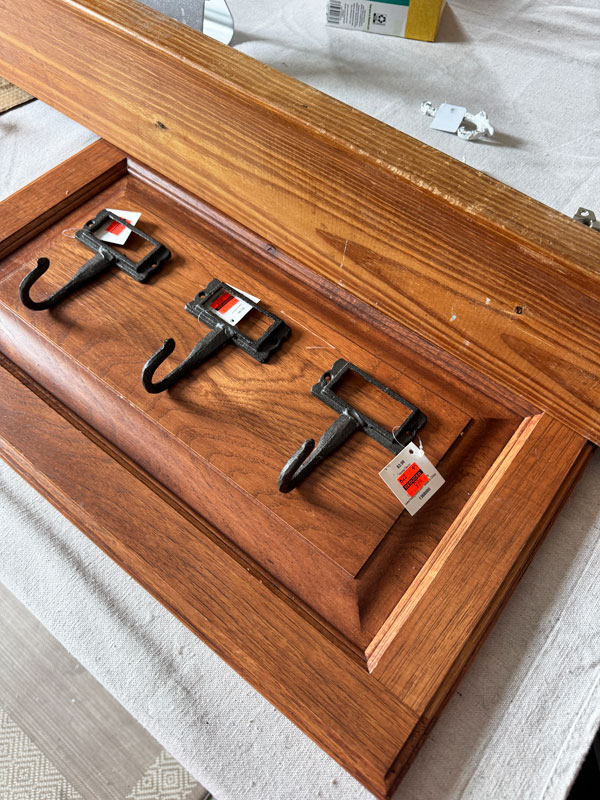
And this was my vision:
Cut the shelf
I started by using my miter saw to cut the wood to the length I needed for my shelf:
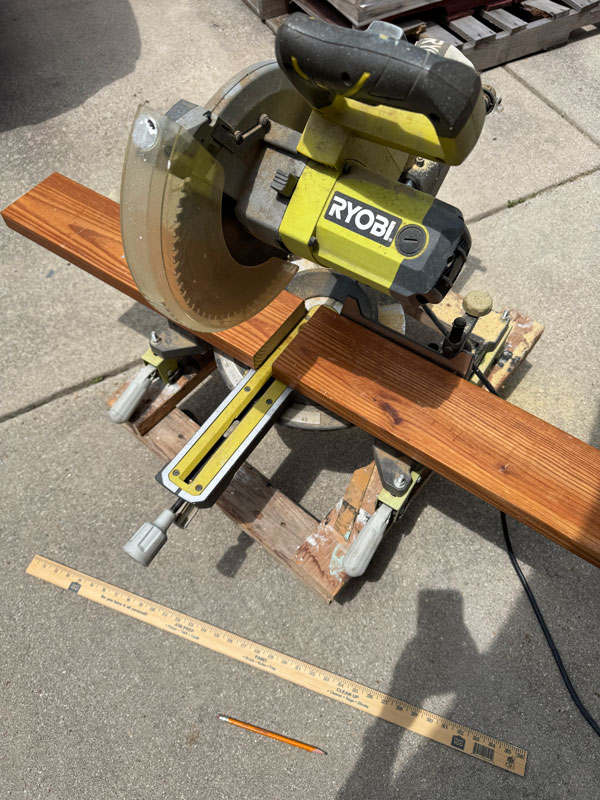
DIY Shelf Brackets
Now all I needed was brackets to support the shelf. I didn’t really want to spend more money on this project, so I decided to make my own.
I started with a pattern that I created using cardboard:
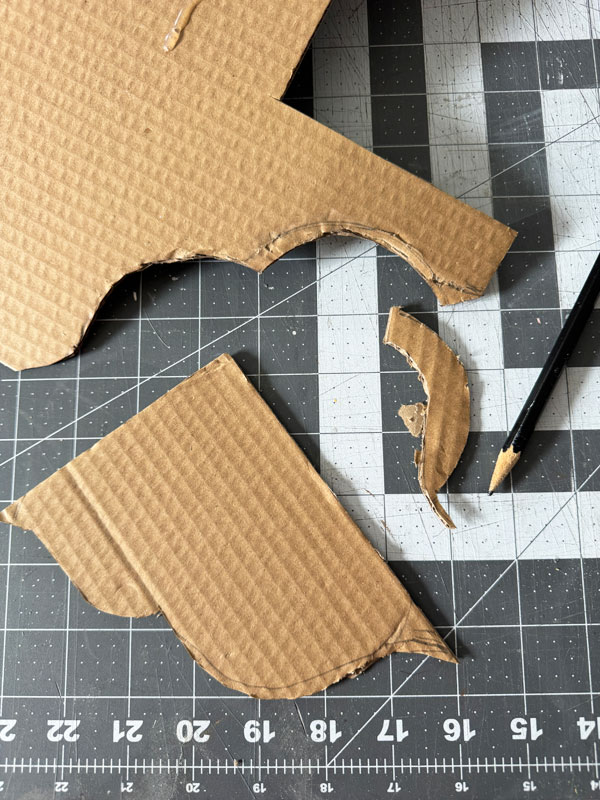
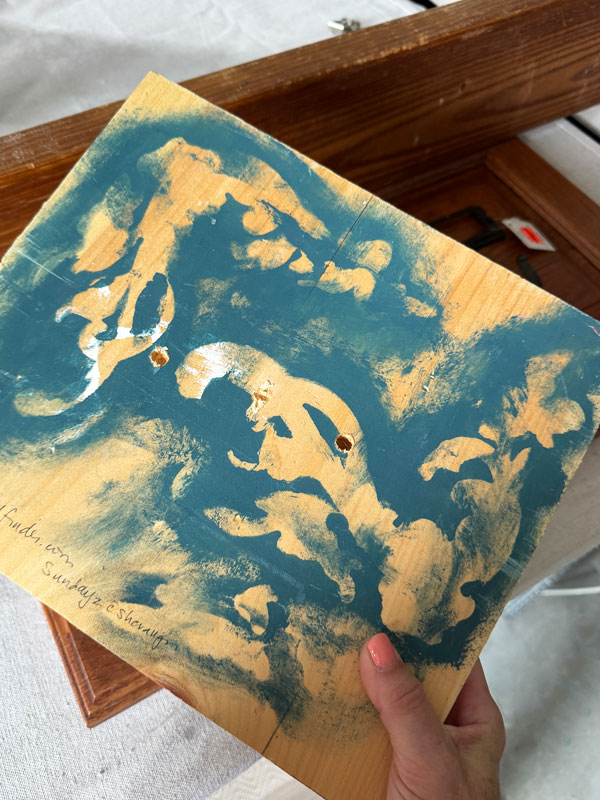
The only scrap of wood I had was this piece that I used as a painting surface for knobs and such, but it would have to do!
I used my Ryobi Jigsaw to cut them. switching the regular blade to a scroll saw blade to make those sharp turns:
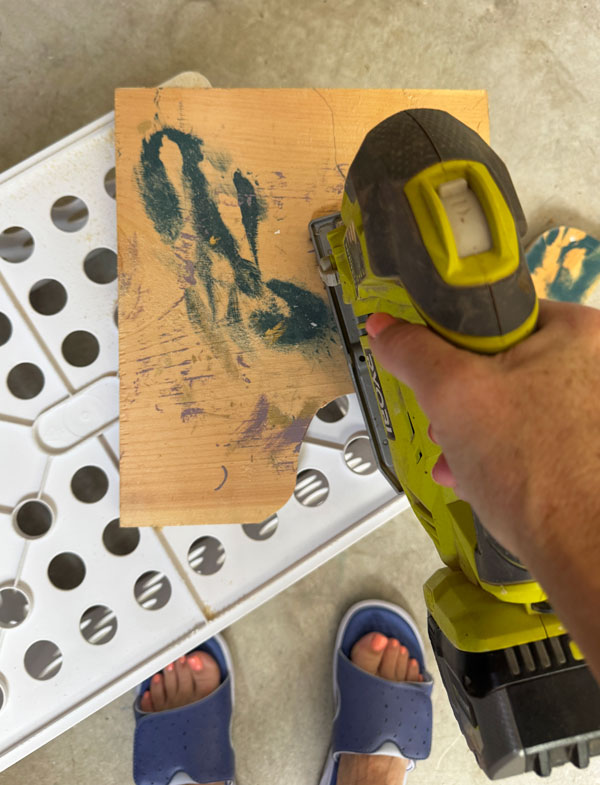
And that is my fancy cutting surface, a crate ha ha! Hey, I’m not fancy and you don’t have to be either to get the job done! Just cut with care!
And here’s where it was after cutting my fancy new support brackets:
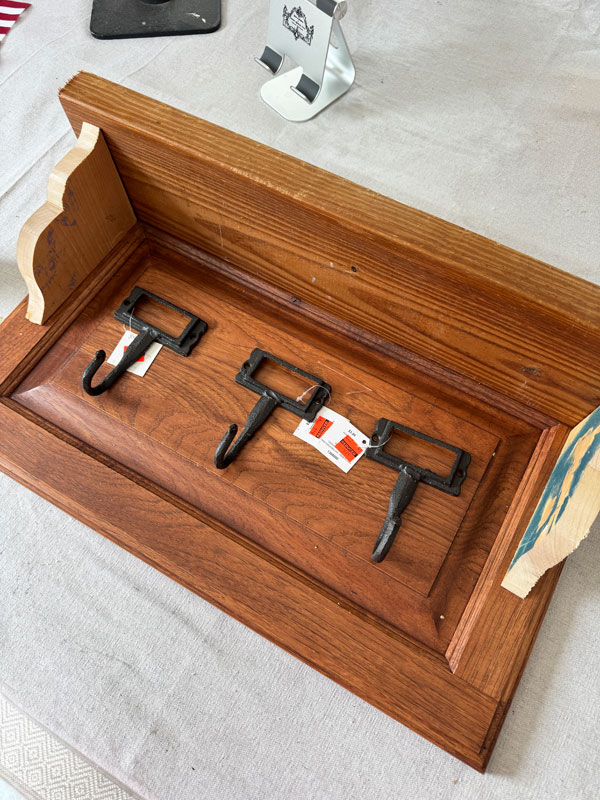
Always still skeptical before paint, but hoping it comes together!
Clean
I decided to clean and paint the pieces individually before assembling, so cleaning with White Lightning was next. It’s a degreaser and a deglosser which is especially important for cleaning a kitchen cabinet!
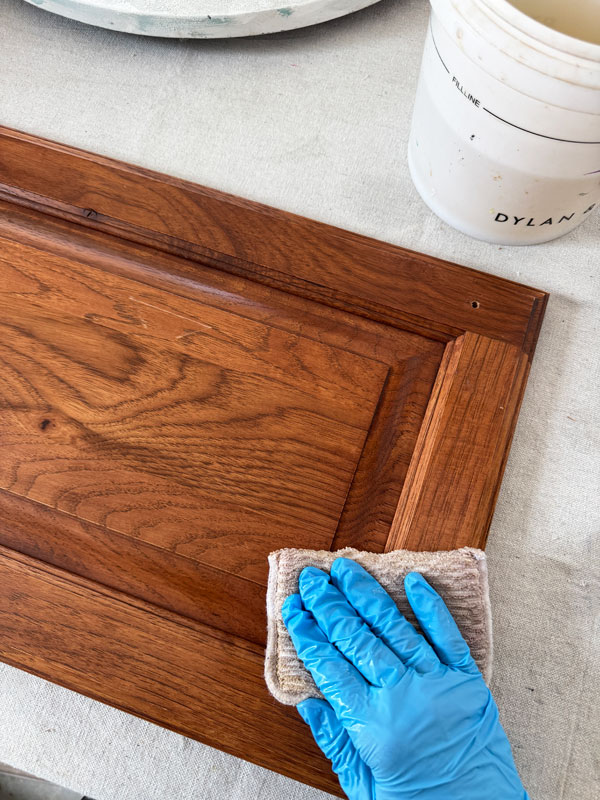
I used these sponges, which are ideal and can be tossed right in the wash.
Once it was clean, I wiped again with clean water. I cleaned the new shelf part the same way.
Fix any imperfections
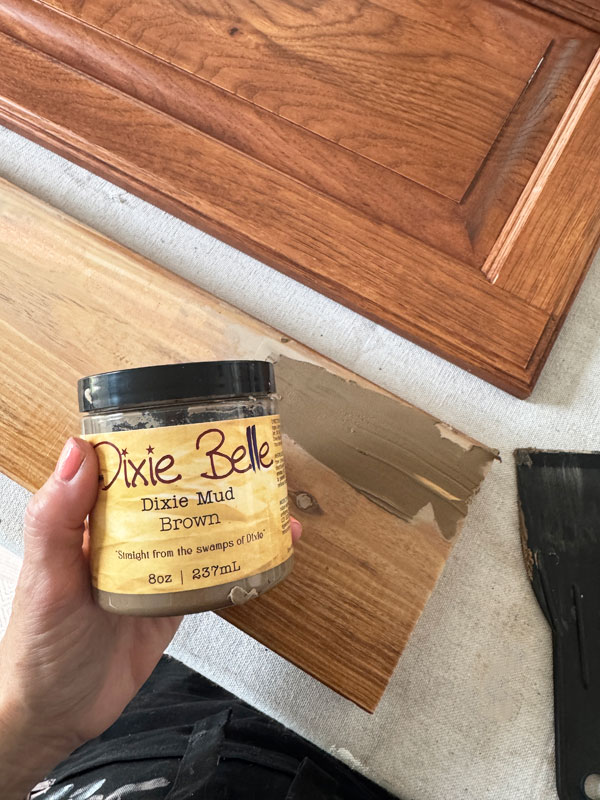
I did have an area on the shelf where the glue that held the two pieces together pulled some of the wood away, so I had to fill that in next. I did that using Dixie Mud:
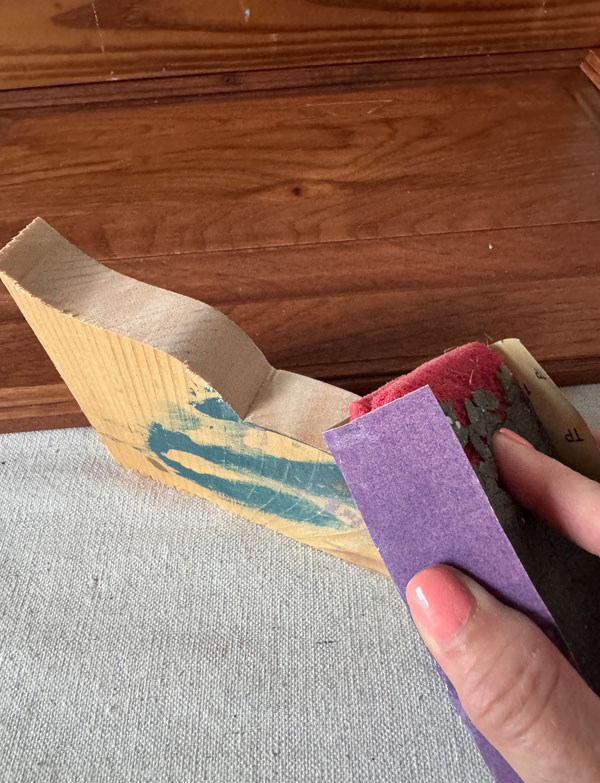
Once that was dry, it was sanded smooth. I also sanded the shelf brackets while I was at it:
Paint
I’m always so excited to get past all the prep and get the painting part! I chose Dixie Belle’s Fluff for my new shelf:
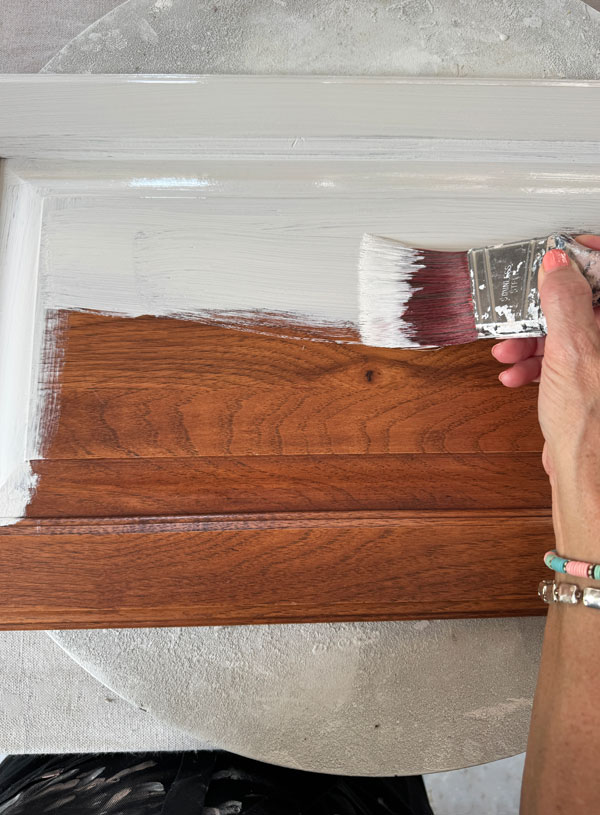
Fluff is what I like to call a “vintage white”, and what I love about it is that it covers completely in only two coats! Most whites take three coats for solid coverage.
I used Fluff to paint our bedroom set HERE.
Sand
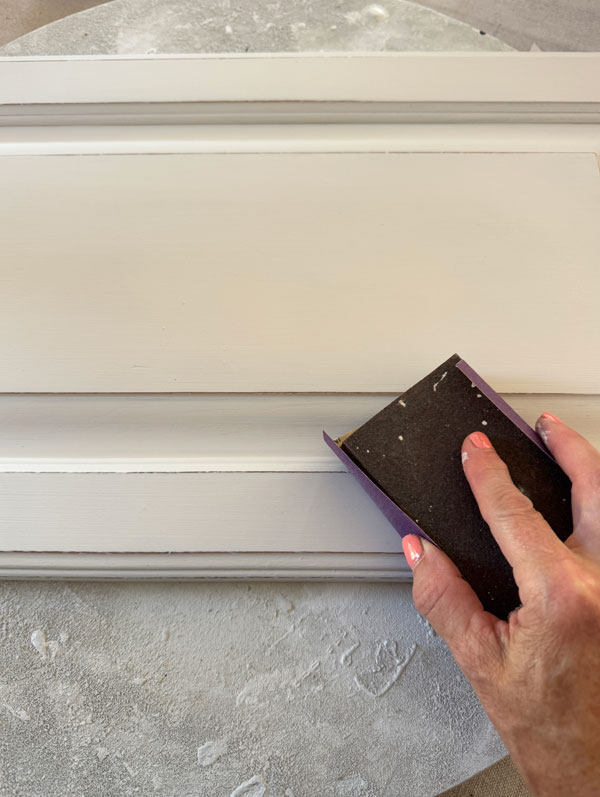
Once both coats were dry, I sanded all over with 220 grit sandpaper to smooth everything out and distress a little here and there…
Adding the pretty with a transfer
I knew I wanted to add a transfer to the cabinet door part of the shelf, and I chose this Country Charm transfer:
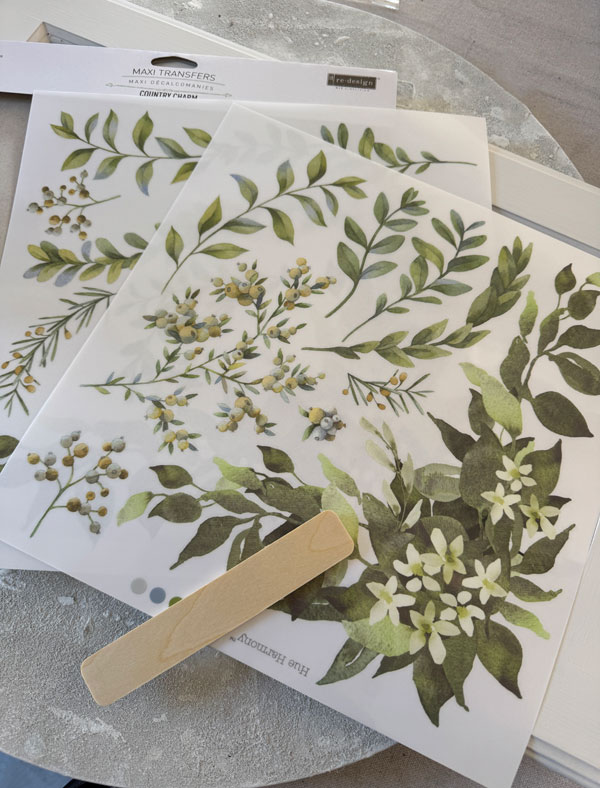
I sell this one a lot, but I’ve never used it myself, so I was happy to have something to finally use it on!
I chose the largest piece and began adding it to my project, starting with the flat surface in the center:
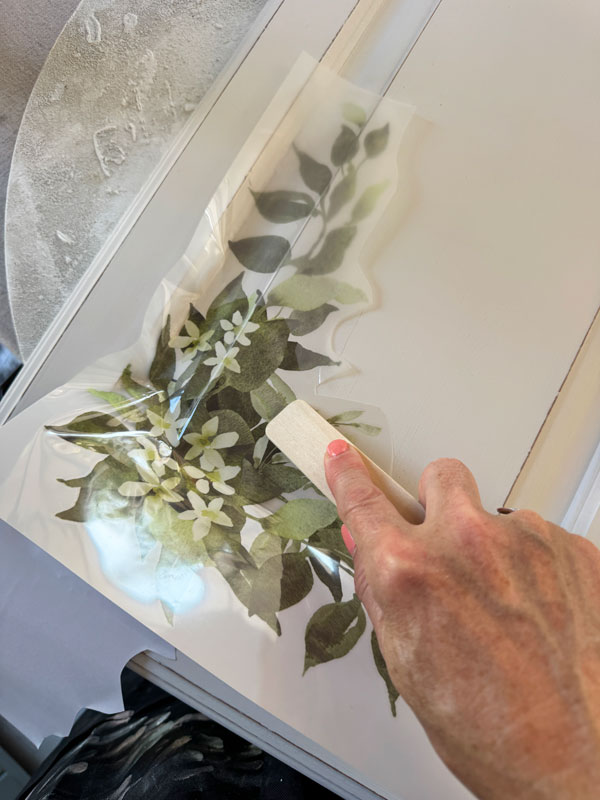
Because I was working with that corner and the recessed area, I did not peel the backing off completely. (You can see part of it is still attached in the above photo.) That’s so it didn’t stick before I was ready.
I did the flat area first and then worked it down into the recessed area, burnishing it as I went.
At one point, I switched to a popsicle type stick to get it down into the grooves a bit better…
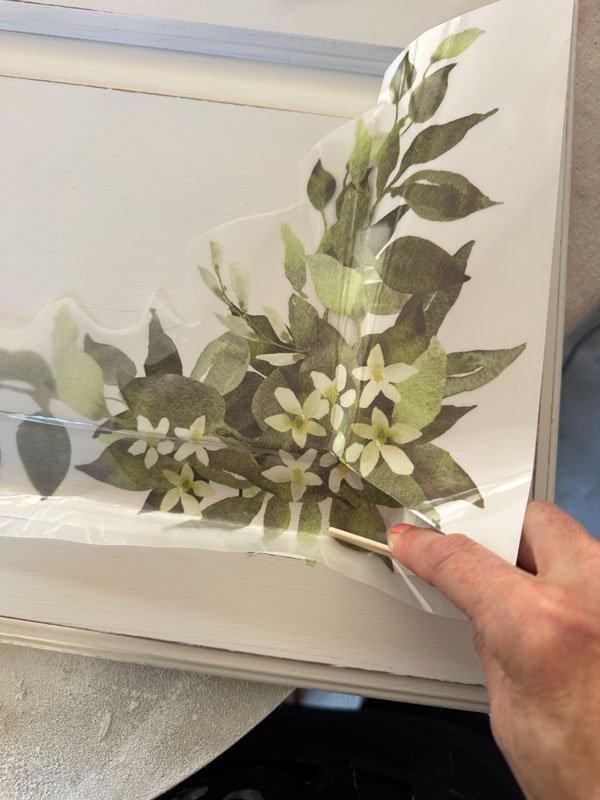
(This transfer comes with the larger burnishing stick.)
You can also see there, I cut that corner as not to get any wrinkles in that area.
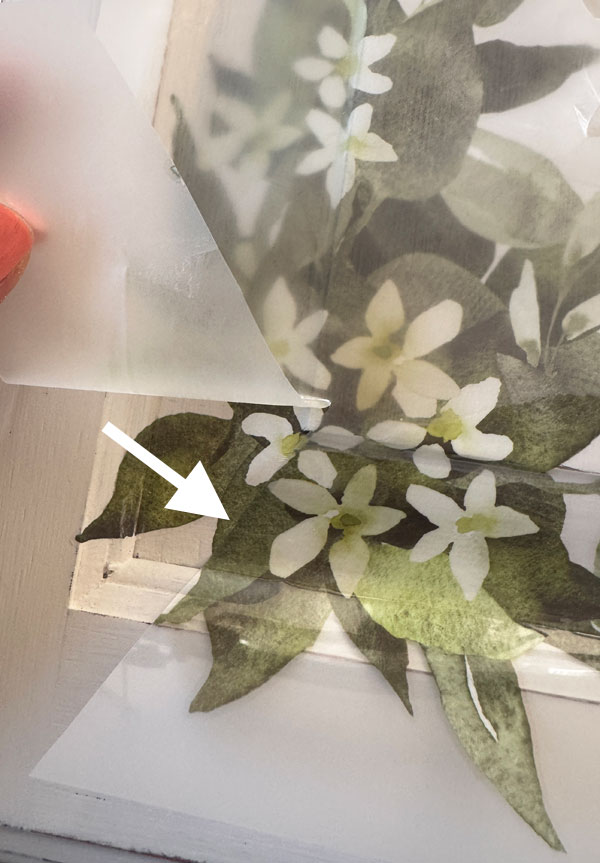
Once I got that left side of the corner attached, I removed the rest of the backing and burnished the other side of that corner…
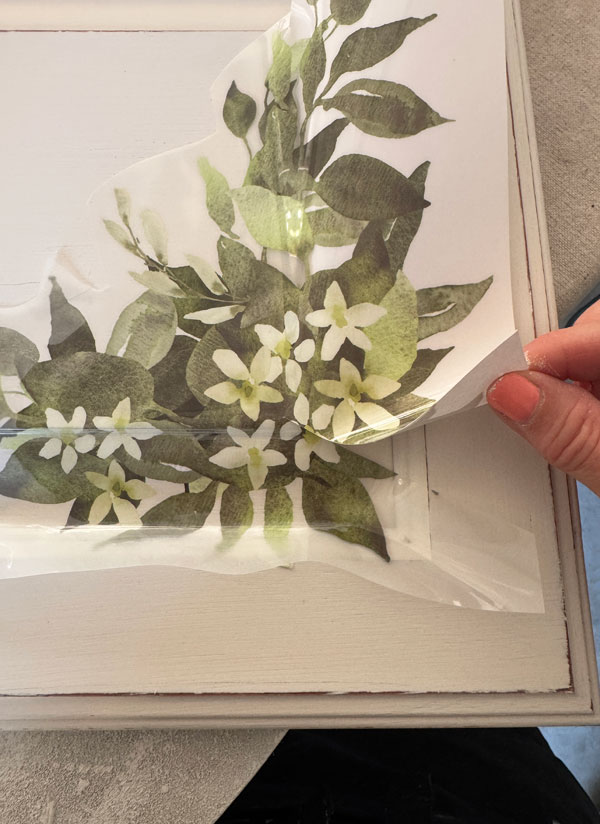
Hopefully, you can see here how the two barely overlapped but laid nice and flat..
Seal
Once I had all the pieces laid how I wanted, I sealed all of the components to this shelf before assembling using my go-to topcoat, Clear Coat in the satin finish:
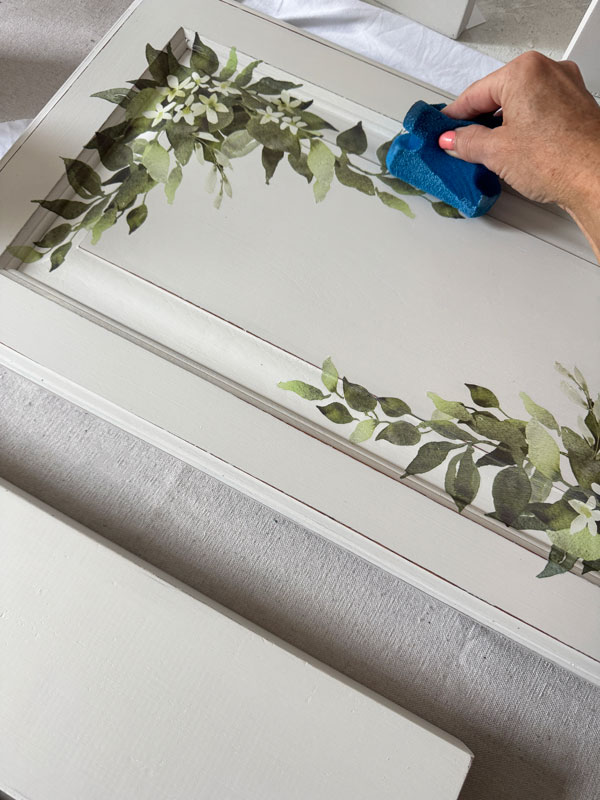
Everything got two coats. The easiest way to apply it is using the blue sponge applicator. It applies it in thin, even coats which is often difficult to get with a brush.
Assemble the shelf
All that was left to do was put all the pieces together!
I used wood glue to secure the brackets temporarily until I could get them better secured with screws:
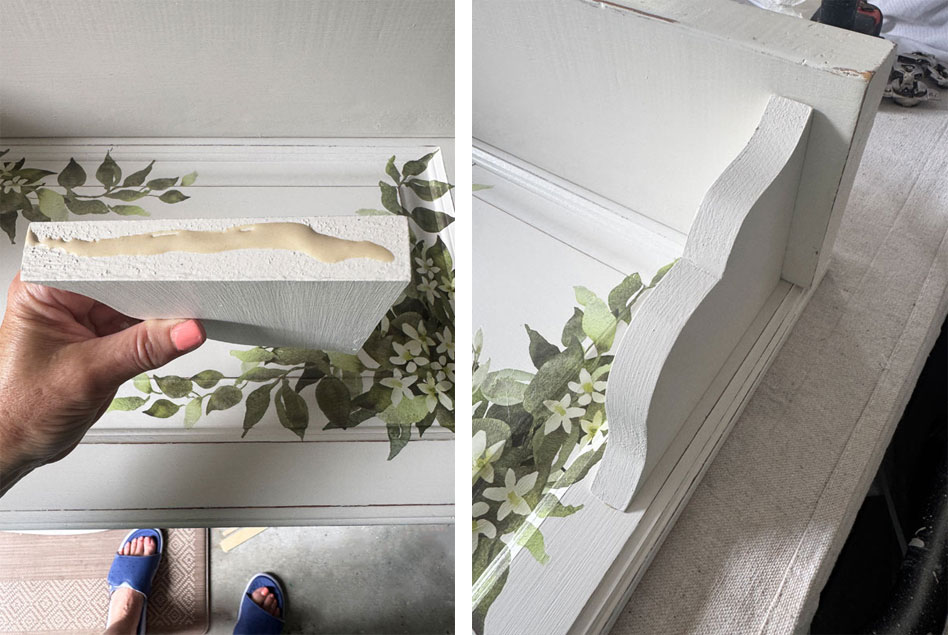
Once the wood glue had dried, I could then flip it over and attach the brackets from the back more securely.
I pre-drilled first and then screwed the brackets to the backing:
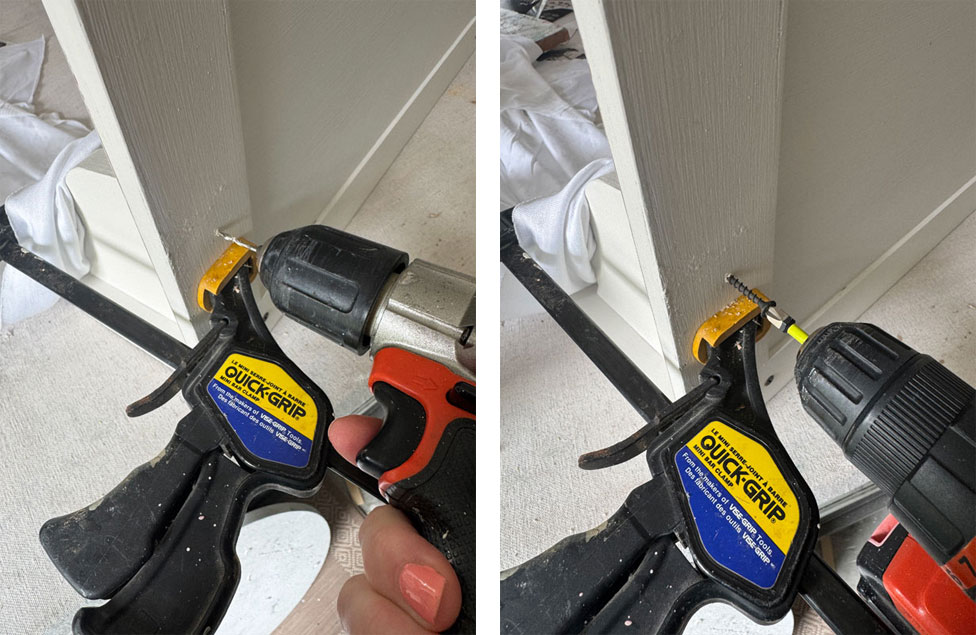
(I did use a clamp to be extra secure, but the glue held well.) I did the same thing with the shelf part, screwing it in place from the back.
Turn a Cabinet Door into a Shelf Reveal
Here is how this new shelf turned out!
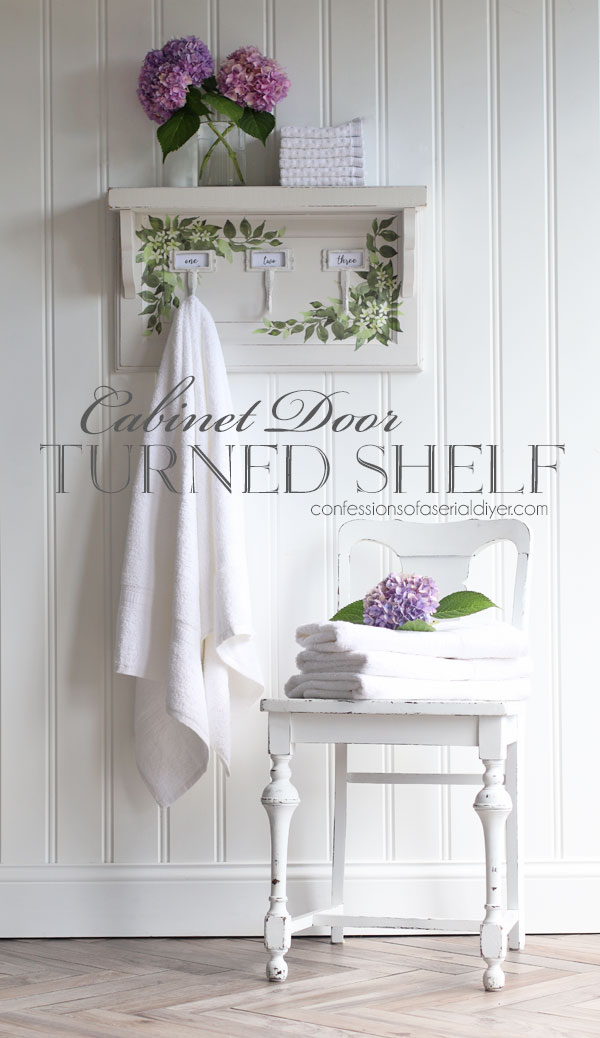
My hydrangeas are looking pretty sad with all the heat we’ve had, but I was able to find these that were still pretty!
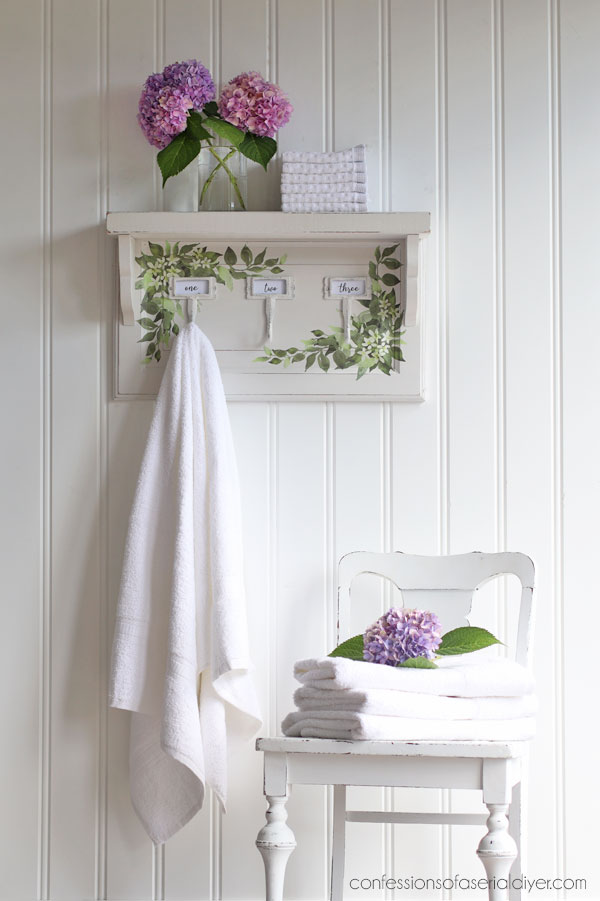
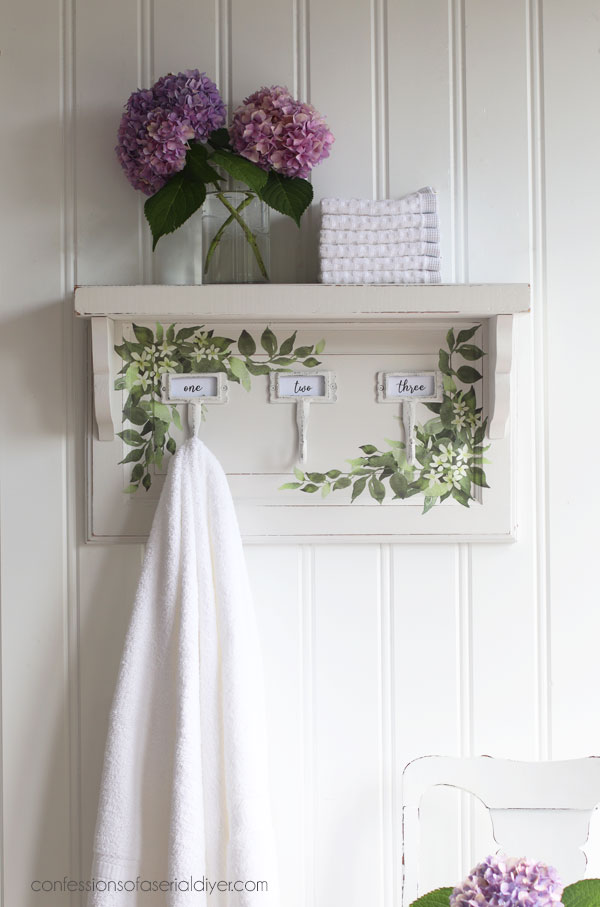
I just love the hooks!
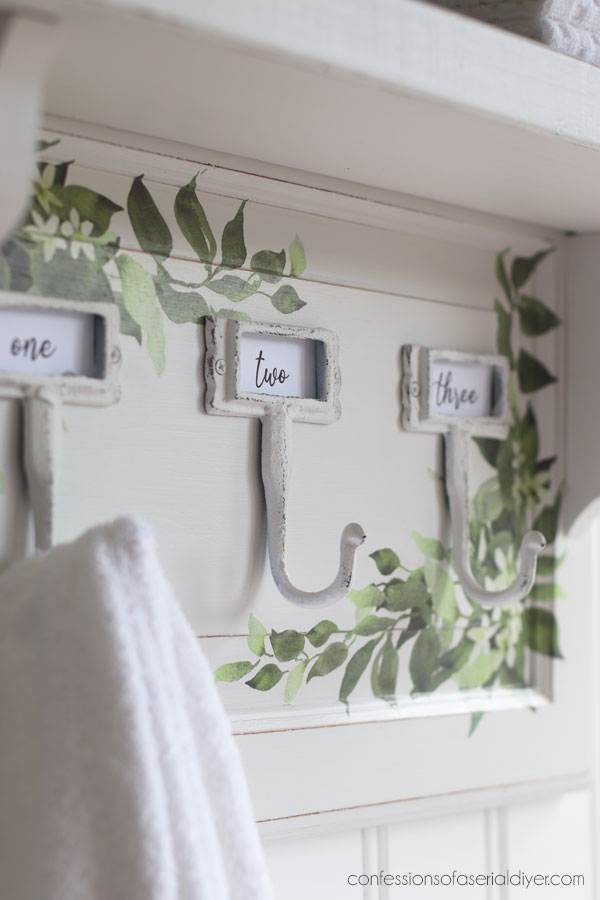
These hooks were a fantastic find at Hobby Lobby on clearance for only 99¢!
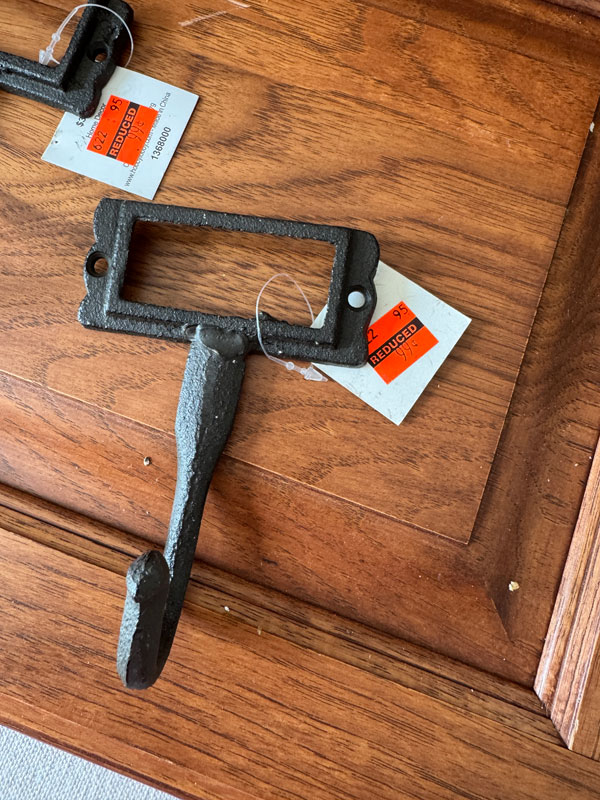
I only had three…it was a while ago, so I don’t recall if that’s all they had, but I wish I had more! They painted up so pretty!
I gave them a quick coat of Rustoleum spray primer first, followed by a coat of Fluff:
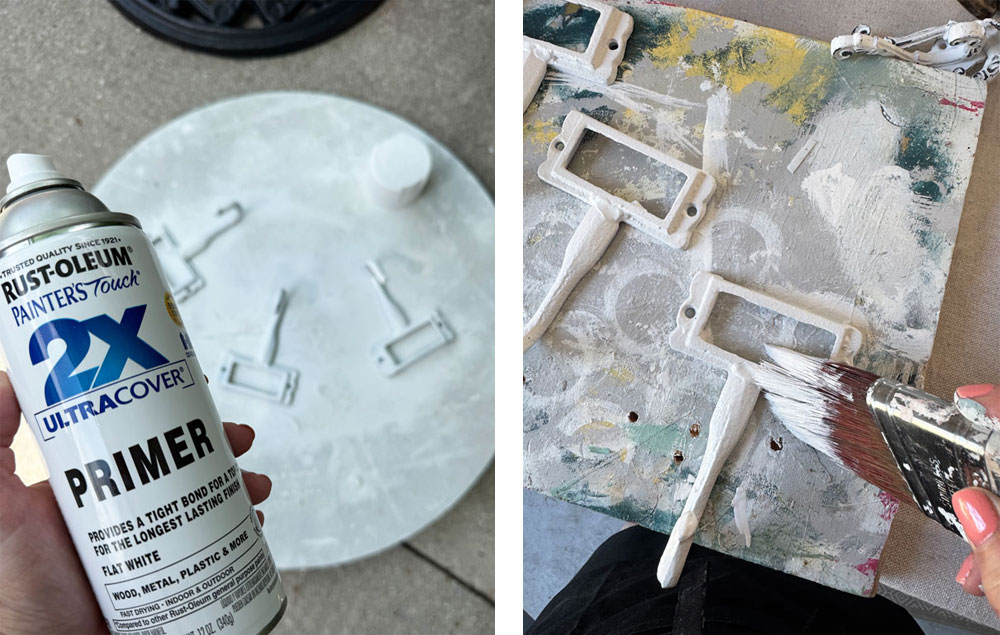
I created the tags in Word using the Chrisy font and printed them out on card stock.
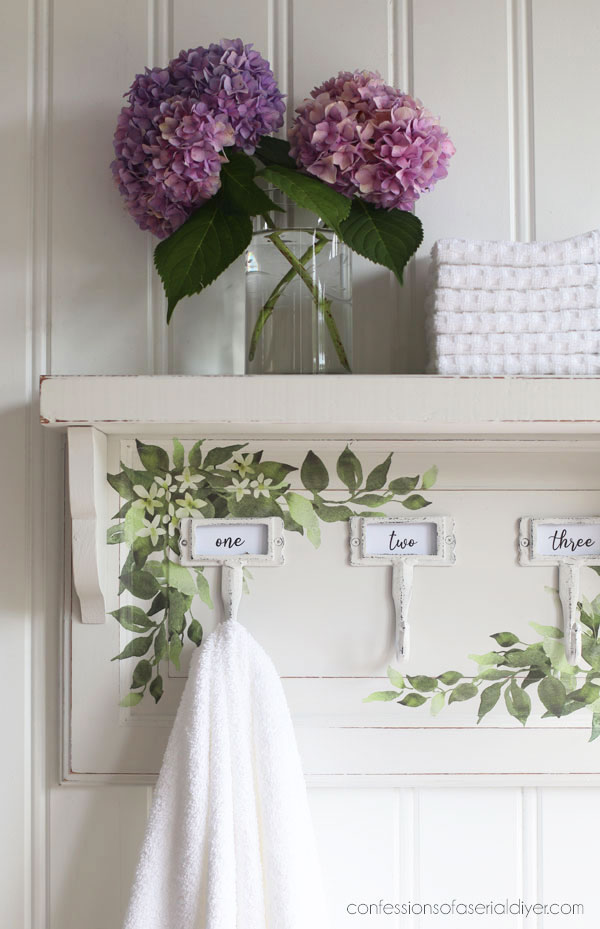
Of course the new owner can change them to whatever they want.
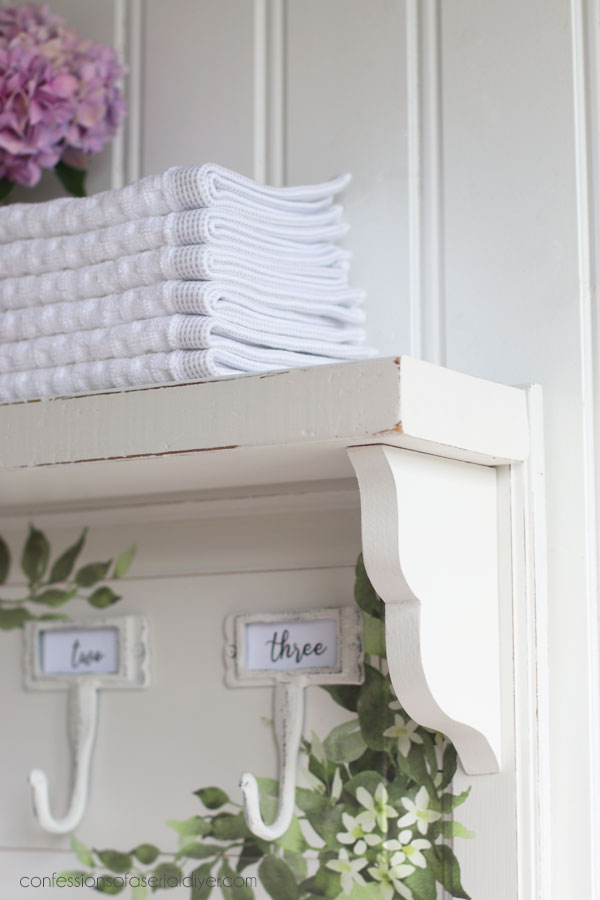
And how about my DIY shelf brackets? Not too bad!
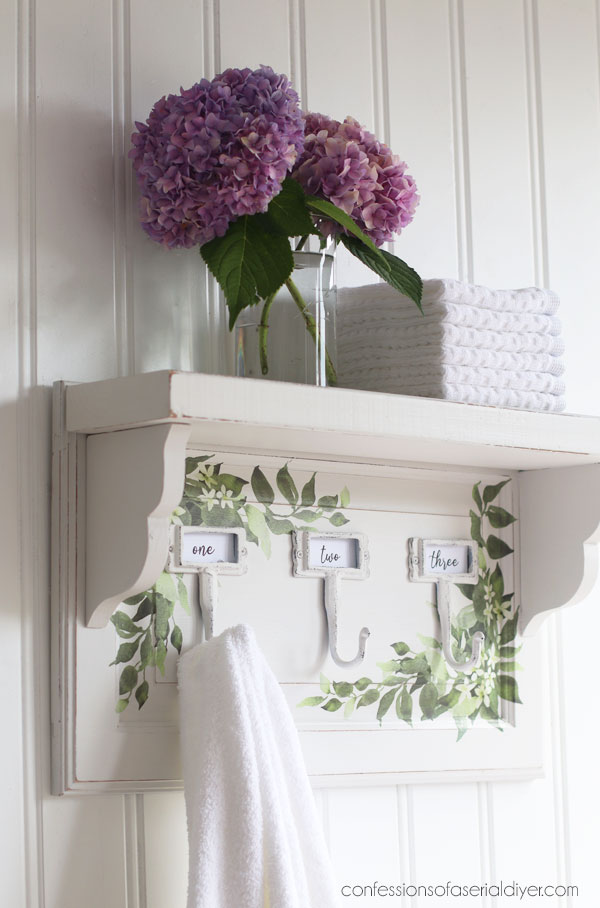
I was able to cut four of them from that scrap of wood, so you’ll see these again!
And that’s a wrap on my Trashy Treasures Tuesday project for this month!
Be sure to check out what my friends have for you today as well!
4. You’re here! 🙂
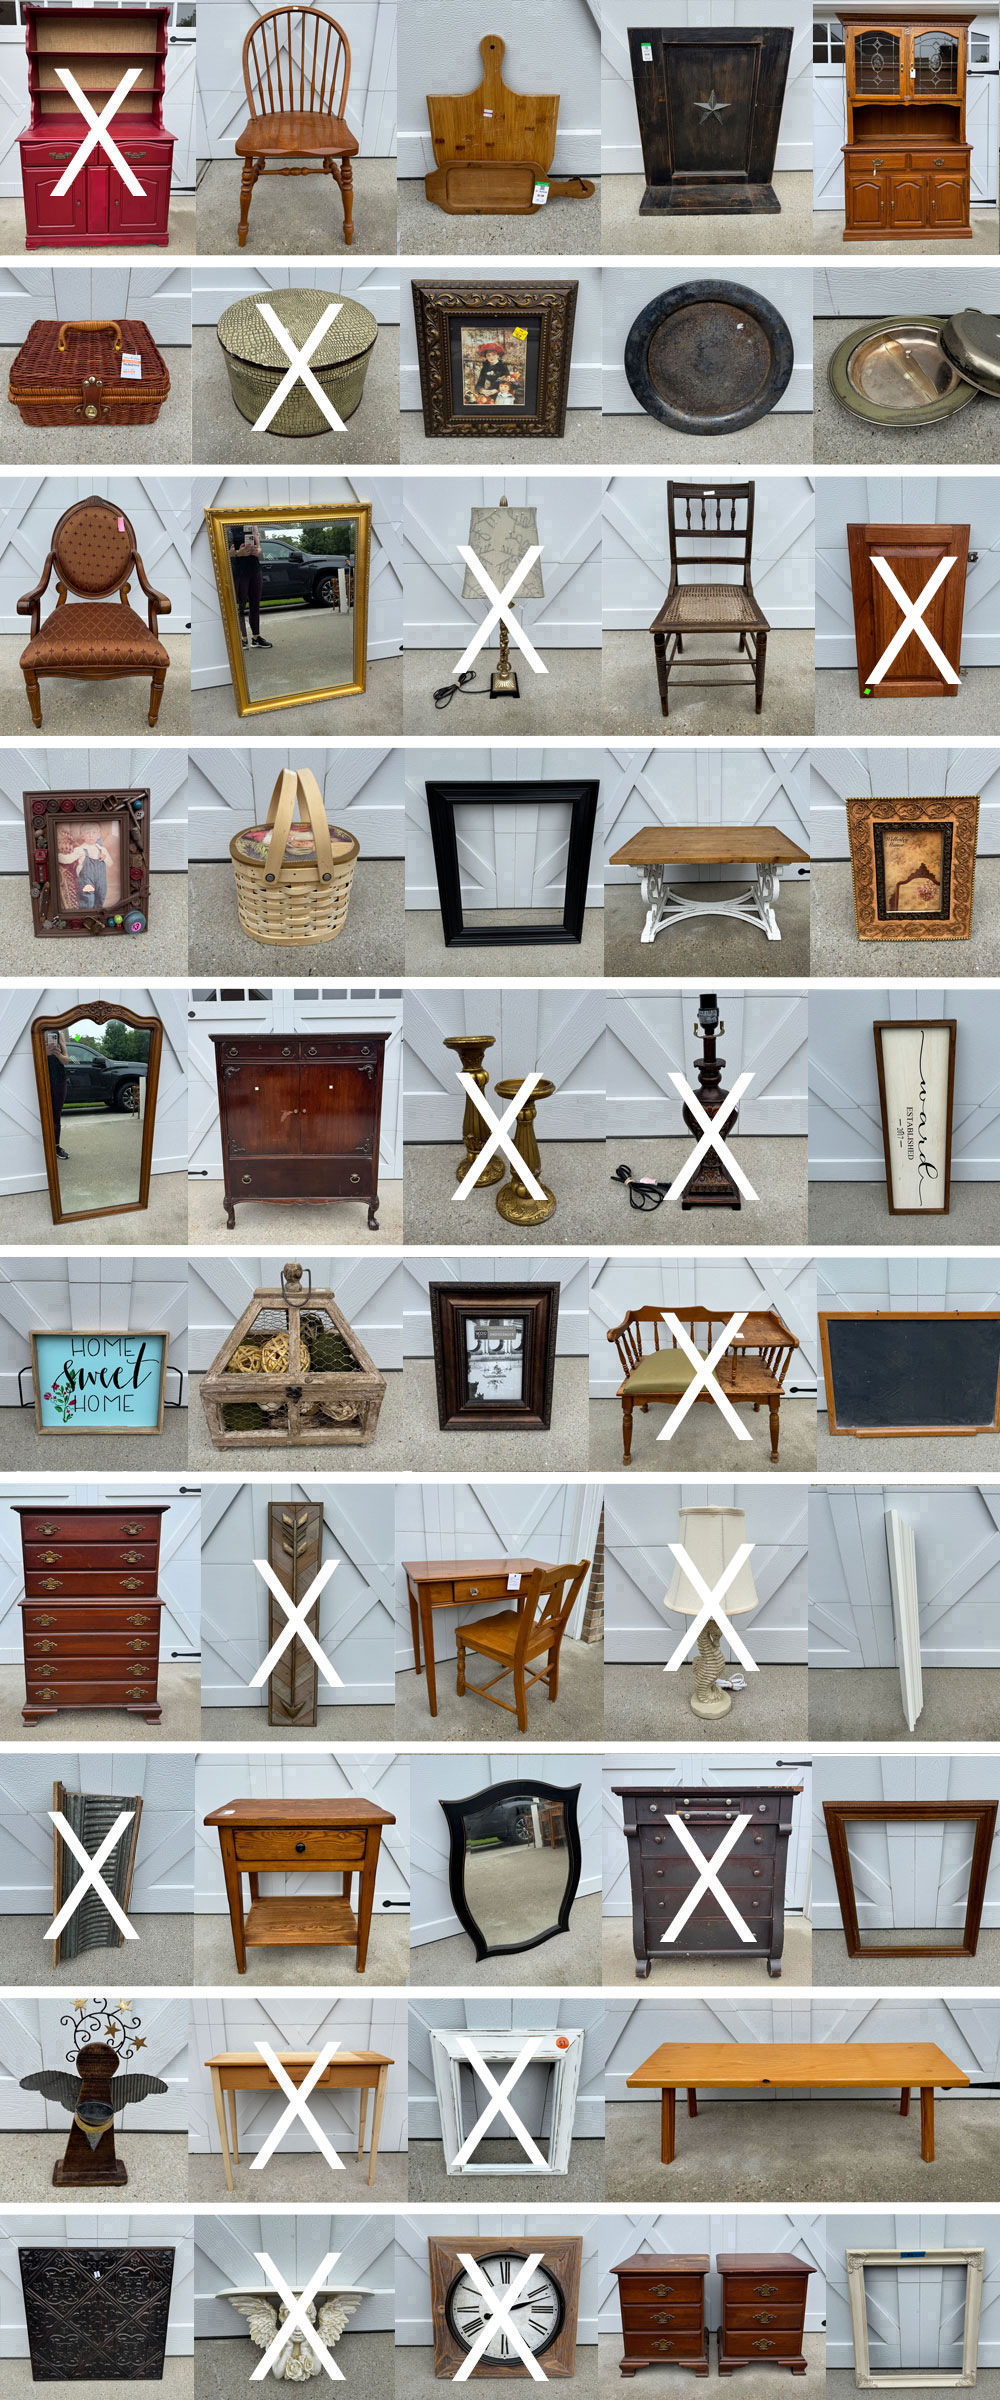
That’s one more crossed off the list!!
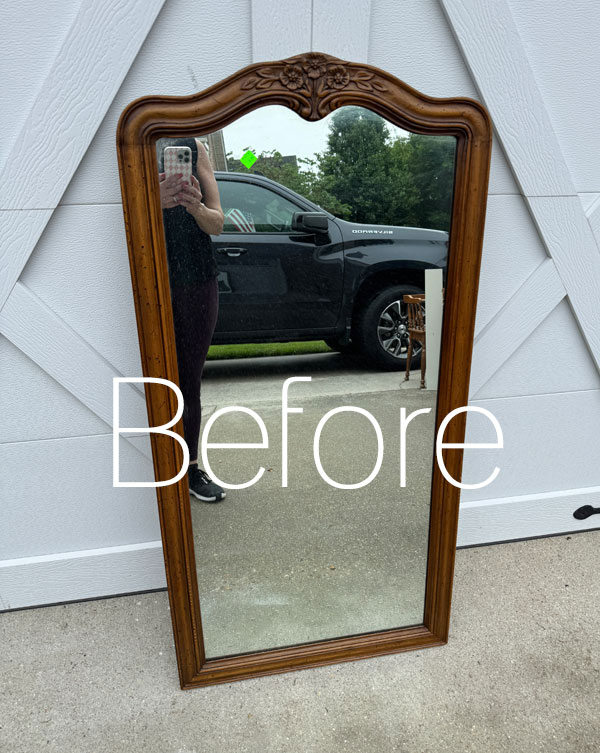
I’ll be back here on Thursday with this Restore mirror that I found on the same day I found today’s cabinet door:
See y’all then!
UPDATE! Head HERE now to see how pretty this mirror turned out!
XOXO,

Don’t Miss a Thing!
If you like what you see, there are several ways to follow along!
EMAIL * INSTAGRAM * FACEBOOK * PINTEREST

Get FREE SHIPPING on all orders over $50 in my Etsy shop. (No code needed at checkout!) Orders under $50 enjoy $8 flat rate shipping!
Most orders ship same or next business day! Visit my shop below!





Mary Kaiser says
It turned out so beautiful. I love your homemade brackets. Love the color. Love the transfer you added. Love the hooks. Amazing! I bet you will never buy another bracket again as I think yours are better than you can buy, cheaper too! You are Amazing!
Christy says
Aww thank you, my friend! I’m so happy the brackets worked out! I’ve done very plain triangle shaped ones before, but they were so boring ha ha. Have a fantastic week!! XOXO
Nana Diana says
I love it, Christy! It’s perfect. What a great way to marry misfit pieces. The color and transfers are a great fit for the piece. xo Diana
Christy says
Thanks so much, Diana! I love when I can marry those misfit pieces! XOXO
Cecilia says
That turned out so pretty! The transfer adds so much to it. Love your brackets and the hooks are awesome. This was a great trashy makeover!
🤩Cecilia
Christy says
I’m so glad you liked this one, Cecilia, thank you! I will definitely consider making my brackets again in the future! XOXO
Allita says
That turned out so beautifully! I love pieces like this – form AND function. Your placement of transfers is always so spot on, never too much, just the perfect touch. 🙂 I am so envious of your woodworking skills, and tools! I can’t wait to see what you do with the other two shelf brackets, that really worked well.
Christy says
Thank you so much, Allita! Me too…I love when a piece is both pretty and serves a purpose! I used to have my hubby cut my wood for me back in the day, but one day, I got tired of waiting on him and I haven’t looked back lol. I did need him to for this project though to separate the bedrail parts, so he still comes in handy ha ha! XOXO
Kate says
You are something else….so talented…..this is beautiful!
Christy says
Aww thank you so much, Kate!! XOXO
Jackie C says
Perfect Trashy redo! The green on that transfer looks so pretty on white.
I laughed out loud about picking up that piece of wood. I swear girl, you certainly have a talent making something out of nothing.
I wish you would do a video on how you cut and laid that transfer to keep it from wrinkling. I don’t quite get how you did that and I sure do need to know. I’m using some Walmart planters that are large and round. I’ve ruined two of them along with the transfers because I couldn’t figure out how to get them to lay flat on the curves. UGH!
You have a great week sweet friend.
Christy says
Thank you, my friend! I was so bummed that I didn’t have any tools with me to get more of that bed ha ha! You can always cut your transfers and then apply them piece by piece, matching up the edges. I did this on this dresser that had curves and it made it much easier! Enjoy your week too!! XOXO
Denise - Salvaged Inspirations says
This is beautiful, and I can’t believe how charming the diy brackets turned out… well, I can believe b/c you’re fabulously creative and everything you do looks awesome! 🤩 What a great tip to make your own! The new shelf is beautiful. Pinned XOXO
Christy says
Thank you so much, my friend! I was so pleased the brackets worked out too because that tiny chunk of wood is literally all the scrap wood I had left to work with lol! Heaven forbid I have to stop and go to Home Depot! XOXO
Donna WILCOXSON says
Christie, you never cease to amaze me. That is beautiful. Your jigsaw skills are fabulous and your vision is the best of anyone. You’ve inspired once again to keep looking at stuff in thrift stores with new eyes. GREAT WORK !
Christy says
Aww I appreciate that so much, Donna, thank you! Yes, you never know what those oddball pieces can become! XOXO
Josee says
B-E-A-U-T-I-F-U-L. YOU ARE SO TALENTED! I never tire of seeing your stuff. God bless
Christy says
Aww you are the sweetest, Josee, thank you!! XOXO
Kathy from JAX says
I love this shelf and so practical too. I can see alll the uses for this darling creation. All the greens look so pretty and fresh. Can’t wait to see what you’re up to next. I’m off to see what your other friends are creating today. Stay cool…..so hot.
Christy says
Thank you, Kathy! You stay cool too!! XOXO
Christine says
Love this!
Christy says
Thank you, Christine! XOXO
Kathy Owen says
The Christy font! I love it. You always go to the next level on your makeovers. Beautiful.
Christy says
Thank you, my friend! You know I was excited to find that font ha ha! XOXO
Laura J. says
I love it SO much Christy!!! Hooks and transfer look beautiful. You are such a skilled woodworker as well… the brackets are fantastic! You have such a “can do” attitude when it comes to makeovers…you’re unstoppable!!!
Christy says
Aww thank you, Laura! I appreciate that so much! I like to think I can do it all ha ha! XOXO
Cyndel says
Love, love, LOVE it! When I saw your first photo of the final piece, I thought the left tag said “sage” and the right one said “thyme,” which immediately had me picturing tied bunches of herbs hanging upside down from the hooks. So pretty and creative.
Christy says
Thank you so much, Cyndel! Those tags would have worked so nicely with dried herbs hanging from the hooks! Great idea! XOXO
Marlene Stephenson says
You are so good with tools and love those brackets you made. The shelf is so pretty.
Christy says
Thank you so much, Marlene!! I’m so glad the brackets worked out…it was the last morsel of scrap wood I had left ha ha! XOXO
Gladys SCHULZ says
You are so good at putting on those transfers. I love how they come out. That door turned into a beautiful shelf.
Christy says
Thank you so much, Gladys! I’ve had lots of practice! XOXO
Marcie says
Amazing! If I hadn’t seen it myself, there’s no way I’d believe you started with a cabinet door. Say goodbye to this one, Christy, it’s not going to be hanging around the booth very long 😁
Christy says
Ha ha thank you, Marcie! I’m so glad you don’t immediately see the cabinet door! XOXO
Petra says
What a delightful piece you’ve created Christy ❤️ the brackets are so nice and the transfers are “chef’s kiss “! It always gets the creative juices flowing figuring out what to do with the spare ‘bits’ we get from our makeovers ☺️
Christy says
Thanks so much, Petra! I was really happy about the brackets, mostly because they were free! And I too love seeing how I can use all the parts together! XOXO
Michele M. says
Oh WOW!!! Look what you did to that “trashy” item!!
It looks AMAZING!
Christy says
Thank you so much, my friend!! XOXO
Olivia says
Hi Christy, You are one seriously talented Lady!
Christy says
Aww I appreciate that so much, Olivia, thank you! XOXO
Caye says
I just LOVE it!! That transfer is pretty special and works wonders for this project. Question: where did you get the pattern for the brackets?
All in all, a superb project. I appreciate that you shared it.
Christy says
Thank you, Caye! I love this transfer and it is pretty neutral. For the brackets, I drew up a pattern on cardboard. You may have missed that in the post, bit it’s in there if you’d like to see. Have a lovely weekend! XOXO
Nancy @ Artsy Chicks Rule says
You’d never know that was a cabinet door! I love it!! So pretty. 🙂 xoxo
Christy says
Thank you, Nancy! I tried to be more mindful with this haul, choosing several things that could potentially become new things. Hope you enjoyed your getaway…we need a lunch date soon! XOXO